• Home
  • Blog
  • About
  • Contact
    • Disclosure
    • Privacy Policy
  • SHOP
  • Widget area for main menu

    • Email
    • Facebook
    • Instagram
    • Pinterest
    • Twitter
    • YouTube
  • Skip to primary navigation
  • Skip to main content
  • Skip to primary sidebar

Jaime Costiglio

build - paint - sew

  • BUILD
    • BEDS
    • BENCHES
    • DESKS
    • DRESSERS
    • GAMES & TOYS
    • SCRAP WOOD
    • SHELVES
    • STORAGE
    • TABLES
  • TOOLS
  • PAINT
    • CRAFTS
    • FURNITURE
    • HOME DECOR
  • SEW
    • GIFTS
    • HOME DECOR
    • POUCHES
  • HANDBUILT HOLIDAY
    • 2021
    • 2019
    • 2018
    • 2017
    • 2016
    • 2015
    • 2014
    • 2013
  • GIFTS
    • BABIES
    • KIDS
    • FOR HER
    • FOR HIM
    • TEACHERS
    • WEDDINGS
  • SEASONAL
    • 4TH OF JULY
    • FALL
    • HALLOWEEN
    • CHRISTMAS
    • SUMMER
    • SPRING
    • ST. PATRICK’S DAY
    • THANKSGIVING
    • VALENTINE’S DAY
    • WINTER
  • SALTBOX PROJECT
    • BATHROOMS
    • DINING ROOM
    • EXTERIOR
    • FAMILY ROOM
    • FOYER / MUDROOM
    • KIDS BEDROOMS
    • KITCHEN
    • LIVING ROOM
    • MASTER BEDROOM
    • PLAYROOM
  • SCROLL SAW

DIY Fabric Eggs Easter Mantel

March 15, 2013

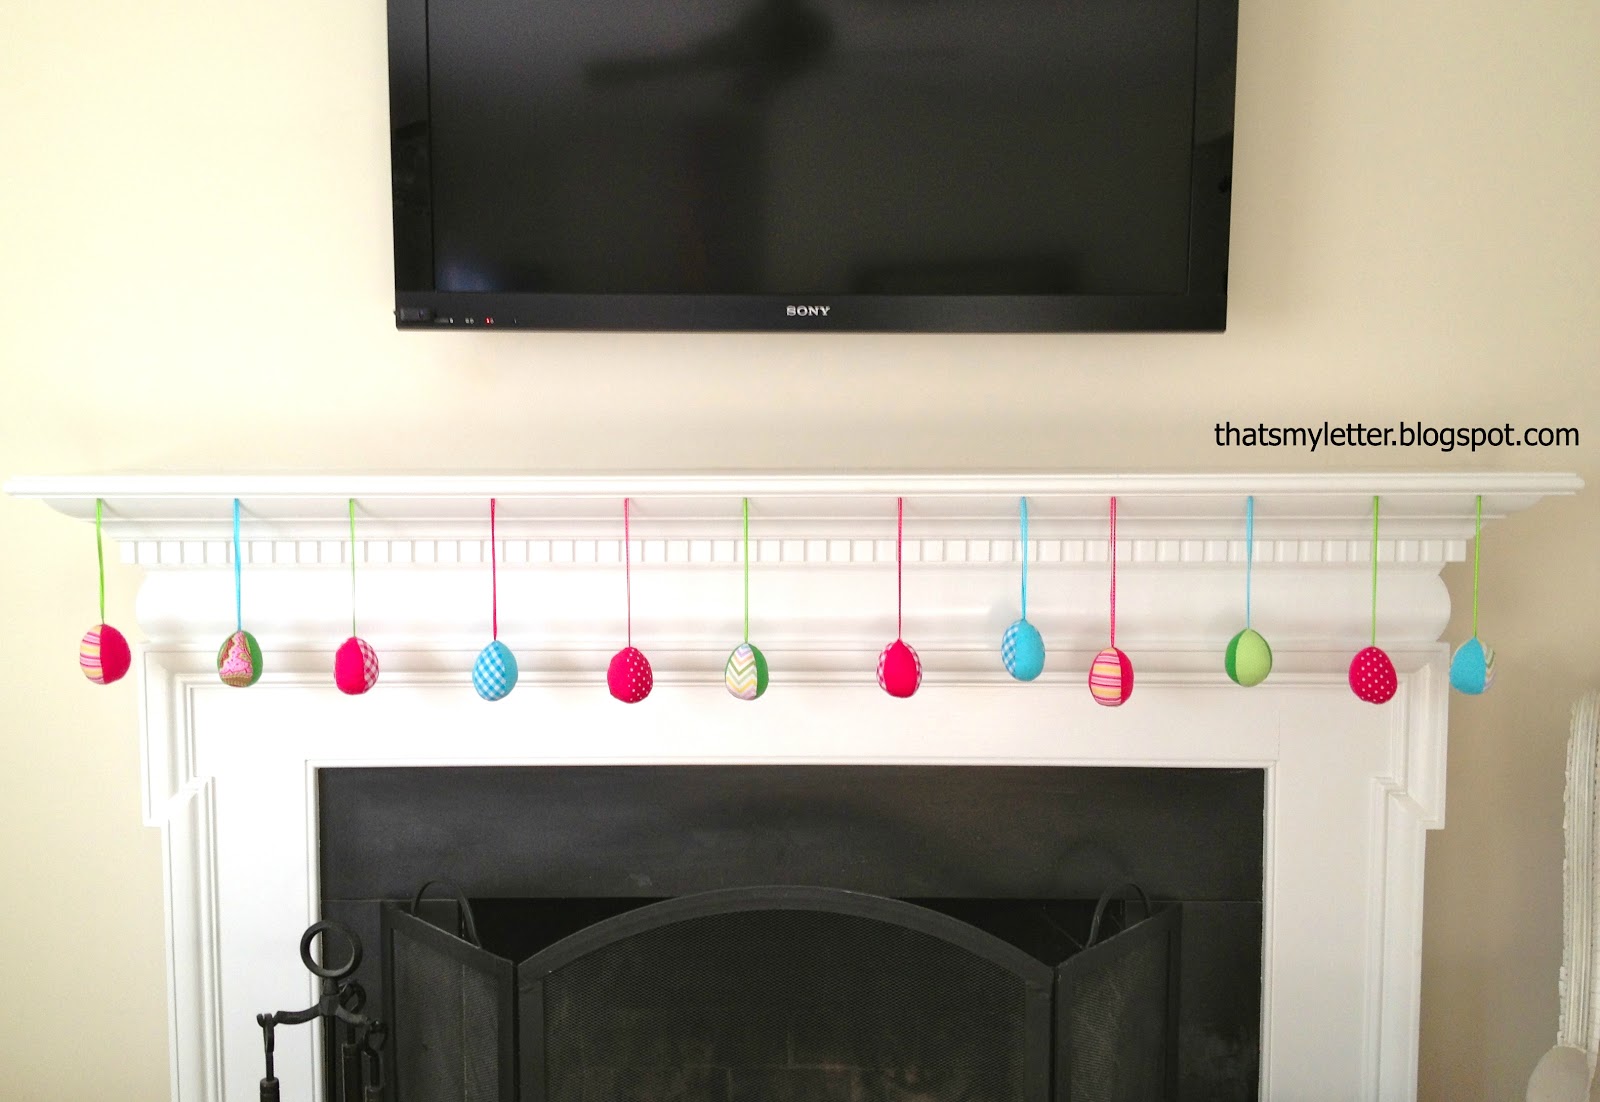
Sew: fabric eggs Easter mantel
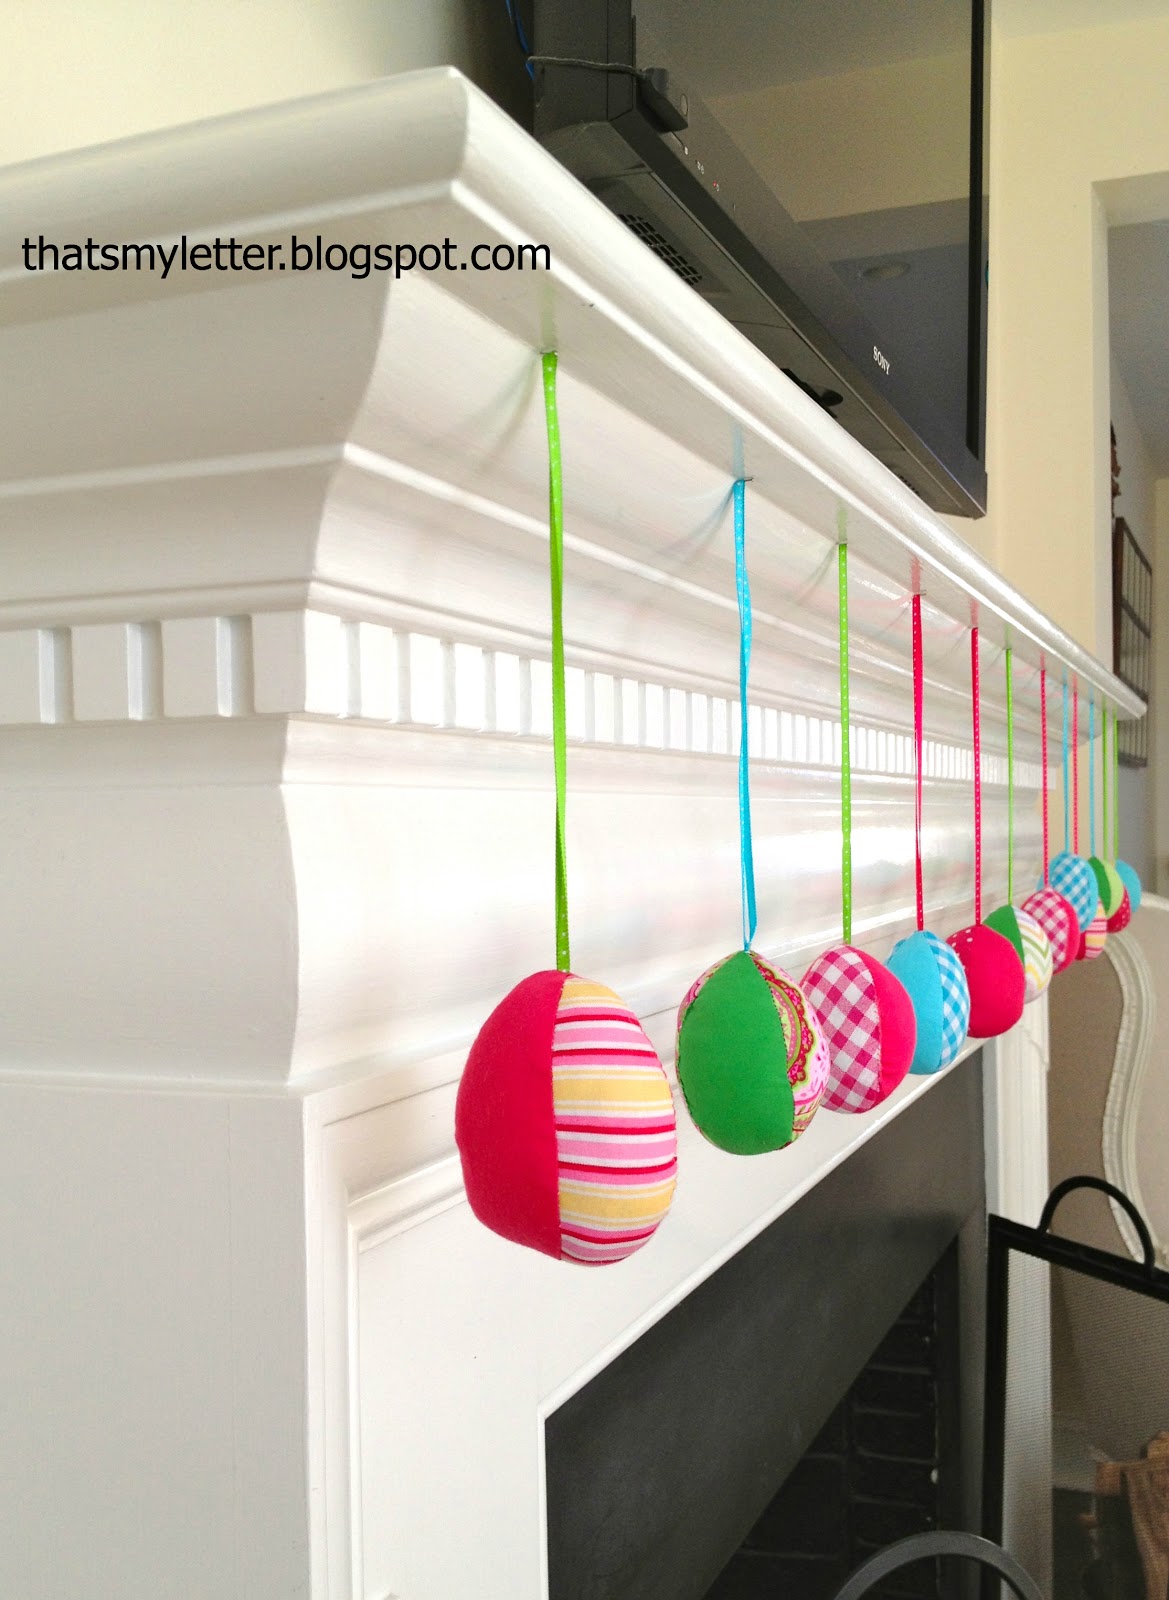
Use up your fabric scraps and make easy to sew fabric eggs for Easter.

I used a pattern from Retro Mama here.  
It’s a great way to use some scraps, each egg is only 4 small pieces of fabric.
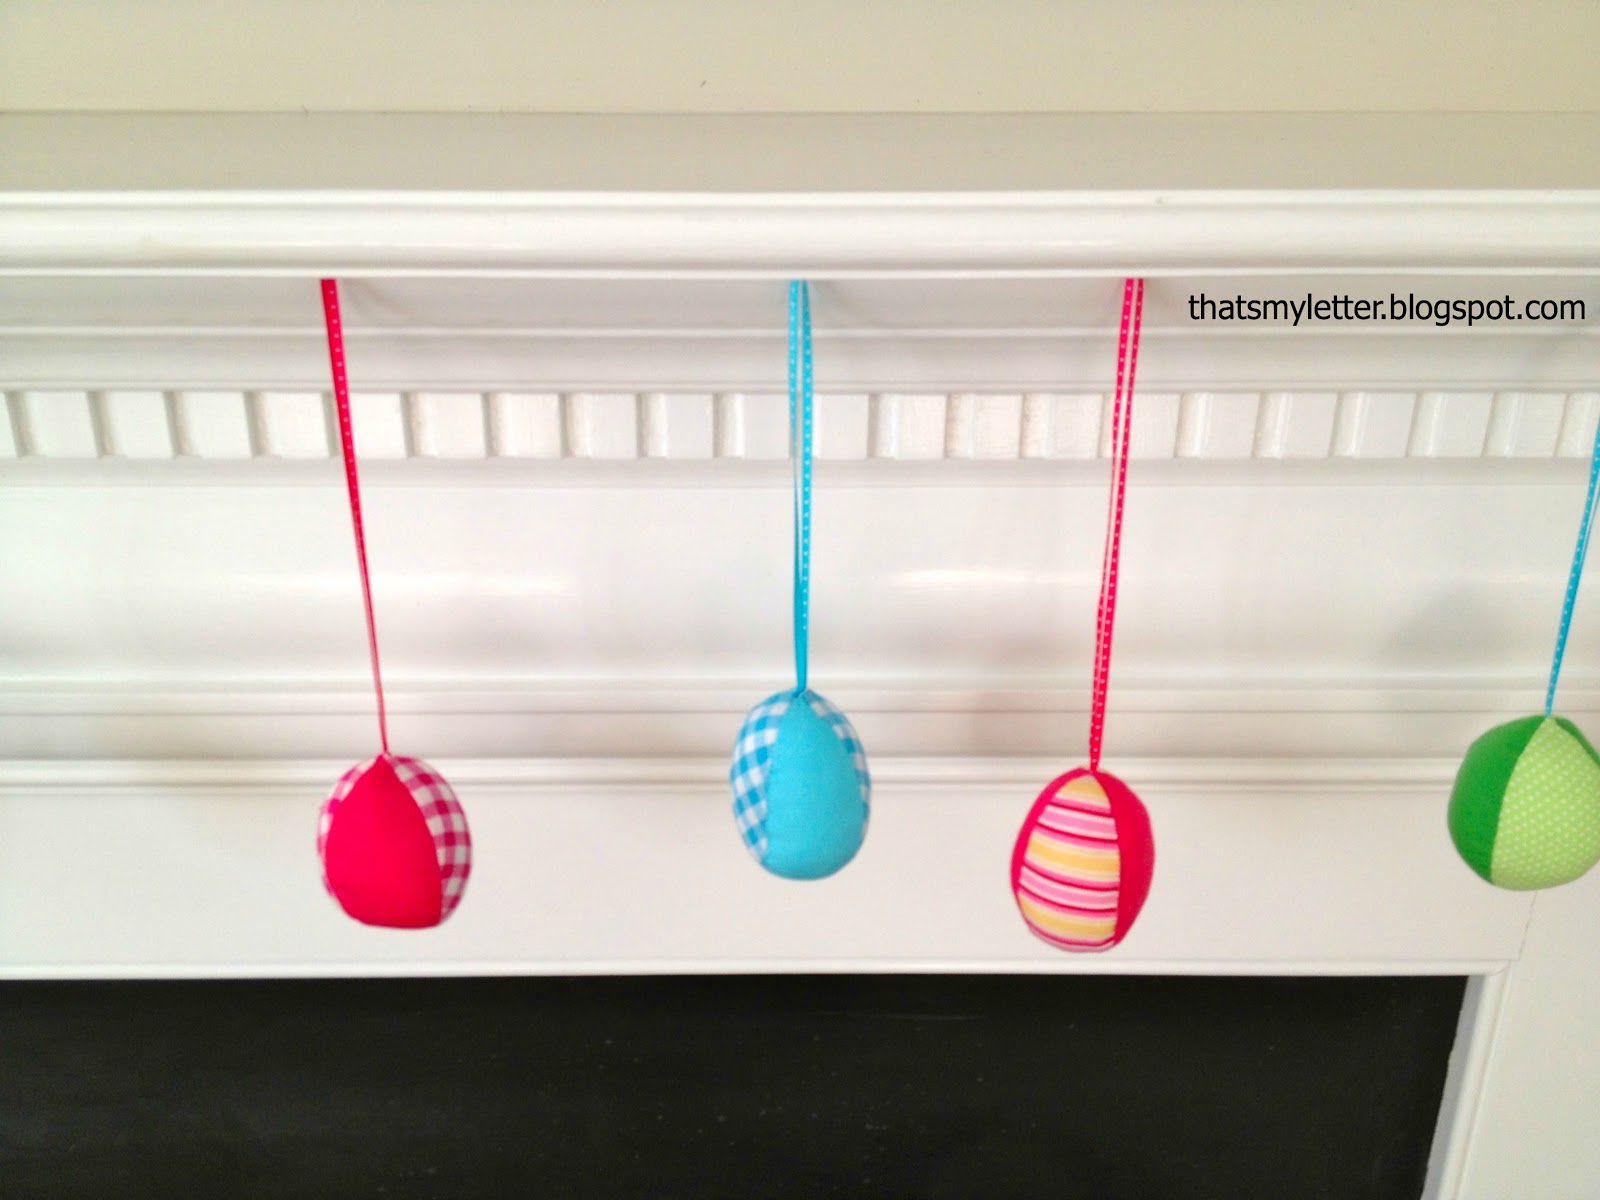
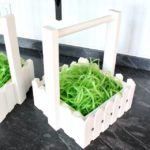
I hung the eggs with small embroidery straight pins hammered into the underside of the mantel:
Here’s how to make the fabric eggs:

1. Go to Retro Mama and download the free egg pattern.
Then cut your pieces.
2. Sew all 4 pieces together at side seams, leave an opening for turning out and stuffing:

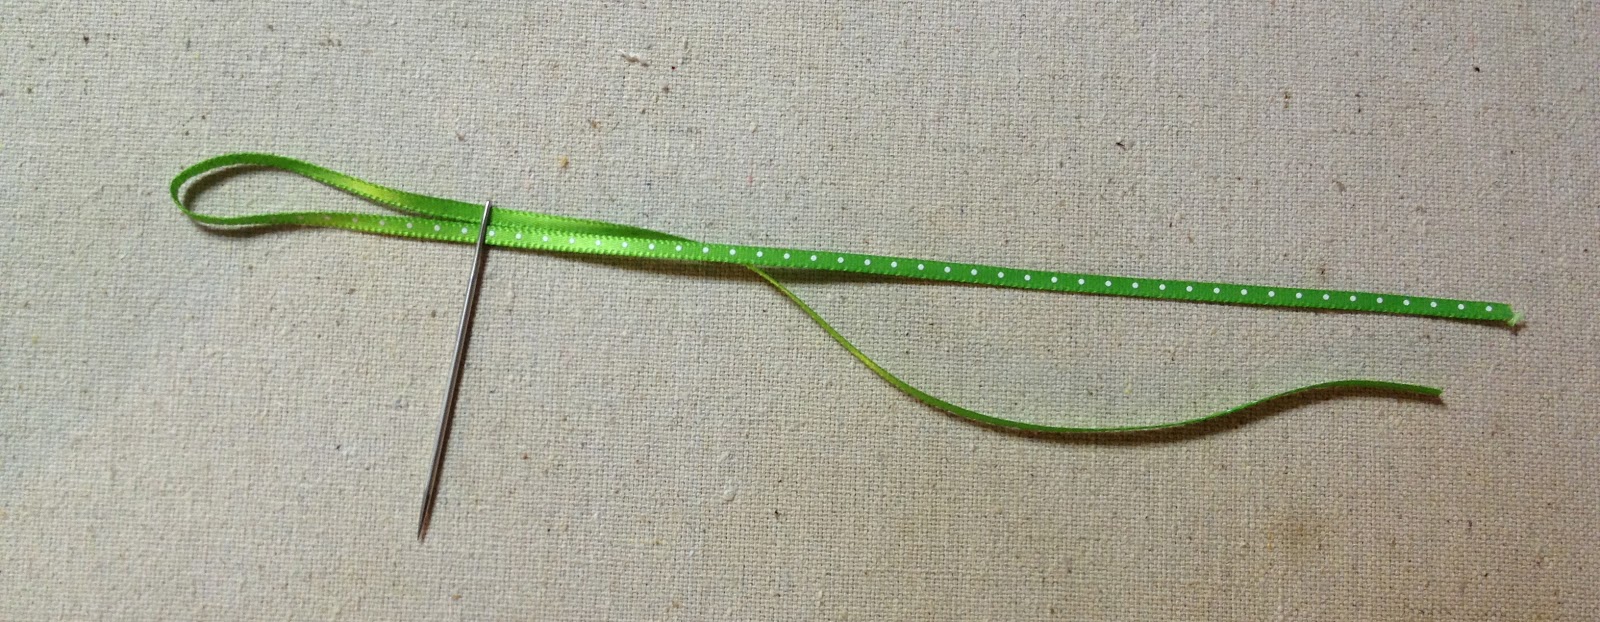
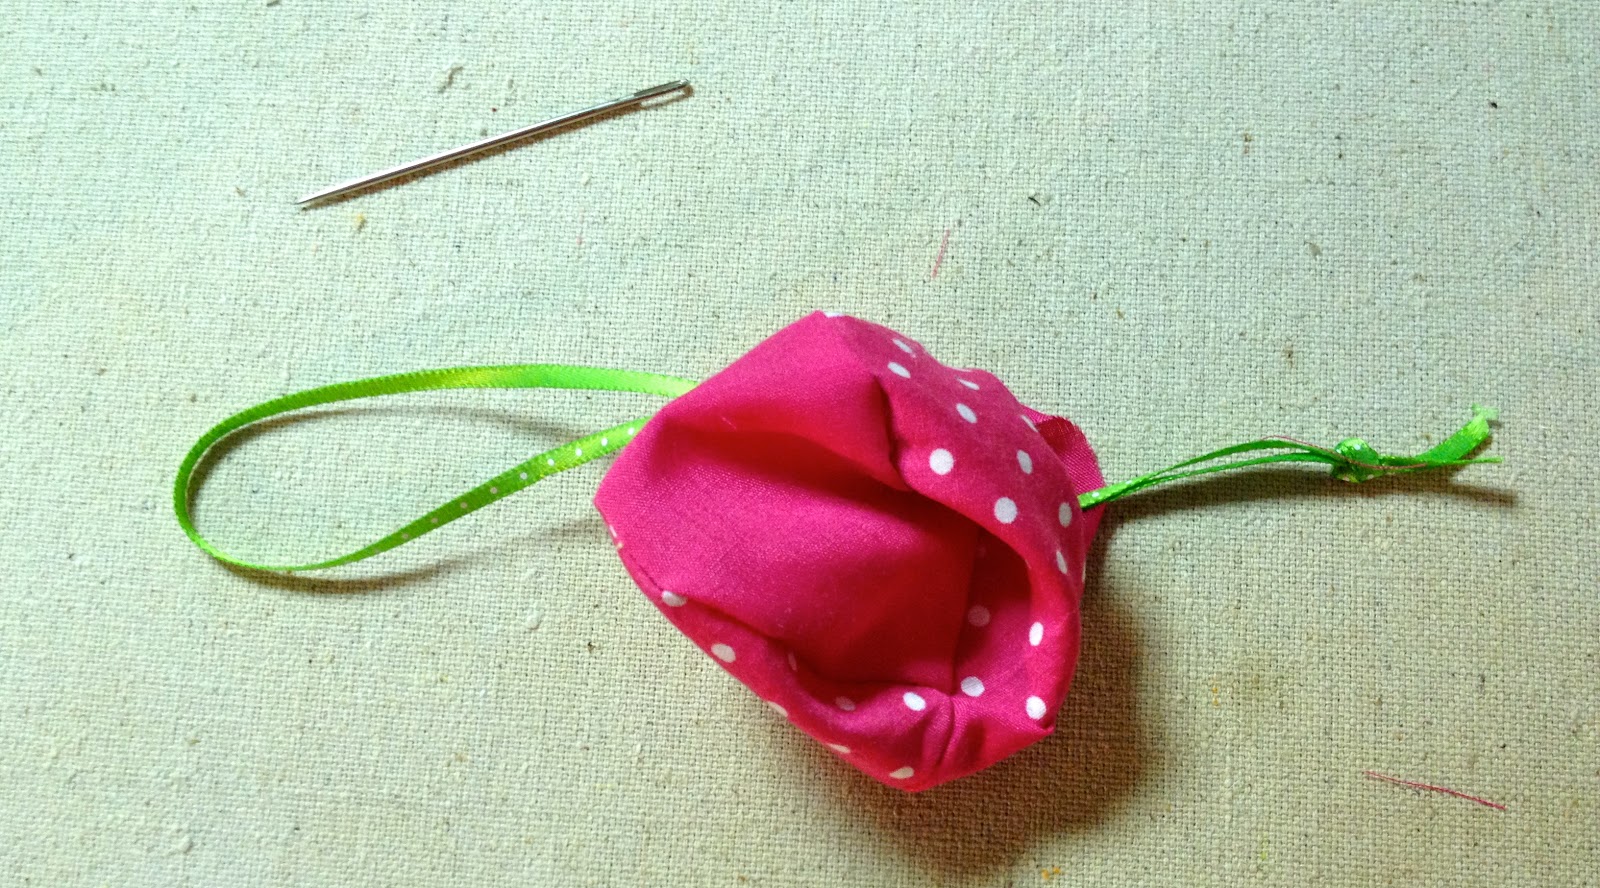
3. Turn right side out and prepare your ribbon hanger.
Using a large needle thread the loop end of the ribbon through the needle:
4. Pierce the needle down through the egg top and into the cavity, be sure to keep loop portion of ribbon on exterior of egg only pulling through the loose ribbon ends.
Take off the needle and tie a knot in the ribbon:

5. Fill with polyfil stuffing and slip stitch opening closed:

You may also like...

  • Cross Stitch Monogram Ornament PlacecardCross Stitch Monogram Ornament Placecard
  • DIY Fence Style Easter Basket Free PlansDIY Fence Style Easter Basket Free Plans
  • DIY Chocolate Easter BasketDIY Chocolate Easter Basket
  • DIY Bunny Place CardsDIY Bunny Place Cards
Share this post:

Filed Under: CRAFTS, DIY, HOME DECOR, HOME DECOR, SEASONAL, SEW, SEWING, SPRING4 Comments

Reader Interactions

Comments

  1. Jessica at Me Sew Crazy says

    March 15, 2013 at 3:40 PM

    Love this!!!

    Reply
  2. Lauree Hawes says

    March 15, 2013 at 6:06 PM

    Very cute!!!

    Reply
  3. Holly and Sean says

    March 16, 2013 at 3:15 PM

    This is super cute Jaime! I sooooo wish I had even a little skill with a thread and needle because I would be whipping these out like mad. I bet mine would look like misshapen lumps LOL.

    Thanks so much for sharing and linking in my party this week!!
    Holly

    Reply
  4. DaiseyJayne.com says

    March 19, 2013 at 10:55 PM

    Okay, love these! Gotta give them a go 🙂

    Reply

Leave a Reply Cancel reply

Your email address will not be published. Required fields are marked *

Primary Sidebar

Hi! I’m Jaime

Jaime Costiglio

Hello!

Thank you for stopping by.
Join me for lots of DIY.

Read more

Get new posts via email

Handbuilt Holiday: Gift Project Plans

handbuilt holiday gift project plans

Collection of DIY gift project plans to build.

The Home Depot Tool Prospective

THD Prospective

Tools to consider for the DIYer.

Archives

The Home Depot Logo
Copyright © 2023 Jaime Costiglio · Custom site by Moonsteam Design

Privacy Policy