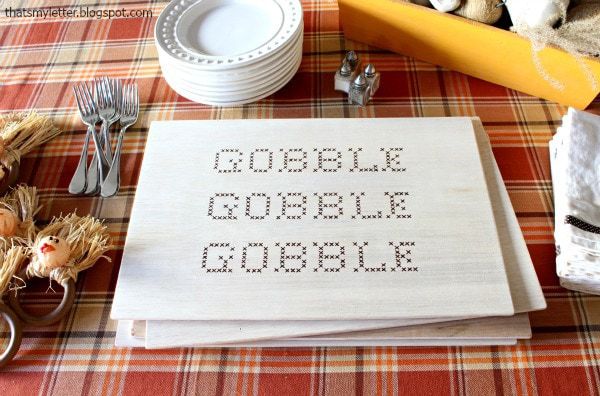
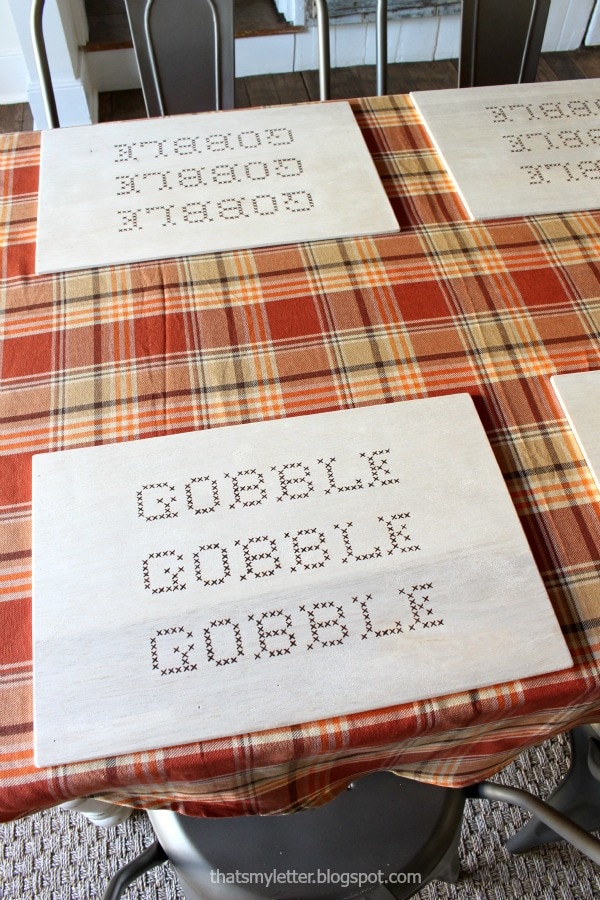
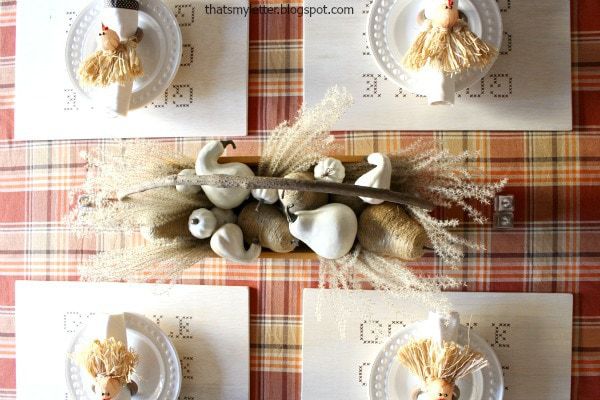
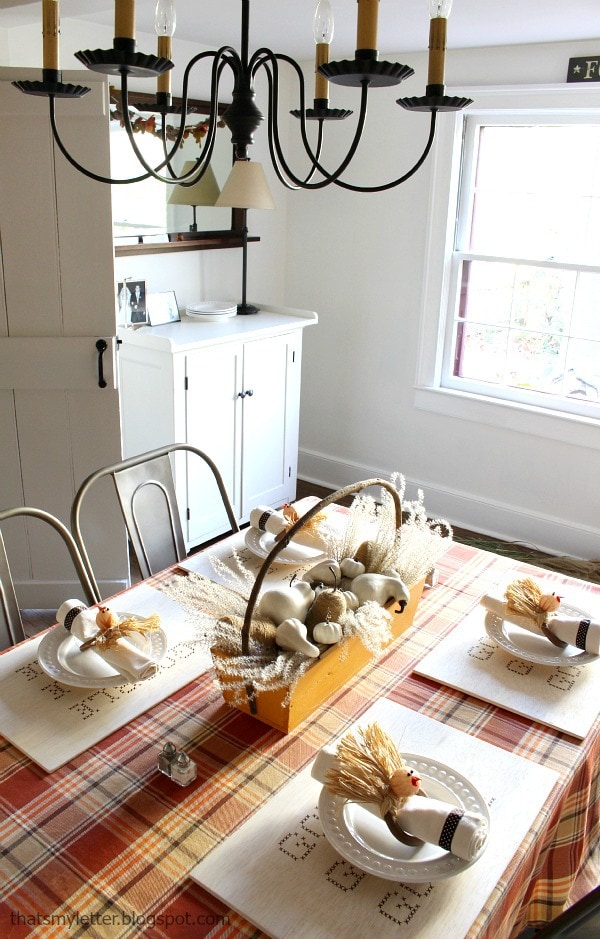
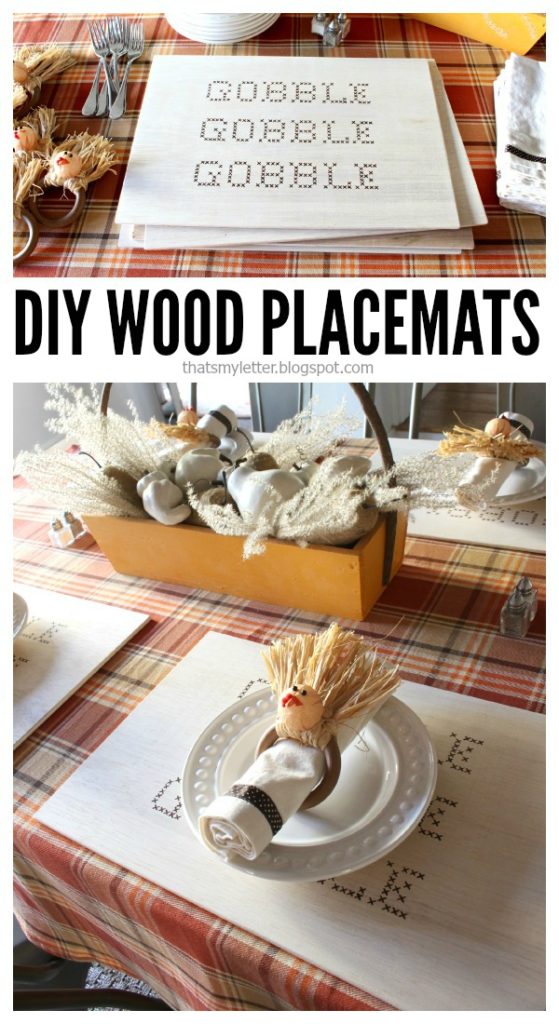
There’s still plenty of time to get your Thanksgiving table in order and today I’m sharing a fun placemat idea made with plywood. Grab a few scrap pieces and paint the words ‘Gobble, Gobble, Gobble’ for a quirky Thanksgiving placemat. Wood placemats are a simple way to ground the table and give each person a designated place to enjoy their meal.
A DIY tutorial to make wood gobble placemats for Thanksgiving. Treat your guests with an unexpected fun wood placemat at your holiday table.
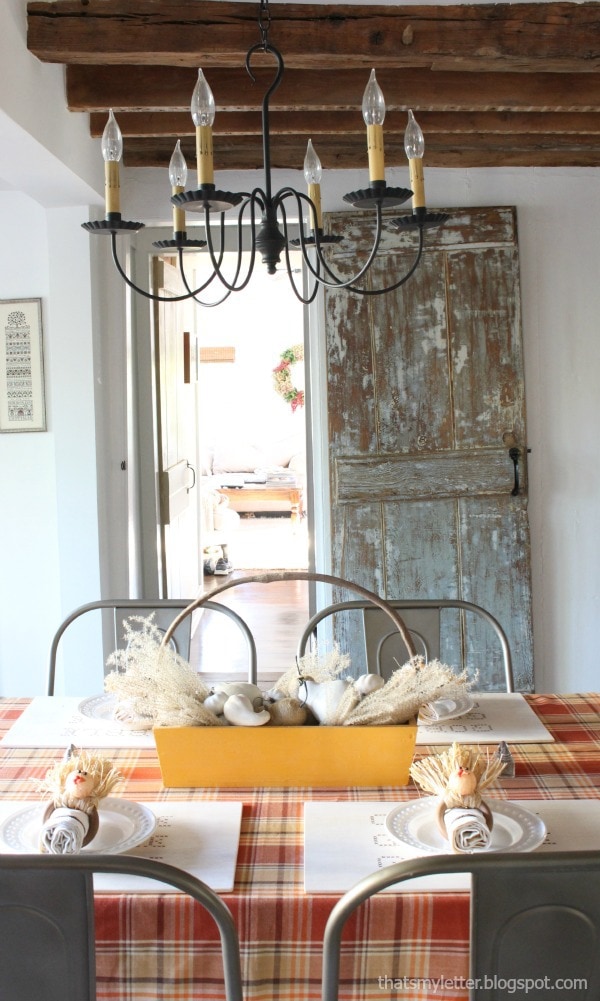
Thanksgiving is filled with family and food and more food. I know you’ll probably be spending a good amount of time at the table so why not add some fun decor? A turkey themed table seems fitting so I made these wood placemats with the words gobble repeated all in good fun.
Wood Placemats Costs
This is a very inexpensive project. To make four wood placemats I used one 2′ x 4′ – 1/4″ plywood handy panel which costs about $15.
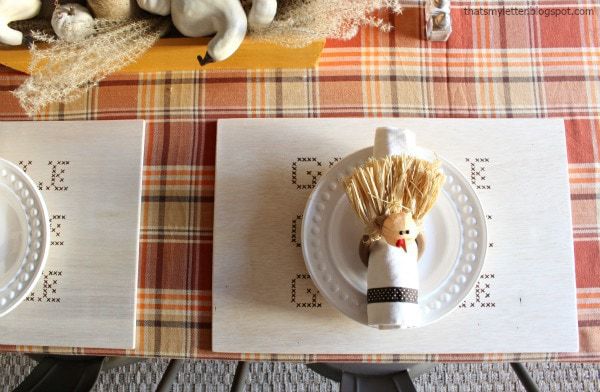
The wood placemats are a great alternative to traditional fabric placemats. And when layered on top of a cloth tablecloth they add a natural texture and touch of stability to the table.
Handpainted
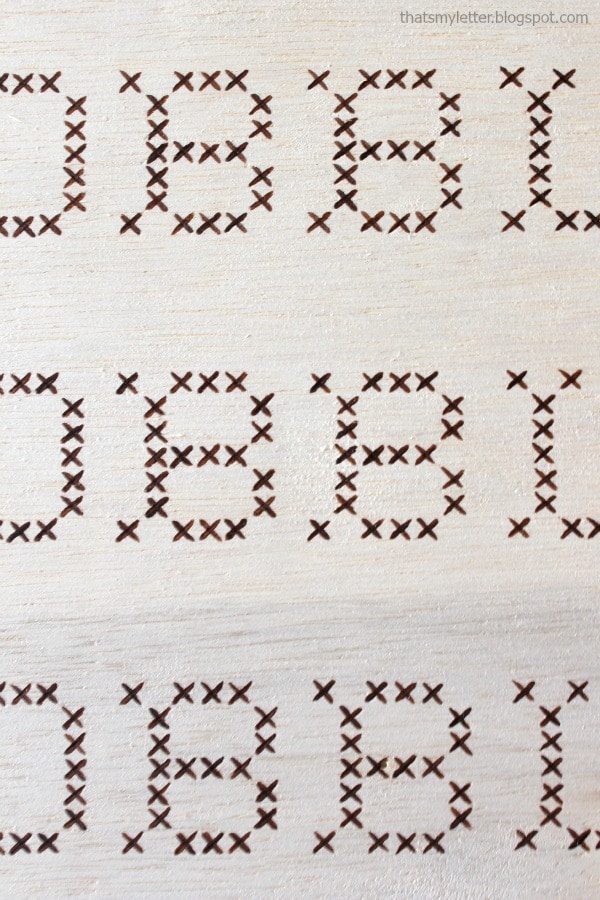
To create the gobble words I choose to handpaint all the x’s but you could use a paint pen. I don’t think they need to be perfect. In fact I like that each x looks different and natural.
Down below I’m sharing the step by step instructions to make these wood placemats. Be sure to read through my tips and progress pictures before you begin.
Supplies:
- 1 – 2′ x 4′ 1/4″ plywood handy panel (cut into 4 pieces @ 12″ x 18″)
- ballpoint pen
- ‘gobble’ print out (link to free PDF file here)
- small paint brush
- brown acrylic craft paint
- clear satin polyurethane
- foam roller
- 220 grit sandpaper
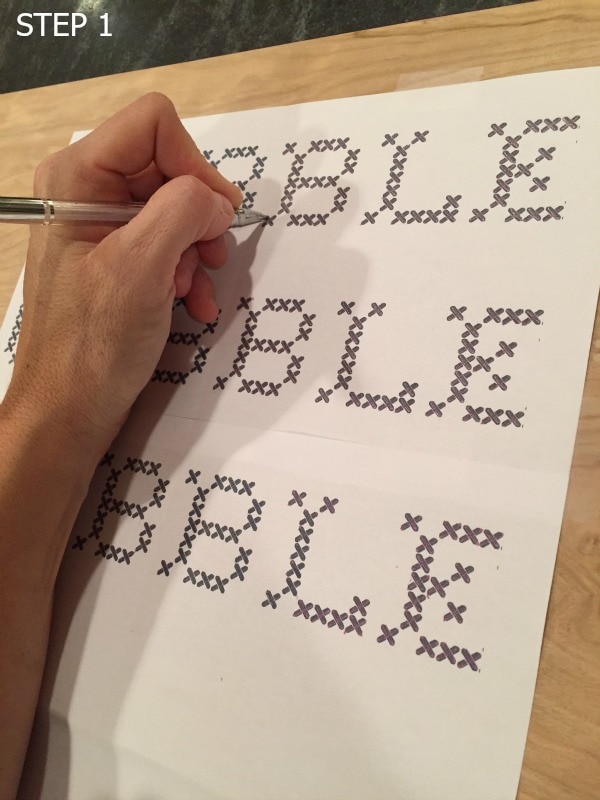
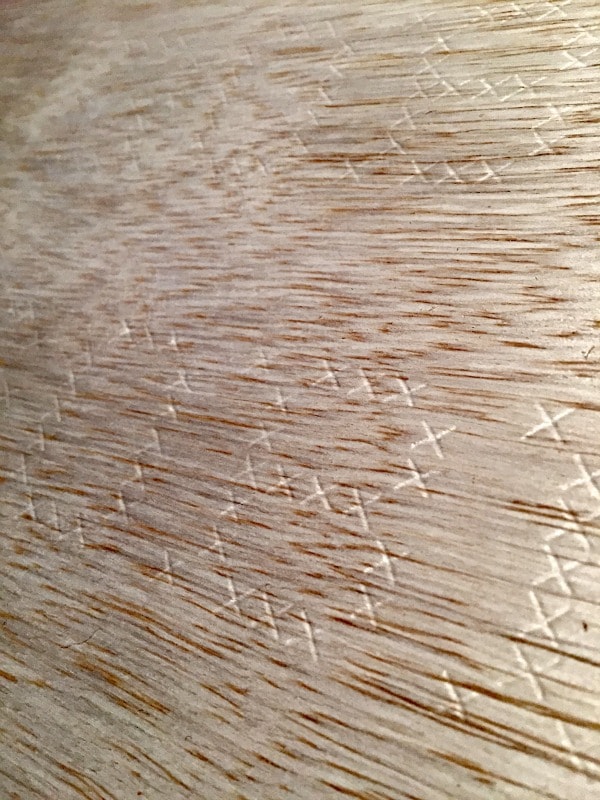
Step 1: Printout the gobble lettering using my pattern here. Tape the printout pieces together so all three ‘gobbles’ line up. Center the printout on the wood placemats and trace the x’s using a ballpoint pen with lots of pressure.
Above is the result from tracing the printout. The ballpoint pen leaves an indent in the wood and this is your pattern to follow.
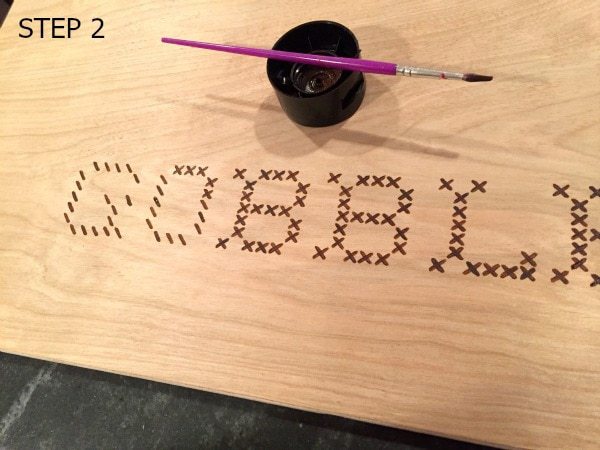
Step 2: Using a small paintbrush and brown acrylic craft paint over the indents to create the lettering.
Step 3: Once dry seal the wood with clear satin polyurethane at least two coats sanding in between.
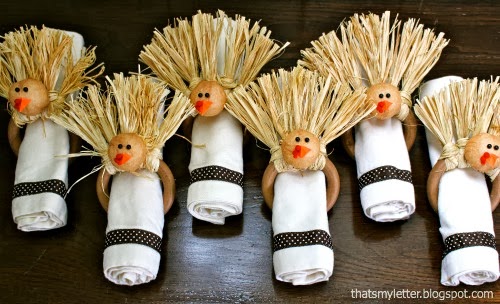
The turkey napkin rings are actually repurposed curtain rings and you can see the full tutorial here:
Thanks for joining me for these handpainted wood placemats. Please leave any questions in the comments below and be sure to follow me on social media for sneak peeks, tools and project inspiration:
Instagram / Pinterest / Facebook / Youtube / Twitter
SHOP THIS PROJECT:

I love these! I am going to try doing it with my wood burning tool.
So cute! And so smart – $7 for all the placemats? So awesome. Pinning!
These are too cool – love the homespun look of the letters.