Who doesn’t like pie? Well not everyone but even if you don’t like pie I guarantee you’ll love this countertop pie safe. And what better time to make a pie safe than during the holidays when pie consumption is at an all time high! It’s another Handbuilt Holiday gift project idea from Ana White and I just in time for your holiday gift giving.
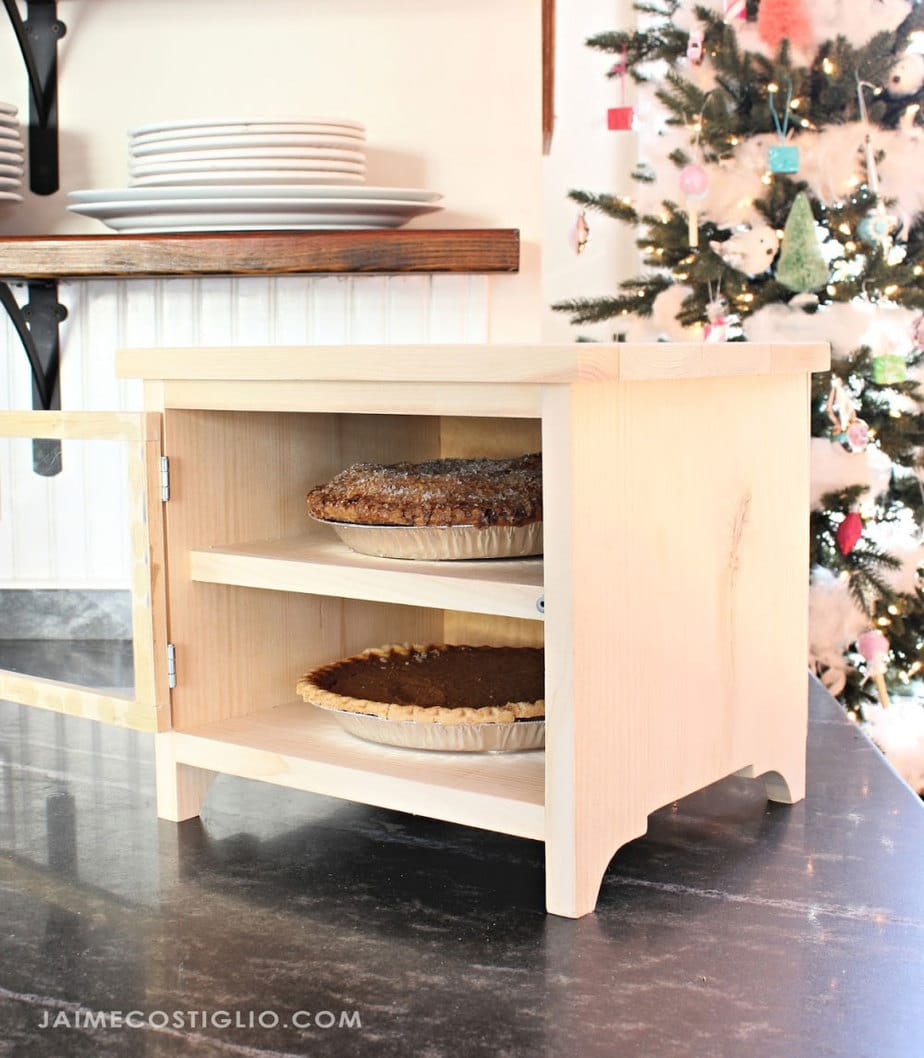
A DIY tutorial to build a countertop pie safe. Make this cute DIY pie safe perfectly sized for the countertop complete with plexiglass door.
There’s something about the nostalgia of pie that brings out all the yummy feelings. It’s one of those timeless desserts that’s been around for centuries. And the idea of a pie safe is definitely not something new. But this version designed by Ana White is every bit as modern as it is a nod to more primitive times.
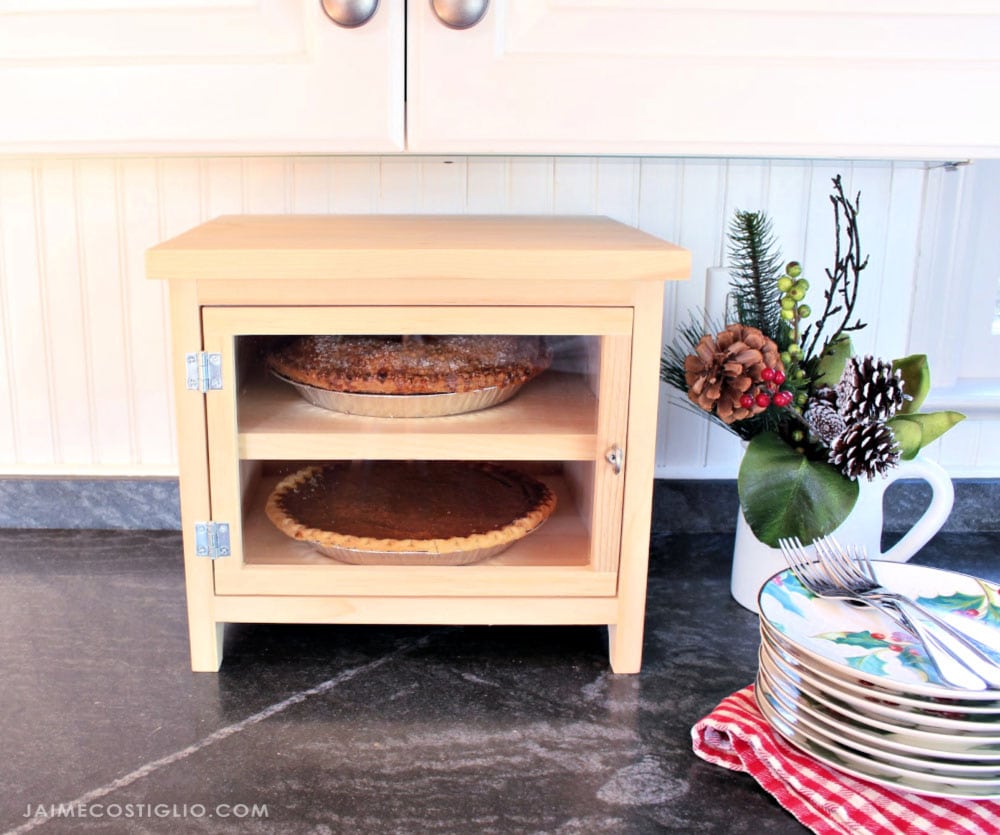
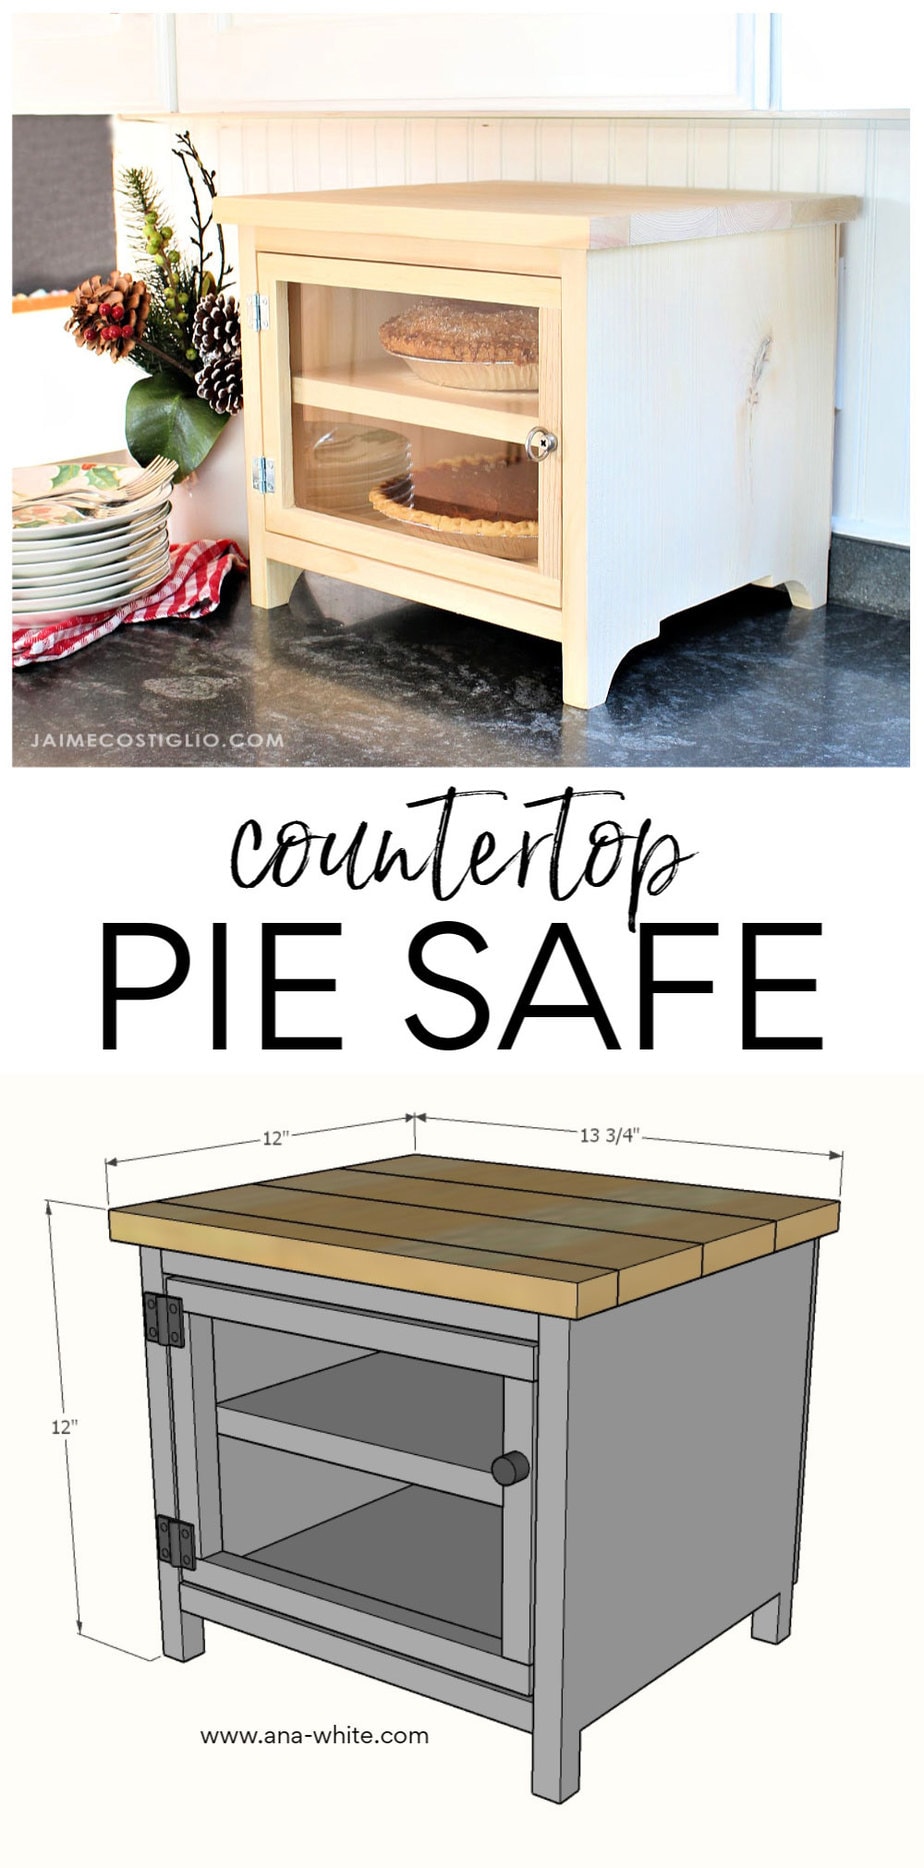
Pie Safe Features:
- safe and secure storage for baked goods
- clear plexiglass window for viewing items inside
- sized for countertop
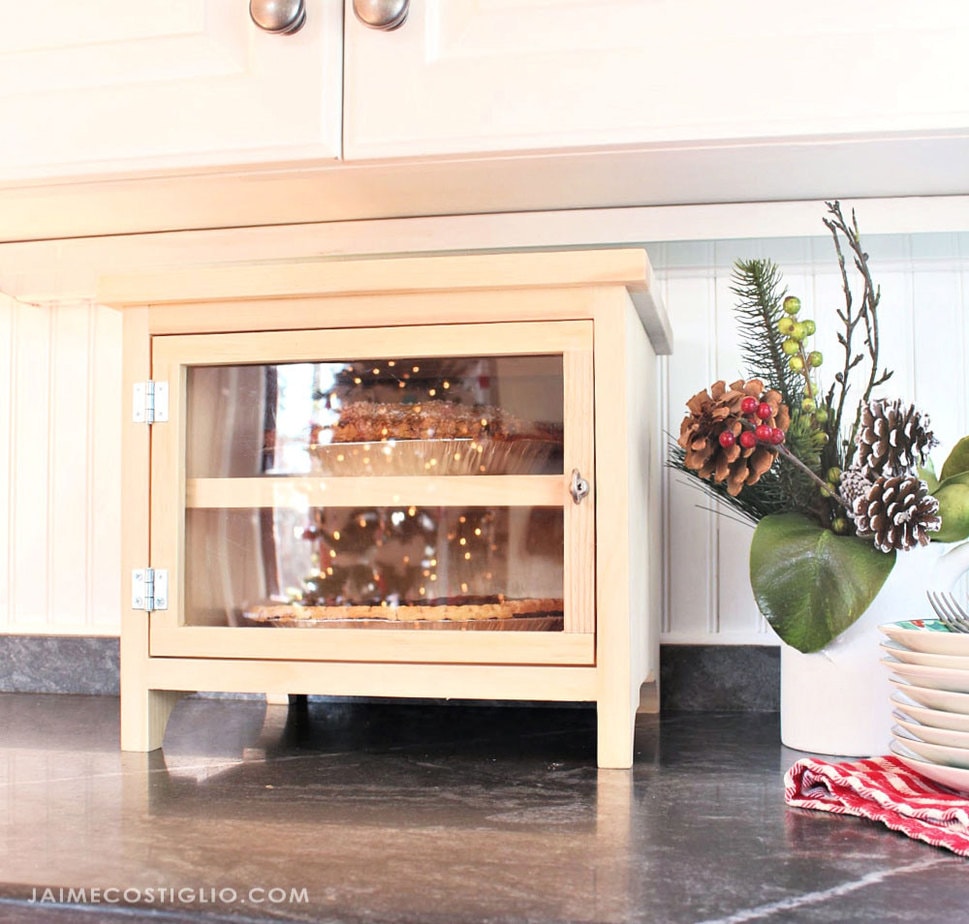
- fits perfectly under wall cabinets
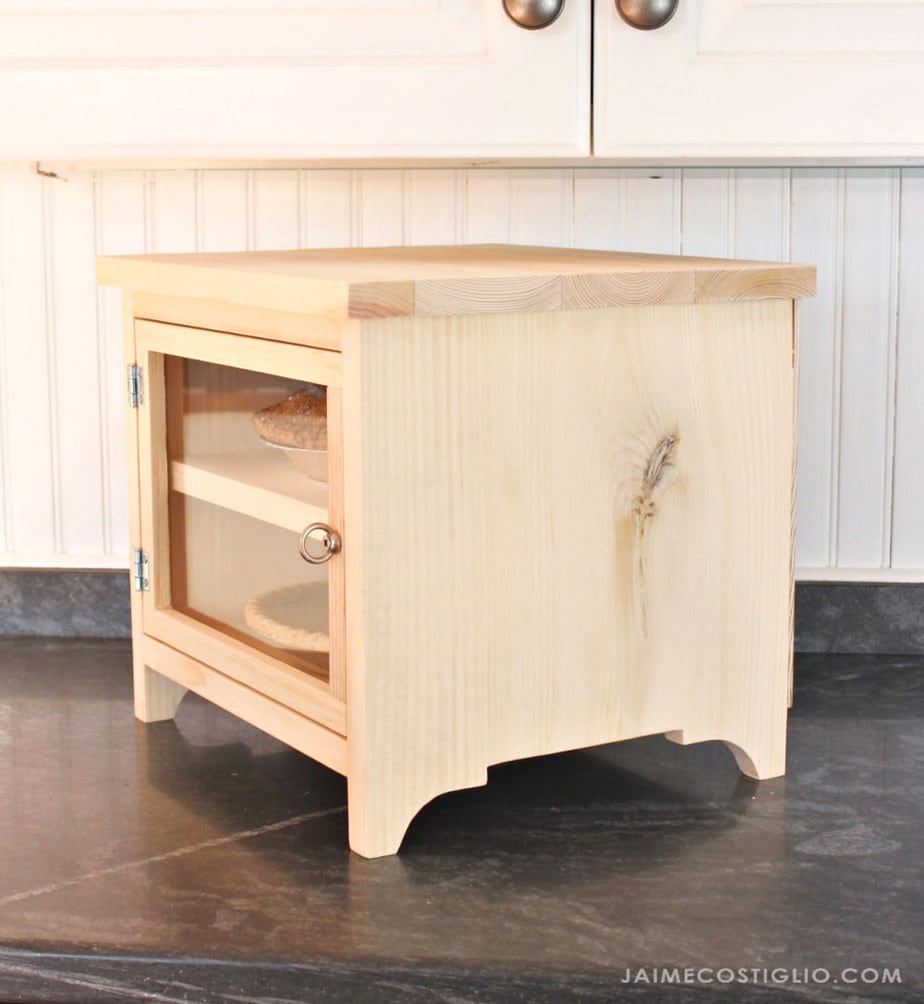
I absolutely love the idea of a pie safe mostly because it provides a beautiful display case for what’s inside. But the pie safe is also meant to keep dust, bugs and other airborne germs out of the pies. It elevates the pie status and provides a secure home. No more sticking the pie in the microwave for storage 😉 (or am I the only one who does that?).
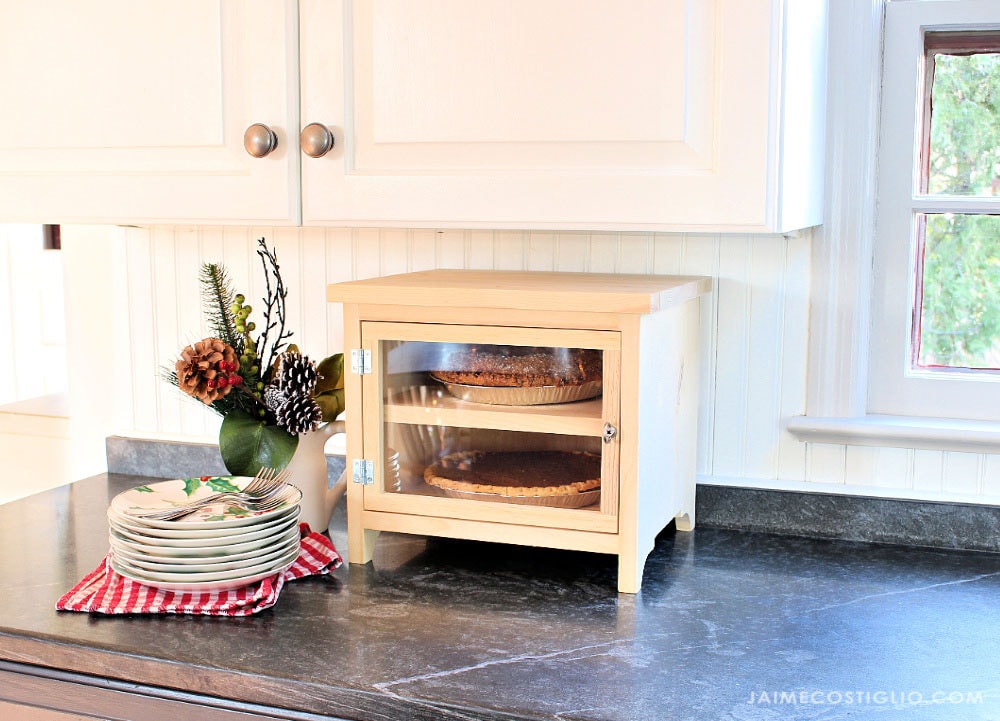
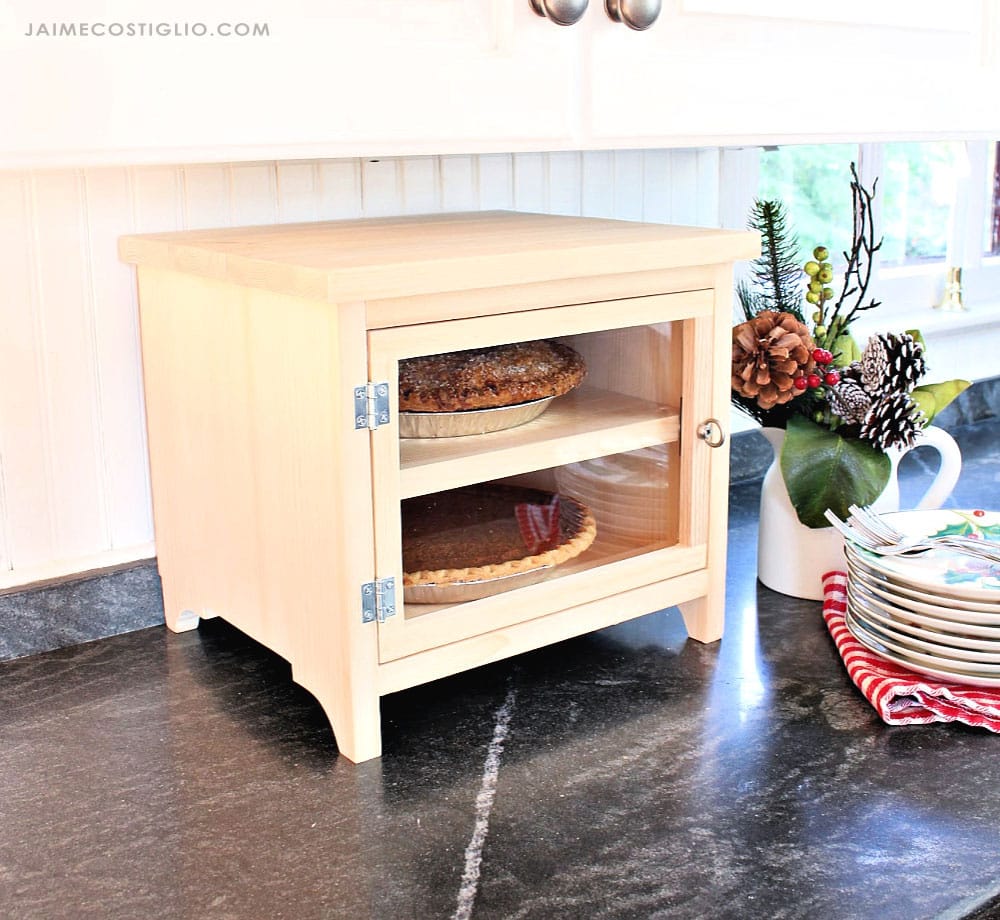
Ana designed the plans to fit two 9″ pies with plenty of room to spare. The shelves are generously proportioned so even if you have a tall pie that’s filled to the max you could still fit it in the pie safe.
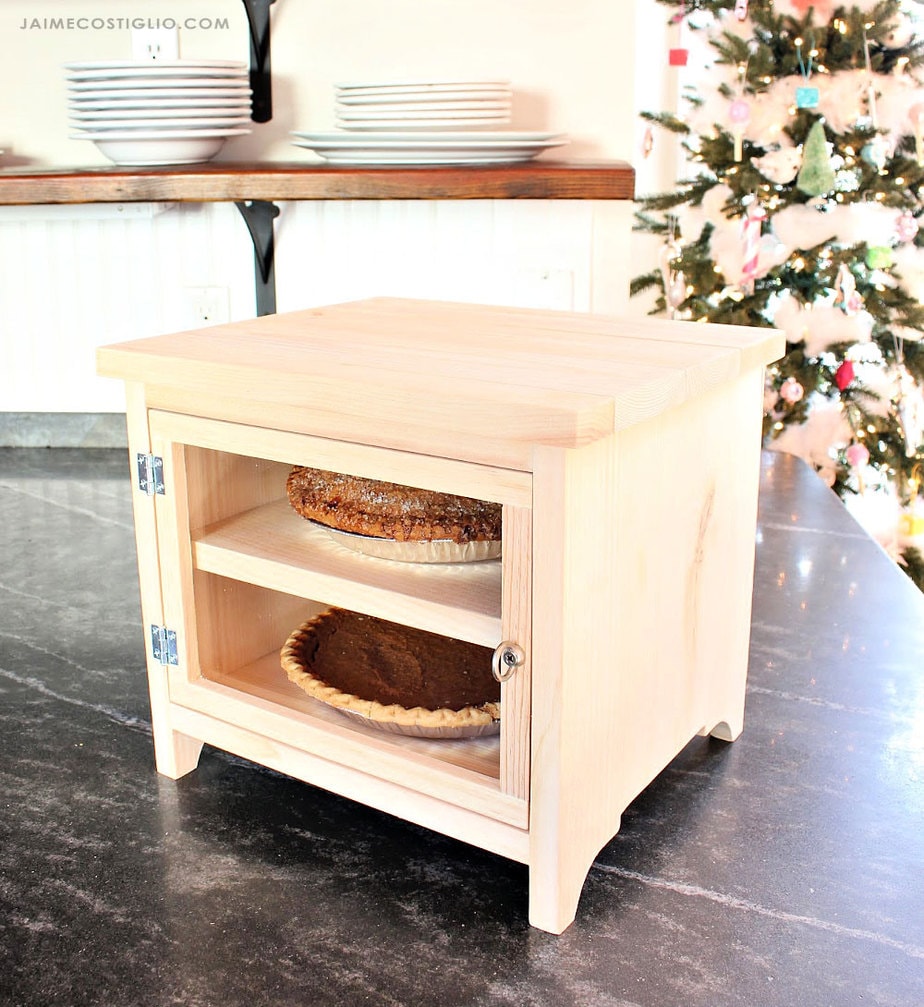
Finishing Touches:
- add a fancy detail on the side trim
- planked top for additional storage
- off the shelf plexiglass
- recommend clear satin poly finish to seal the pine
If you follow me on Instagram I shared the building process in my stories. Truth be told I built this pie safe completely from scrap wood in my stash. That may be an indicator of a wood hoarder problem but this is proof of why I keep all the scrap pieces!
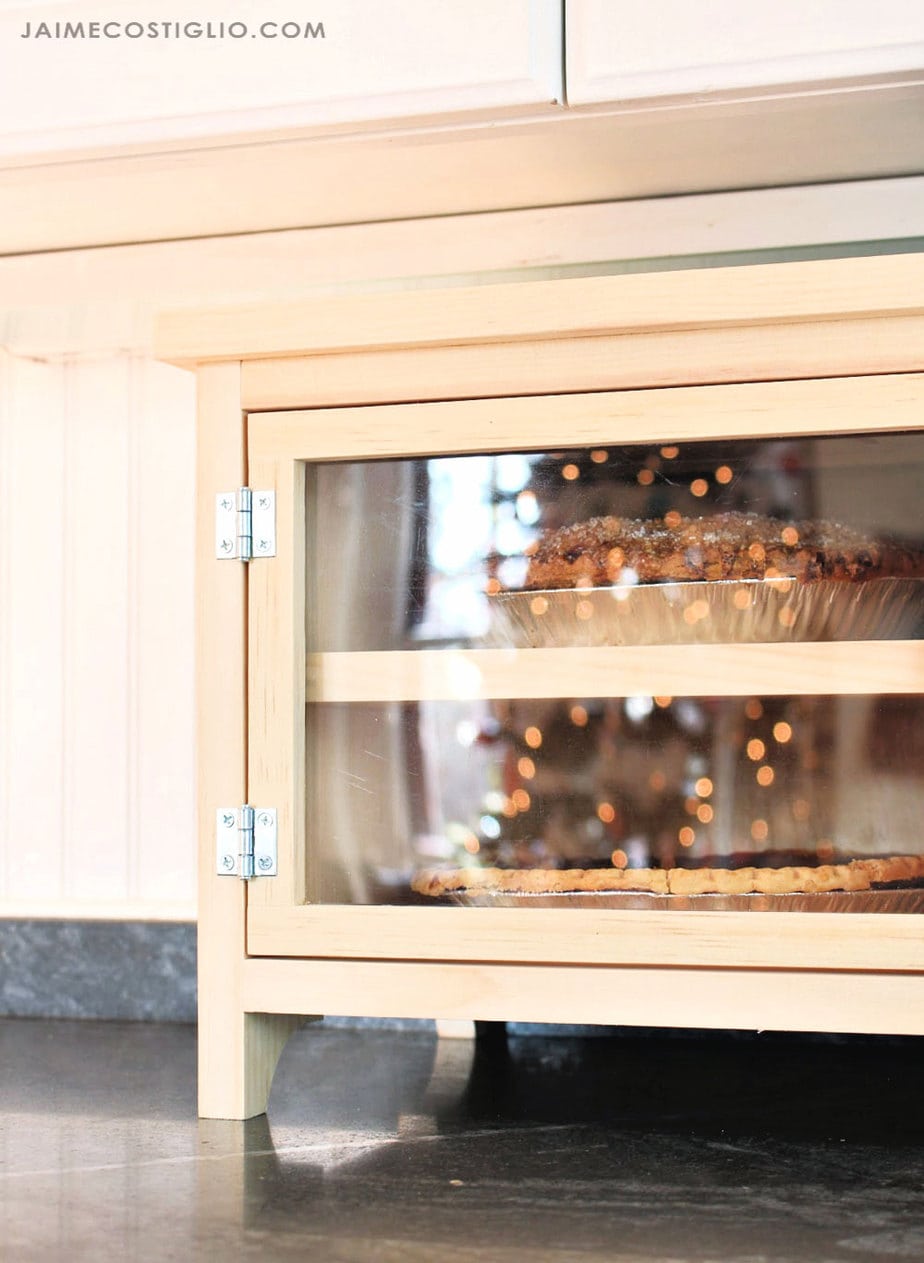
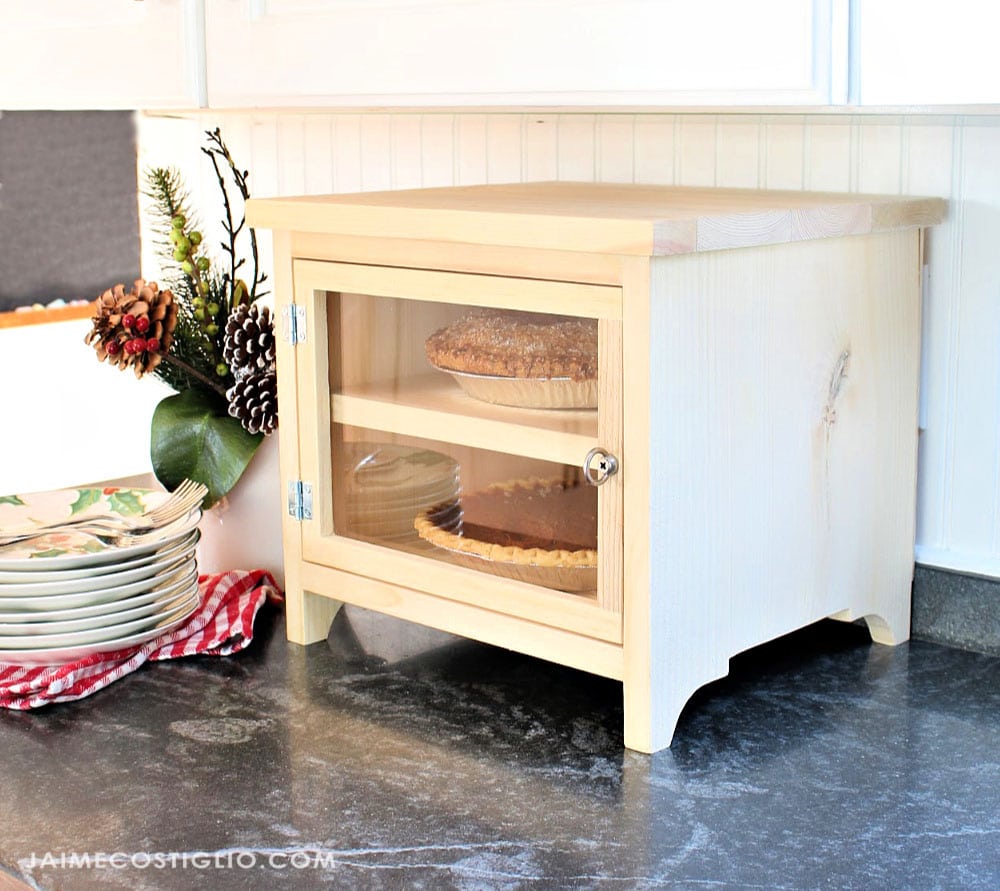
Ana is truly a genius with plan designs and made this pie safe simple and easy to construct. Click here to get the complete plans. I opted to add a little trim detail on the sides just to fancy it up a bit. And of course you could paint or stain this cutie pie safe to finish it however you like!
Supplies:
- lumber per Ana’s plans
- 2 – 1″ hinges
- small knob or pull
- 8 x 10 plexiglass
- super glue gel
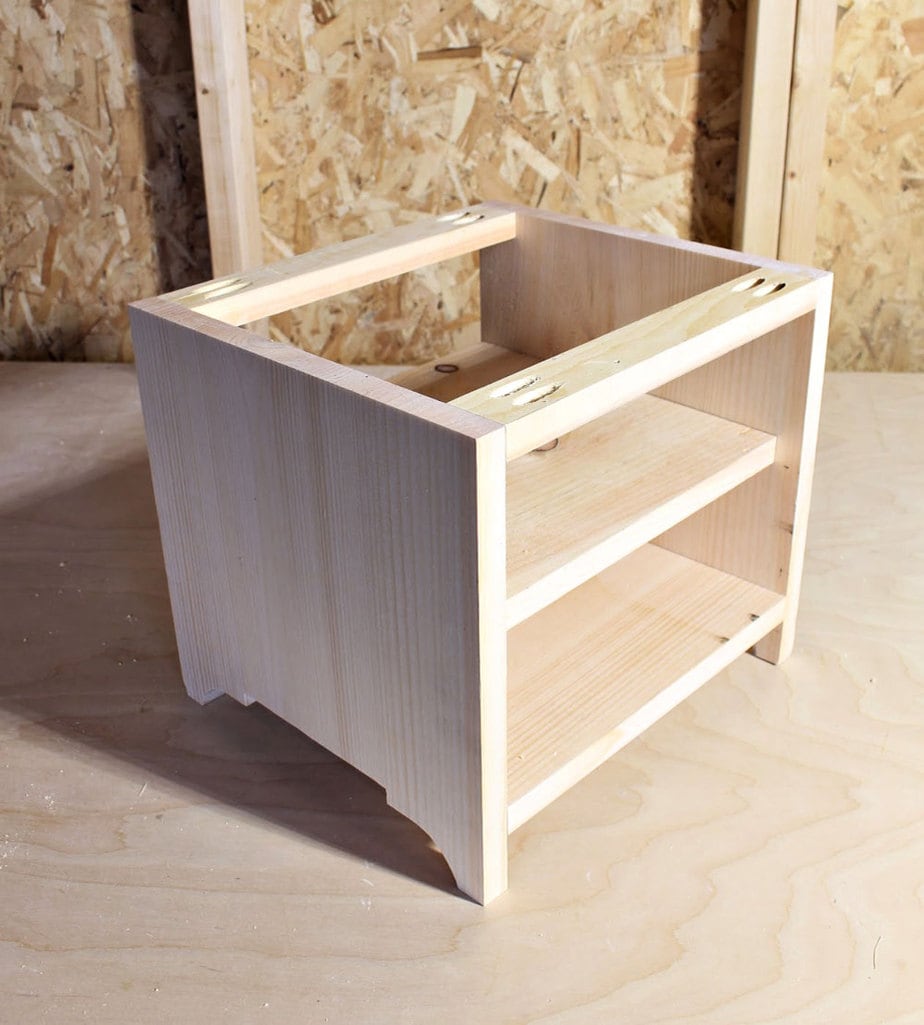
Before you construct the box shell be sure to cut out the trim portion on the sides if desired. A simple straight leg is great but curved is fun too. Just keep the cut out portion no higher than 1 1/2″.
I opted to build the box using pocket holes. It may be a little overboard considering pies aren’t very heavy but it’s secure and sturdy. You can definitely make this with just wood glue and brad nails as well.
Thanks for joining me for this countertop pie safe project. Please leave any questions in the comments below and be sure to follow me on social media for sneak peeks, tools and project inspiration:
Instagram / Pinterest / Facebook / Youtube / Twitter
SHOP THIS PROJECT:




Oh my gosh, this is so cute! Of course, making one will only encourage me to bake more pies. I need to make one of these for myself for Christmas! Thanks!
Thanks Patricia, I feel the same – now that I have a pie safe I ‘have’ to make more pies! Enjoy the holidays!
I don’t need a pie safe but this is so freaking cute! I am trying to figure out what else I could use this for.
Thanks Colleen, someone suggested cookies (if you can find or make little trays that would be so cute!) or like a bread box?
love this …could of used many years ago for i had a cat that just loved pumpkin pie and would move it around till he got it off of the counter ,no madder what i put on the pie thinking he couldn’t move it….love it ….thank you very much…
Hi. Thanks for sharing the cute pie safe. I normally make full size pie safes, but love the plans for this. When you finish the project do you finish the inside or leave it natural.