*This post is sponsored by Kreg Tool Company / Build Something.
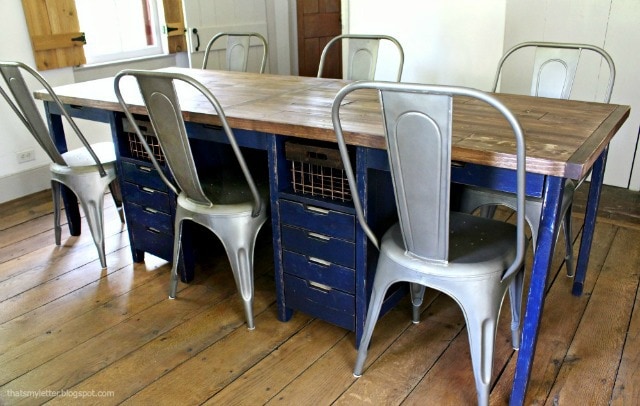
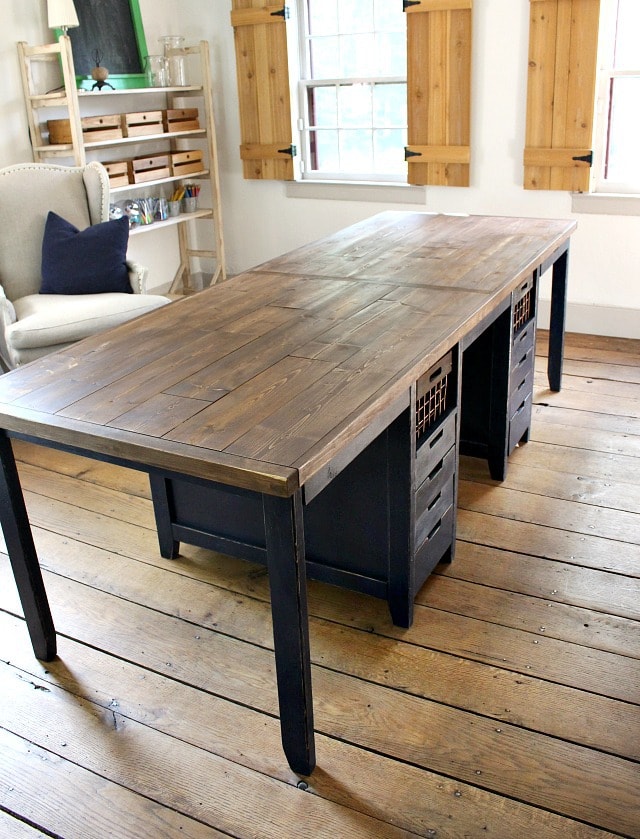
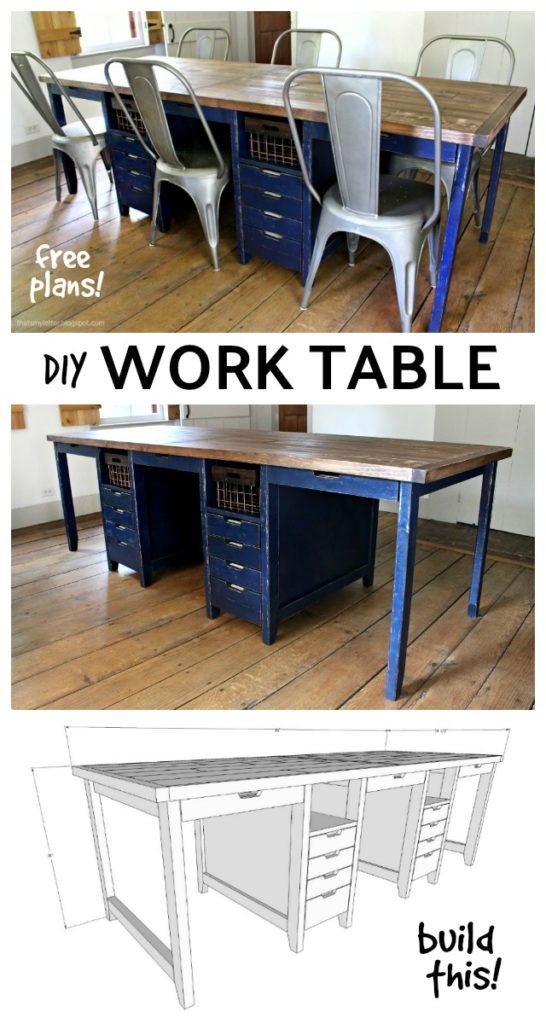
Ever dream up a piece of furniture for a space in your home by making a complete wish list of all the features? This multipurpose work table is one of those dream pieces.
In my mind it had to have a large work surface, storage below, and space for seating in order to double as extra dining space during holidays and parties and most importantly power!
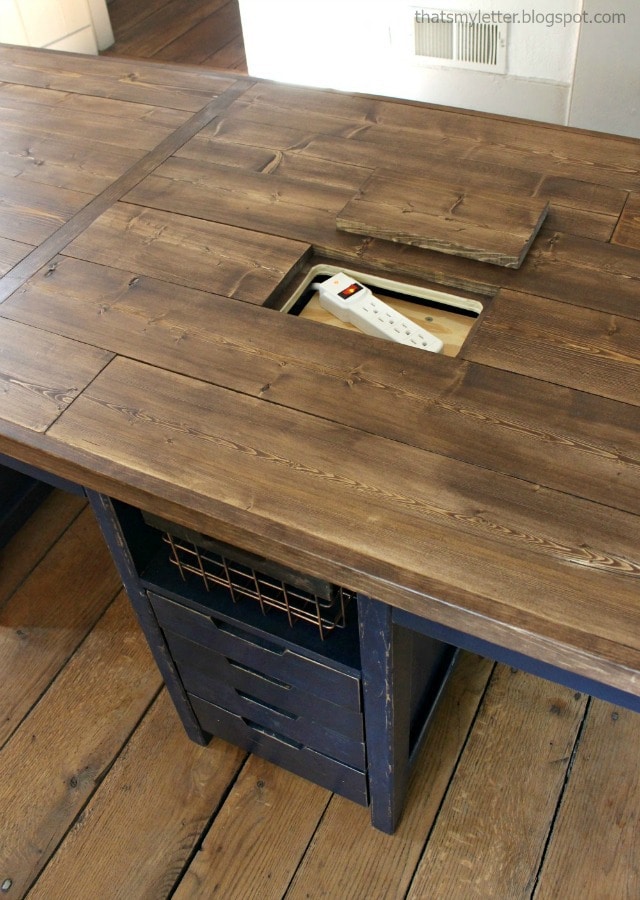
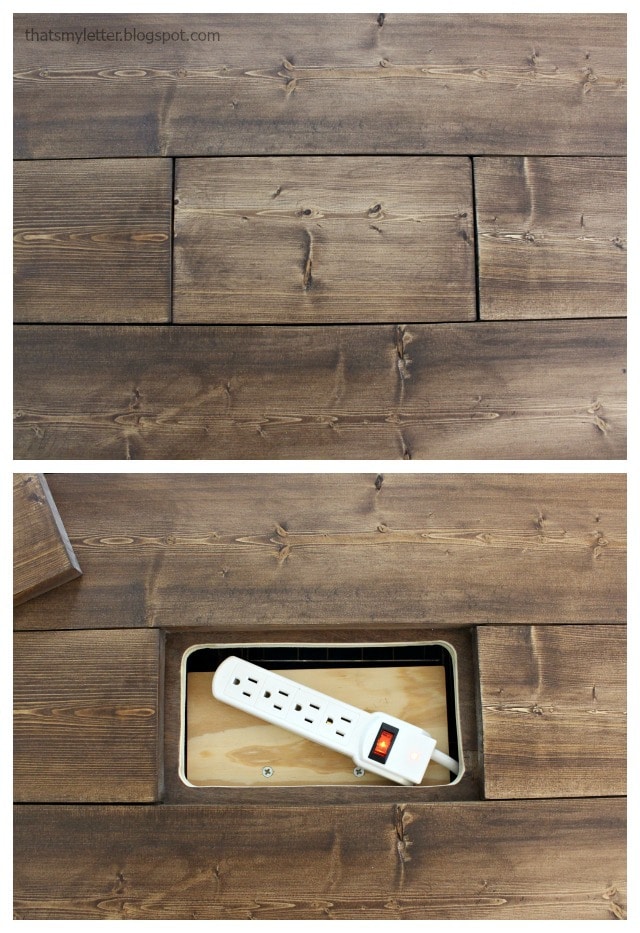
This table has power hidden in the surface. You know like a fancy conference room table except we’re in my 1740 antique home:
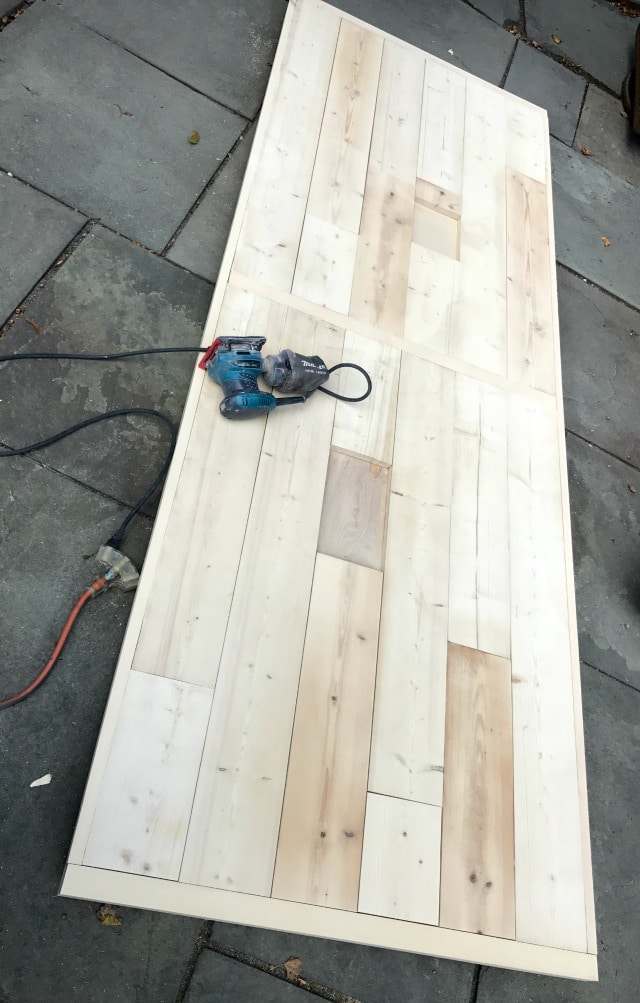
There are many options for adding power but I went with the simple and easy route by using a power strip. And it was all even easier because under those boards is a sheet of plywood! No biscuits or pocket holes in the top boards, they are screwed to the plywood from below with the exception of the two pieces where the power is hiding.
And you may be asking why I want power here – for all the project tools like vinyl cutting machine, glue gun, heat gun, etc.
It’s a little bit unconventional to have plywood under the boards and yes the table top is heavy but it allows for the hidden compartments and makes a very sturdy tabletop surface.
The power strip is mounted to a scrap piece of plywood which is screwed down to a piece of 2×2 attached to the shelf backs in the drawer units under the table. The power cord runs down between the drawer units and is attached to an extension cord which runs along the floor boards. The hidden power strip is optional but definitely worth considering depending on your use for the table.
I teamed up with Build Something to provide free plans here for this work table. Build Something is a great source for free step-by-step project plans for tons of DIY building projects. They have a large library of certified plans and plans submitted by woodoworkers and hoobyists. Definitely worth a visit if you’re looking for free plans in a wide variety of categories.
Be sure to read below for all my tips and insights on building this project before you begin.
*This post contains affiliate links.
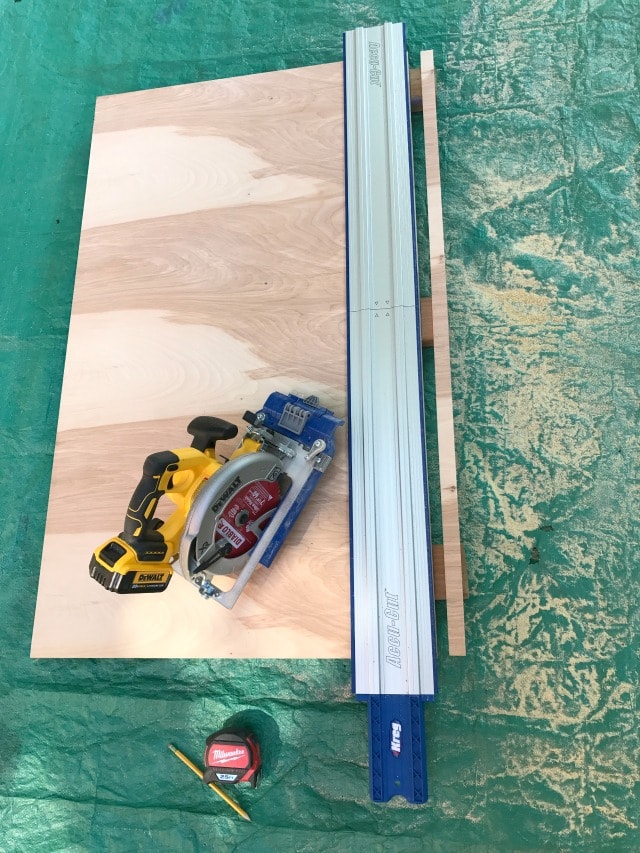
To build this table I used the Kreg Accu-Cut guide. It’s a fairly new tool that allows you to make a straight cut using the circular saw by keeping the saw in the track. Setting it up for the first time did take a good 30 minutes but like any new tool once it’s set up you’re ready to go.
The Accu-Cut has anti-slip strips on the bottom to prevent it from shifting but I still added the track clamps to ensure no wavering. I would also suggest always checking to be sure the saw base is secure to the sled.
For someone like me without a dedicated shop space every tool has to be mobile. My outdoor workspace is also 3 steps up from where I store my tools which would explain why I don’t have a table saw. If you don’t have a table saw or prefer not to use one the Accu-Cut is a wonderful solution.
I made the plans (specifically Work Table Top Step 1) with two pieces of plywood and a 2×2 in the middle but you could easily use one piece of plywood with a 1×2 middle divider. Funny how you don’t think of these things until AFTER the project is completed.
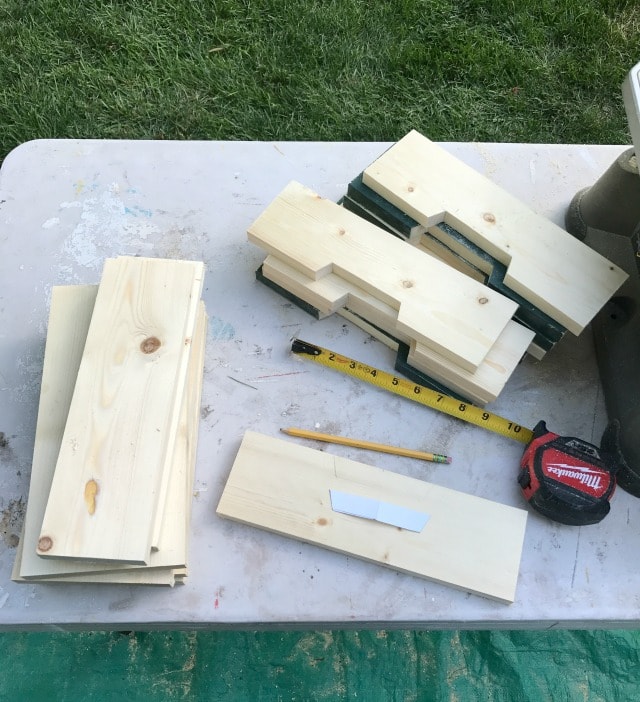
To avoid using drawer pull hardware I made cut out handles. Make a cardstock template then trace the shape onto each drawer front. Cut out the handle using a bandsaw, bladerunner or jig saw.
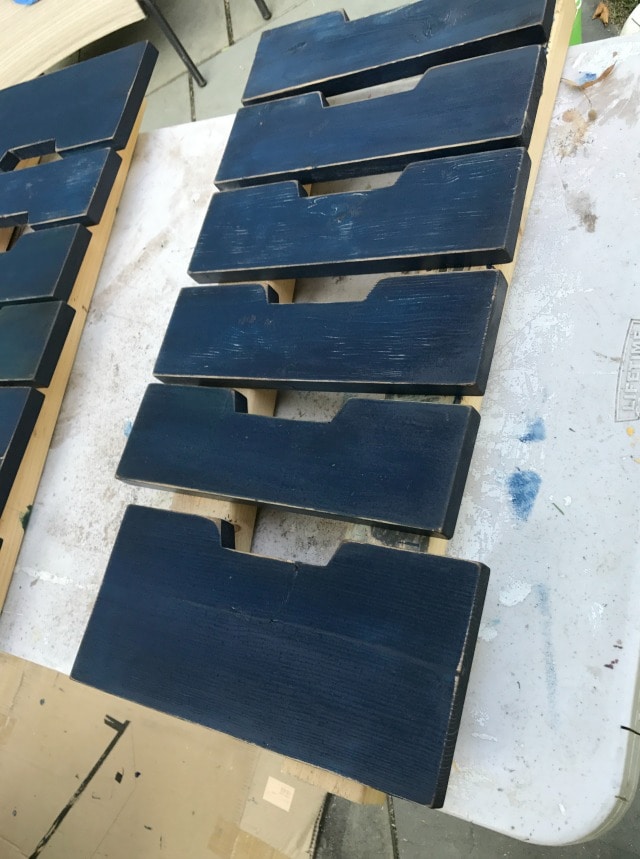
I prefer to paint the drawer fronts prior to attaching. I used Benjamin Moore old navy, sanded to distress then applied Minwax Special Walnut stain on top.
Normally I’m not a huge fan of bottom mount drawer glides. They are the cheapest and most flimsy of the drawer glide options BUT in this case the drawers are fairly small and won’t be carrying a heavy load plus this table has 22 drawers so it made sense to use the inexpensive bottom mount glides.
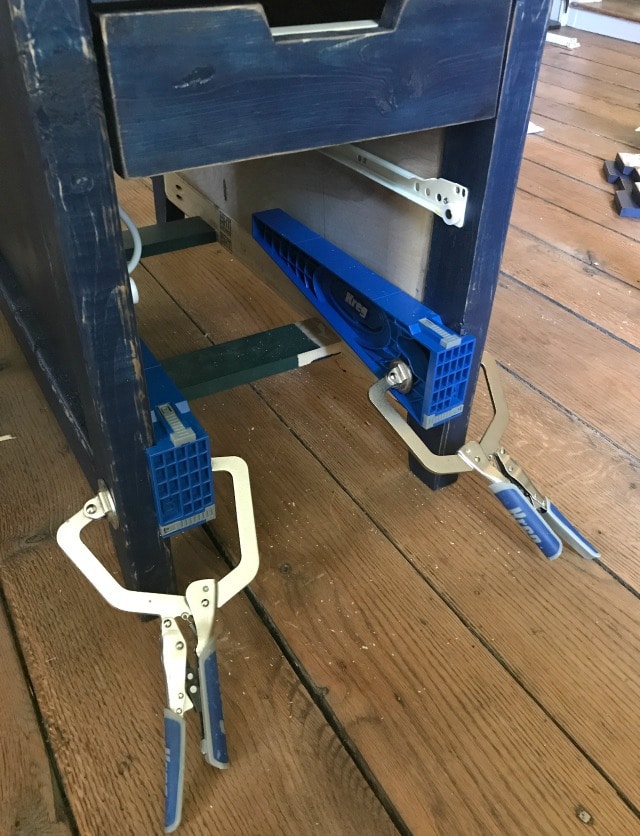
I do suggest using the Kreg Drawer Slide Jig when installing the drawer glides. Very simple to set up and use and they act as that third hand holding the glide perfectly horizontal while you screw in place.
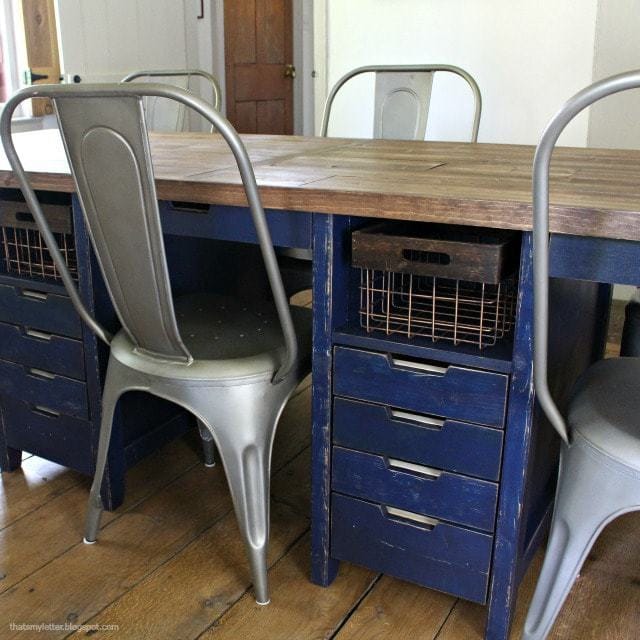
The table top is also finished in Minwax Special Walnut with two coats of wipe on satin poly. I opted for four drawers with an open shelf space above perfect for a wire basket. My orignial plan had two more drawers in the shelf space but I’m glad I changed it, having the basket breaks up the space.
I’m fully prepared for this multipurpose work table to get a lot of use and abuse by my kids because that’s why I built it. Having a large workspace with storage provides the opportunity for me and my kids to create all sorts of things. School starts in 10 days and we are ready!
SHOP THIS PROJECT:


This is amazing! Exactly what I'm looking for (with a few tweaks to fit my space) for my new office area. Thank you!
I'm thinking of modifying this slightly to make it work as an office desk. Thank you for all of your advice designs!
So cool! I love the old look with the added modern conveniences!
Thanks Cristina. Like the rest of my house – old look with modern conveniences, I'm constantly straddling the past and present trying to make both live in harmony.
Love this!! Thise hidden compartments are so clever! The finish is gorgeous too!
Thanks Anika. My kids sure love it and the finish is called 'distressed kid friendly' 😉
You created a beautifully designed piece, I seriously love it!!!
This is an awesome project. I'd like to adapt it to fit against a wall. Do you have this modeled in Sketchup and would you be willing to share?
Jaime, This work station is awesome!!!
Thanks Jennifer, my kids are putting it to good use.
Just bought all my lumber and made my first set of the cut list today!!! The cost blew me away, but I’d pay double that for a piece this large. My first project with drawers (and boy, did I choose a tough one!) but looking forward to the challenge! Thanks for sharing your project!
Great news, so excited for you. There are a ton of drawers that’s for certain but once you have a system down they will go fast. Definitely wait and cut the drawer boxes once you have the frame assembled in order to double check the measurements. I’m happy to answer any questions as you go along, my kids make such good use out of our table so all your hard work will be worth it.
Left a comment on the Kreg Build site. This is a nice project and good low cost approach. This design is a very close match to my own sketches for a work table in my office. Mine will have a laminate top to accommodate the small projects that end up there rather than in the shop or as a sample table for reviews and design changes. A couple of thoughts here that might help others on a budget. I buy heavily discounted drawer glides when I see them on the discount table at a local supplier. You have to think ahead for what you may be or are planning to build. I also buy material and assemblies that I can modify or salvage from the Habitat Restore. The laminate top for my table will be made from a double sided laminate restroom divider that I got at the Restore. It is one of the best places to find parts, fasteners and contractor donations that have been a great help on many of my projects. Moreover, you are helping people build a better future for their families.
Hi Ed, thank you for sharing about the discounted drawer glides – such a wonderful idea especially considering this kind of project with a bazillion drawers! And I love hearing from readers who repurpose and reuse, makes me feel good knowing we’re all doing our part to help out.
I love the work table and I also love your floor. Did you do the floor yourself?
Thanks Wendy, the floors were here when we bought the house so unfortunately I don’t have any information on them.