* This post is sponsored by The Home Depot and includes affiliate links.
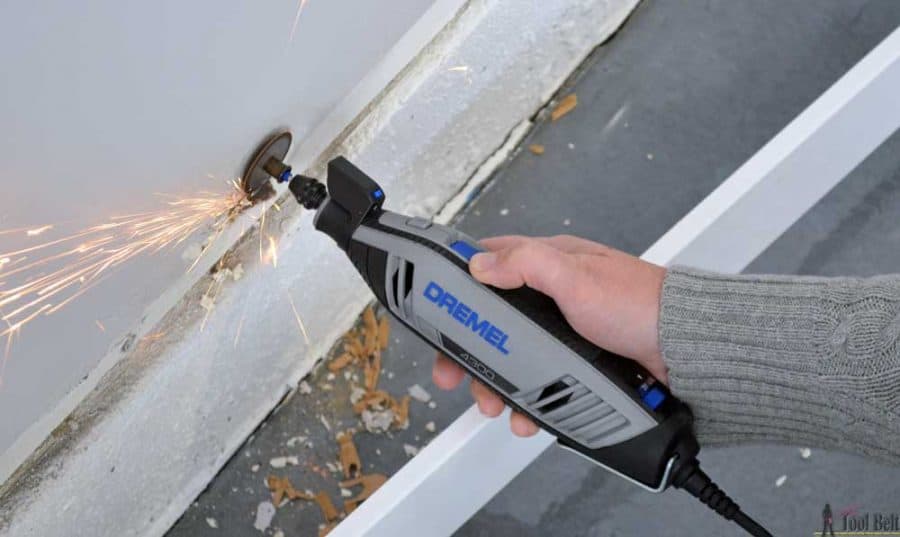
Have you ever wanted a tool that can do all the little things? Like make small holes, cut metal, sand crevices, grind and sharpen blades plus so much more? The Dremel 4300 Rotary Tool is the ultimate in multi-capable applications all with the ease of a quick change three-jaw chuck and a light that pivots where you want it.
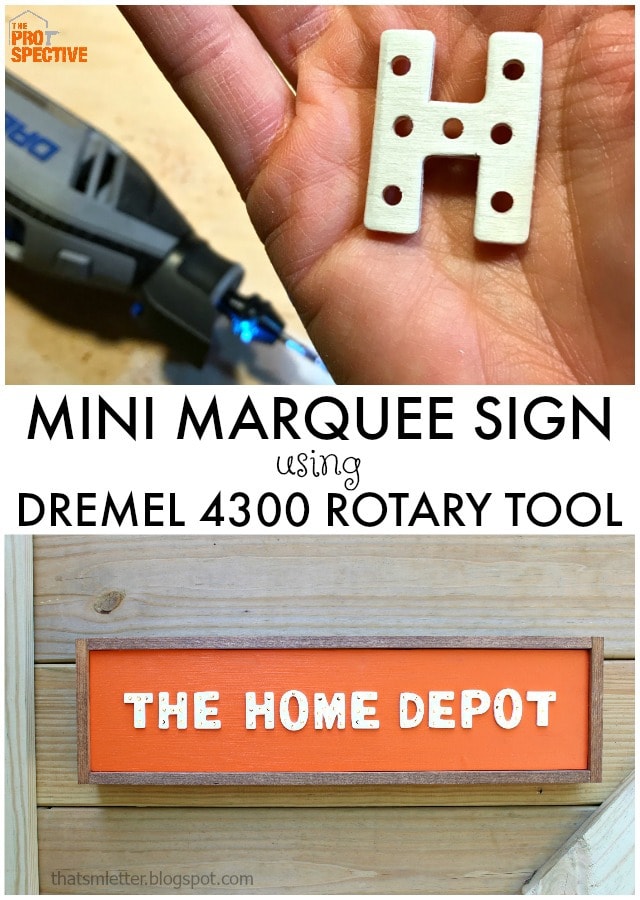
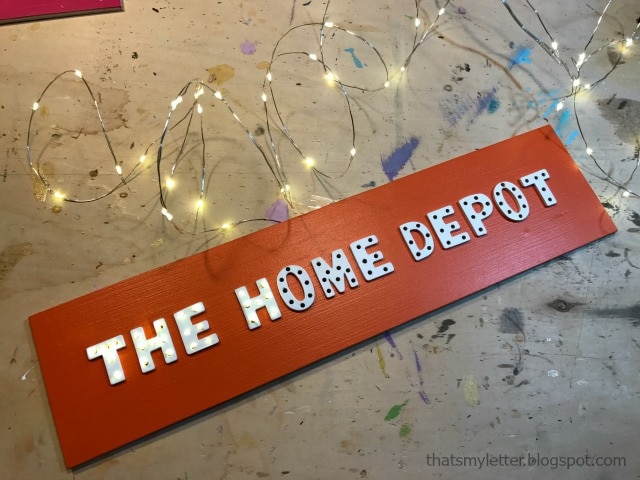
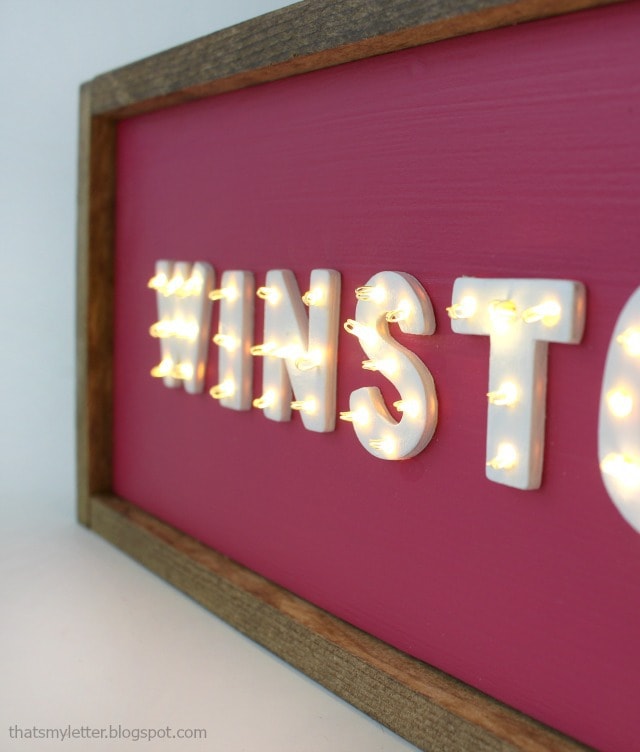
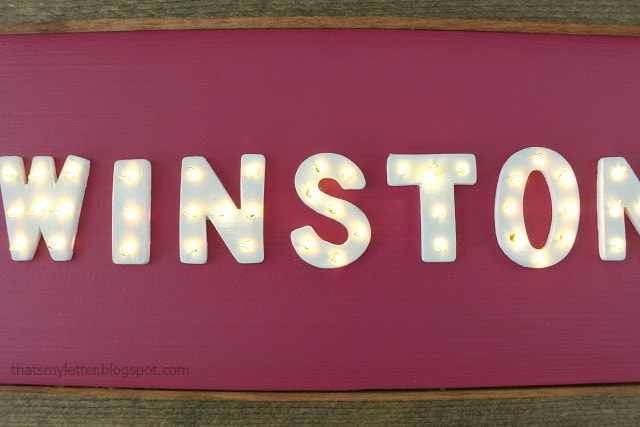
Today I’m sharing how I made this mini marquee sign using the Dremel 4300 with step by step instructions down below.
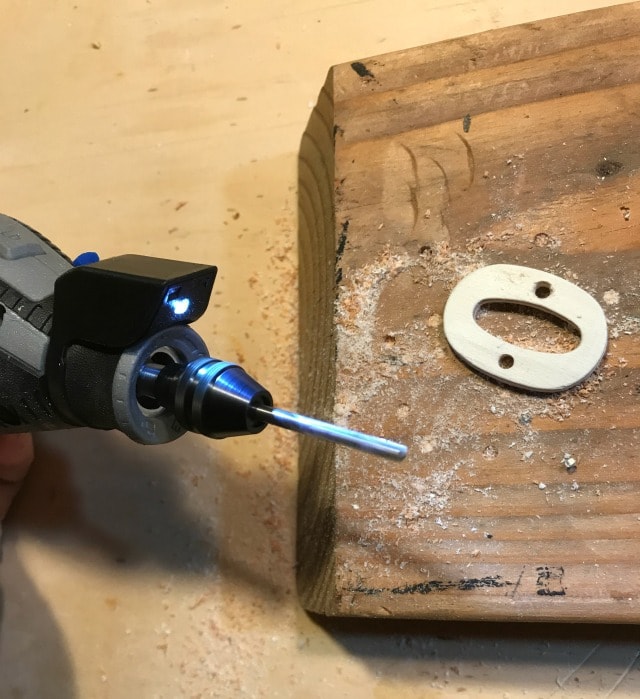
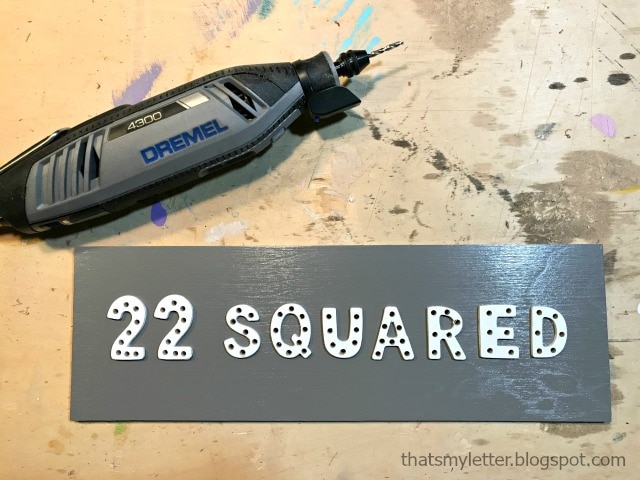
I used the cutting bit to make holes into little wood letters. You can see the pivot light provides precise placement on your work surface.
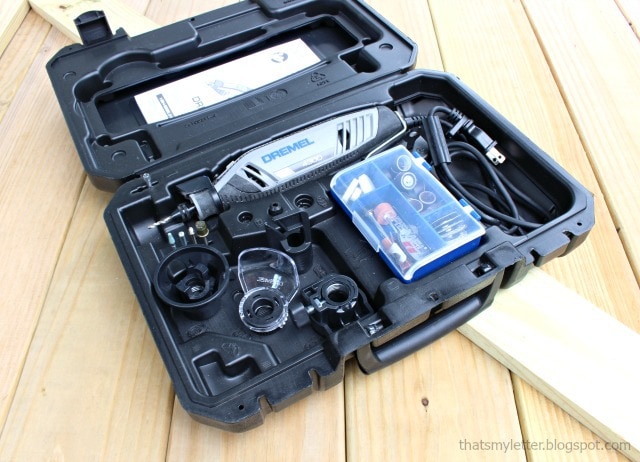
And can we talk about the storage case? Every amazing tool comes with a well planned out storage system and carrying case and this Dremel rotary tool is no exception. A place for everything and everything in its place.
Supplies:
- mini wood letters
- 1/4″ plywood scraps
- acrylic craft paints & brush
- wood glue
- Dremel 4300 rotary tool with cutting bit
- LED micro string lights
- duct tape
- sticky back velcro
- staple gun
- nail gun
- 5/8″ & 3/4″ finish nails
- flat moulding & stain
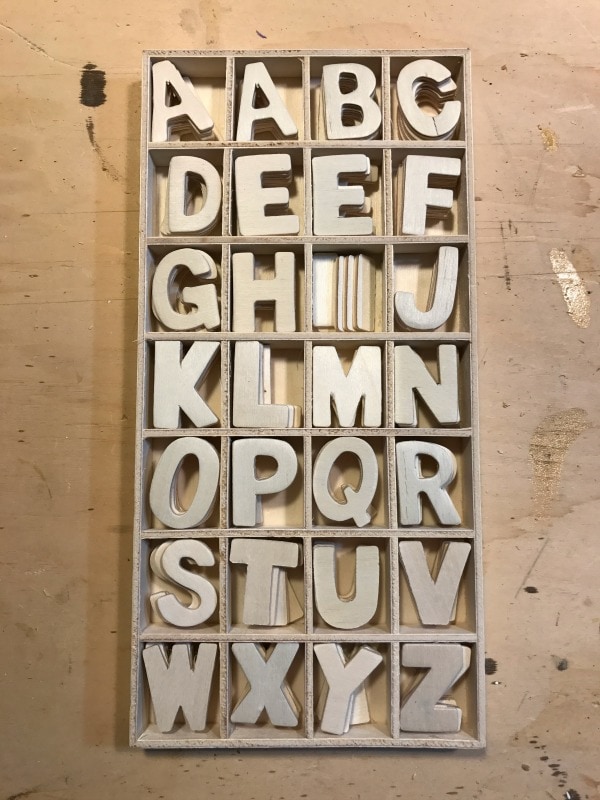
Step 1: To make the mini marquee sign use precut mini wood letters and determine your word. Paint the letters first and then glue onto 1/4″ plywood rectangular shape to fit your word.
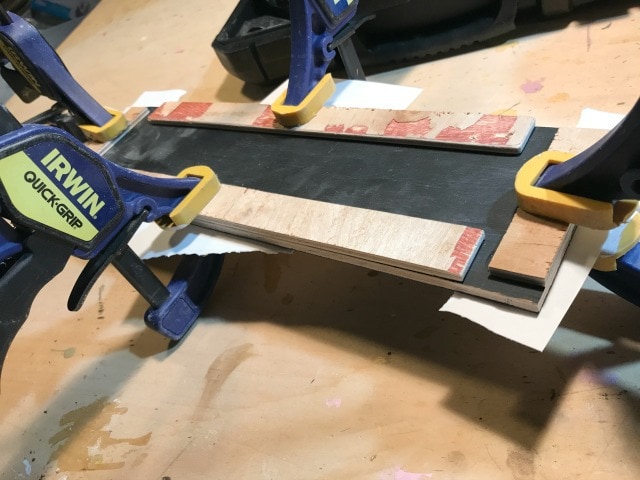
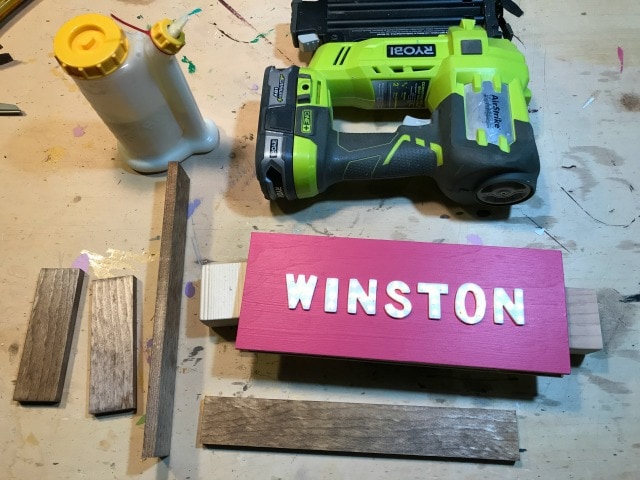
Step 2: On the back side of the front piece attach 1/4″ plywood scrap pieces using wood glue to act as spacers. This gives a place for all the excess wire to live and adds thickness to the sign.
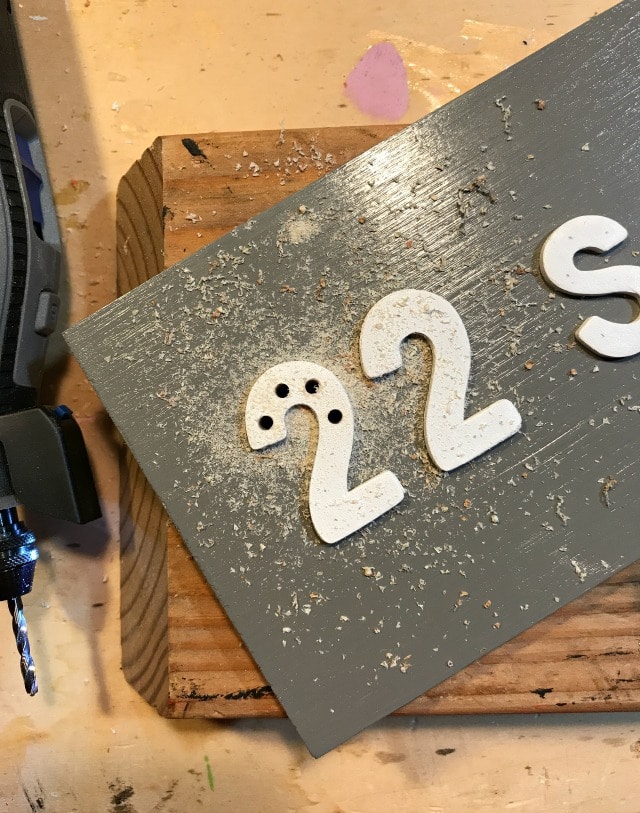
Step 3: Using the Dremel 4300 with the cutting bit make multiple holes in each letter evenly spaced apart.
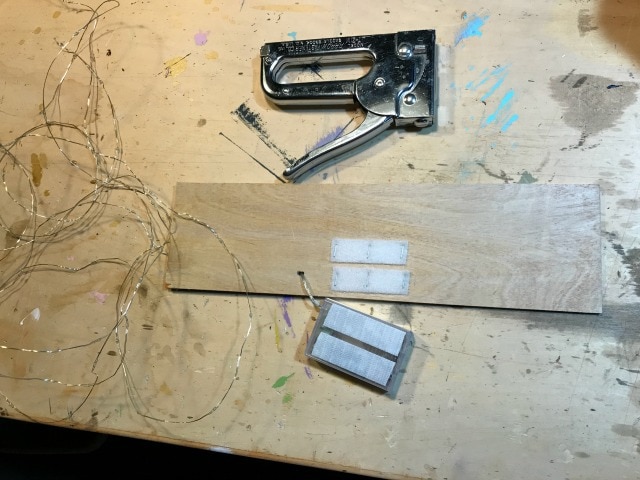
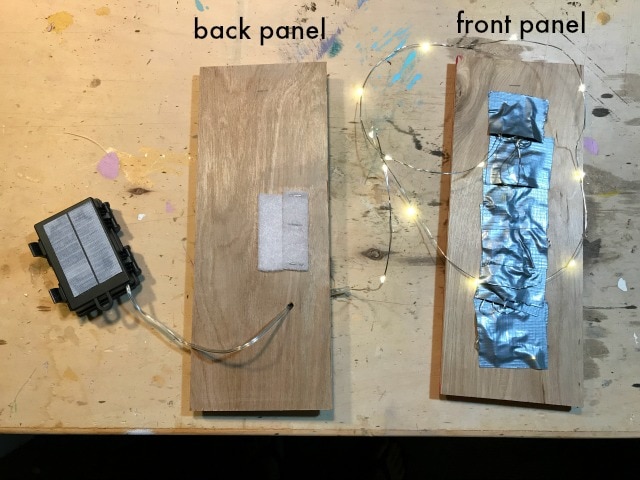
Step 4: Prepare the back plywood piece. First make a small hole just off center for the wire then feed the wire through the hole. Attach sticky back velcro to the battery pack and the center bottom of the back plywood. For additional insurance staple the velcro to the plywood.
Step 5: Fold and insert the lights into each predrilled hole.
Once the light is in position secure it using duct tape on the backside of the front panel. (Note the front panel in the photo below does not have the spacers attached yet.)
Step 6: Once all lights are in position fold up the excess wire and place the battery pack on the velcro. Sandwich the front plywood with spacers to the back plywood using wood glue and 5/8″ finish nails.
Step 7: Add frame using wood glue and 3/4″ finish nails. The frame will hide the battery pack and acts as a stand.
You can see the LEDs protrude ever so slightly just as a light bulb would on a larger marquee.
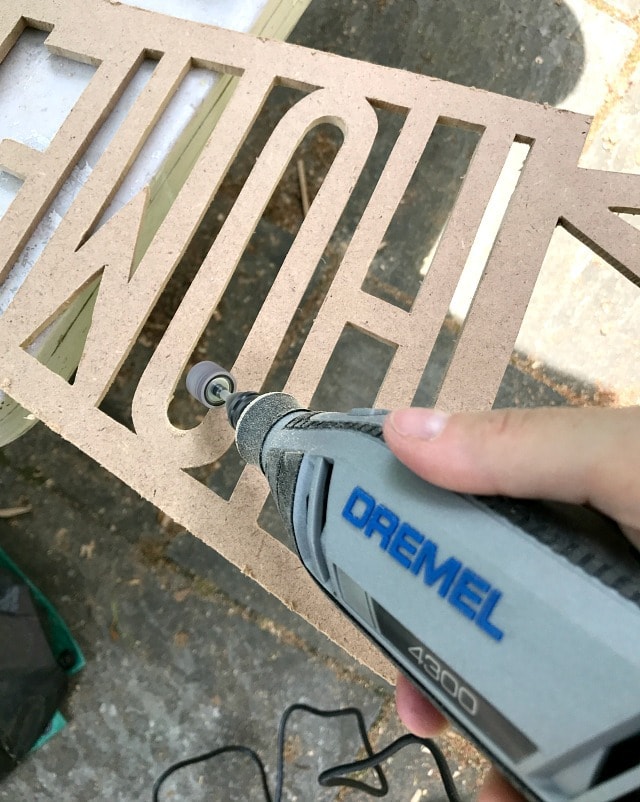
I find myself using the Dremel 4300 on all kinds of various projects. The round sanding bit was the perfect fit to sand the interior curved shaped of this cut out pennant:
I guarantee you have a use somewhere in your home or workshop for many of the various attachments that come with the Dremel 4300.
Want to see more projects, ideas and how-tos using the Dremel 4300 rotary tool? Check out my fellow bloggers posts and reviews here:
 Her Tool Belt |
 Mr. Build It |
 Handmade Haven |
* I acknowledge that The Home Depot is partnering with me to participate in this Tool Review Program. As a part of the Program, I am receiving compensation in the form of products and services, for the purpose of promoting The Home Depot. All expressed opinions and experiences are my own words. My post complies with the WOMMA Ethics Code and applicable Federal Trade Commission guidelines.



Oh my goodness mini marquee letters, so cute.
Love these!
Si cool!!!
I'd love to make one with my kids names and using the warm lights for a nightlight effect!!
Great idea to use as a night light!
DREMEL 4300 This is awesome ! This is a very useful post, thank you!