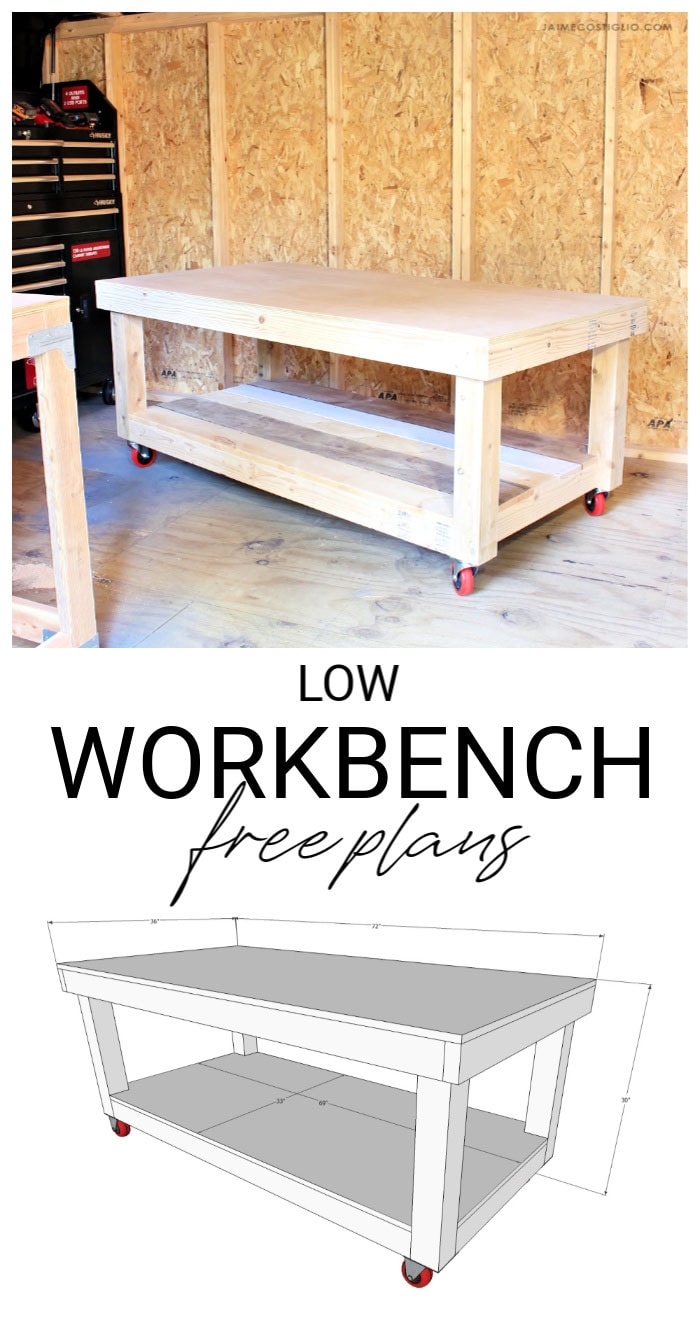
Building workshop furniture is a must to ease productivity, comfort and work flow. Take the time to make yourself this low workbench. It’s perfect for a small shop, shed shop or basement space with low ceilings. I’m sharing how to build a table height low workbench and I’ve got the plans for you too.
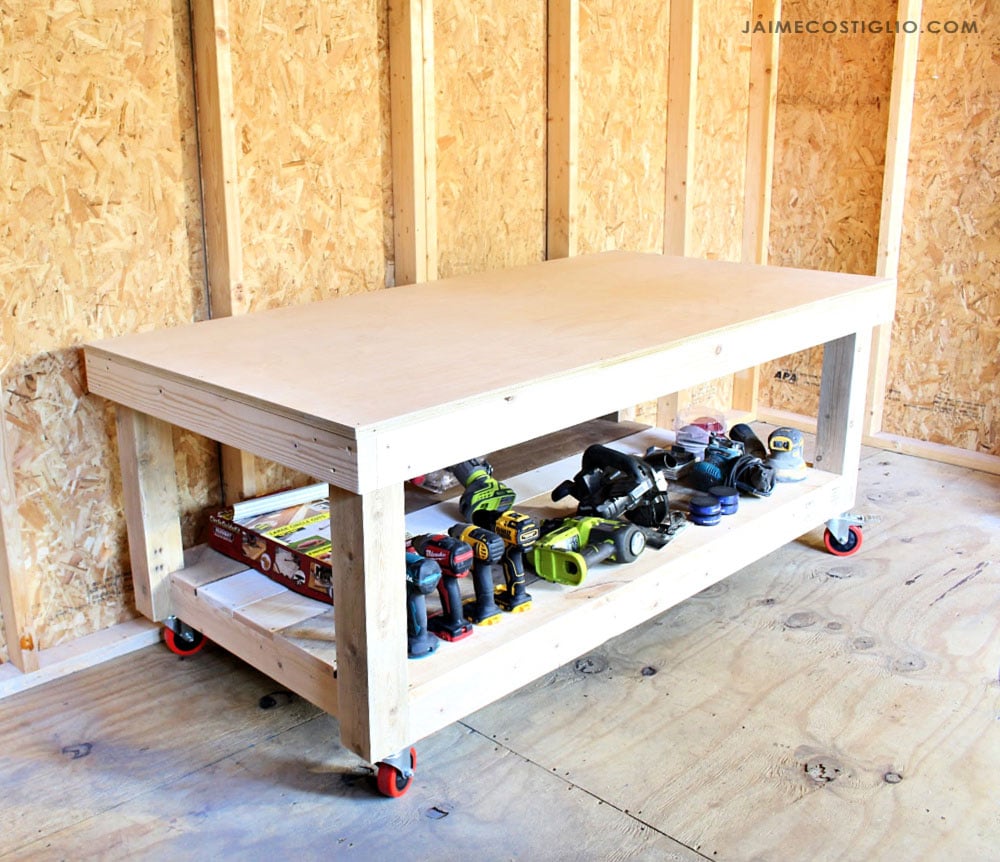
A DIY tutorial to build a low workbench. This 30″ high worktable is perfect if you have low ceilings. Use my plans to build a low workbench for your space.
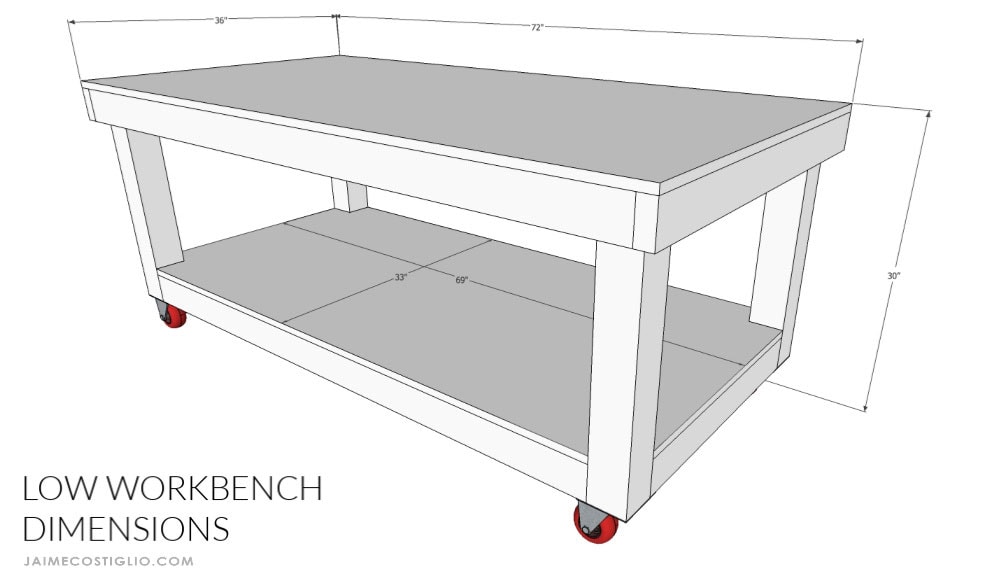
After seven years of working outdoors on the patio I finally have a shed space to call my own. The space is small at 10′ x 14′ but that only means I need to be efficient and organized with my work zones. I built this low workbench that measures 36″ x 72″ x 30″ high precisely for this small workshop space. It’s the perfect spot for assembly, it’s solid and provides additional easy access storage for tools below.
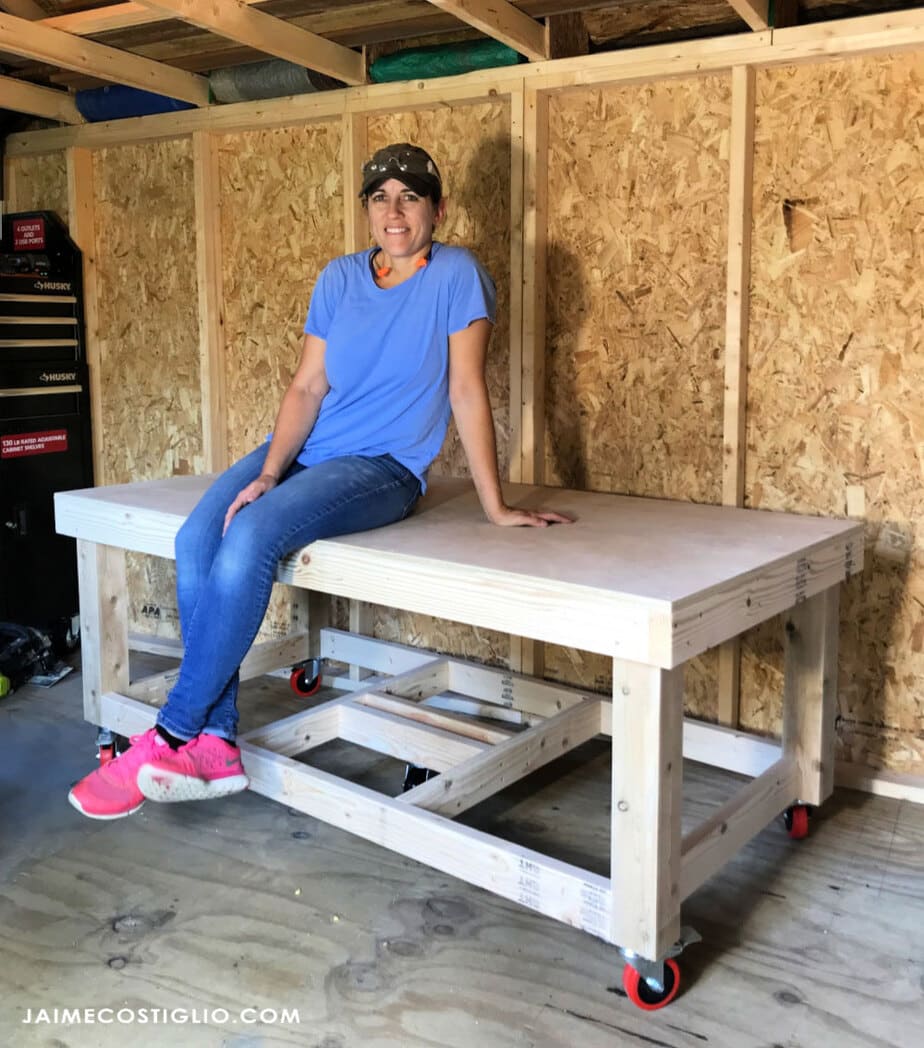
In all these years of building I’ve been using a folding table (or the ground) and a typical folding table comes in at 30″ high. In addition, my shed has a low ceiling so in order to make the most of the vertical working space I opted for a 30″ high workbench.
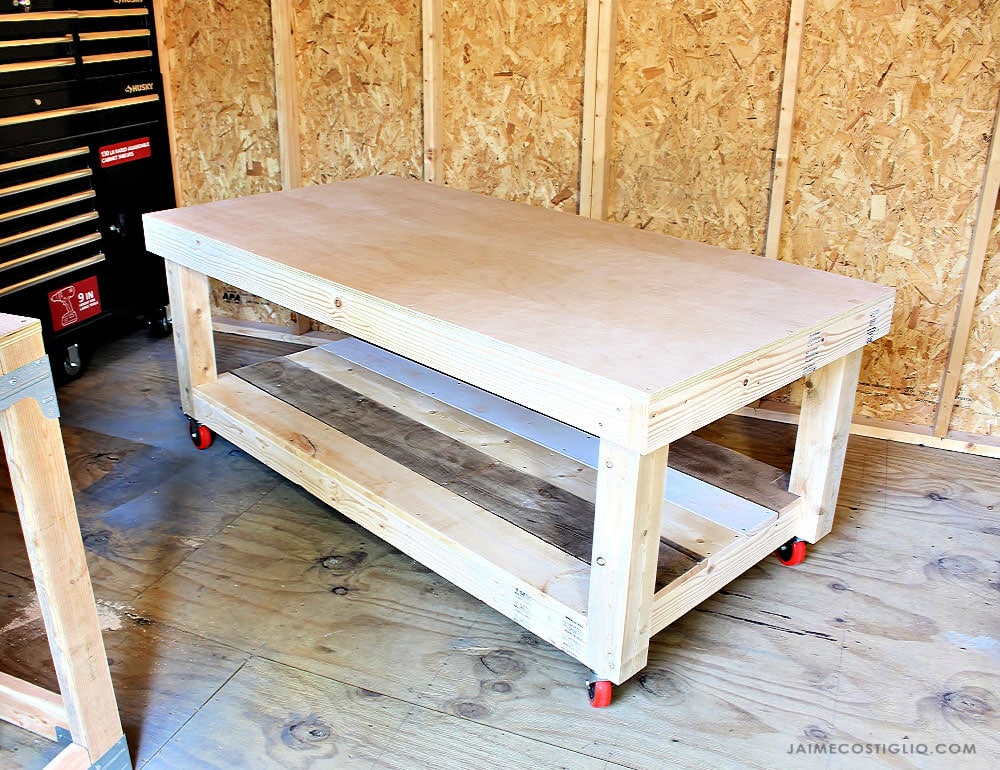
Low Workbench Features:
- mobile
- tons of storage space
- allows you to use gravity to your advantage when attaching pieces
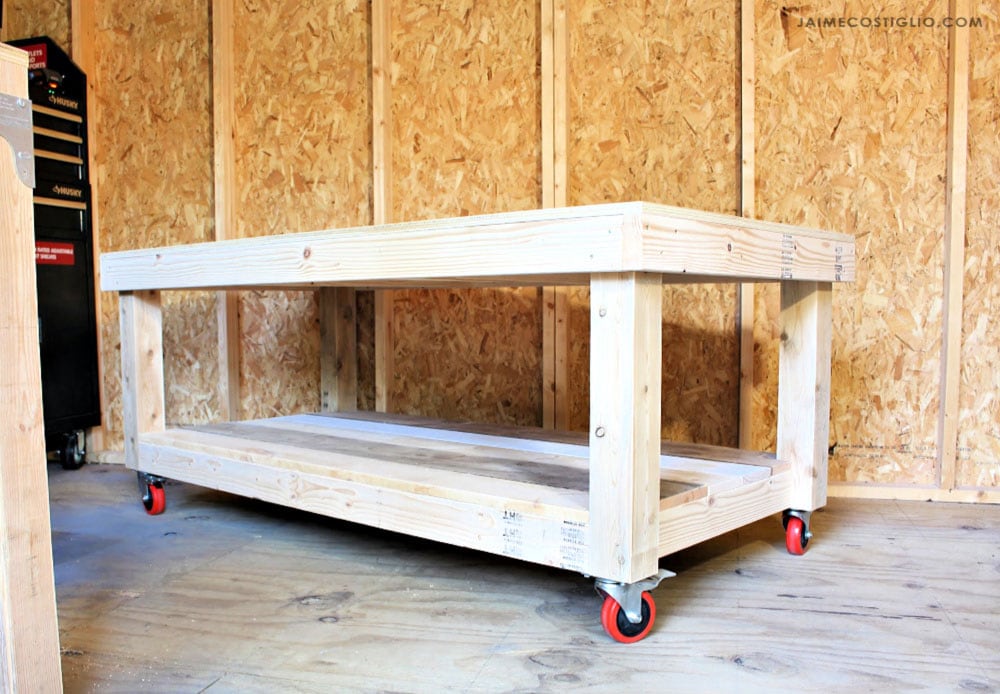
I used 4×4 posts for the legs left over from the new pool fence this past summer. I love the chunky, beefy support of a 4×4 leg versus a 2×4 leg despite the fact that it takes up more space on the bottom shelf. Also I did make an error when constructing this workbench. You’ll notice the bottom cross support on the short ends is inset. I guess I wasn’t thinking when attaching those pieces and didn’t notice the mistake until later. It’s fine since this is in my workshop, but I would prefer to have the support flush with the outside edge of the legs as per my plans.

In my plans below I used a solid piece of plywood for the bottom shelf which is ideal. In actuality I opted to used some scrap boards I had lying around because this is only in my workshop and I hate to see lumber go to waste.
Click here for free printable version of the low workbench plans.
Supplies:
- 2 – 3/4” plywood sheets
- 1 – 4x4x10 post
- 6 – 2x4x8 studs
- 5 – 4” locking wheels
- 2 ½” wood screws
- 1 ¼” wood screws
- circular saw
- Kreg accu-cut
- miter saw
- measuring tape
- pencil
- drill
- Kreg pocket hole jig
- 2 1/2″ pocket hole screws
- jig saw
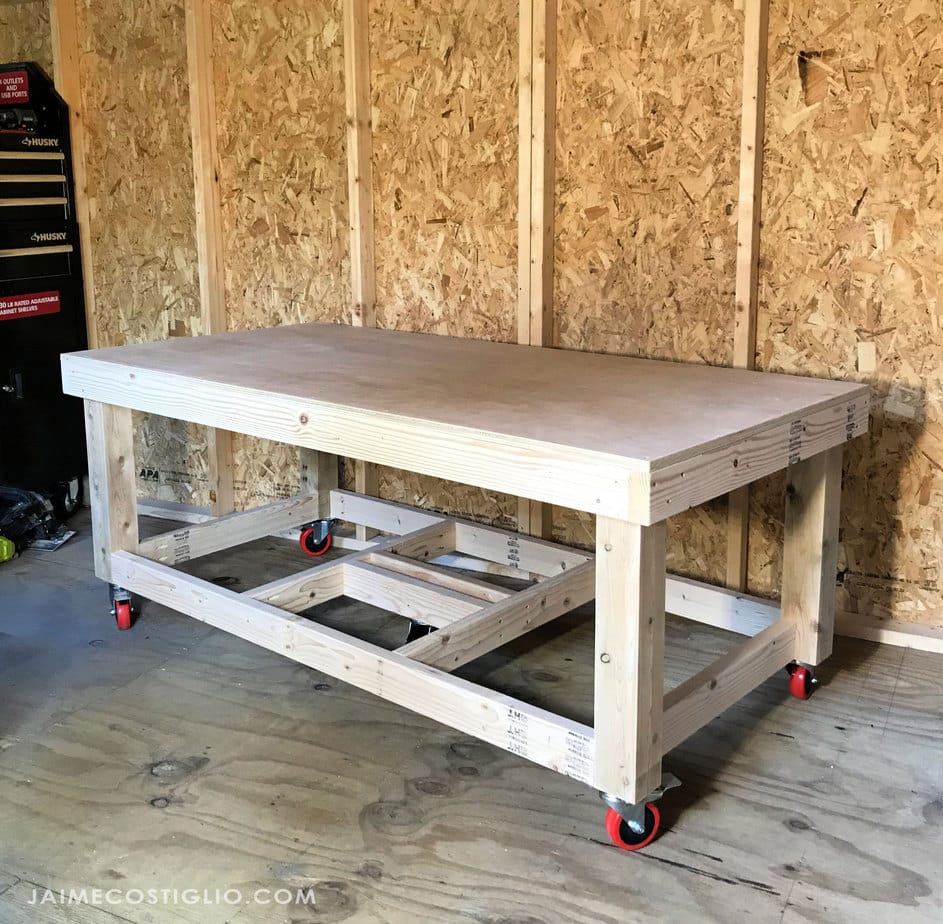
Follow my plans here to build this low workbench. You’ll notice in my photos I did make an error and attached the bottom trim on the short sides inset on the leg. Not a big deal but it does make the bottom shelf a bit shorter than I wanted.
Thanks for joining me for this project. Please leave any questions in the comments below and be sure to follow me on social media for sneak peeks, tools and project inspiration:
Instagram / Pinterest / Facebook / Youtube / Twitter
SHOP THIS PROJECT:


I will be using poly carbonate brackets, no Kreg pocket hole jigs, do you have plans that uses brackets ? if not I’ll use the plan you have.
thanks, Bobb
I was working on plans for a workbench this weekend. I then started doing some research on different ideas for it and came across this set of plans. I literally drew this exact design this last weekend!
I am planning on getting materials together for it this coming weekend and am planning on beginning the build! May make mine a couple inches taller, and will add spots for my table saw, router, and tool storage, but otherwise its going to look like this!
Thanks for the help!
Great news. Good luck on your workbench!