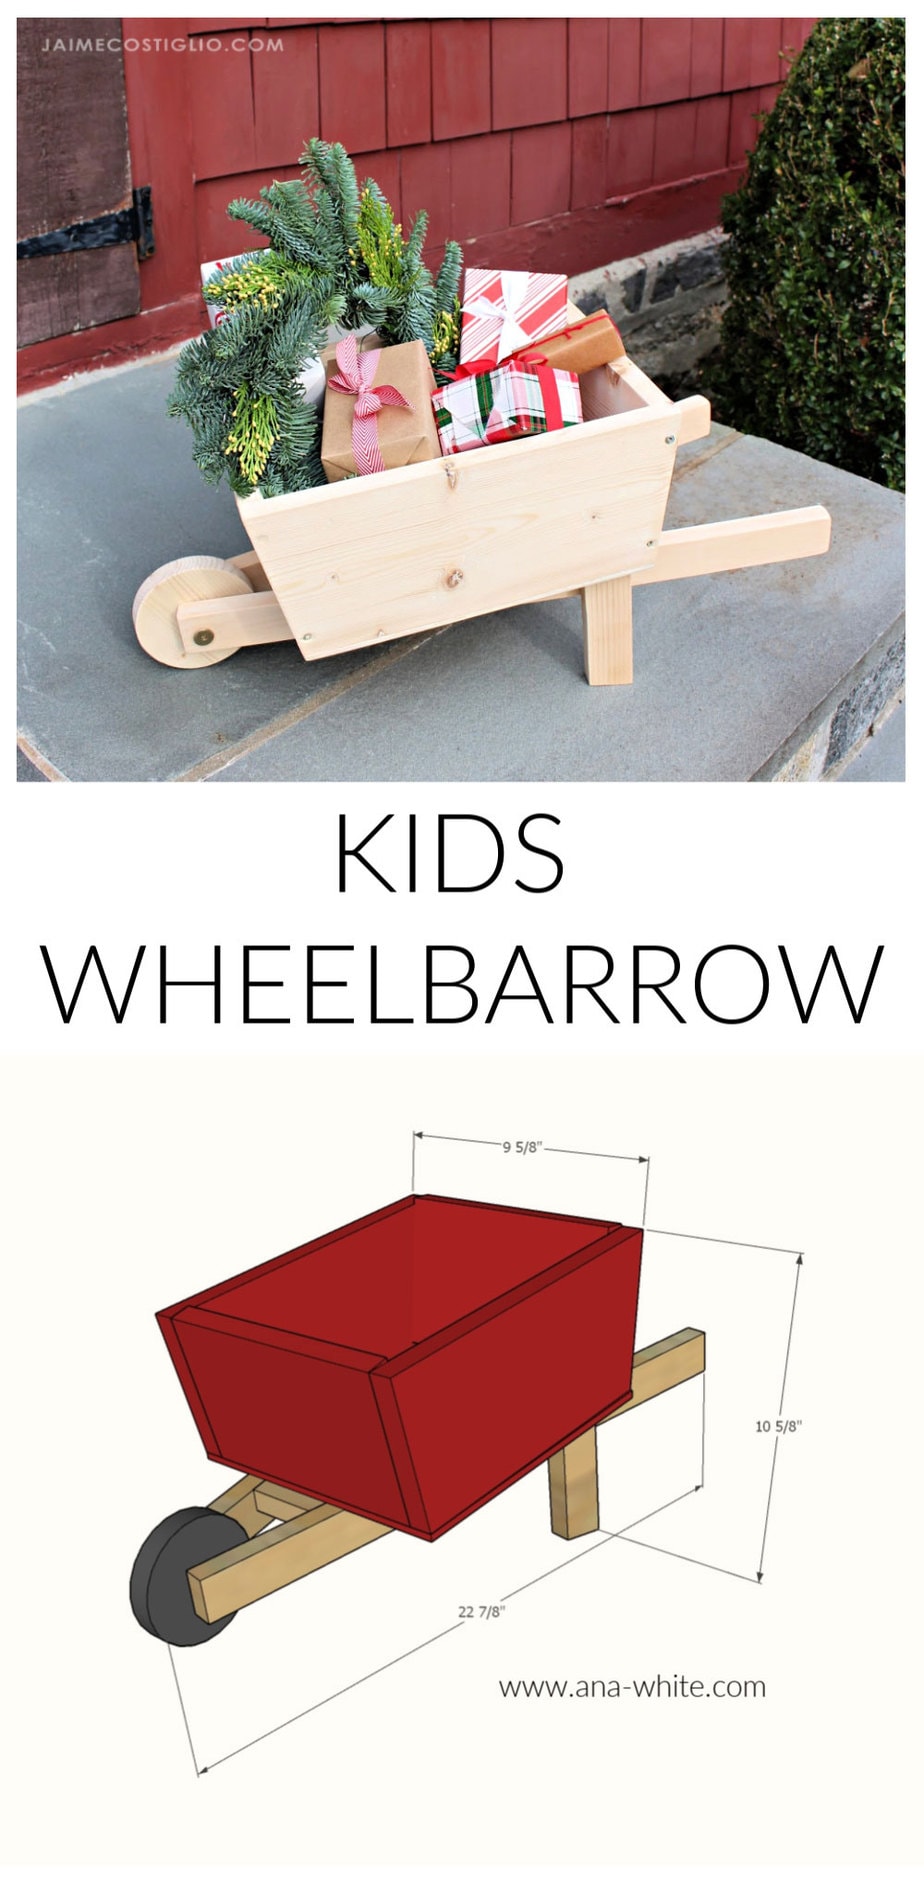
Give those kids the gardening bug early on in life with this DIY kids wheelbarrow toy. The perfect kids mini wheelbarrow let’s them imagine all things gardening both outdoors and indoors.
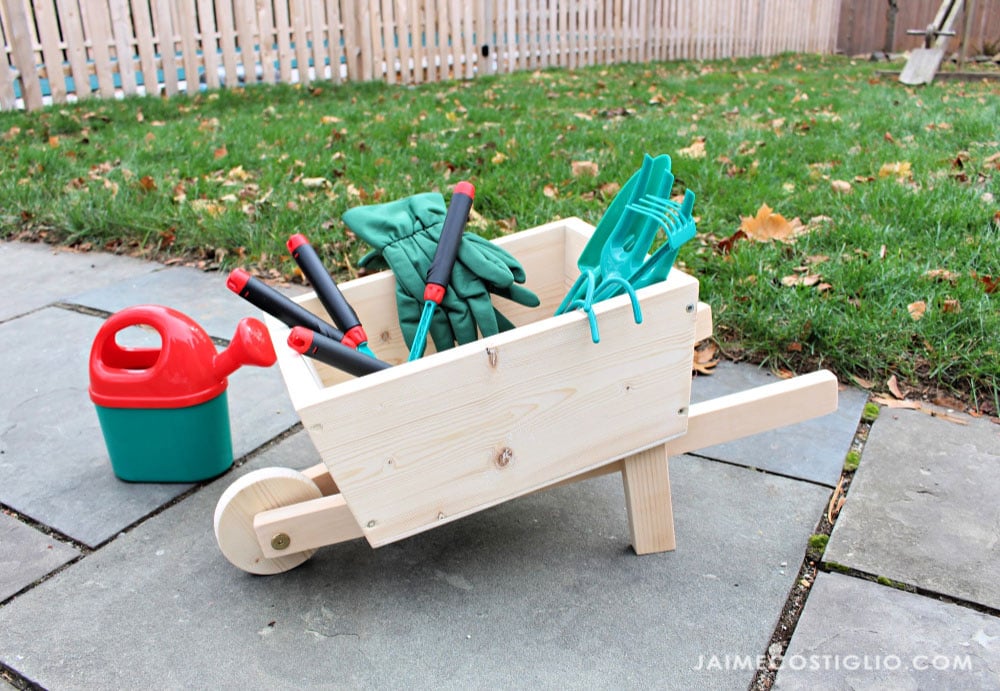
A DIY tutorial to build a kids size wheelbarrow. Perfect small size for kids to play in the garden or yard collecting leaves, flowers, dirt and more.
Ana White and I are back again with another Handbuilt Holiday gift project. Today we are sharing this kids wheelbarrow for those garden lovers on your list. And if you’re looking for more gift ideas we’ve got 7 year worth of holiday projects here.
PS – This kids wheelbarrow doesn’t have to just be for kids. It’s mini size makes it perfect for holiday decor too!
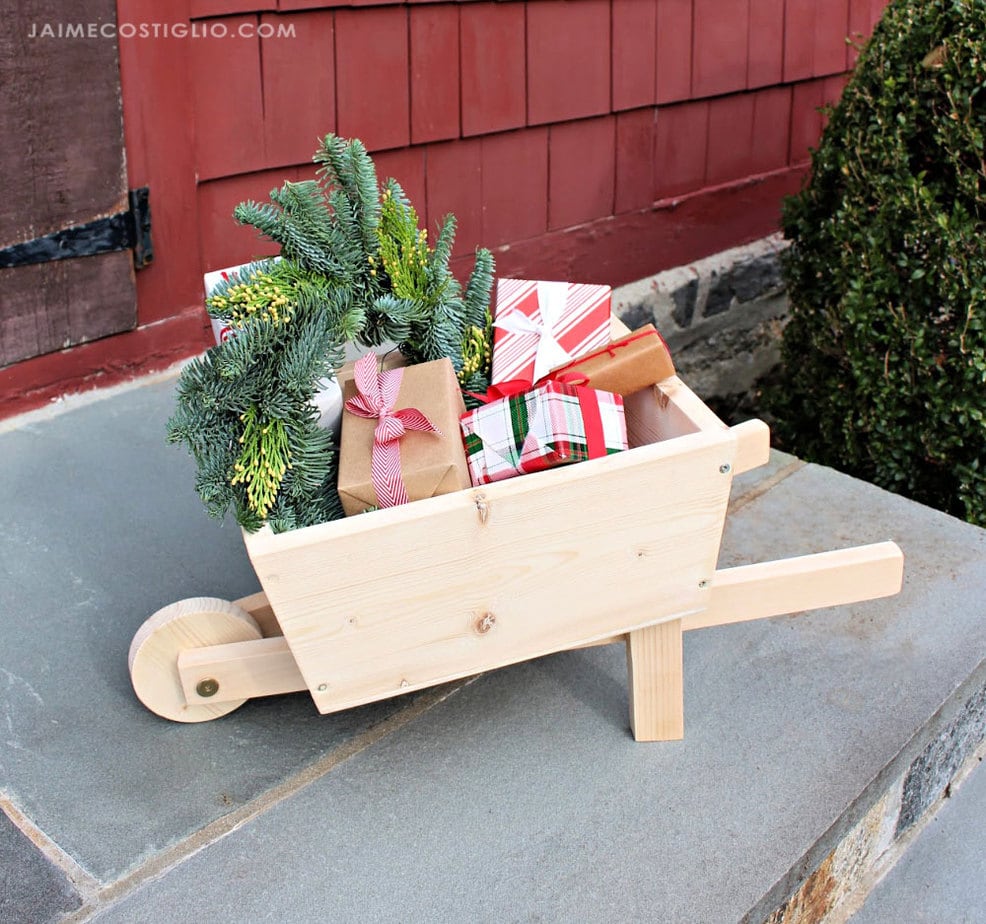
How cute would that be under the tree this year?
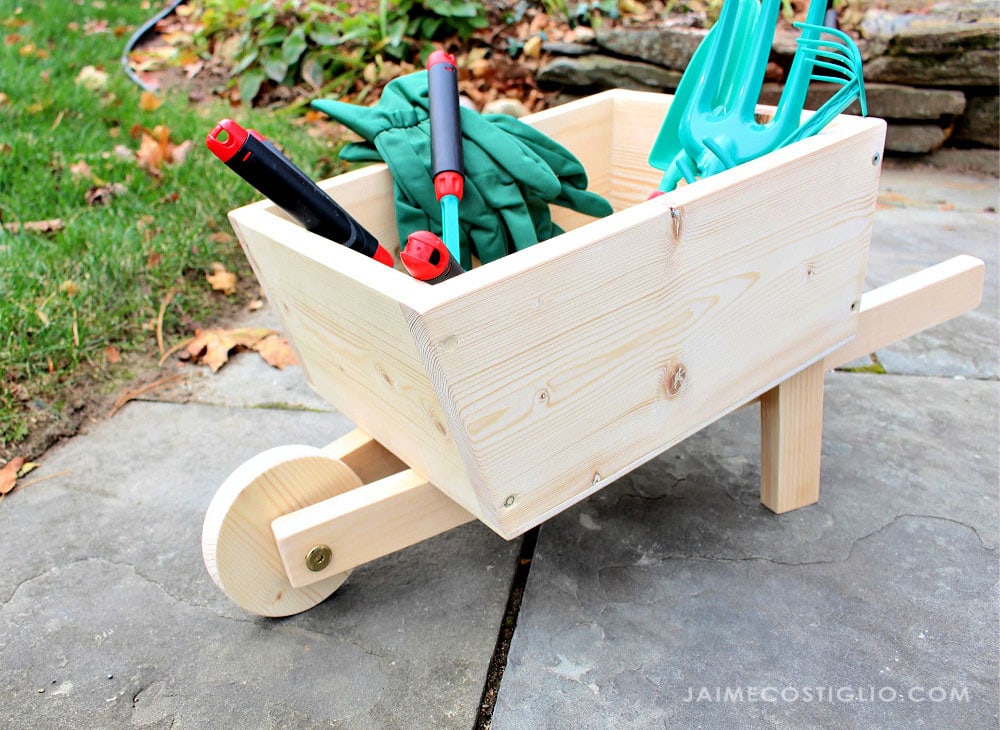
Features:
- deep storage bucket
- sturdy legs for stability
- rolling wheel
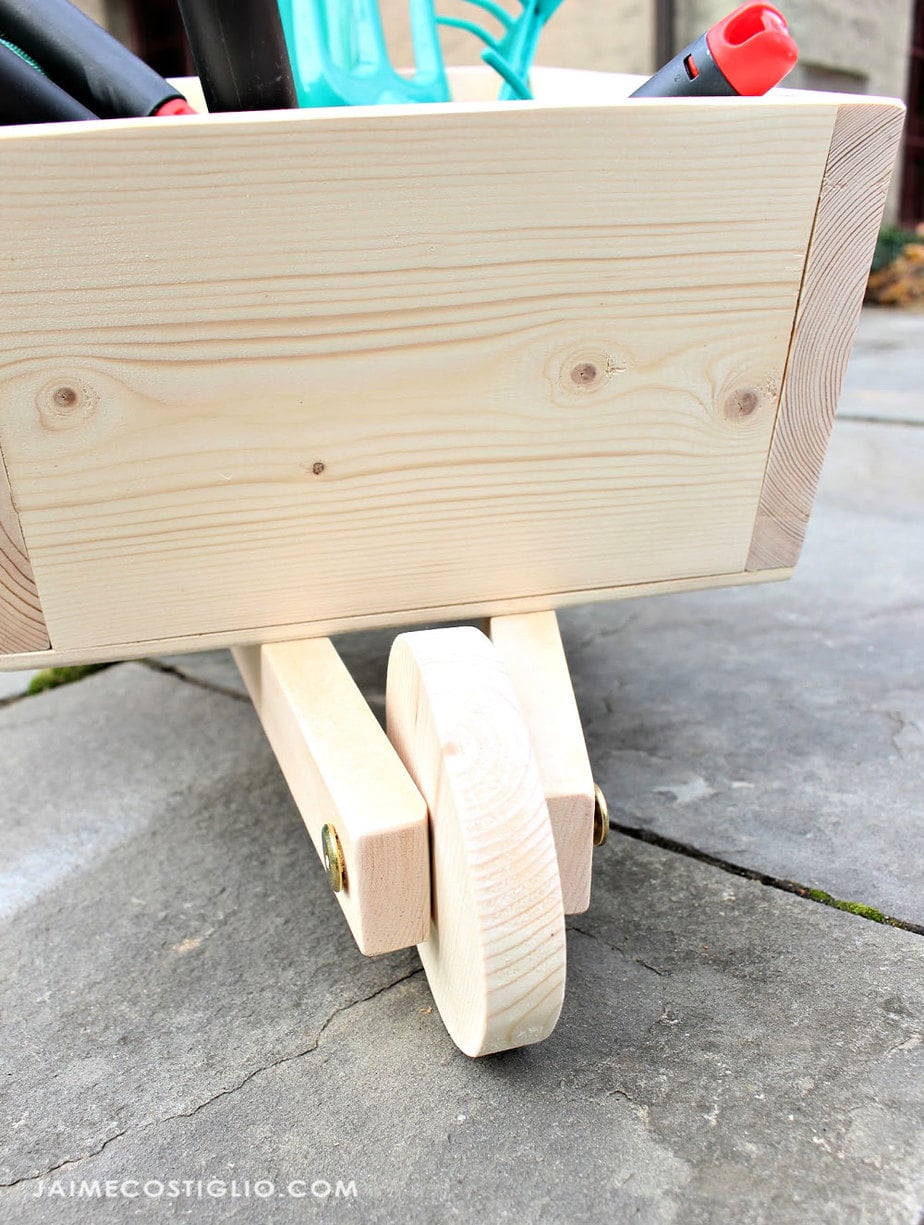
A kids wheelbarrow wouldn’t be a wheelbarrow without the wheel. The trick to making the wheel fully functional is using the correct hardware and giving a slight snip to the wood housing on either side of the wheel.
If you look closely you can see a dog ear nip on the long interior corner of each side board. This allows the wheel to roll freely without rubbing against the wood. Also I used a 2 3/8″ connecting bolt and nut installed at a 10 degree angle. When you’re pre-drilling the hole for the hardware be sure to drill at an angle.
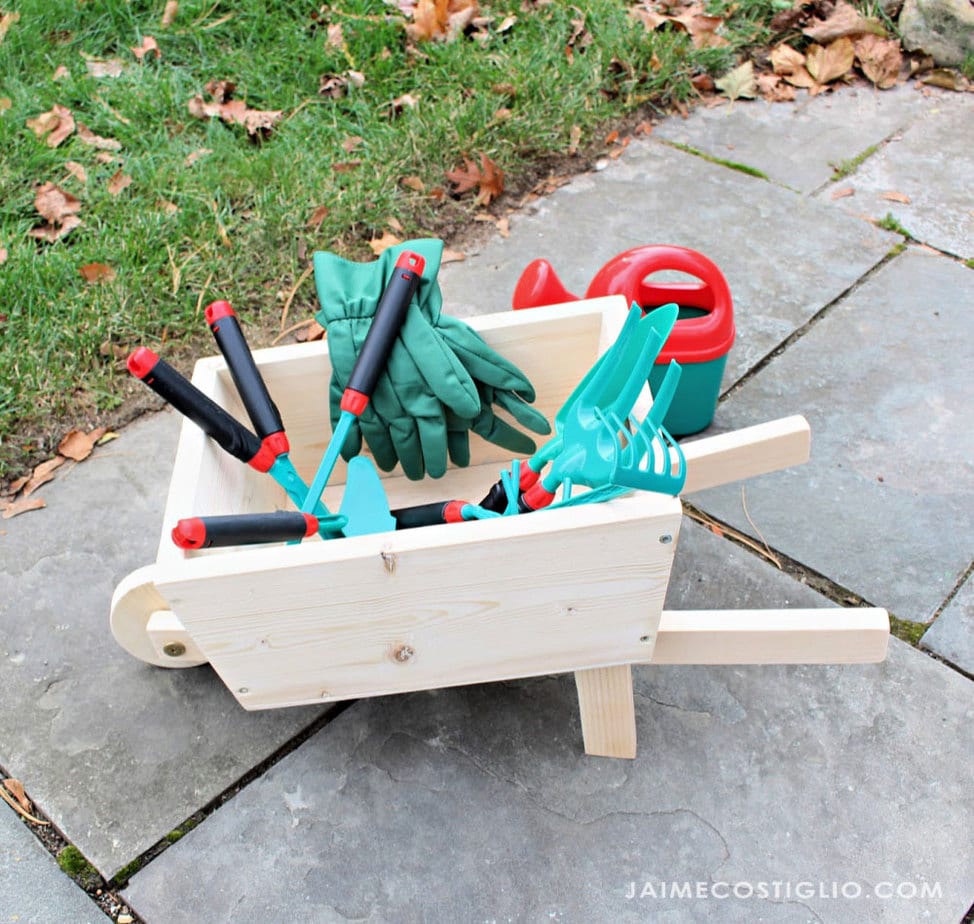
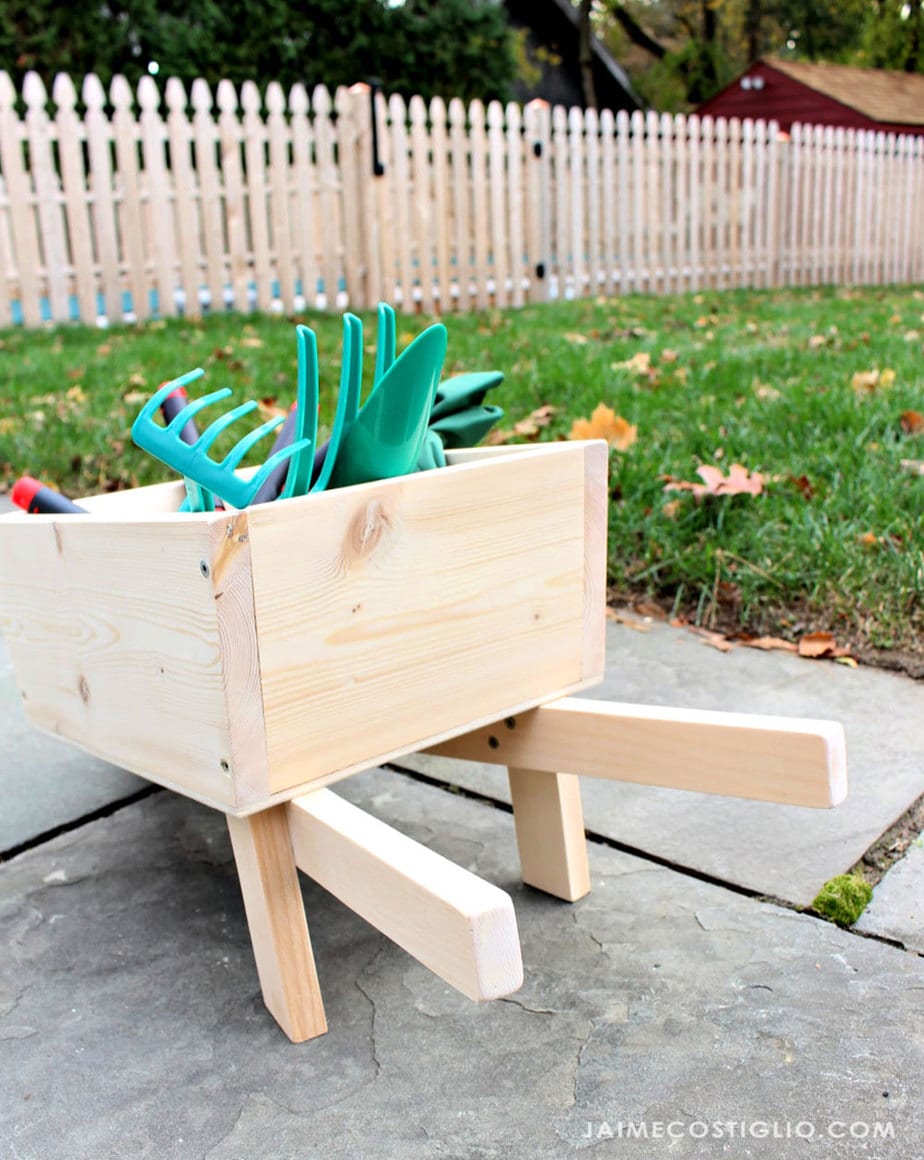
Because you want it to be kid friendly maybe consider rounding the ends of the handles. I sanded them extremely well but you could completely round off the ends for a more tubular look and feel.
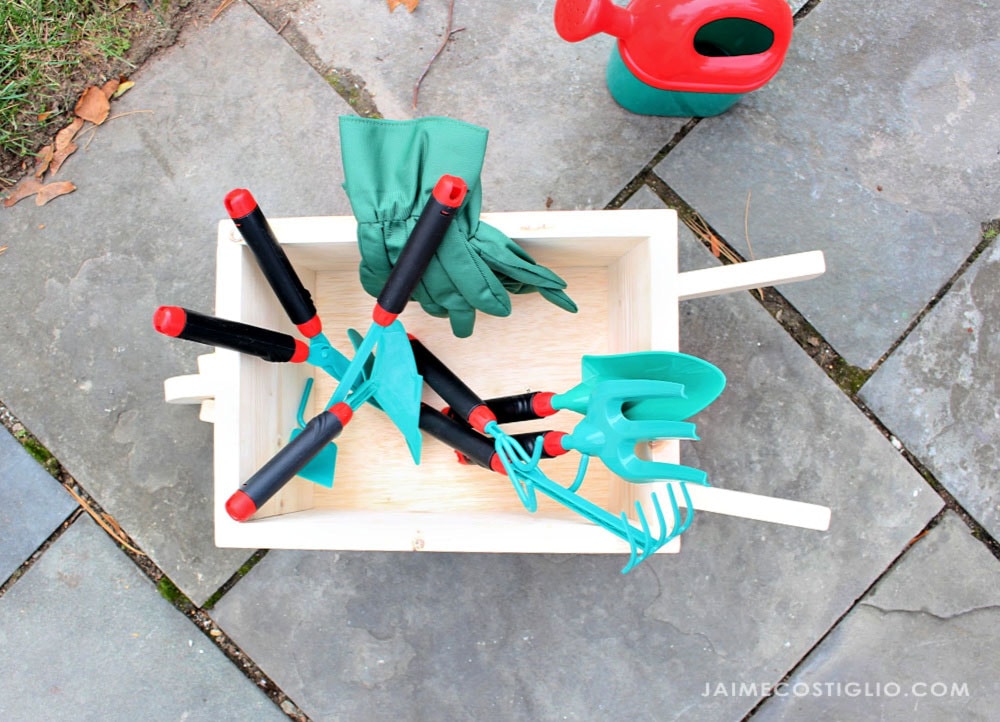
So much space inside for all the garden tools, leaves, dirt, flowers and more! To make your own kids wheelbarrow visit Ana’s site here for the plans.
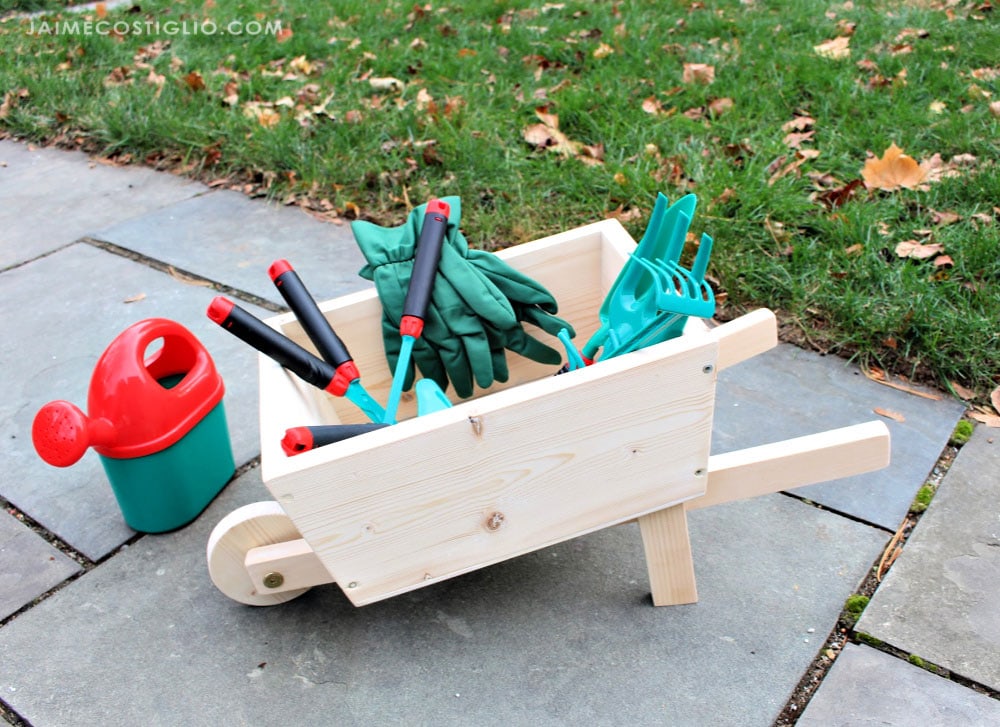
Down below you’ll find the build process in photos and notes. Please read through before beginning your wheelbarrow.
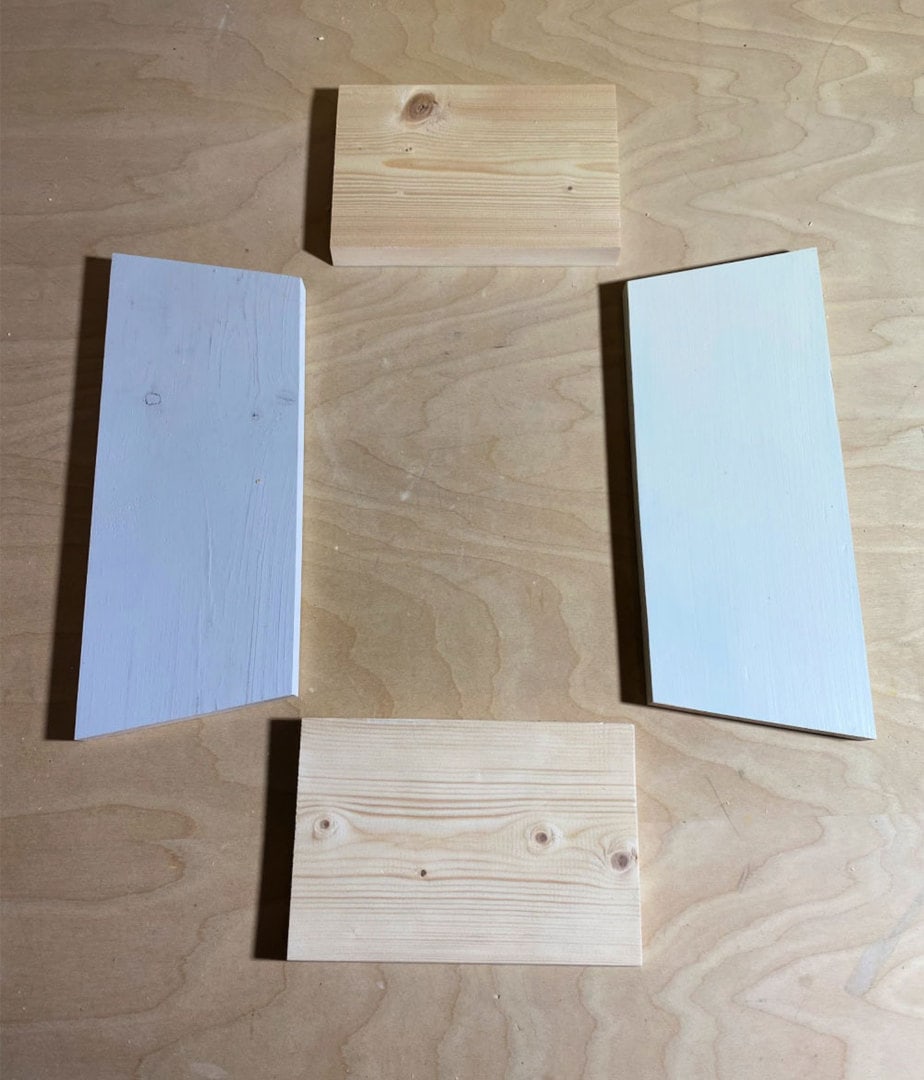
Start with Ana’s plans and cut the wheelbarrow bucket pieces first.
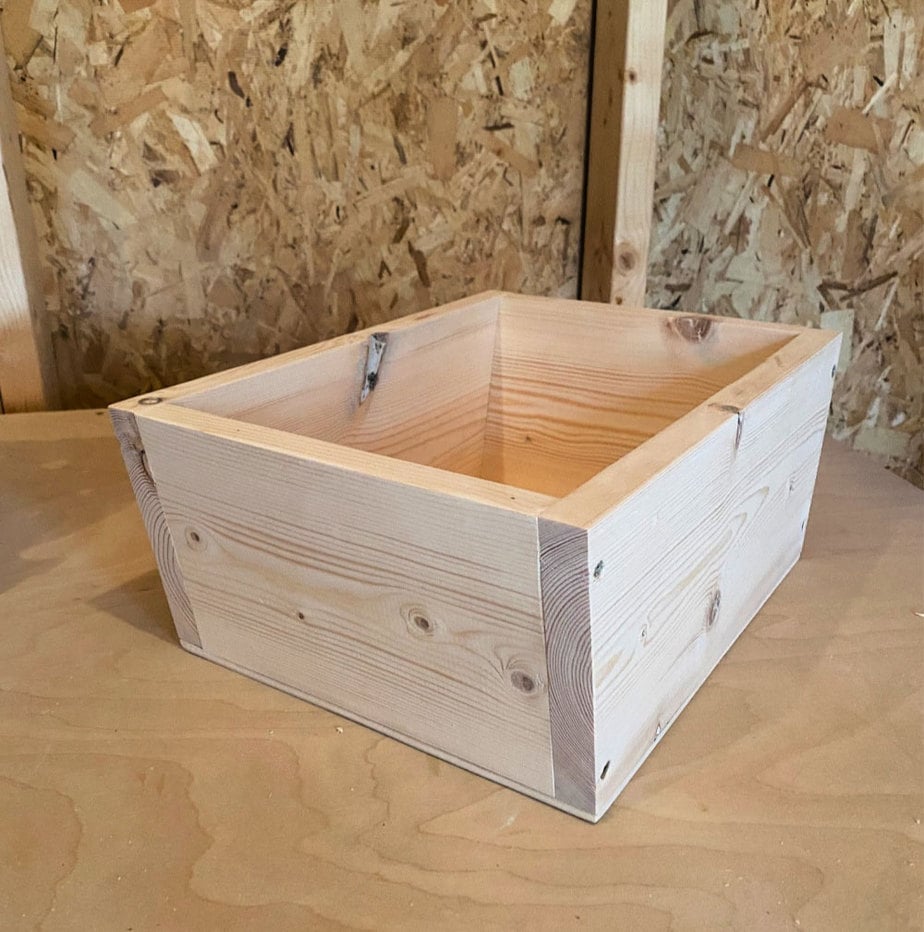
Assemble the bucket using wood glue and countersunk 1 1/4″ wood screws. For the base I used 3/4″ wood screws. I always assume kids will try to break things so while you could build this with brad nails I think using screws makes for a tougher toy.
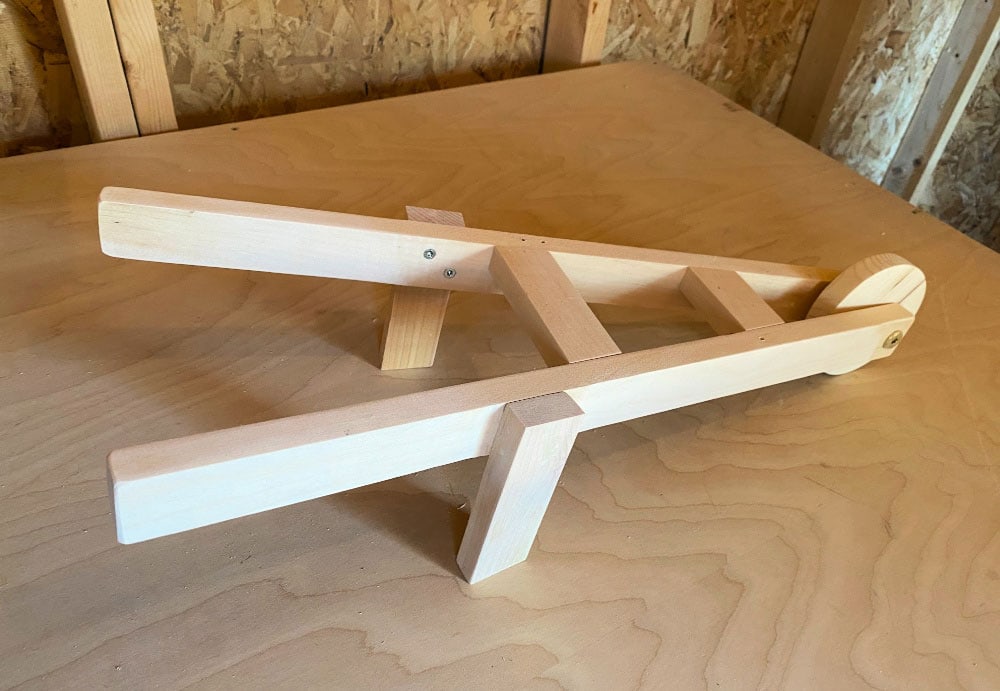
Assemble the wheel housing / handles as per the plans.
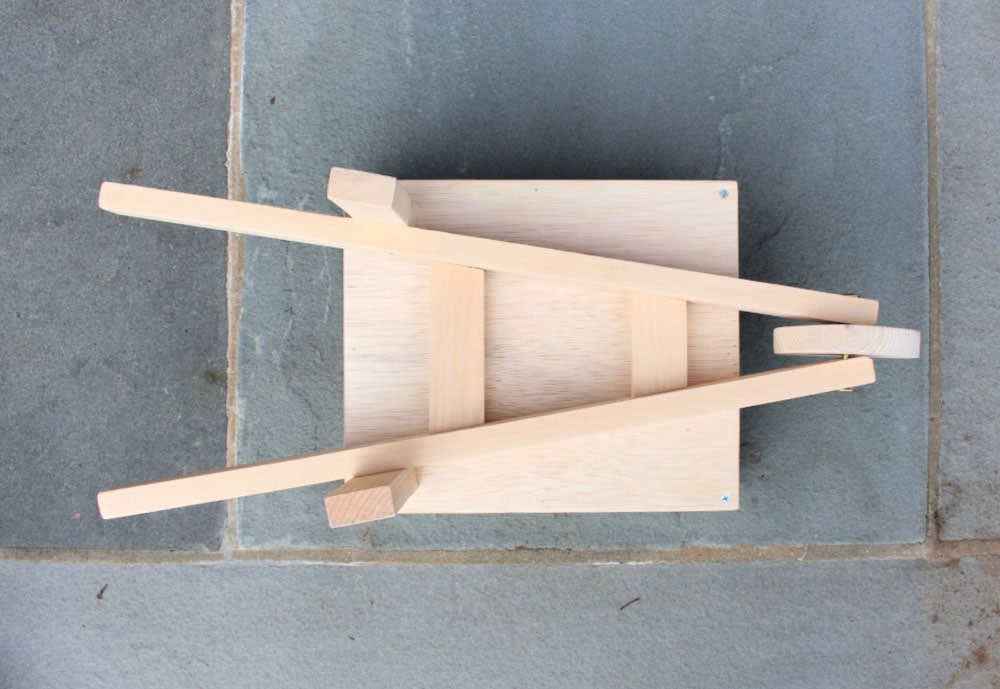
Lastly attach the wheel housing to the bucket box using wood glue and 3/4″ wood screws from inside the bucket. Sand everything super smooth and finish as desired.
Thanks for joining me for this kids wheelbarrow project. Please leave any questions in the comments below and be sure to follow me on social media for sneak peeks, tools and project inspiration:
Instagram / Pinterest / Facebook / Youtube / Twitter
SHOP THIS PROJECT:



Leave a Reply