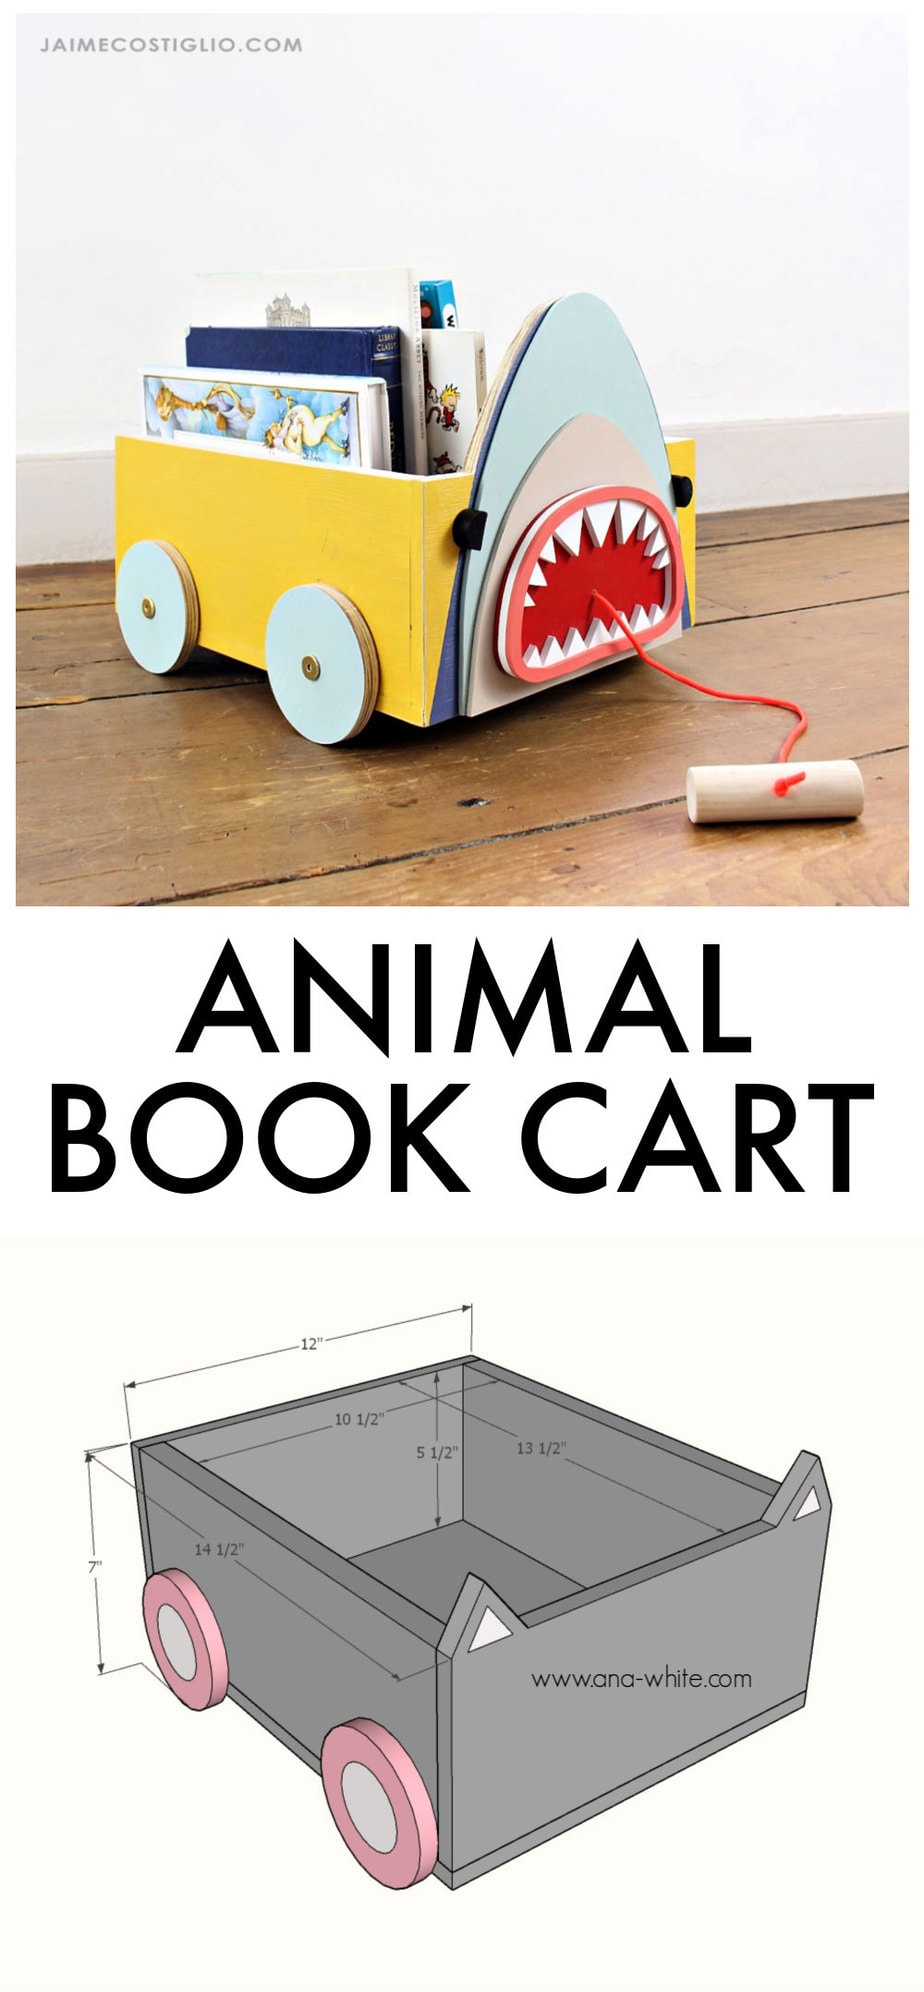
Who said book storage had to be boring? Especially when it comes to kids books, let’s make it fun and animal themed. How about a DIY animal book cart? It’s Friday and Ana White and I are here to share another gift project idea for the Handbuilt Holiday series. Today is a book cart sized just right for little ones to organize and contain their books.
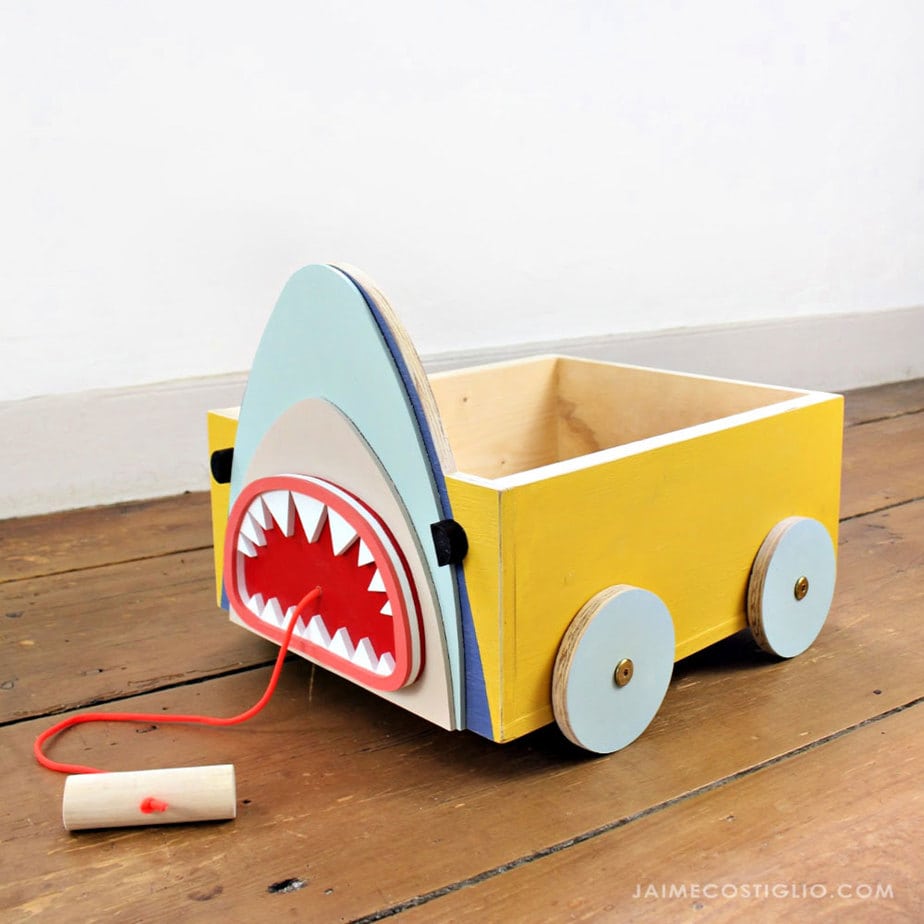
A DIY tutorial to create an animal book cart. Corral those books into a portable animal book cart perfect for little ones to tote around the house.
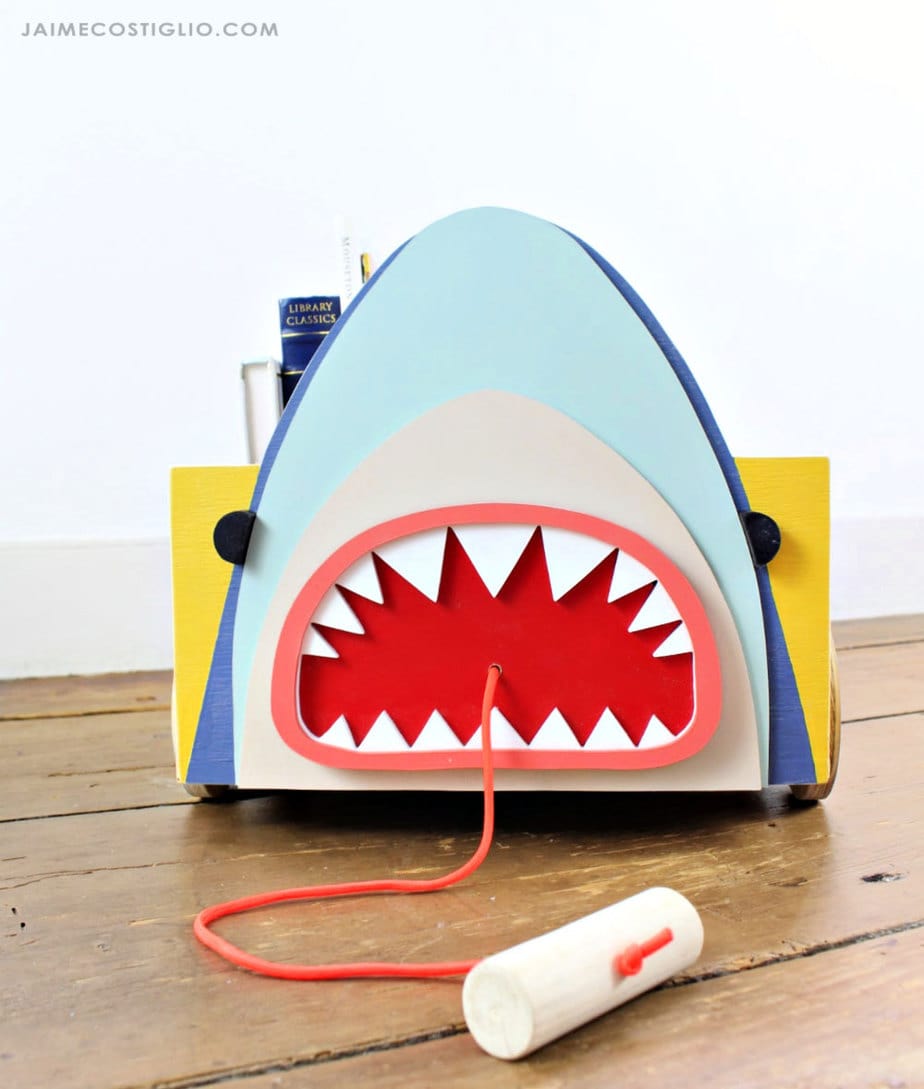
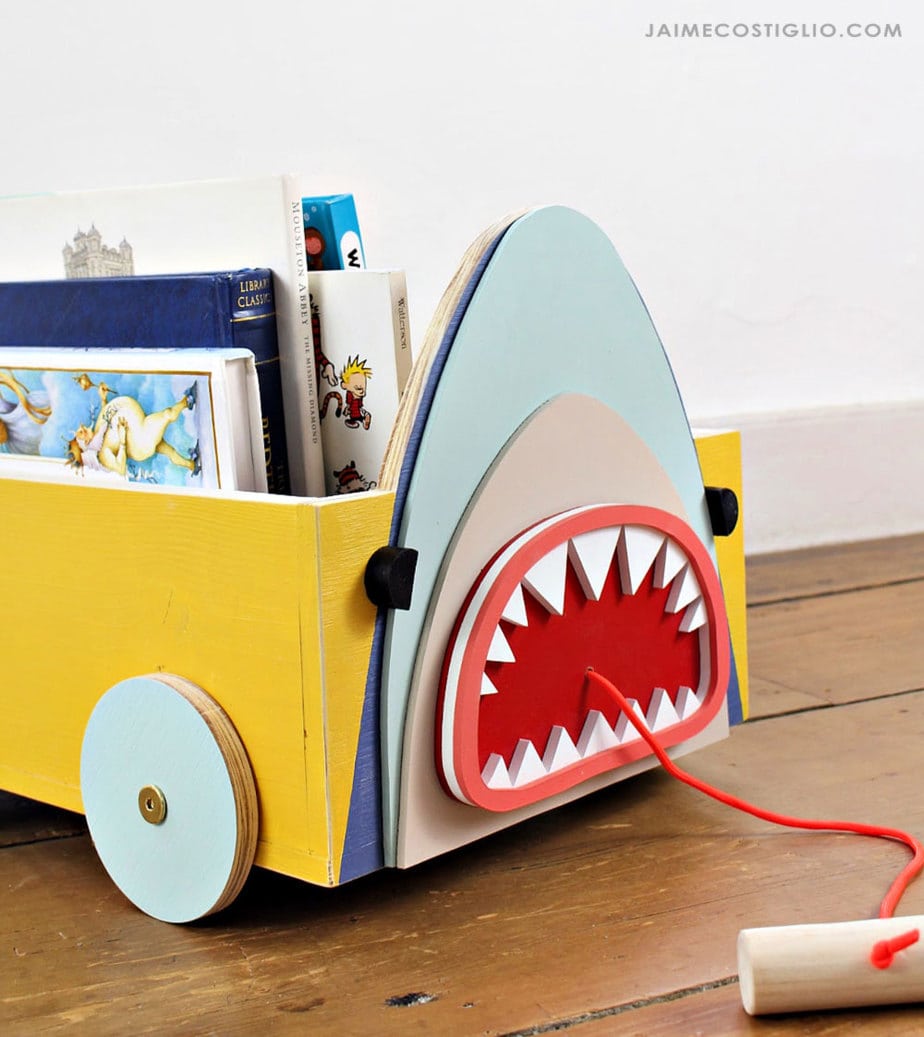
If you can build a box then you can make this animal book cart. And make it any animal you like! I went with the shark (I think subconsciously I was inspired by the recent baseball world series.) but I thought it might be fun to have a giant shark mouth chomping at the books.
Ana designed the book cart plans for a bunny shape but really you can make any animal face to fit your theme. I went with the shark and cut out a few layers on the scroll saw to make it come to life. You could simply just paint a shark face on the cart and call it good but you know I love to scroll all the things so this was no exception.
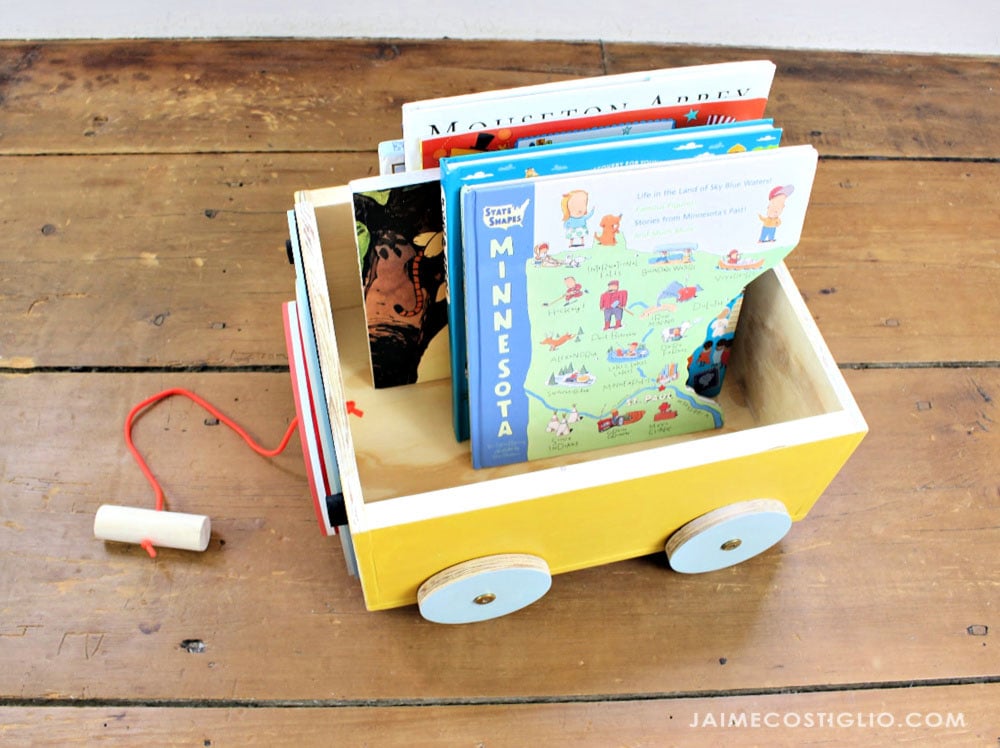
Features:
- four wheels for mobility
- super stable low to the ground
- generous book storage space (10 1/2″ x 13 1/2″ x 5 1/2″deep)
- pull string handle
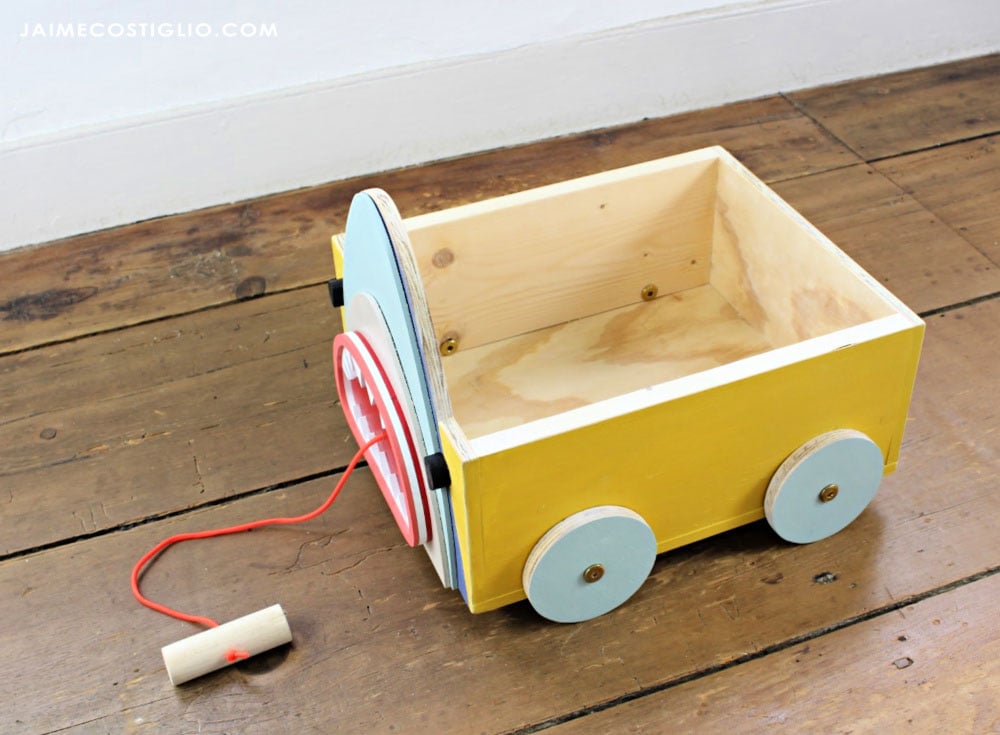
Ana designed this book cart with simplicity in mind. The plans are very easy and great for beginners wanting to make a building project. Down below I’m sharing my building tips as I constructed this animal book cart. Be sure to scroll down before you being your project.
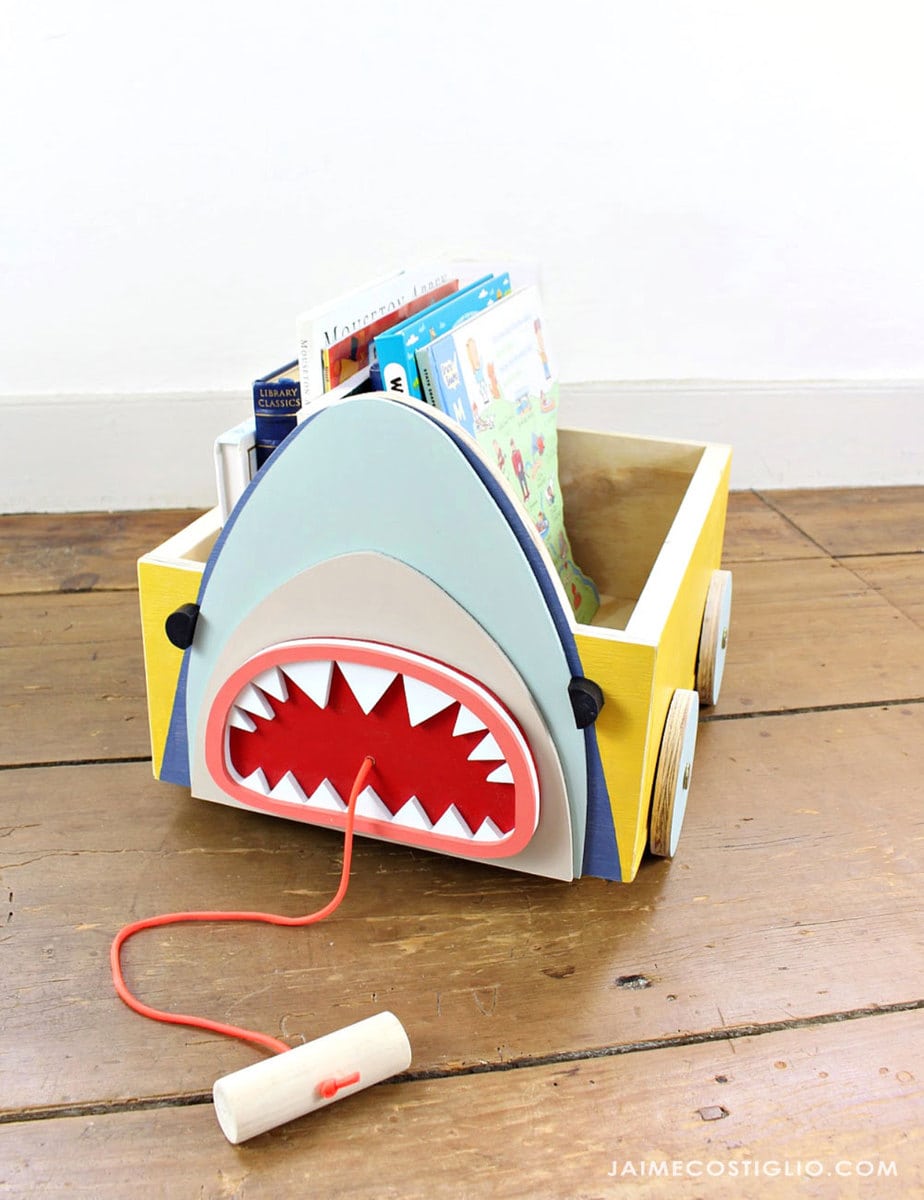
Mobility
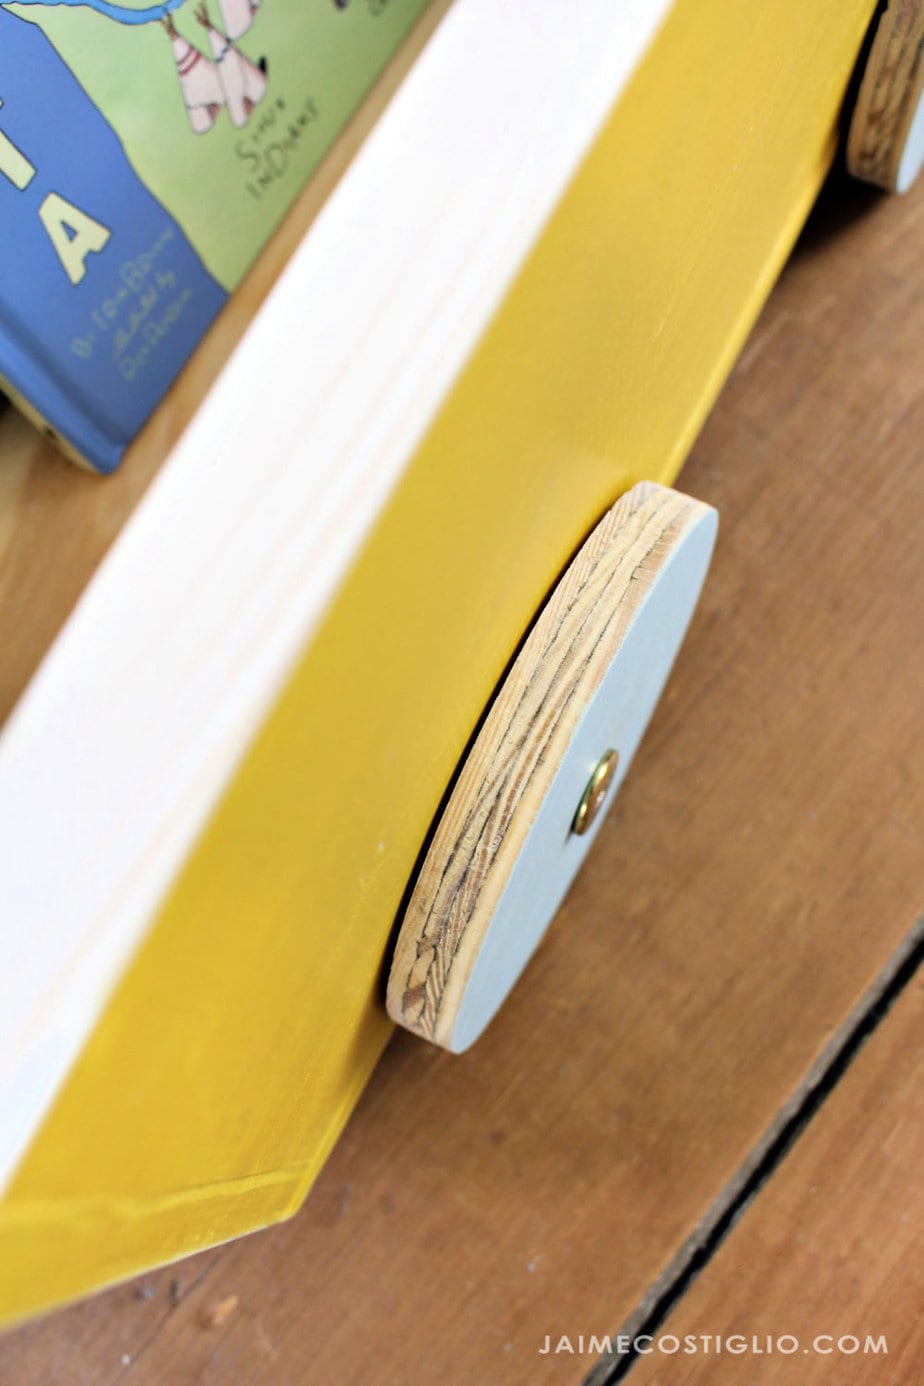
The secret to easy wood wheels is to use connecting bolts and caps. Then place one washer between the wood wheel and side of the book cart to keep the wheel from rubbing up on the side of the cart. You can see in the photo below the washer adds just the right amount of space.
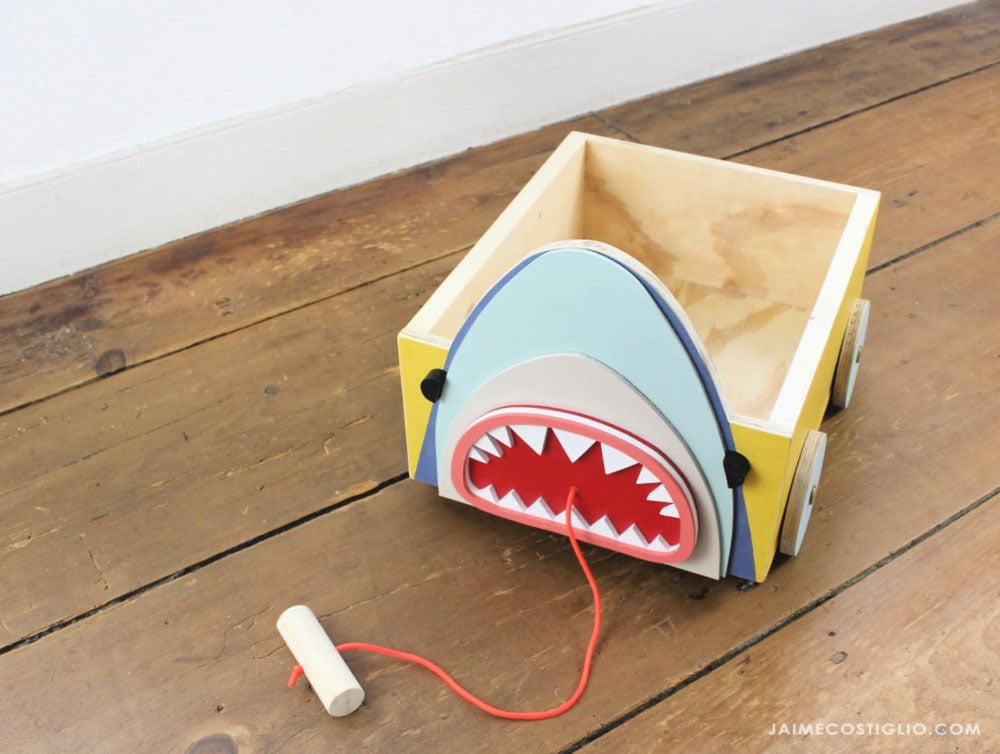
Who knew a wood box on wheels could be so fun? Imagine if you made a set of three for the playroom with all different animals, that would be so cute.
Supplies:
- follow Ana’s plans here for lumber and cut lists
- primer
- acrylic craft paints or latex paints
- clip art pattern of your animal of choice
- connecting bolts & caps or shear pins
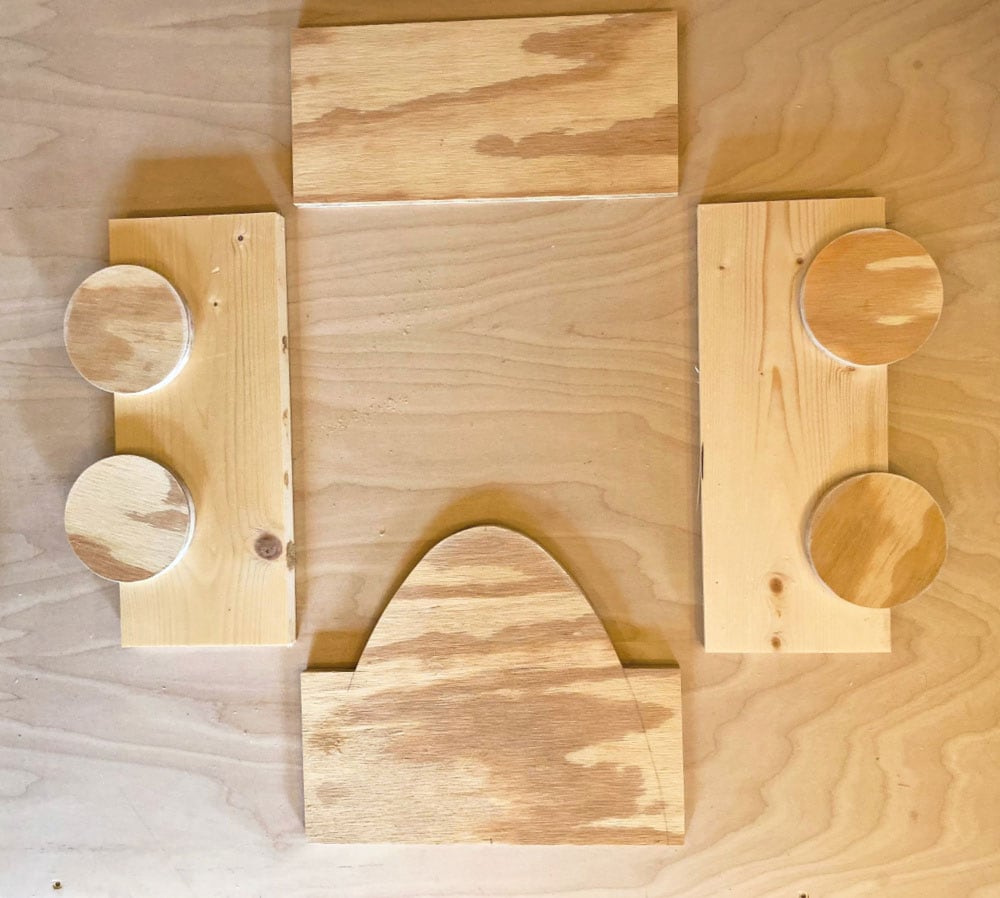
Follow Ana’s plans and cut all the pieces. I used my scroll saw for the wheels but you can purchase premade wood wheels at the craft store.
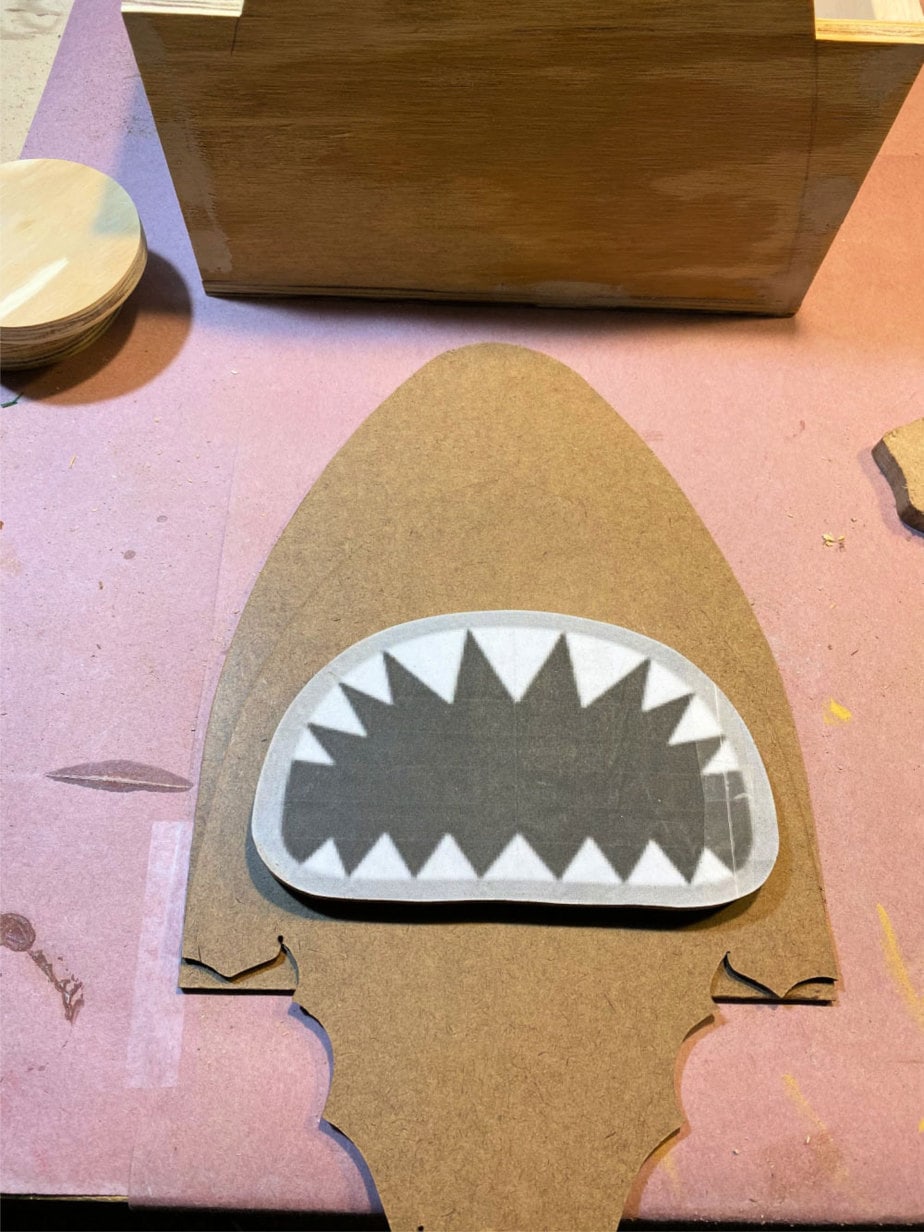
To make the shark I printed a pattern to size. To do this you will save the clip art to your desktop then open a word document and insert the clip art. From there you can adjust the size to fit your book cart. Finally print out the pattern. Now I stack cut three pieces of MDF (use contact paper in between each layer with spray adhesive to keep the stack together). For each part of the mouth I remove one layer of the stack – red mouth interior, teeth, lips.
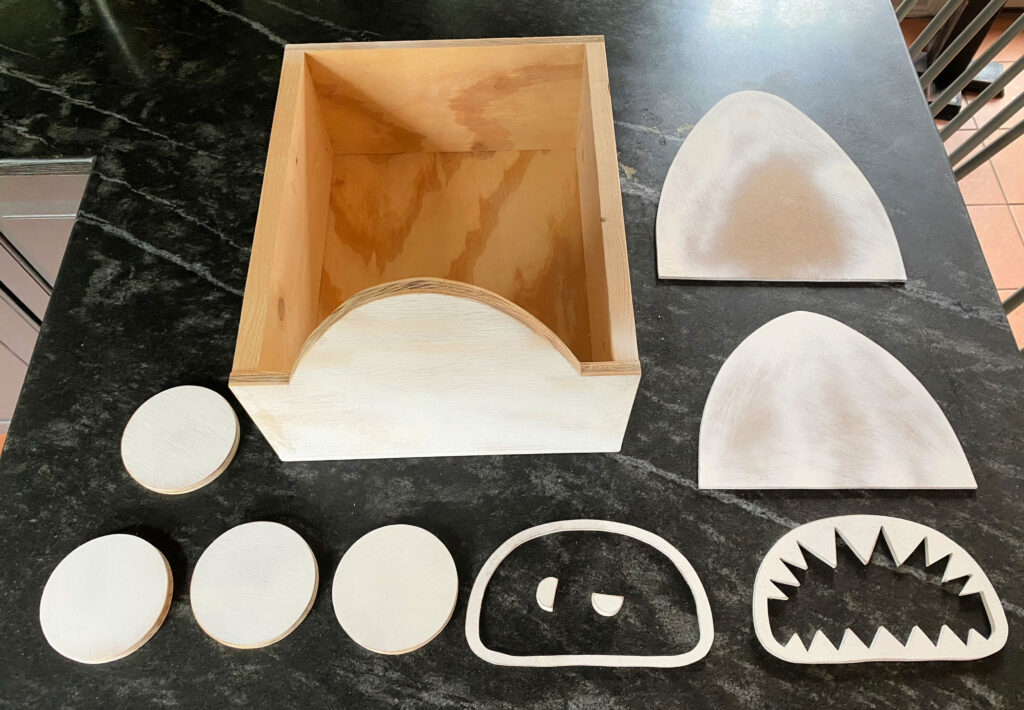
Once you have the book cart constructed I recommend priming all your pieces for a nice blank surface for paint. I use spray primer because it’s faster and easier to get in the grooves of the detailed pieces. Sand and then paint as desired.
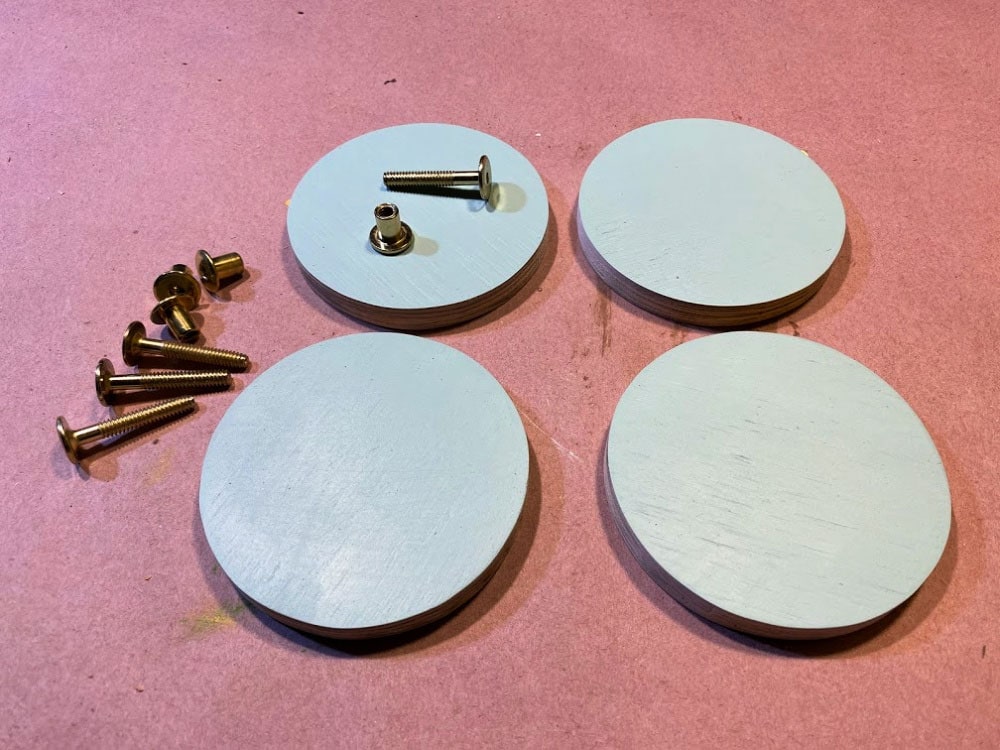
The last step is to add the wheels. In order to allow the wheels to spin you need to use connecting bolts and caps. Pre-drill a hole in the center of the wheel and a corresponding hole in the book cart side. Then insert the bolt but I do recommend adding a washer between the wheel and the book cart to allow for a space for the wheel to move and not rub against the side. You may need to trim your connecting bolt depending on your spacing. Use a Dremel cut off wheel to trim the bolt if needed.
Thanks for joining me for this book cart project. Please leave any questions in the comments below and be sure to follow me on social media for sneak peeks, tools and project inspiration:
Instagram / Pinterest / Facebook / Youtube / Twitter
SHOP THIS PROJECT:

This is adorable! I love the all the kid toys but this one is my favorite.
Thanks Rachel, it was the most fun to create. Who knew a box on wheels could be so fun?!
DIY Animal Book Cart—————–love the shark front but am having trouble locating the clip art for the shark mouth pattern———could you please send? Thanks
steve
Google ‘shark mouth clip art’ and pick your favorite.
thanks so much for your reply, very helpful!—–on either side of the shark mouth are two small black items, if these are clips or fasteners, what kind? I don’s see these on the materials list. I love your ideas for projects
steve