Yes you can make your own frames in any size and I’m here to share exactly how to do it.
Make your own custom frames in any size using any lumber. A DIY tutorial with steps and tools for basic framing of artwork.
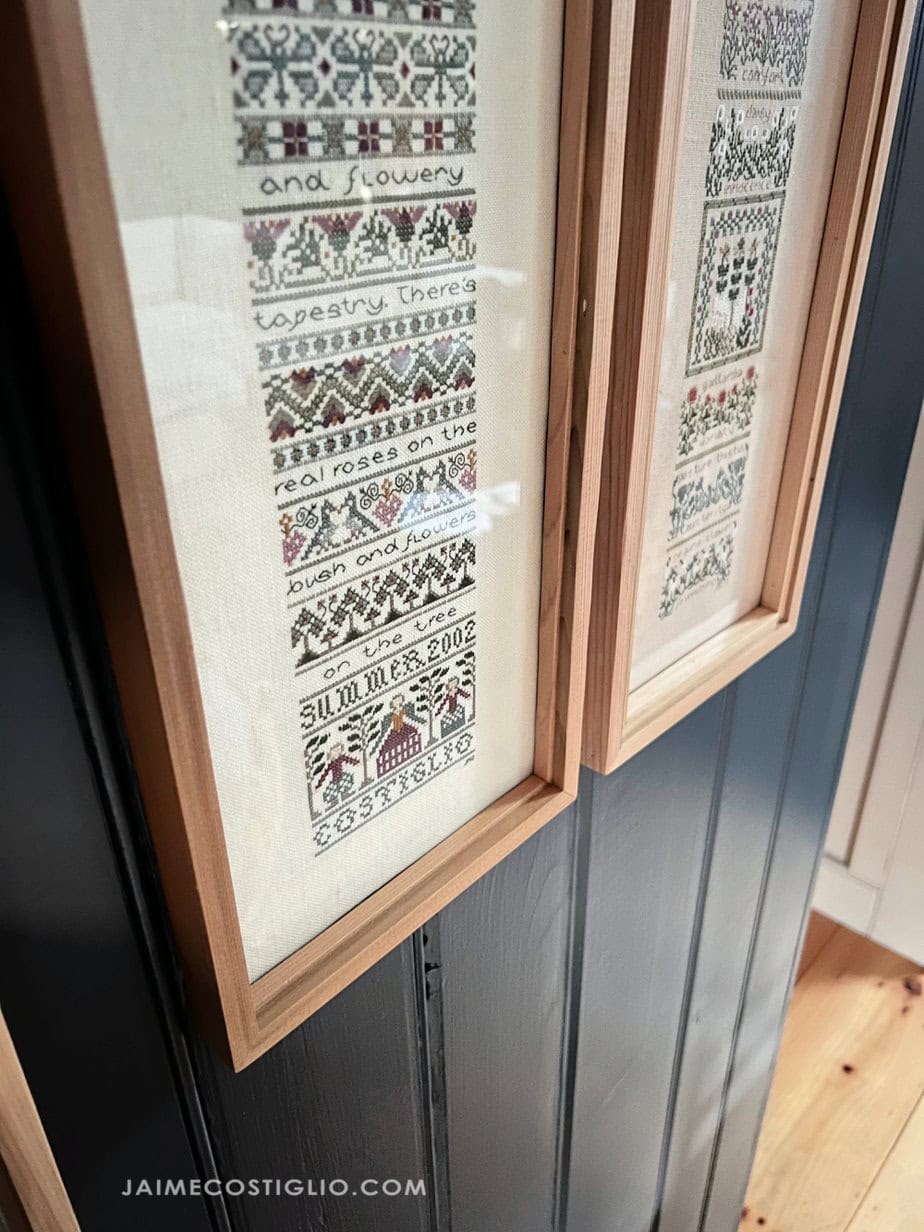
Cedar Frames
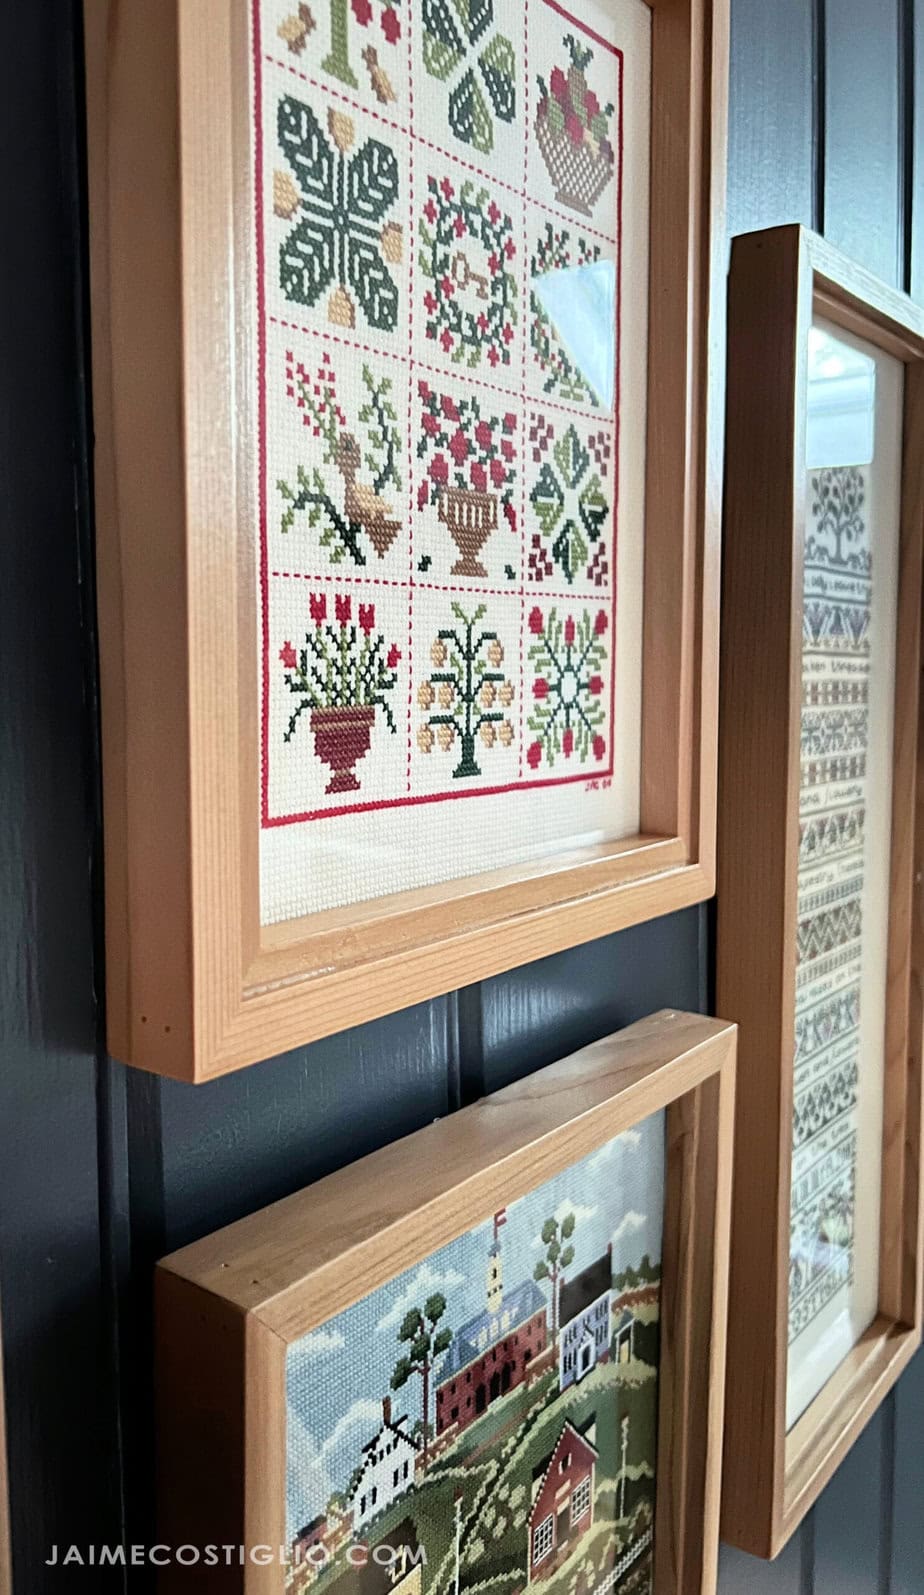
I made a whole lot of frames using cedar fence pickets from an old fence we replaced awhile back. But you can use any lumber you desire. For this project I highly recommend a table saw in order to rip down your lumber to the size you desire. Alternatively there are plenty of trim and moulding options in nice sizes that would work great for frames.
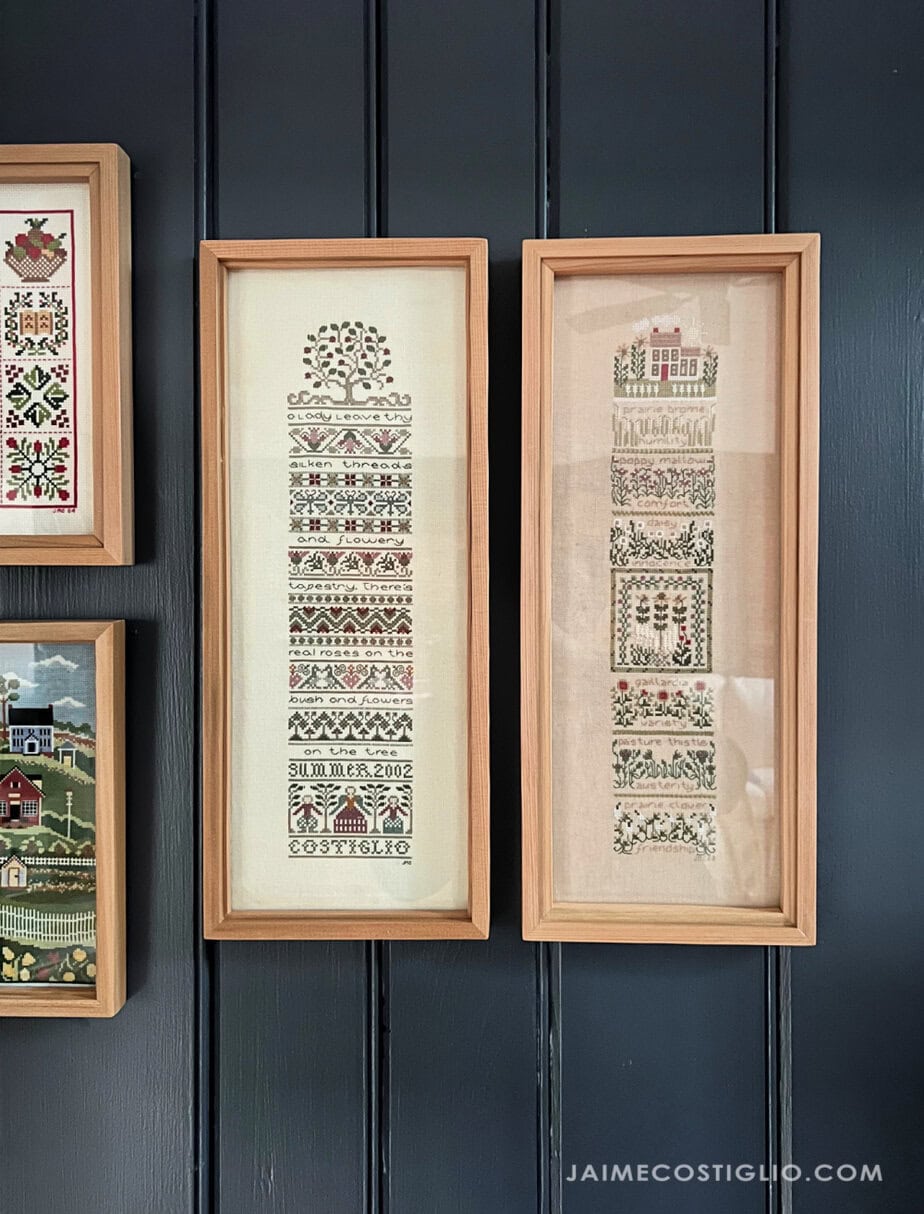
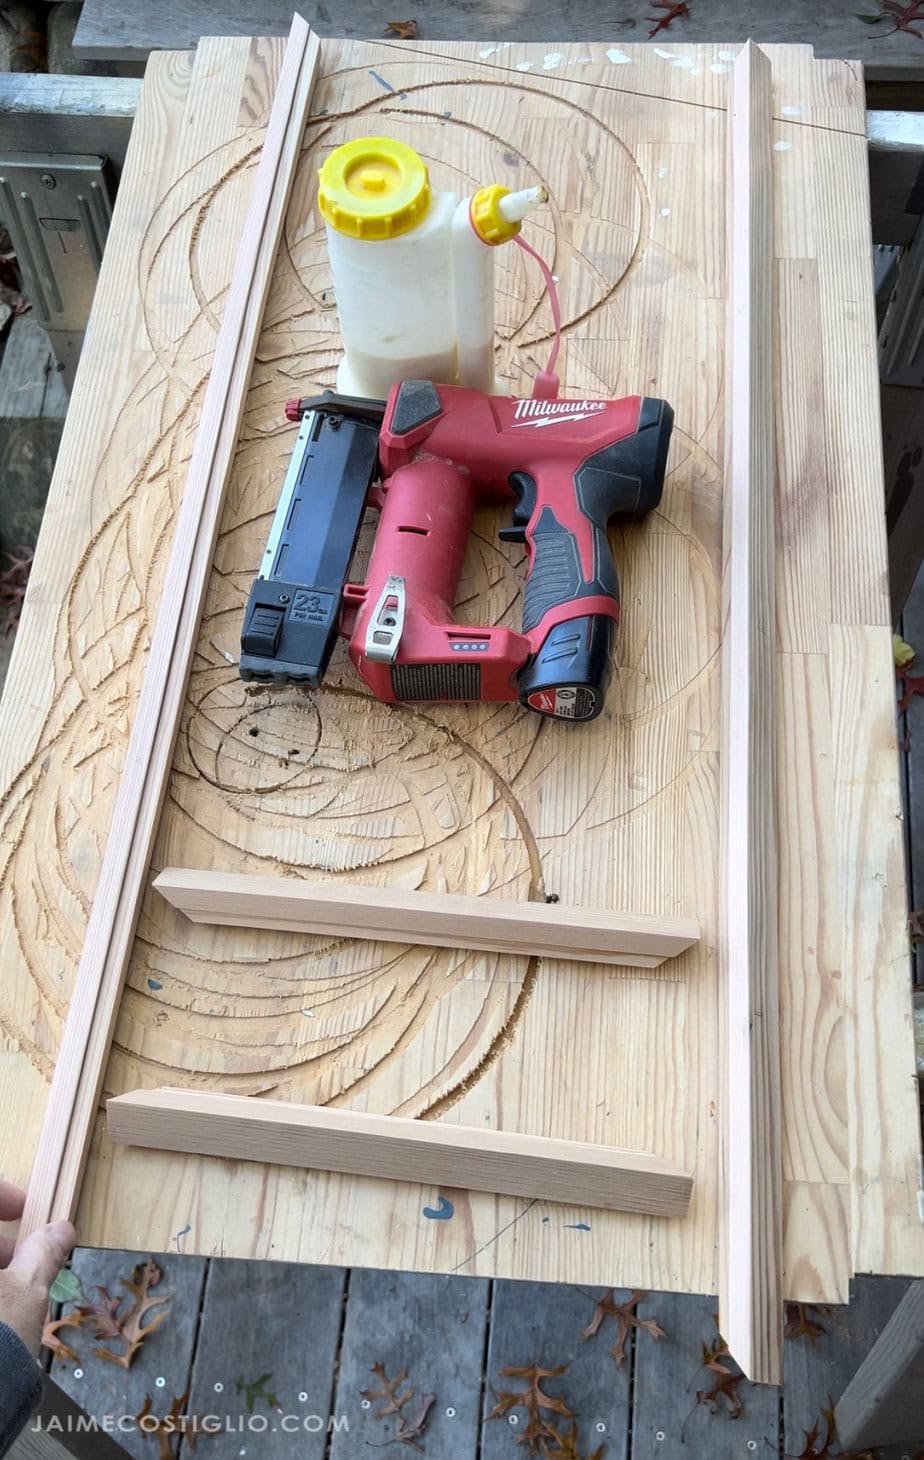
Each frame is composed of a wider, thicker exterior piece and a smaller, thinner interior piece. Down below in Step 1 you will see a side view that shows the composition.
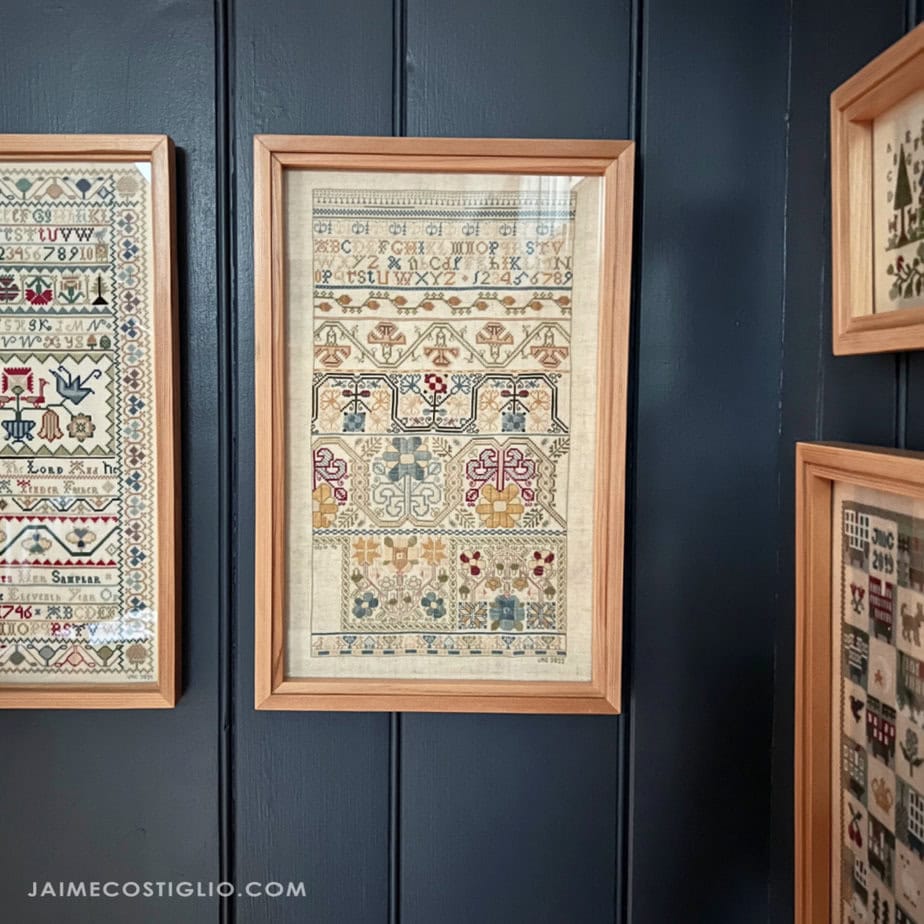
Grouped Frames
I had been saving up a whole group of samplers I stitched over the years. I absolutely love embroidery and cross stitch, really any hand stitching is just my favorite while I’m watching tv at night.
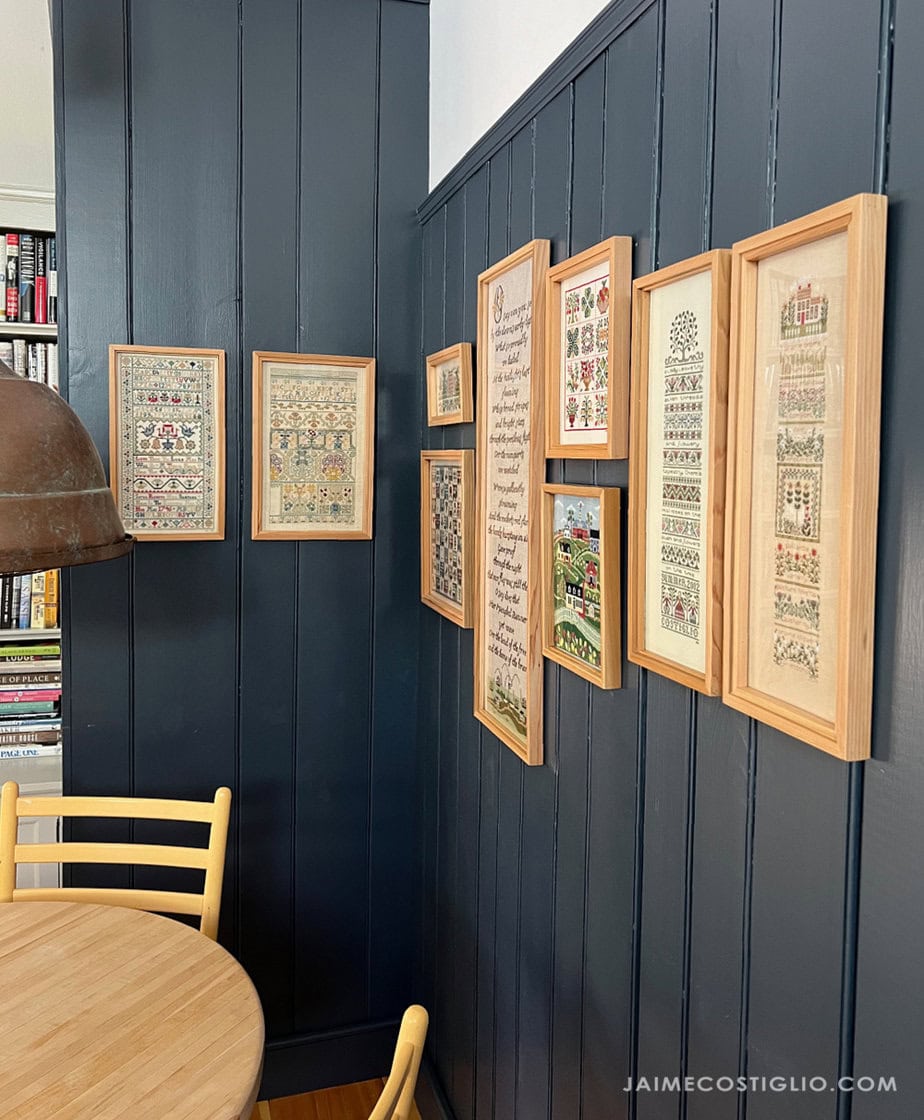
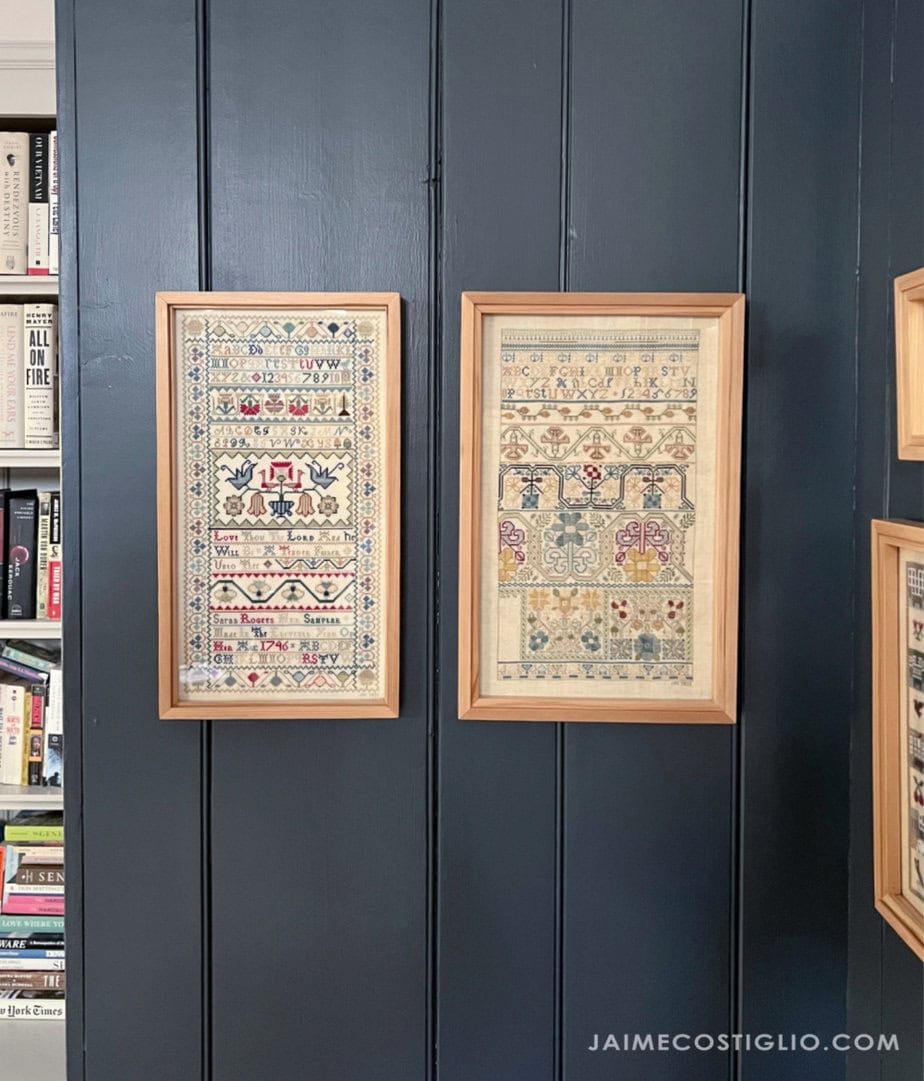
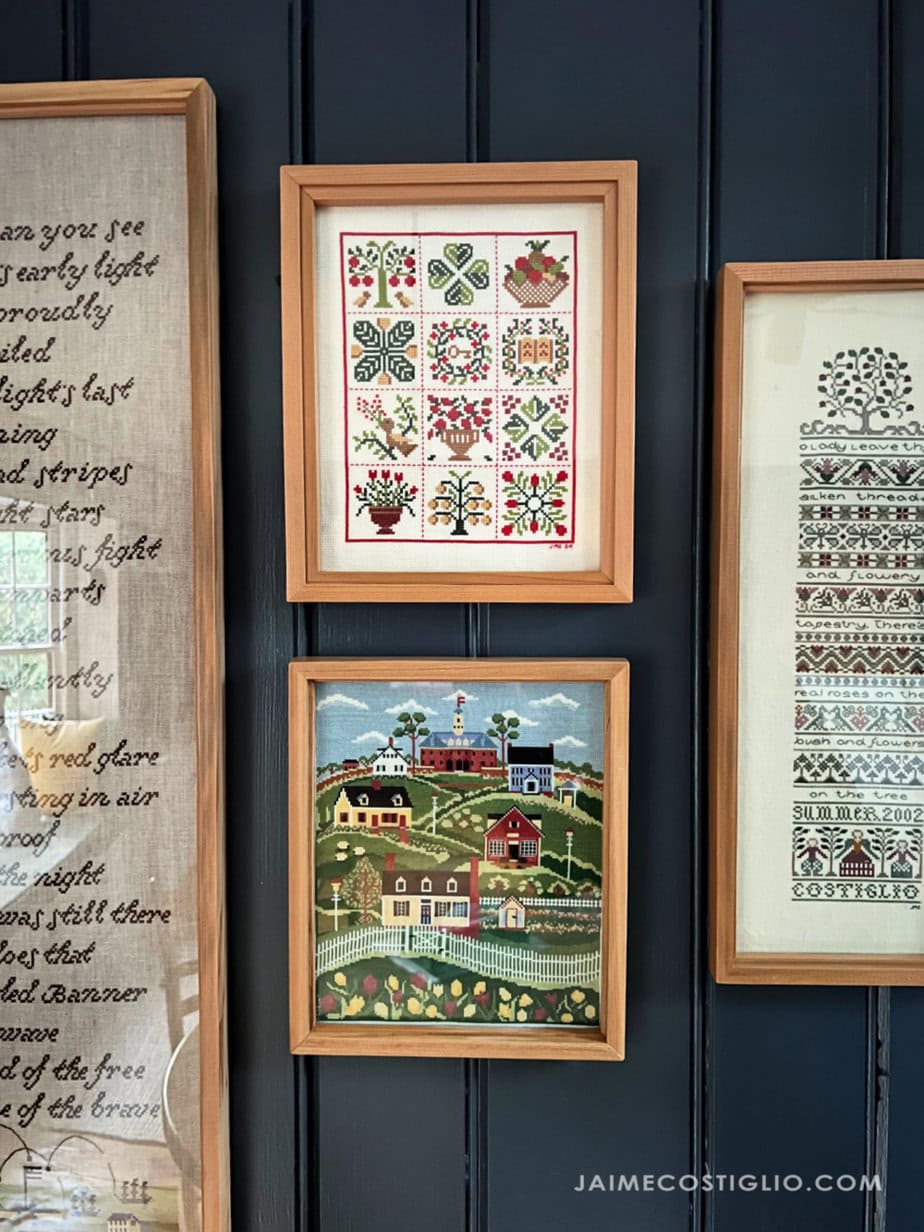
Sampler Pattern Sources (from left to right in the above picture):
- Sarah Rogers Sampler
- Frances Burwell Sampler
- Gameboard Sampler
- Brick House Sampler
- Star Spangled Banner (pattern no longer available)
- Baltimore Album Sampler (similar pattern)
- Spring in Williamsburg
- Real Roses
- Prairie Garden
All of these frames have glass or plexiglass which makes it incredibly hard to photograph! My apologies for the glare, I tried my best to get the details of the samplers as well as the details of the frames.
Below is the step by step tutorial to make your DIY frames. The size will depend on your artwork so begin with those dimensions. Be sure to read through all the steps before you begin. And if you prefer a video tutorial see the process in action here.
Supplies:
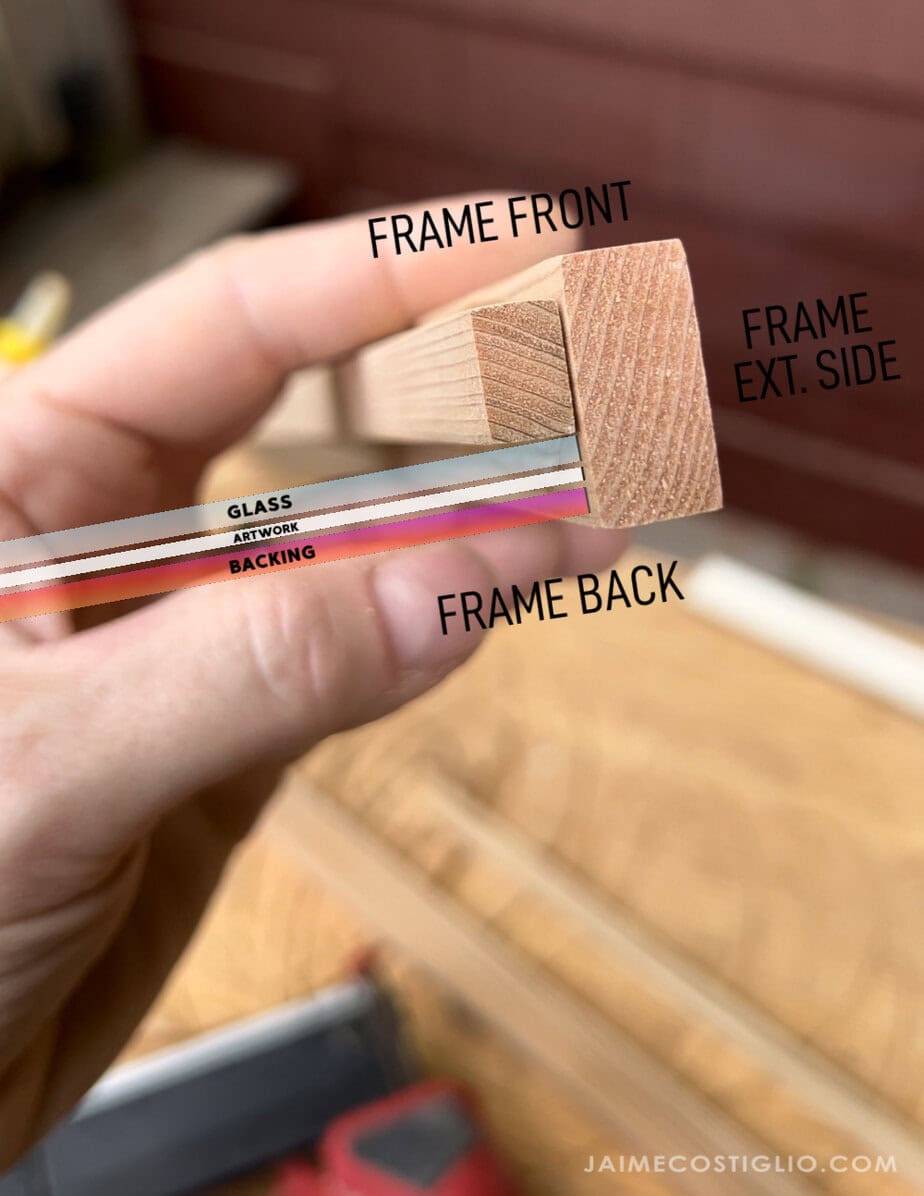
Step 1: Create the frame lumber pieces. Using your desired lumber create enough length for the four sides of the frame (with some excess). See details labeled in the photo above. A larger outer frame piece with a smaller inner frame works best. The smaller inner frame creates a ledge to hold the glass, artwork and backing. Be sure this portion is deep enough to accommodate the thickness of your materials (glass + artwork + backing).
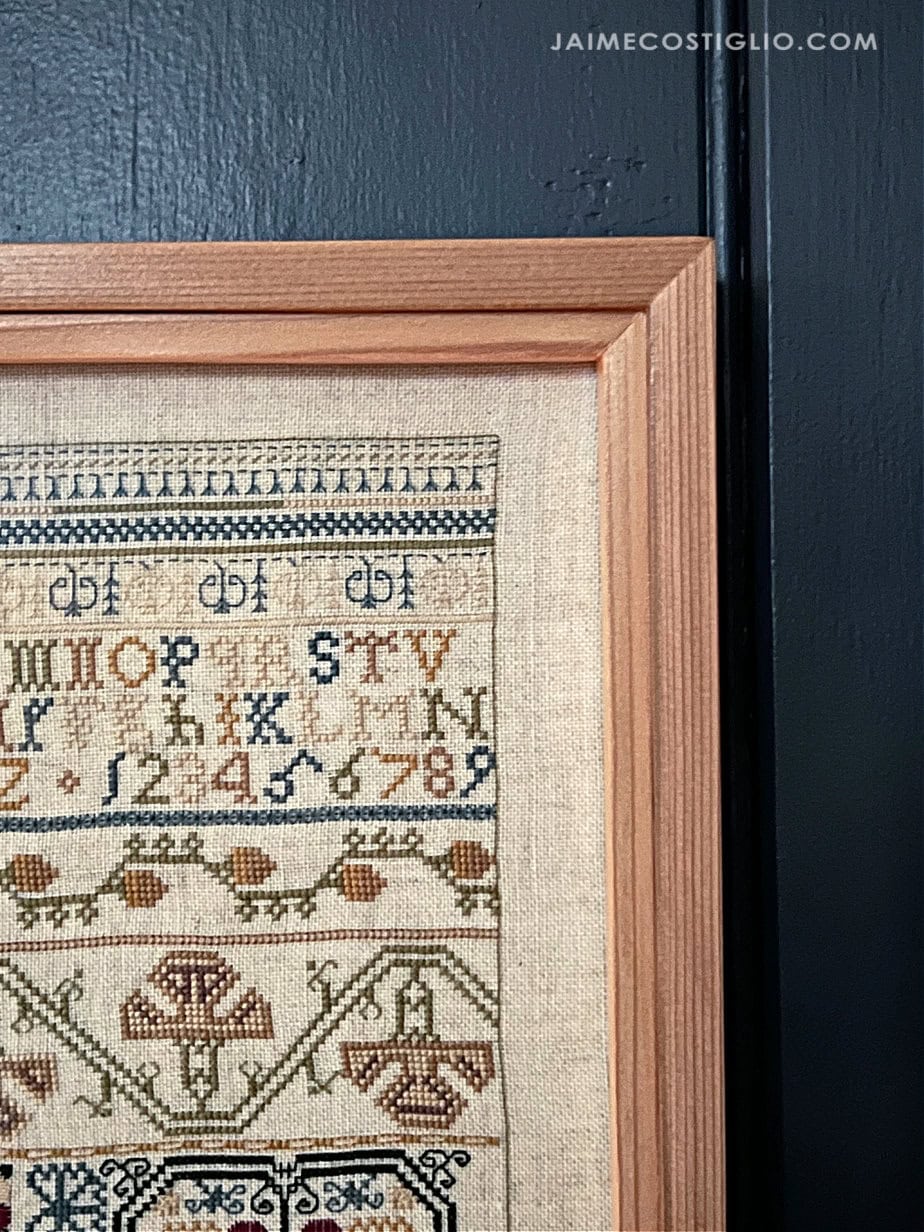
Step 2: Cut the four sides using a 45 degree miter. Frames look best with a mitered corner rather than a butt joint.
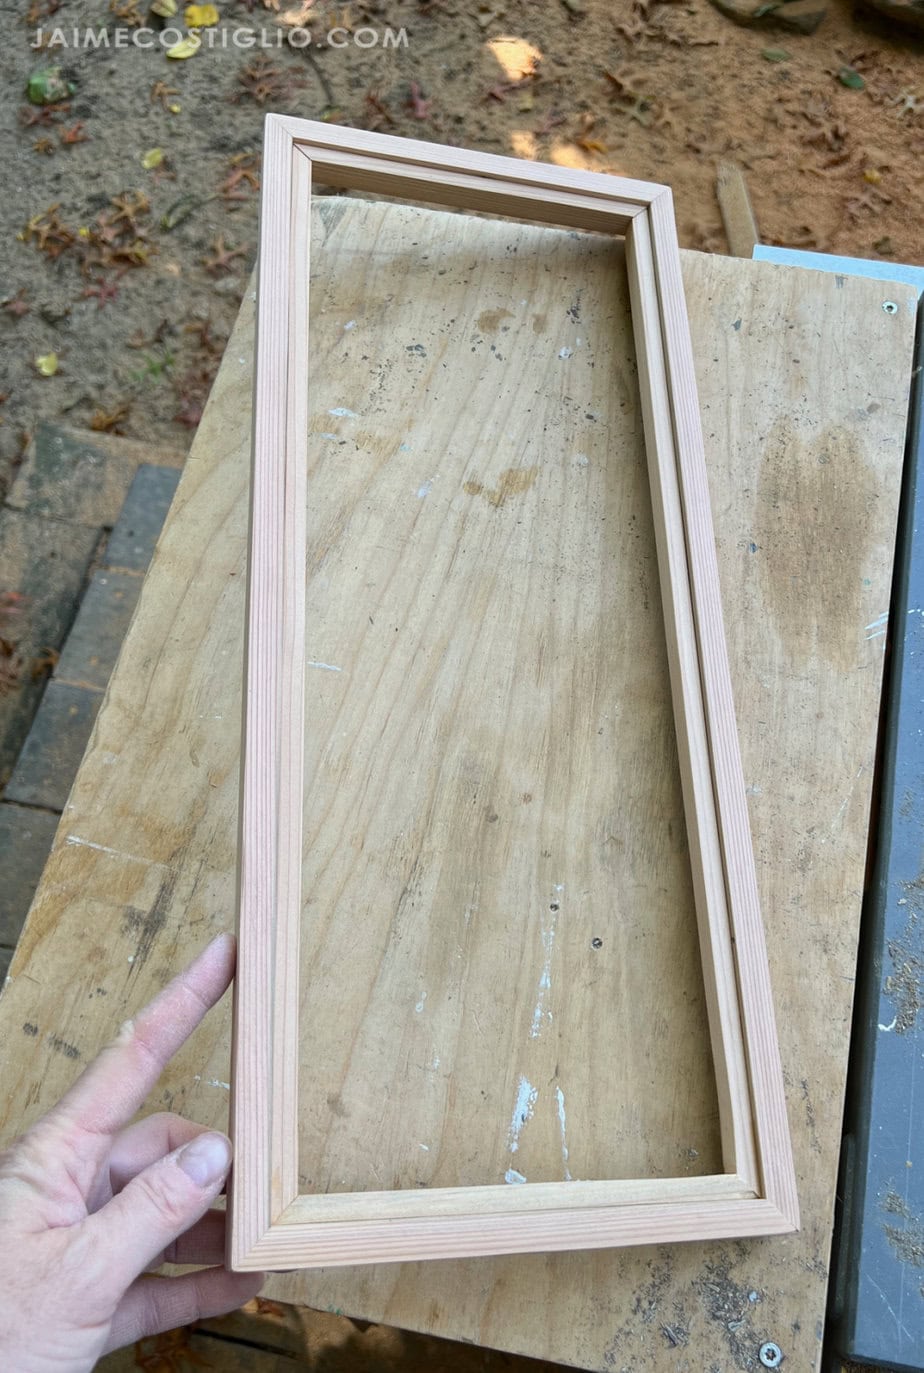
Step 3: Assemble the frame using wood glue and pin nails.
Finish your frame as desired. I used three coats of clear satin poly.

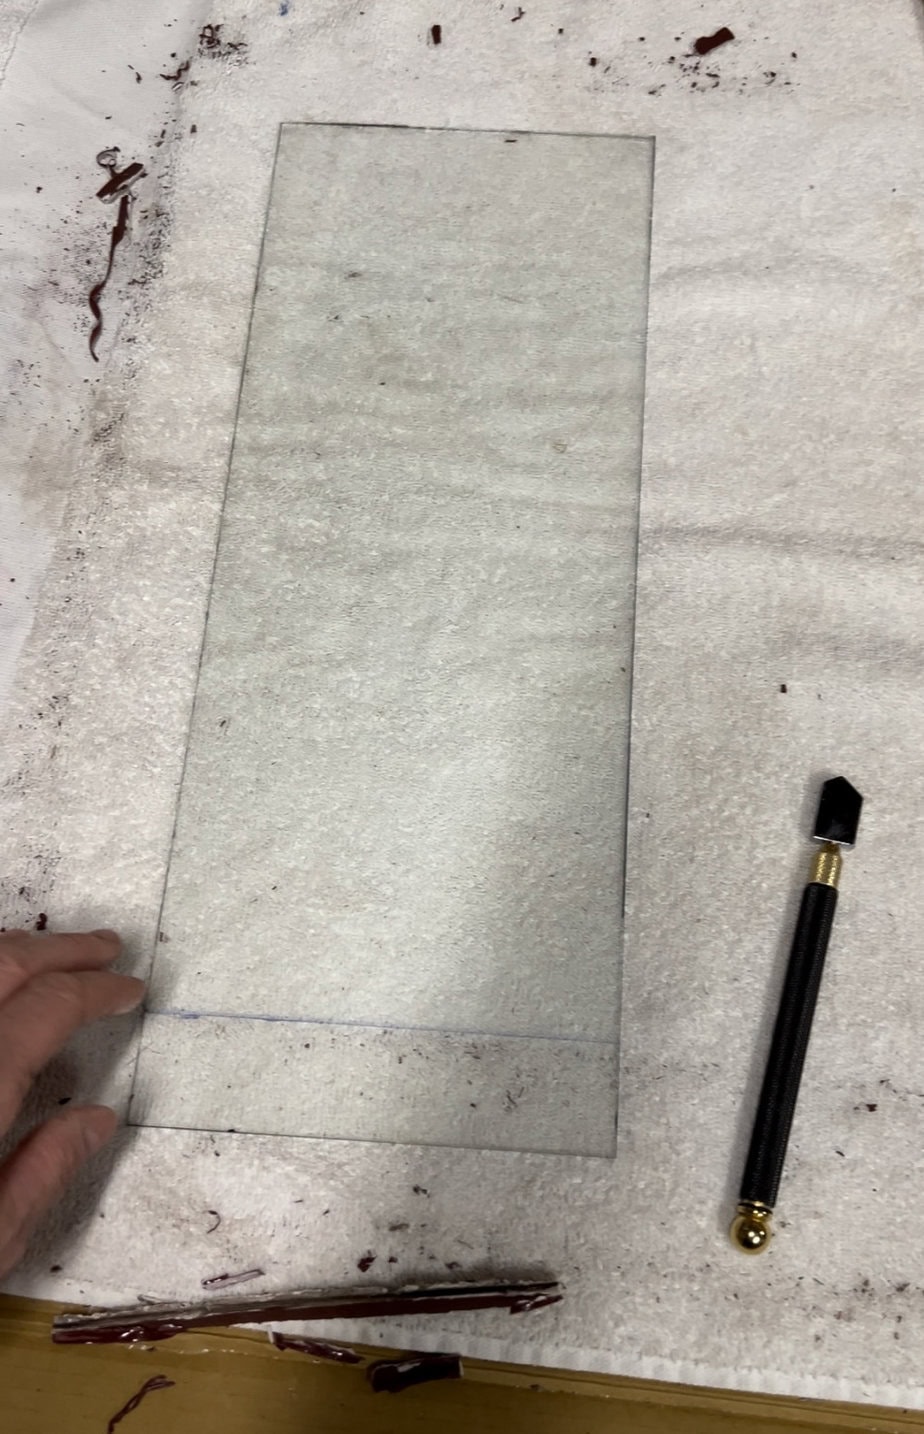
Step 4: Cut the glass to fit inside the frame with just a hair of wiggle room. Cut the backing the same size as the glass (foam core or thick cardboard works great).
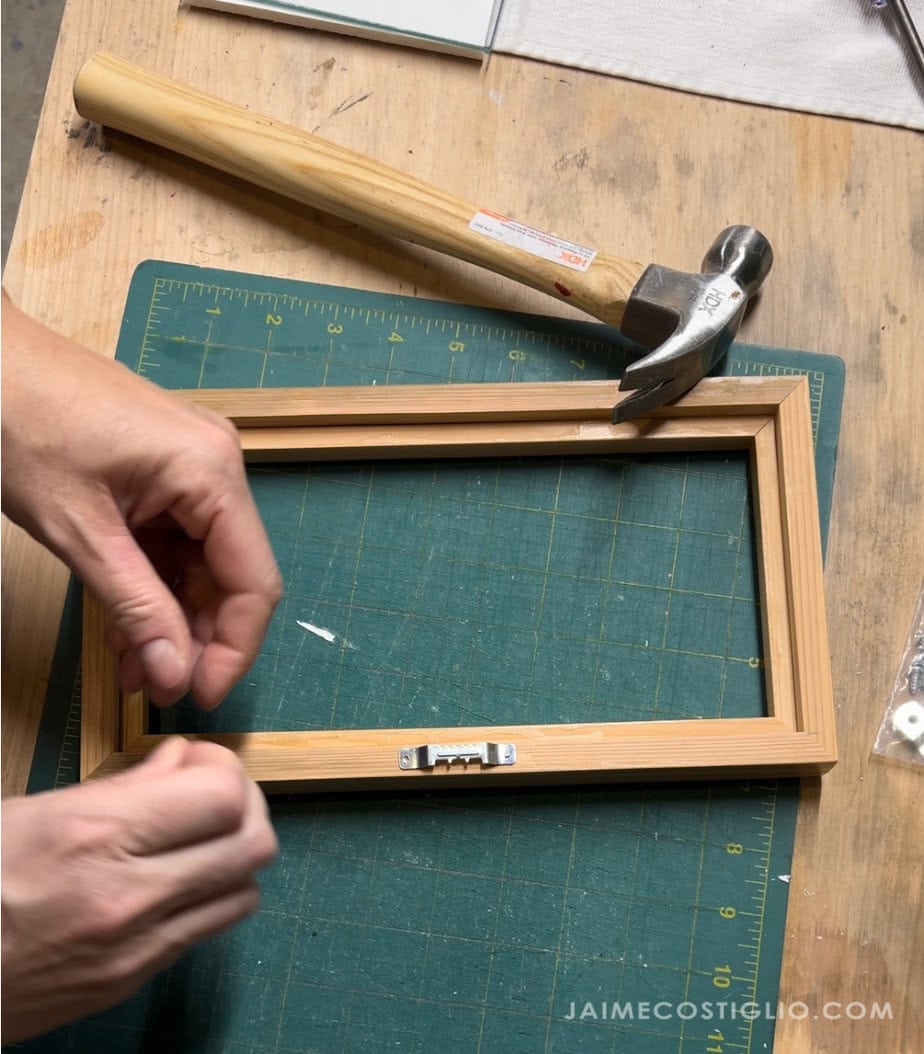
Step 5: Attach a sawtooth hanger onto the center back at top.
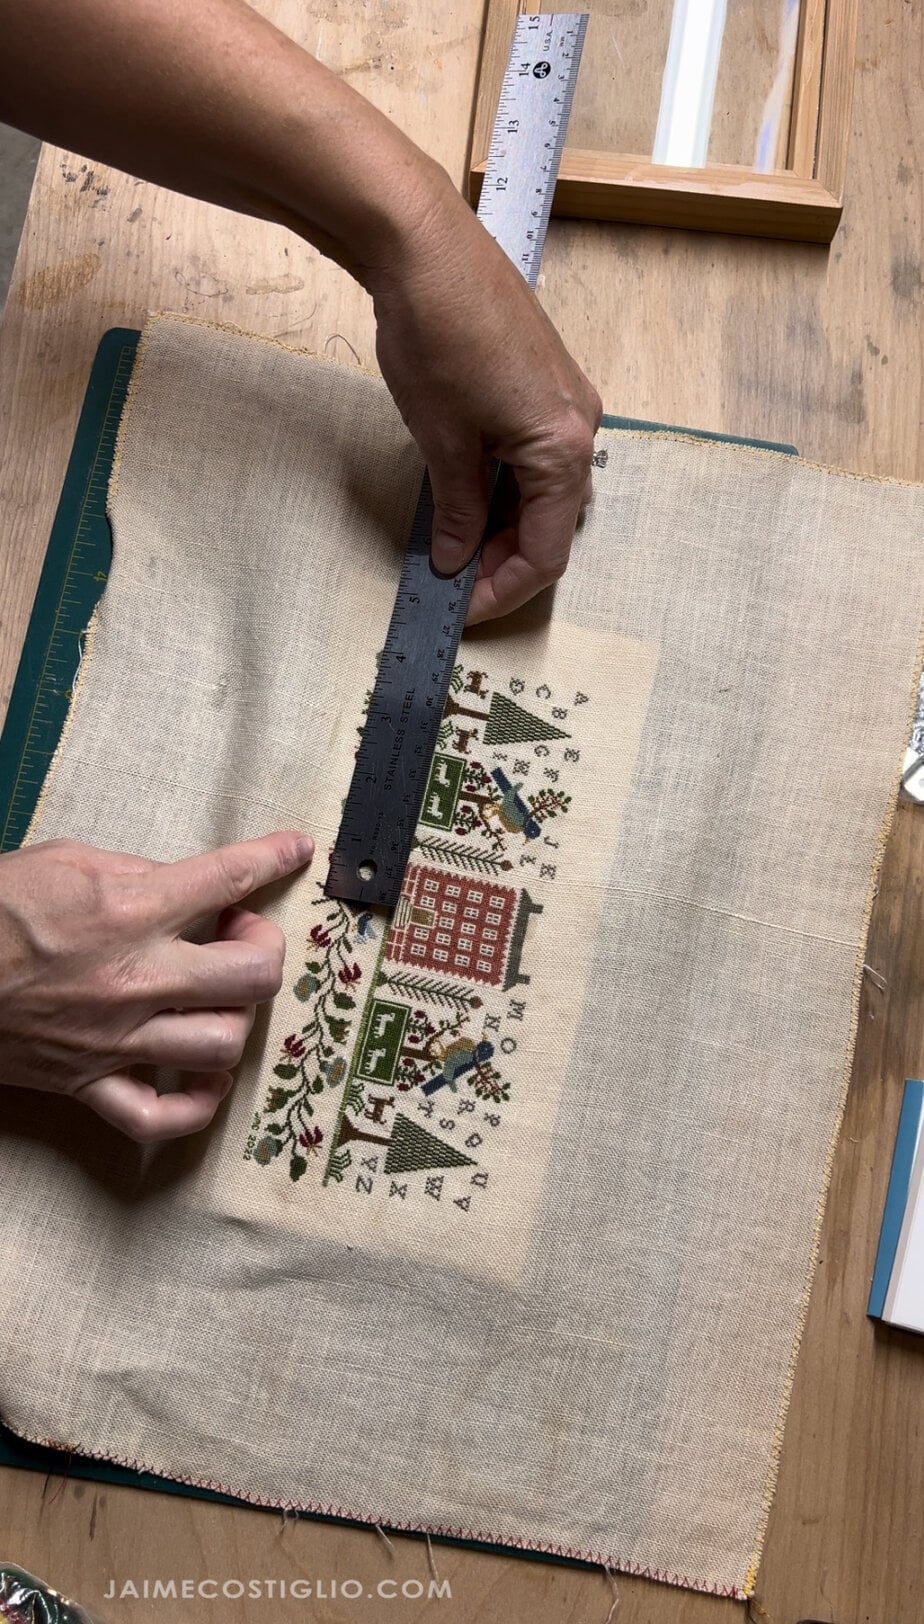
Step 6: Prepare the artwork onto the backing. I used a very light spray adhesive on the back of my fabric and then placed the artwork onto a foam core backing.
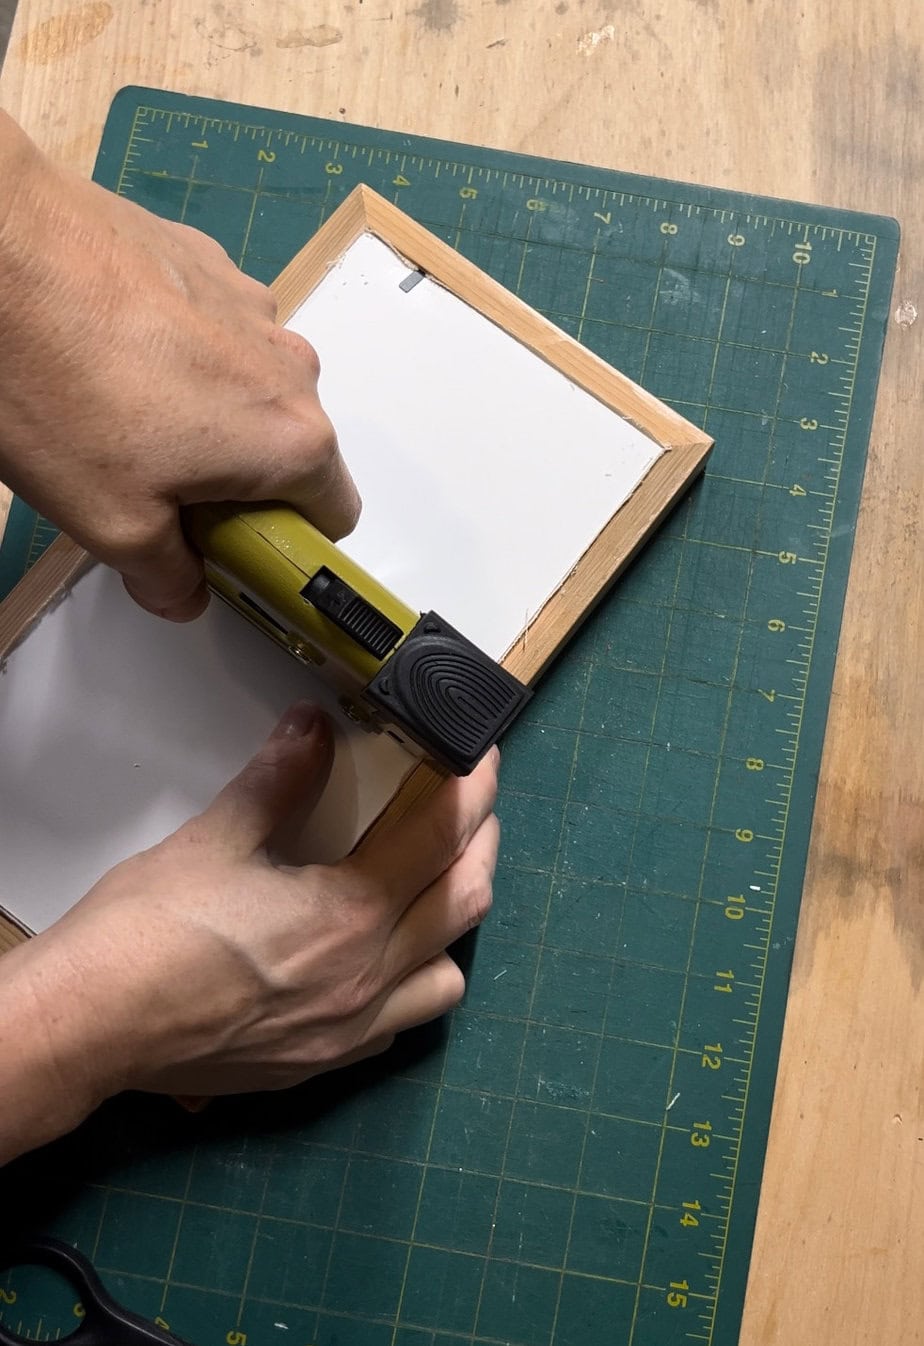
Step 7: Time to assemble. Place the glass in first then the artwork and backing. Use a point driver to secure the backing in place.
Thanks for joining me for this wood frames project. Please leave any questions in the comments below and be sure to follow me on social media for sneak peeks, tools and project inspiration:
Instagram / Pinterest / Facebook / Youtube / Twitter
SHOP THIS POST:


Leave a Reply