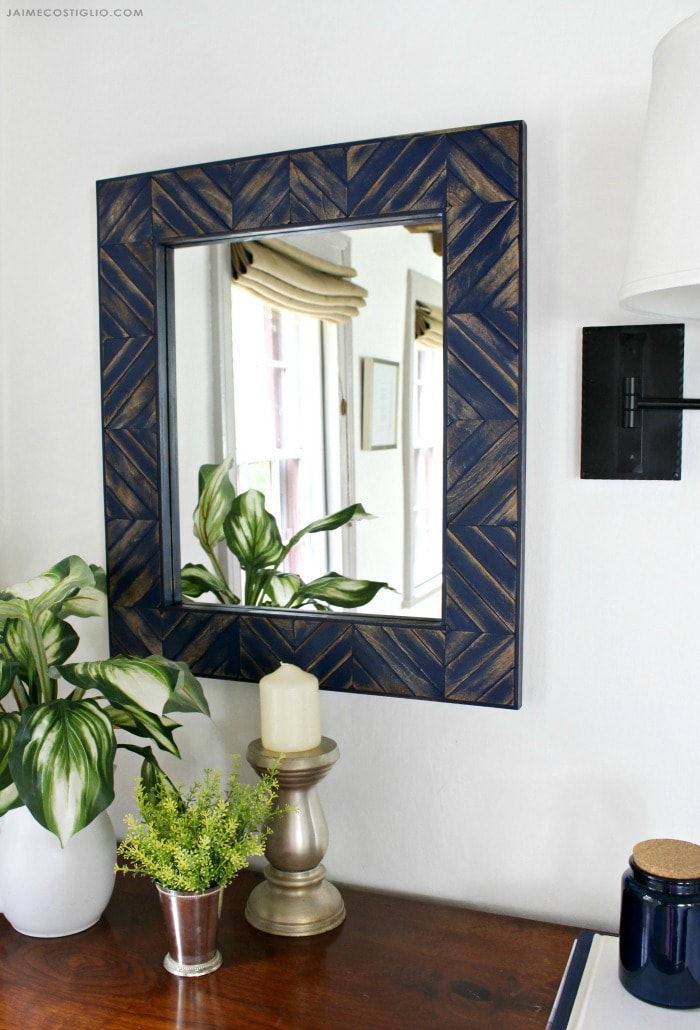
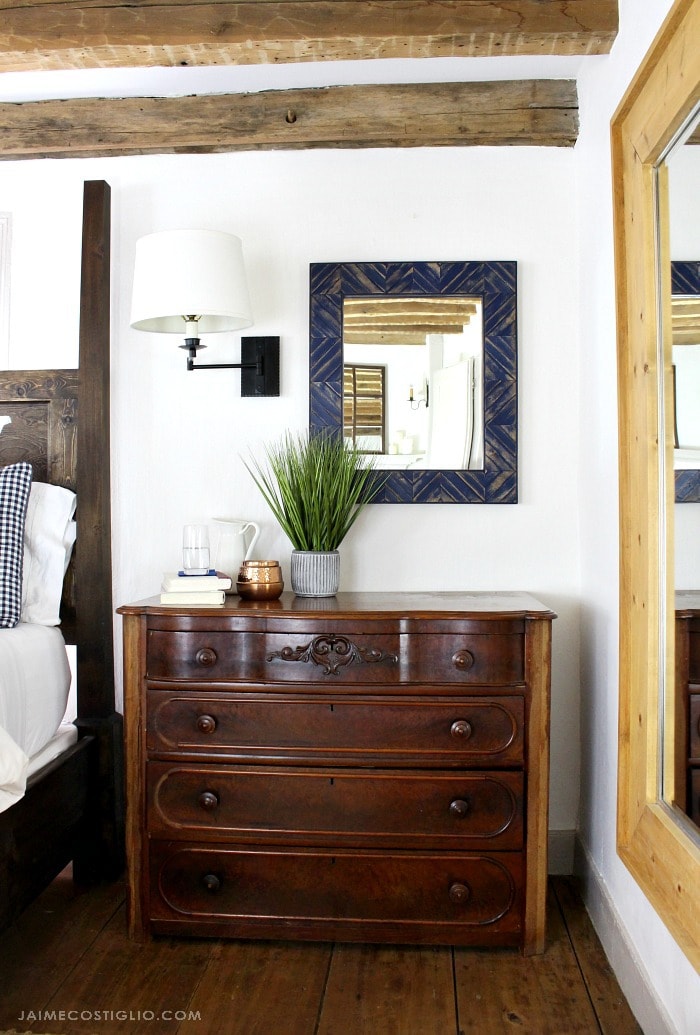
Paint sticks are both economical and easy to work with so I decided to revamp the mirrors in our Master Bedroom and made these paint stick frames.
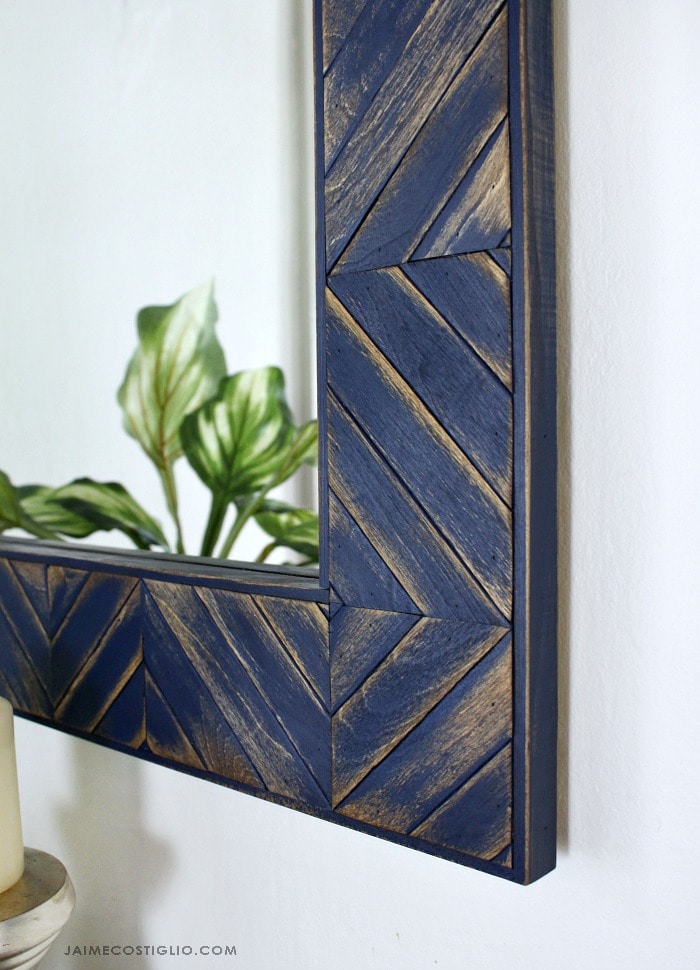
The pattern possibilities are endless so I used the width of the frame (3 1/2″) to determine a chevron pattern of sorts and just keep cutting and adding pieces until it was all filled in.
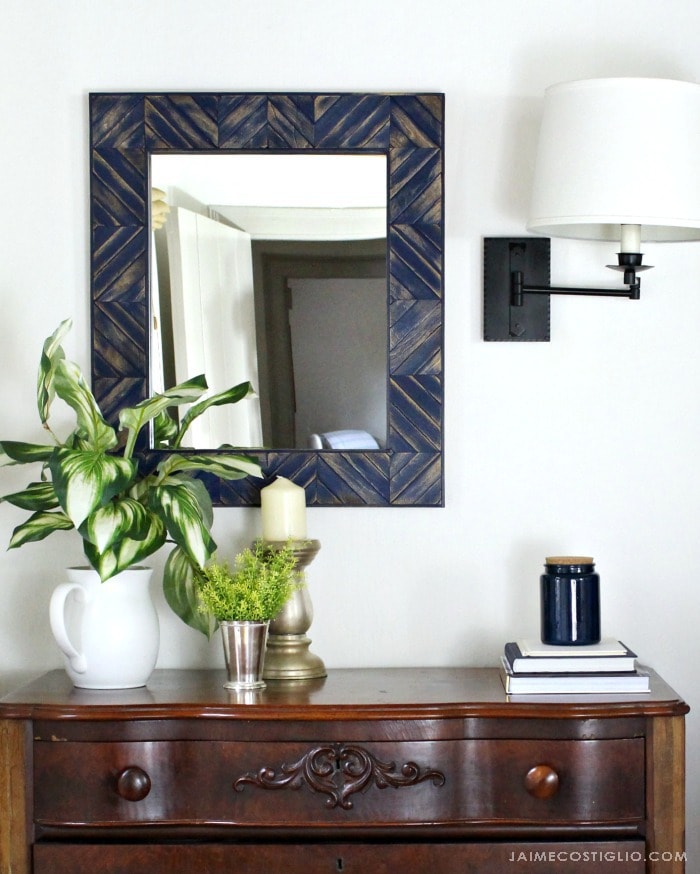
Below are the steps to make this paint stick frame. You can find basic rectangular mirrors and make your own beautiful frame using paint sticks.
Supplies:
- 1×4 pine board
- 7/8″ flat moulding
- paint stir sticks
- 1 1/4″ pocket hole screws
- wood glue
- drill & bits
- miter saw
- band saw, scroll saw or handsaw
- carpenters speed square
- pencil & measuring tape
- pin nailer & 5/8″ pin nails
- paint & paintbrush
- sander
- stain & cloth
- wipe on poly & cloth
- mirror
- mirror clips
- hanging wire
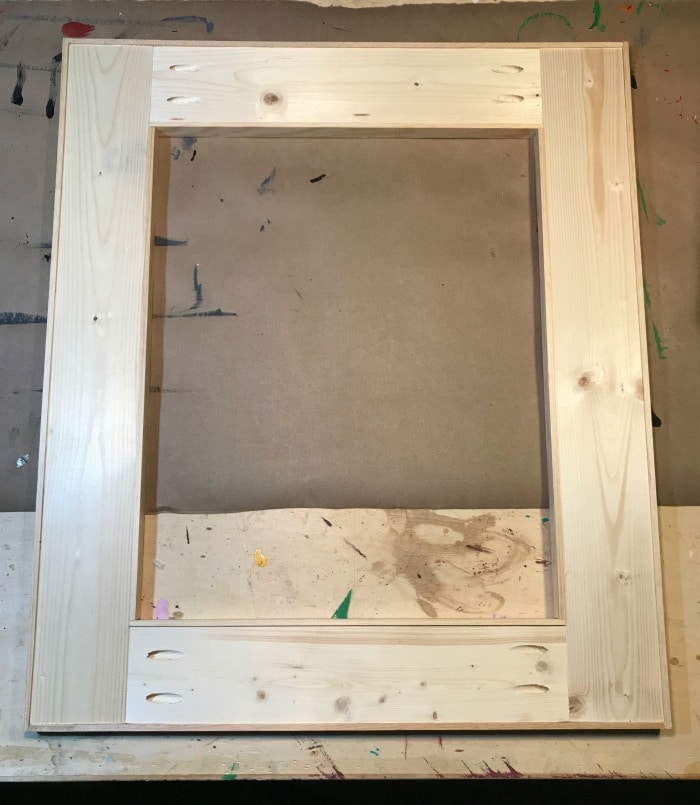
Step 1: Build the frame using 1×4 boards. Cut the horizontal boards 1″ narrower than your mirror width. Cut the vertical boards 6″ longer than your mirror height. Attach using wood glue and 1 1/4″ pocket hole screws. Then attach 7/8″ flat moulding to exterior and interior edges, keeping it flush to back side, to create a lip.
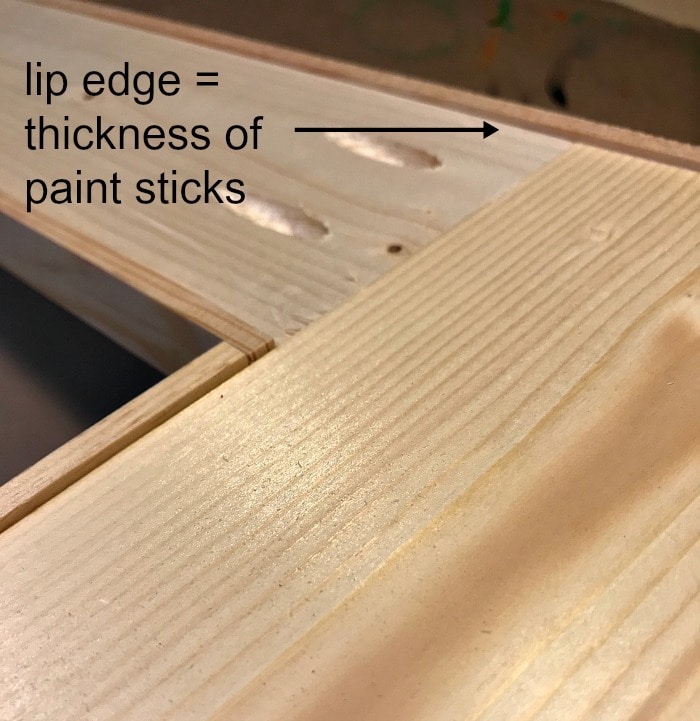
Step 1 detail: See how the flat moulding creates a lip edge just the perfect thickness of the paint sticks.
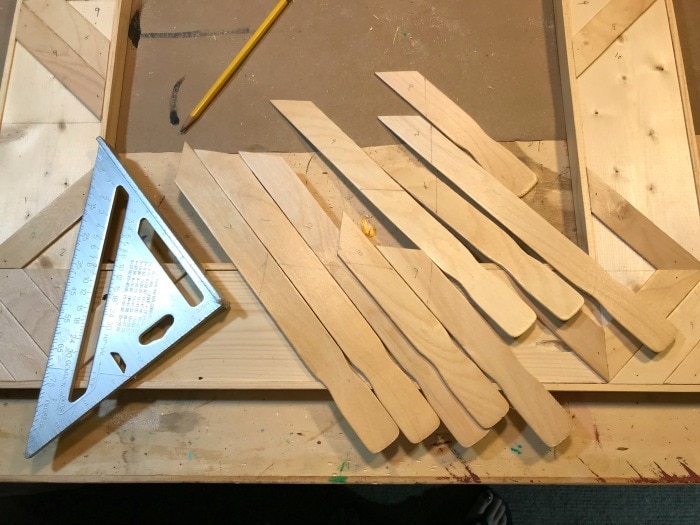
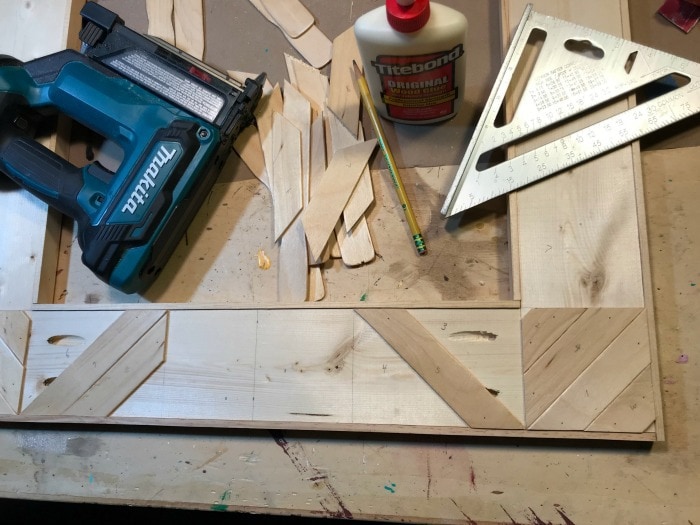
Step 2: Determine your pattern / design and start cutting paint sticks to fit. I started in the corners and made 45 degree cuts, marking each paint stick with a number then using a speed square to draw the cut line. I suggest a band saw, scroll saw or handsaw to make these small cuts.
Step 3: Attach each paint stick piece to the frame using wood glue and 5/8″ pin nails. If you do any amount of small woodcraft I highly suggest the Makita pin nailer, it’s a game changer.
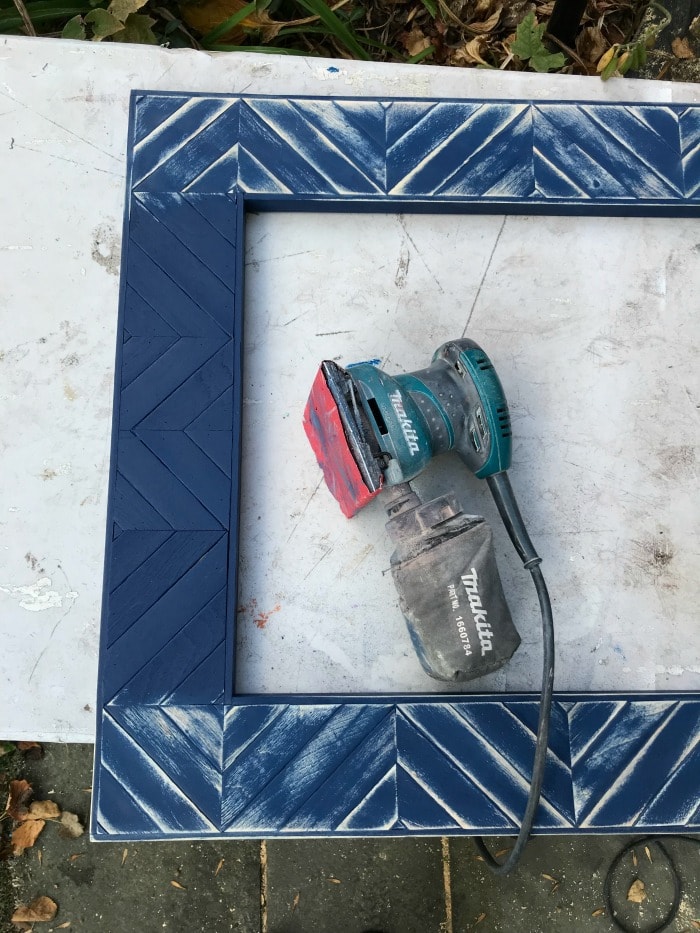
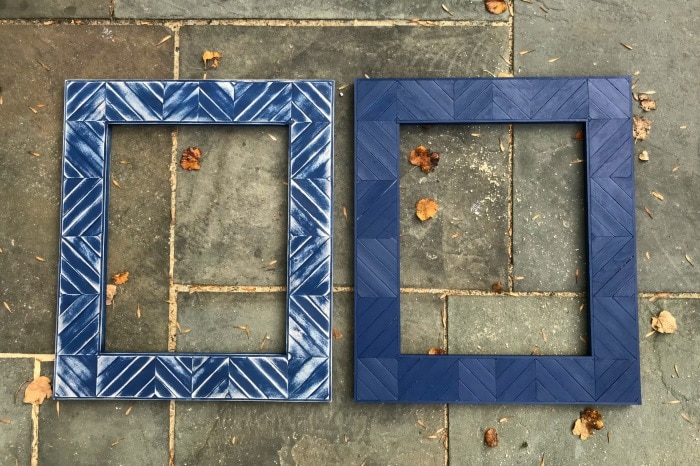
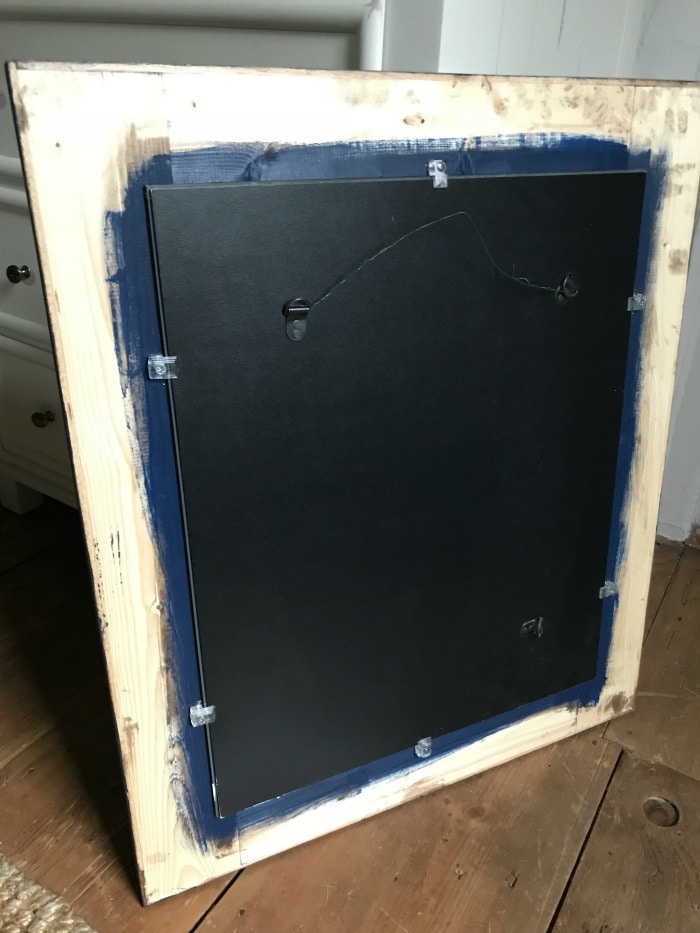
Step 4: Paint the frame your desired color. I used DecoArt Americana Decor satin enamel in dark denim. Be sure to paint the inside edge on the backside especially if you are planning to frame a mirror (the mirror will reflect any unfinished wood). Sand to distress paint and smooth edges of paint sticks. The paint sticks I purchased weren’t completely flat, some were cupping but that actually worked to my advantage because when I went to sand everything smooth it only enhance the pattern.
Step 5: Apply stain to sanded frame. I used Minwax Early American.
Step 6: To seal the frame and enhance the wood grain I applied a generous amount of Minwax wipe on poly in clear satin.
Step 7: Attach the mirror to the backside of the frame using mirror clips. Be sure your mirror is completely centered. Add a hanging wire.
SHOP THIS PROJECT:



I’m looking at ideas to decorate and or frame a mirror it has no wall space that it’s hanging on. What can I use that will stick straight to a mirror
Wood will stick to a mirror if you use the proper adhesive. Try mirror mastic or construction adhesive.
This frame is gorgeous!! I’ve seen it before and probably posted it or pinned it. I just love mirrors but I’m not even sure I have anywhere to hang another one. This would be so pretty as a frame too and I know I need more frames to hang up many things I still need to put up. I will probably need some frames for a counter top, bookcase, table or dresser and I think these would also look nice on a table of some sort or bookcase. Anyway, we’ll done for sure!