Increase your curb appeal and treat your outdoor spaces just like you would your indoor spaces. With a few simple decor pieces you can make those outdoor spaces look amazing. So I’ve joined up with a group of amazing DIY bloggers to share our outdoor projects perfect for freshening up those exterior rooms.
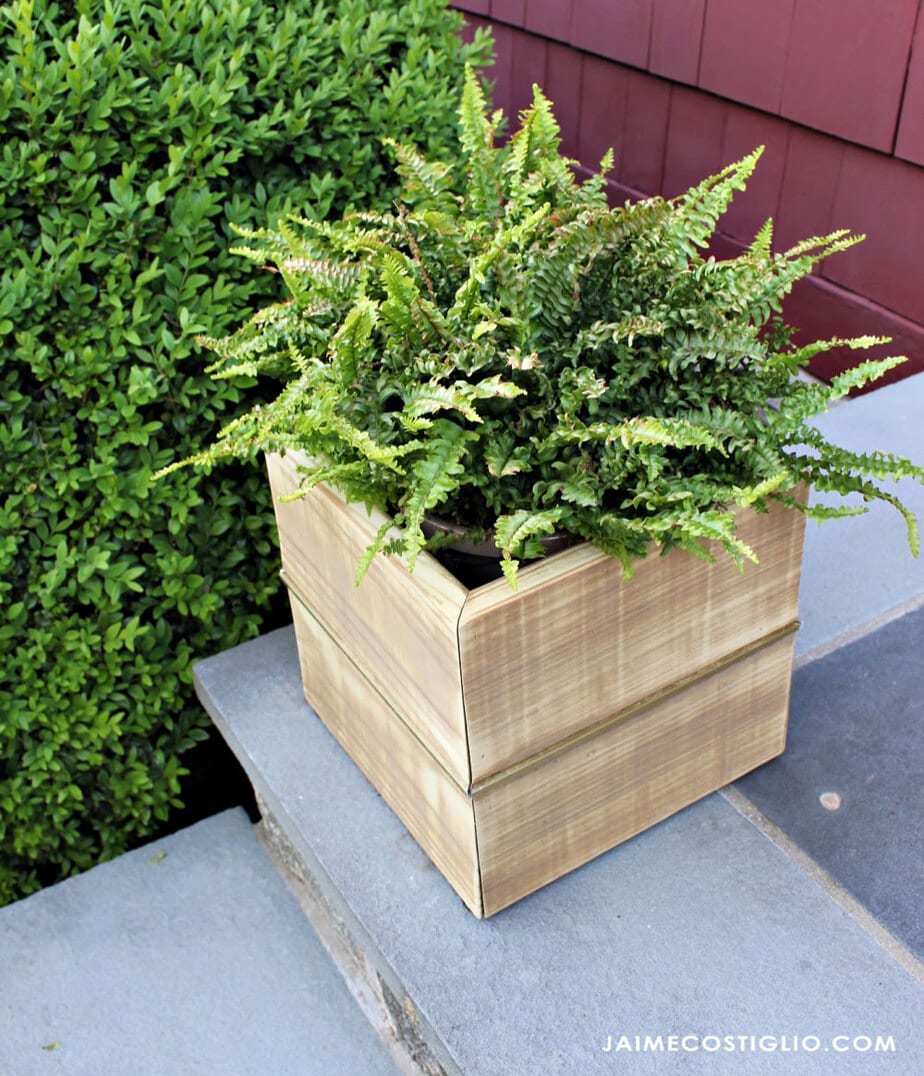
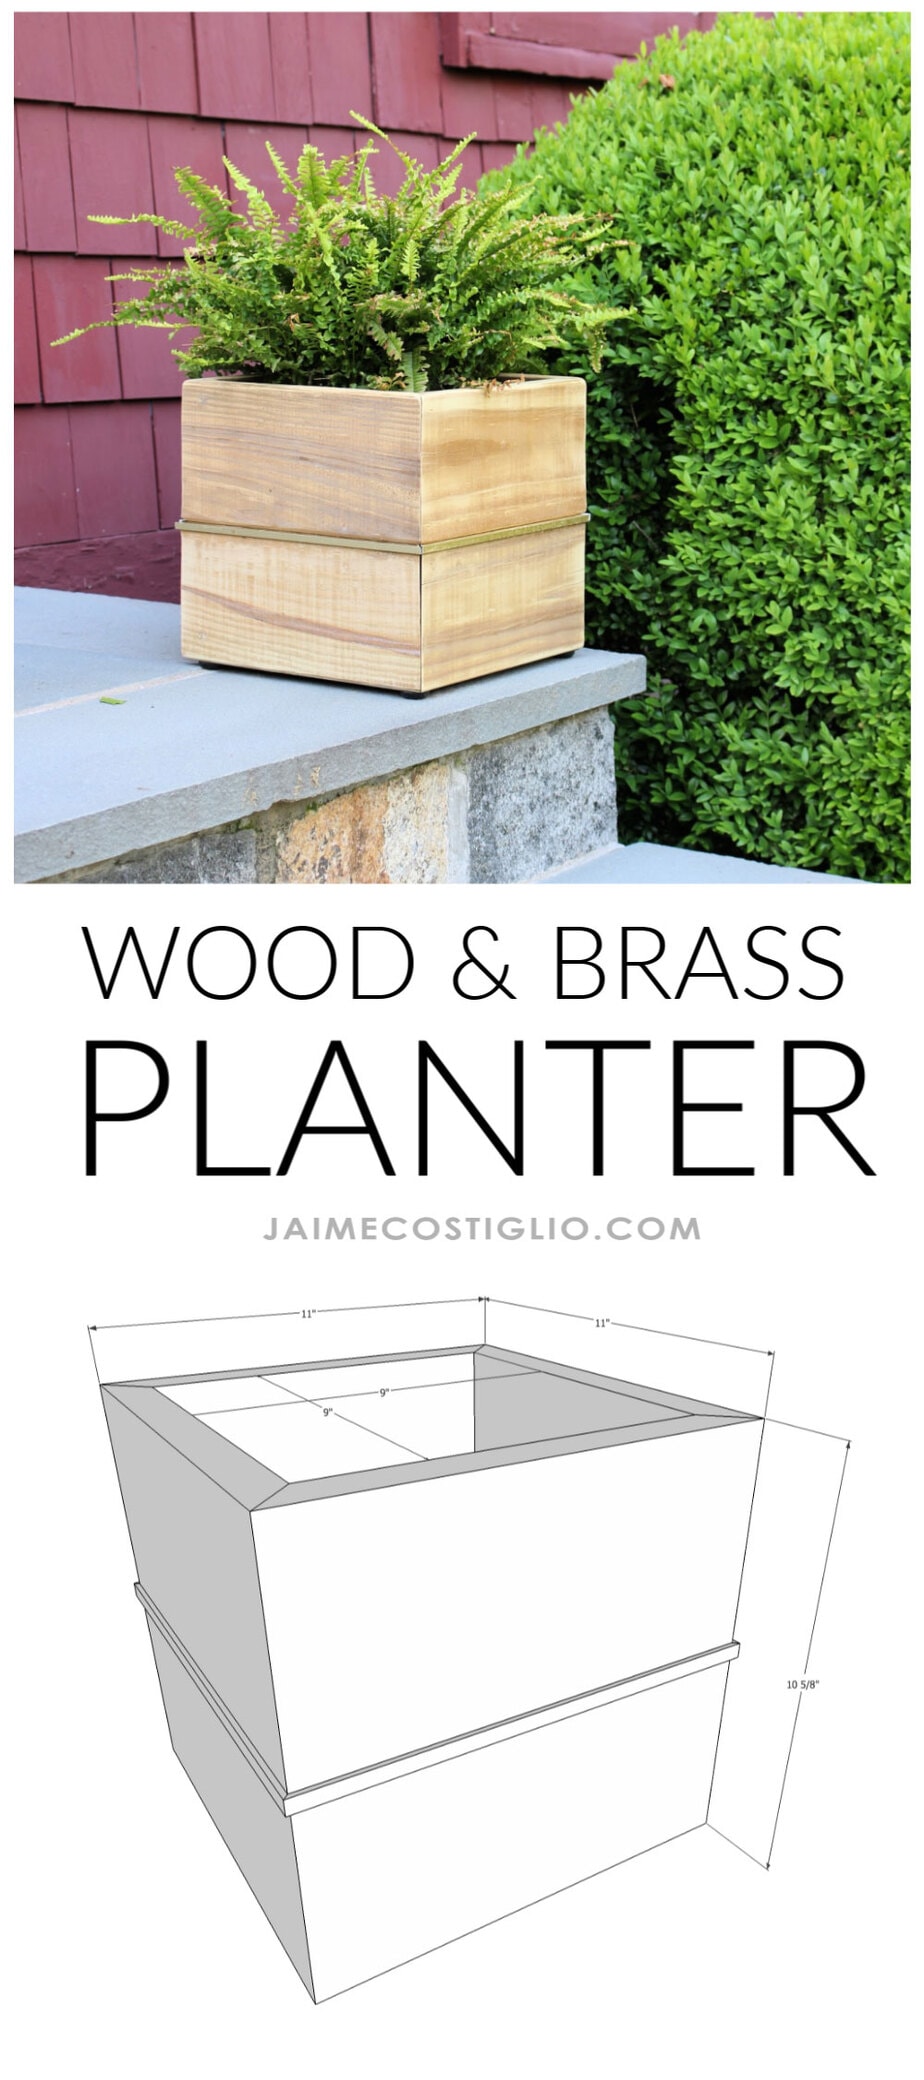
A DIY tutorial to build brass and wood outdoor planters. Beautify your exterior with these simple wood and brass planters.
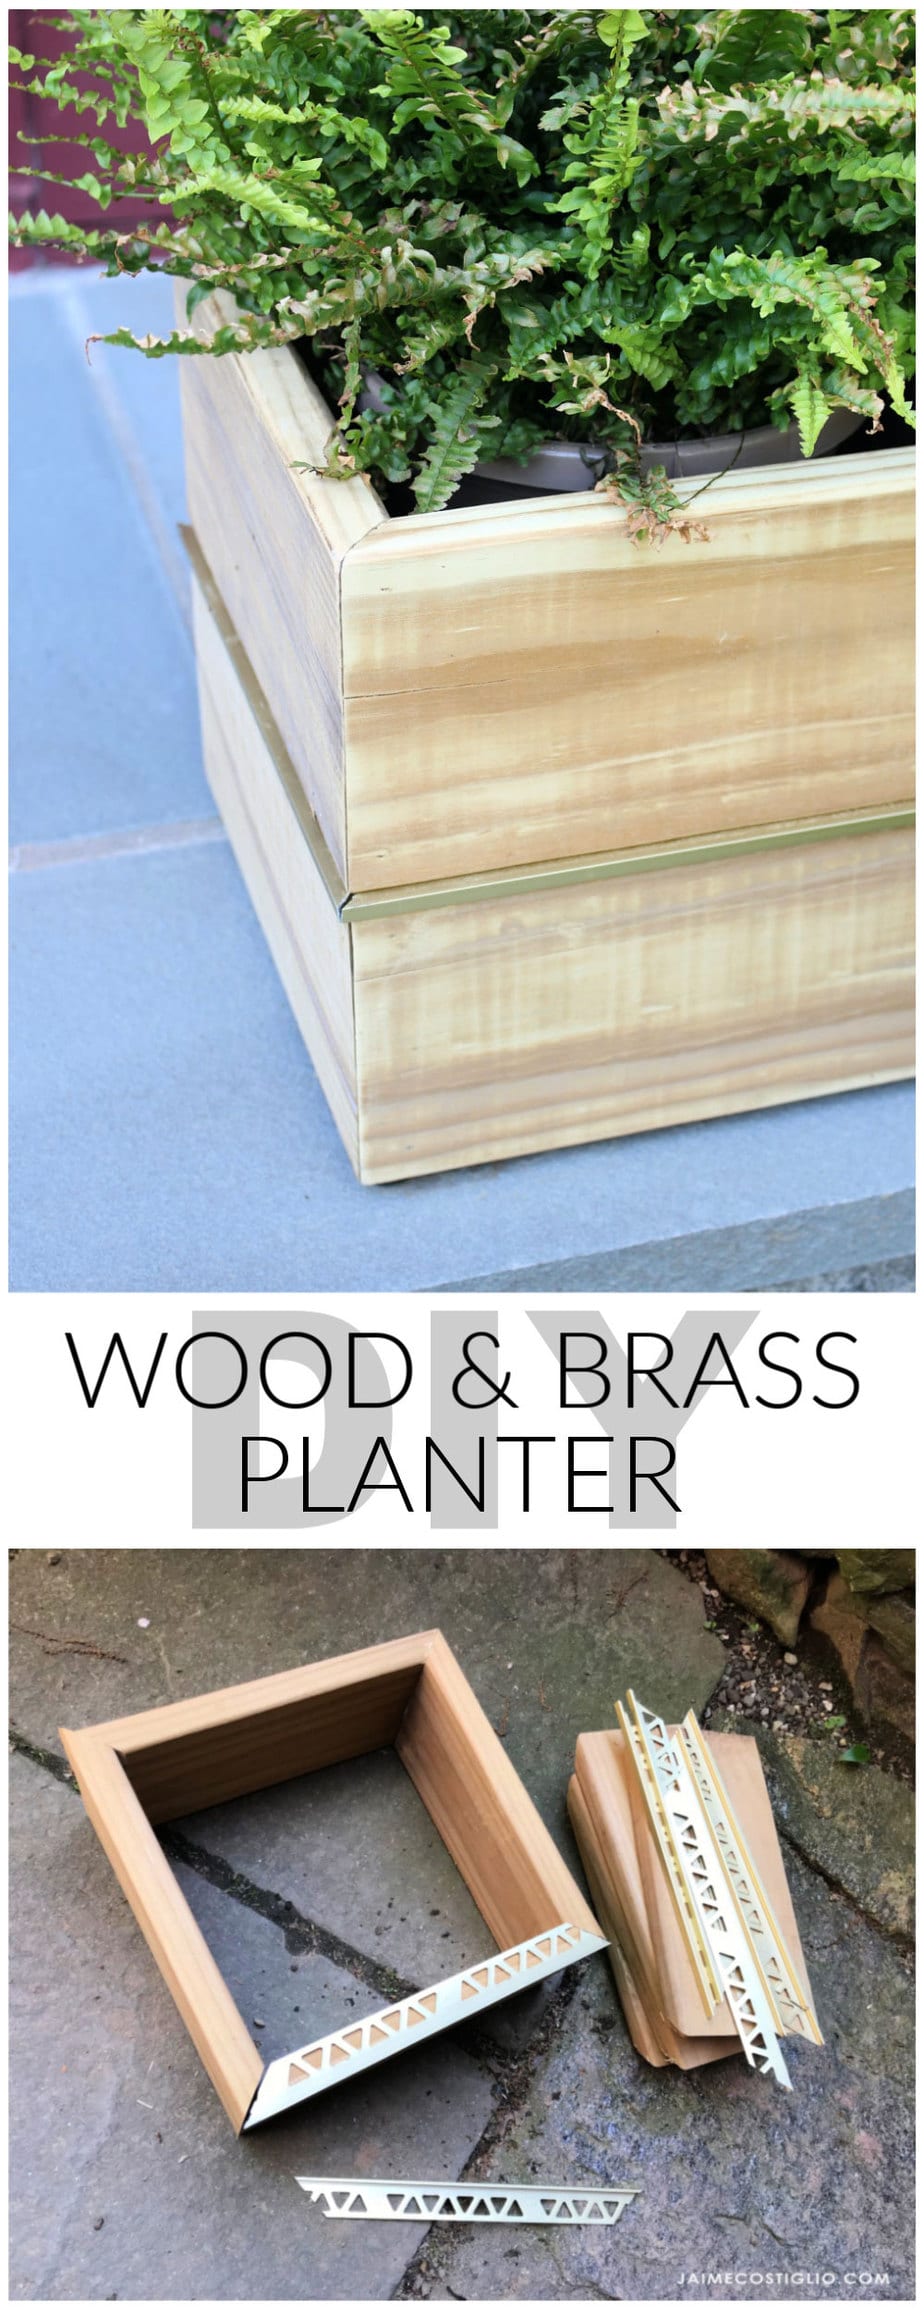
Today we’re sharing our outdoor challenge projects thanks to my friend Katie at Addicted 2 DIY for organizing this group challenge. I took one look at our front steps and quickly decided I need new planters for this summer season. As a result a few old deck boards and some satin brass metal edging makes the perfect wood and brass outdoor planter. Never fear I will show you how to build these down below.
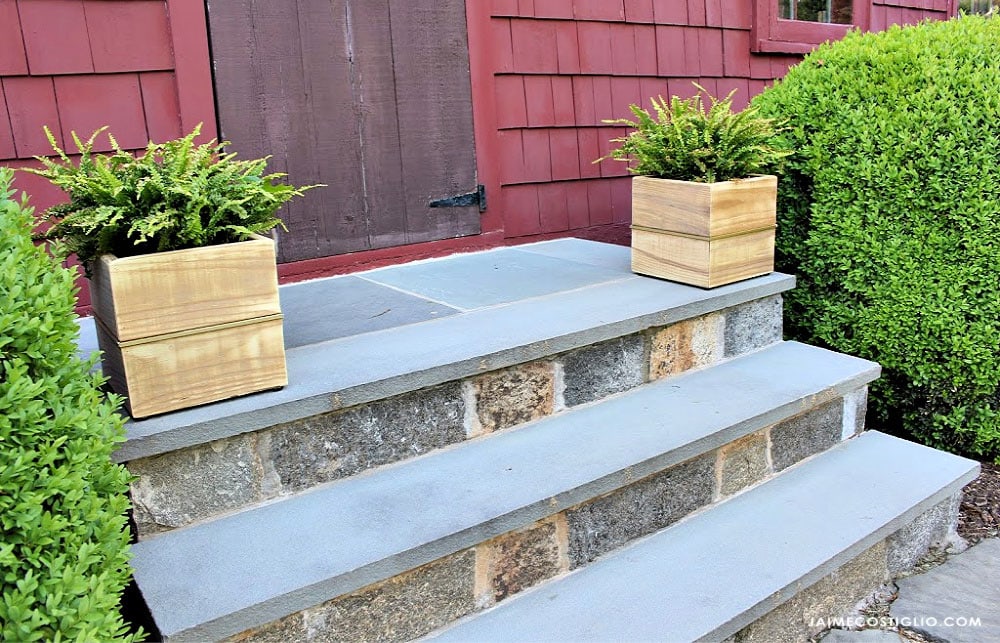
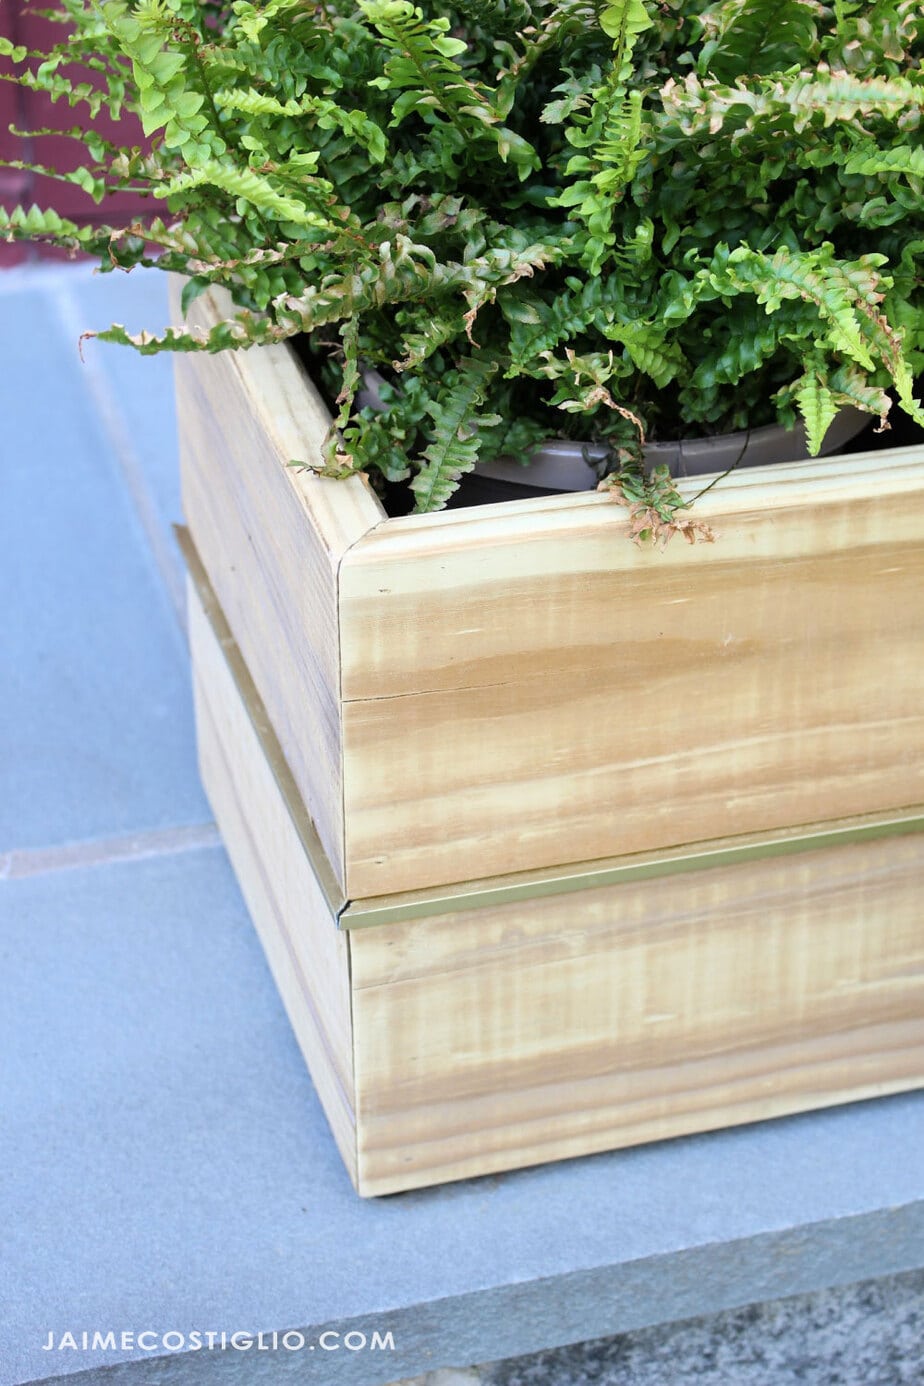
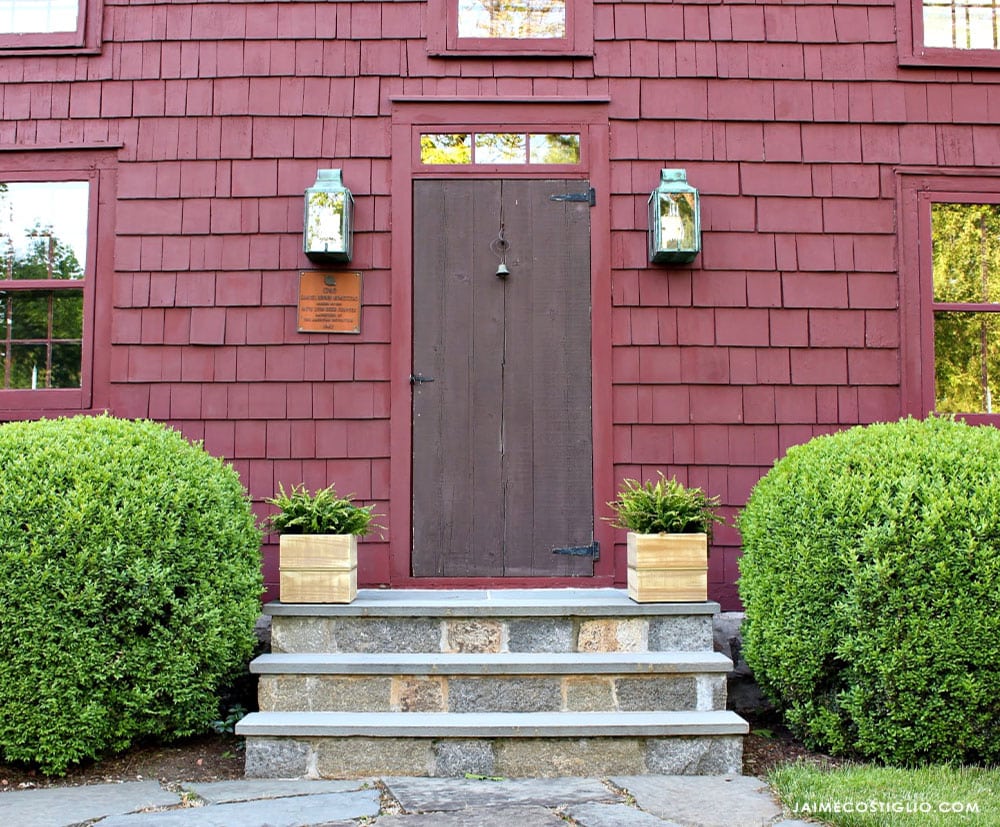
I love the combination of the rough deck boards with the soft metal accent piece. The wood will definitely turn grey over time and I can’t wait to see how the planters age with the weather. We live in a historical colonial home built in 1740 and this is technically our front door but we hardly ever use it. So I built the planters to fit this space to highlight the quaint front door. But you could easily modify my plans to fit your space.
Be sure to stop by and see all of the outdoor challenge projects:
- Pool towel rack – Katie @ Addicted 2 DIY
- Outdoor coffee table with planter – Cristina @ RemodelaCasa
- Outdoor chandelier – Sarah @ The Created Home
- Dining table – Anika @ Anika’s DIY Life
- Outdoor window shutters – Cara @ The Inspired Workshop
- Outdoor cooler deck box – Sadie @ The Awesome Orange
- Modern planter with hose storage – Sam @ The DIY Huntress
- Porch planters – Mindi @ My Love 2 Create
- Gas meter cover – Gail @ My Repurposed Life
- Outdoor corner table – Sarah @ Ugly Duckling House
- Chippendale planter – Angie @ House Becoming Home
- Cedar window boxes – Rachel @ Joyful Derivatives
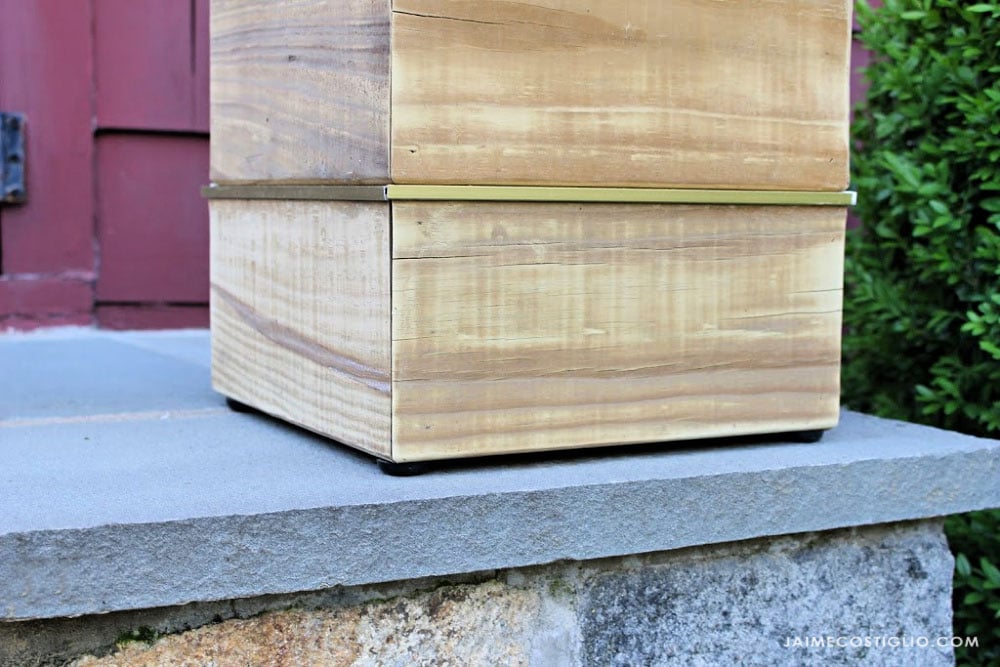
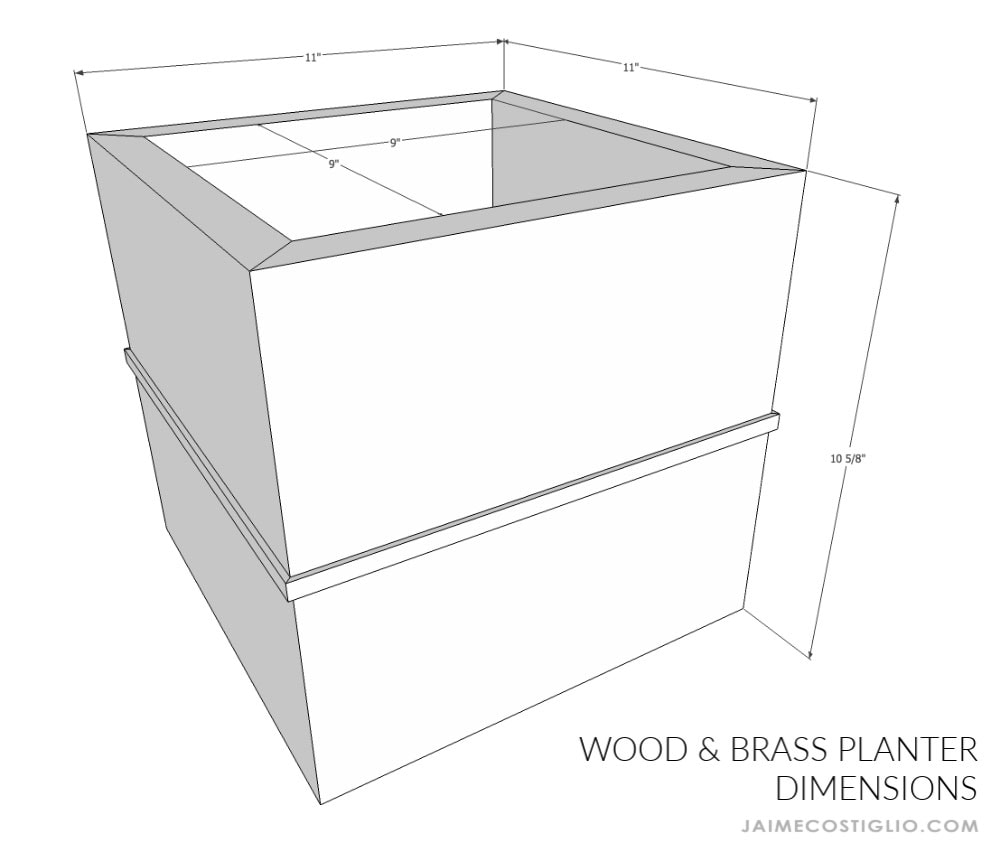
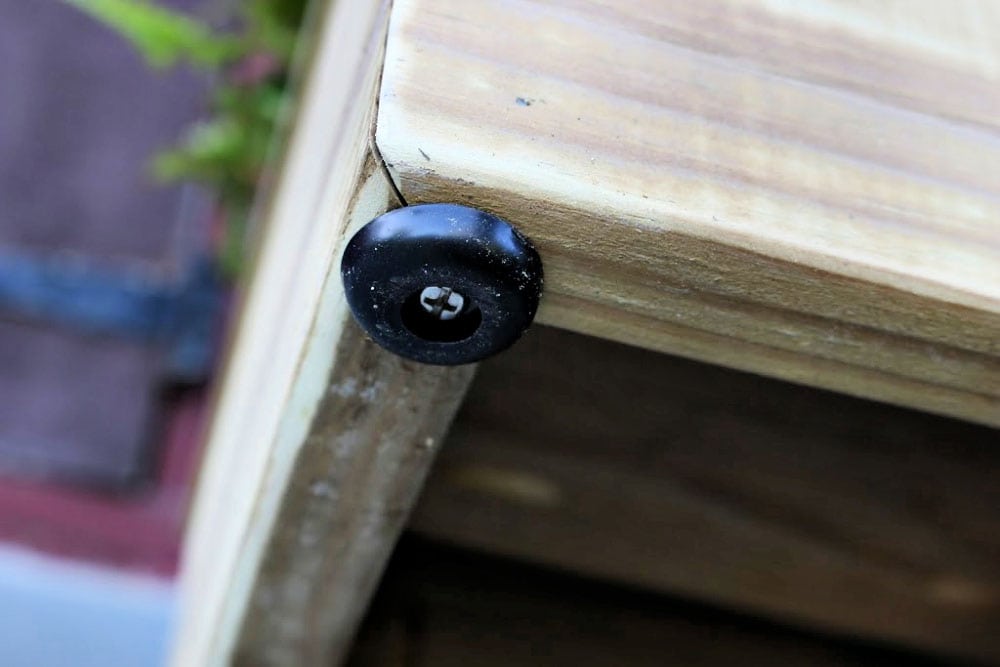
I added rubber feet to the underside of each corner to keep the planter up off the stone and allow for water to drain. Furthermore, down below you’ll find the printable plans and a few details regarding the construction process. I recommend you please read through entirely before beginning your planter.
Click here for a printable PDF version of these plans.
Supplies:
- 2 – 1x6x8 deck boards
- 1 – 8’ brass L angle tile edging strip
- 1 ½” exterior pocket hole screws
- 16 – 1 ¼” finish nails
- Wood glue
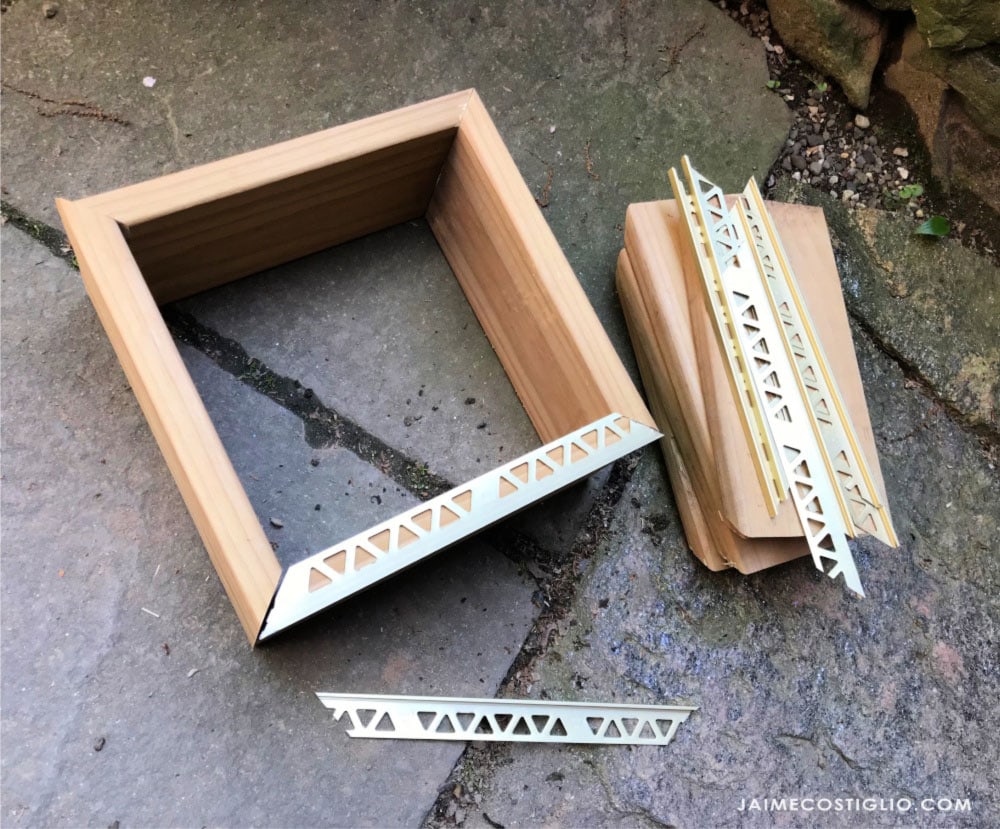
The metal edging strip is 1″ wide which is equal to the thickness of the deck boards. You’ll want to hold the metal in position and mark where to place the pocket hole. And take note of the holes in the metal strip where you can easily pass a screw through.
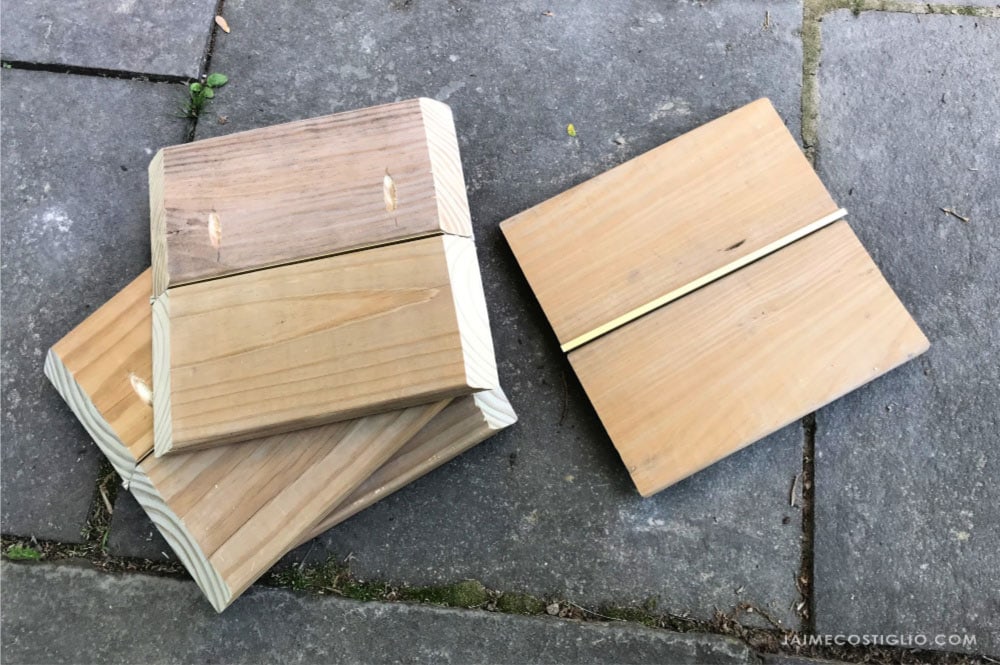
Make all four sides and then assemble the box.
To help preserve the wood and allow for drainage be sure to add rubber feet to the underside of the box. I hope you enjoyed this tutorial and have the perfect place for brass and wood planters somewhere near your home.
Be sure to share and follow me on social media for more project inspiration:
Instagram / Pinterest / Facebook / Youtube / Twitter
SHOP THIS PROJECT:

Jaime,
The planters are gorgeous! I love the addition of the small brass trim.
pinning!
gail
Thank you Gail.
I LOVE these Jaime! Soooo Beautiful!
Thanks Mindi, who knew a little deck board and some brass edging could be so pretty and functional!
These look so beautiful!!! The brass definitely takes them up a notch! I’m going to have to give this a try.
Yes! The brass give them a brand new look.
I love the brass on these! So pretty! And, now that I’ve read your tutorial, so EASY! Thanks for sharing. 🙂