Baseball fans, beanbag toss lovers and those with a competitive spirit we’ve got a DIY game for you. It’s another Handbuilt Holiday gift idea from Ana White and myself as we gear up for holiday gift giving. Today we are sharing a DIY baseball beanbag toss game and it’s very simple to construct.
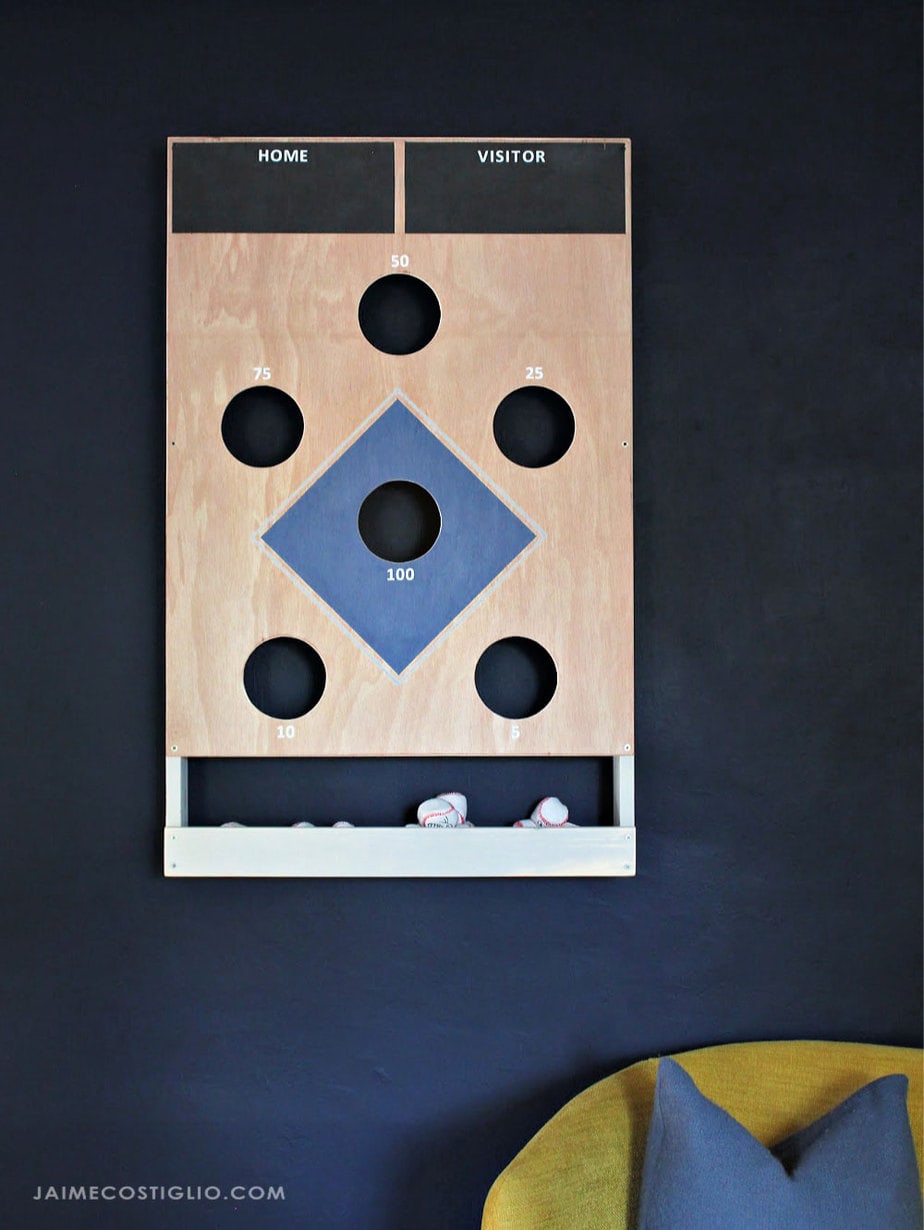
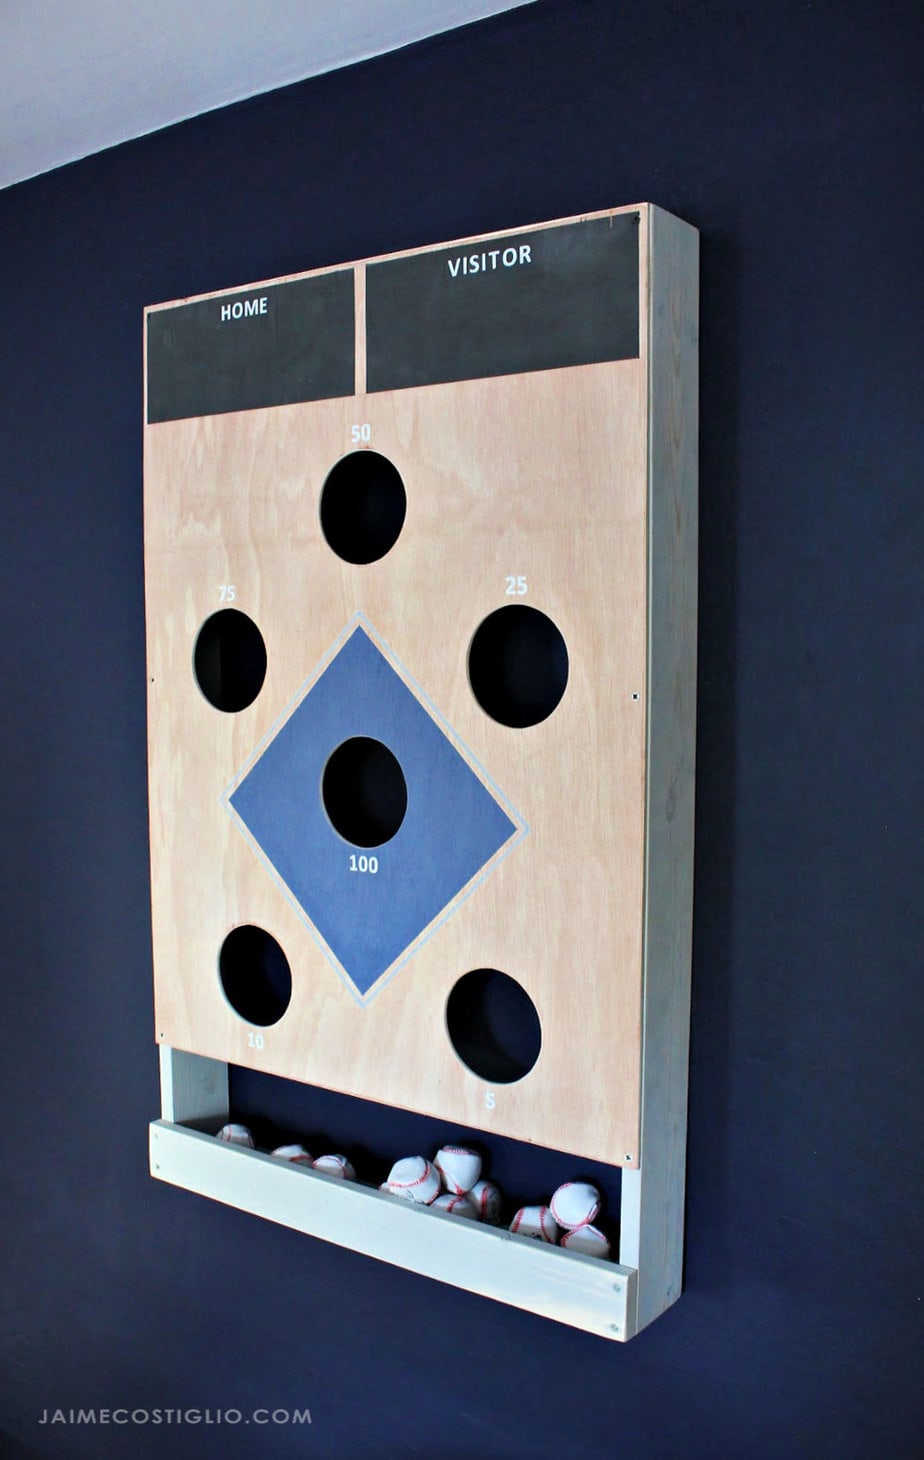
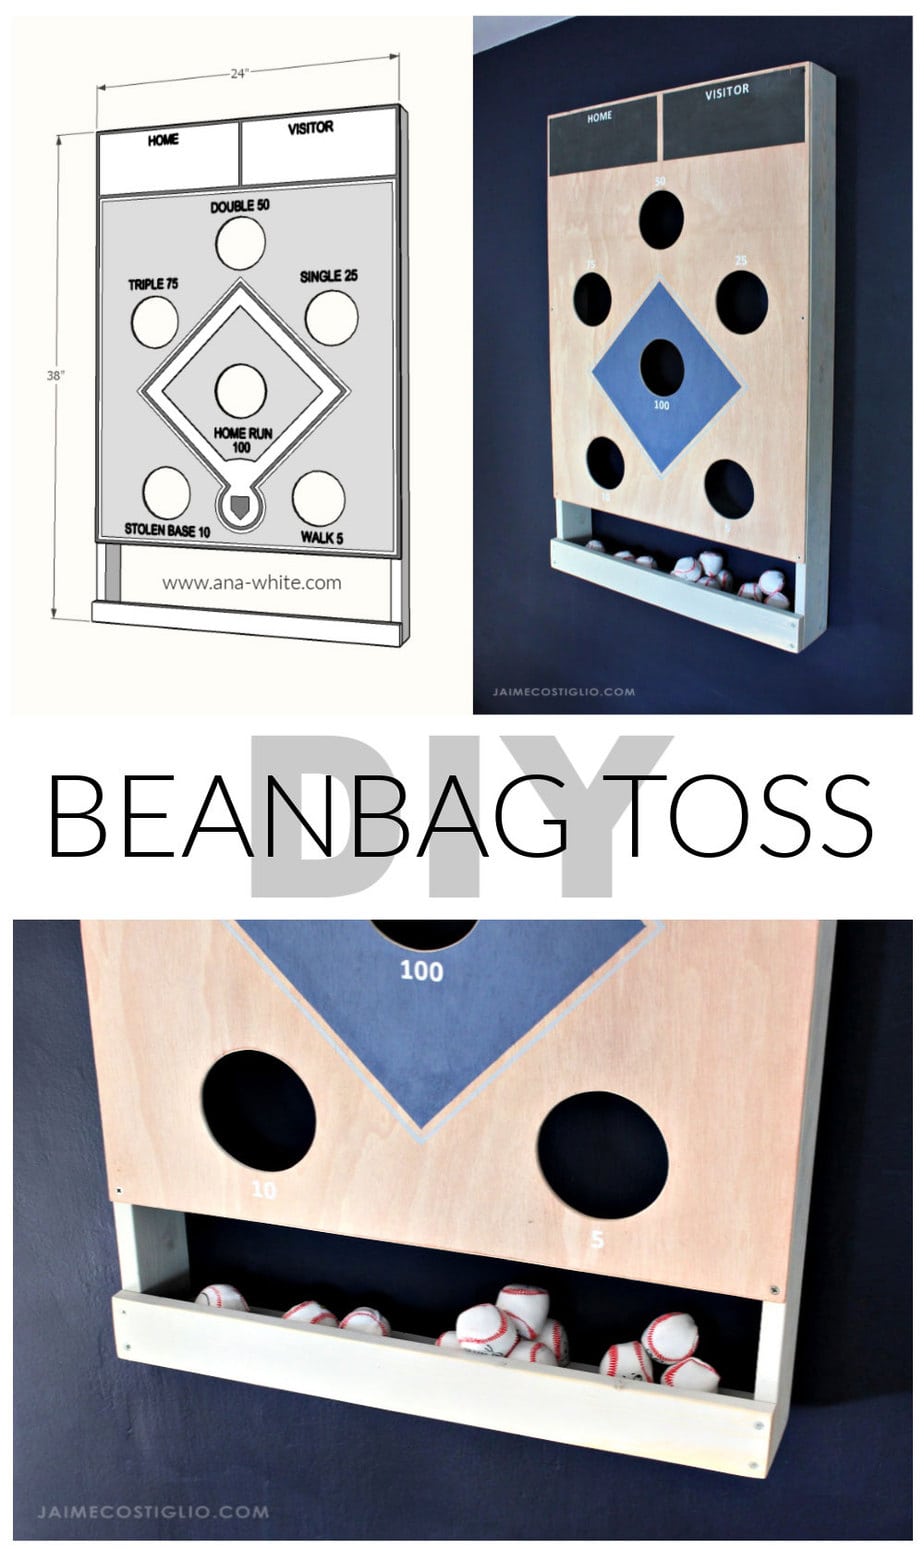
A DIY tutorial to make a baseball themed beanbag toss game. This beanbag toss has its own beanbag holder and mounts flush to the wall.
We’re bringing the beanbag toss indoors with this fun baseball themed game. And we have plans for you to make it too just in time for the holiday season. As you may know Ana White and I post a new holiday gift project plan each Friday leading up to Christmas. We have been sharing this series for seven years now so we’ve accumulated a big bundle of project ideas here if you’re looking for some gifts to build.
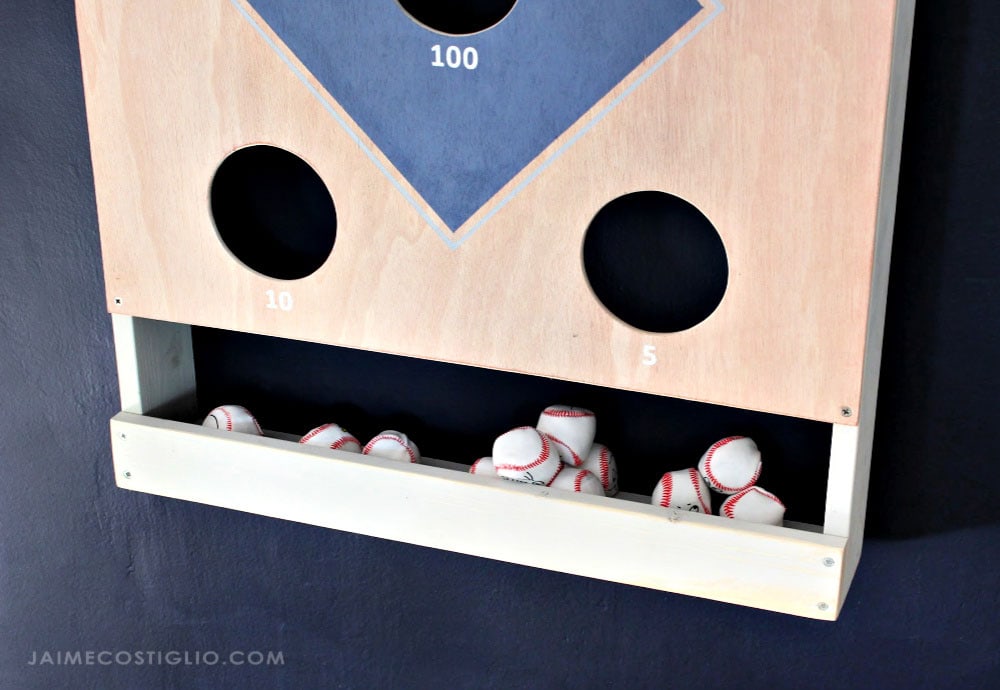
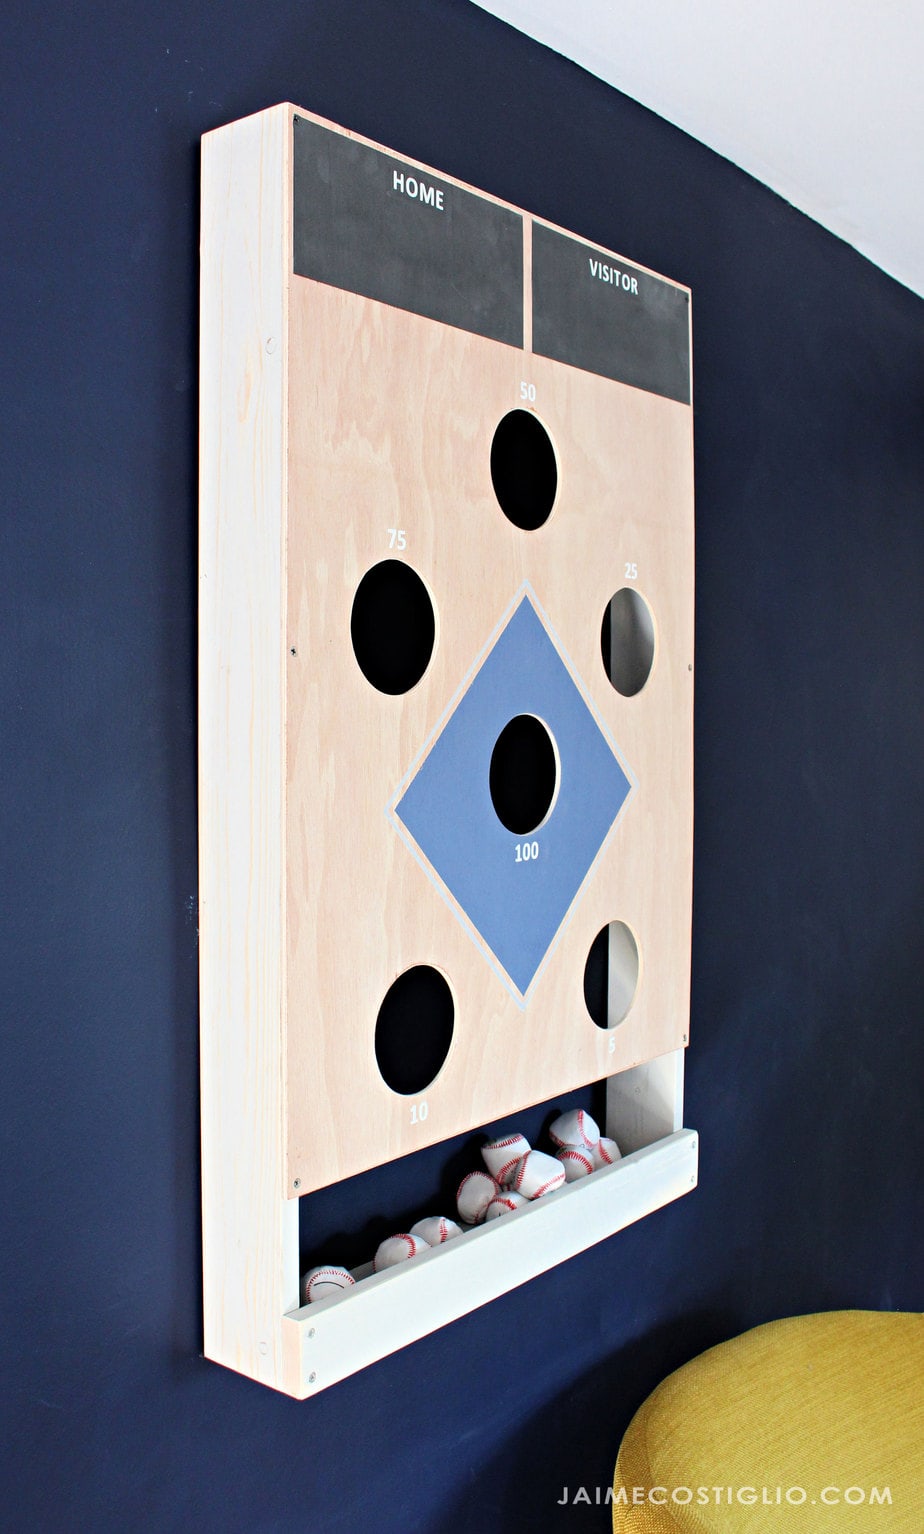
We were inspired by this Pottery Barn version here but made our own tweaks to make it DIY friendly. Ana designed this beanbag toss using off the shelf lumber and integrated a clever storage area in the frame for the baseball beanbags to fall and rest.
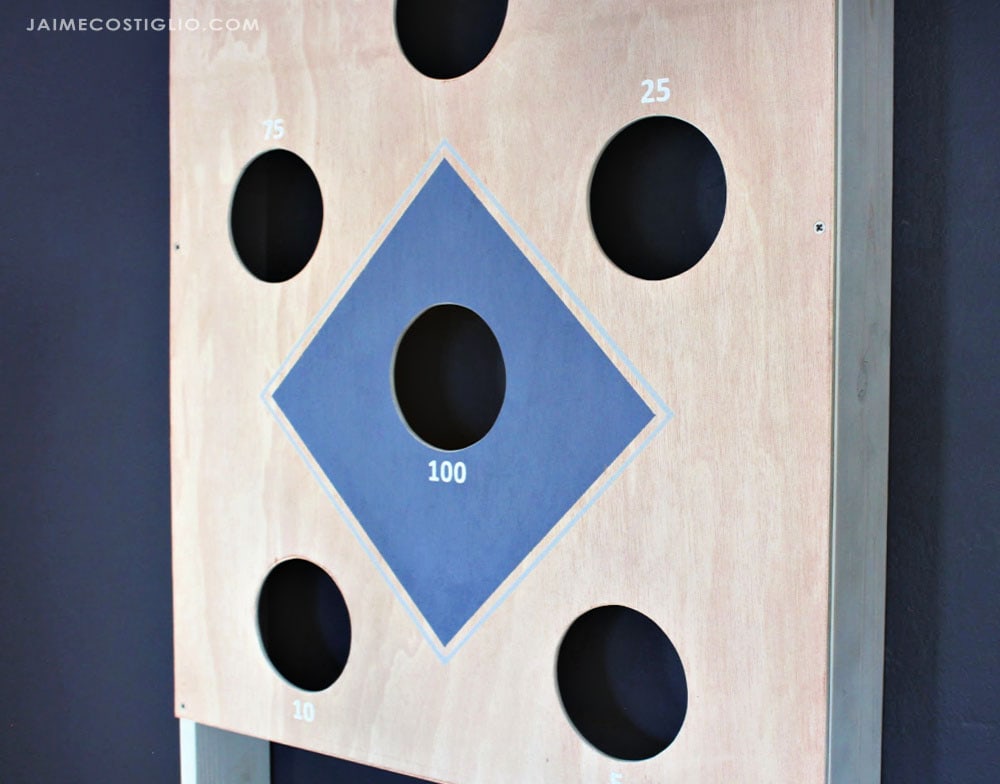
Features:
- multiple scoring holes
- chalkboard score keeping area
- beanbag storage holder
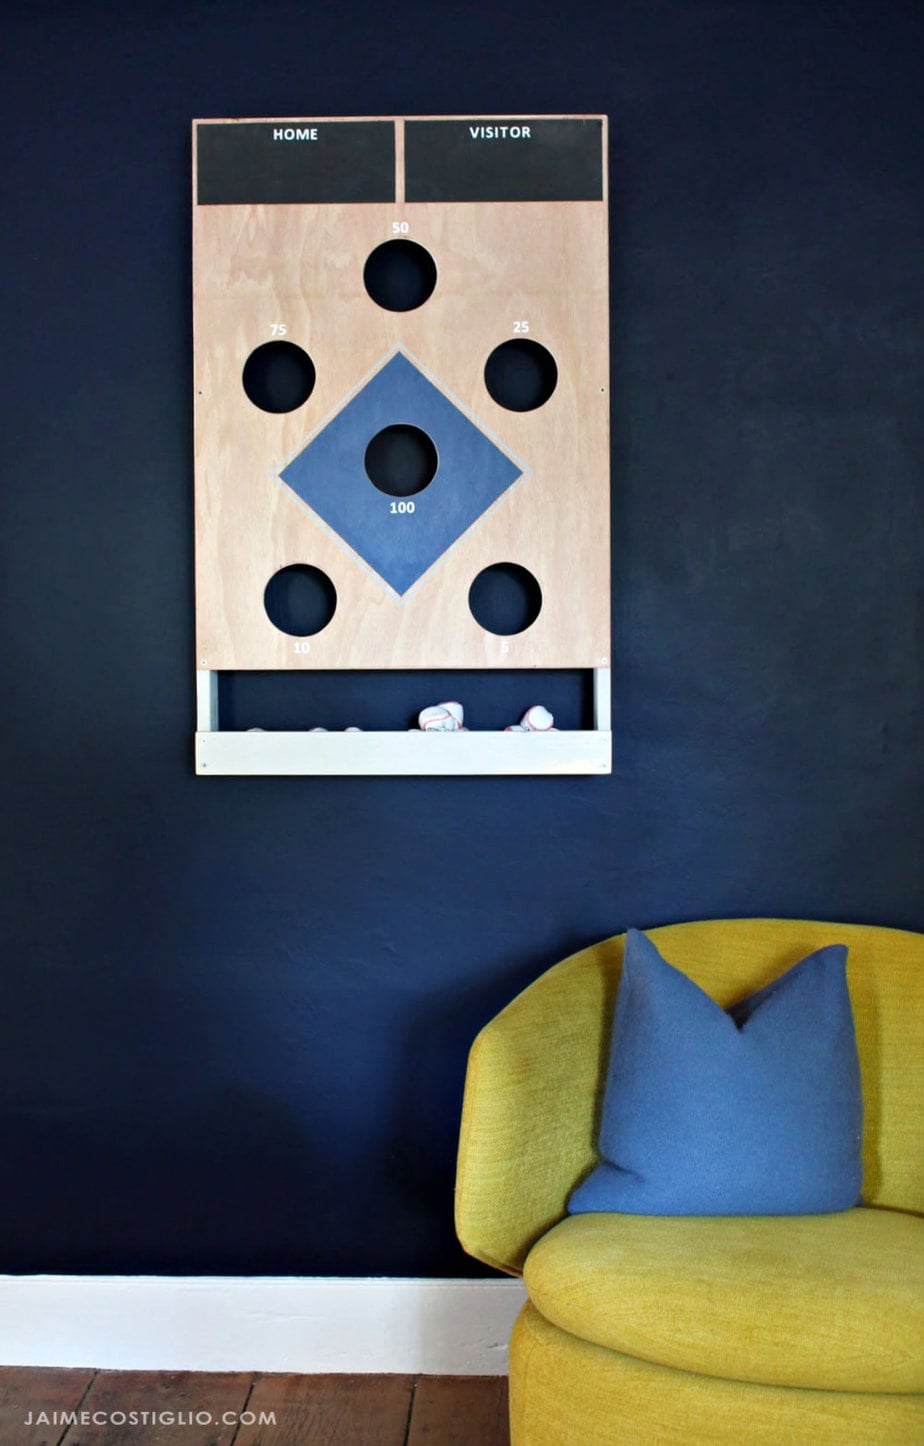
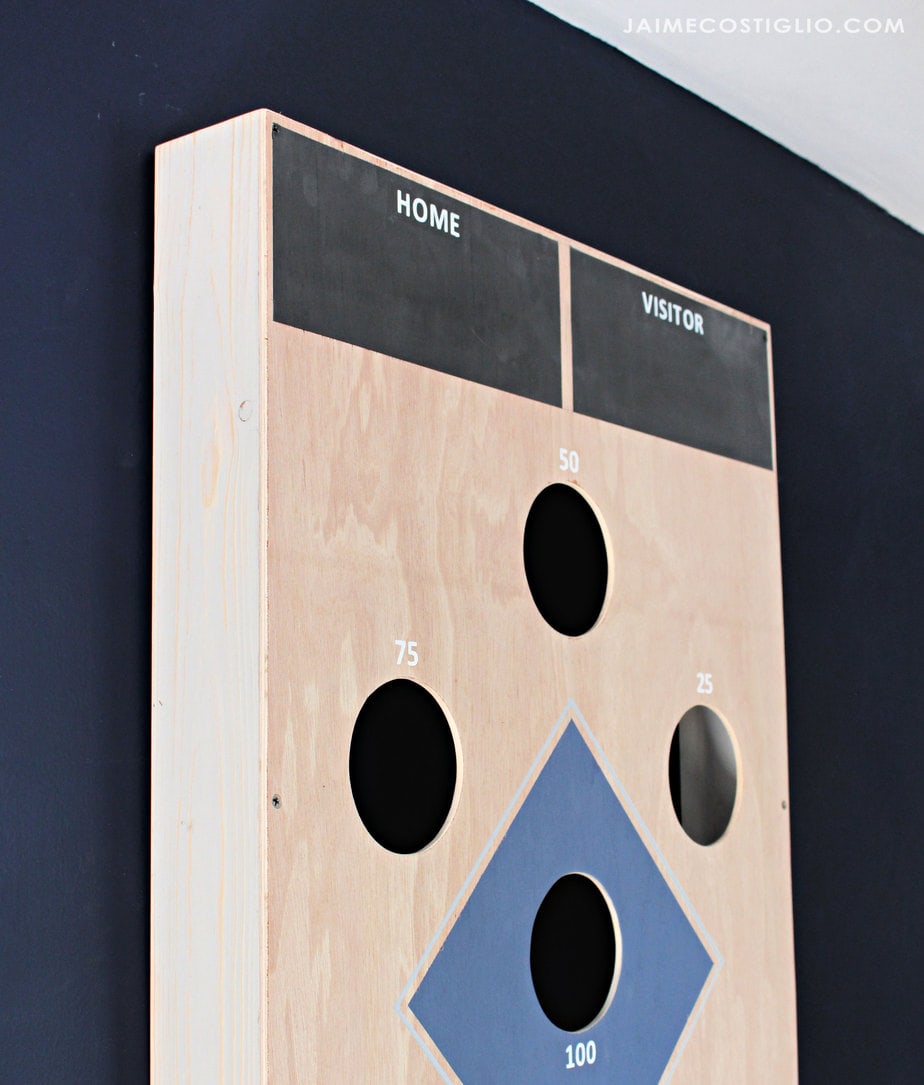
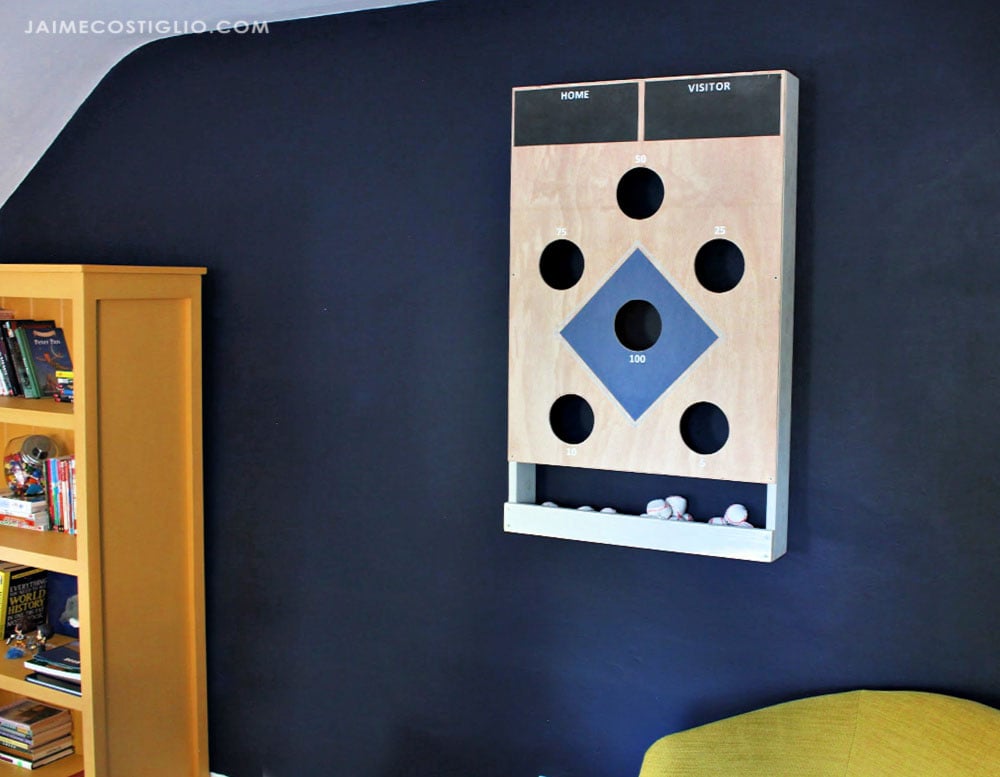
Supplies:
- standard building tools (miter saw, drill, nail gun, measuring tape, sander, etc)
- jigsaw, scroll saw or 4″ hole saw
- baseball shaped beanbags or regular beanbags
- plans from Ana White here

To make the cut out holes I used a quart paint can (4 1/4″ diameter) to make a template and marked the plywood for each hole. Then I used my scroll saw to cut out the holes but you could use a 4″ hole saw to make it easier or a jig saw. Be sure to sand the holes both front and back before attaching the plywood to the frame.
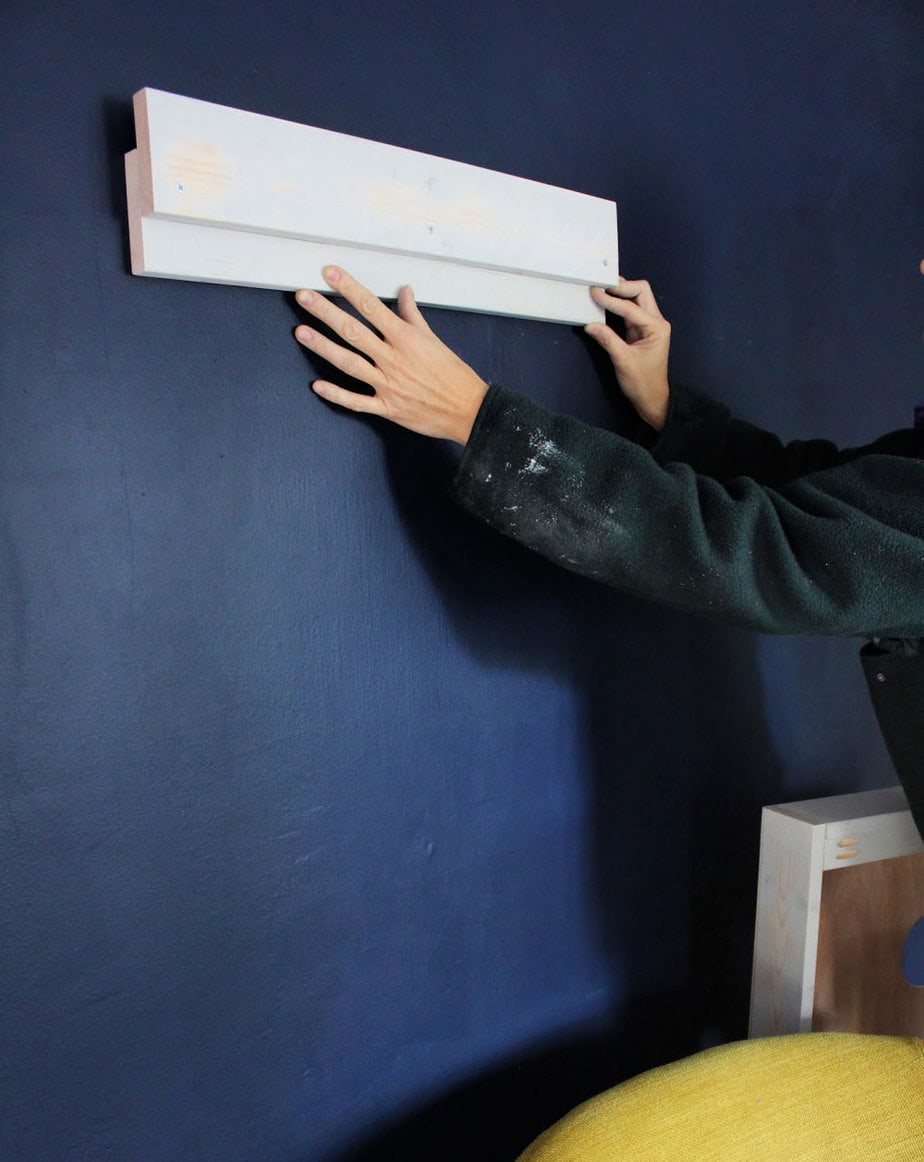
To hang the baseball beanbag toss Ana designed a wall cleat as part of the plans. I cut the cleat pieces at 22 1/4″ long (a teeny bit shorter than the plans) to allow for some wiggle room when hanging the frame onto the cleat. The cleat needs to be attached to studs in the wall or proper anchors.
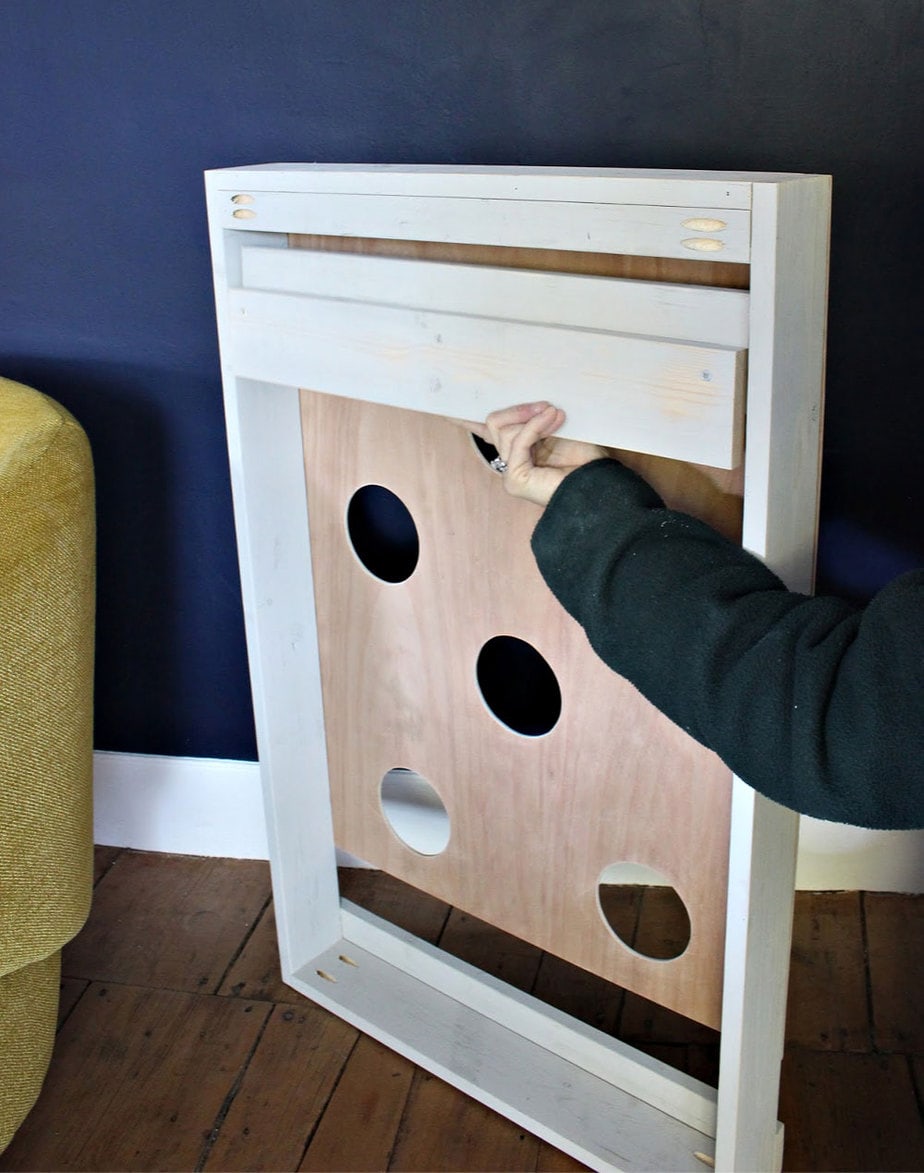
You can see in the photo above view from the back that once the cleat is on the wall the upper back 1×2 will slip over the cleat and allow the frame to hang securely. Alternatively you could add a 1/4″ plywood backing (to protect your wall from aggressive throwers) but that will change the hanging mechanism so you need to make adjustments.
Thanks for joining me for this project. Please leave any questions in the comments below and be sure to follow me on social media for sneak peeks, tools and project inspiration:
Instagram / Pinterest / Facebook / Youtube / Twitter
SHOP THIS PROJECT:



Love this idea! Think I’ll add a thin piece on the back though to save the wall. Thanks for all of the great ideas!
Thanks Beth. I agree on adding the plywood to the back. You never know when you’ll get an ‘aggressive thrower’;) better to be safe than sorry.
Great kids and adults acting like kids game. Going to make one for Christmas get together.
My question is what are the rules to play?
Thanks Wes. No rules. Just split the balls in half, take turns throwing and see who racks up the most points. Good luck with your project!
How did you add in the little words & numbers? The project looks just perfect!
Thanks Mary. I used my Cricut vinyl cutting machine and made stencils which I then painted inside the stencil. My apologies for not including a photo of that step, I simply forgot to take a picture.
Is that just chalk paint for the scoring boxes?
Hi Tasha, Yes the scoring boxes at the top are black chalkboard paint. I used painters tape to tape off the space and then 2 coats of chalkboard paint.
That is awesome. Making storage cabinets for the garage and have incorporated “your” design into my design for the work/play area. It will rest on one of (least used) the cabinet door. Thank you so much for a great idea for entertaining guests vice sitting in the driveway. LOL
Just a quick question: Is there a set of rules any where for this game?
Hi Debbie, no rules just however you want to play.
Where do you get the baseballs from? Can you get them in bulk somewhere?
Thanks
Hi Jeff, The baseballs are beanbags from Amazon here: http://bit.ly/2BHfFxy (affiliate link)
Are you selling these anywhere? I love this idea but I’m not this handy with tools and I would love to gift this to my husband and son.
Hi Shandria, thanks for your interest but I am not selling these – we just share the plans to make it. Enjoy the holidays.
How can get the plans from you guys on this?
Hi Corey, the plans are linked in the post above. I will leave it here as well: https://www.ana-white.com/woodworking-projects/bean-bag-toss-baseball-game
Hi there-
Did you paint the frame white? What kind of blue paint did you use? Did you use a poly to finish?
Excited to build this for nephews! 🙂
The frame is a light grey. I believe the blue is latex wall paint matte. No poly.