• Home
  • Blog
  • About
  • Contact
    • Disclosure
    • Privacy Policy
  • SHOP
  • Widget area for main menu

    • Email
    • Facebook
    • Instagram
    • Pinterest
    • Twitter
    • YouTube
  • Skip to primary navigation
  • Skip to main content
  • Skip to primary sidebar

Jaime Costiglio

build - paint - sew

  • BUILD
    • BEDS
    • BENCHES
    • DESKS
    • DRESSERS
    • GAMES & TOYS
    • SCRAP WOOD
    • SHELVES
    • STORAGE
    • TABLES
  • TOOLS
  • PAINT
    • CRAFTS
    • FURNITURE
    • HOME DECOR
  • SEW
    • GIFTS
    • HOME DECOR
    • POUCHES
  • HANDBUILT HOLIDAY
    • 2021
    • 2019
    • 2018
    • 2017
    • 2016
    • 2015
    • 2014
    • 2013
  • GIFTS
    • BABIES
    • KIDS
    • FOR HER
    • FOR HIM
    • TEACHERS
    • WEDDINGS
  • SEASONAL
    • 4TH OF JULY
    • FALL
    • HALLOWEEN
    • CHRISTMAS
    • SUMMER
    • SPRING
    • ST. PATRICK’S DAY
    • THANKSGIVING
    • VALENTINE’S DAY
    • WINTER
  • SALTBOX PROJECT
    • BATHROOMS
    • DINING ROOM
    • EXTERIOR
    • FAMILY ROOM
    • FOYER / MUDROOM
    • KIDS BEDROOMS
    • KITCHEN
    • LIVING ROOM
    • MASTER BEDROOM
    • PLAYROOM
  • SCROLL SAW

“D” is for Doily Birthday Banner

January 27, 2014

Craft: doily birthday banner
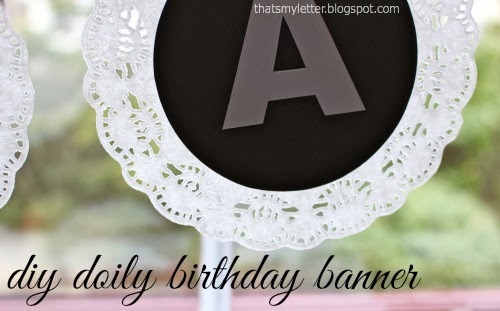
An easy to make birthday banner using paper doilies and cardstock.

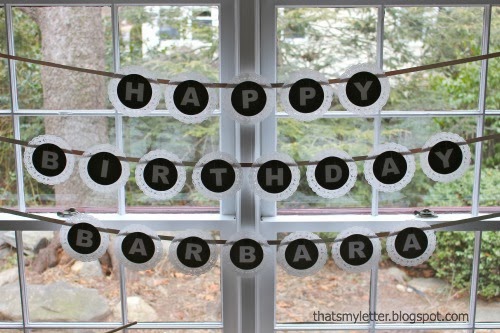
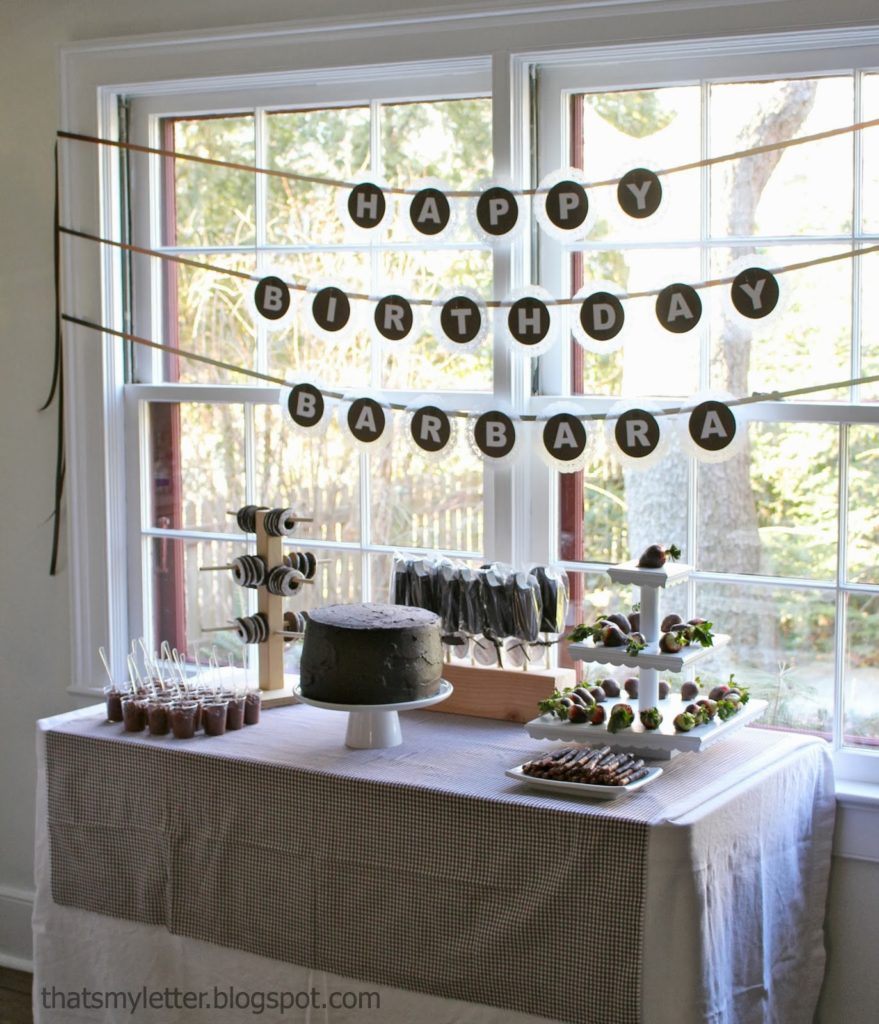
We recently celebrated Grandma’s birthday with a chocolate themed party.

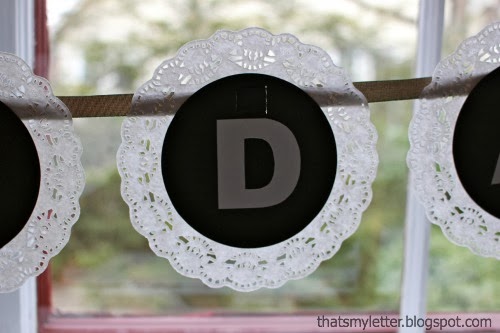
I made the doily banner with dark brown cardstock to complete the dessert table:

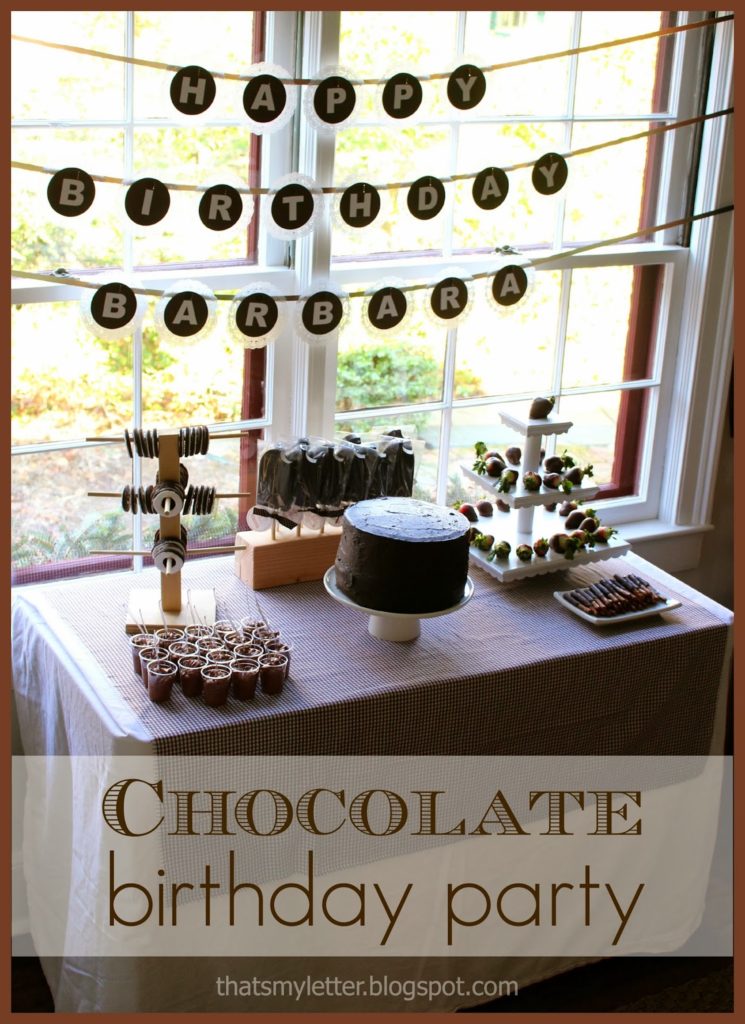
The doilies are inexpensive and add a pretty feminine touch with little effort.
To hang the banner I tacked each ribbon to the outside of the window molding:

How to make a doily birthday banner:

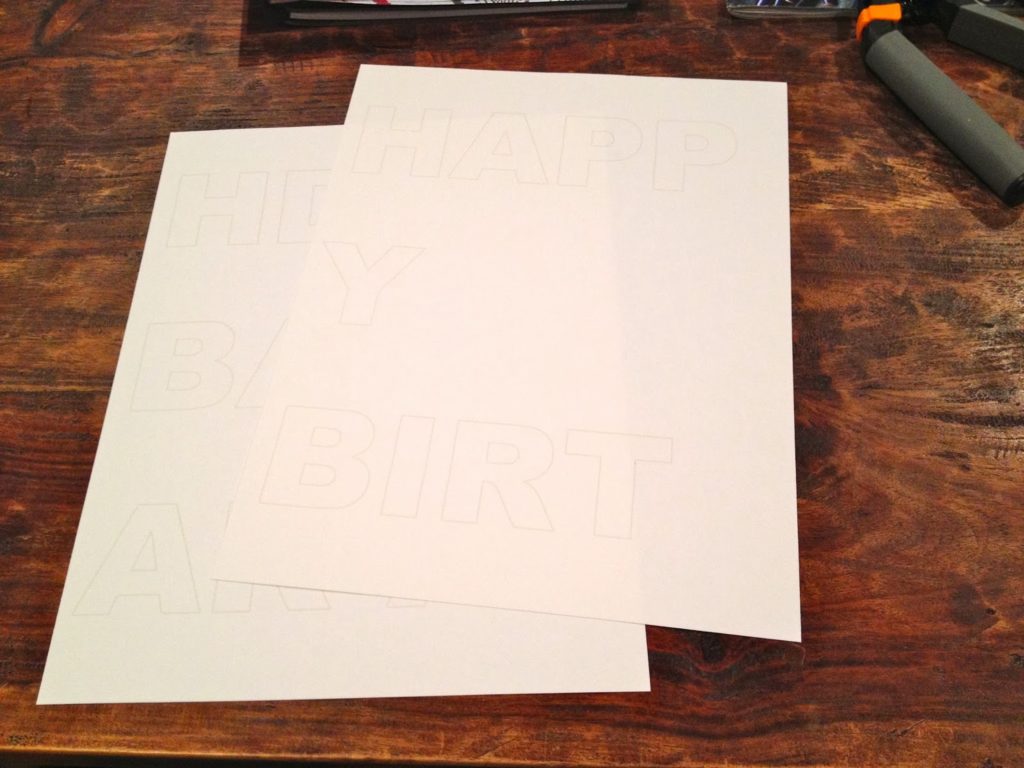
1. Print out letters to fit.  I used Ariel Black font at 175 point.
Choose outline print only in a very pale shade of brown, no fill:
(The ink is very faint on purpose which is why you can barely see the letters in this picture.)
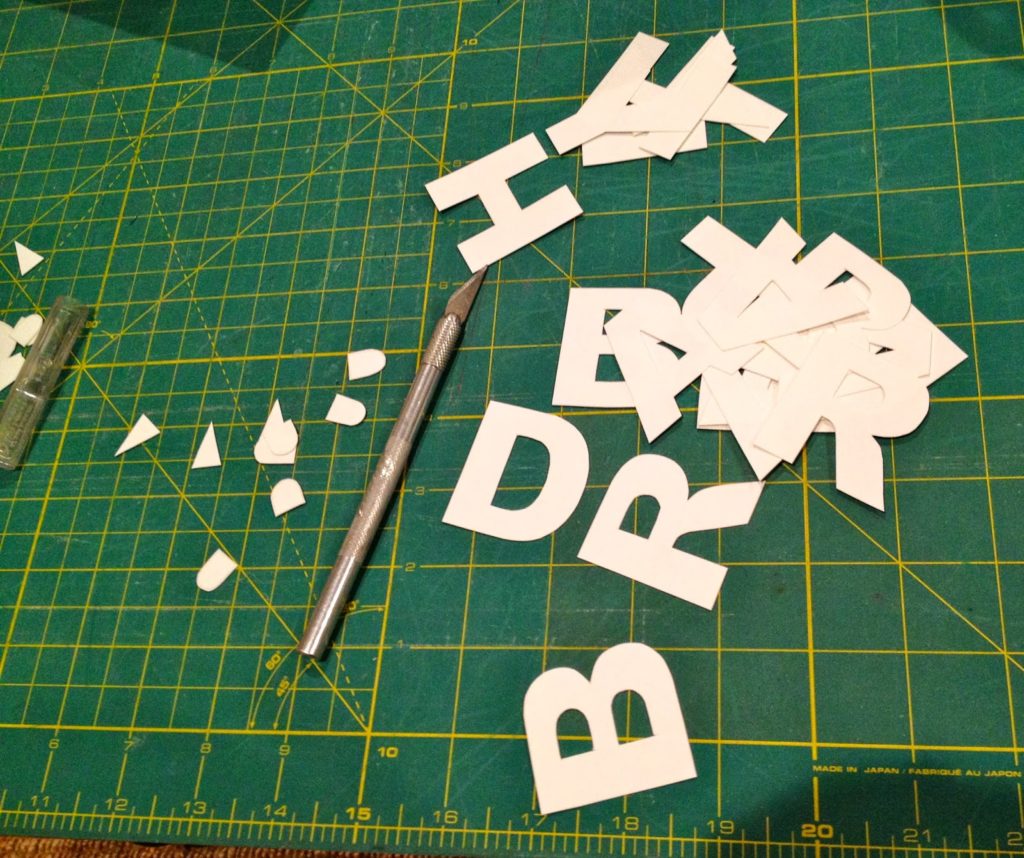
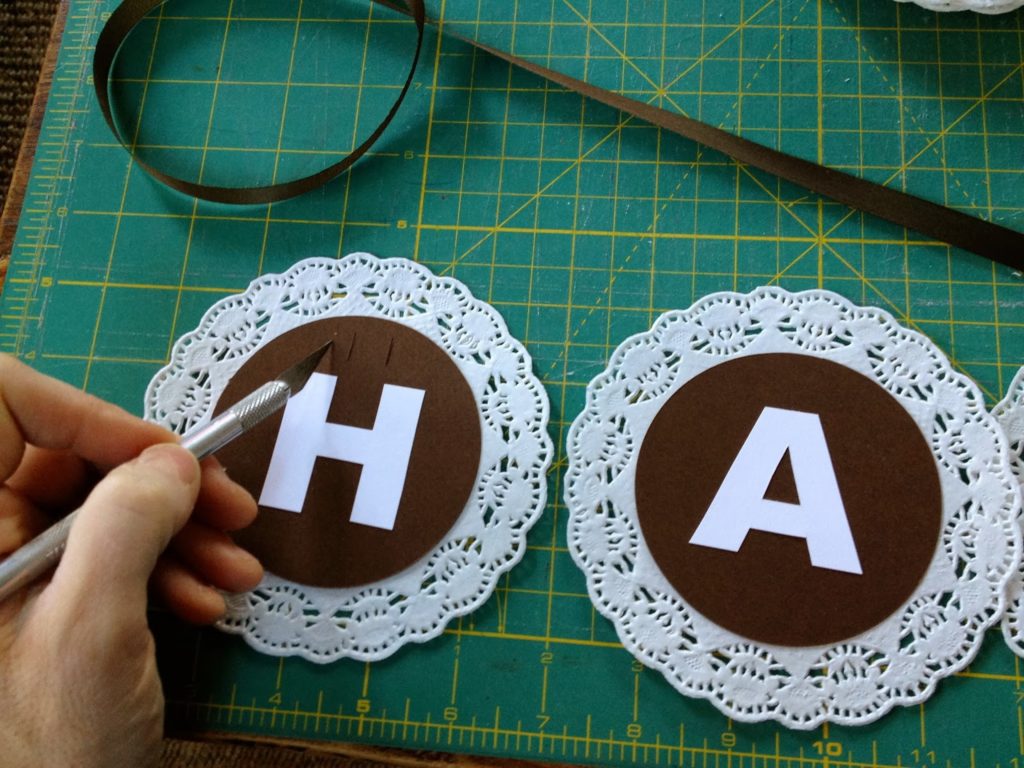
2. Cut out letters, use an exacto knife to get the inner parts:

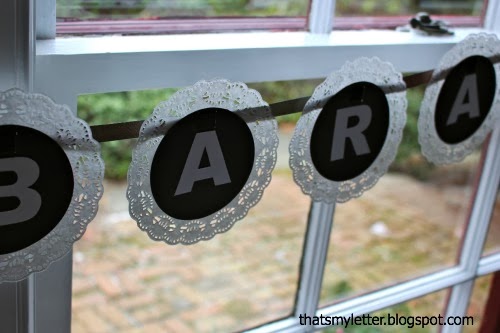
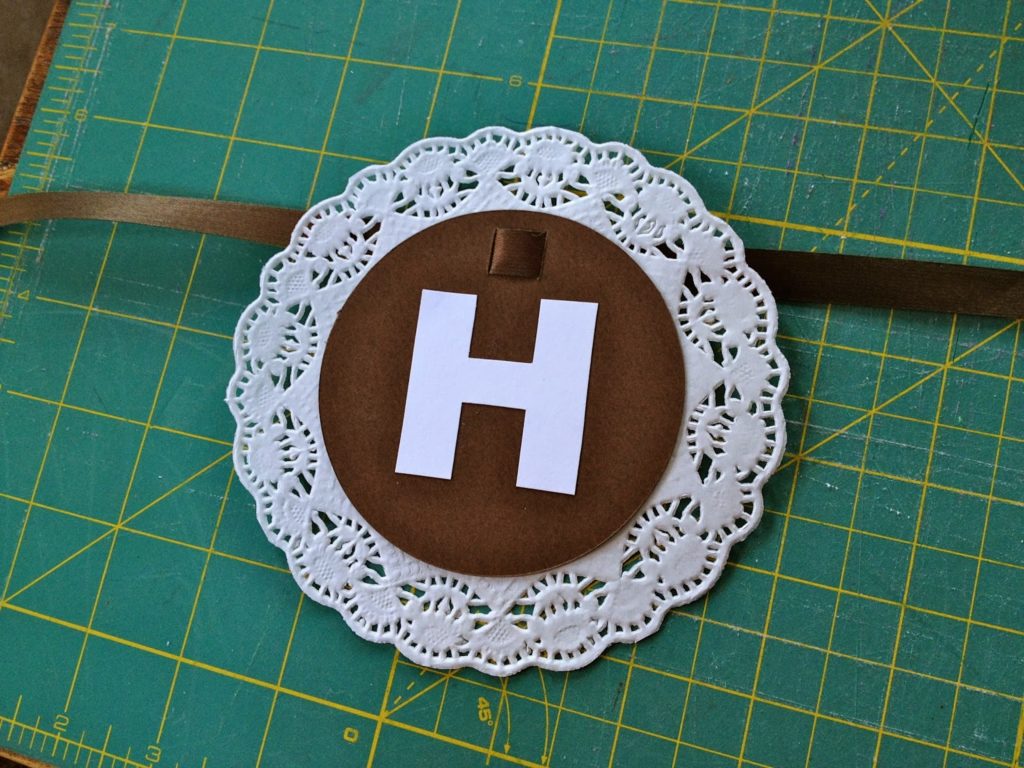
3. Cut circles from brown cardstock to fit just inside doily.
Using a glue stick attach letter to brown circle and then onto doily:

4. Make two 1/2″ vertical slits near the top of each letter all the way through the brown cardstock and doily:

5. Slide the doily letter onto your ribbon:

Keep adding letters.

I’m linking up to:
Inspiration Exchange @ City Farmhouse
SAS @ Funky Junk
Nifty Thrifty Sunday @ Nifty Thrifty Things
That DIY Party @ The DIY Showoff
Tutorials & Tips Tuesday @ Home Stories A to Z
The Scoop @ Lolly Jane
Strut Your Stuff @ Somewhat Simple
Share Awesomeness Thur @ The 36th Avenue
Pretty Things Thursday @ Scissors & Spatulas
Flaunt it Friday @ Chic on a Shoestring
Frugal Friday @ The Shabby Nest
Furniture Feature Friday @ Miss Mustard Seed
SAS @ Just a Girl
Remodelaholics Anonymous @ Remodelaholic
inspiration board @ Carolyns Homework
Sunday Showcase Party @ Under the Table & Dreaming

You may also like...

  • Self Standing Ice Cream Truck PropSelf Standing Ice Cream Truck Prop
  • DIY Welcome Sign and StandDIY Welcome Sign and Stand
  • DIY Halloween Vase & GiveawayDIY Halloween Vase & Giveaway
  • DIY Wedding Cake Ornament FavorsDIY Wedding Cake Ornament Favors
Share this post:

Filed Under: CRAFTS, DIY2 Comments

Reader Interactions

Comments

  1. Mindy says

    January 27, 2014 at 7:56 PM

    Well crud. I was at the Dollar Store yesterday picking up some things for my daughter's 2nd birthday and I had these in my cart and put them back. It would have been soooo cute in pink. I may have to run back and get them. Love it.

    Reply
  2. idyllwilddesigns.com says

    February 7, 2014 at 5:35 AM

    What a cute idea! Would be super cute for our launch party in blue! Looks like I'm off to the Dollar Tree in the morning!

    Reply

Leave a Reply Cancel reply

Your email address will not be published. Required fields are marked *

Primary Sidebar

Hi! I’m Jaime

Jaime Costiglio

Hello!

Thank you for stopping by.
Join me for lots of DIY.

Read more

Get new posts via email

Handbuilt Holiday: Gift Project Plans

handbuilt holiday gift project plans

Collection of DIY gift project plans to build.

The Home Depot Tool Prospective

THD Prospective

Tools to consider for the DIYer.

Archives

The Home Depot Logo
Copyright © 2026 Jaime Costiglio · Custom site by Moonsteam Design

Privacy Policy