• Home
  • Blog
  • About
  • Contact
    • Disclosure
    • Privacy Policy
  • SHOP
  • Widget area for main menu

    • Email
    • Facebook
    • Instagram
    • Pinterest
    • Twitter
    • YouTube
  • Skip to primary navigation
  • Skip to main content
  • Skip to primary sidebar

Jaime Costiglio

build - paint - sew

  • BUILD
    • BEDS
    • BENCHES
    • DESKS
    • DRESSERS
    • GAMES & TOYS
    • SCRAP WOOD
    • SHELVES
    • STORAGE
    • TABLES
  • TOOLS
  • PAINT
    • CRAFTS
    • FURNITURE
    • HOME DECOR
  • SEW
    • GIFTS
    • HOME DECOR
    • POUCHES
  • HANDBUILT HOLIDAY
    • 2021
    • 2019
    • 2018
    • 2017
    • 2016
    • 2015
    • 2014
    • 2013
  • GIFTS
    • BABIES
    • KIDS
    • FOR HER
    • FOR HIM
    • TEACHERS
    • WEDDINGS
  • SEASONAL
    • 4TH OF JULY
    • FALL
    • HALLOWEEN
    • CHRISTMAS
    • SUMMER
    • SPRING
    • ST. PATRICK’S DAY
    • THANKSGIVING
    • VALENTINE’S DAY
    • WINTER
  • SALTBOX PROJECT
    • BATHROOMS
    • DINING ROOM
    • EXTERIOR
    • FAMILY ROOM
    • FOYER / MUDROOM
    • KIDS BEDROOMS
    • KITCHEN
    • LIVING ROOM
    • MASTER BEDROOM
    • PLAYROOM
  • SCROLL SAW

“B” is for Burlap Bunting

September 16, 2012

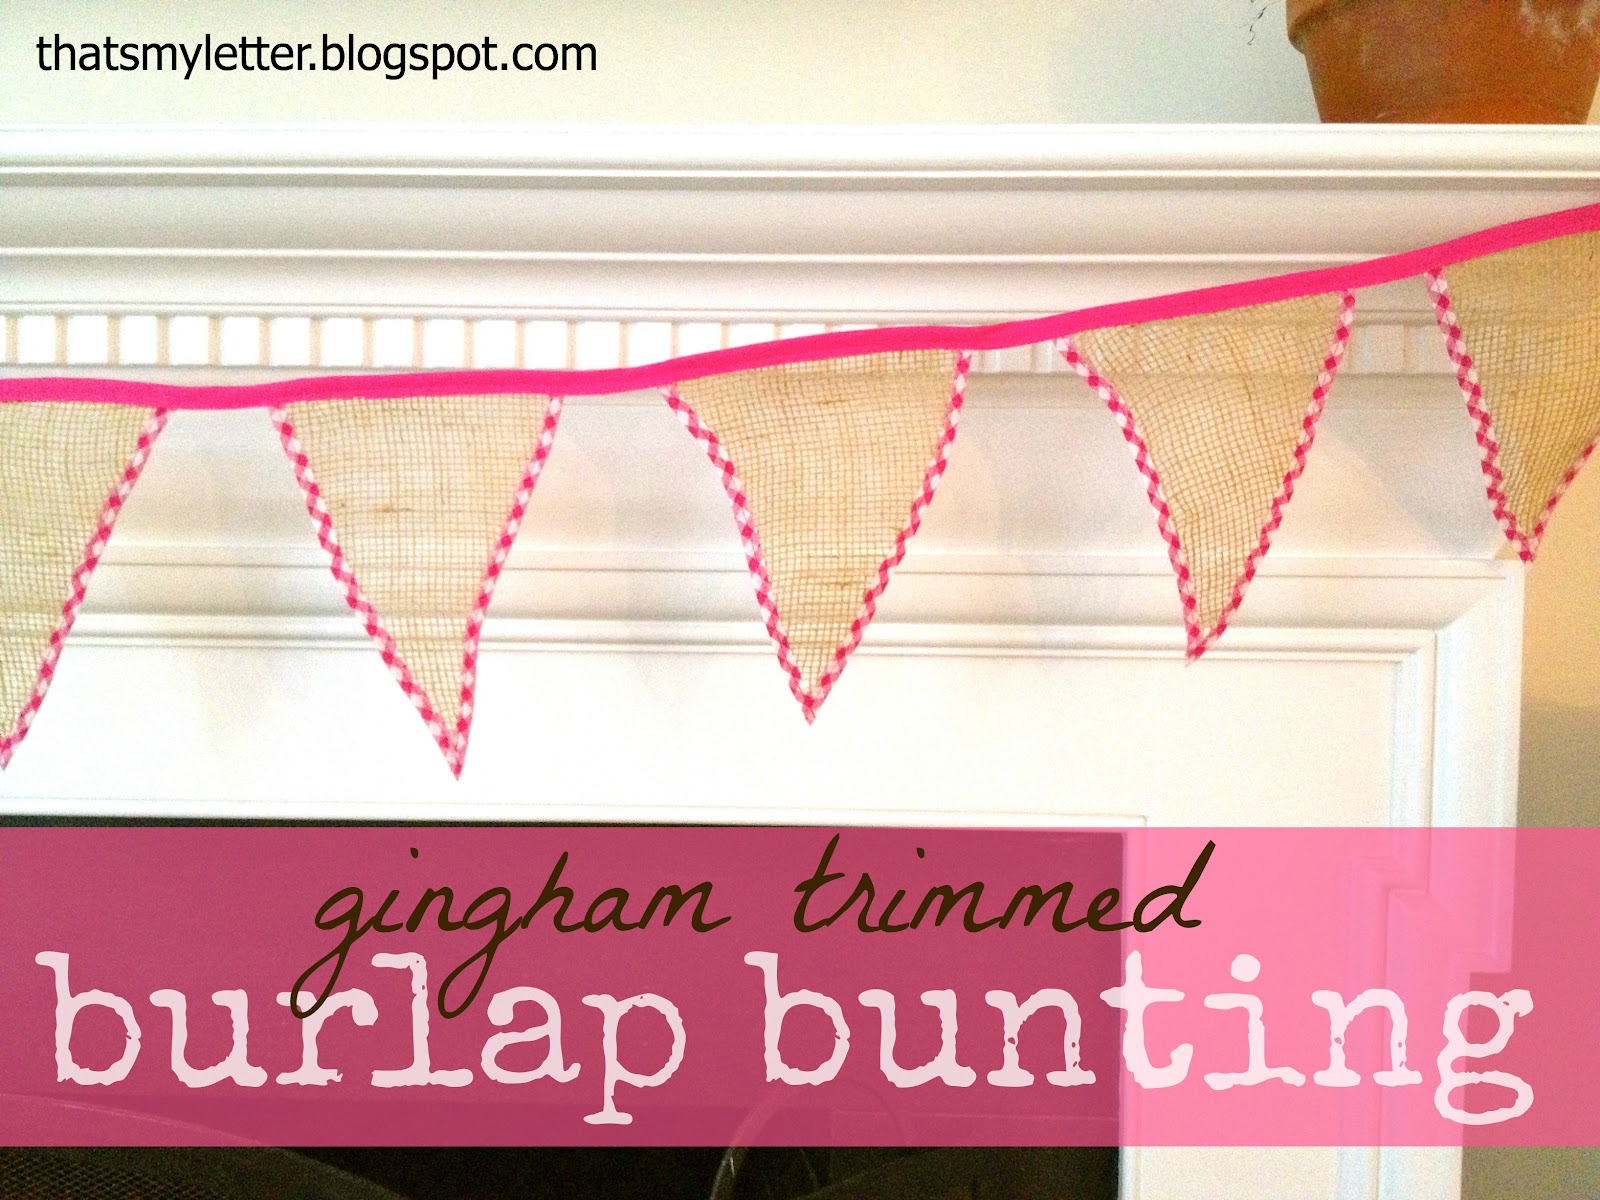
Sew: gingham trimmed burlap bunting

We have an 8 year-old-girl birthday party coming up soon and I’m busy preparing a few decorations.
This super easy and fast burlap bunting will be the perfect addition to her cake decorating party.
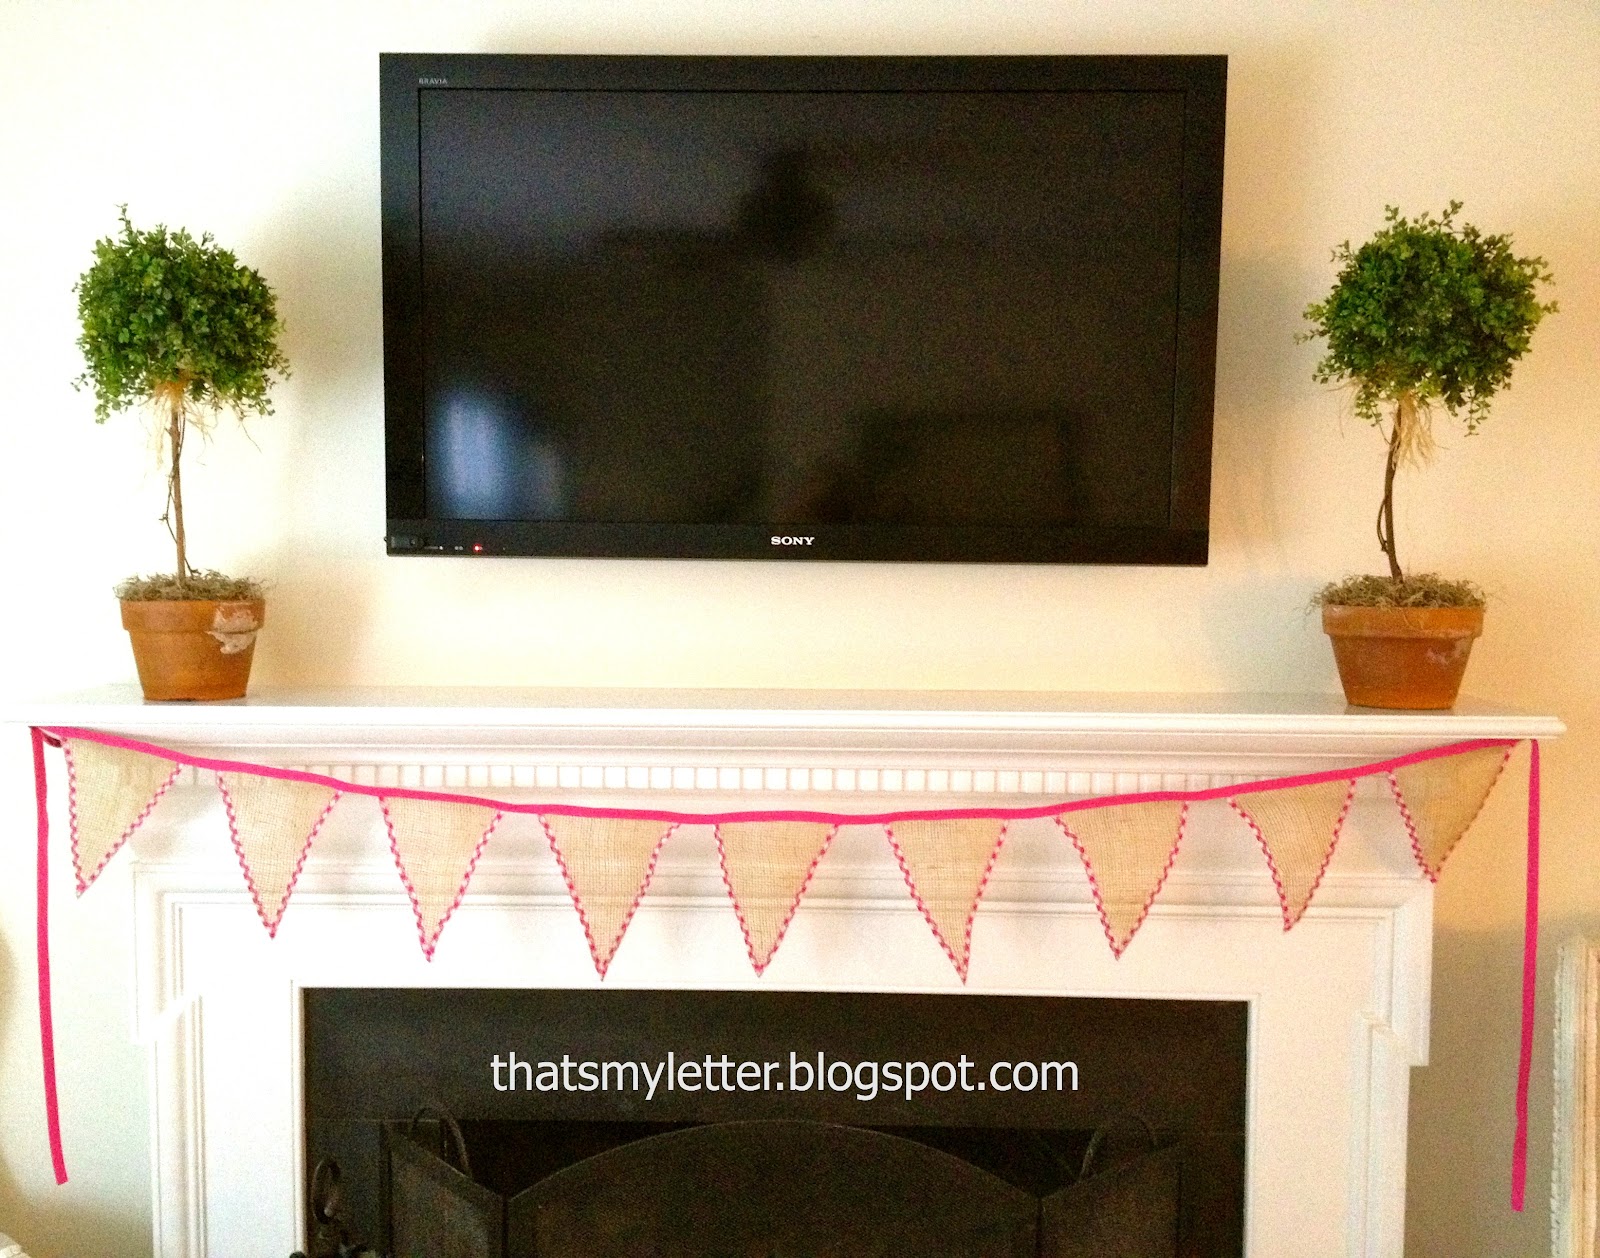
Burlap has such great texture, slightly rustic in nature but when paired with the gingham it suddenly becomes party ready:
The party won’t be held at our house so I’m hoping to have a few more pictures at the bakery in a few weeks. 
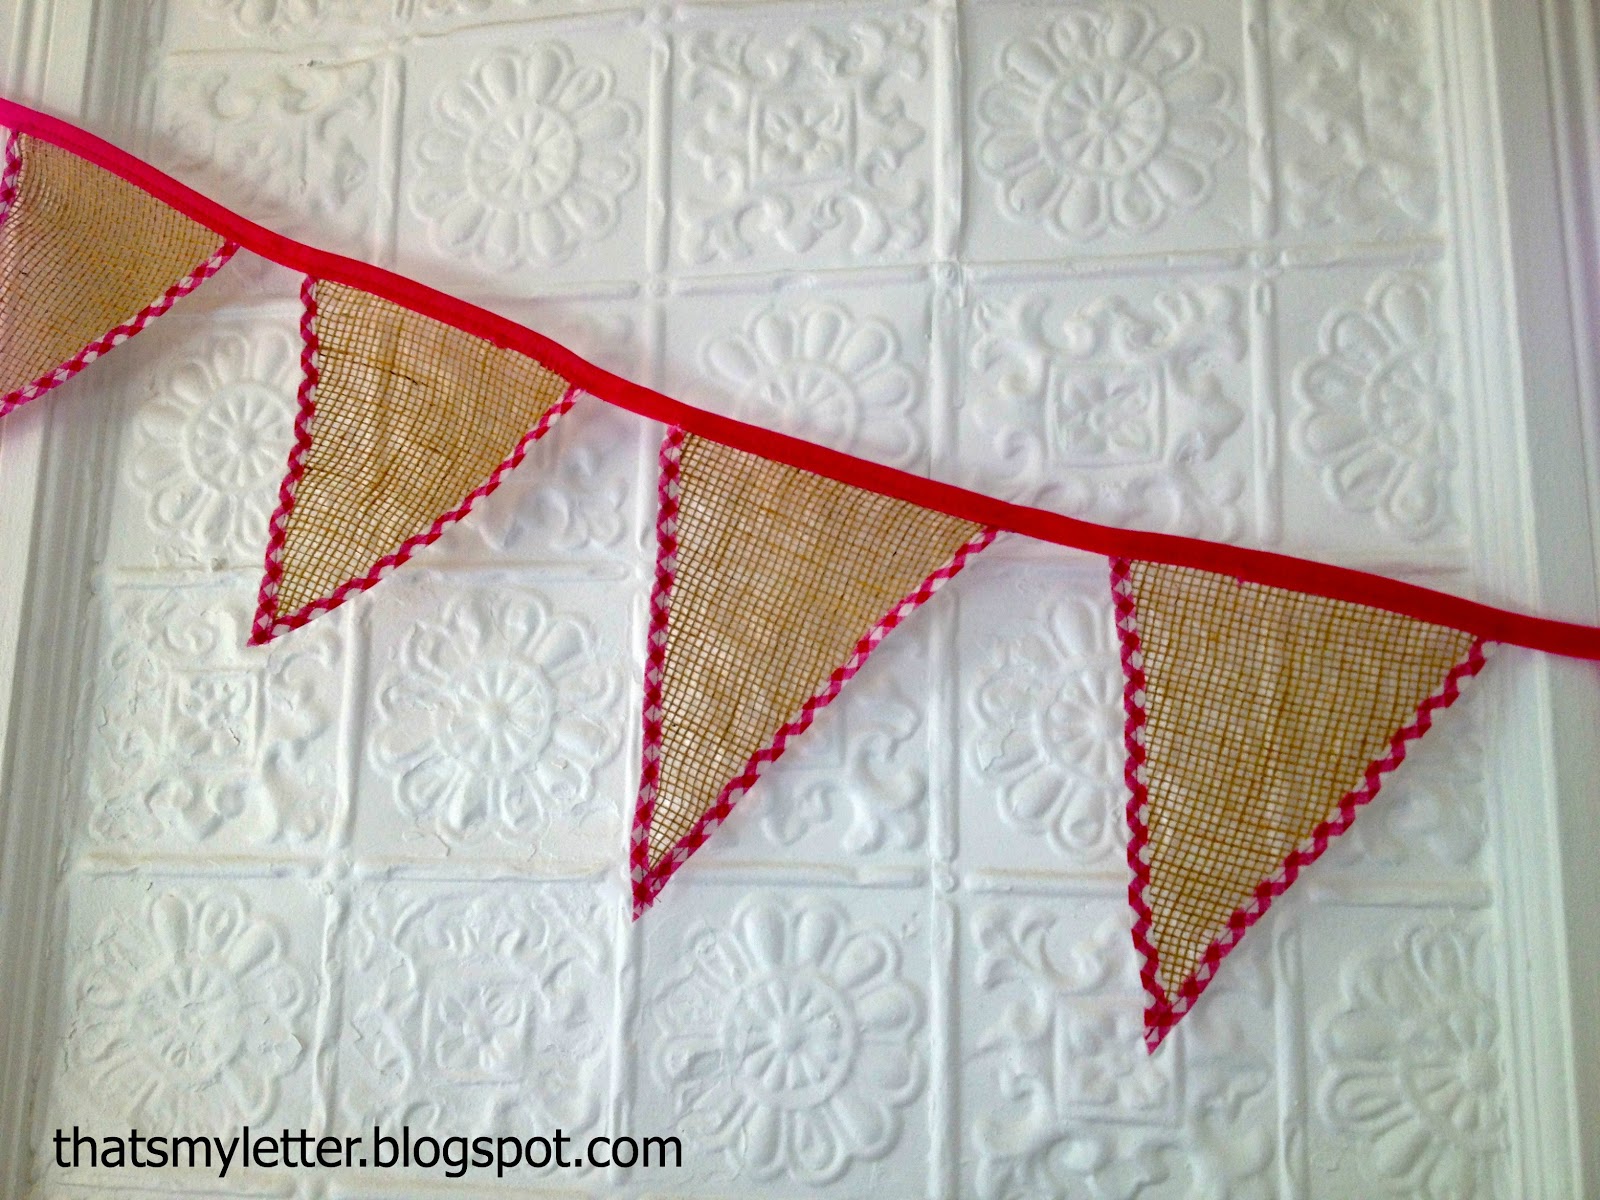
** Update: Here’s the bunting at the party up against the pressed tin walls:

To see the how-to on the chalkboard sign check my post here.
Here’s how I made the burlap bunting:

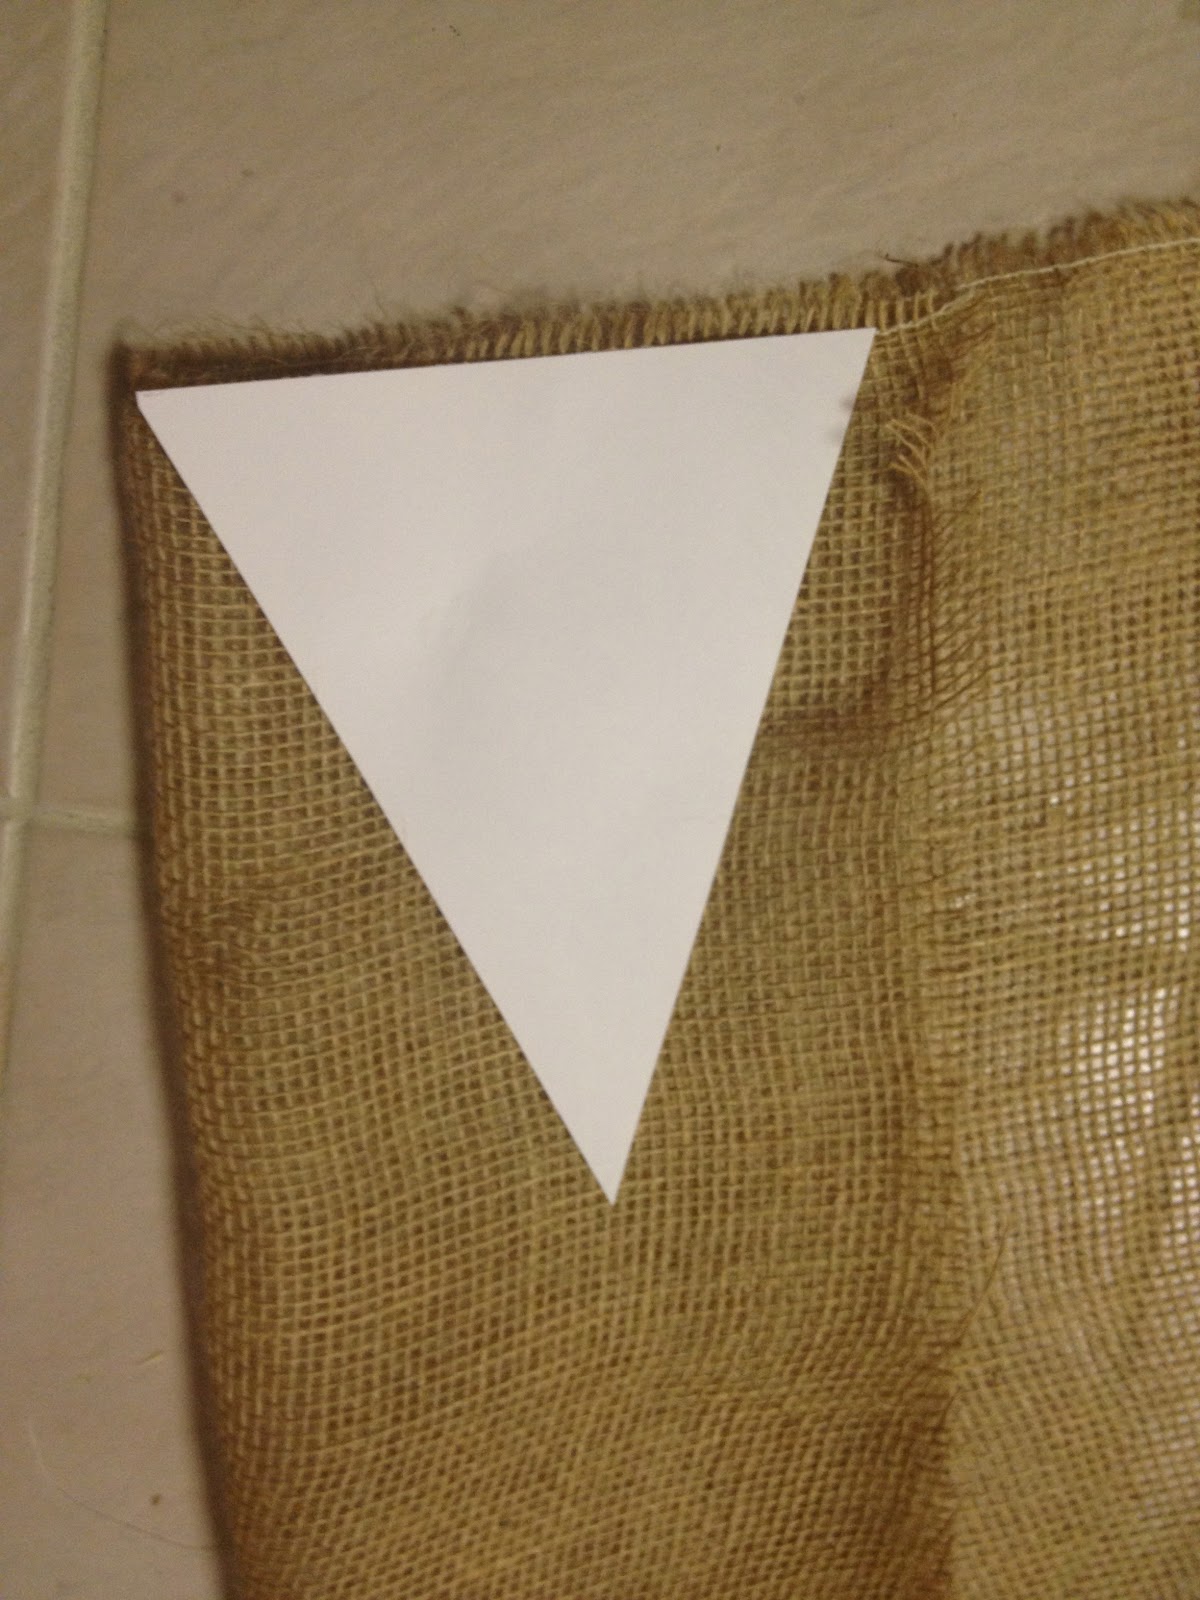
1. Make a cardboard triangle template.  
Mine measures 9″ long (point to top) and 7″ wide (across the top).
Use template to cut burlap triangles (I made 12 triangles):
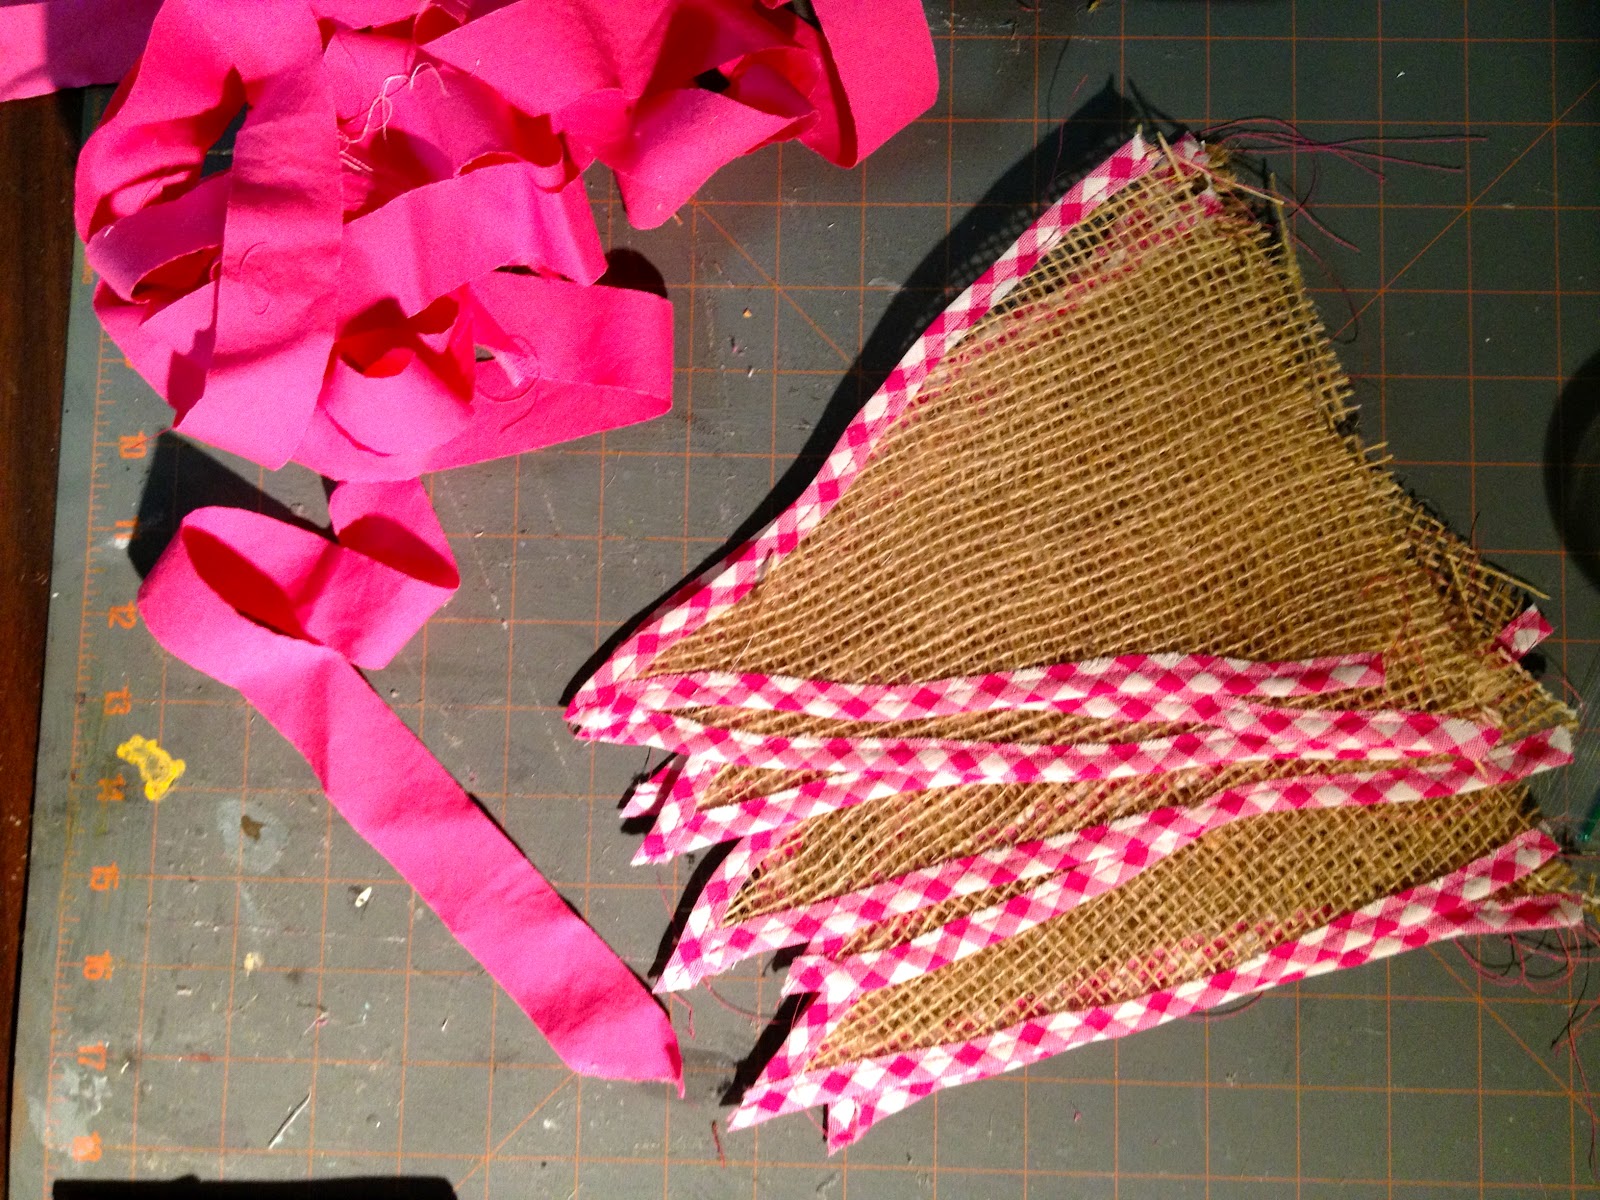
2. Cut gingham strips on the bias, mine measure 3/4″ wide x 10″l:
3. Press strips in half to make a ‘pocket’ for burlap to sit:

4. Place edge of burlap triangle into ‘pocket’ of gingham strip and top stitch in place:
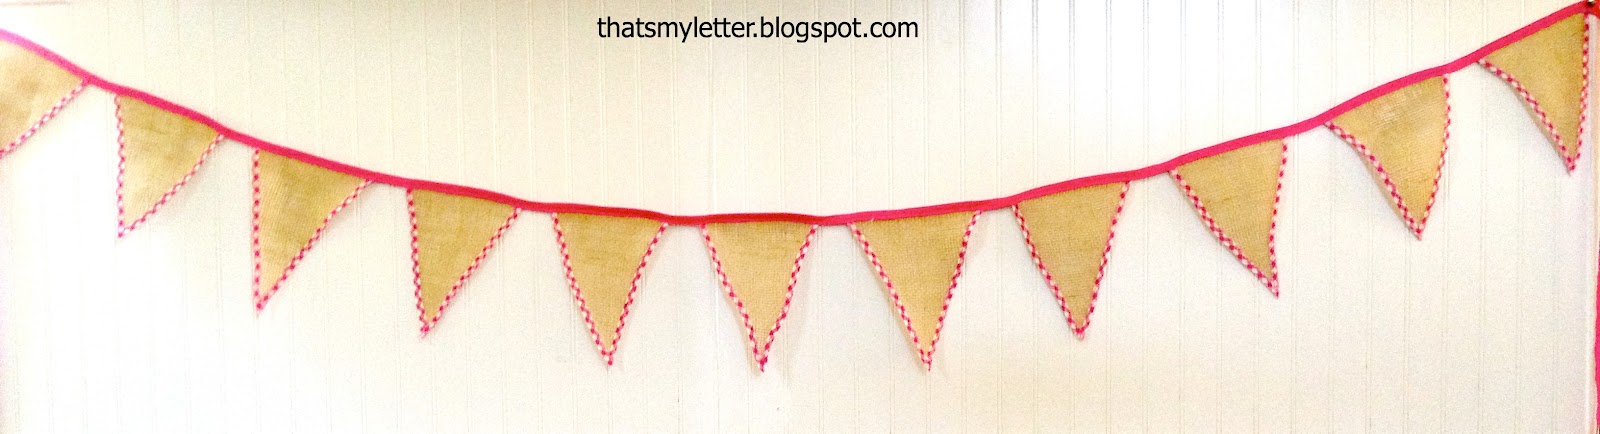
5. Cut top fuschia bias strip at 1 1/2″ wide x 12′ long:
6. Press fuschia strip in half to make pocket for triangle tops.
Top stitch each triangle in place leaving about 3″ in between triangles:
I’m linking up to:
SAS @ Funky Junk
DIY Project Parade @ The DIY Showoff
Tutorials & Tips Tuesday @ Home Stories A to Z
Strut Your Stuff @ Somewhat Simple
Share Awesomeness Thur @ The 36th Avenue
Pretty Things Thursday @ Scissors & Spatulas
Flaunt it Friday @ Chic on a Shoestring
Frugal Friday @ The Shabby Nest
SAS @ Just a Girl
Remodelaholics Anonymous @ Remodelaholic
inspiration board @ Carolyns Homework
Textiles @ Freckled Laundry
Sunday Showcase Party @ Under the Table & Dreaming

You may also like...

  • DIY Star NapkinsDIY Star Napkins
  • “B” is for Book Themed Birthday Party“B” is for Book Themed Birthday Party
  • “C” is for Cake Party“C” is for Cake Party
  • Cross Stitch Monogram Ornament PlacecardCross Stitch Monogram Ornament Placecard
Share this post:

Filed Under: CRAFTS, DIY, HOME DECOR, HOME DECOR, SEW, SEWING5 Comments

Reader Interactions

Comments

  1. It's All Connected says

    September 16, 2012 at 2:30 PM

    I love the gingham with the burlap! ~ Maureen

    Reply
  2. K Coake says

    September 18, 2012 at 1:46 AM

    So cute! I love gingham and making it into a banner with burlap is really cute.

    Reply
  3. Kei says

    September 18, 2012 at 12:09 PM

    That looks great! I love the combination of burlap and gingham 🙂

    Reply
  4. Velud'arte says

    September 20, 2012 at 9:23 AM

    I like! So cute 🙂 Kiss

    Reply
  5. freckled laundry says

    September 27, 2012 at 10:58 PM

    I love the burlap/gingham combo, Jaime. Thank you for sharing at my place!

    Reply

Leave a Reply Cancel reply

Your email address will not be published. Required fields are marked *

Primary Sidebar

Hi! I’m Jaime

Jaime Costiglio

Hello!

Thank you for stopping by.
Join me for lots of DIY.

Read more

Get new posts via email

Handbuilt Holiday: Gift Project Plans

handbuilt holiday gift project plans

Collection of DIY gift project plans to build.

The Home Depot Tool Prospective

THD Prospective

Tools to consider for the DIYer.

Archives

The Home Depot Logo
Copyright © 2026 Jaime Costiglio · Custom site by Moonsteam Design

Privacy Policy