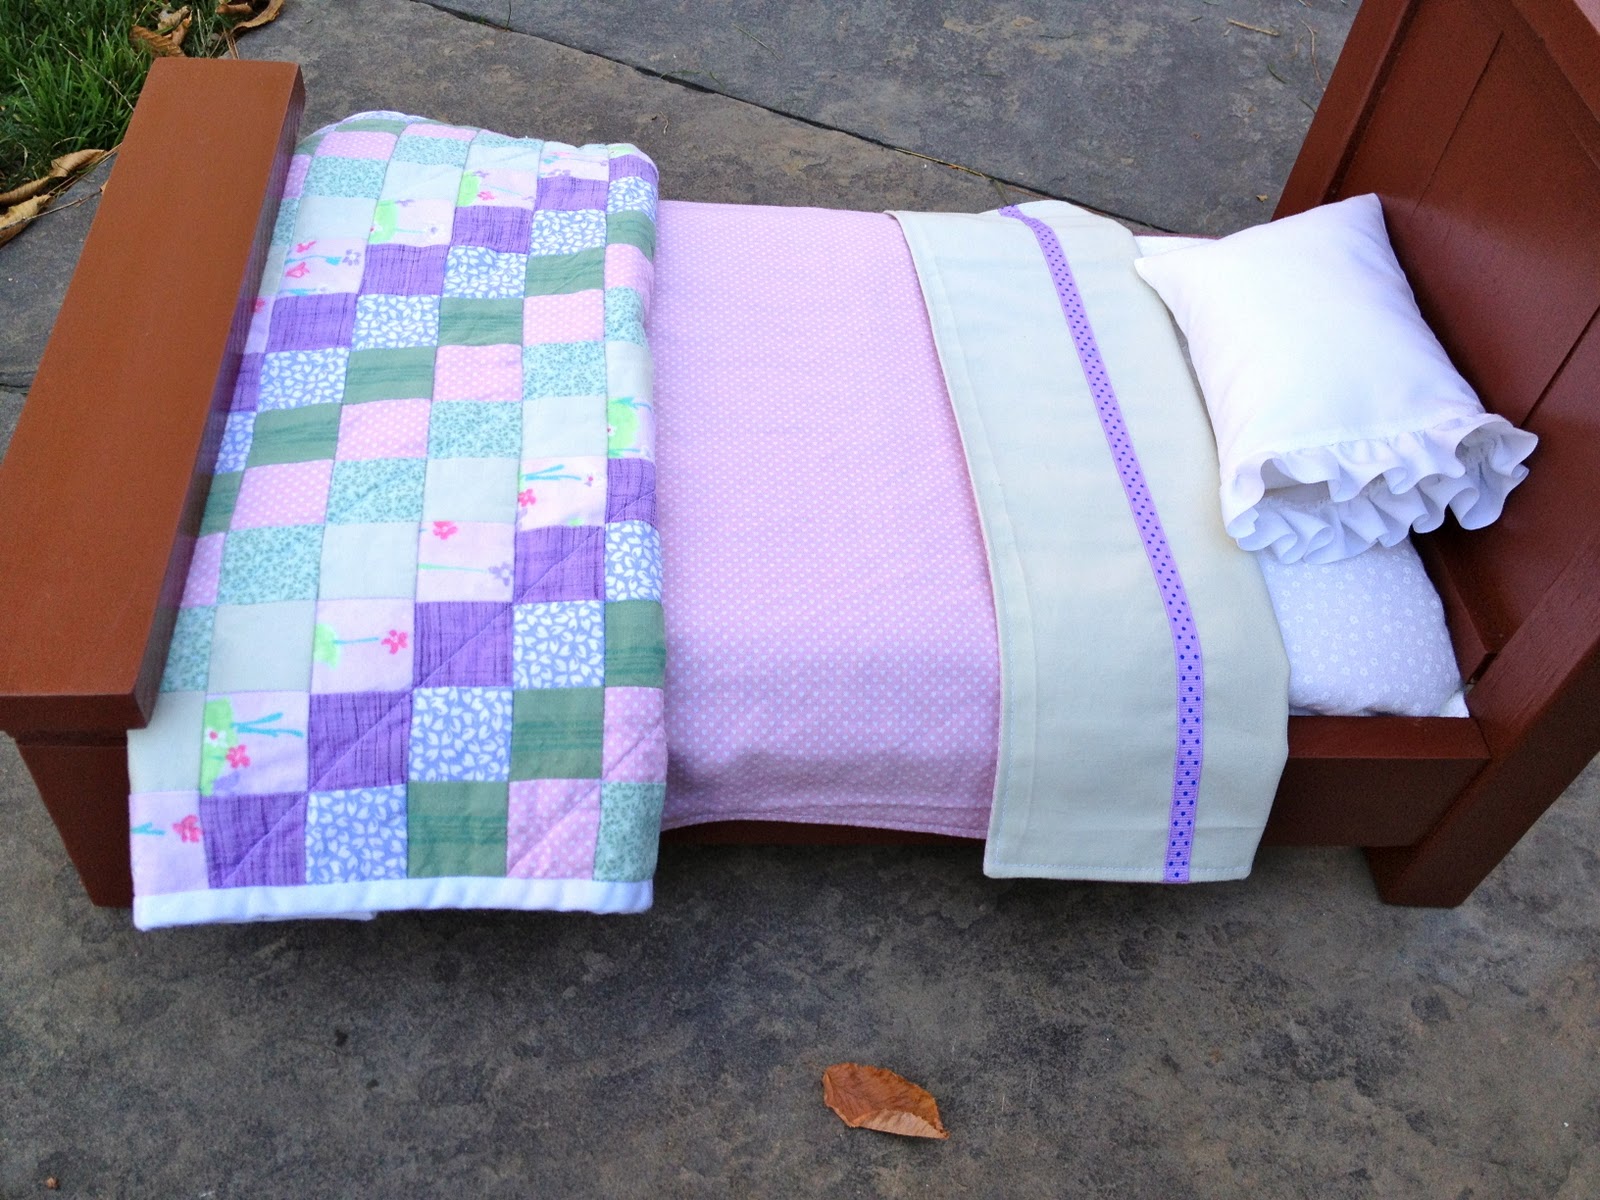
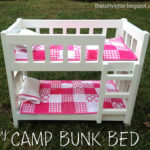
A farmhouse style doll bed for Molly.
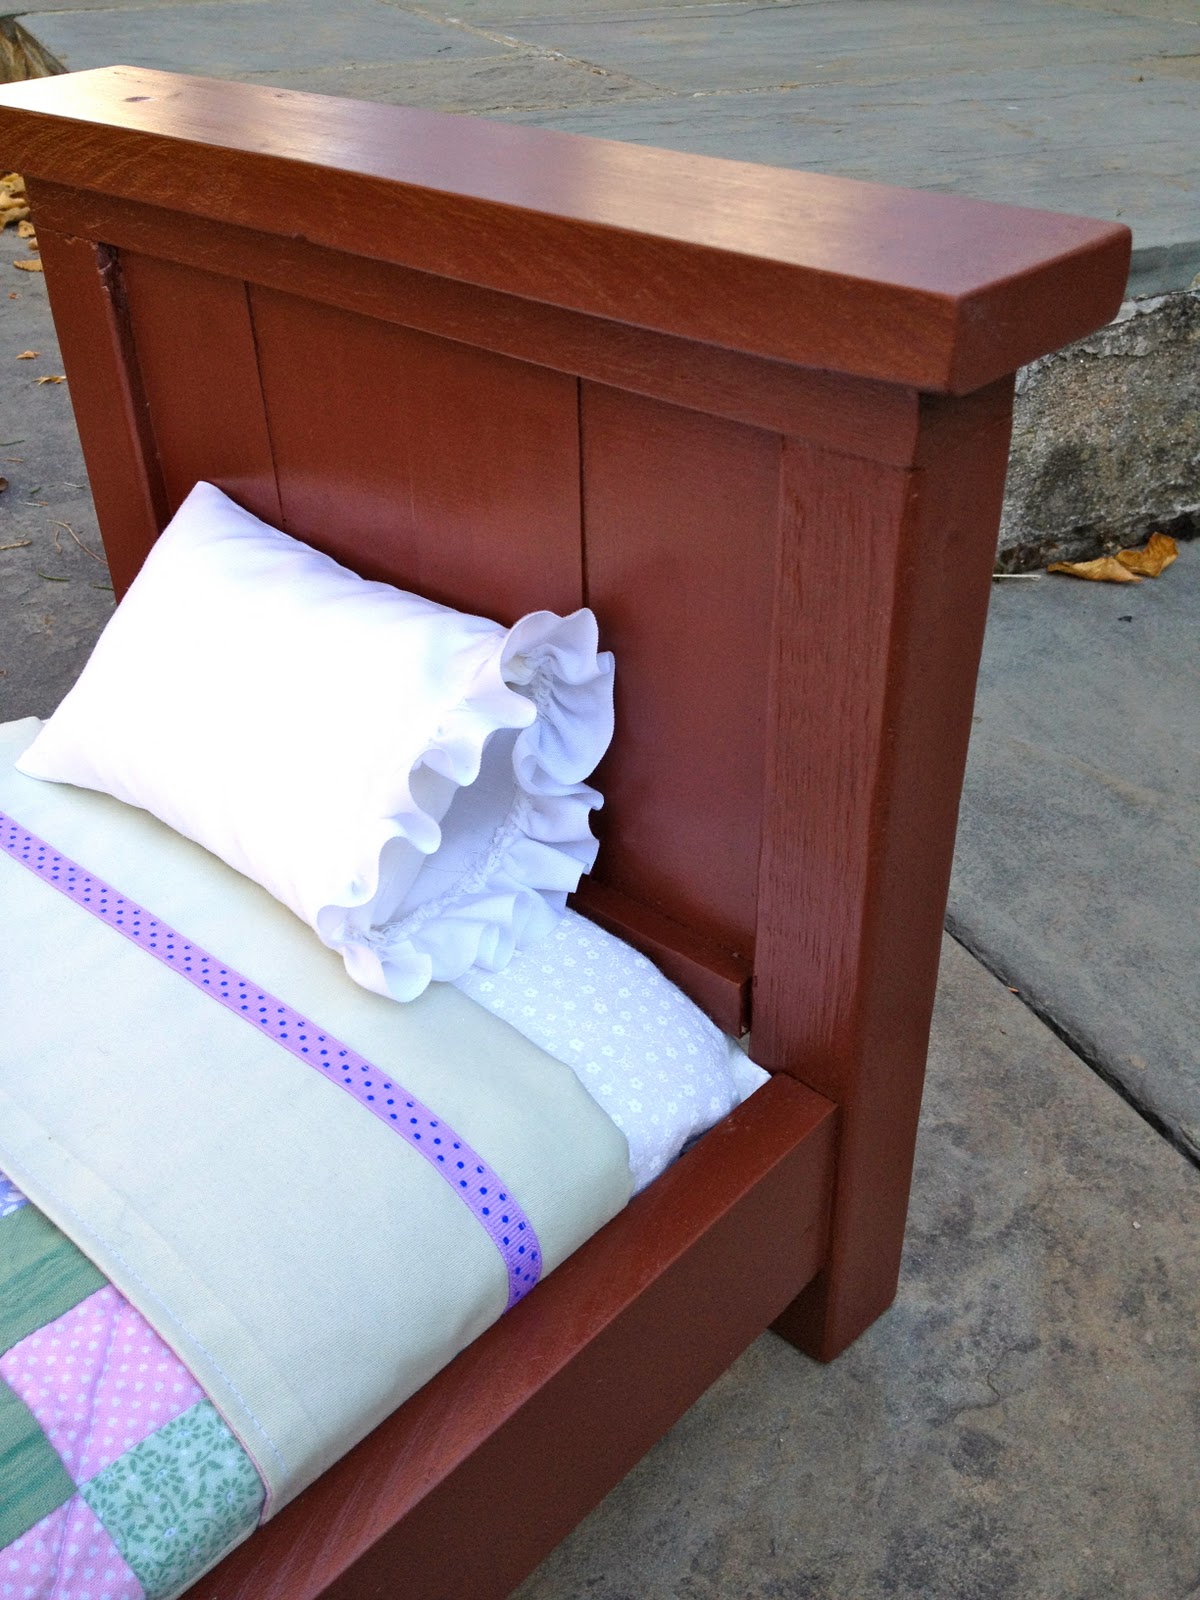
I built the bed using Ana White’s plans here, modifying the width (one less slat than Ana’s).
This is a darker version of my previous beds.
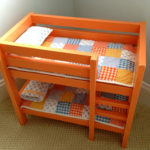
The color was chosen to match Molly’s bedroom furniture.
Her dresser here is a cherry wood color:

Painted and ready for her American Girl dolls:
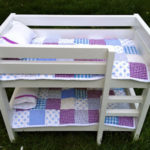
And the bedding colors match the painted walls here:
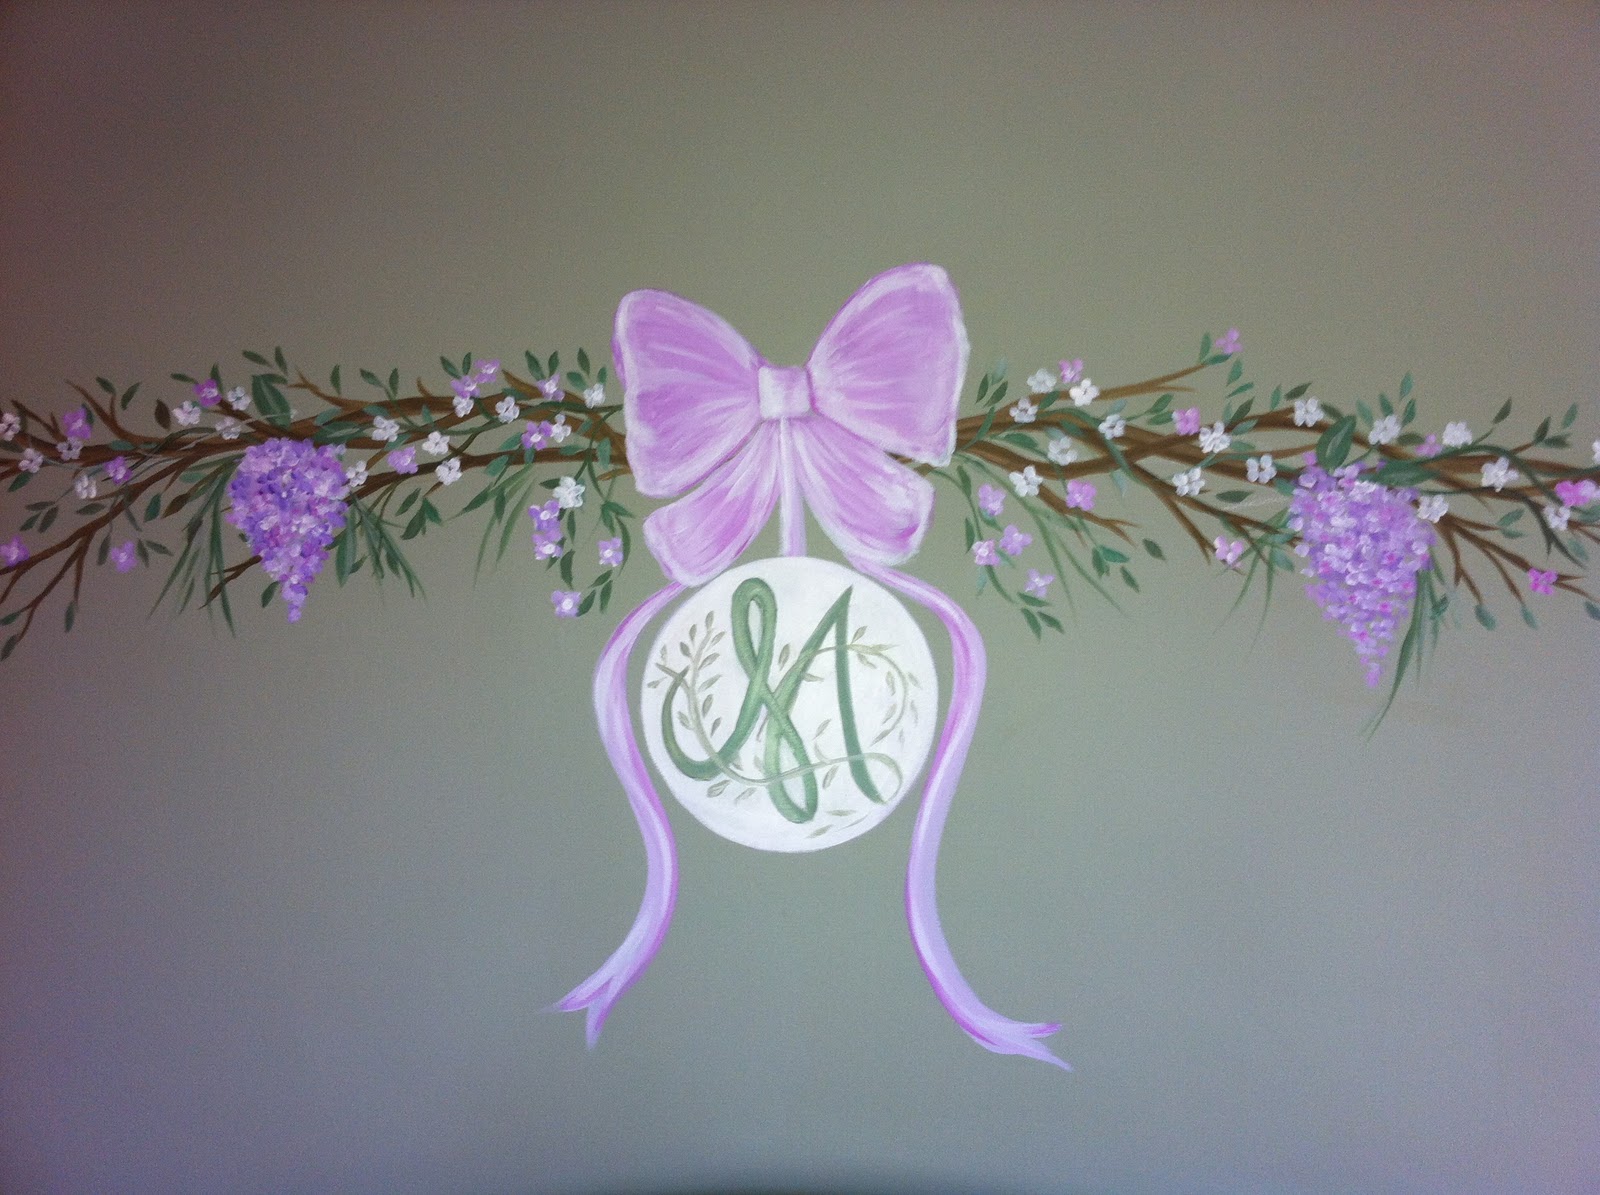
Green and purple with a little pink mixed in, I think this mix will do:
Here’s how I made the bed and bedding:
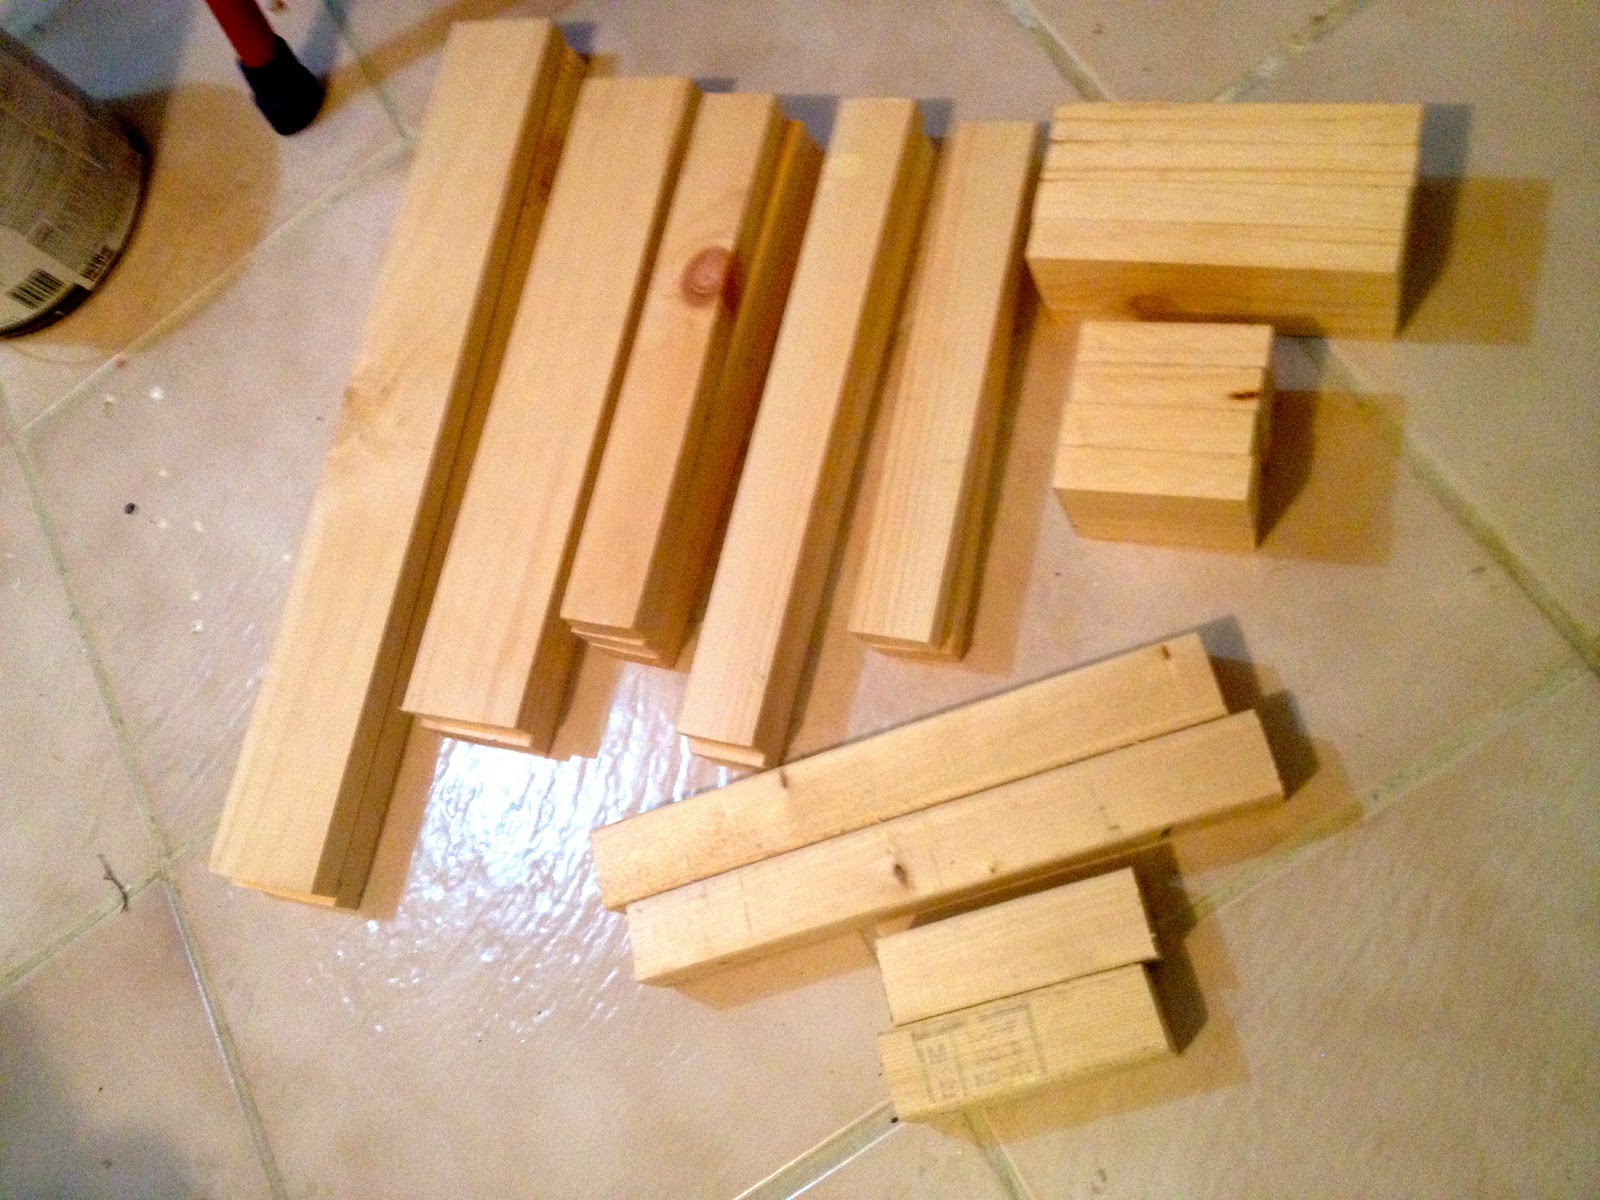
1. Cut wood pieces according to Ana White’s plans here.
(Modify width one less slat.)
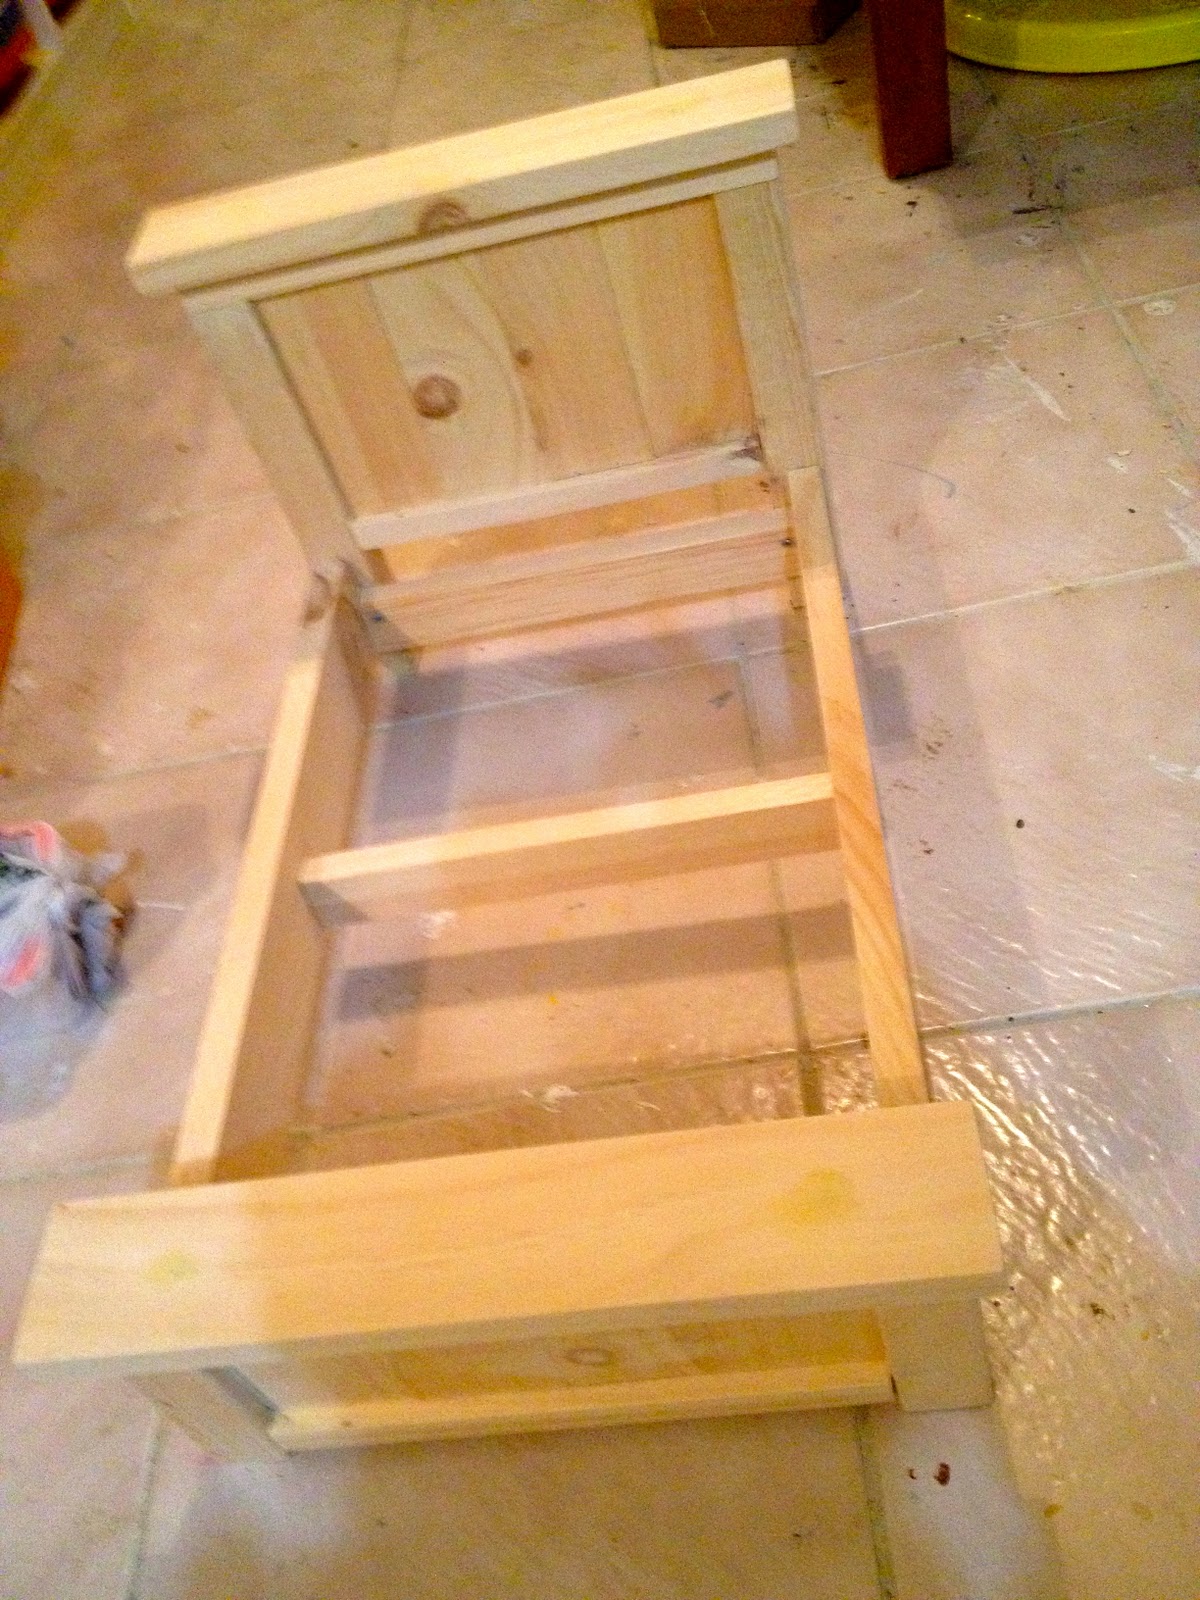
2. Construct, putty and sand.
3. Paint with two coats Benjamin Moore pancake syrup, stain one coat Minwax Red Chestnut, seal with Minwax wipe on satin poly:

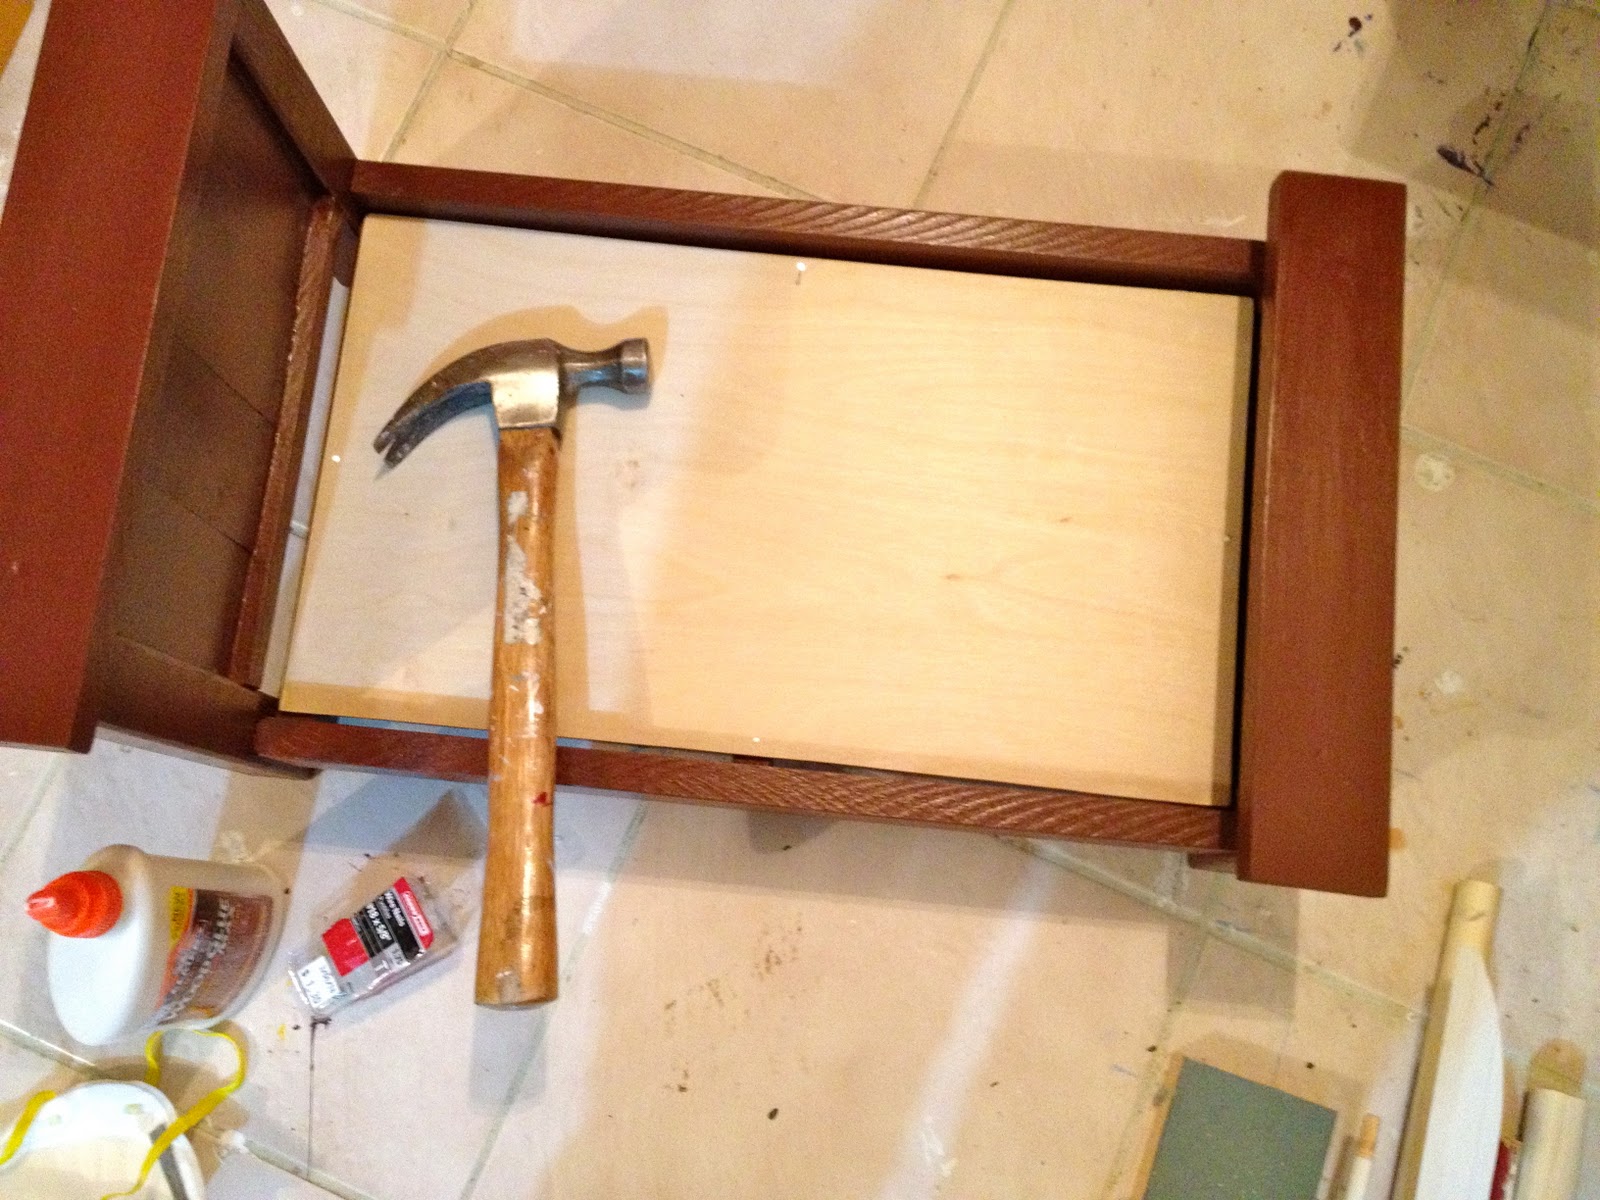
4. Attach base piece, notice I added third rail in middle for support.
Base is glued and nailed in place.
5. Make bedding.
Mattress is 1″ foam wrapped with batting, covered in fabric:
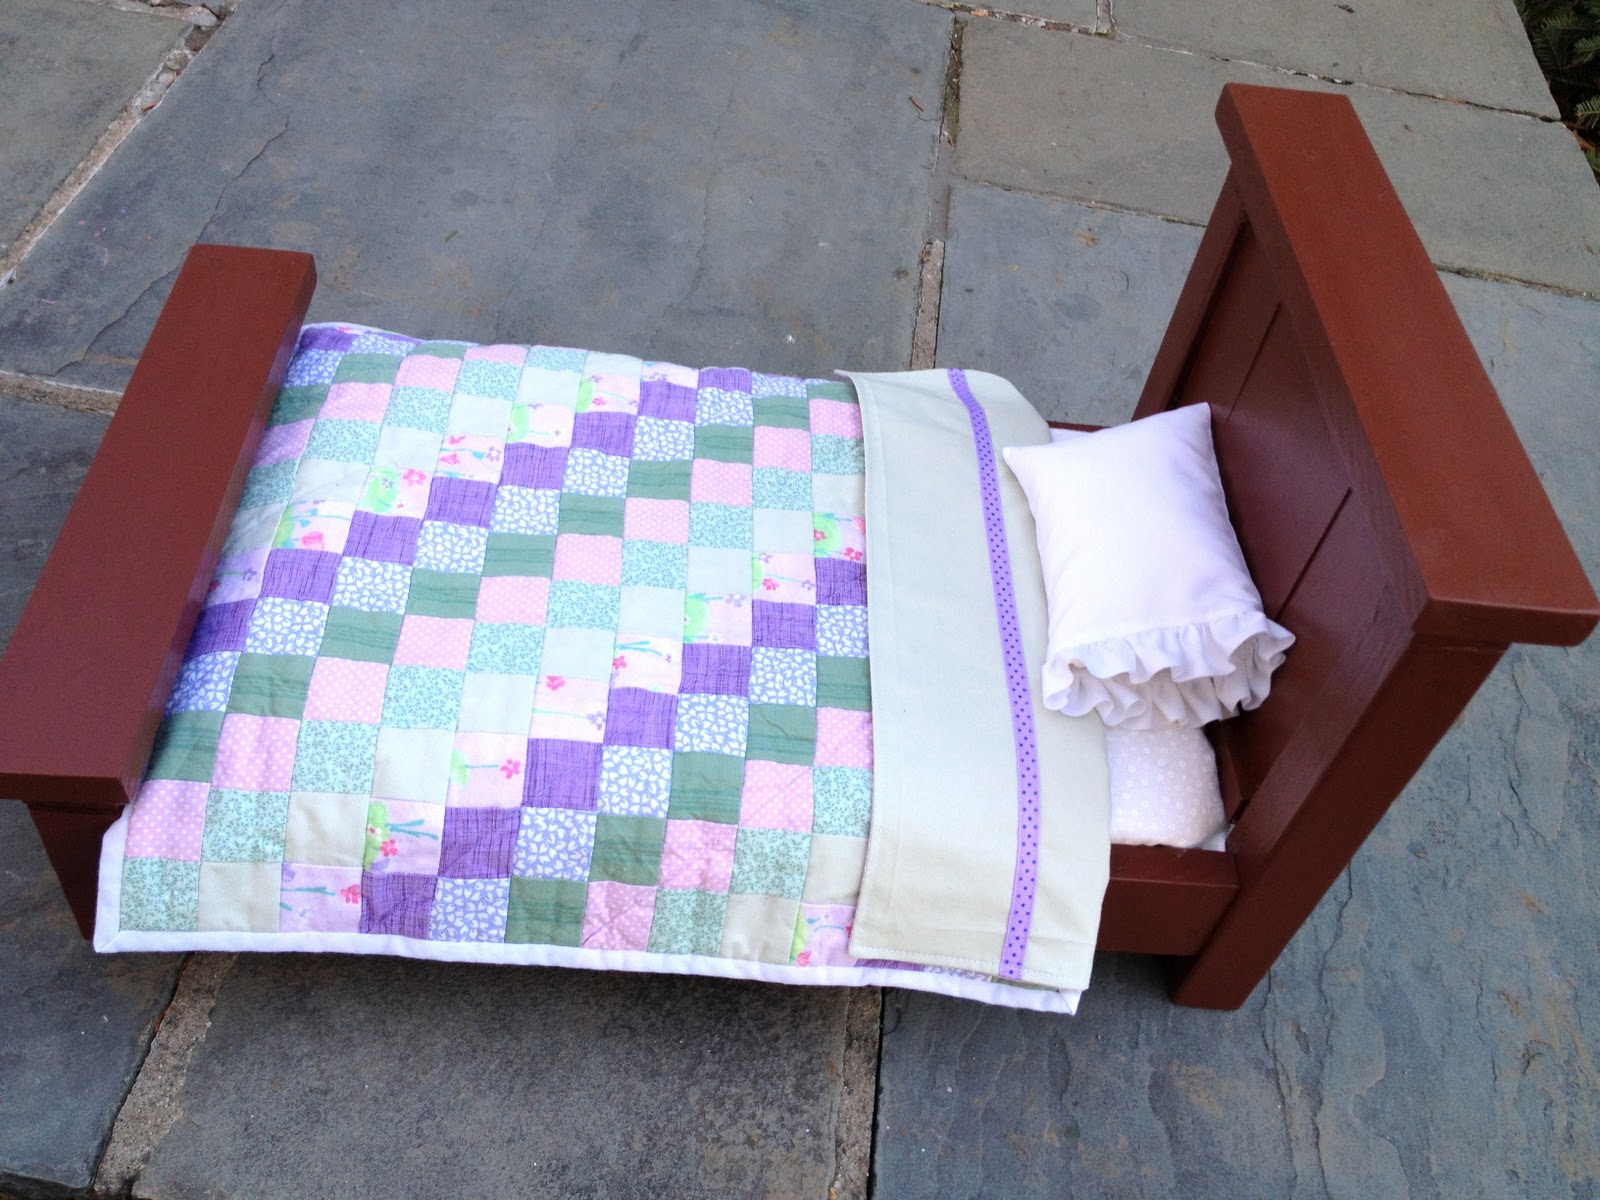
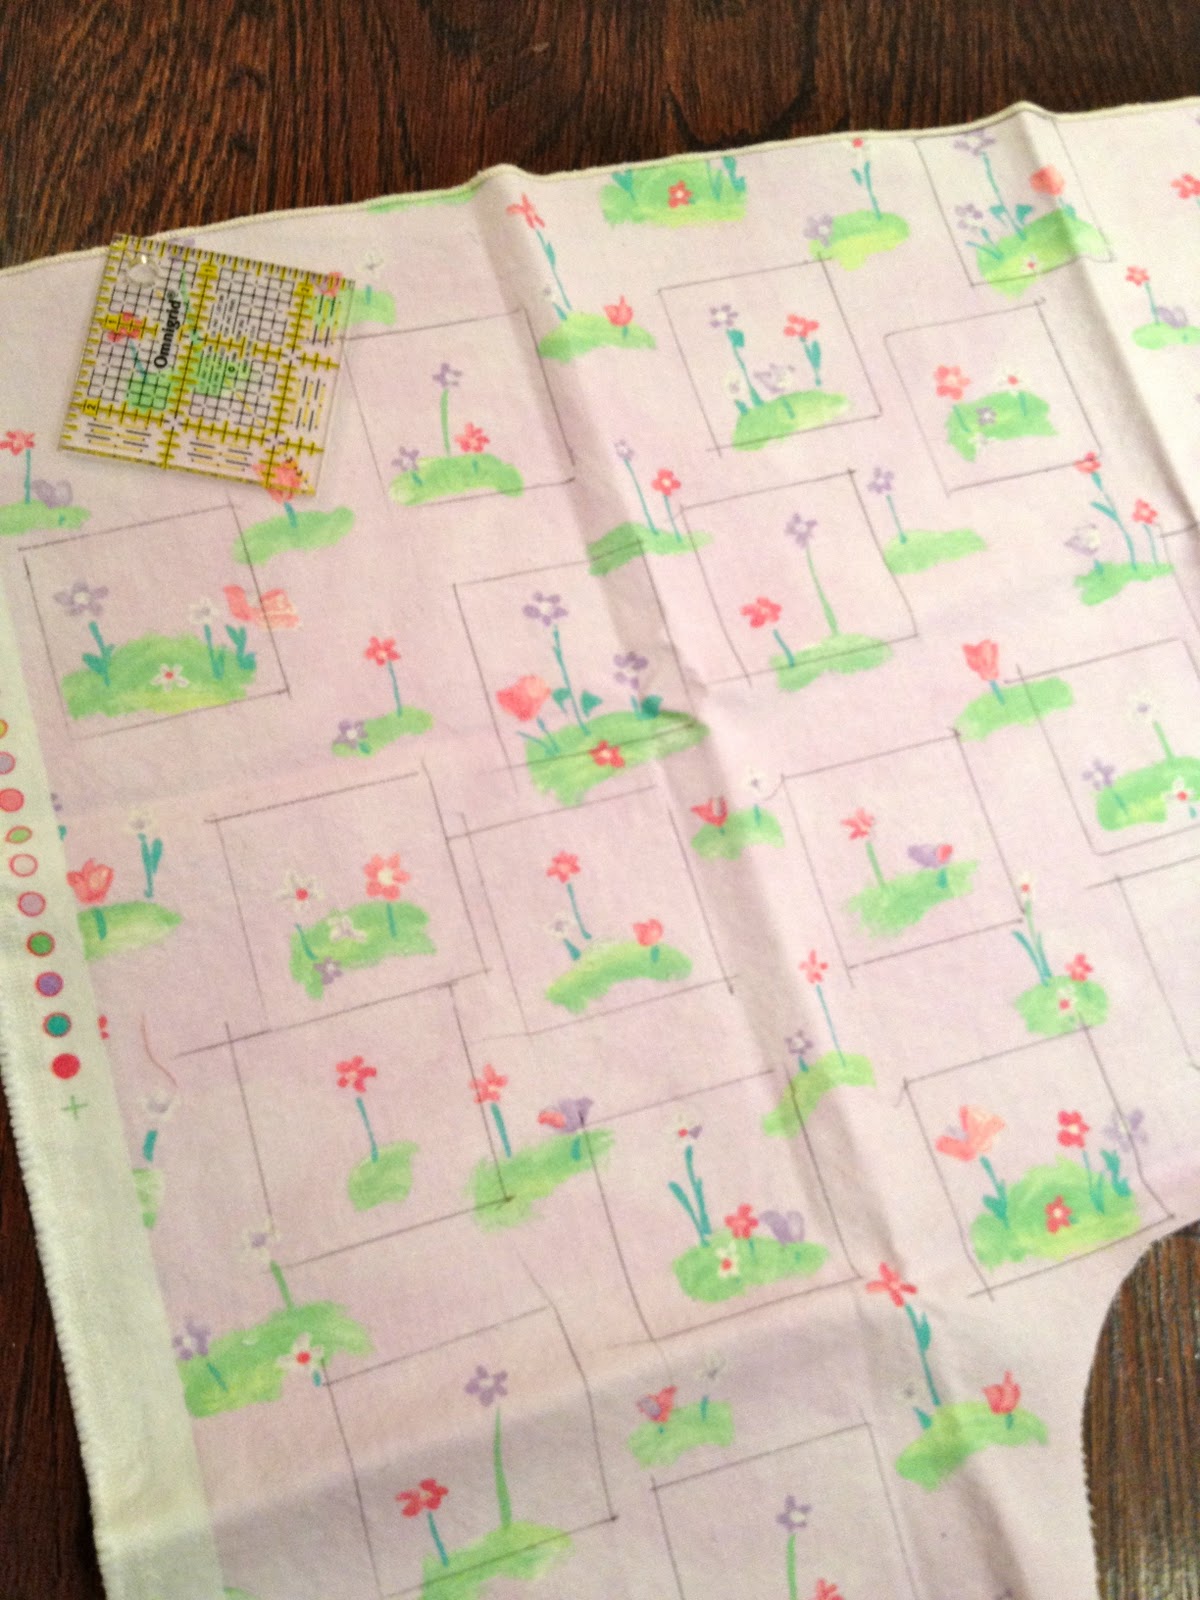
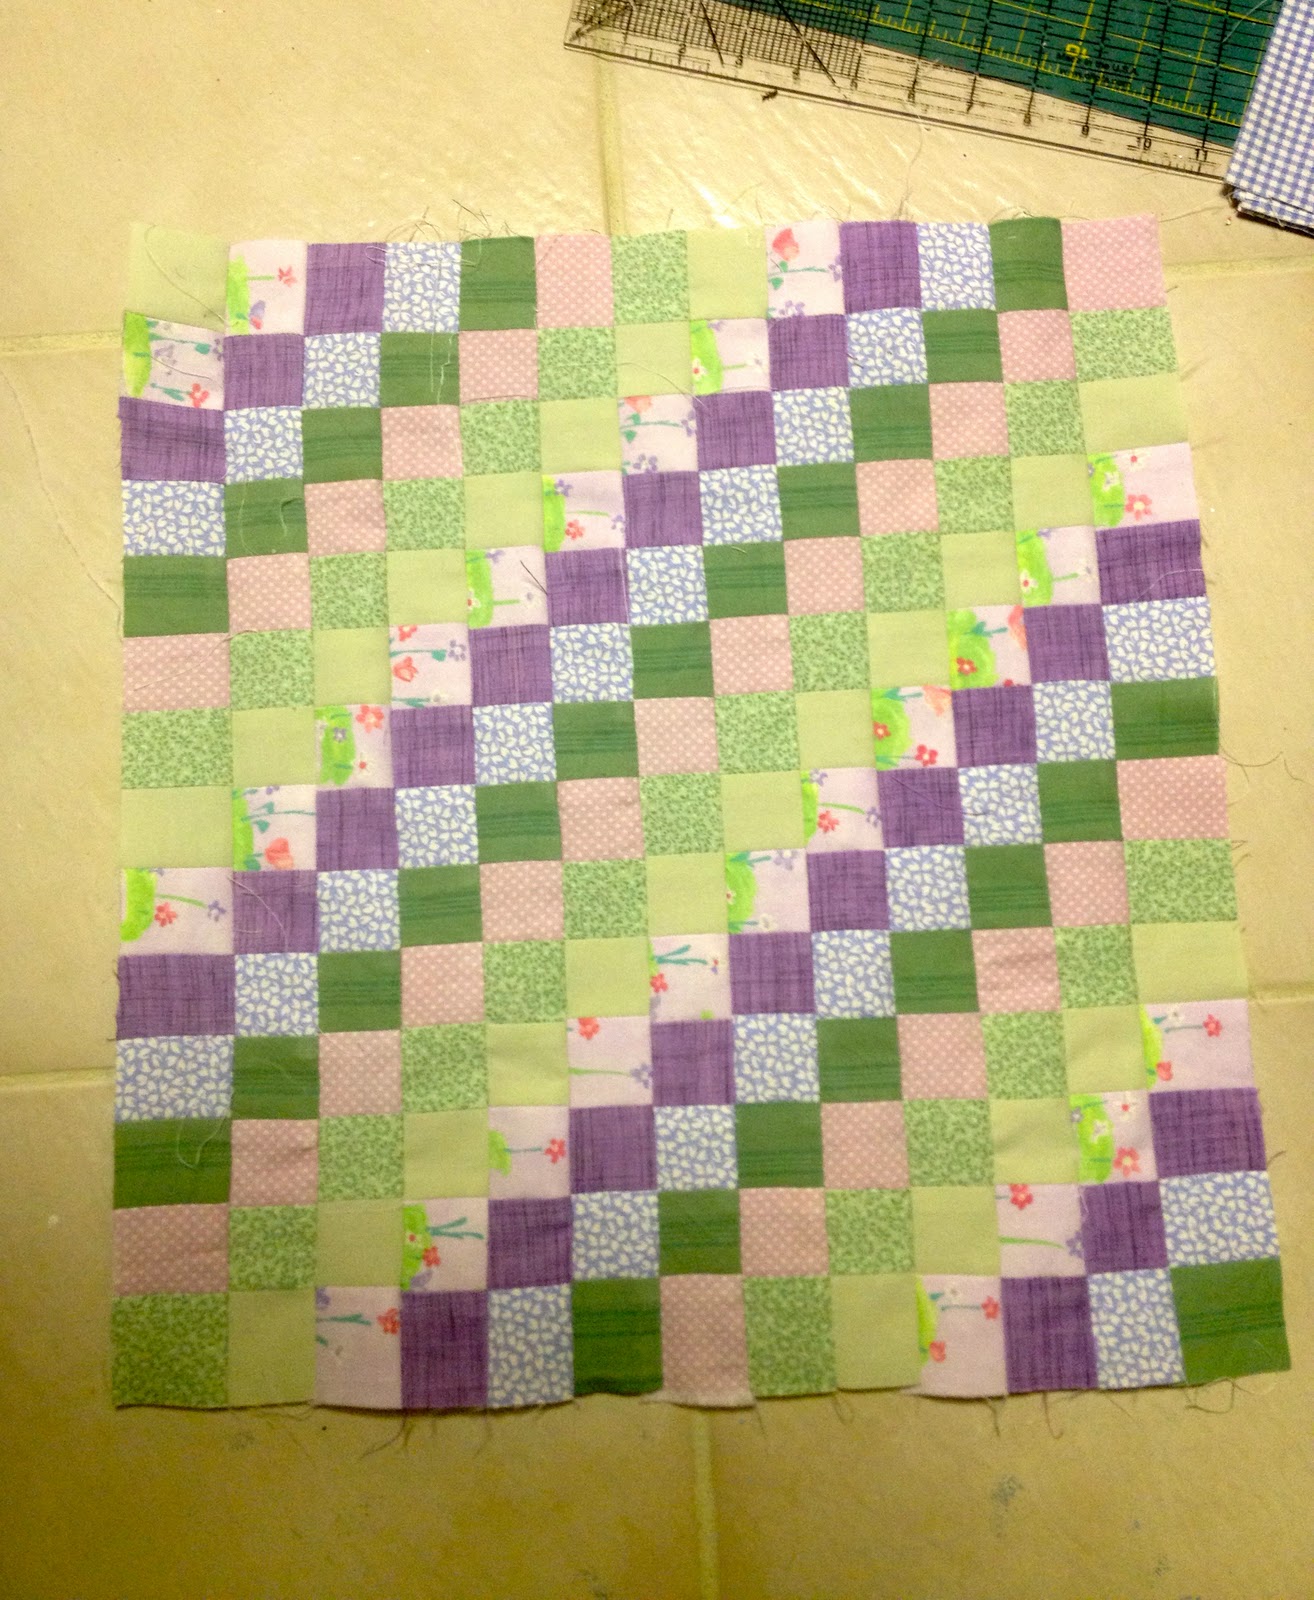
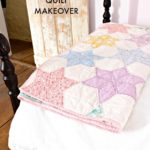
6. Quilt is strip pieced, floral fabric was fussy cut to get only the flowers.
Mark 2″ squares around flower sections:
7. Cut all strips at 2″ and arrange lay out:
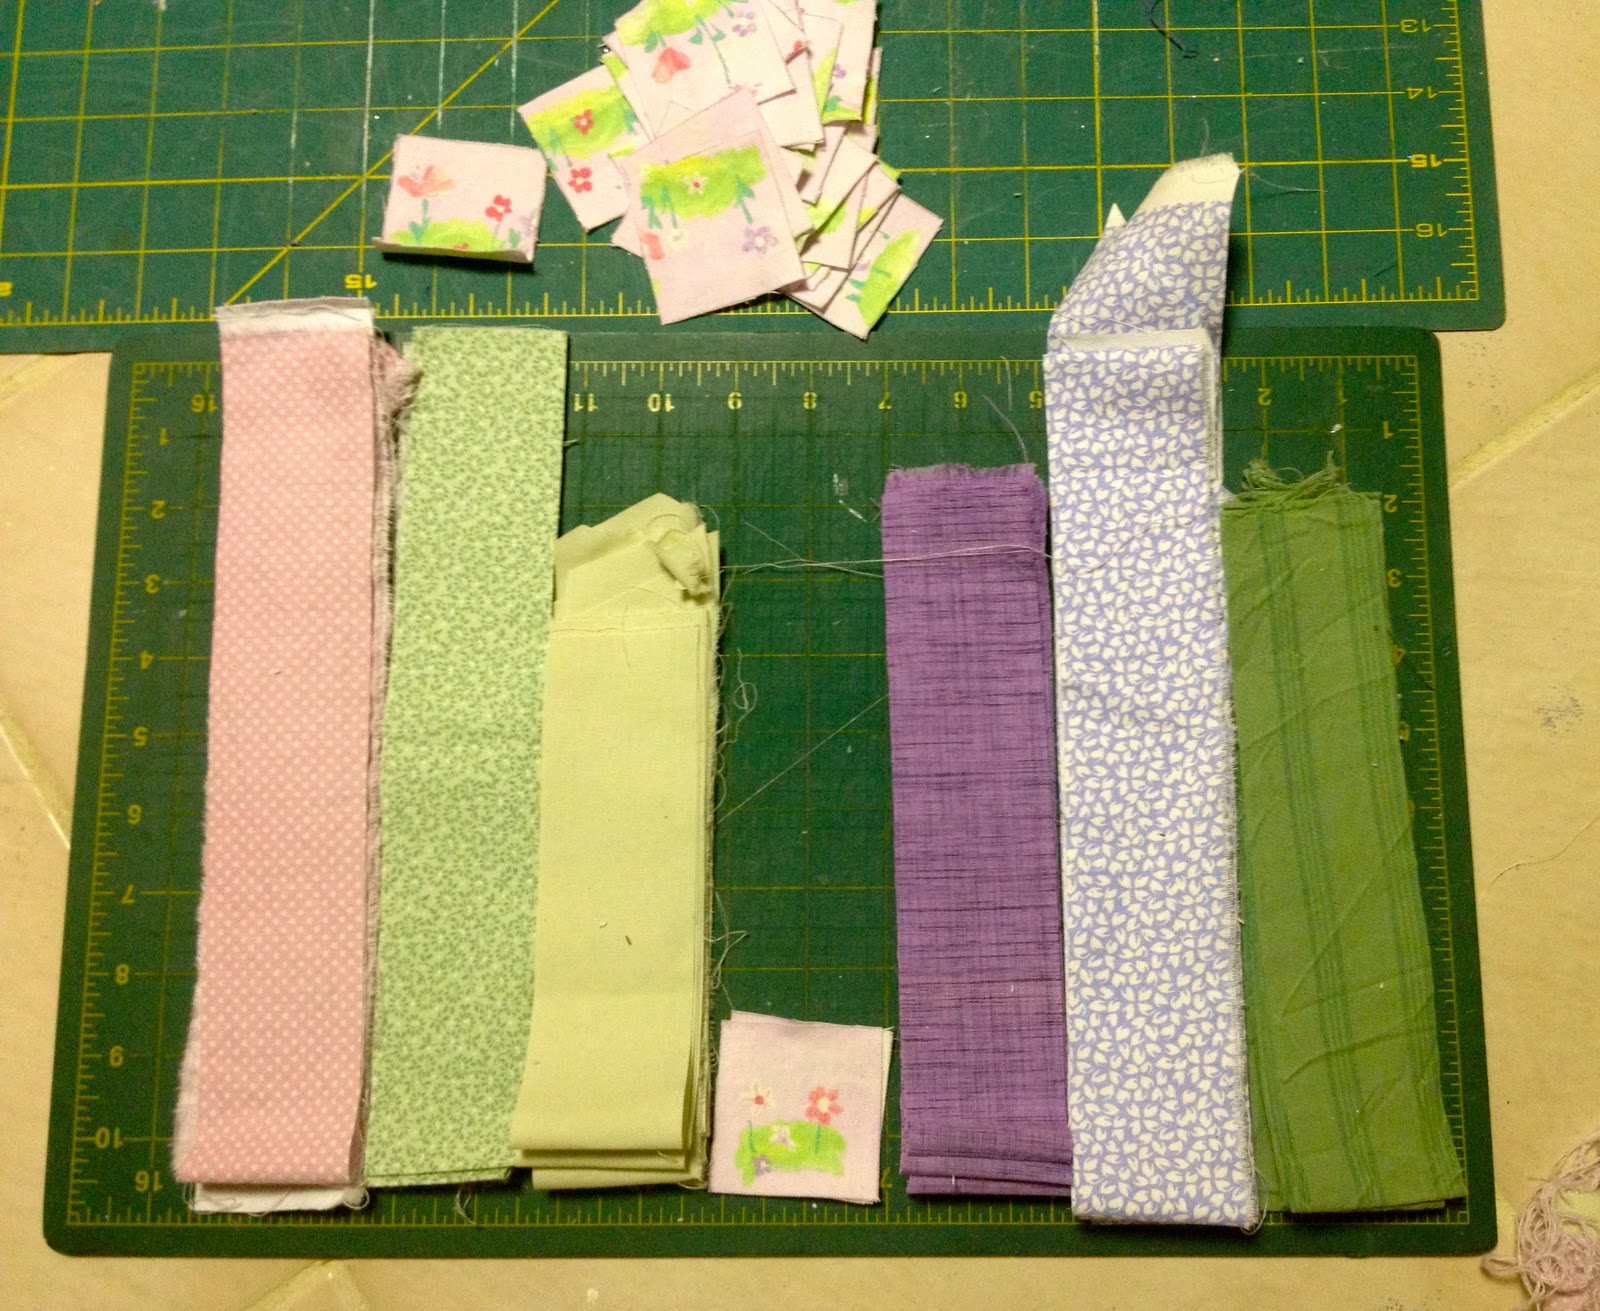
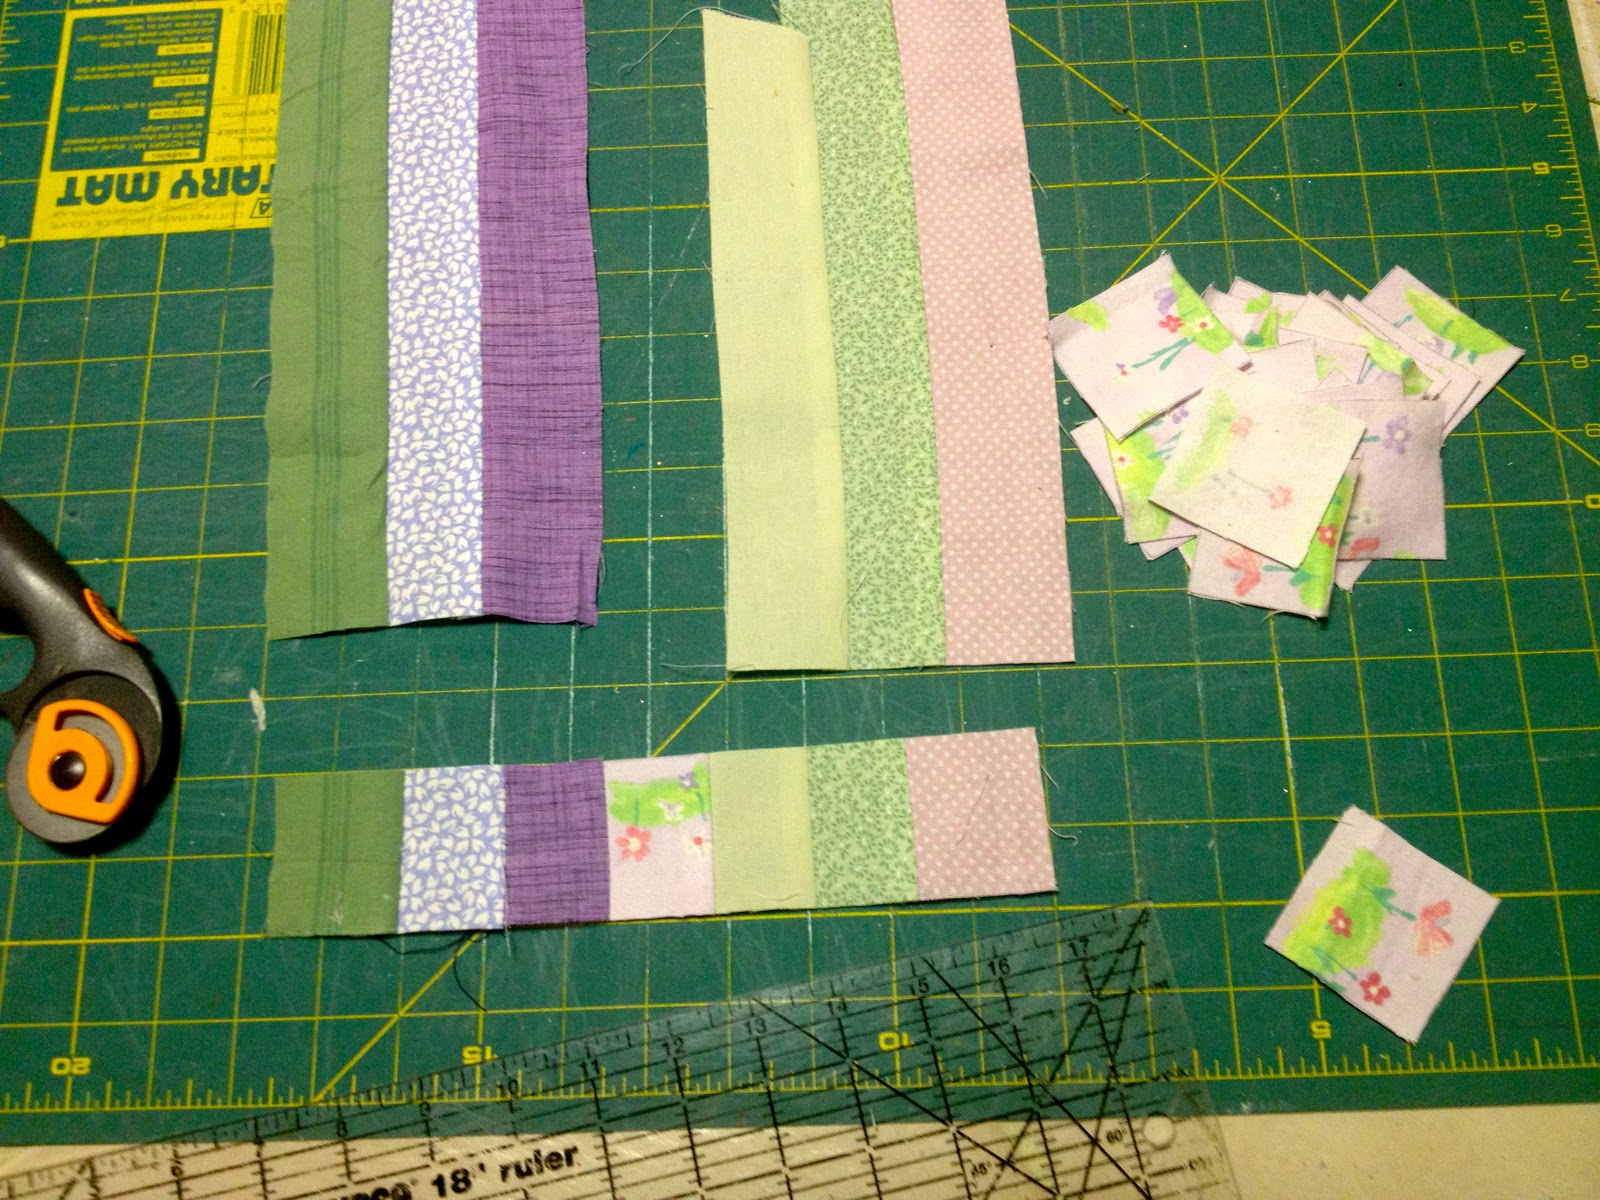
8. Sew pieces together adding floral squares in a row:

9. Cut stripes again at 2″ sections:
10. Layout the entire quilt (finished measures about 19″ x 20″):

11. Sew strips together:
12. Make quilt sandwich: backing, batting, top then pin:
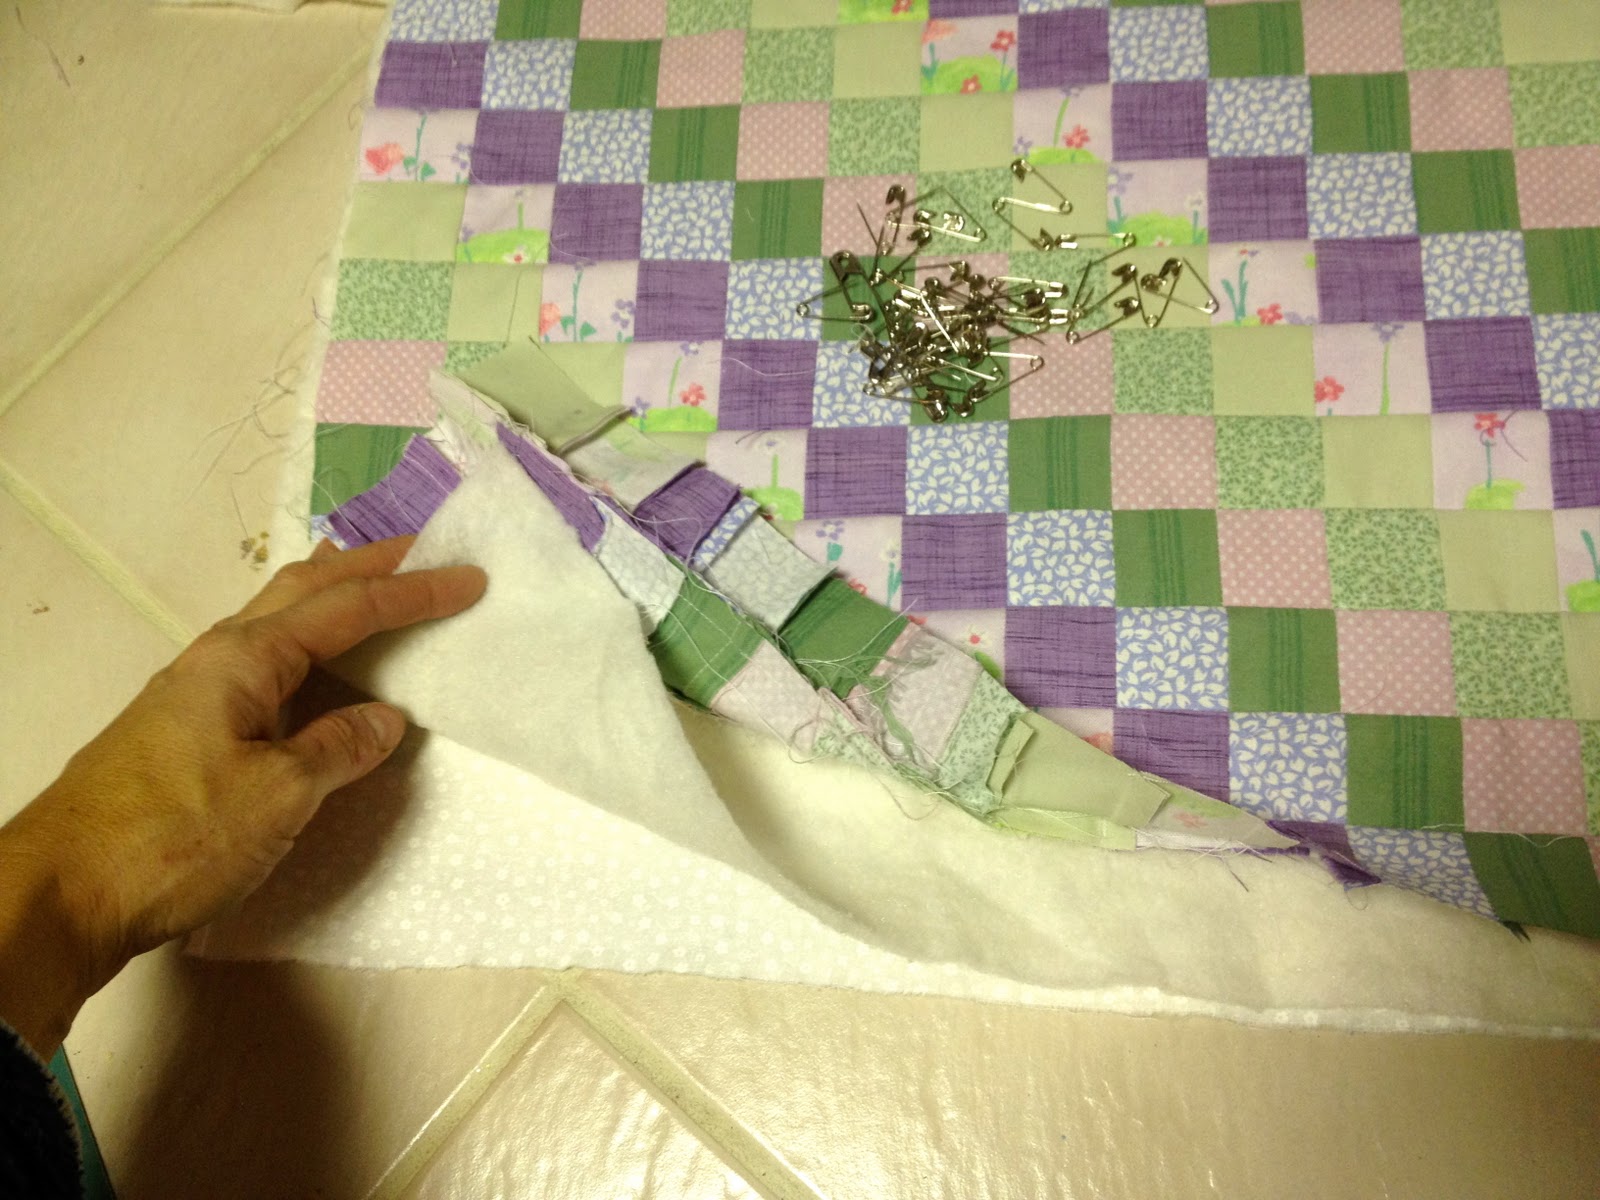
13. Quilt on the diagonal every two squares.
Then trim edges flush:

14. Add binding, press and hand sew binding to back.
Here’s the best shot of the white binding:
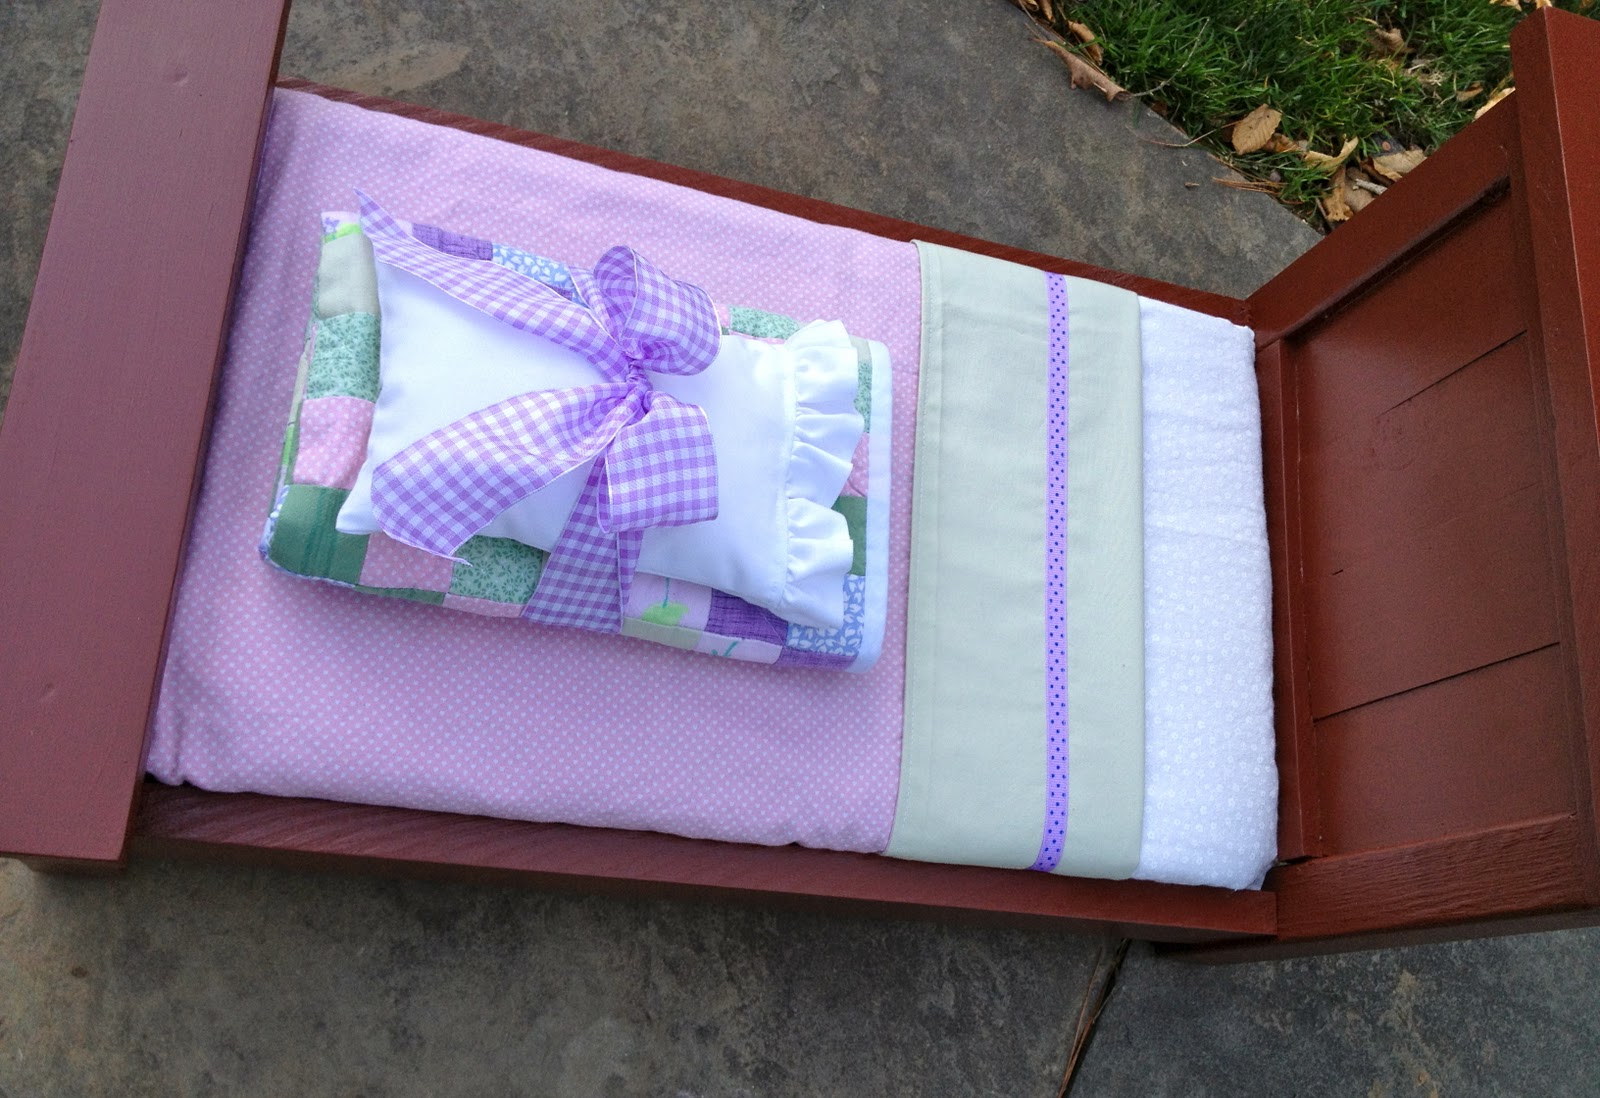
15. Make pillow, stuff and sew shut. (measures approx. 6″ x 4.5″ finished).
Make pillow case with ruffle:
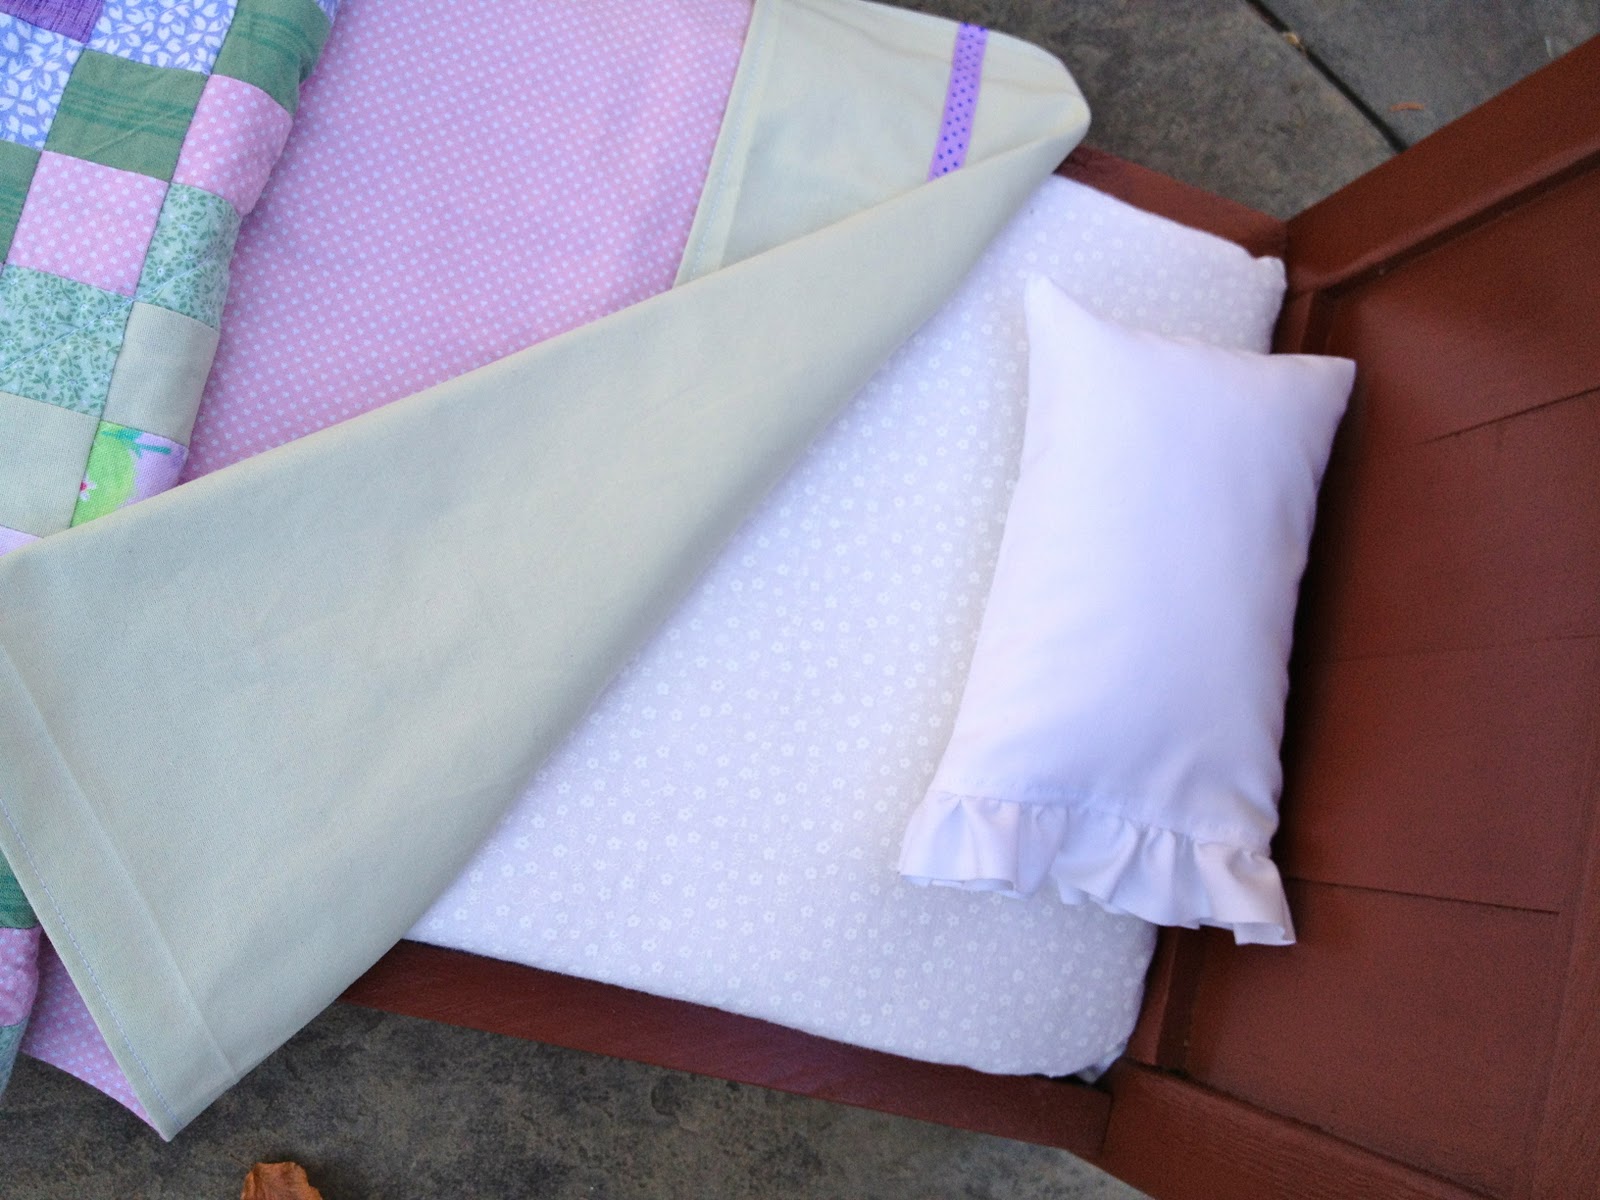
16. Ready for your 18″ doll:

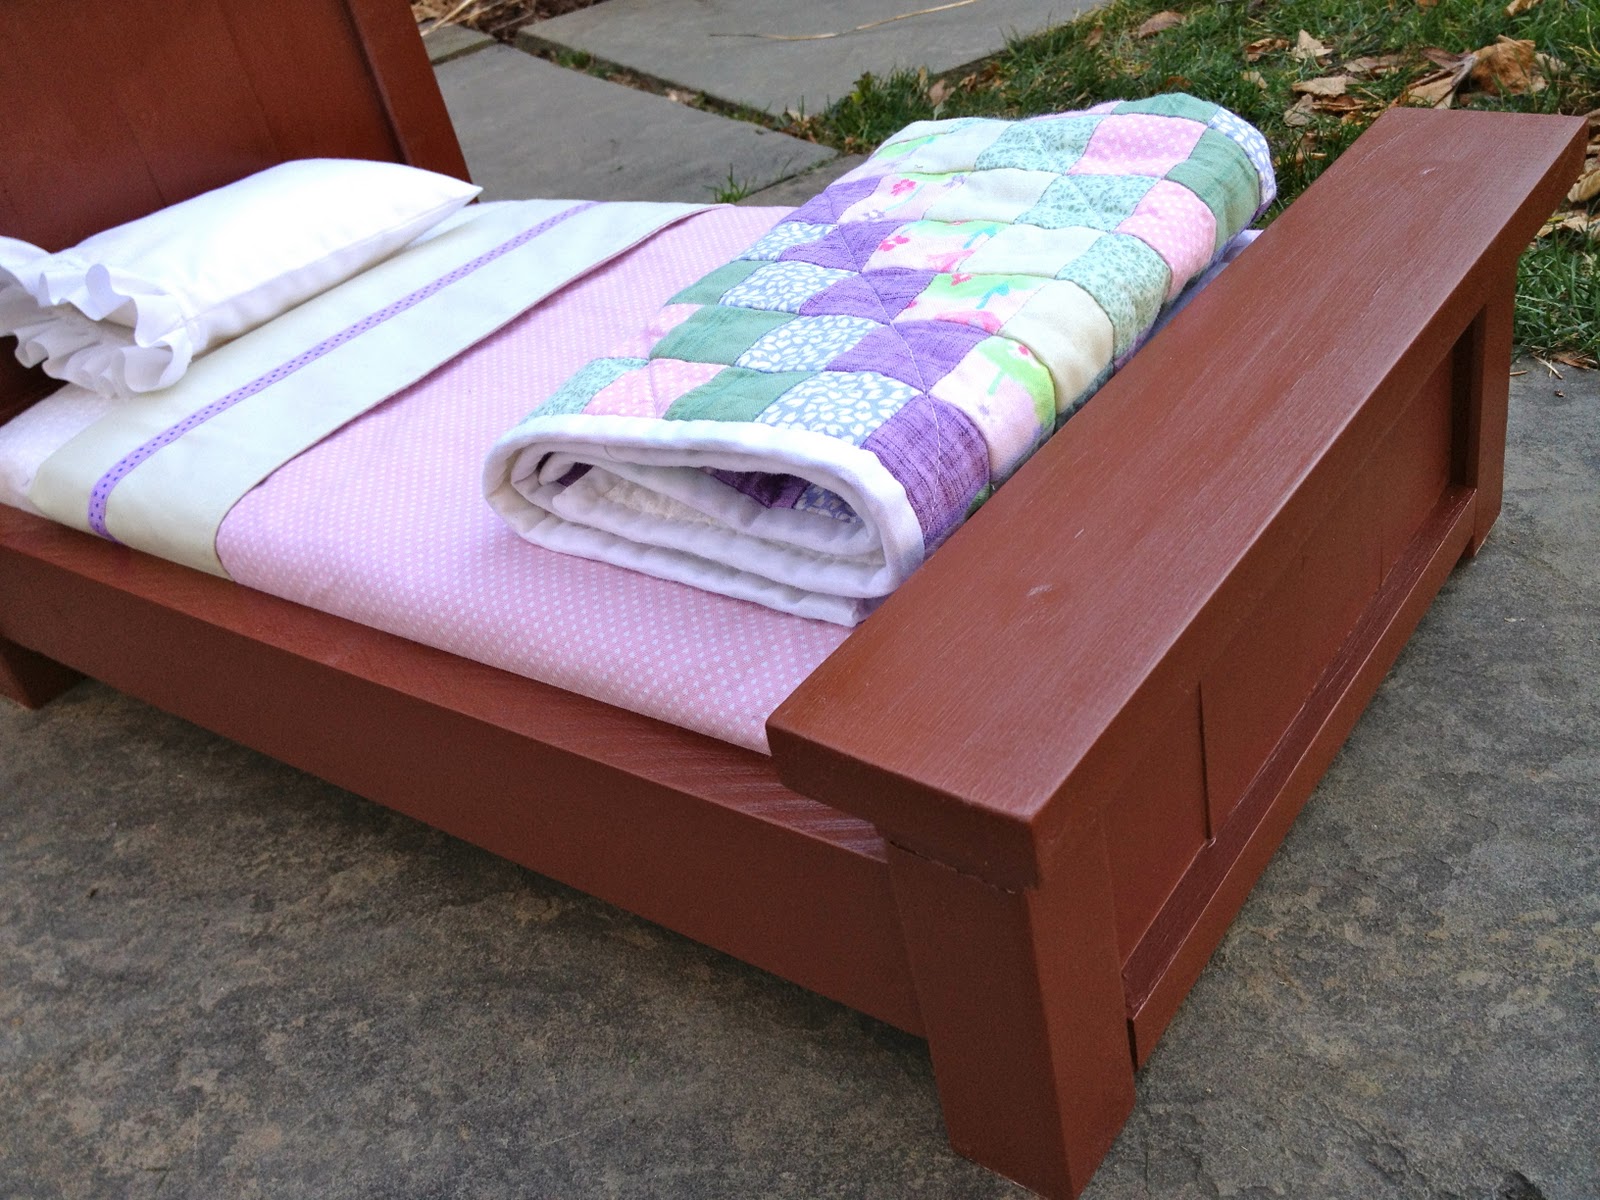
I recommend washing and drying the quilt to get that worn, aged look.

Then wrap up the bedding:
And wrap everything in cellophane:
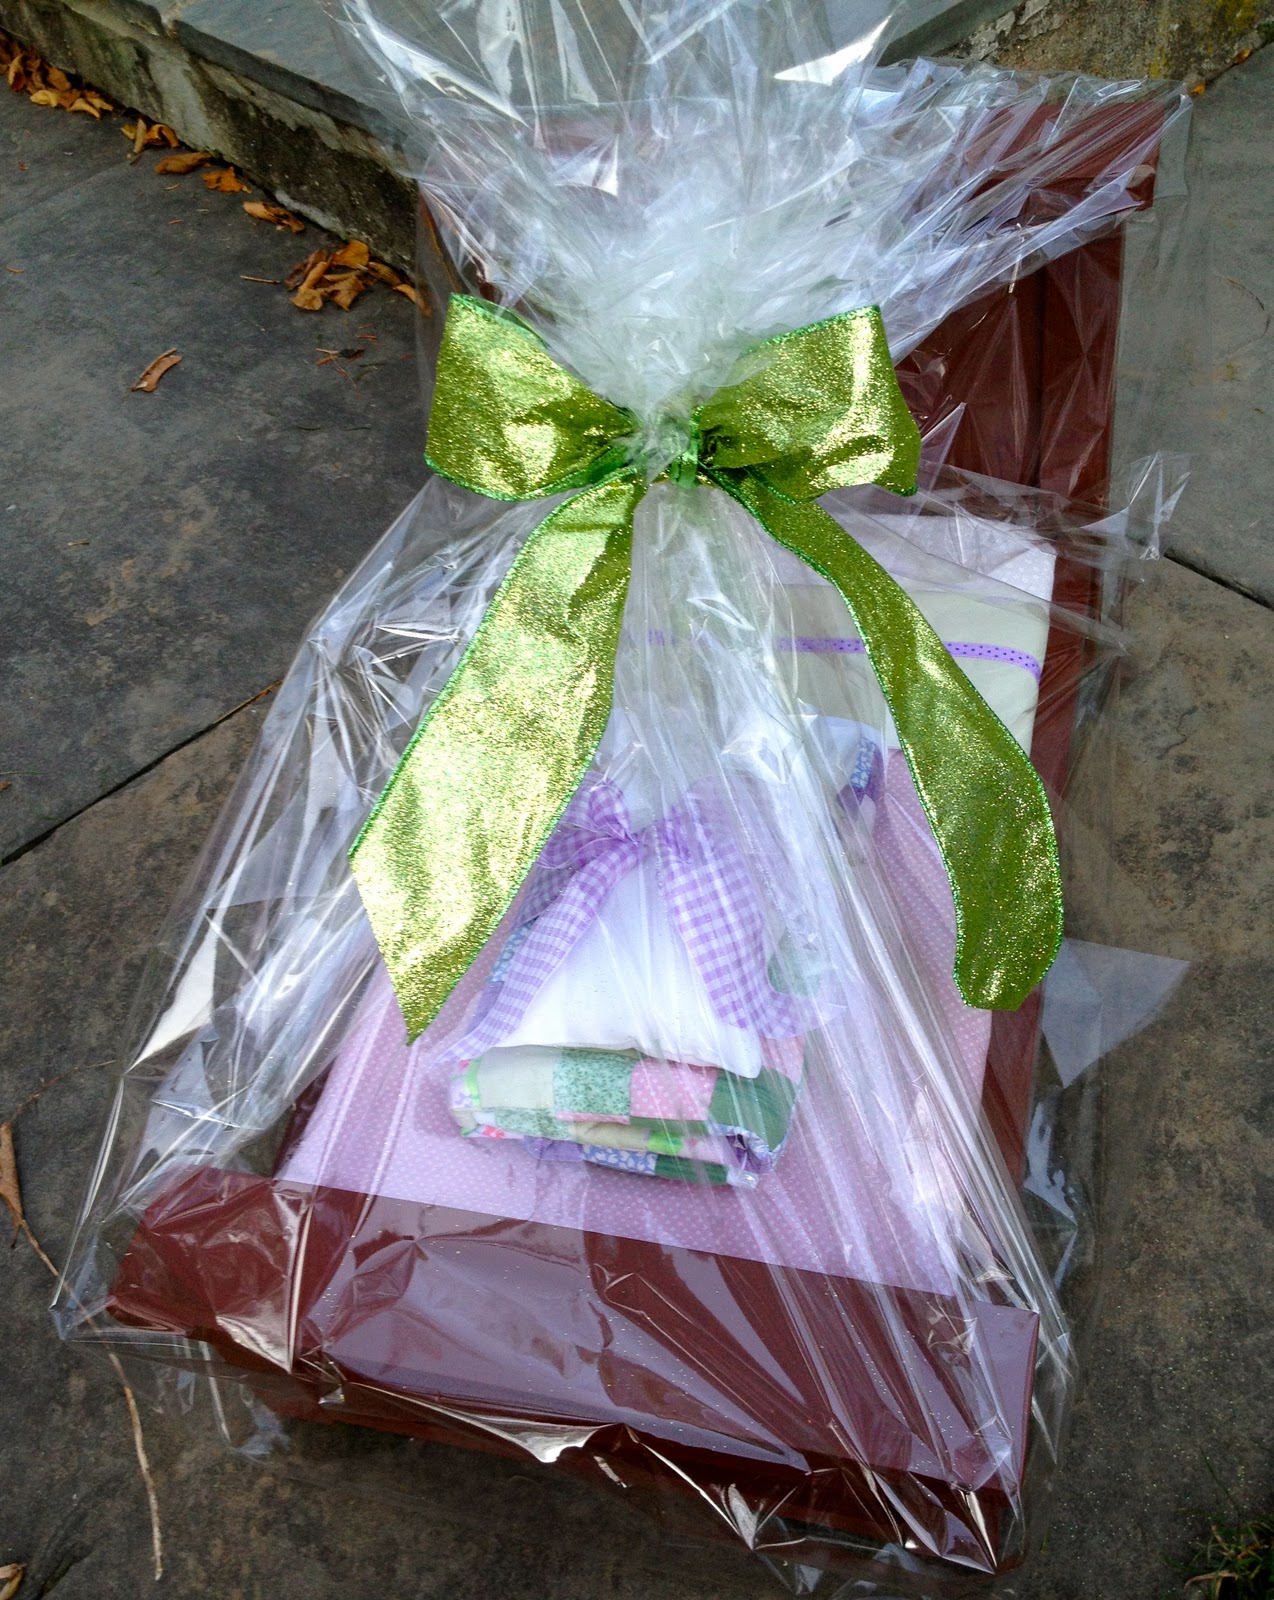
Merry Christmas Molly!
I’m linking up to:
Whatcha Got Weekend @ Lolly Jane
SAS @ Funky Junk
Weekend Wrap Up @ Tatertots & Jello
Sundae Scoop @ I Heart Naptime
Sister Sunday @ Sisters of the Wild West
Sunday Showcase Party @ Under the Table & Dreaming
Just Something I Whipped Up @ The Girl Creative
DIY Fall Festival @ The DIY Showoff
Made by You Mondays @ Skip to My Lou
Making the World Cuter @ Making the World Cuter
Nifty Thrifty @ Coastal Charm
Tuesday Treasures @ My Uncommon Slice of Suburbia
Tutorials & Tips Tuesday @ Home Stories A to Z
Good Life @ A Beach Cottage
Delightfully Inspiring @ Delightful Order
Transformation Thursday @ The Shabby Creek Cottage
Strut Your Stuff @ Somewhat Simple
Share Awesomeness Thur @ The 36th Avenue
Flaunt it Friday @ Chic on a Shoestring
Tickled Pink @ 504 Main
Frugal Friday @ The Shabby Nest
SAS @ Just a Girl
Feathered Nest @ French Country Cottage
Remodelaholics Anonymous @ Remodelaholic
wow what a lucky girl! love it 🙂
Bracissima,stupendo questo lavoro;)
Baci
Sabry!!
how absolutely perfect for a special little ones favorite dolly. I just sent my granddaughter a handmade doll…Im so excited to see her face when see opens it.
– KAT –
That is just adorable!
Wow. Color me impressed! I think any little girl would be thrilled with something that obviously has so much love put into it!
LOVE the finish on this one!!
Aloha,
Charlie