Paint: beach sign

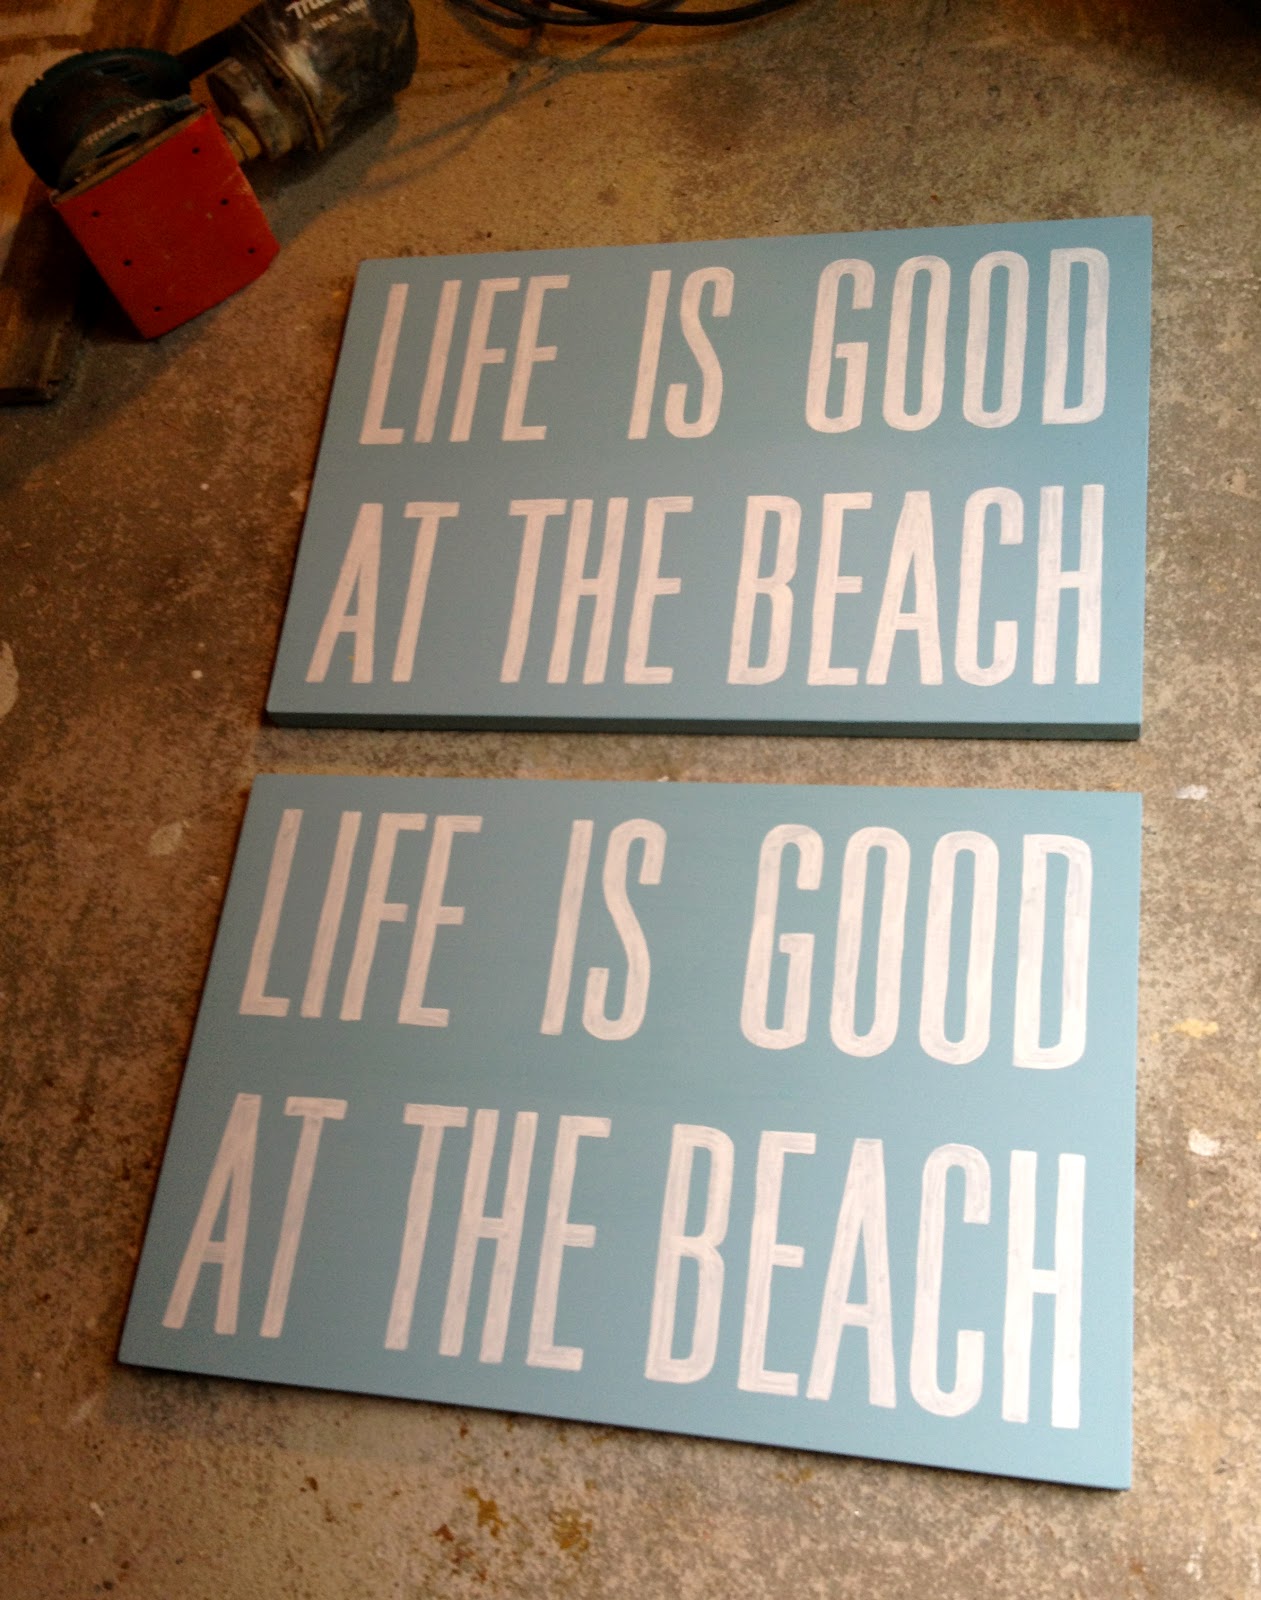
life is good at the beach sign

Handpainted white letters on 3/4″ plywood:

A reader wrote and asked if I could make this sign, she was inspired by this version available here:

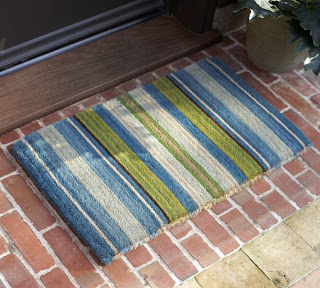
Unfortunately this version only comes 4″ x 6″ and she wanted something bigger for her porch to coordinate with this striped doormat:
I suggested 12″ x 18″ and she agreed.

The true background color is hard to tell in all these pictures but this one below of the edge is the most accurate:
(I used mixture of a couple blues from my stock so I don’t have a paint color, sorry.)

And a close up of the lettering, here the blue is way off it’s true color:

Here’s how I made the sign:
1. Cut 3/4″ plywood at 12″ x 18.
Prime and paint two coats ocean blue.
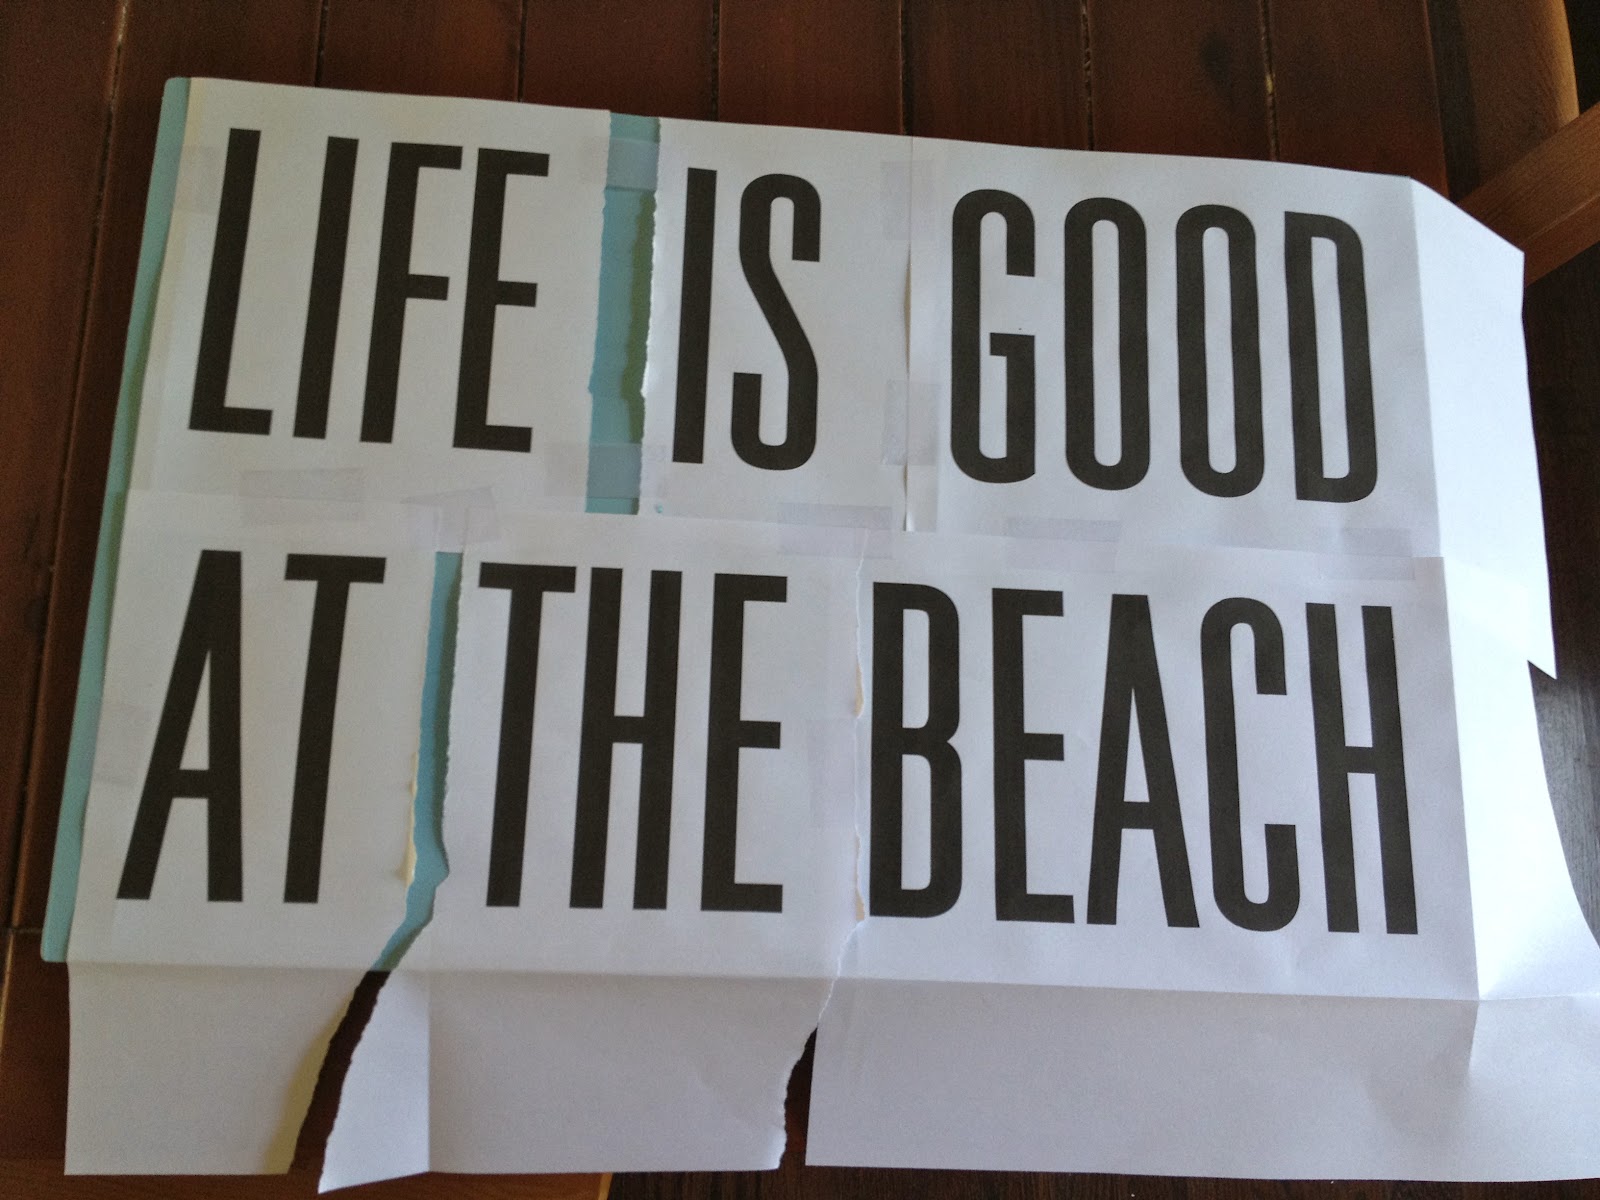
2. Print out words and line up on board:
I used Universal Accreditation font at 425 point.
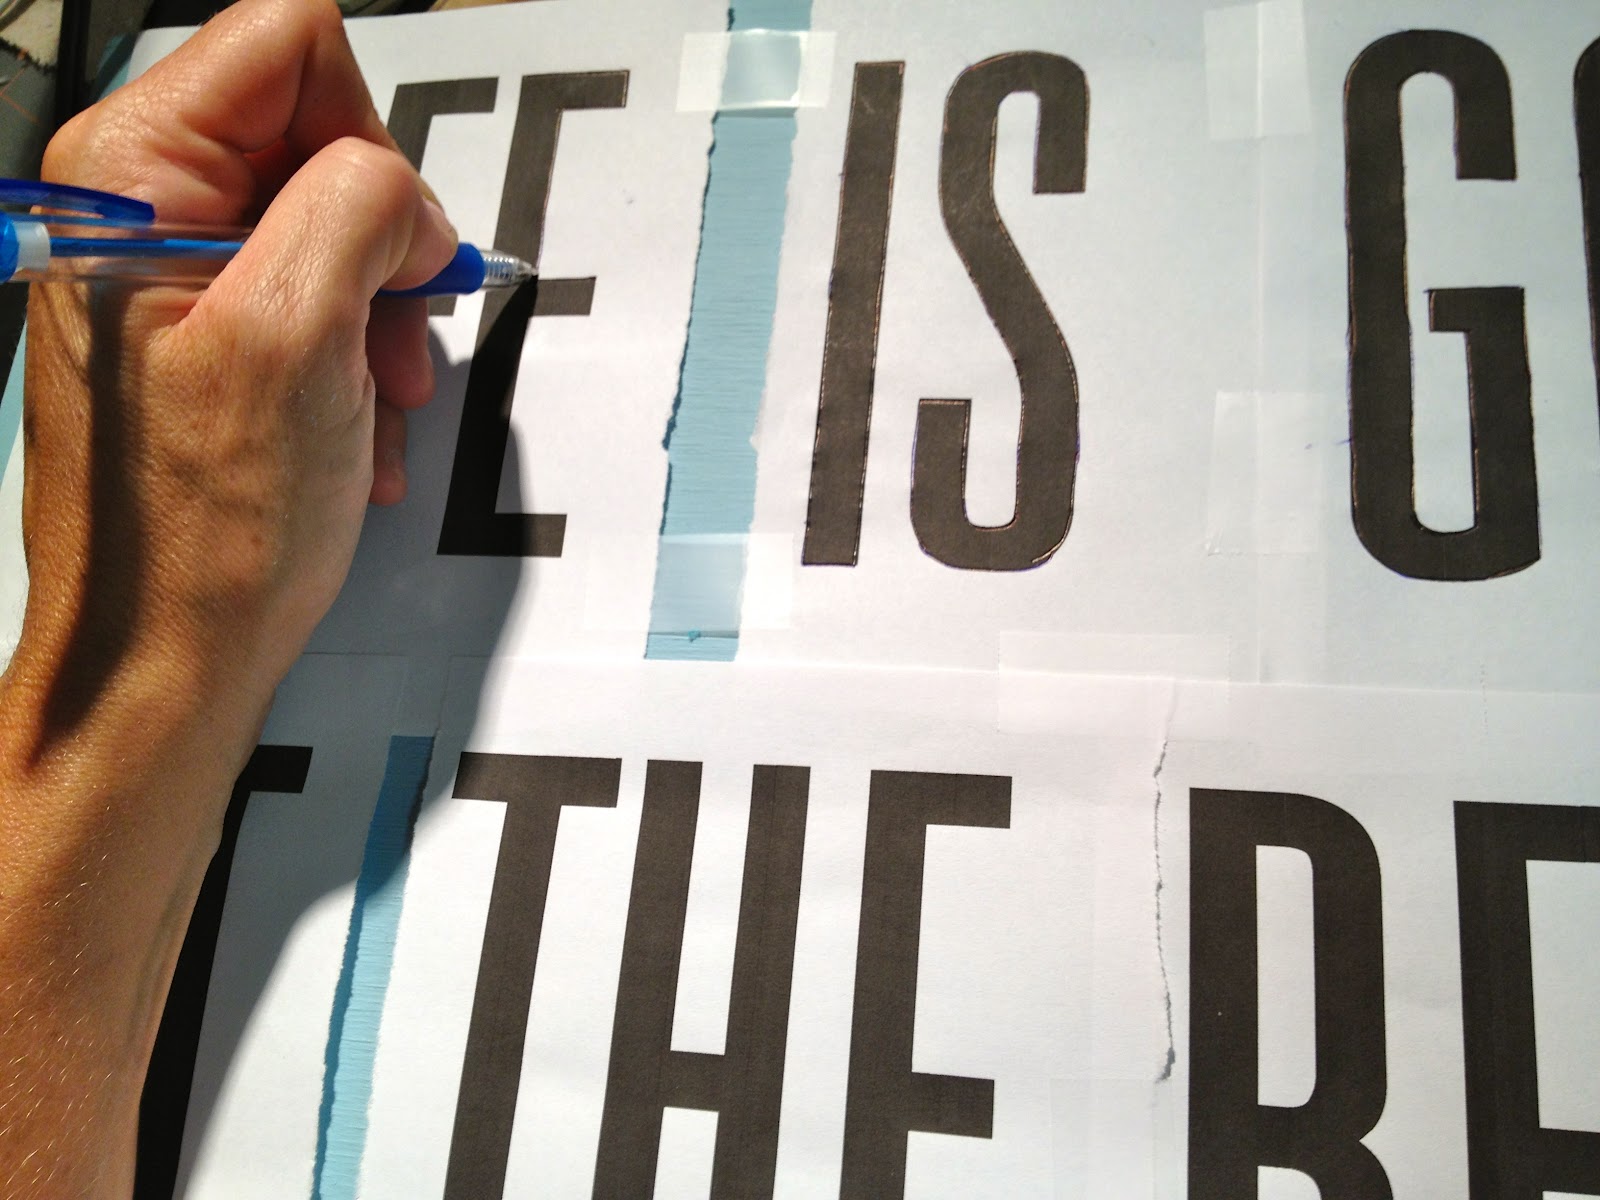
3. Using ball point pen trace outline of letters:
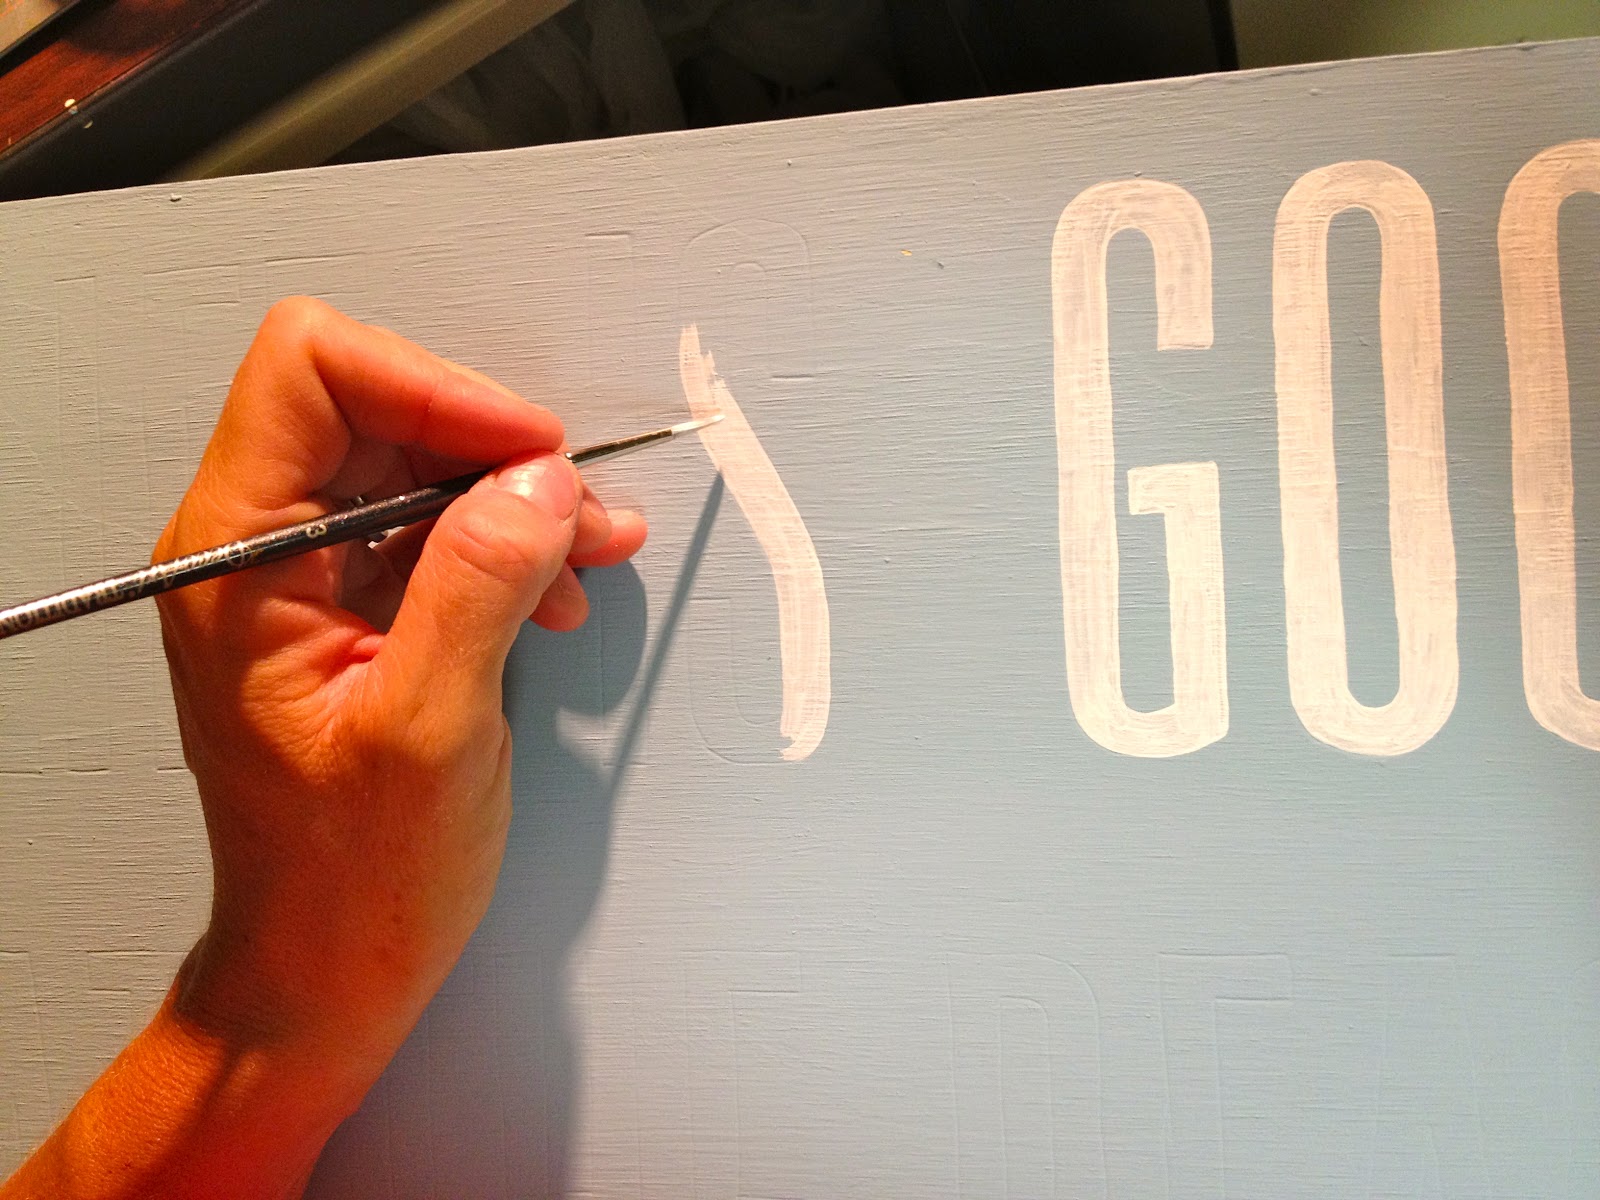
4. Using white acrylic paint on and inside indent left behind by pen:
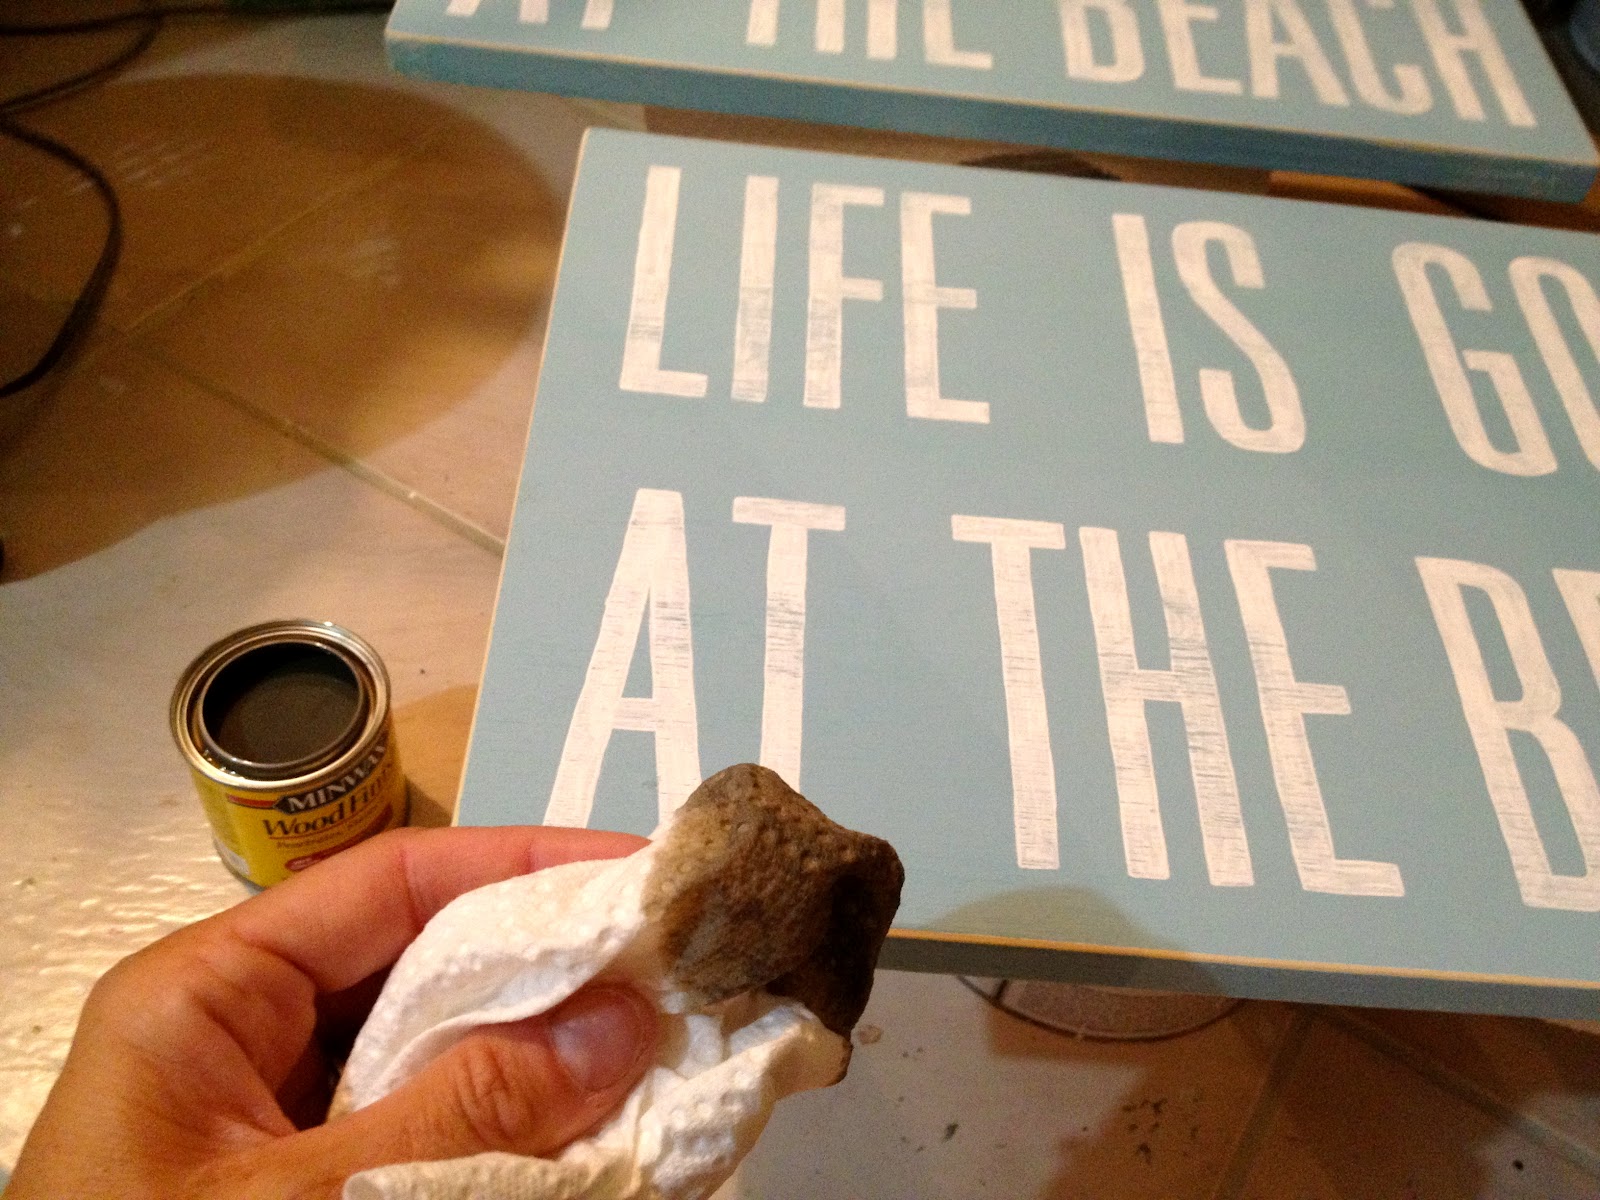
5. Sand to distress:
6. Apply Minwax weathered oak stain:
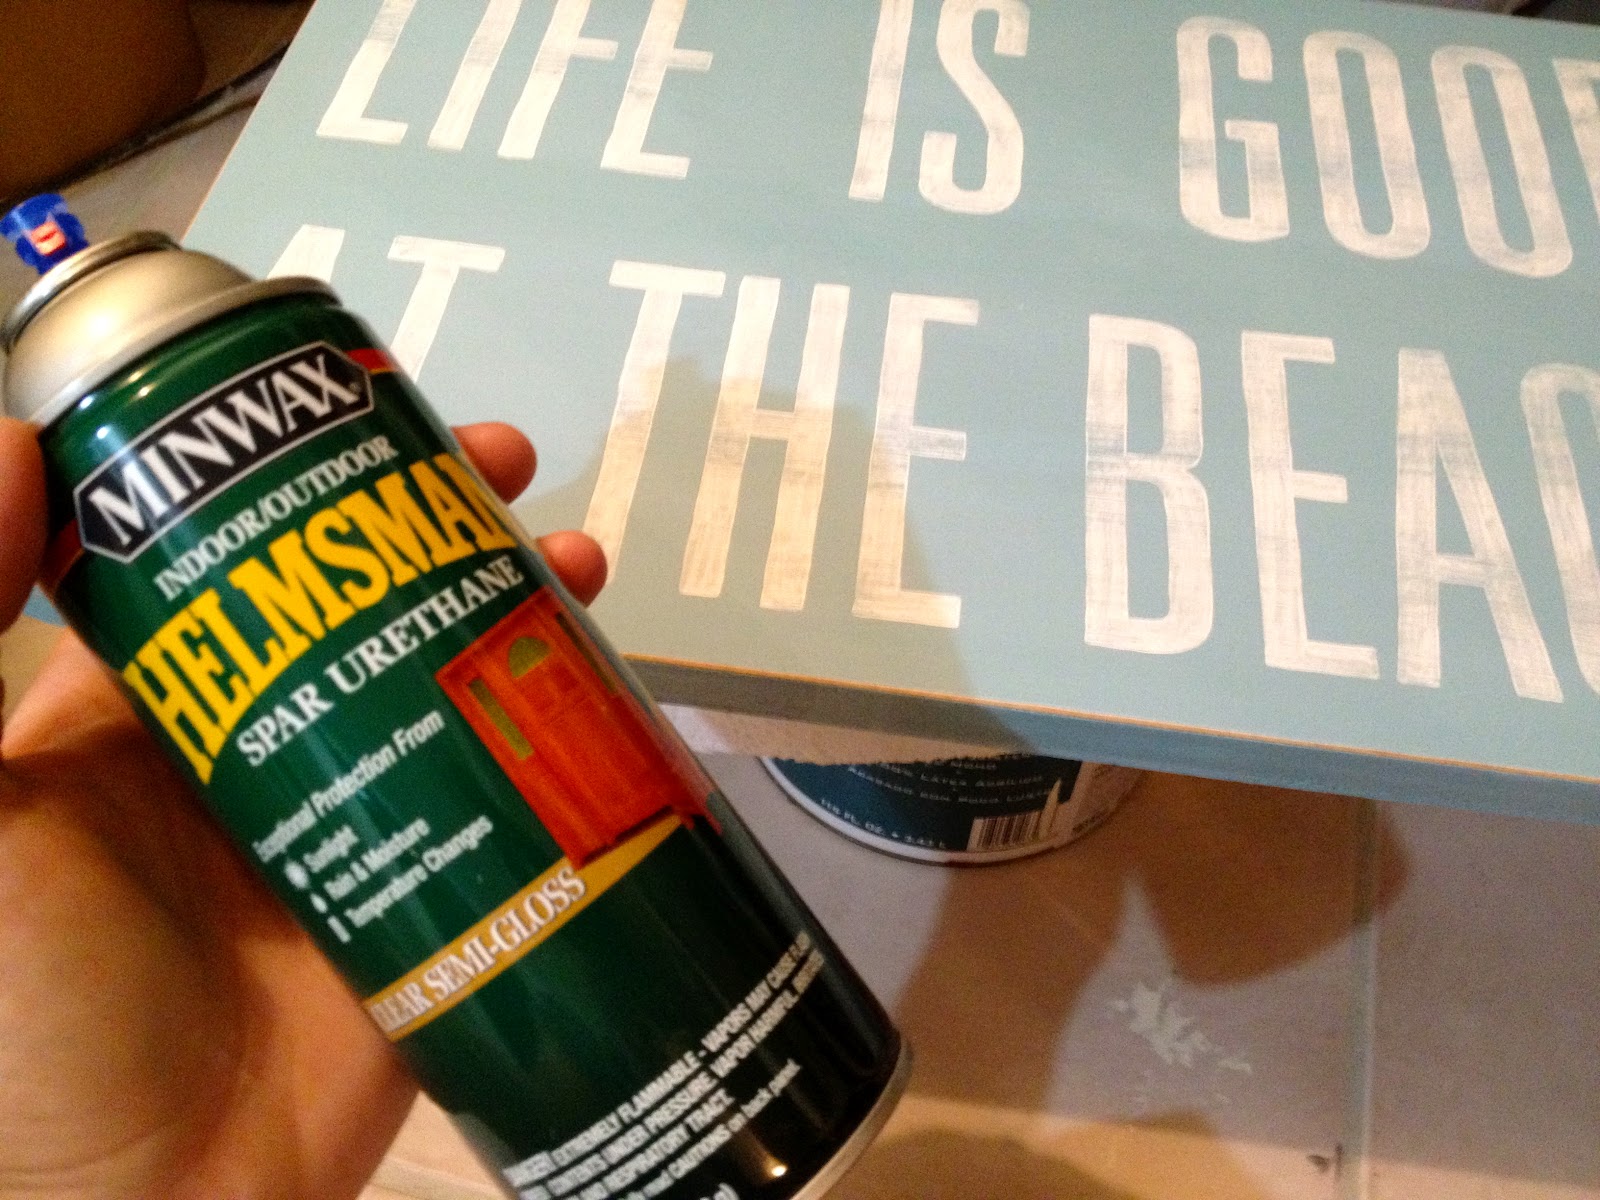
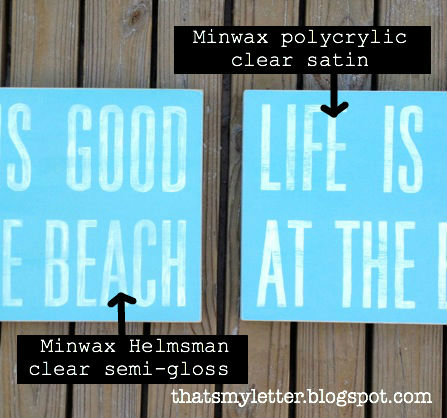
7. For OUTDOOR use apply Minwax Helmsman spar urethane clear semi-gloss.
(This definitely has a yellow tint and I highly recommend the spray version versus the brush on.)
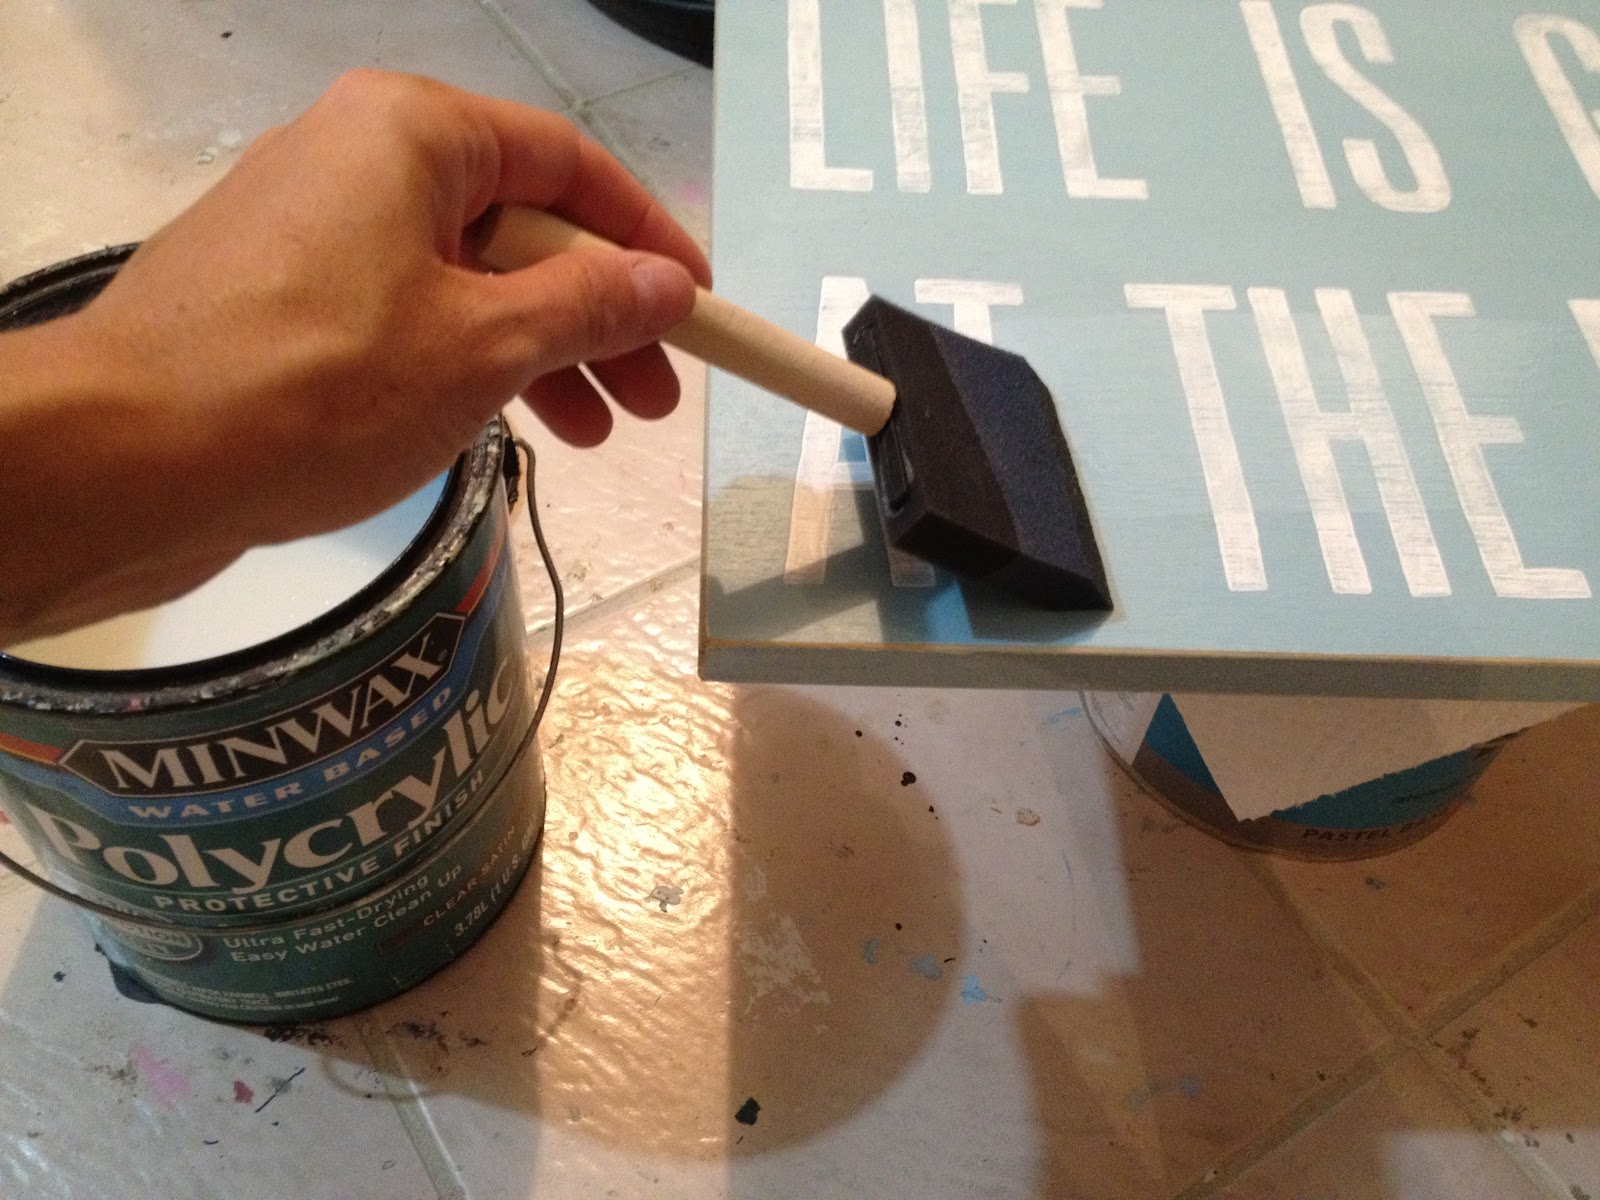
8. For INDOOR use seal with Minwax Polycrylic clear satin.
(This is my go to sealant, it goes on smooth with a matte finish and easy water clean up.)
Here you can see the slight difference:

I’m linking up to:
SAS @ Funky Junk
DIY Fall Festival @ The DIY Showoff
Tutorials & Tips Tuesday @ Home Stories A to Z
Good Life @ A Beach Cottage
Transformation Thursday @ The Shabby Creek Cottage
Strut Your Stuff @ Somewhat Simple
Share Awesomeness Thur @ The 36th Avenue
Pretty Things Thursday @ Scissors & Spatulas
Flaunt it Friday @ Chic on a Shoestring
Frugal Friday @ The Shabby Nest
SAS @ Just a Girl
Remodelaholics Anonymous @ Remodelaholic
inspiration board @ Carolyns Homework
Sunday Showcase Party @ Under the Table & Dreaming

You make it look so easy….not sure I could do it. You did a bang up job! It's great!
Nicely done and thanks for letting us know what you use to seal it! ~ Maureen
Very Nice! I like your tips with the sealants!
Leanne @ Because (I Think) I Can
on facebook: http://www.facebook.com/pages/Because-I-Think-I-Can/325795070785510
I love this! Thanks for showing us how you did it – you make it look so easy. 🙂
Thank you! I'm in the process of making a sign for my deck. I was having a problem finding stencils that I like in the right size and font. I love your idea! I'll give it a try!