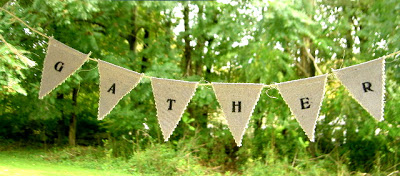
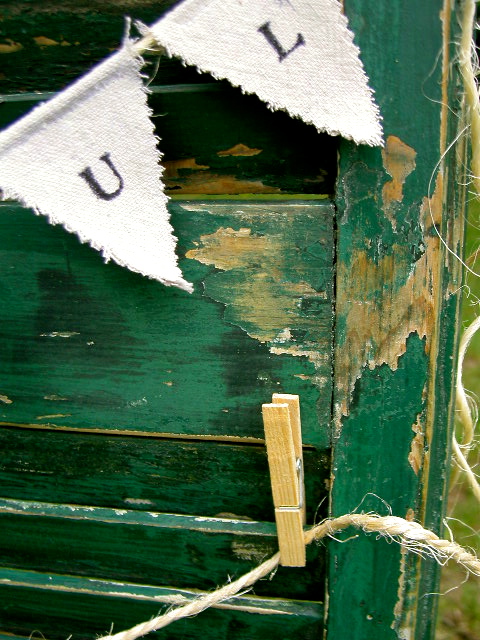
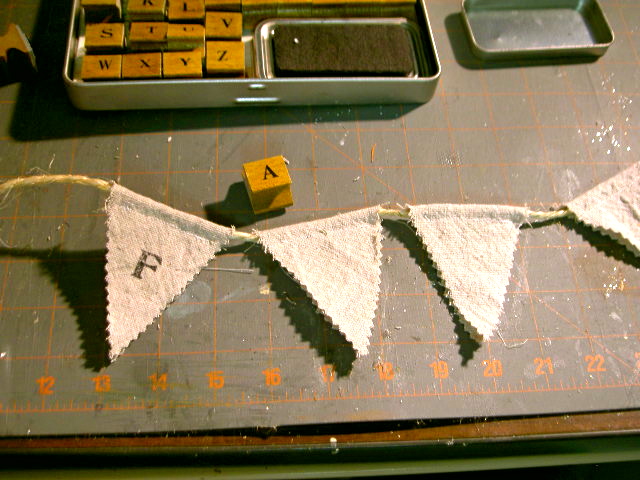
Pennant banners.
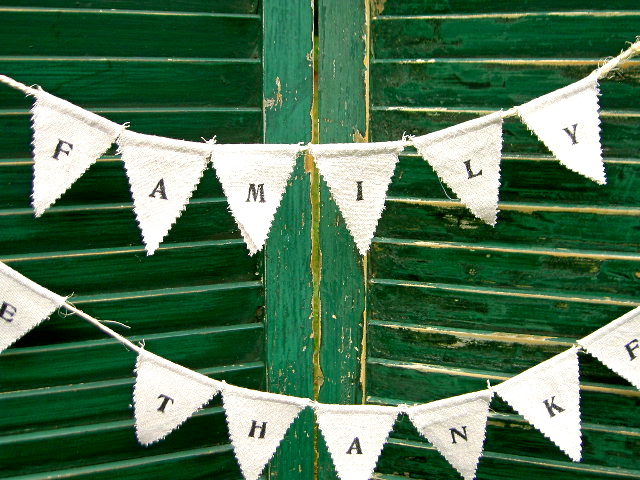
Made with drop cloth, twine and stamps.
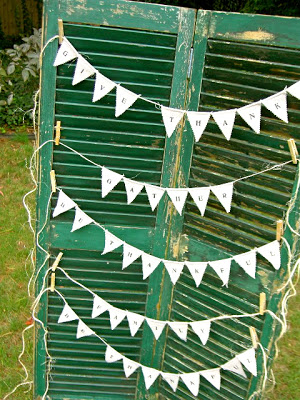
Small size for intimate spaces.


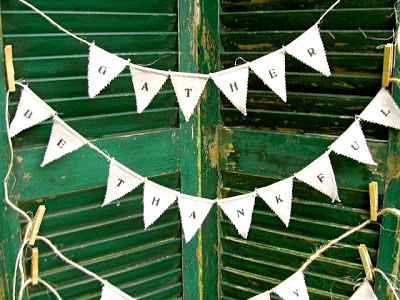


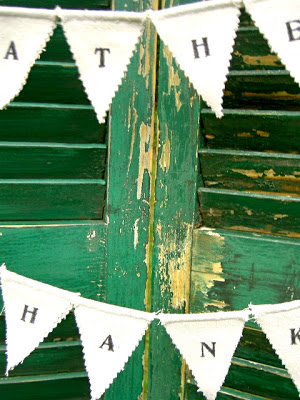

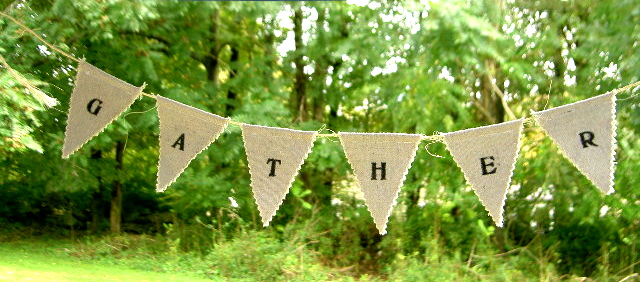
A little Thanksgiving themed decoration.

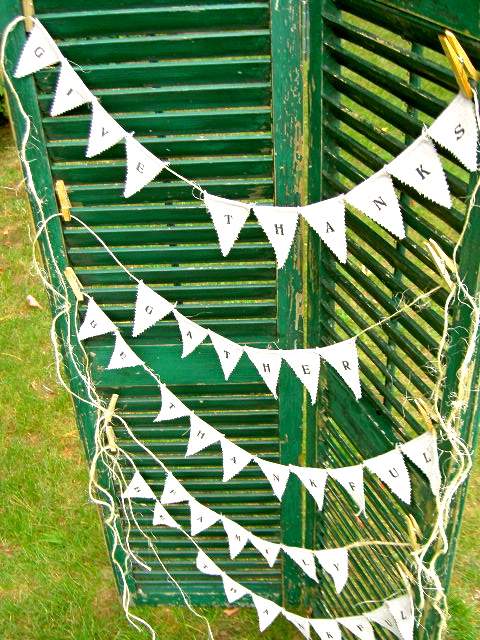
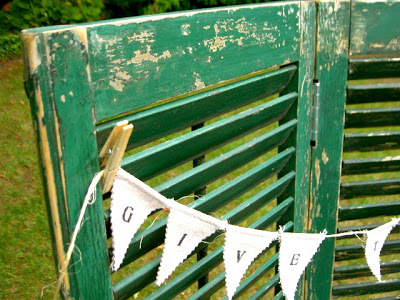
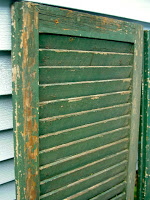
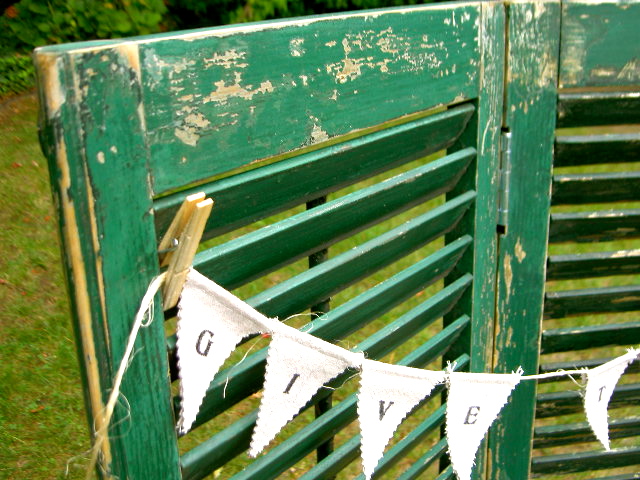
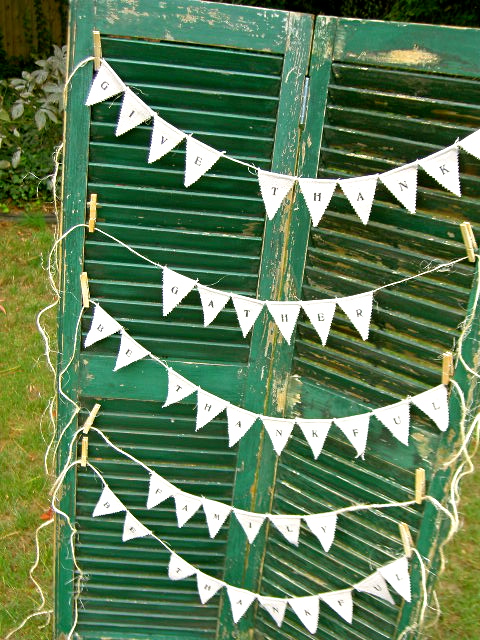
And I know you’re spying those green shutters too.
A little roadside rescue I couldn’t pass up.
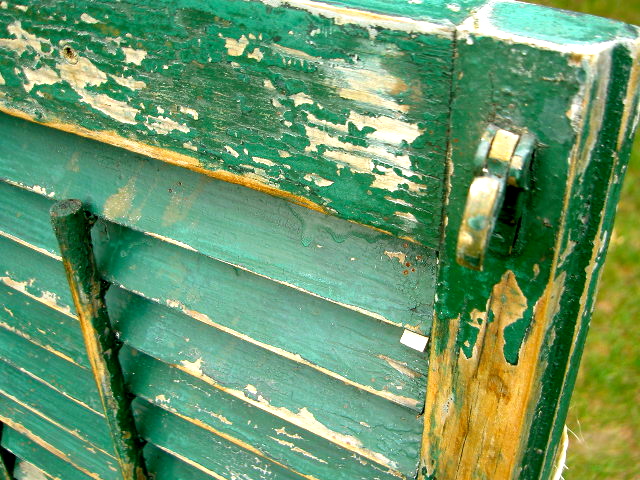
Originally they looked like this:

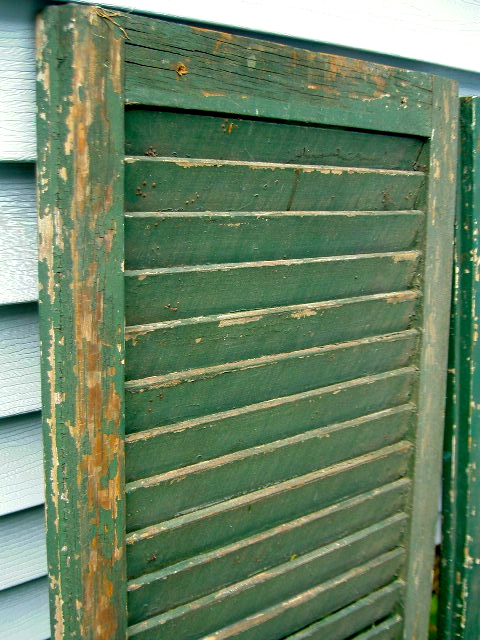
Dirty and crusty.
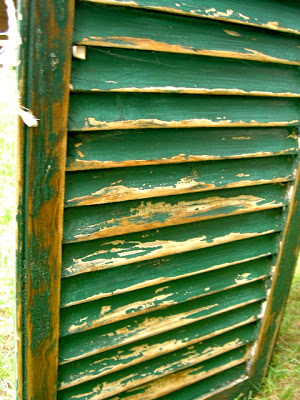
I sanded off all the chunky bits with 80 grit on the mouse, then by hand with 120 grit.
After some clear wax and a few hinges we have this:

That’s aged beauty you just can’t replicate.
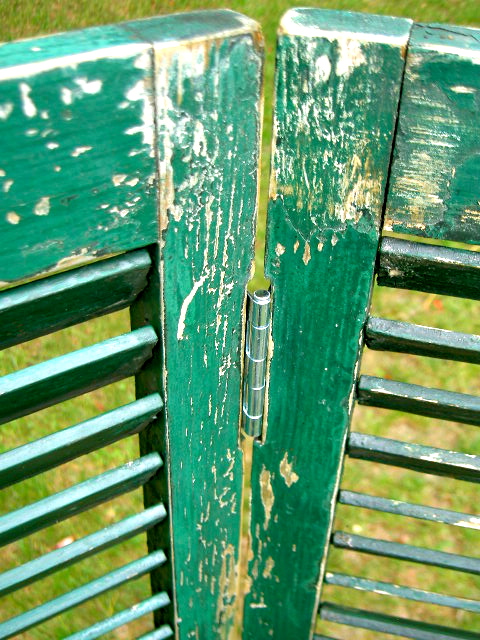
Honestly it’s very smooth despite what the picture looks like.
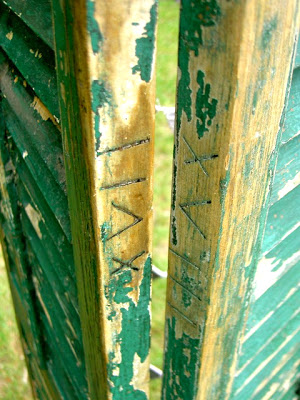
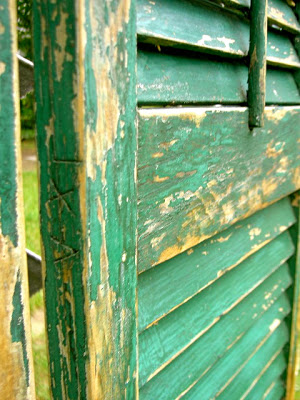
And some curious Roman numeral markings on the edges:

Guess these would be shutters number 17 and 18?
But then there are more numerals further down.

The original brass hardware hooks are still on top:
Makes for a good spot to display projects.

Here’s how I made the banners:
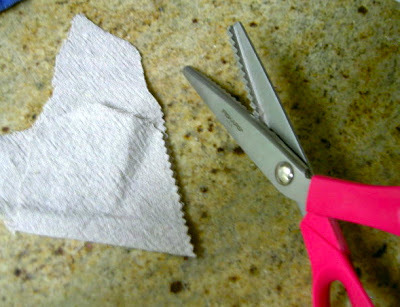
1. Using a paper template, fold drop cloth in half, place short edge of template on fold and trace with pencil:
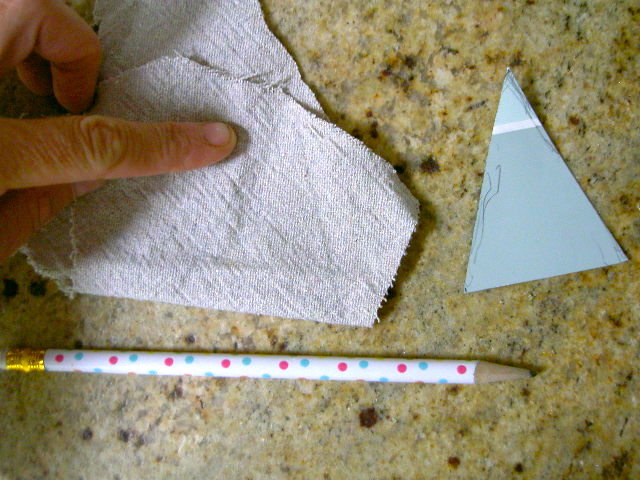
2. Keep drop cloth folded and cut on pencil lines with pinking shears:

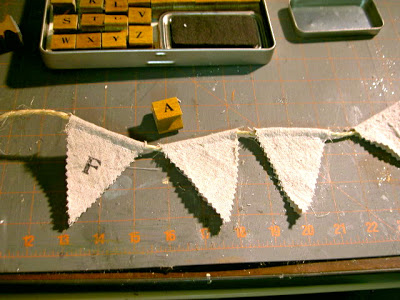
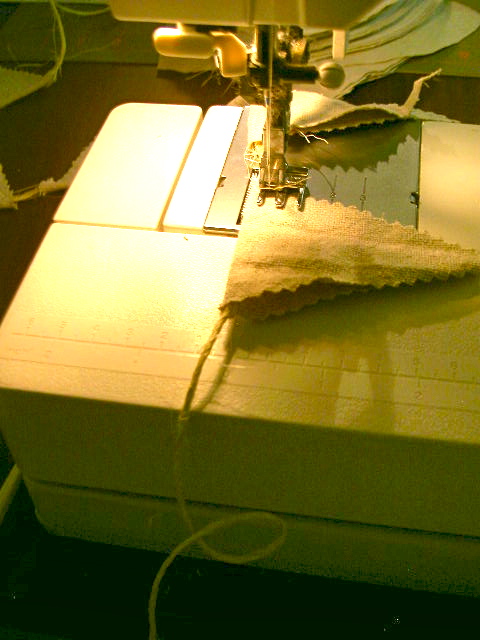
3. Sew triangles onto twine using zipper foot:
You can chain stitch these as long as you backstitch at the edges of each triangle.
4. Stamp your letters with black ink onto the triangles:
I did go back over the letters with black acrylic paint to darken the stamped letter.
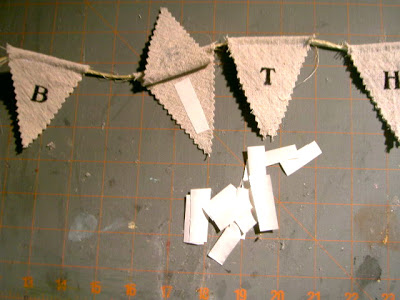
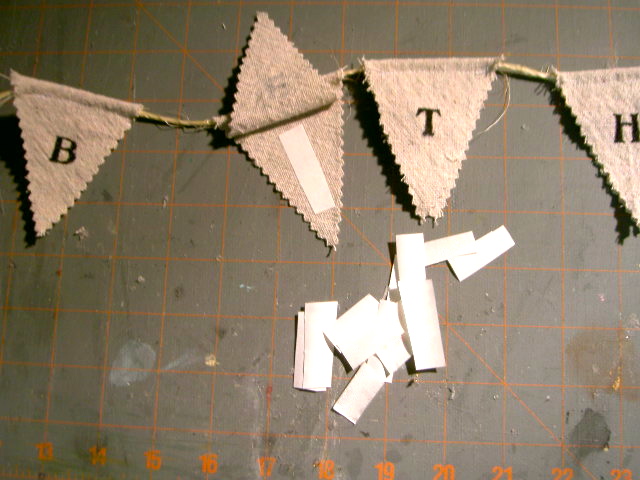
5. To keep triangle together and stiff add a small strip of double sided fusible:
Open triangle, iron fusible onto back piece, peel off paper, close triangle lining up edges, iron to seal.
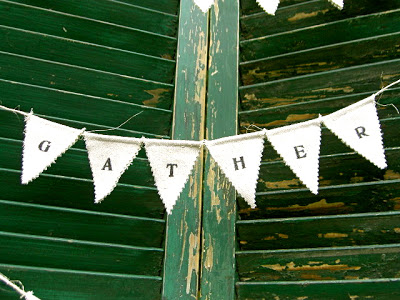
6. Hang anywhere.
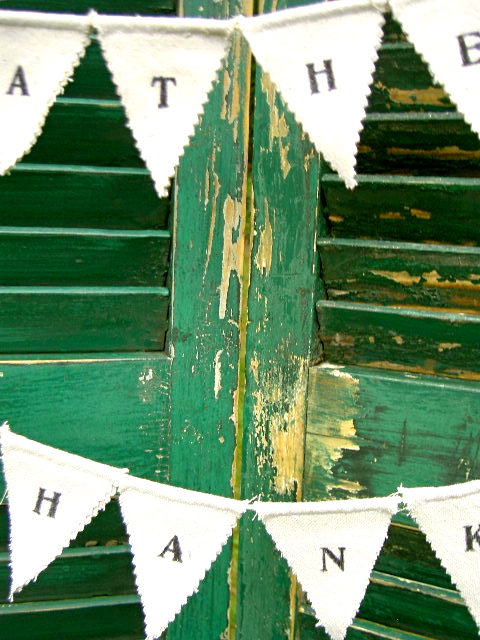
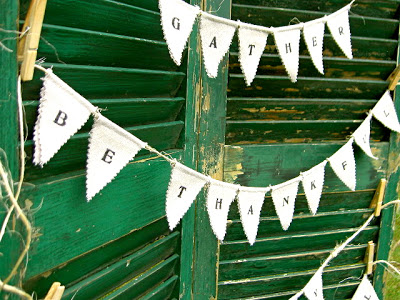
Theses are all Thanksgiving themed.

Be thankful:

Give thanks.
I’m linking up to:
Whatcha Got Weekend @ Lolly Jane
SAS @ Funky Junk
Weekend Wrap Up @ Tatertots & Jello
Sundae Scoop @ I Heart Naptime
Sister Sunday @ Sisters of the Wild West
Sunday Showcase Party @ Under the Table & Dreaming
Just Something I Whipped Up @ The Girl Creative
DIY Fall Festival @ The DIY Showoff
Made by You Mondays @ Skip to My Lou
Making the World Cuter @ Making the World Cuter
Nifty Thrifty @ Coastal Charm
Tuesday Treasures @ My Uncommon Slice of Suburbia
Tutorials & Tips Tuesday @ Home Stories A to Z
Good Life @ A Beach Cottage
Delightfully Inspiring @ Delightful Order
Transformation Thursday @ The Shabby Creek Cottage
Strut Your Stuff @ Somewhat Simple
Share Awesomeness Thur @ The 36th Avenue
Flaunt it Friday @ Chic on a Shoestring
Tickled Pink @ 504 Main
Frugal Friday @ The Shabby Nest
SAS @ Just a Girl
Feathered Nest @ French Country Cottage
Remodelaholics Anonymous @ Remodelaholic
inspiration board @ Carolyns Homework
Textiles @ Freckled Laundry
Outdoor Decor Thursdays @ Fishtail Cottage
Handmade Holiday Gift Guide @ Grosgrain Fabulous
Outdoor Decor Thursdays @ Fishtail Cottage
Handmade Holiday Gift Guide @ Grosgrain Fabulous


It's funny you did a post on this, b/c I've been thinking about doing this for months now. I'm taking your post as a sign that I should, they are super cute!
xo
So nice! Thanks for sharing. I love your posts & projects!!! Nice, as always!
Love your bunting! andrea@townandprairie
Love these! You have found some of the best stuff "roadside". I keep looking around here and all I see are empty cat litter cartons and cardboard. Maybe someday I'll get lucky like you 🙂
Hi, I’m a new Follower of your blog and I just gave you a Versatile Blogger Award over at Love of Homes. Please stop by & see who else got the award & maybe become my newest follower. Thanks!
Sally
These are very sweet for sure!
Pretty banners. You just gave me an awesome idea! Thanks for sharing
Love the shutters and the banner and the look they create together!!
Hugs,
Debbie
I love your banners… I've recently purchased a drop cloth just because I love the texture. Love the idea of using it like you did…thank you for the tutorial. Also LOVED the green shutters…what a find!
Thank you so much for sharing over here at the Outdoor Fall Decor party! Your post makes me really want a sewing machine so i can craft like this! those shutters are to die for too….so curious what those numbers mean…xoox, tracie
ps – about to share on my fb page! lovely post!!!
& don't forget to sign up for the giveaway onmy blog! last day to enter!!! xoox
How beautiful! And the bunting really pops against that green. Weird about those roman numerals, huh? Hmm…
(new follower here!)
xo
Great banner design! I love the simplicity. The shutters are such a great way to display them.
Please oh please consider linking up to my weekly Refresh Your Nest linky party; I'd love to feature these. I think I might make them for thanksgiving… so lovely!
http://makinglemonadeblog.blogspot.com/2011/10/refresh-your-nest-friday-5.html
I would love it if you would link this to my link party. It just started 🙂
http://diycraftstomake.blogspot.com/2011/10/whacha-got-weekly-linky-party.html
Like this banner 🙂
and do not miss…..
S
A
T
U
R
D
A
Y
S
H
O
W
O
F
F
WELCOME 🙂
Håkan ( The Roseman)
Love the patina of those wonderful shutters. Cute banner and great photos. I miss you joining my Wow party and I have featured you twice that I know of, but no featured button. I hope you have a great weekend!
How cute! I love it! I hope you'll link up on my new linky party here, http://www.coffeeandtheirkisses.com/2011/10/stitch-n-niche-saturdays-3.html.
Very cute and simple too! Thanks for the how to.
What a great idea…love how you used the shutters!
Pinned 🙂 Love the banner, couldn't pass up pinning it and sharing it with everyone.
Oh, I love it, Jaime! I really need to score some old chippy shutters th. It's about time.
Its too good to see this shutter.I love it.This blog is really informative and I will for sure refer my friends the same. Thanks!
regards,
blockoutblinds
Those shutters are fantastic. And the banner is adorable. It looks pretty easy to put together too. They look great together!