Build: diy wagon
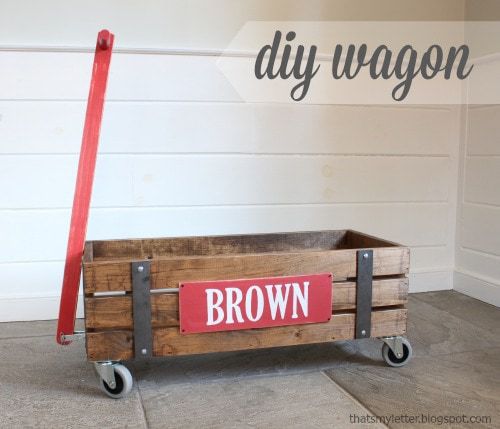
It’s Friday and time for another Handmade Holiday gift build from Ana White and me! Today we are sharing the plans for this wagon. Multiple readers requested wagon plans during last year’s Handmade Holiday series and we aim to please!

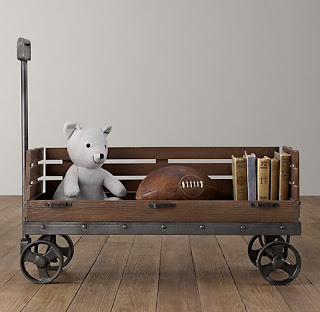
You can purchase their version for $259 or you can make your own diy version even better for less than $75.
Which will you choose?

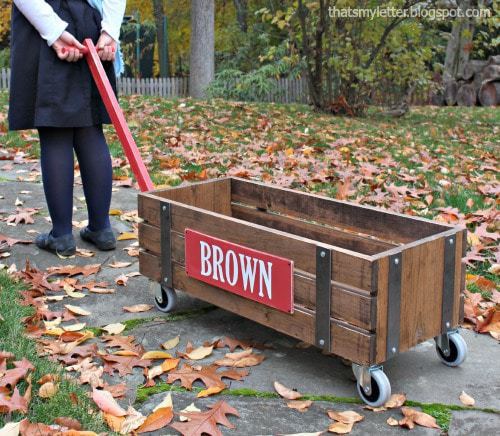
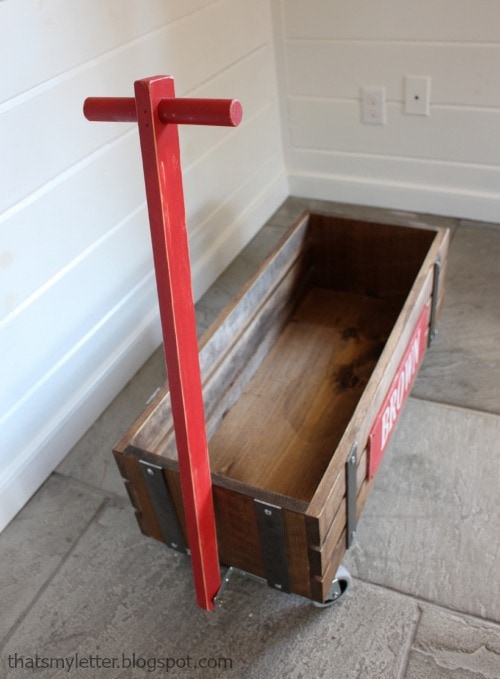
This wagon is perfect for all ages and truly a gift that will grow with a family for a long time.

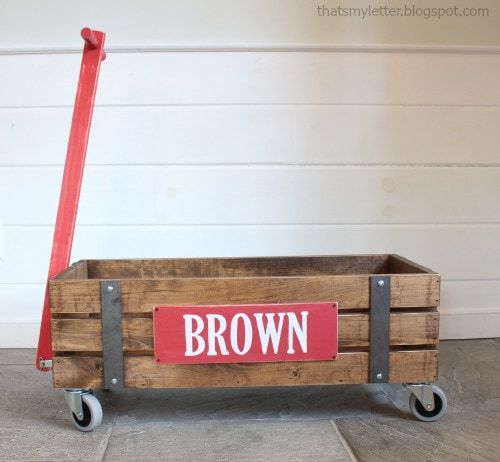
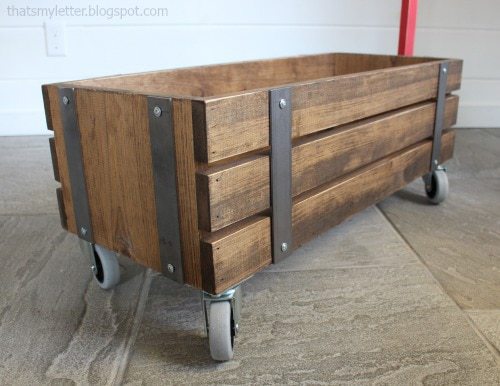
Same plans, same build, but a different finish completely changes the look.
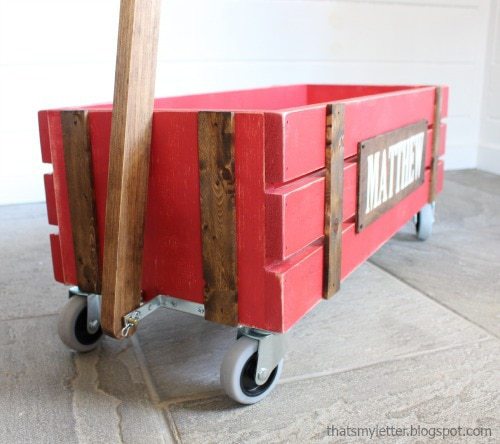
I used 3″ wheels and would have loved the 4″ version however they were not in stock this week 🙁
Be sure to use the swivel non-marking rubber casters, the soft grey rubber wheels prevent marks on your floors versus the hard black rubber which could scratch especially if you have hardwood floors.
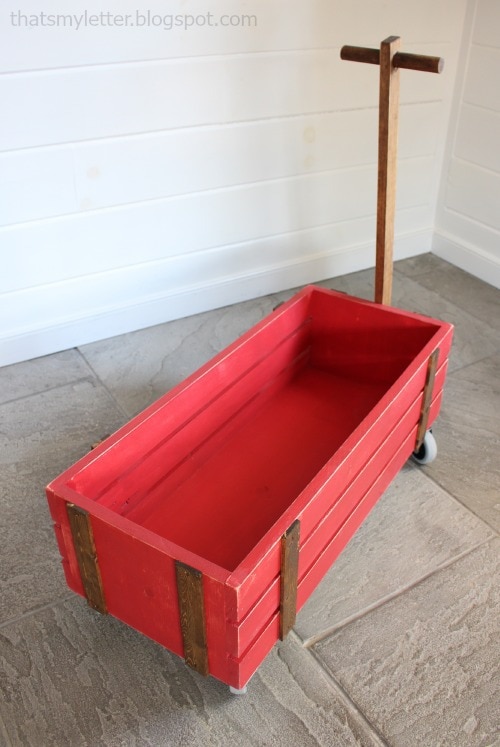
Ana designed these plans with storage in mind and just look at all that storage space!
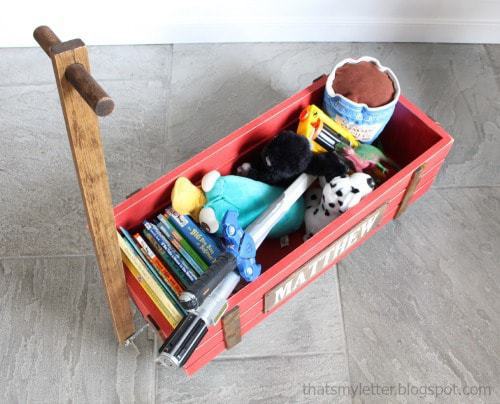
Books, toys, stuffed animals but it could also be great for firewood or blankets.
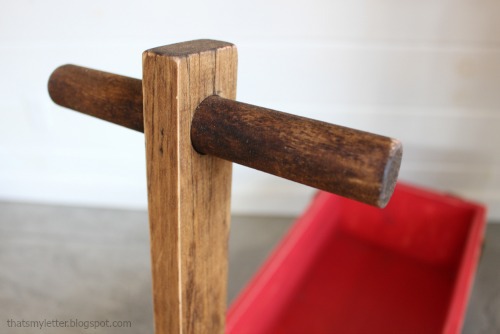
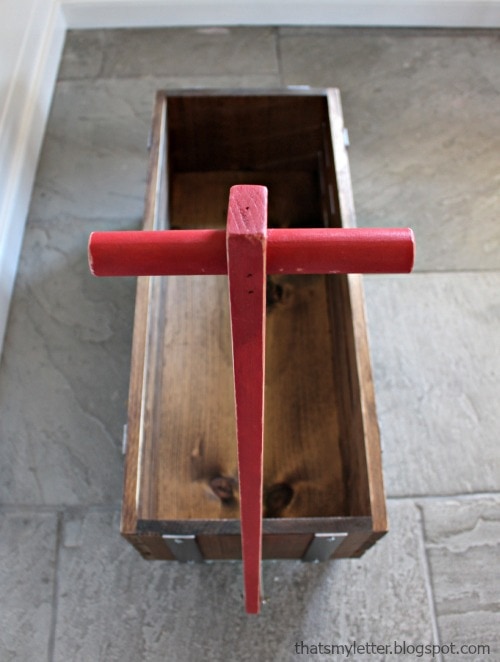
The handle pull is a simple 1×2 with a 1″ dowel through the middle.

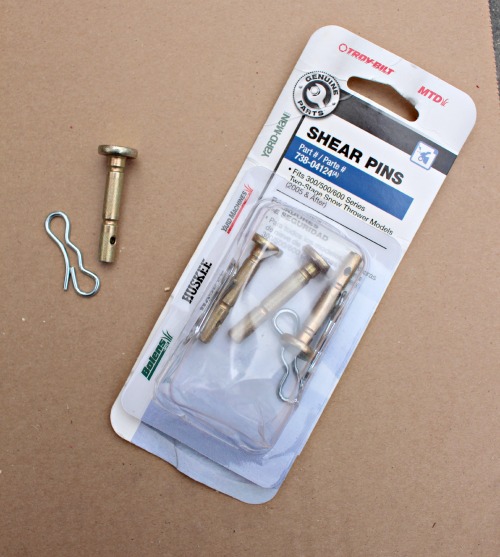
And the secret to making the handle work seamlessly is this shear pin, I found it near the snow blower parts. Basically it’s a smooth bolt with a pin slot at the open end.
You definitely want this type of bolt to make the handle swivel freely.
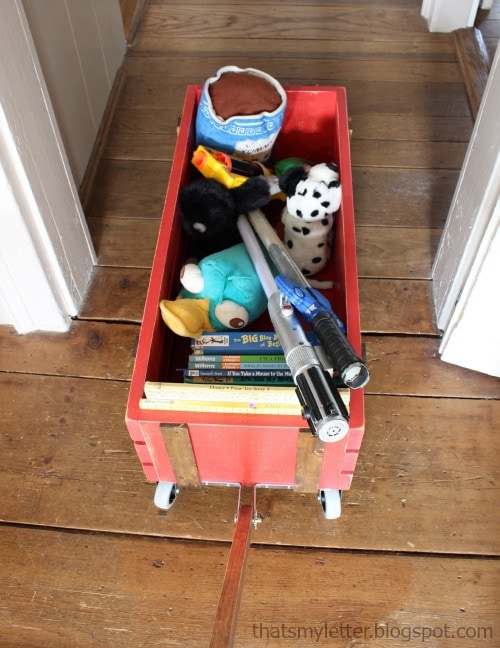
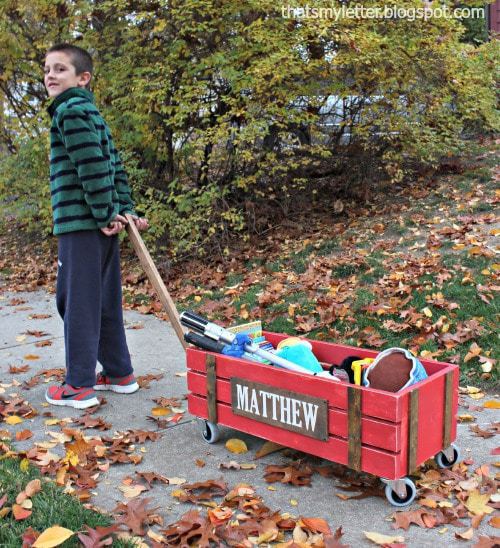
Although this wagon is large and roomy it’s 13″ width allows plenty of space to pull through doorways without scraping up the trim.
I’ve done a lot of builds but one thing I’ve never done is a wagon and I must say this was the most fun. If you’re looking for a gift to build that’s not too complicated but still makes a great, functional piece these are the plans you need.
How to build a wagon:
Follow Ana’s plans here for lumber cuts and construction.
If you purchase 1 – 1x12x8 you can get 2 wagon bodies from the one board.

Step 1: Complete the carcass build and handle.
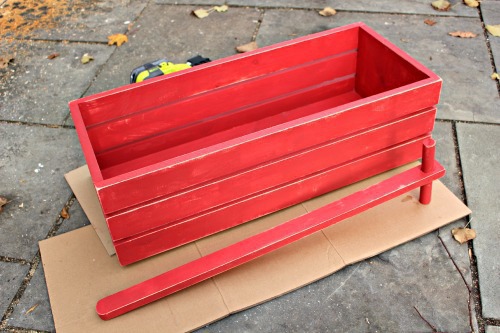
Step 2: Finish as desired. This wagon is painted Benjamin Moore ladybug red and the other wagon above is stained Minwax provincial.
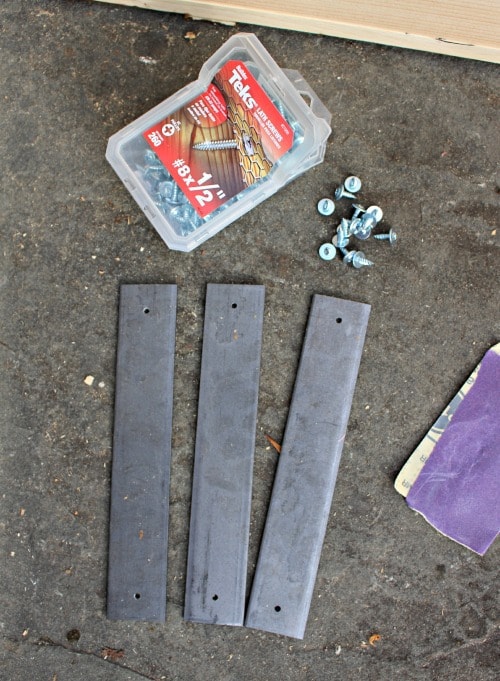
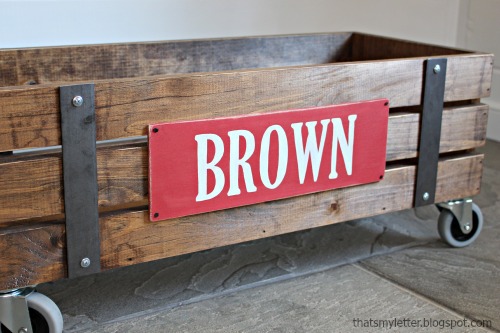
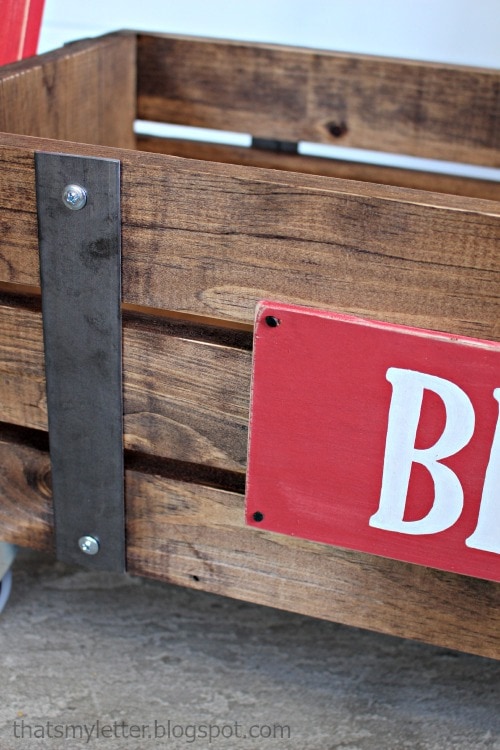
Step 3: I used 1 1/2″ wide flat steel cut to fit then predrilled holes for lath screws. Glue and attach to side of wagon. The other wagon has 1 1/2″w cedar lath stained and attached with glue and finish nails.
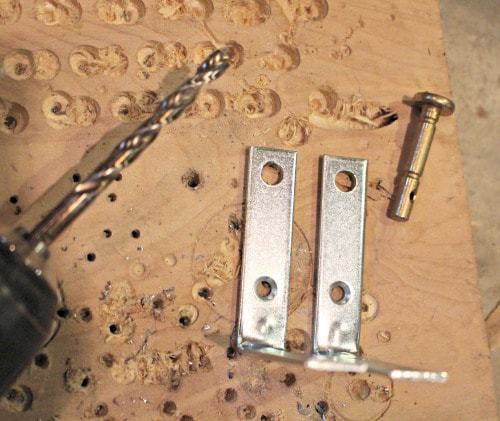
Step 4: Prior to attaching the handle braces you need to widen the predrilled hole in order to fit the shear pin through. (Notice the top hole in braces above is larger than the bottom hole.
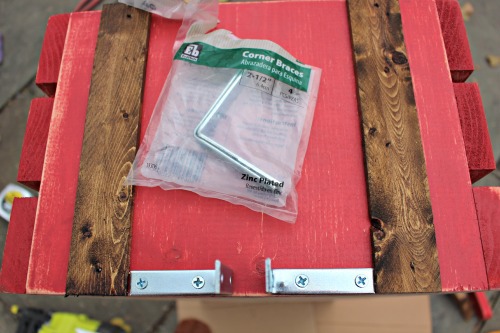
Step 5: Now attach braces to wagon body at base. I used 1 1/2″ wood screws here.
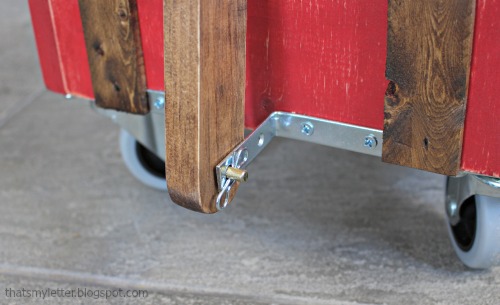
Step 6: Predrill hole into 1×2 at center bottom then place handle between braces and slide shear pin through holes and pin in place.
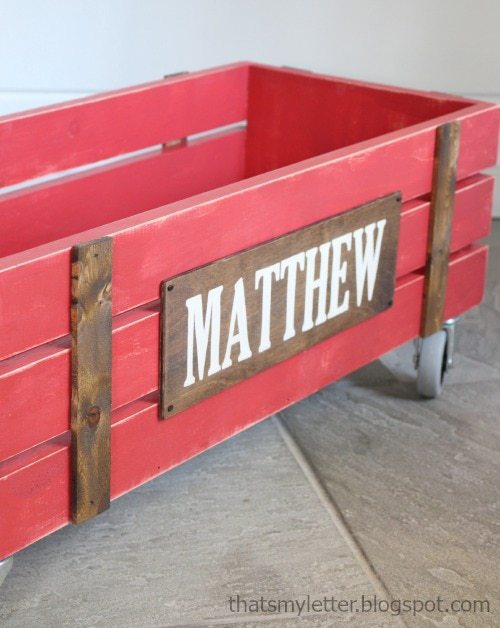
Step 7: Paint a name plaque and secure with glue and finish nails. I added the black carpet tacks in the corners only for looks.
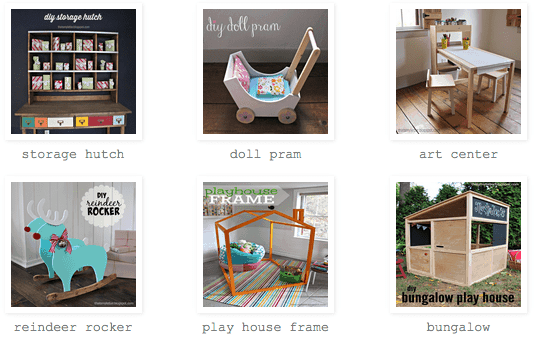
Ana and I have shared lots of handmade holiday gift ideas if you’re looking for other options check all the posts here:
This is super cute, Jaime!
Perfect! I love the red and the casters 🙂
This is so cute. My son would love this!
This is such a great project! Thanks for sharing!
What is the best way to secure the dowel hand grip to the handle bar? Wood glue and then nail from the top?
@TidyCat to secure the dowel yes wood glue then nail from the front and back through the narrow sides of the 1×2.
Is this made with just pine boards? It looks great!
I have a question for the steel accessory – did you cut this to size or were you able to get it cut to size at the Home Depot? I tried to click the hyperlink, but the item is no longer available for me to view.
I have all of the materials to make the wagon this weekend, but I’m having difficulty finding a metal to use. I know the instructions on Ana’s site say 72” of decorative metal – but when asked what that is at my hardware store, no one has a clue!
Hi Samantha, yes you will have to cut the flat steel to size. Thanks for letting me know about the link, I updated it http://www.homedepot.com/p/Everbilt-1-1-2-in-x-36-in-Plain-Steel-Flat-Bar-with-1-8-in-Thick-801787/204225766
Good luck with your wagon!
I am working on this wagon. What type size screws did you use to attach the wheels.