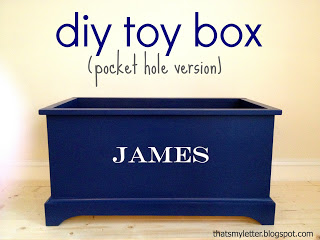
Build: toy box
(the pocket hole version)
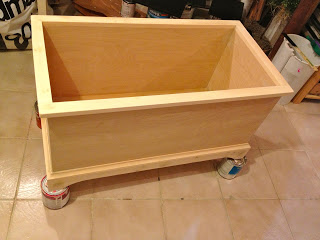
Build this super easy and fast toy box that holds a ton of kid stuff using plans from Ana White here.
I’ve made a few toy boxes in the past but never using pocket holes.
This time I smartened up and modified Ana’s plans using my Kreg jig to make pocket holes.
Pocket holes allow you to attach pieces with a tight square fit while hiding the screw.
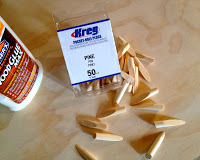
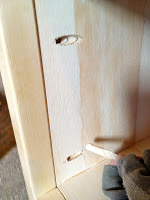
You have to be strategic about where you place the pocket holes in order to hide the hole. And when the only option is for a visible pocket hole you can use a plug to fill the space:
In my opinion a pocket hole beats a countersunk screw any day.
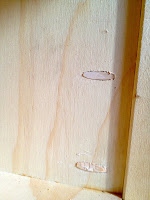
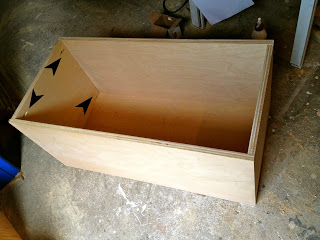
For this toy box below the only visible pocket holes will be on the interior short sides.
I choose to plug those holes but seeing as your toy box will eventually be filled up with toys you could leave the holes as is.
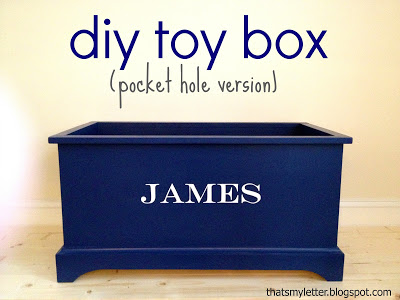
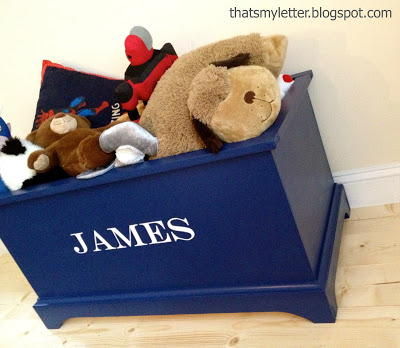
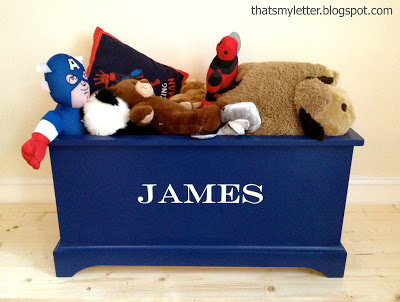
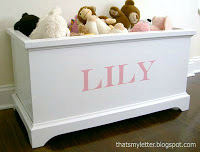
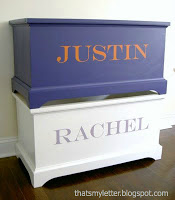
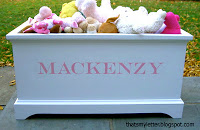
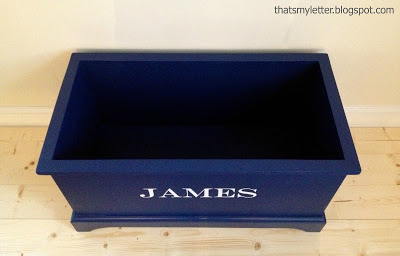
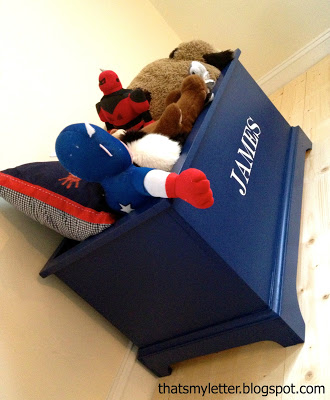
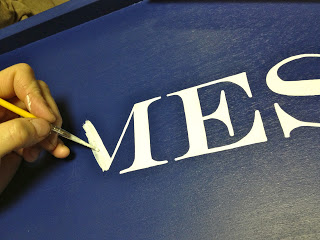
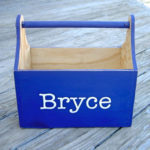
I also personalized this toy box with a handpainted name:
Here’s how to make the toy box using pocket holes:
1. Follow Ana’s plans to make all the lumber cuts.
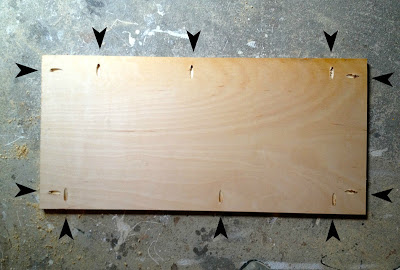
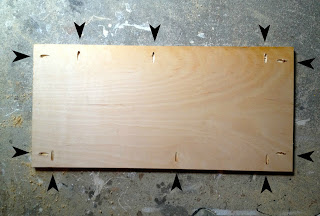
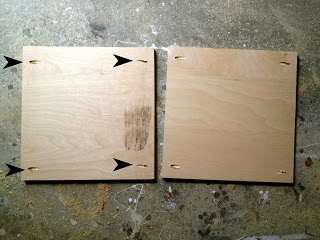
Start with the bottom piece making pocket holes using your Kreg jig for all four sides to attach:
Then make pocket holes in the sides, these pieces are square but keep the grain running horizontal:
2. Step 1 in Ana’s plans, build the box.
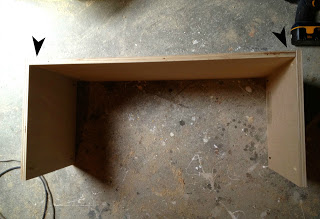
Begin by securing bottom to short sides through pocket holes:
Then secure bottom to front and back.
3. Lastly finish the box by securing the sides to each other using the interior pocket holes (4 on each short side):
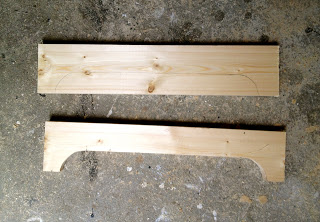
4. Cut the footers.
I used 1×4 pine boards cut to length then jig saw the curved portion:
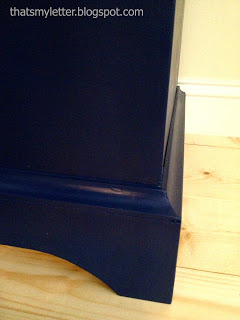
5. Attach footers. I did use countersunk screws here for support straight into the box bottom.
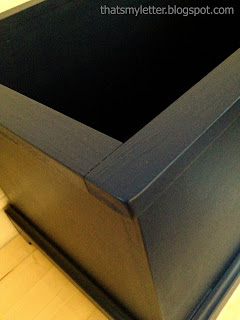
Then add the cove moulding and top trim:
6. Sand and paint.
I used 2 coats Benjamin Moore Aura admiral blue in satin finish.
7. Personalize.
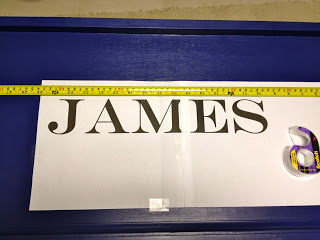
Print out the name to fit. I used Engravers font at 250 point.
Fold name in half to find middle and line up with middle of toy box front:
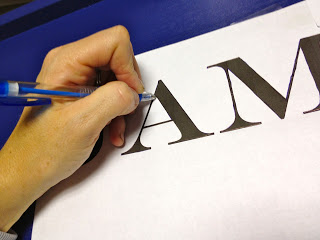
8. Using a ballpoint pen trace letters with heavy pressure:
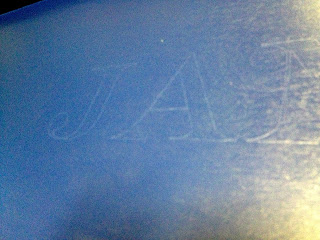
The pressure of the pen leaves an indent in the wood:
9. Paint on and inside the indent:
I used high gloss white enamel.
Not a Kreg sponsored post, simply sharing my build details.

I'll bet that's way sturdier than any mass produced toy box~and it's certainly better looking!
Awesome!
I love this..and if snowing wasn't dumping down this second, I'd probably be at Lowes buying everything I need to make two of these pronto.
This is a great looking toy box. I am in the process of building it right now and looking to have it done by my son's first birthday, just 2 weeks away…
However I believe I have found a discrepancy in the original cut list on the other site. The original cut list has the end pieces cut at 16" x 15.5". Doing this will leave your front & back 1/2" longer than the ends. Yay.
I could re-cut those pieces but I don't want to deal with that hassle. So my plan is to flush mount the top edges and hide the 1/2" extra length on the bottom & cover it with the base moulding.
Hi! I'm making the kreg jig version from your plans. great so far. just one question. what size screws did you use for the footers? thanks in advance.
This is so cool! Wondering how much it cost you to build.