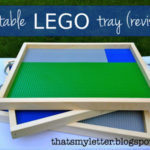
Build: square portable lego tray
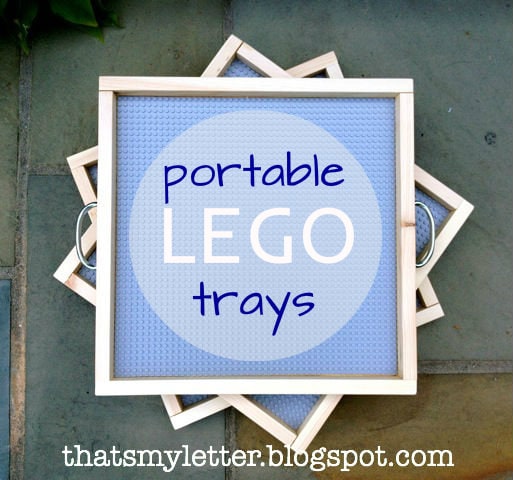
My good friend requested square trays using the 15″ x 15″ grey baseplate only:
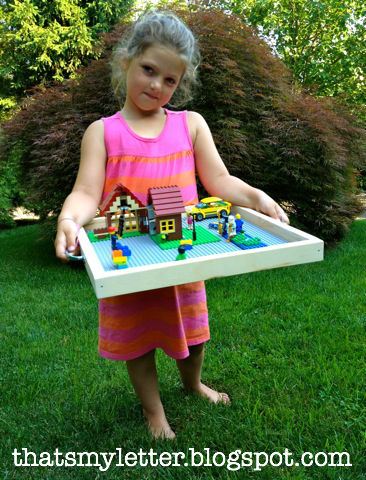
She has three kids too – who are all into legos, one tray for each child:

Here’s my girl #2 modeling the tray for size, she’s 6 years old:
Here’s how I made the square lego trays:
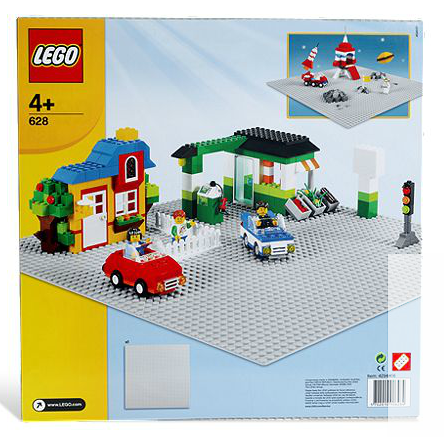
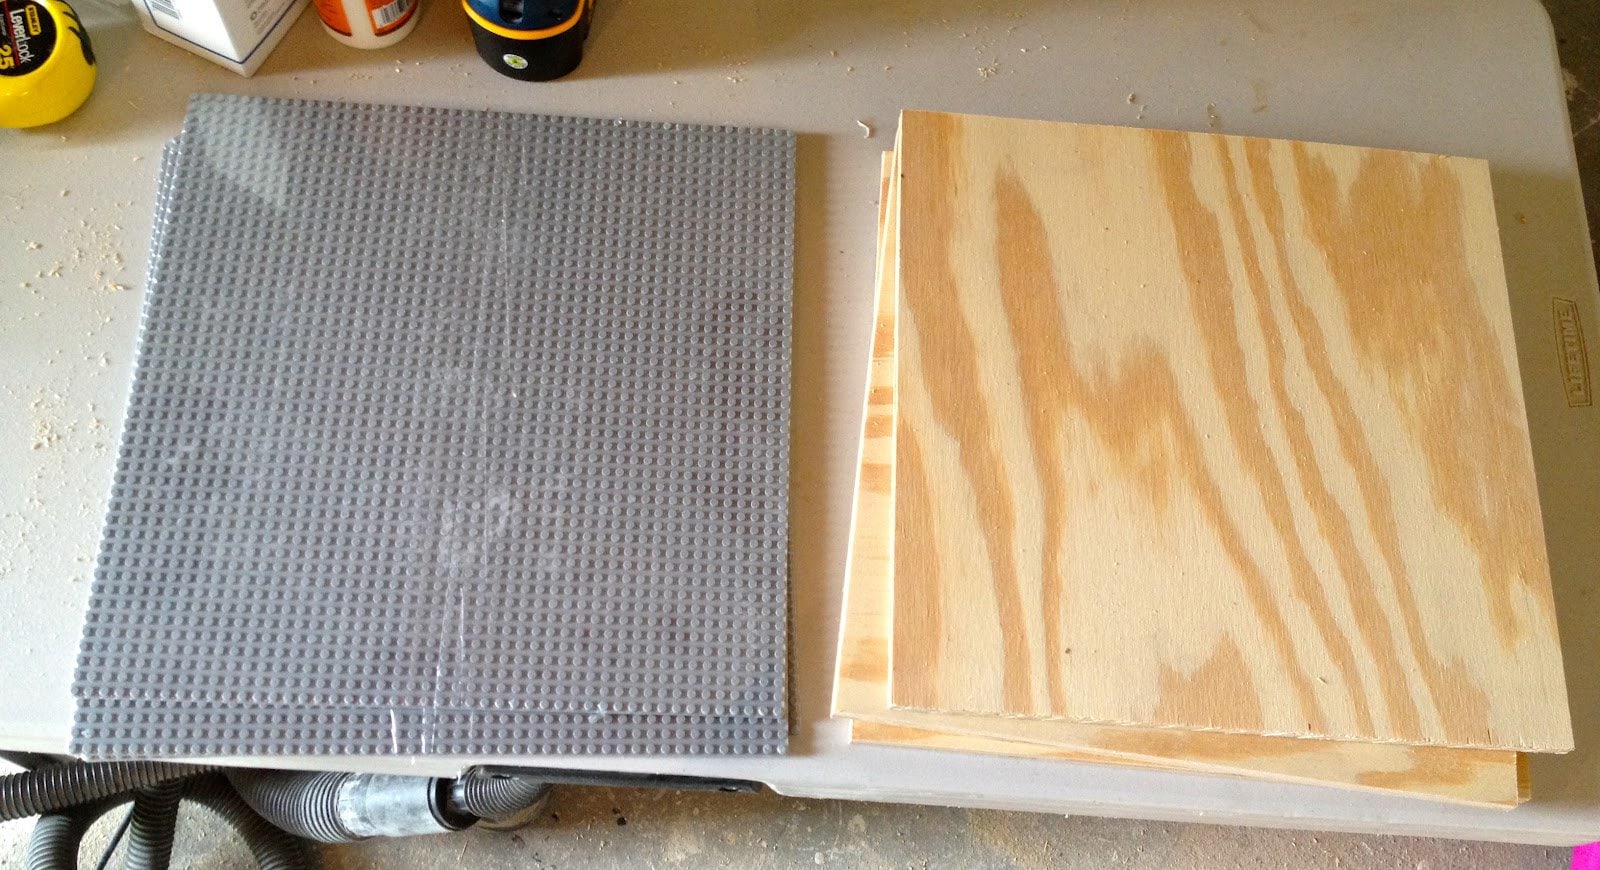
1. Purchase 15″ x 15″ grey lego baseplates:
2. Cut 1/2″ plywood 15″ x 15″:
3. Cut side pieces from a 1×2 board:
2 @ 15″
2 @ 16.5″

4. Predrill pocket holes on all four sides.
Attach 15″ side pieces first using pocket hole screws:

5. Then attach 16.5″ sides with pocket hole screws:
Also secure corners with one 2″ finish nail through long side:
Sand.

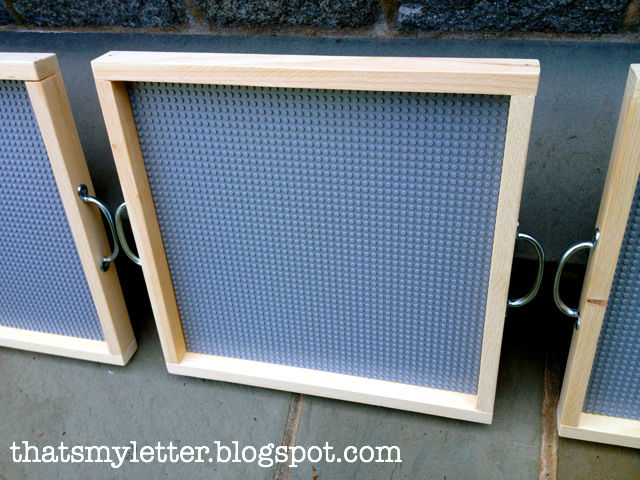
8. Attach handles:

9. Apply construction adhesive to surface keeping clear of edges:

10. Press baseplate into place and weight to dry:

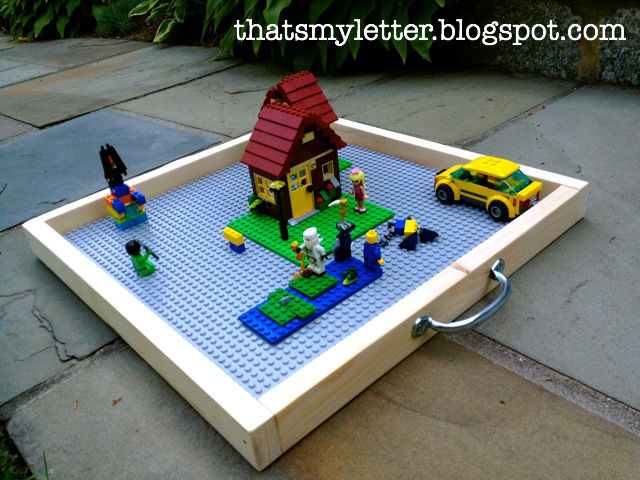
Ready!


Just add some legos:


What a GREAT idea! I think I need to try this
When you showed your first Lego tray a few weeks ago, I loved it and told you how amazing it was. Well, I'm back to tell you again. Totally fantastic. You should patent this. (Can you?) Awesome, awesome, awesome. You have some skillz! 😉 My 3 kiddos would flip for these!
I've never heard of a pocket hole before. Exactly how do you do them?
That is so neat! I love the idea. I'm pinning it to hopefully make someday.
Oh my goodness, Legos are IT at my house! This is one of the most brilliant ideas I have seen. Hubby doesn't know it yet, but he has some work to do this weekend!! thanks for sharing
Oh my goodness, Legos are IT at my house! This is one of the most brilliant ideas I have seen. Hubby doesn't know it yet, but he has some work to do this weekend!! thanks for sharing
How fun! This was the most-viewed link in my party- I will be featuring it!
What size pocket holes and pocket hole screws do you use? Thanks!
Can you tell me what size pocket holes and screws, please?
Hi Chelsea, your pocket holes should match the thickness of your wood. I believe this base is 1/2″ thick plywood so set the pocket hole jig for 1/2″. I used 1″ pocket hole screws.