Build: diy tic tac toe game box
We are quickly approaching Christmas but there’s definitely still time to build a few last minute gifts.
Ana White and I are bringing you another gift build plan today that’s sure to please anyone on your list.
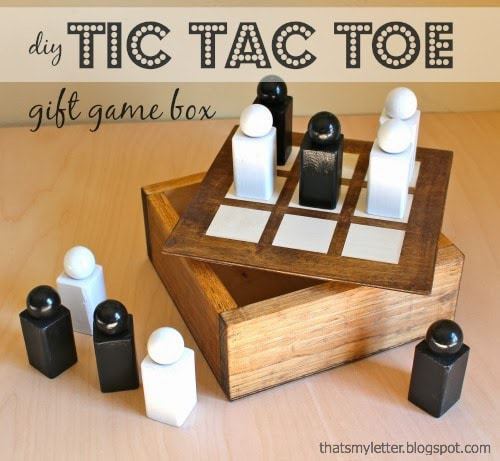
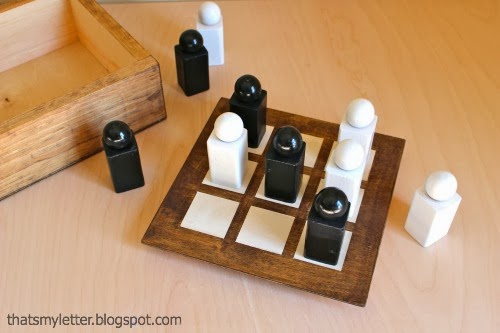
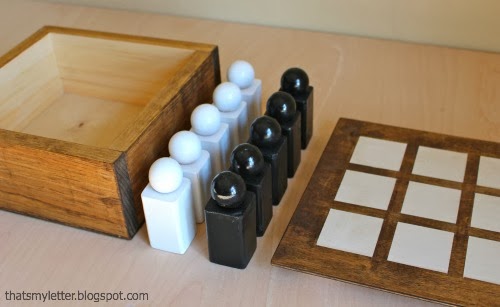
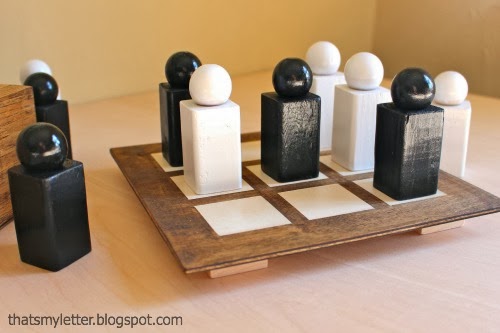
Today it’s this super fun and functional diy tic tac toe game with it’s very own storage box:
Most kids love to play tic tac toe so this game is sure to please.
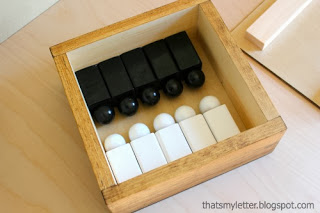
The black and white game pieces are Star Wars inspired but you could paint them any color.
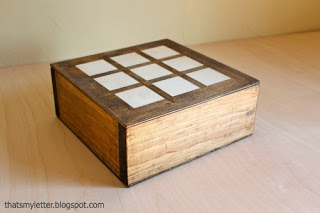
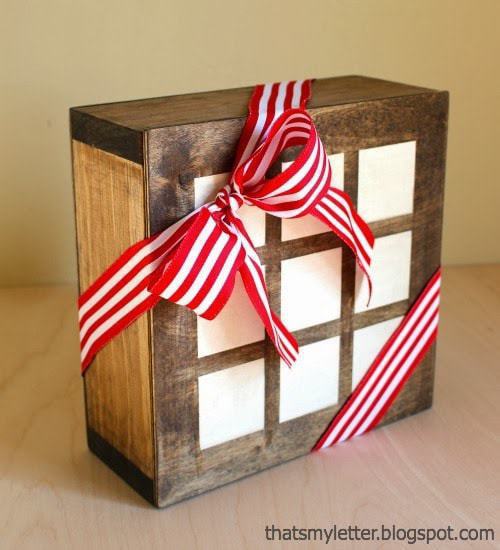
And how great is this storage box!!
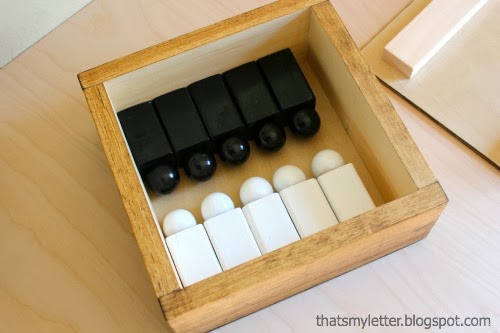
Ana cleverly designed the box to hold the game pieces perfectly, you could even fit 2 sets of game pieces on top of each other if you wanted color options 🙂
My sister and I always say the best kids toys are ones that come with their own storage container!
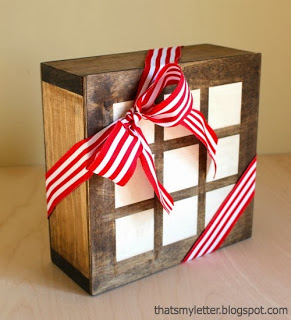
Not only does the game storage box provide the perfect container for the game pieces but it doubles as your gift box – add a ribbon and you’re ready to gift!
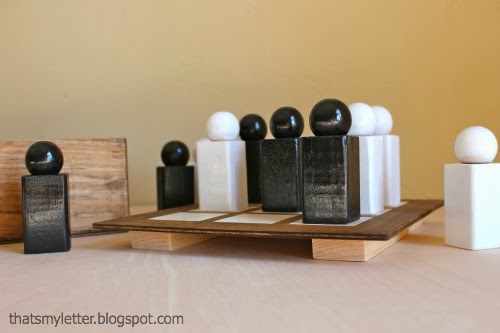
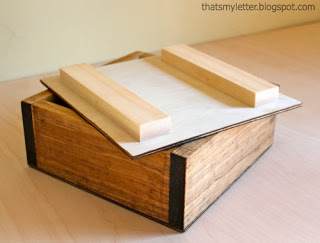
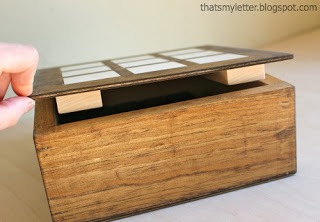
The storage box lid is your playing surface.
I added 2 – 1×2 pieces cut at 7 7/8″ long to the underside of the lid. These pieces serve a few purposes:
1. Keeps the 1/4″ plywood lid from warping, attach the 1×2 opposite to the grain of the plywood.
2. Lifts the lid off the tabletop.
3. Helps keep the lid in place and prevent shifting on top of the box.
How to build a tic tac toe game box:
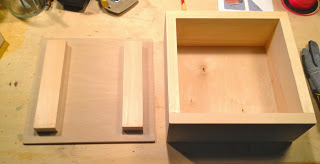
1. Construct the box and game pieces as per Ana’s plans here.
I added 2 – 1×2 @ 7 7/8″ pieces to the underside of the top board piece inset at 3/4″ both ends and sides and wood grain perpendicular to plywood grain:
1. Construct the box and game pieces as per Ana’s plans here.
I added 2 – 1×2 @ 7 7/8″ pieces to the underside of the top board piece inset at 3/4″ both ends and sides and wood grain perpendicular to plywood grain:
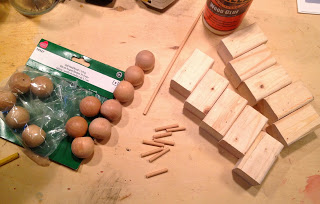
2. For the player pieces I used 1 1/4″ doll heads and 3/16″ dowel piece cut at 1″:
3. Drill a hole in the center of the body block:
4. Using glue insert dowel then glue base of head on top of other end of dowel:
5. Sketch the game board with a ruler and pencil using Ana’s dimensions:
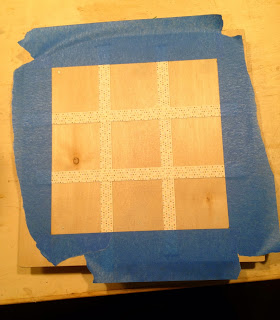
6. The dividing partitions measure 1/2″- if you have 1/2″ tape use it to mark off the partitions:
7. Paint inside the squares:
8. Remove the tape – undoubtedly there will be some bleeding under the tape, use an exacto knife to remove the excess paint:
9. Apply Minwax Provincial stain:
10. Paint the player pieces – 5 of each color – spray paint is your best bet here.
11. Insert the pieces into the box and wrap up for gifting:
Ana and I have one more easy gift build to share on Friday, stop back to check it out.
I’m linking up to:
Inspiration Exchange @ City Farmhouse
SAS @ Funky Junk
Nifty Thrifty Sunday @ Nifty Thrifty Things
That DIY Party @ The DIY Showoff
Tutorials & Tips Tuesday @ Home Stories A to Z
The Scoop @ Lolly Jane
Strut Your Stuff @ Somewhat Simple
Share Awesomeness Thur @ The 36th Avenue
Pretty Things Thursday @ Scissors & Spatulas
Flaunt it Friday @ Chic on a Shoestring
Frugal Friday @ The Shabby Nest
Furniture Feature Friday @ Miss Mustard Seed
SAS @ Just a Girl
Remodelaholics Anonymous @ Remodelaholic
inspiration board @ Carolyns Homework
Sunday Showcase Party @ Under the Table & Dreaming







Fun project!
Great gift idea, thanks for sharing a tutorial! Happy Holidays!