• Home
  • Blog
  • About
  • Contact
    • Disclosure
    • Privacy Policy
  • SHOP
  • Widget area for main menu

    • Email
    • Facebook
    • Instagram
    • Pinterest
    • Twitter
    • YouTube
  • Skip to primary navigation
  • Skip to main content
  • Skip to primary sidebar

Jaime Costiglio

build - paint - sew

  • BUILD
    • BEDS
    • BENCHES
    • DESKS
    • DRESSERS
    • GAMES & TOYS
    • SCRAP WOOD
    • SHELVES
    • STORAGE
    • TABLES
  • TOOLS
  • PAINT
    • CRAFTS
    • FURNITURE
    • HOME DECOR
  • SEW
    • GIFTS
    • HOME DECOR
    • POUCHES
  • HANDBUILT HOLIDAY
    • 2021
    • 2019
    • 2018
    • 2017
    • 2016
    • 2015
    • 2014
    • 2013
  • GIFTS
    • BABIES
    • KIDS
    • FOR HER
    • FOR HIM
    • TEACHERS
    • WEDDINGS
  • SEASONAL
    • 4TH OF JULY
    • FALL
    • HALLOWEEN
    • CHRISTMAS
    • SUMMER
    • SPRING
    • ST. PATRICK’S DAY
    • THANKSGIVING
    • VALENTINE’S DAY
    • WINTER
  • SALTBOX PROJECT
    • BATHROOMS
    • DINING ROOM
    • EXTERIOR
    • FAMILY ROOM
    • FOYER / MUDROOM
    • KIDS BEDROOMS
    • KITCHEN
    • LIVING ROOM
    • MASTER BEDROOM
    • PLAYROOM
  • SCROLL SAW

“T” is for Tangerine

January 15, 2012

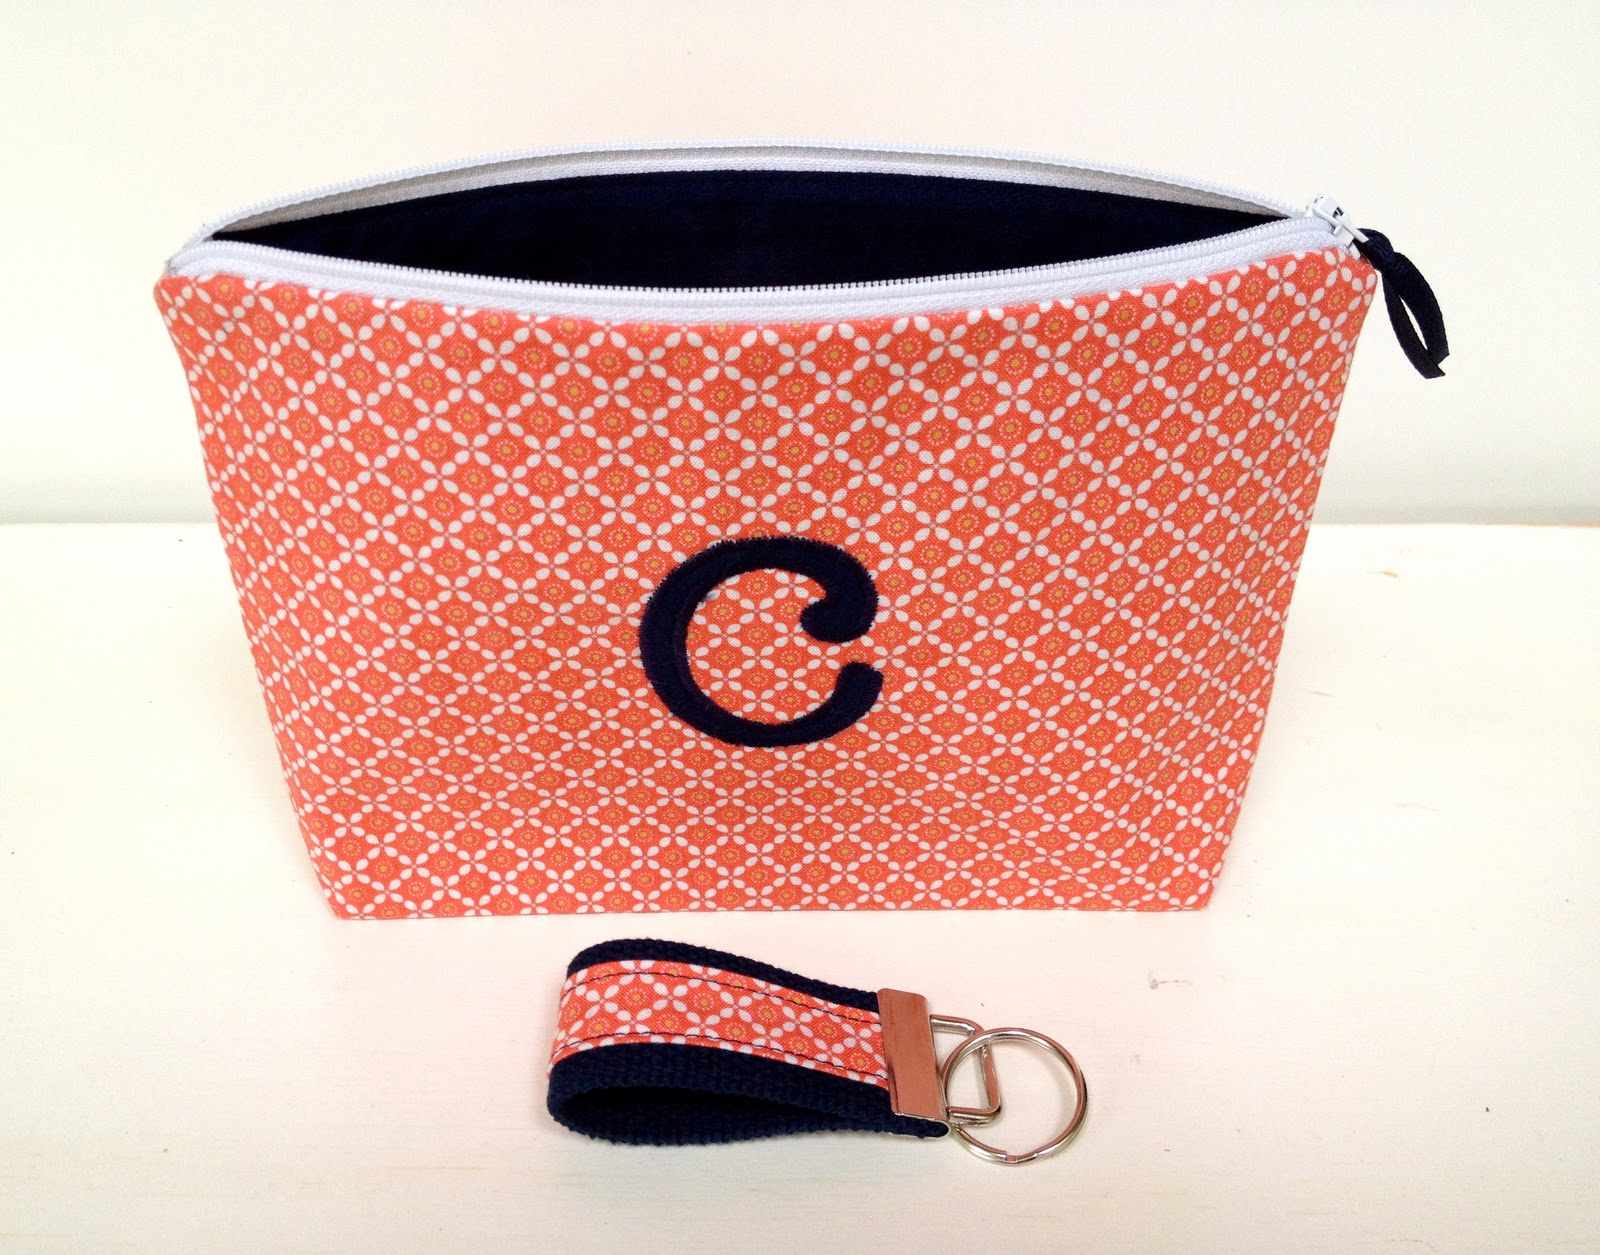
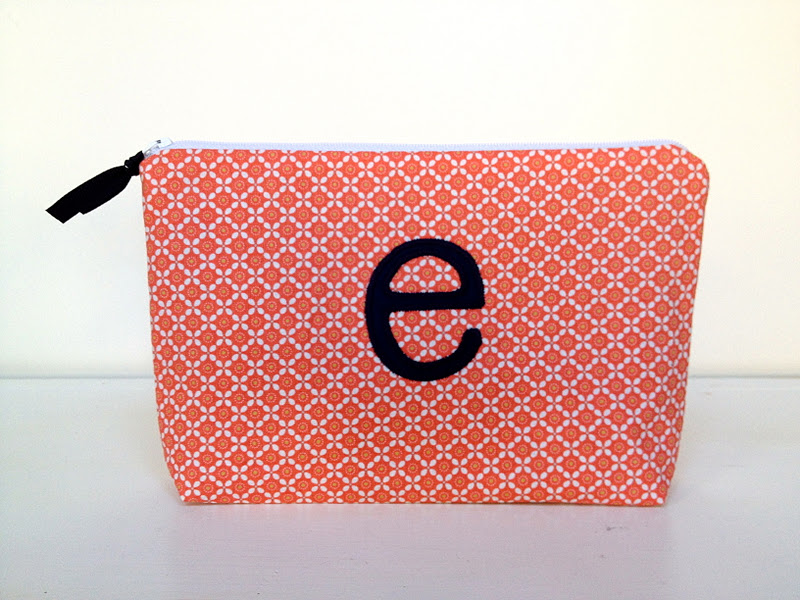
Sewing: a tangerine, color of the year, inspired pouch:
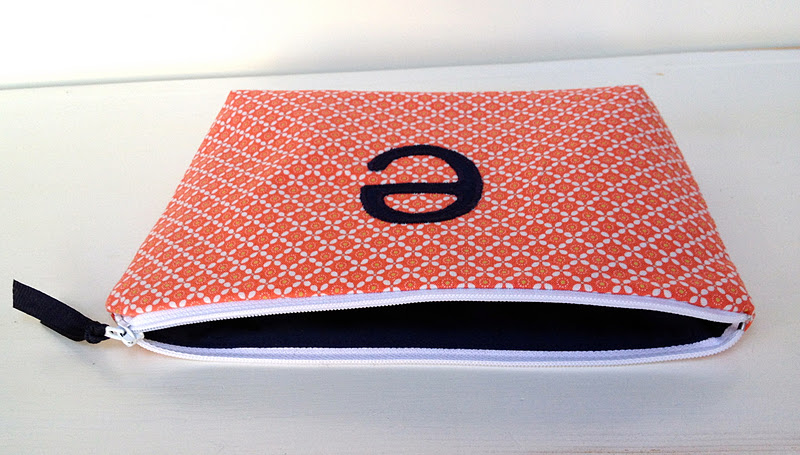
With a navy monogram and navy lining:

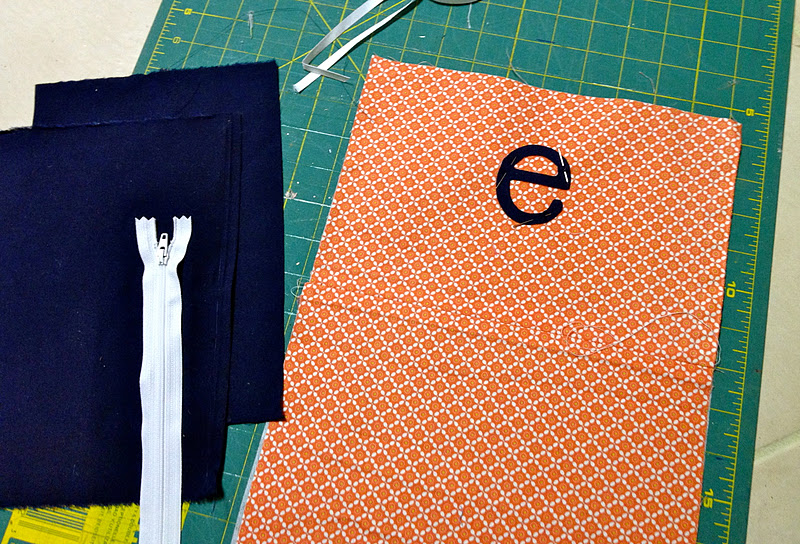
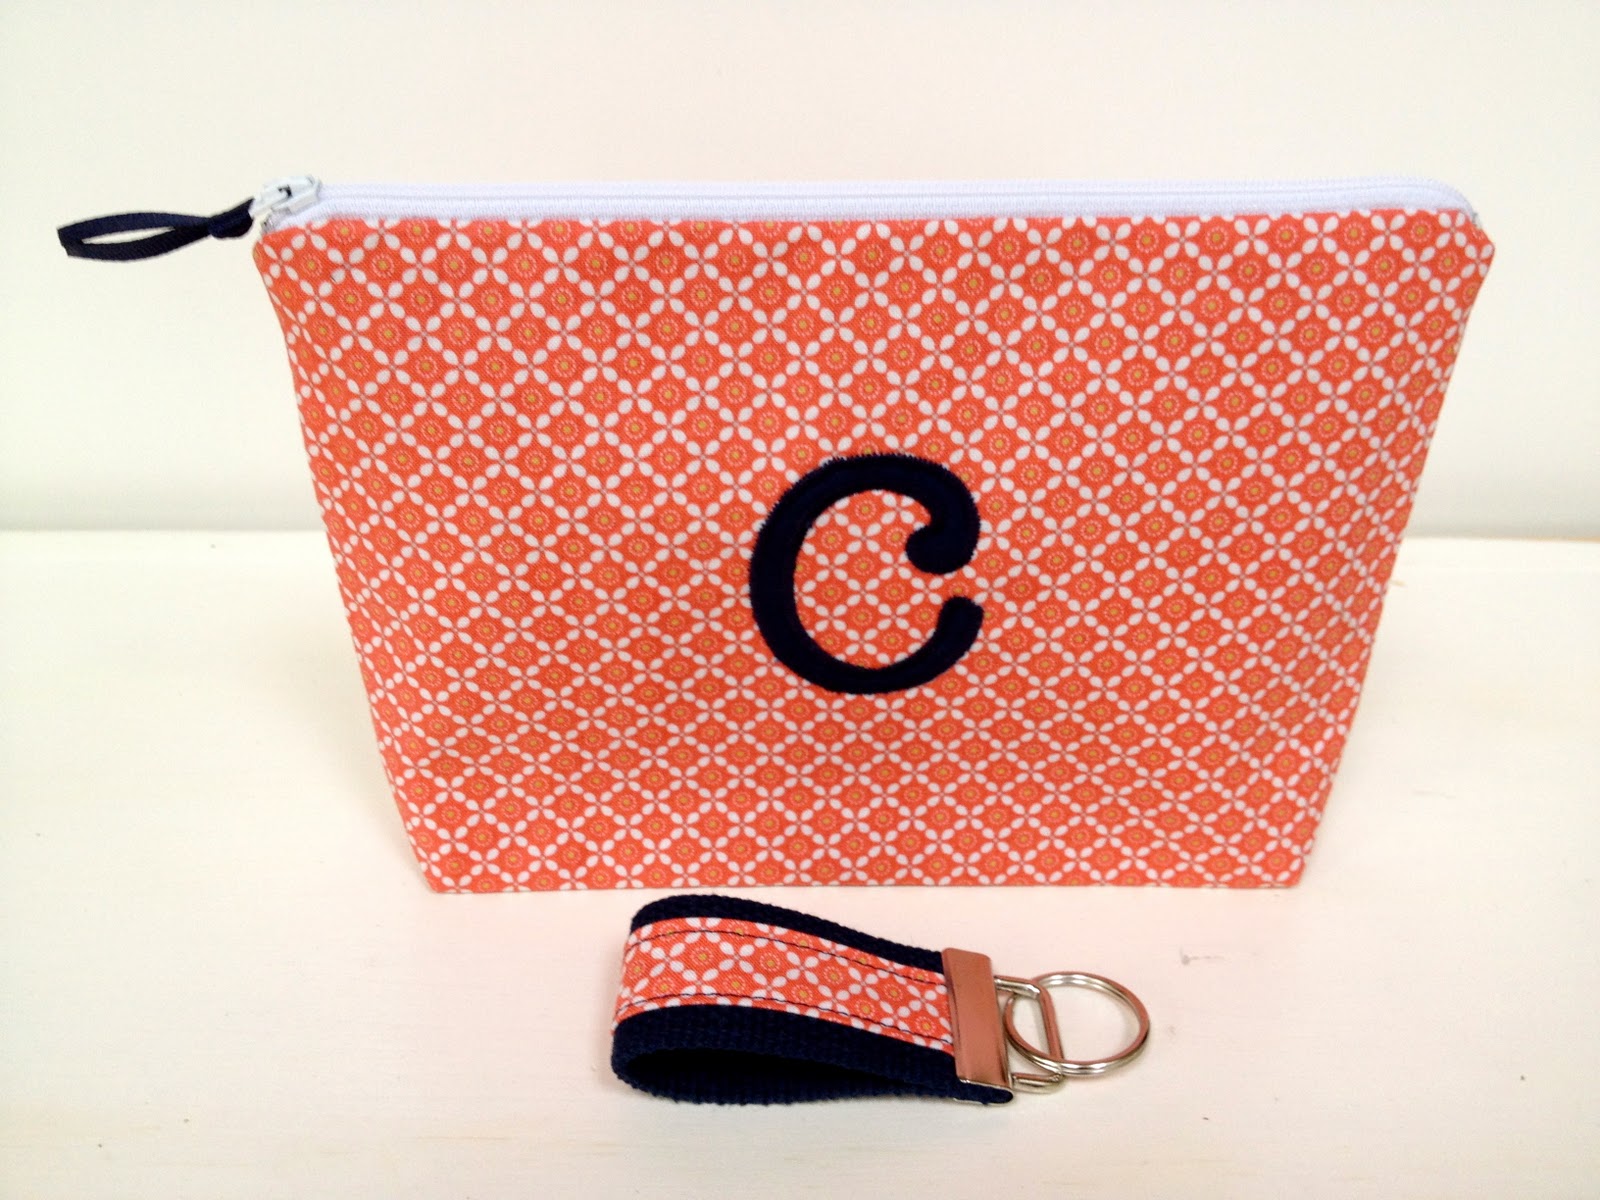
The orange was one of those fabrics I just had to have while out shopping,
it’s Riley Blake designs.
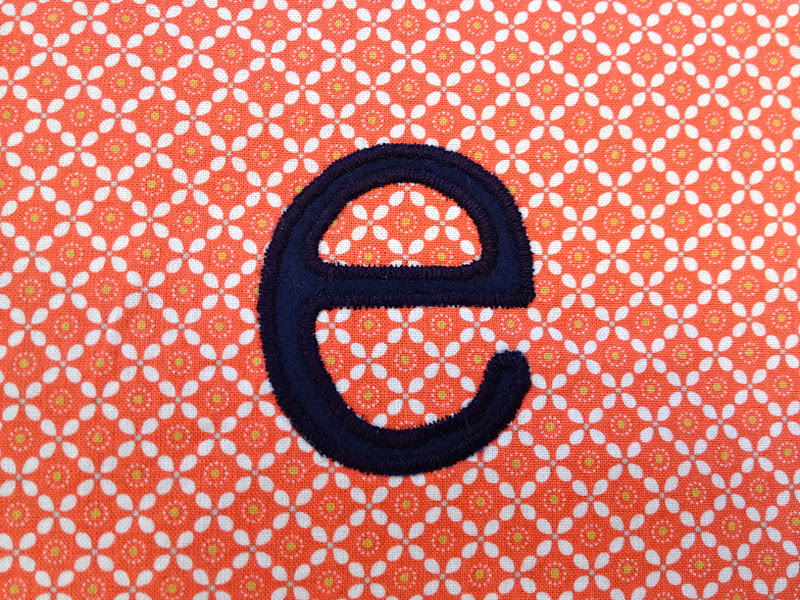
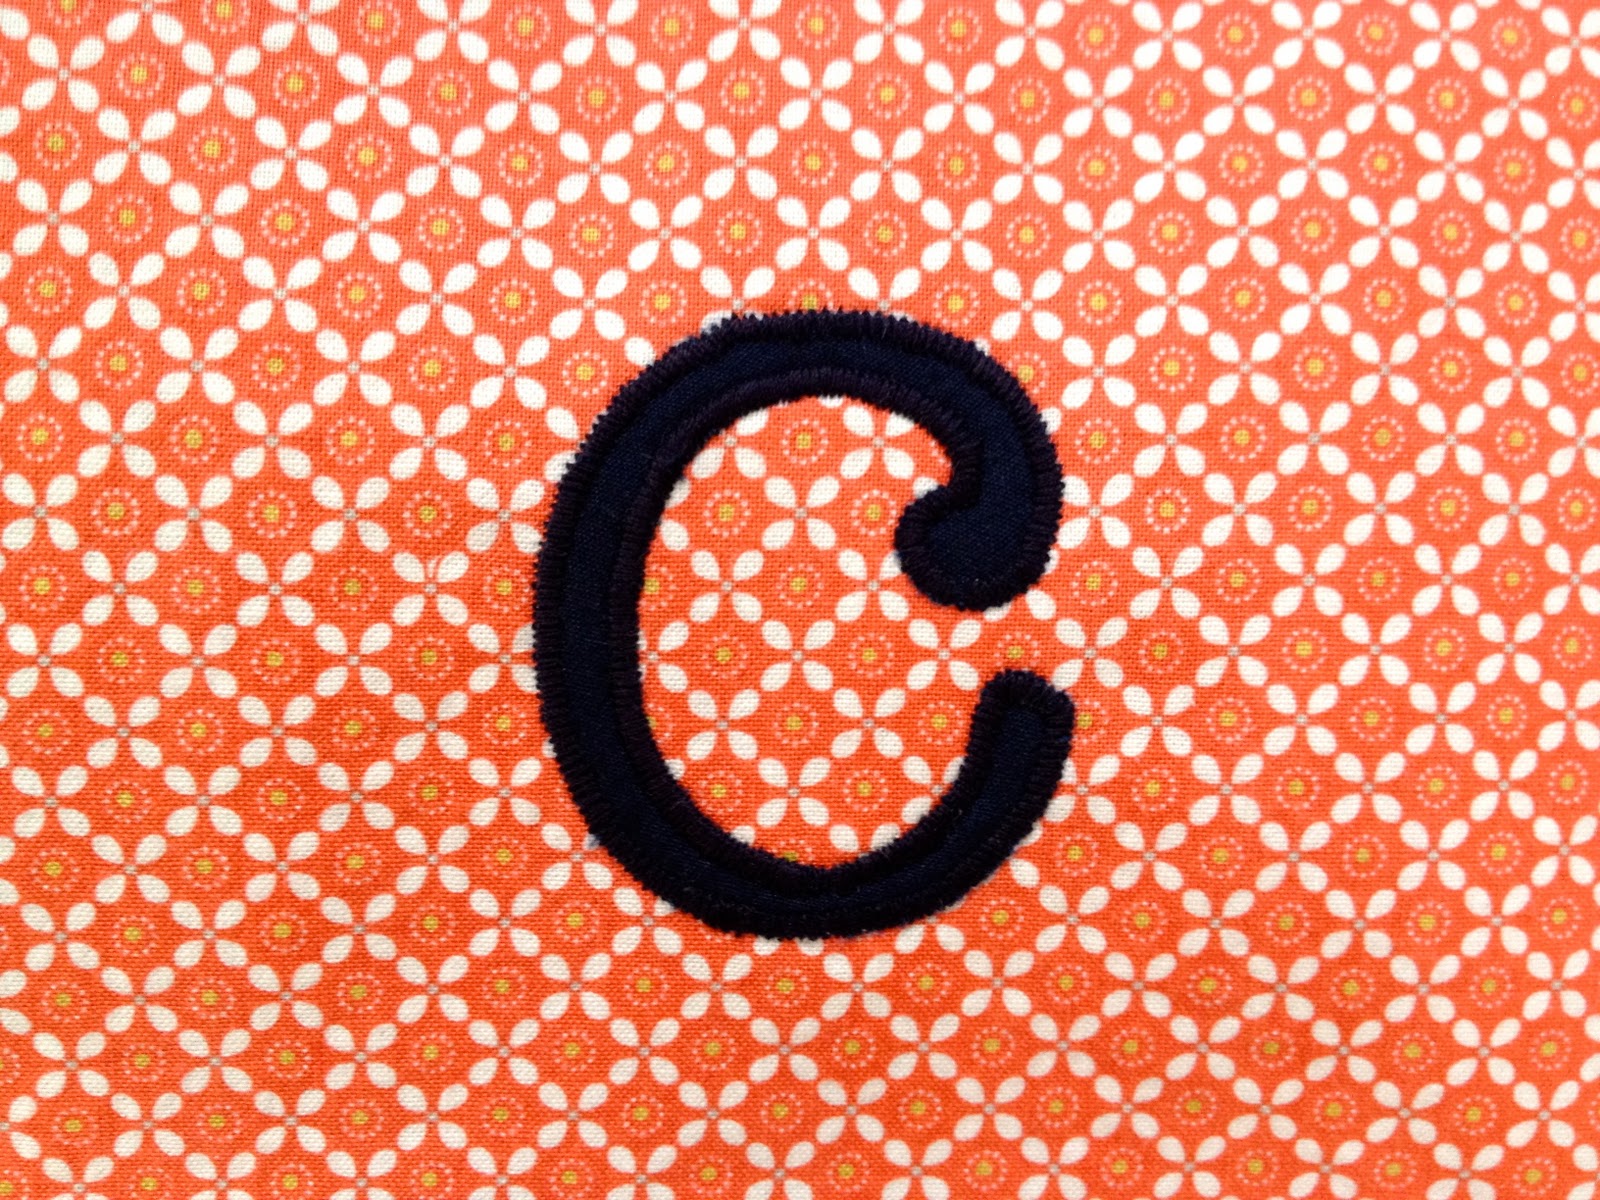
The monogram is American Typewriter font, it is navy with a navy zig zag stitch all around:

And navy grosgrain ribbon on the zipper pull:

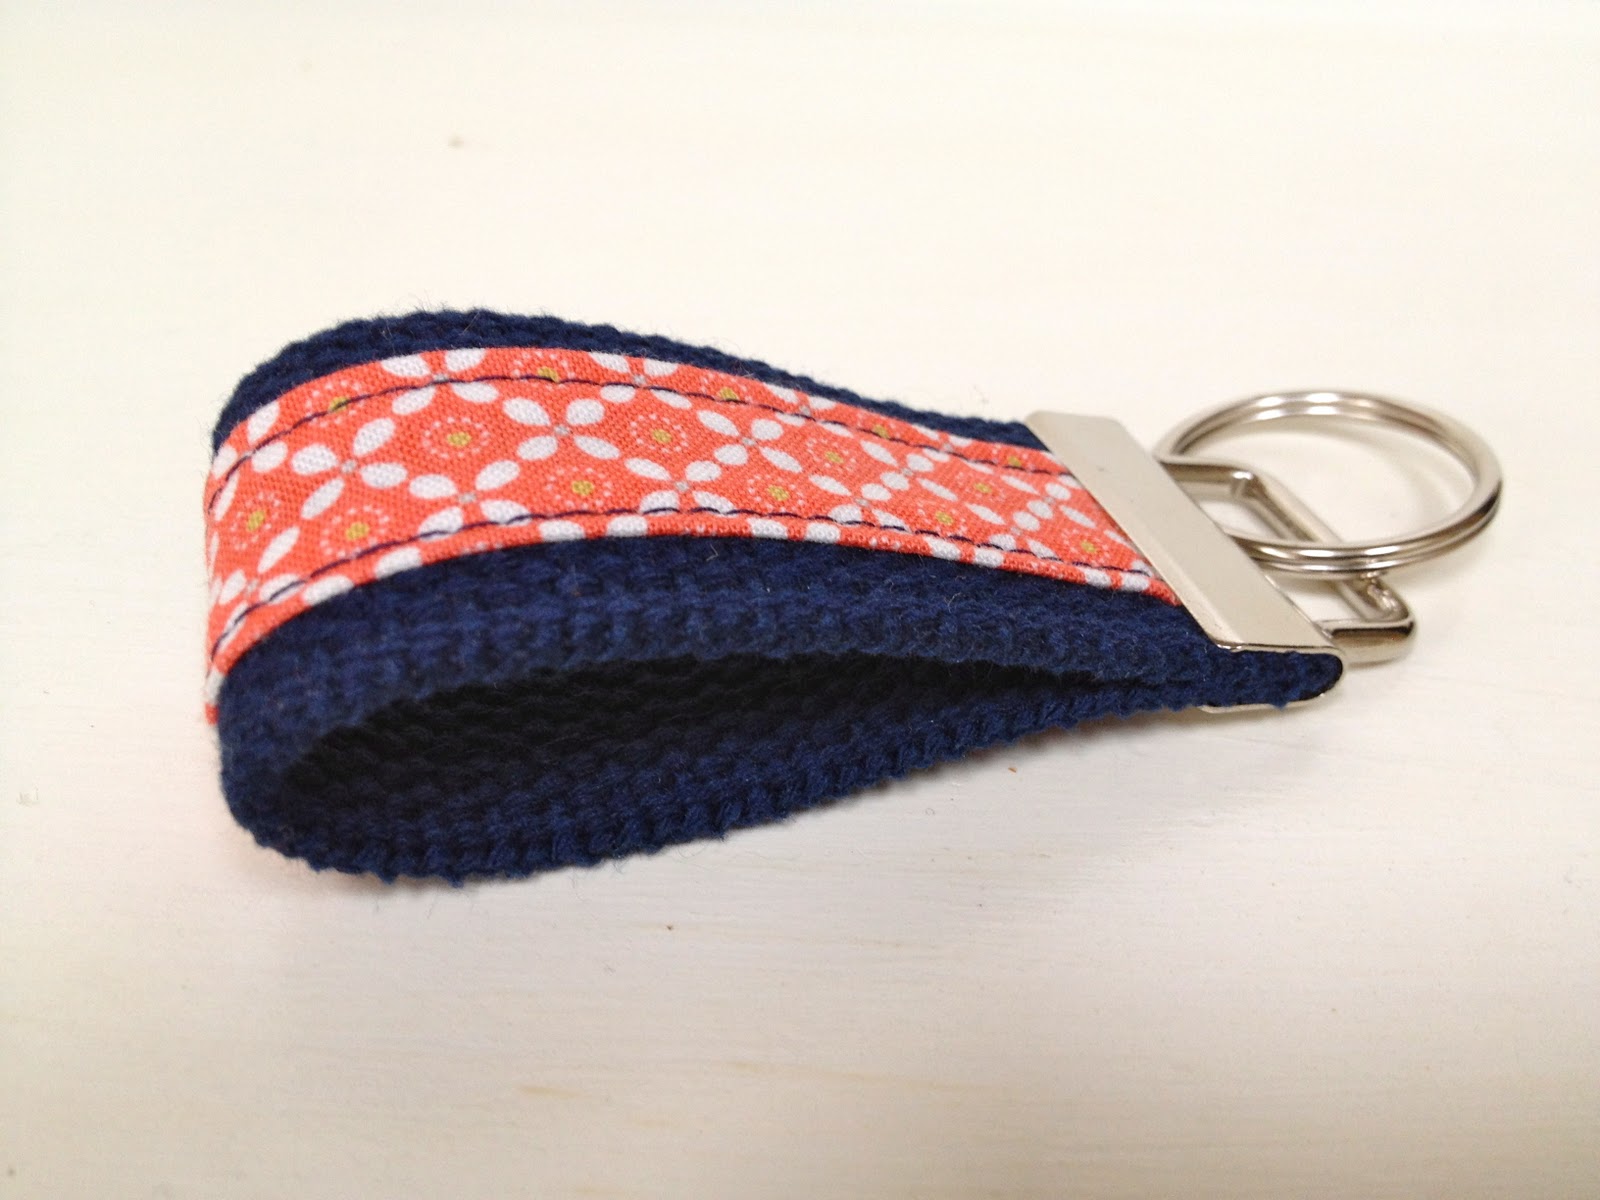
I made a matching key fob for the C pouch:
Here’s how I made the pouch:

1. Cut the pieces:
1 – exterior fabric @ 10″ x 14″
2 – lining fabric @ 10″ x 7″
1 – med. fusible interfacing @ 10″ x 14″
1 – 9″ zipper
monogram fabric with fusible
ribbon for zipper pull
2. For the full tutorial follow my post here.
Fuse the interfacing on wrong side of exterior fabric.
Then pin monogram and zig zag stitch all around:
3. Add in the zipper, be sure to use navy thread here, especially on the topstitching.
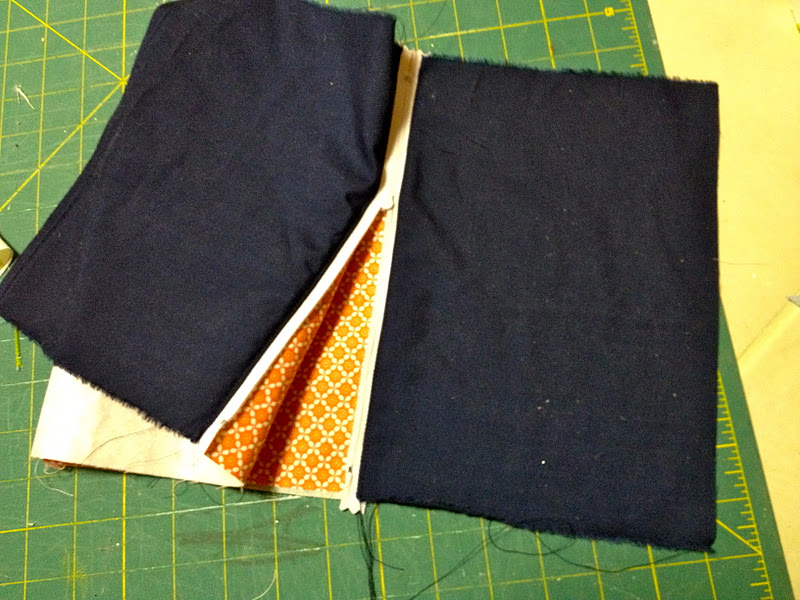
Press as you go.
Finally press the bottom gusset in to make a flat bottom:
Another pouch, I just can’t stop myself.
I’m linking up to:
Whatcha Got Weekend @ Lolly Jane
SAS @ Funky Junk
Weekend Wrap Up @ Tatertots & Jello
Sundae Scoop @ I Heart Naptime
Sister Sunday @ Sisters of the Wild West
Sunday Showcase Party @ Under the Table & Dreaming
Just Something I Whipped Up @ The Girl Creative
DIY Fall Festival @ The DIY Showoff
Made by You Mondays @ Skip to My Lou
Making the World Cuter @ Making the World Cuter
Nifty Thrifty @ Coastal Charm
Tuesday Treasures @ My Uncommon Slice of Suburbia
Tutorials & Tips Tuesday @ Home Stories A to Z
Good Life @ A Beach Cottage
Delightfully Inspiring @ Delightful Order
Transformation Thursday @ The Shabby Creek Cottage
Strut Your Stuff @ Somewhat Simple
Share Awesomeness Thur @ The 36th Avenue
Flaunt it Friday @ Chic on a Shoestring
Tickled Pink @ 504 Main
Frugal Friday @ The Shabby Nest
SAS @ Just a Girl
Feathered Nest @ French Country Cottage
Remodelaholics Anonymous @ Remodelaholic
inspiration board @ Carolyns Homework
Textiles @ Freckled Laundry

You may also like...

  • Cross Stitch Monogram Ornament PlacecardCross Stitch Monogram Ornament Placecard
  • DIY Simple Personalized PillowsDIY Simple Personalized Pillows
  • DIY Embellished Monogram PouchDIY Embellished Monogram Pouch
  • “P” is for Painted Zipper Pouch“P” is for Painted Zipper Pouch
Share this post:

Filed Under: DIY, FOR HER, GIFTS, GIFTS, KIDS, POUCHES, SEW, SEWING, TEACHERS9 Comments

Reader Interactions

Comments

  1. Allison@FabRehab says

    January 15, 2012 at 2:45 PM

    So, so, so cute. How much do you charge for this? My sister's bday is coming up….

    Reply
  2. Inspire Me Heather says

    January 15, 2012 at 3:02 PM

    Oh so cute – nice job Jaime!

    Reply
  3. Nancy Elizabeth Carey says

    January 15, 2012 at 3:09 PM

    love the orange and navy!! xo nancy elizabeth

    Reply
  4. Jenn @ One Thrifty Chick says

    January 15, 2012 at 6:16 PM

    Adorable as usual! 🙂 You always have great ideas, and tutorials! Thanks!

    Reply
  5. Linda@Coastal Charm says

    January 16, 2012 at 6:10 AM

    So very cute Jamie…love the colors. Coming by to let you know that you will be featured at NIFTY THRIFTY TUESDAY on Monday…please feel free to grab my starfish featured button for your blog and thank you for coming to my aprty.

    Blessings,
    Linda

    Reply
  6. Hillcrest Acres says

    January 17, 2012 at 2:34 AM

    Very, very cute

    Reply
  7. A Lived in Home says

    January 17, 2012 at 4:33 PM

    Super cute! Love the orange fabric choice. Now if only I could sew!

    Reply
  8. HendersonHome says

    January 18, 2012 at 8:40 PM

    I am loving the tangerine-navy blue combo this year, I just blogged that I am planning on introducing this into my living room! This would be great for storing makeup for trips! xoxo

    Reply
  9. Alisha @ Crafty Brooklyn Army Wife says

    January 21, 2012 at 10:03 PM

    I love this fabric and the font you used for the lettering. TFS!!

    Stopping by from Funky Junk linky party.

    Reply

Leave a Reply Cancel reply

Your email address will not be published. Required fields are marked *

Primary Sidebar

Hi! I’m Jaime

Jaime Costiglio

Hello!

Thank you for stopping by.
Join me for lots of DIY.

Read more

Get new posts via email

Handbuilt Holiday: Gift Project Plans

handbuilt holiday gift project plans

Collection of DIY gift project plans to build.

The Home Depot Tool Prospective

THD Prospective

Tools to consider for the DIYer.

Archives

The Home Depot Logo
Copyright © 2026 Jaime Costiglio · Custom site by Moonsteam Design

Privacy Policy