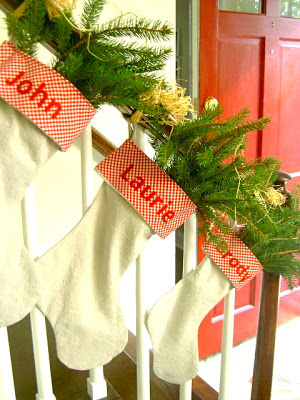
Personalized Christmas stockings:
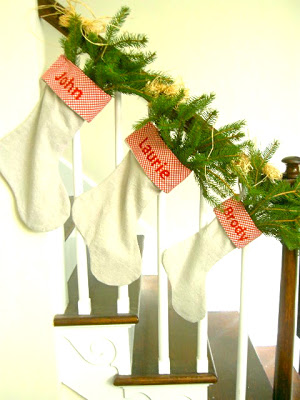
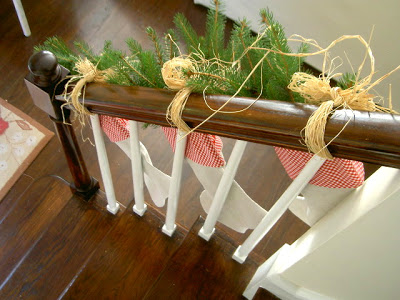
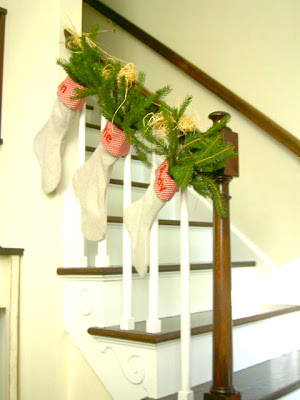
Made especially for a couple soon-to-be married and their dog.
And surprisingly I made these back in September but just received the Ballard Designs catalog and saw their version:
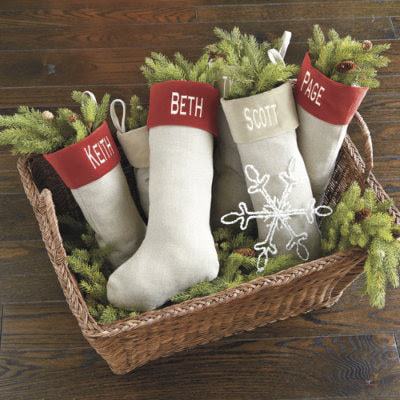
Although similar, they used linen and velvet whereas I used drop cloth and gingham, there is a big cost difference.
And I think my version is a bit more fun.
Here’s how I made the stockings:
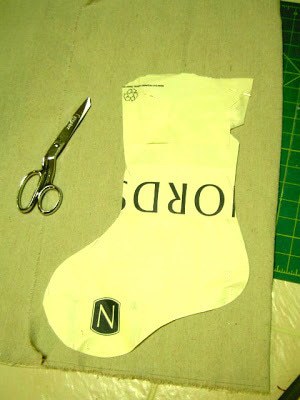
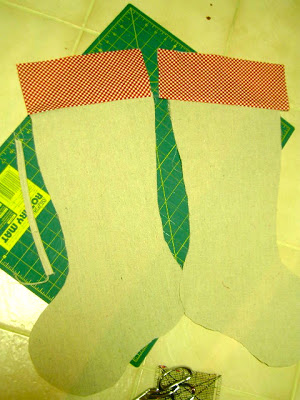
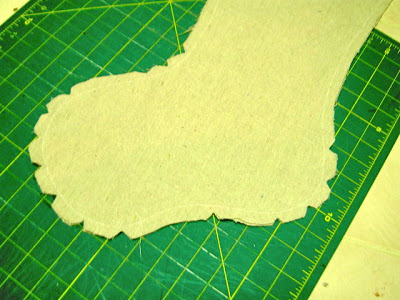
1. Using a paper template layout two layers of drop cloth:
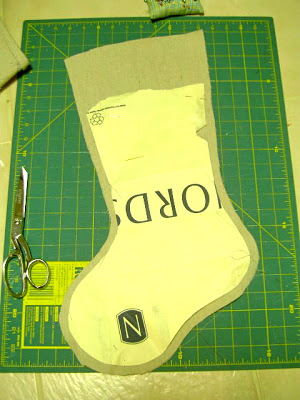
2. Cut around edges leaving 1/2″ seam allowance and extra length at the top for cuff:
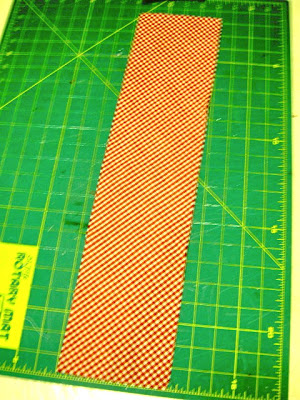
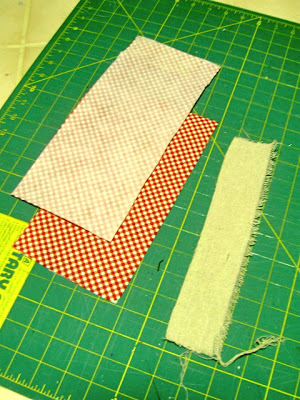
3. Cut gingham cuff piece – 5″ x at least width of stocking x 2:
4. Cut two cuff pieces to fit width of stocking, add medium weight fusible interfacing to stiffen.
Cut loop piece from drop cloth: 2″ x 10″:
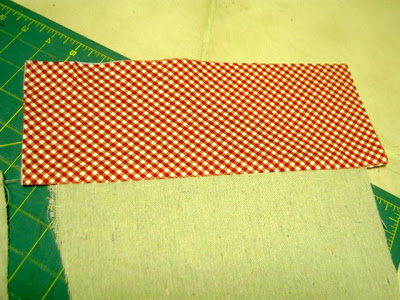
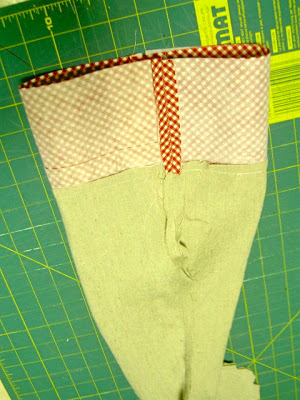
4. Sew cuff onto top edge of stocking, both pieces, right sides together:
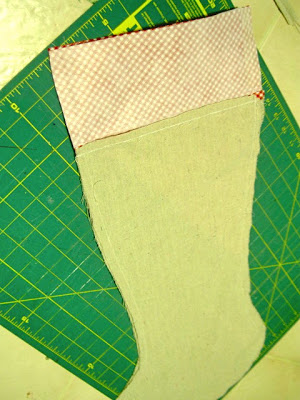
4. Press gingham upwards for finished look:
5. Place both stocking pieces right sides together and sew around edge leaving top open:
6. Trim curves for smooth seams:
7. Press cuff side seams open:
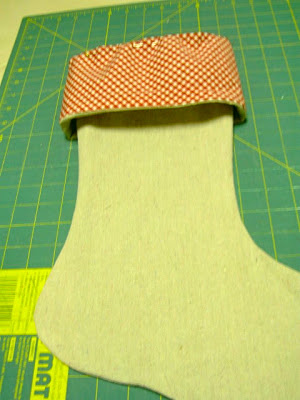
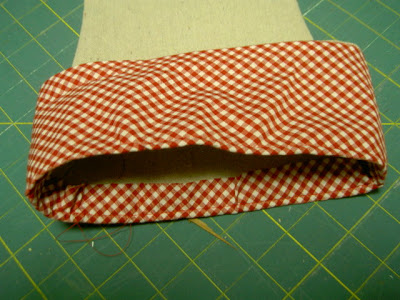
8. Turn stocking right side out, pull cuff down onto stocking leaving about 1″ of gingham at top edge and press cuff edge:
9. Pin gingham down onto top edge of stocking:
10. Top stitch cuff into place around top edge:
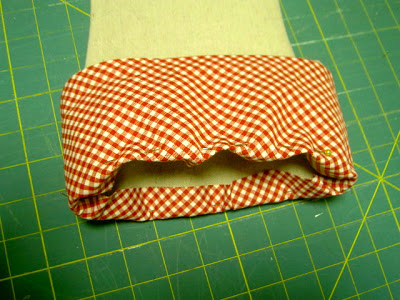
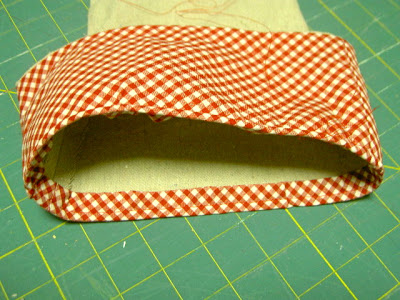
11. Fold remaining raw edge of gingham up and under and stitch only the gingham finished edge:
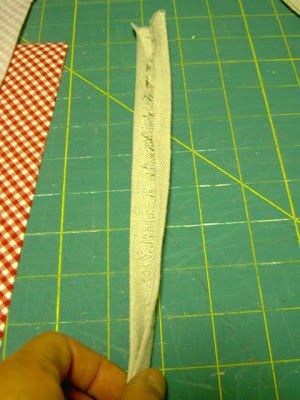
12. Prepare the loop piece by folding the drop cloth in on itself and stitch closed down one side:
13. Prepare the letters for personalization.
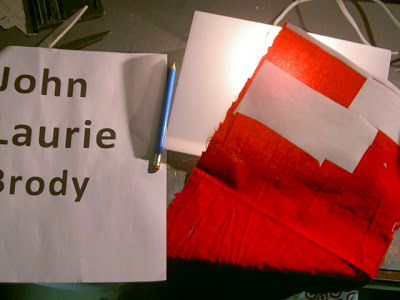
Print out letters, apply heat’n’bond adhesive to wrong size of red fabric be sure to leave paper backing in place:
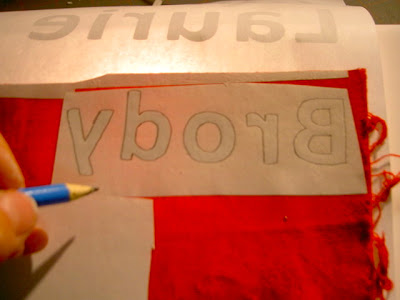
14. Using a light box, place the name backwards onto the light box and line up your fabric.
Trace around letters right onto the paper backing:
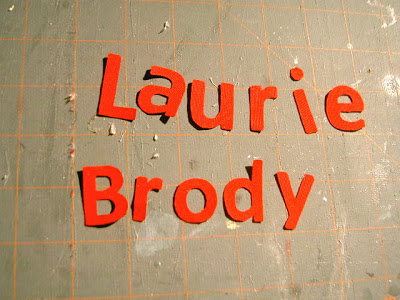
15. Cut out letters, keeping paper backing in place.
16. Remove paper backing and iron into place on cuff.
Stitch around edge of letters for finished look.
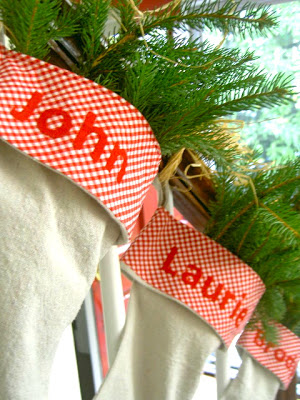
(You can barely see the stitching in these pictures but I used a blanket stitch around all the edges.)
17. Sew in the loop, reversing multiple times for reinforcement.
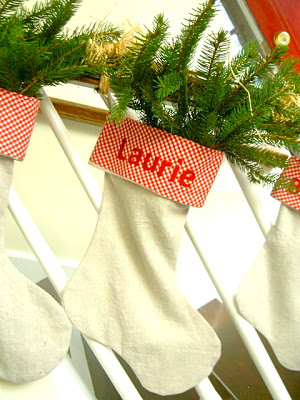
Hang and love.
Simple personalized stockings make a perfect decoration.
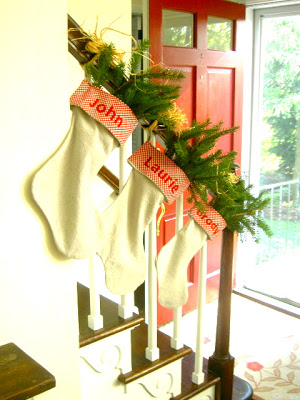
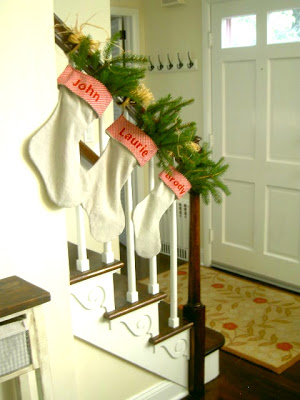
Here’s view coming down the stairs:
I know it’s not even Halloween yet but Christmas will be here before we know it.
It’s never too early to start all those Christmas projects.
And these folks will have some cute stockings for their First Christmas together as a married couple.
I’m linking up to:
Whatcha Got Weekend @ Lolly Jane
SAS @ Funky Junk
Weekend Wrap Up @ Tatertots & Jello
Sundae Scoop @ I Heart Naptime
Sister Sunday @ Sisters of the Wild West
Sunday Showcase Party @ Under the Table & Dreaming
Just Something I Whipped Up @ The Girl Creative
DIY Fall Festival @ The DIY Showoff
Made by You Mondays @ Skip to My Lou
Making the World Cuter @ Making the World Cuter
Nifty Thrifty @ Coastal Charm
Tuesday Treasures @ My Uncommon Slice of Suburbia
Tutorials & Tips Tuesday @ Home Stories A to Z
Good Life @ A Beach Cottage
Delightfully Inspiring @ Delightful Order
Transformation Thursday @ The Shabby Creek Cottage
Strut Your Stuff @ Somewhat Simple
Share Awesomeness Thur @ The 36th Avenue
Flaunt it Friday @ Chic on a Shoestring
Tickled Pink @ 504 Main
Frugal Friday @ The Shabby Nest
SAS @ Just a Girl
Feathered Nest @ French Country Cottage
Remodelaholics Anonymous @ Remodelaholic


these are so sweet, jaime! love their cozy feel!
Awesome tutorial. From someone who sews, but at one point needed to learn…the tutorial is perfect for ALL levels! I also love the open red front door in the images. Adds a little something something to them I think.
These are darling! Great tutorial, too.
Love them. So beautiful. Instead of sewing the letters you can also by iron on letters. Thanks for sharing.
Jessica
Gosh they look cute! You cut out those letters? Oh, I wouldn't have the patience…
I so agree that it is never too early to think about Christmas! Your stockings are fabulous and your tutorial was really helpful. Thank you!
Best wishes,
Natasha.
I will be doing this one for my sons .They are young men now but they like it when I do lil things for them and this is both sweet and cost effective.
You are a busy woman! So impressed with your creative genius! Plus, you know your tools! I have to go to Mr. wonderful to get all the wood cutting, etc., done!
very very very cute! i really must learn to sew! your post is so inpiring….xoxo
Super cute stockings…love the gingham! ~Deb~
These are de lovely and I for one can't wait to bring out the Christmas goodies… time flies.
Veronica
Tassels Twigs and Tastebuds
These are really cute. Great tutorial also! I'd love it if you shared them at my Christmas Craft Tutorial Party going on at Project Queen through November. http://www.projectqueen.org
I'm a new follower!
Absolutely darling! Thank you for sharing at FNF! 🙂
Beautiful! Can't believe you blanket stitched each of those letters. Thanks for linking with air your laundry Friday! xo Jami