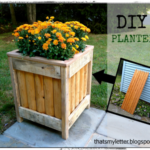
Build: diy star planter
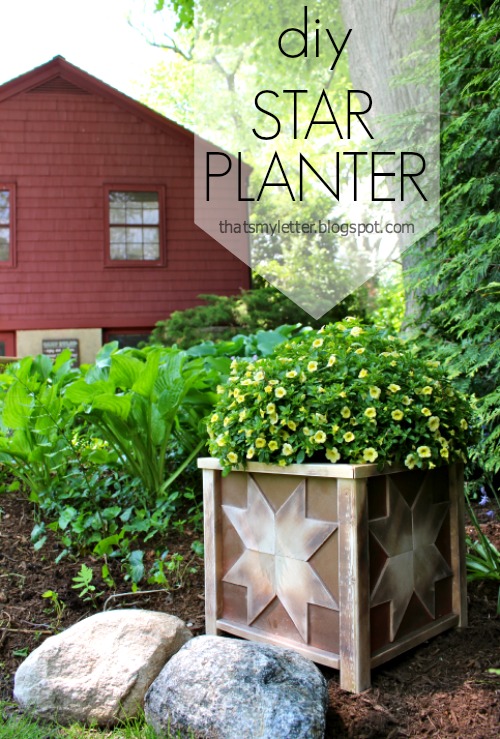
Make these diy planters with a lonestar pattern.

I made two of these planters by repurposing old shelves from the wall cabinets I took down in the kitchen.
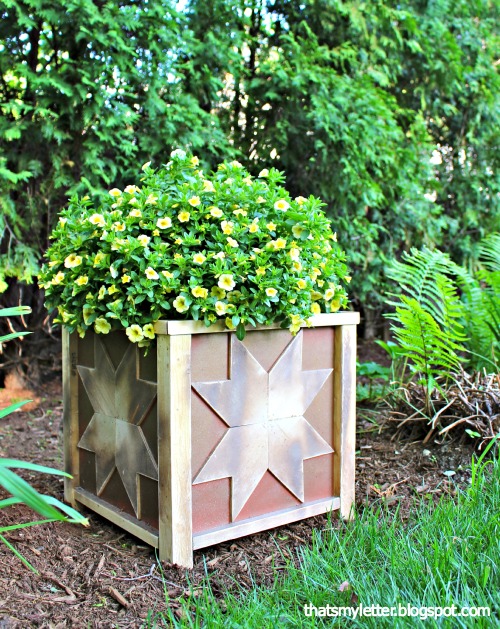
They provide a great filler for some bare spots in the landscaping as well as visual interest.

How to make a star planter:

Step 1: Cut side panels (3/4″ plywood @ 11.5″ x 11.5″) and use your Kreg jig to make pocket holes on 2 sides.
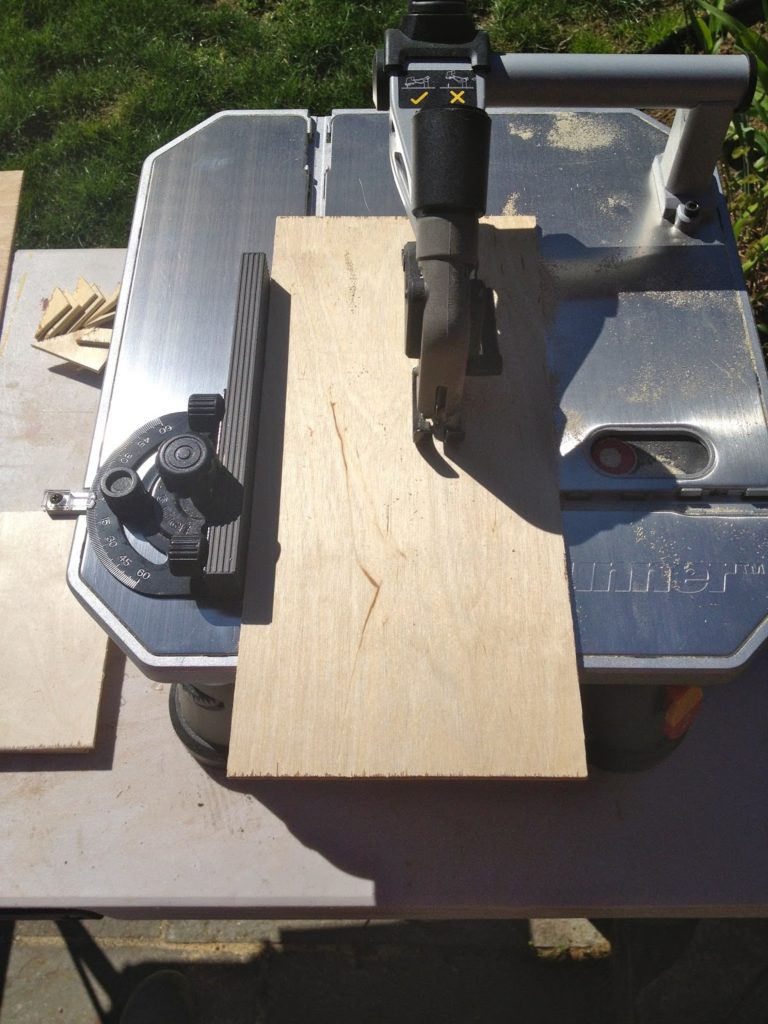
Step 2: Rip 1/4″ plywood into 4″ wide strips. I used my Rockwell BladeRunner here.
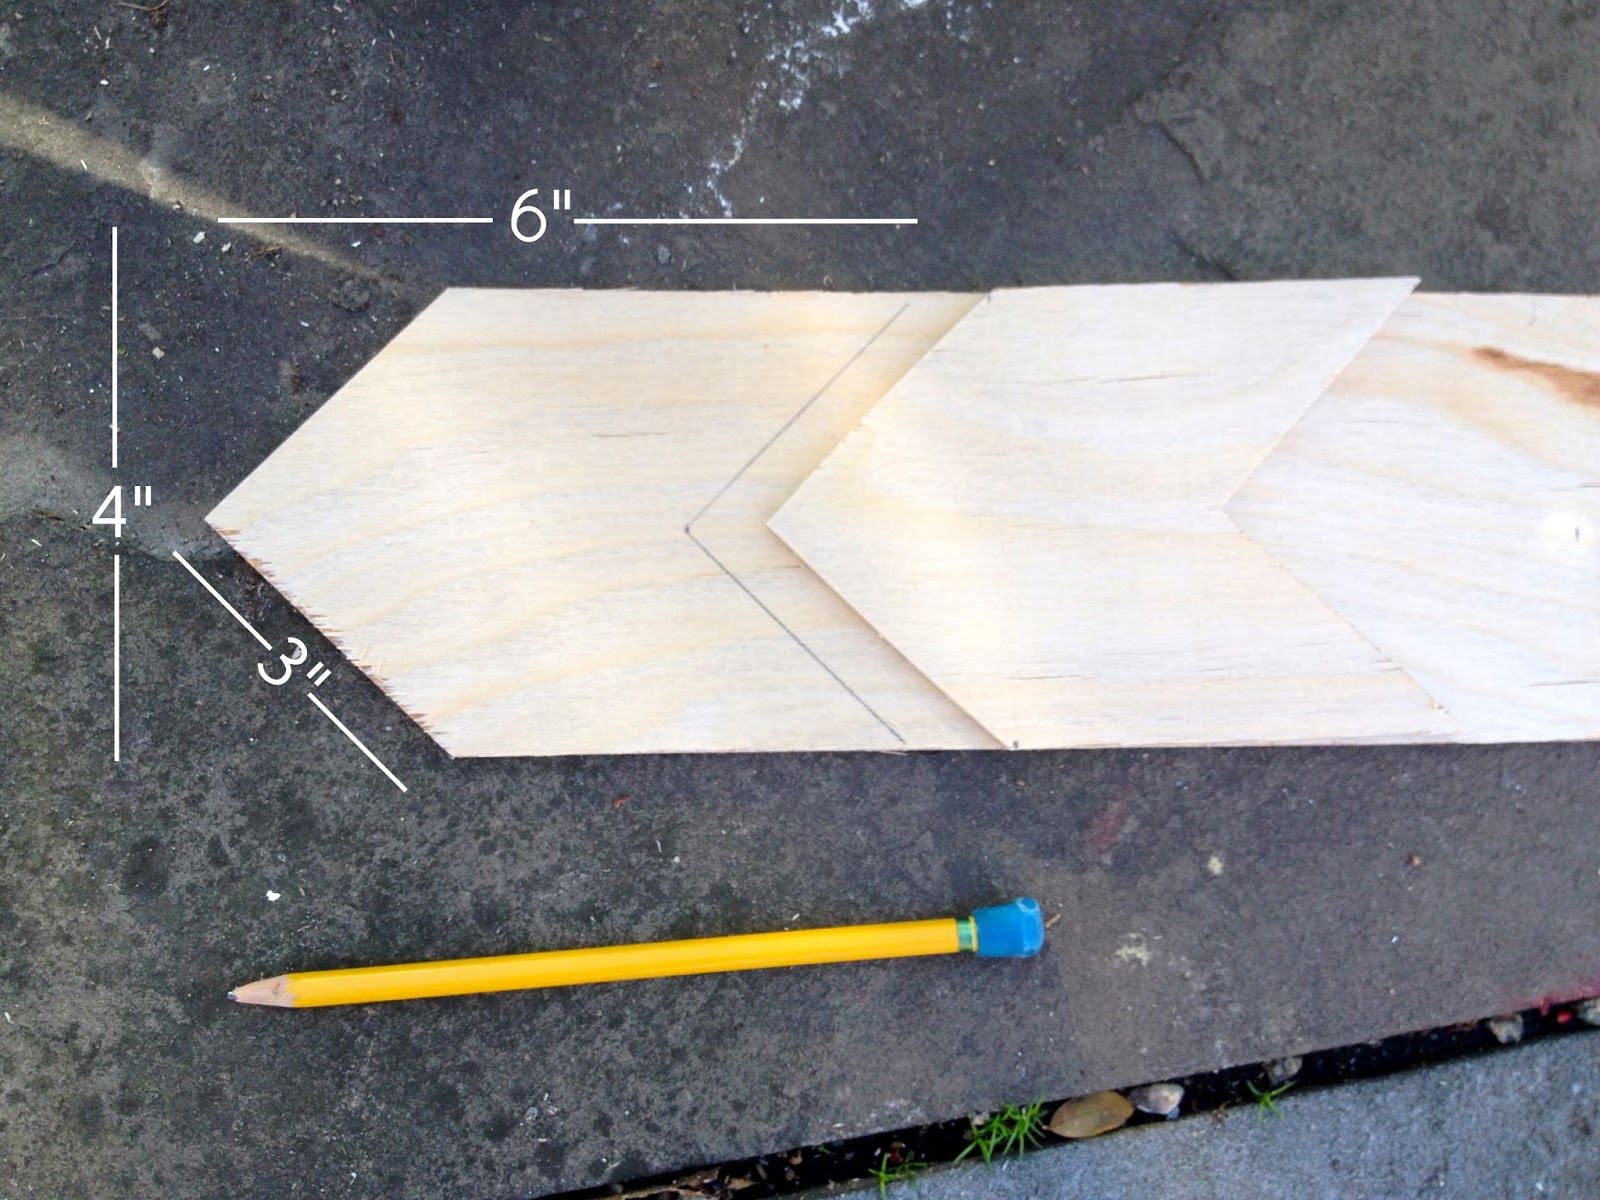
Step 3: Mark the 4″ strip at the middle and dog ear the ends 45 degree angles.
Mark the remaining lines to make one quarter of the lonestar pattern.
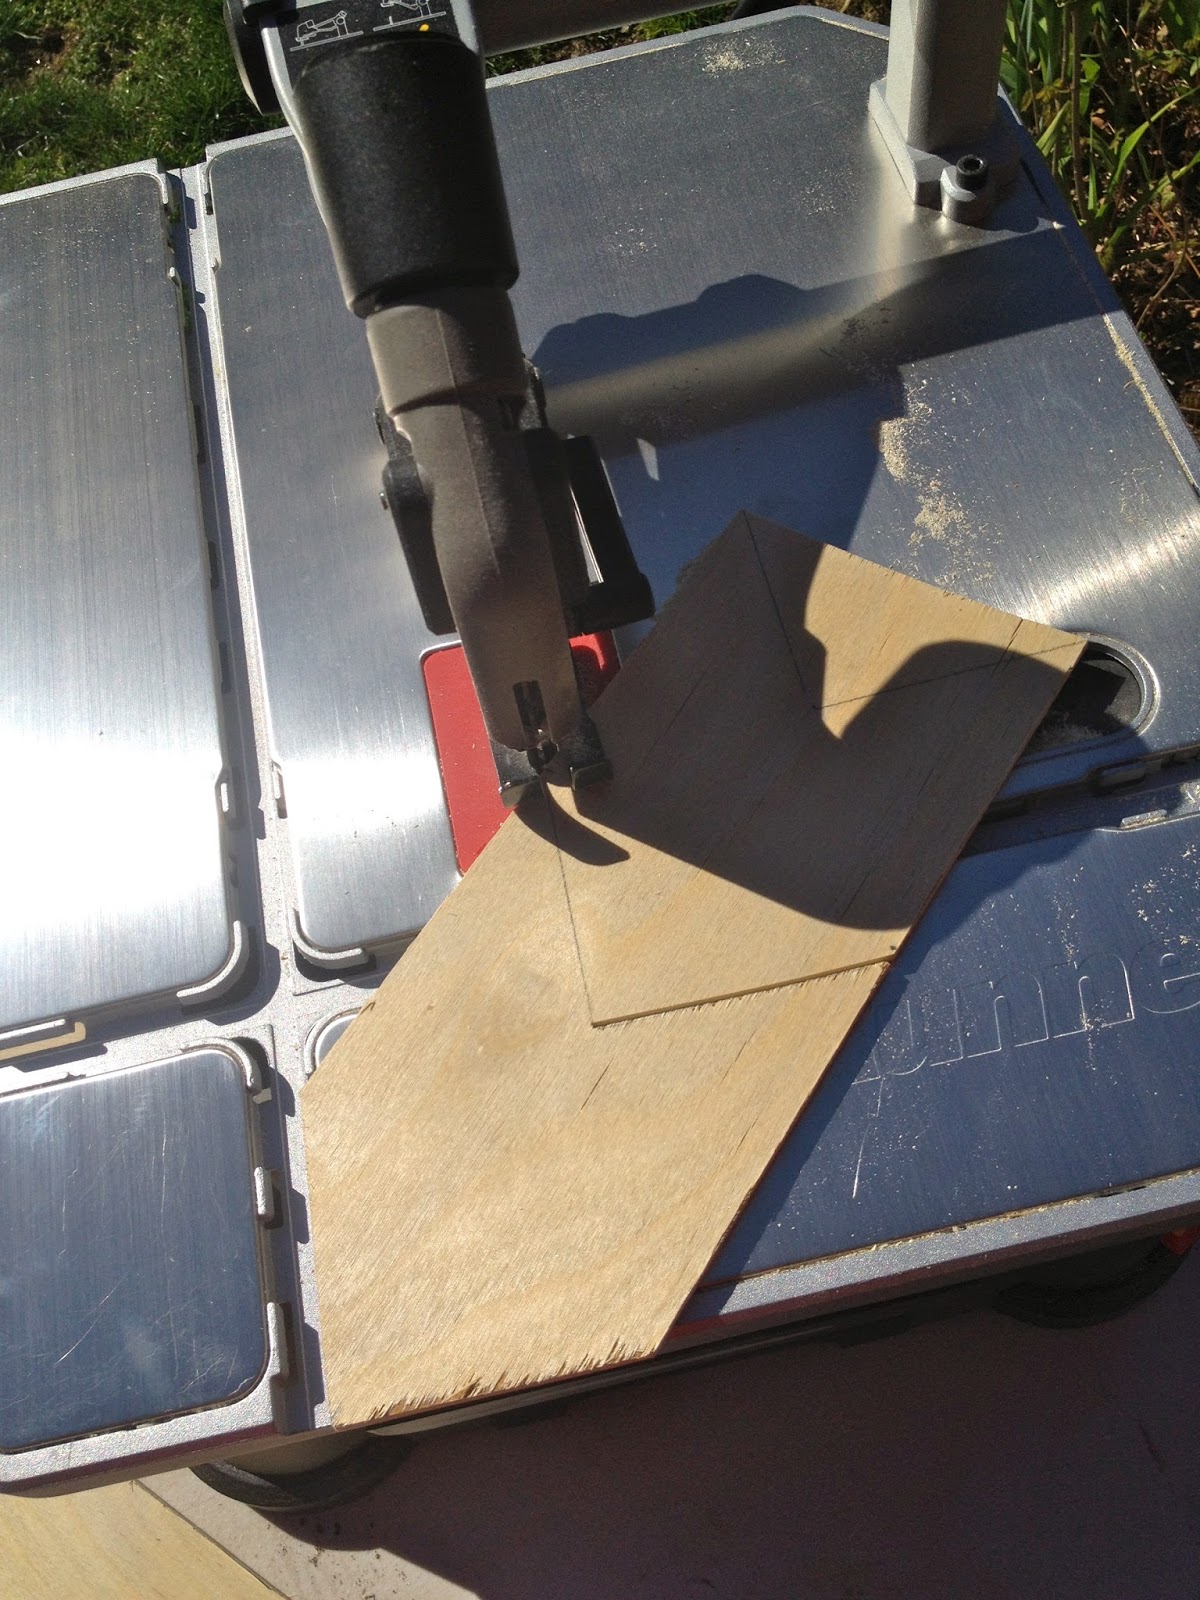
Step 4: Jigsaw the shape.
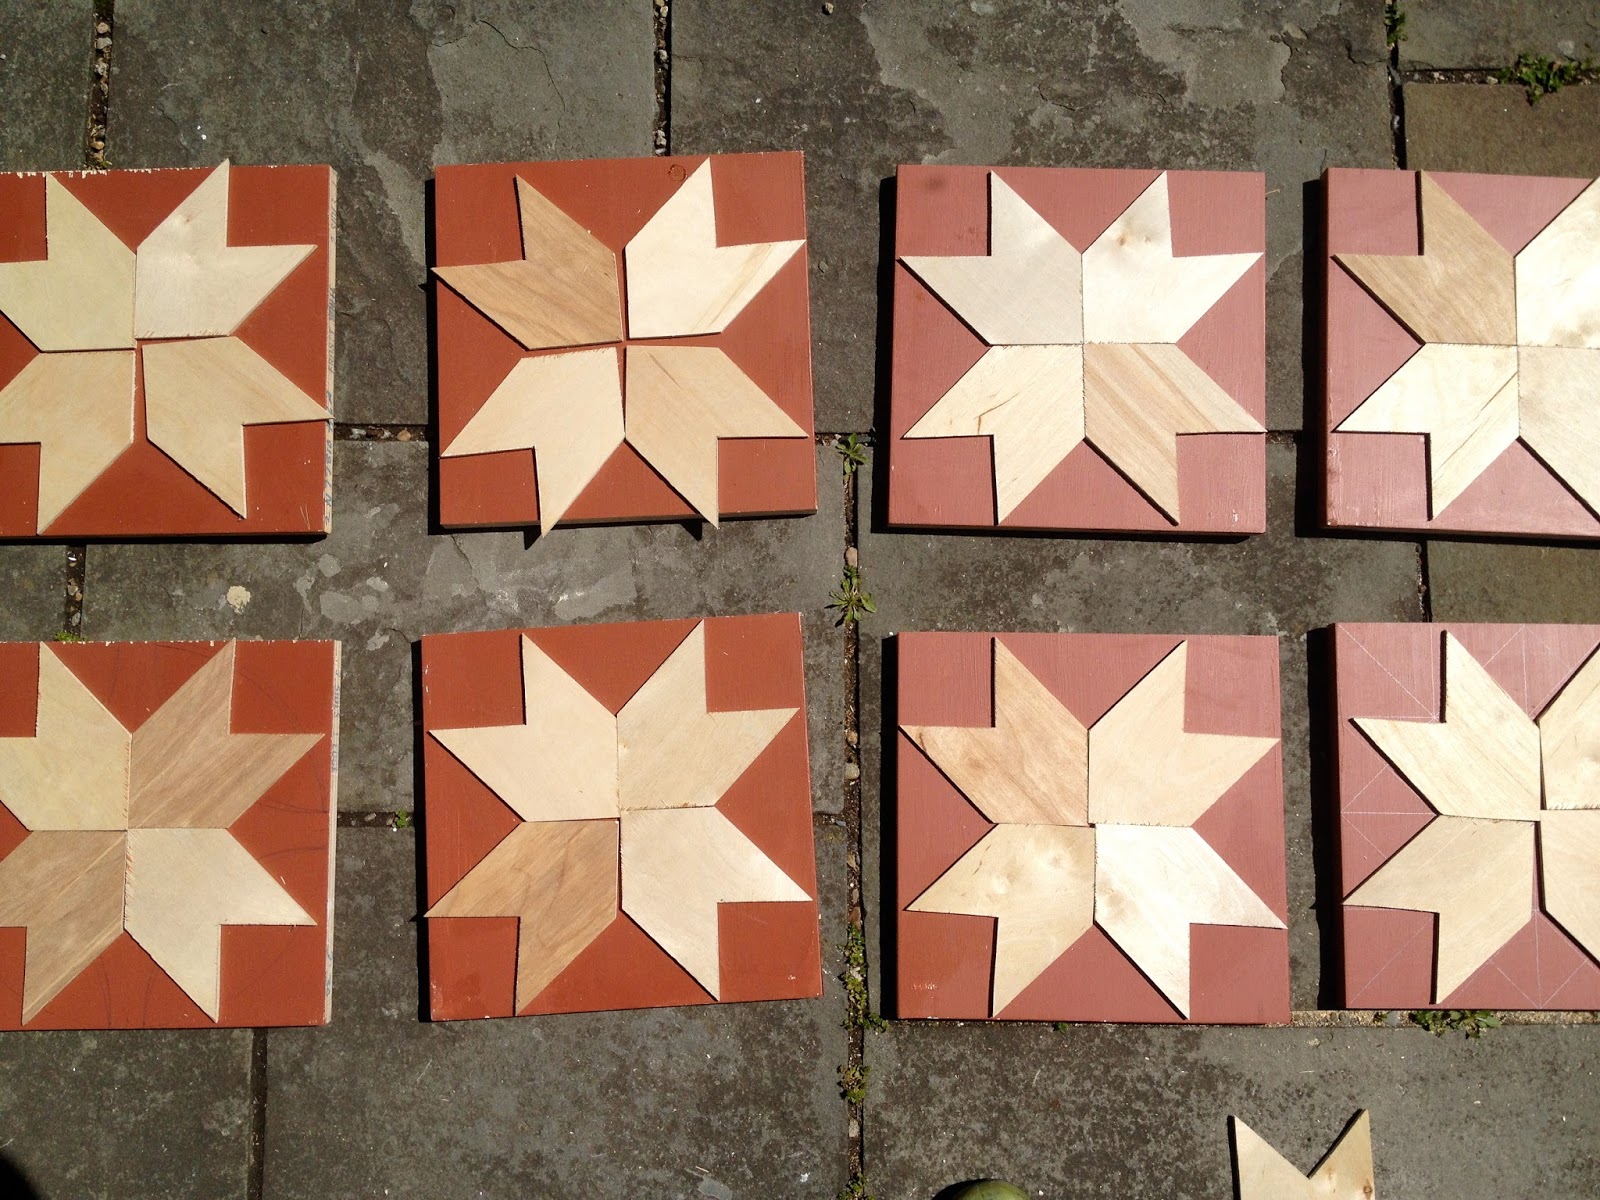
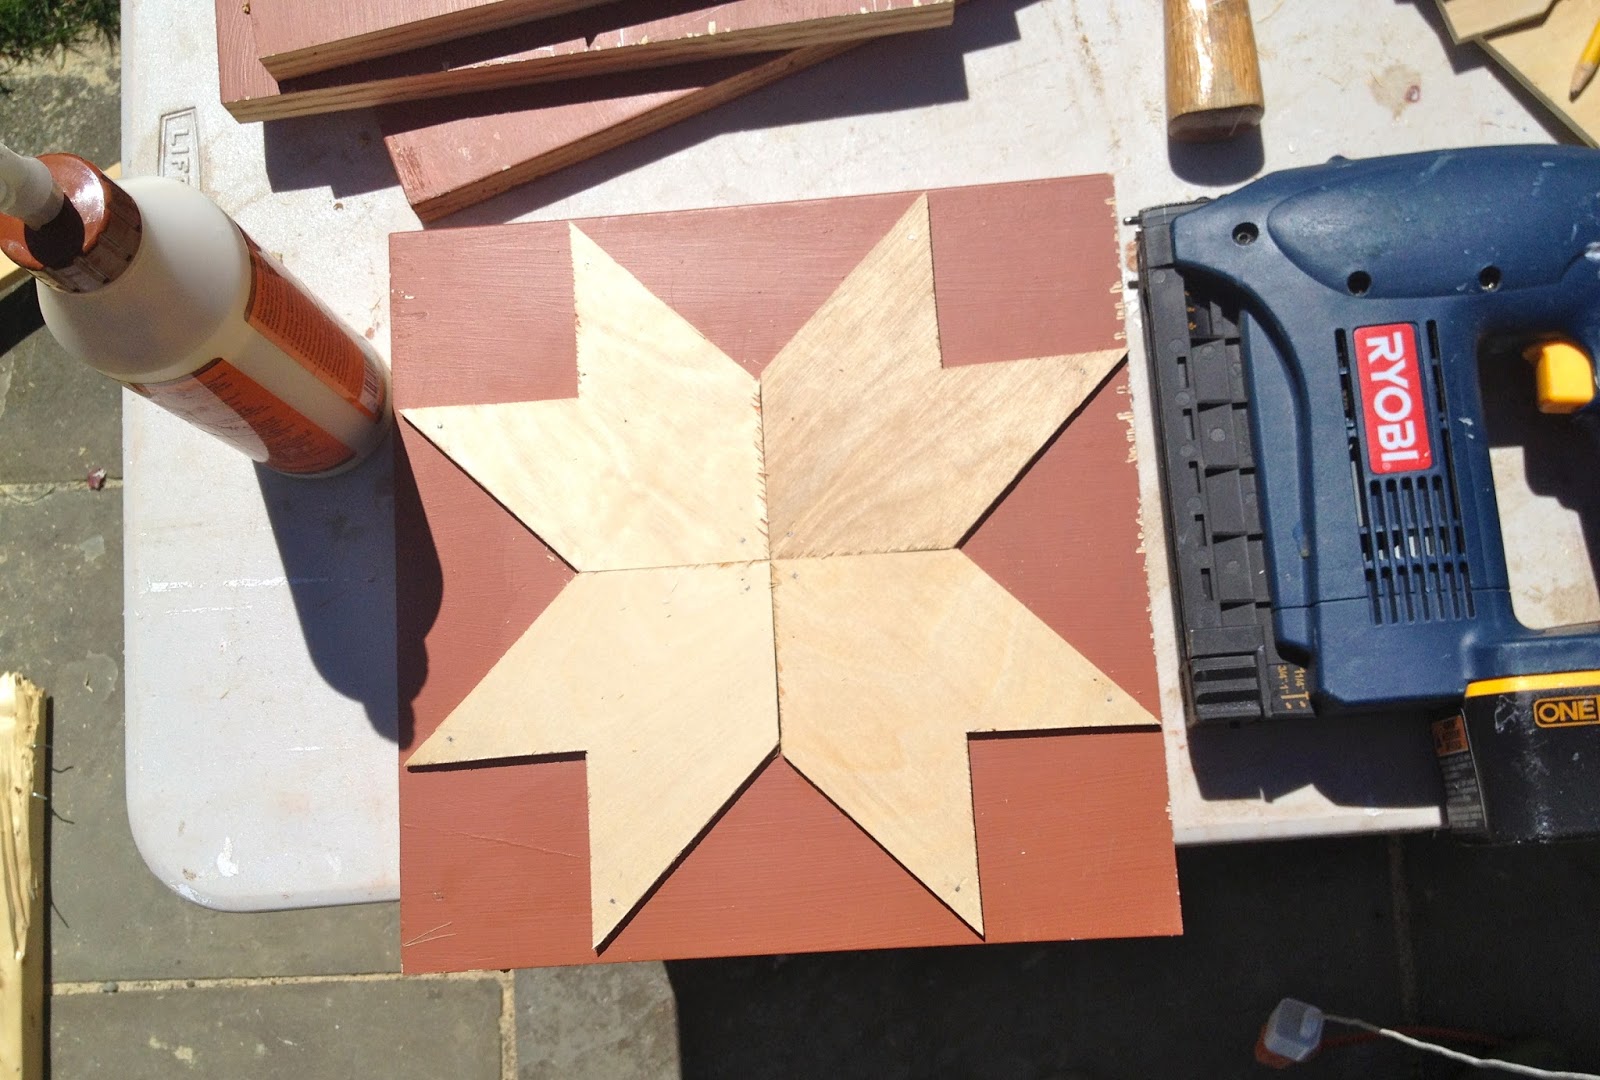
Step 5: Glue and finish nail the 4 star pieces onto the front side.
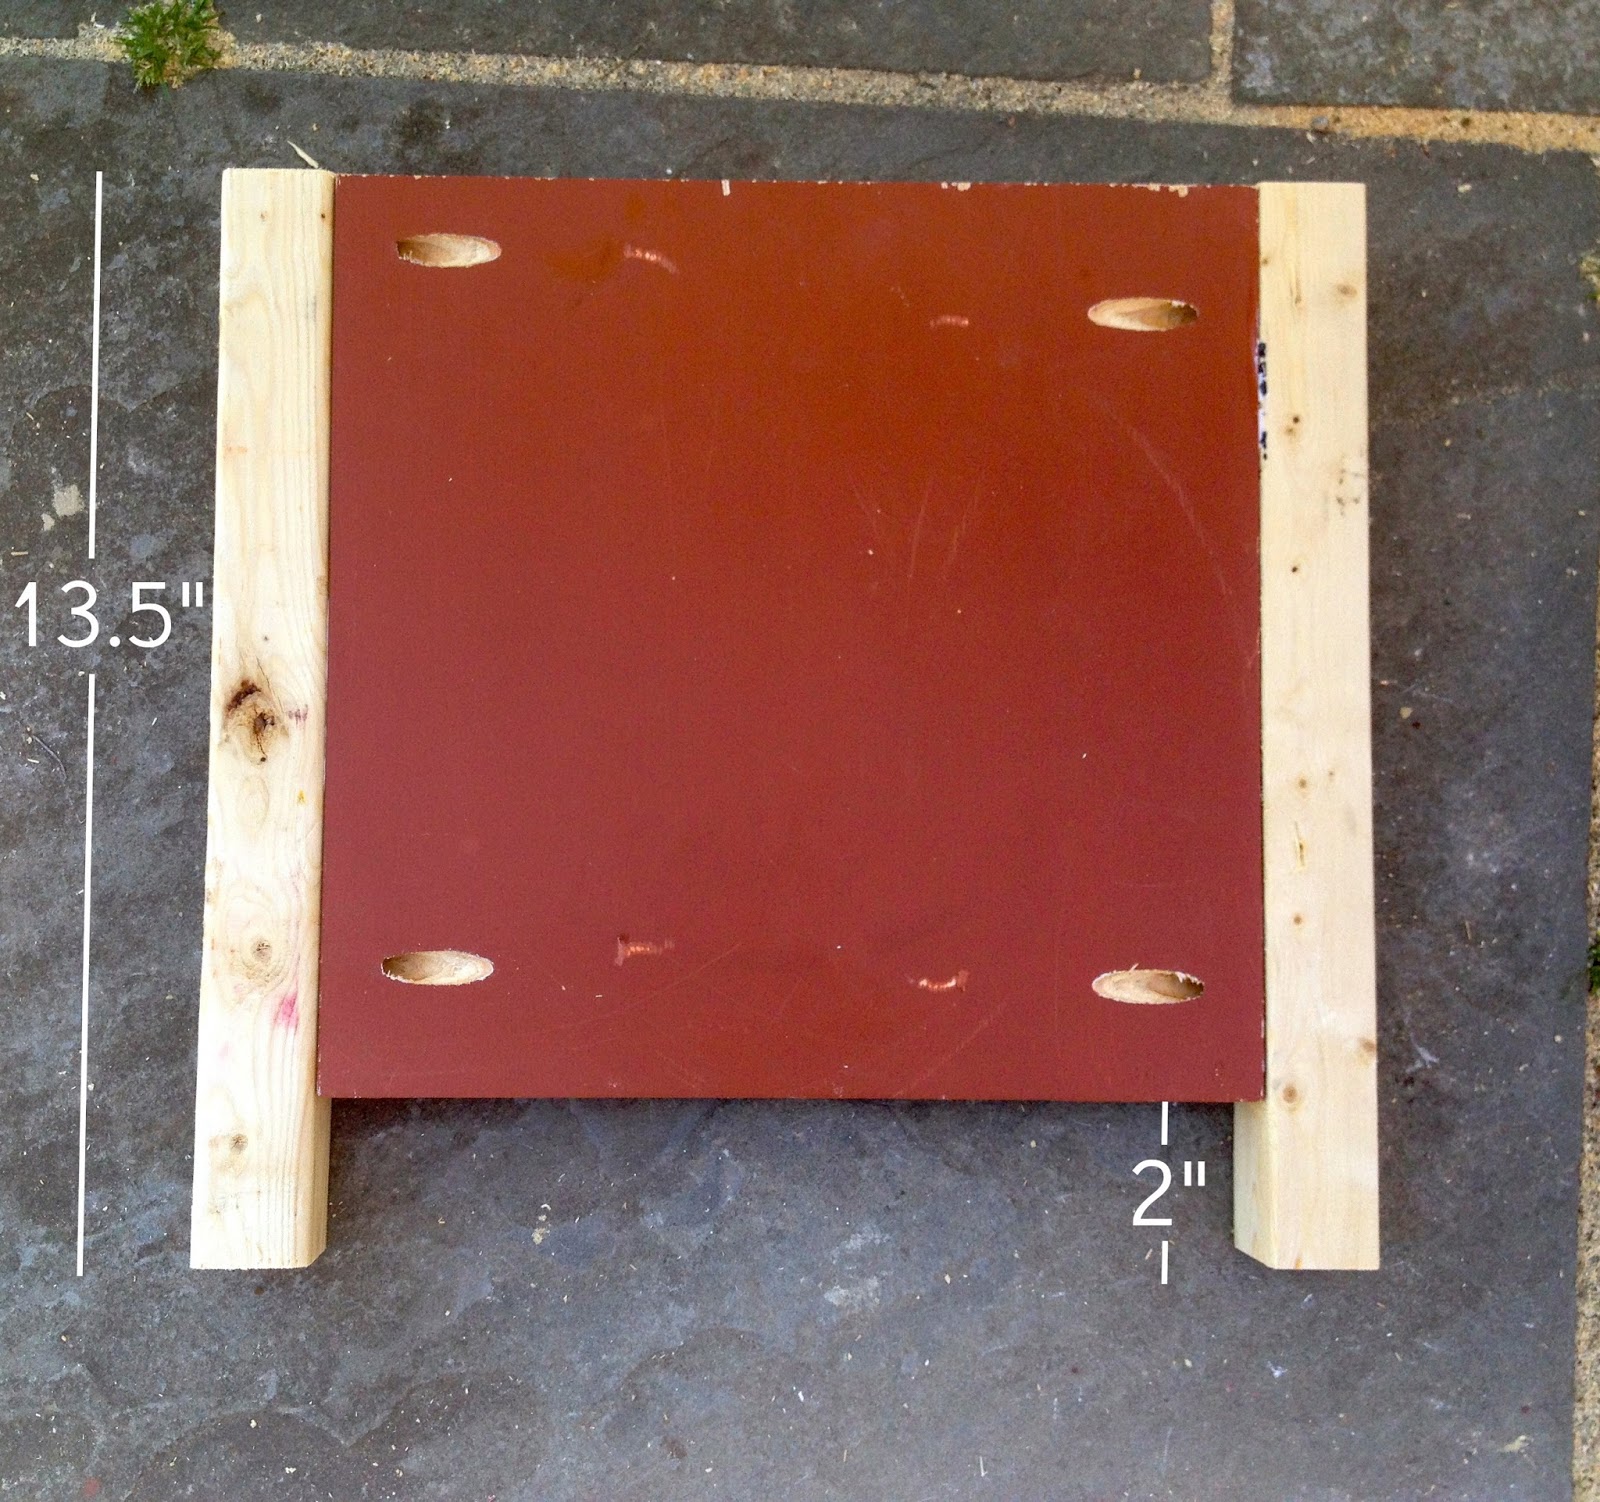
Step 6: Attach 2 – 2×2 furring legs at 13.5″ long to each side (flush to back).
Repeat process for other set of legs.
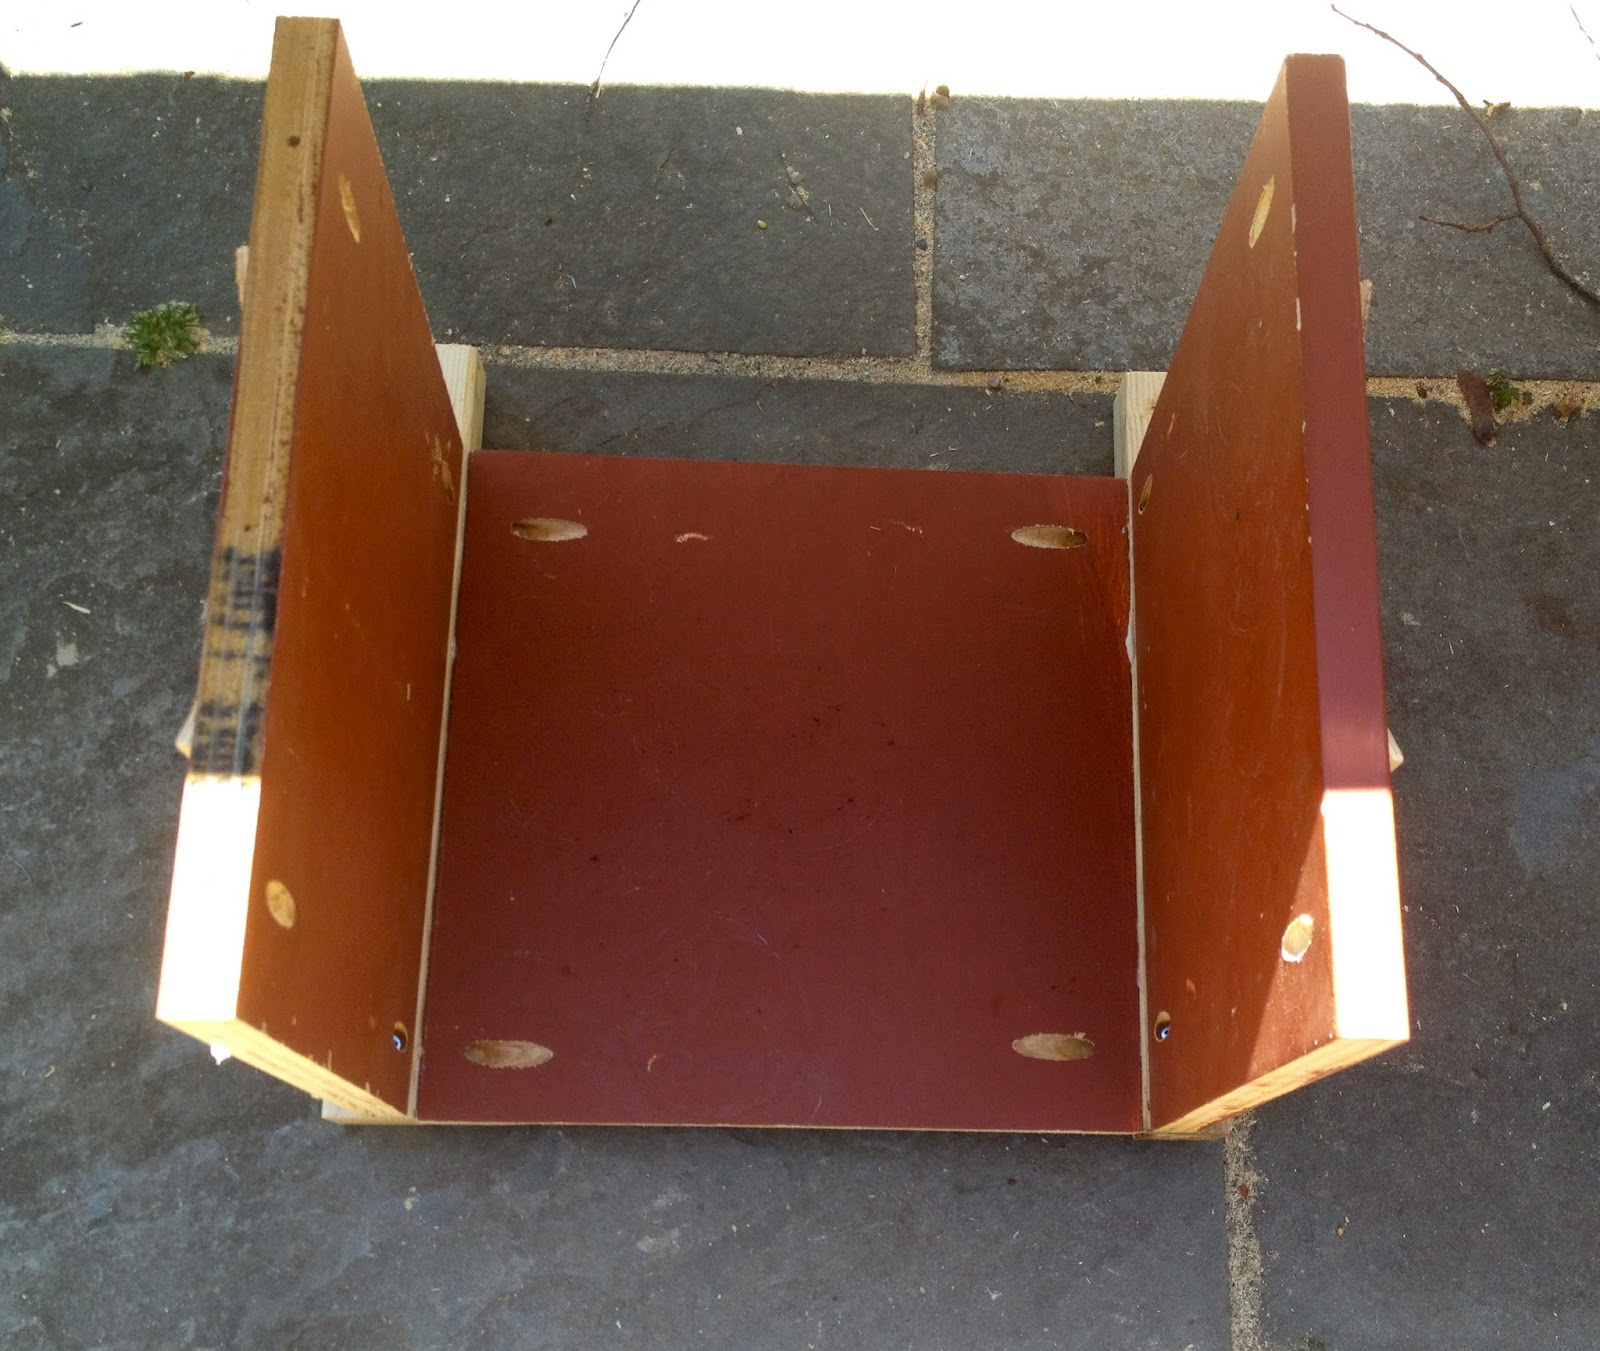
Step 7: Attach other 2 side pieces to one side/leg piece.
Repeat process for other side/leg piece.
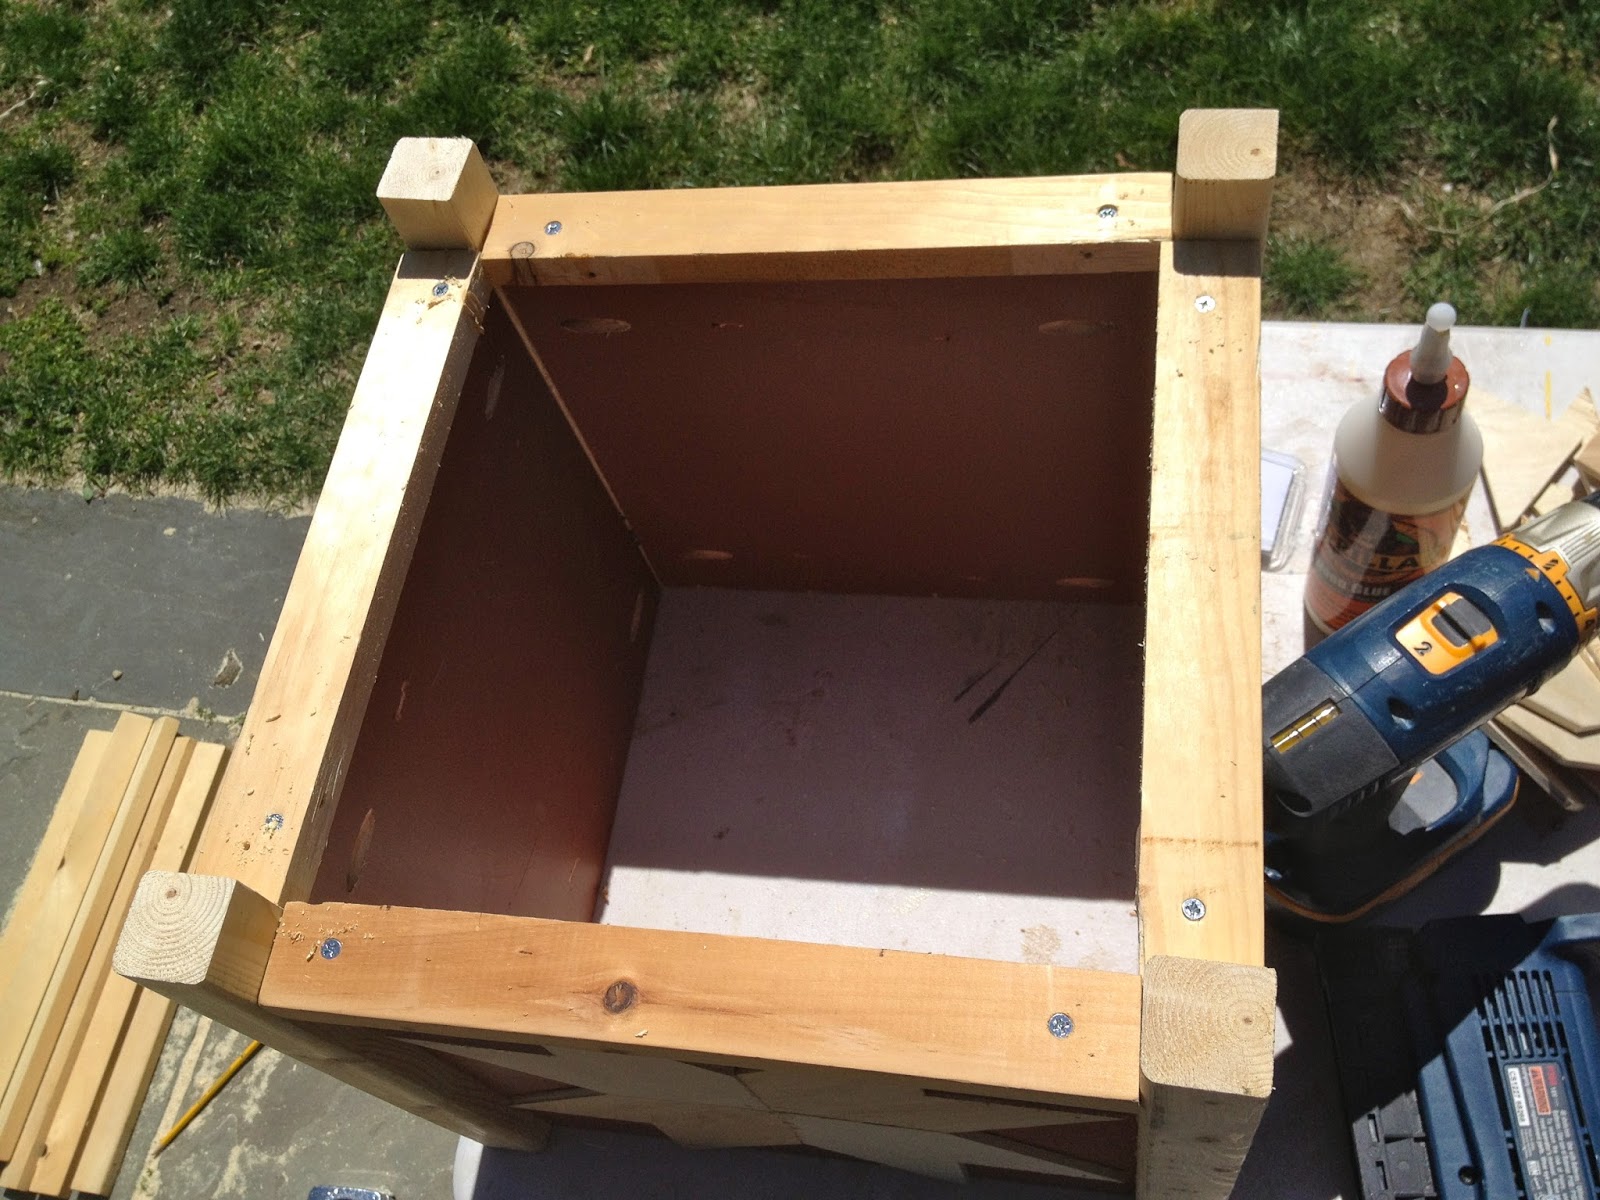
Step 8: Countersink, glue and screw bottom trim (1×2 @ 11.5″l) flush to legs at front.

Step 9: Cut top trim (1×2 @ 15″ both ends 45 miter not parallel).
Glue and secure with finish nails flush to interior side panels.

Step 10: Add cross supports to hold plant container, depth will vary based on pot, secure from underneath using pocketholes.
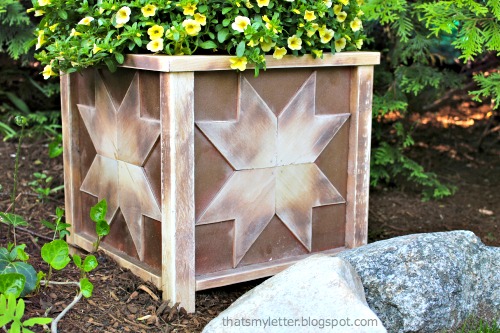
To finish I sprayed the red portions with copper spray paint to dull the red.
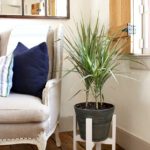


Absolutely beautiful. I love them, and the picture of the finished product with your home in the background is just perfect.
Love these!
These are awesome! A fantastic design and a beautiful finish!
These planters turned out great! 🙂 Love that you added the lonestar pattern too; reminds me of quilting.