Make your backyard patio space welcoming with tiki torches. Because they help keep the bugs away and give a beautiful golden glow to the night sky. So I’m sharing how to make DIY tiki torch stands you can use almost anywhere.
A DIY tutorial to make a tiki torch stand. Create a portable tiki torch stand with simple supplies and no heavy bag of cement.
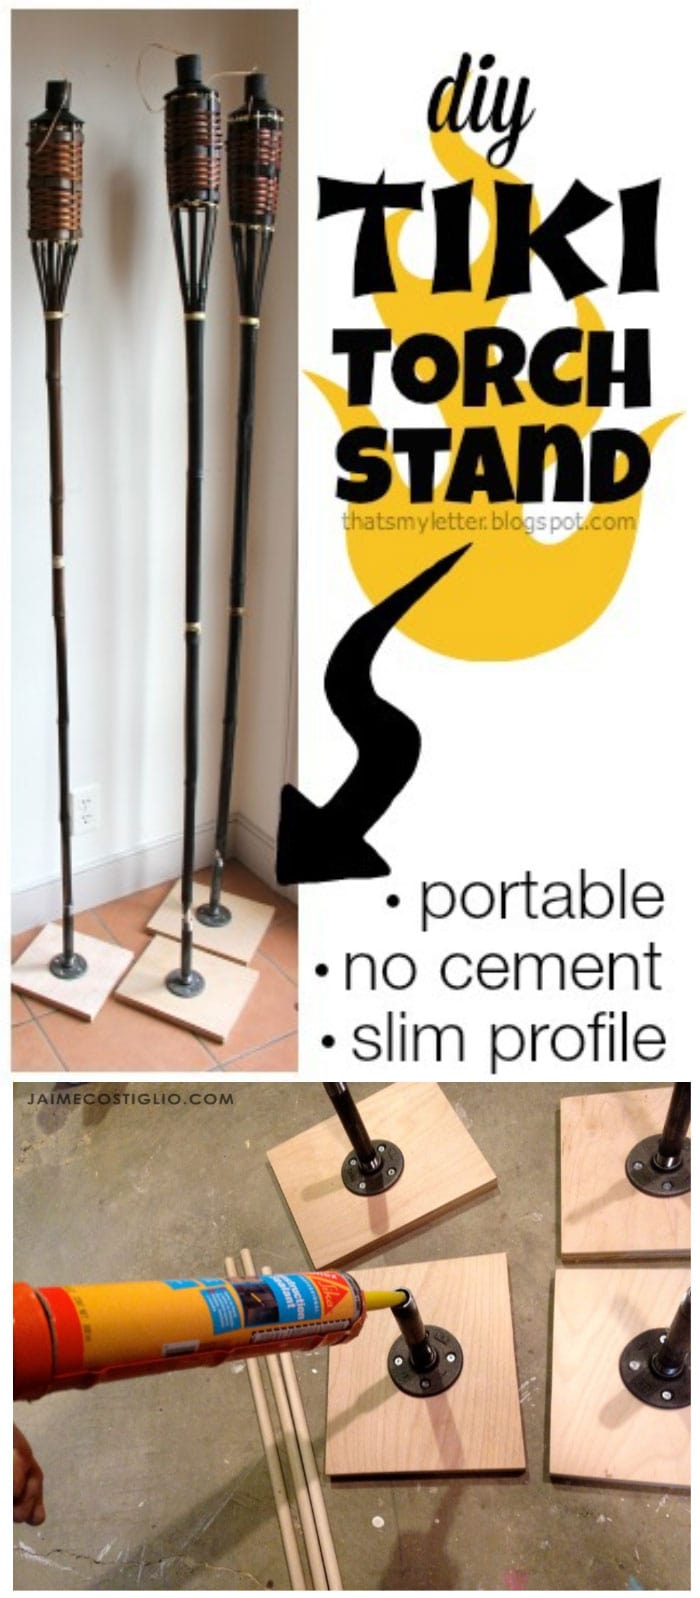
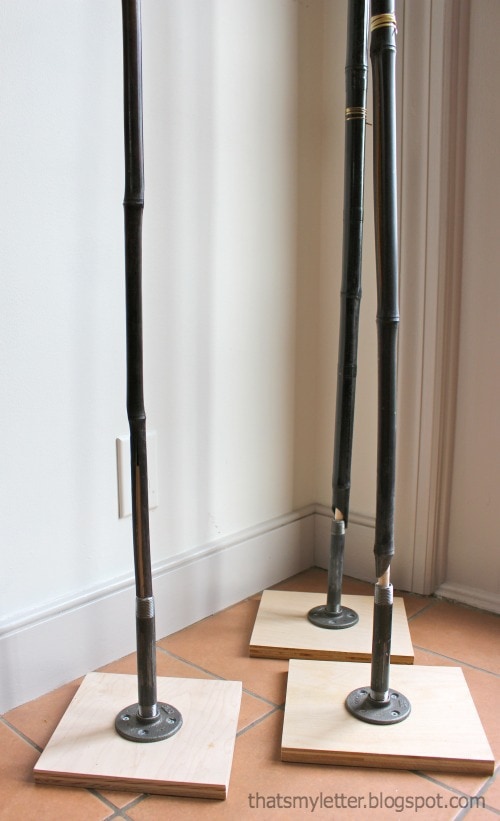
These tiki torch stands are portable, involve no heavy bag of cement mix and have a very slim, unobtrusive profile. Because they will work on almost any surface you can easily move them to your desired location.
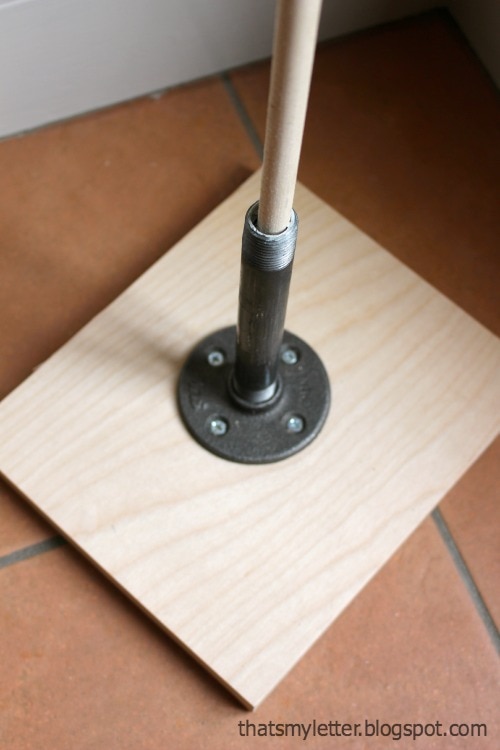
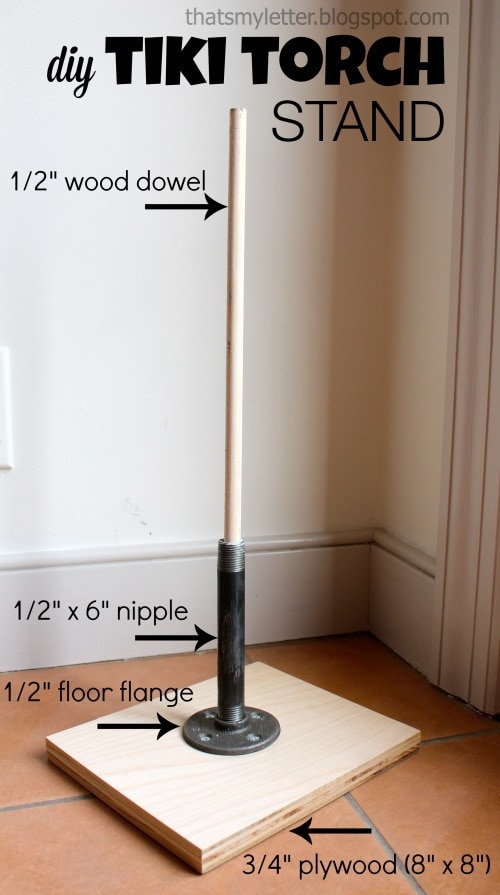
The stand is a piece of plywood with two pipe fittings attached. Then I used a wood dowel to act as the holster for the bamboo torch post.
Because this goes without saying but PLEASE DO NOT LIGHT YOUR TIKI TORCHES INDOORS. If you are using the fuel operated tiki torches they must be lit OUTDOORS only! But if you want to use indoors try a battery operated candle.
These tiki torch stands are quick and easy to make with very few pieces and absolutely no heavy bag of concrete to mix. So I’m sharing the tutorial down below on how to make the tiki torch stands.
The best part is you can have tiki torches anywhere – on the deck, on concrete, on the sidewalk, on the patio. No more worries about trying to shove the bamboo post down into the earth and hoping it stays upright. Because this tiki torch stand provides a secure holster for the bamboo post.
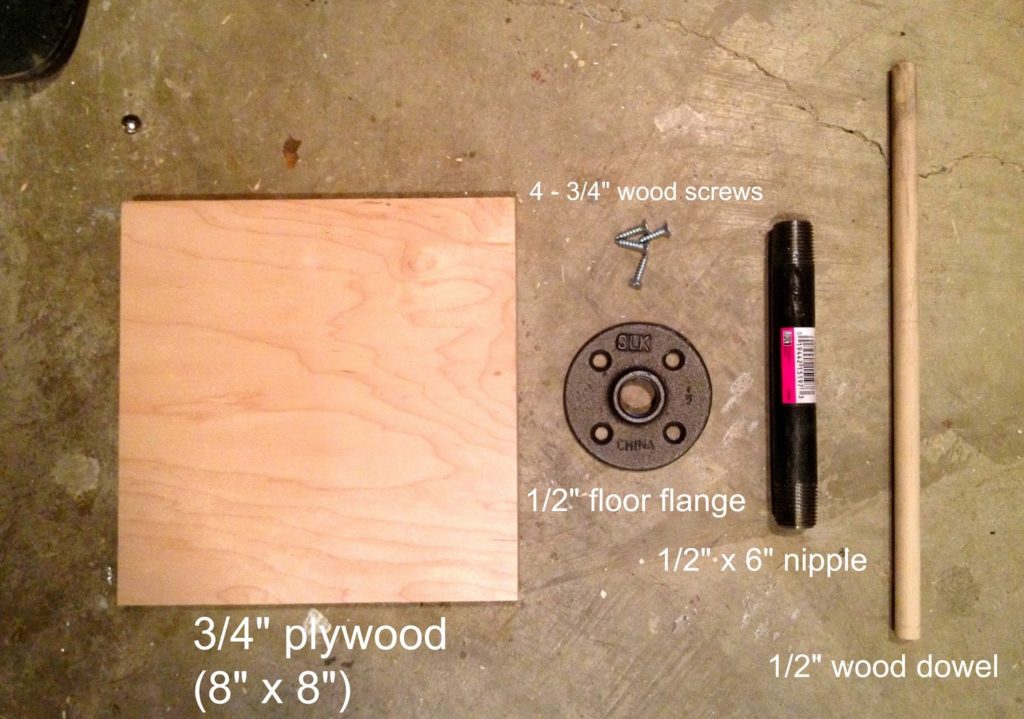
Tiki Torch Stand Supplies:
- 1 – 3/4″ plywood @ 8″ x 8″
- 1/2″ floor flange
- 1/2″ x 6″ nipple
- 4 – 3/4″ wood screws
- 1/2″ wood dowel
- drill & drill bits
- silkaflex construction adhesive
- 1/2″ spade bit
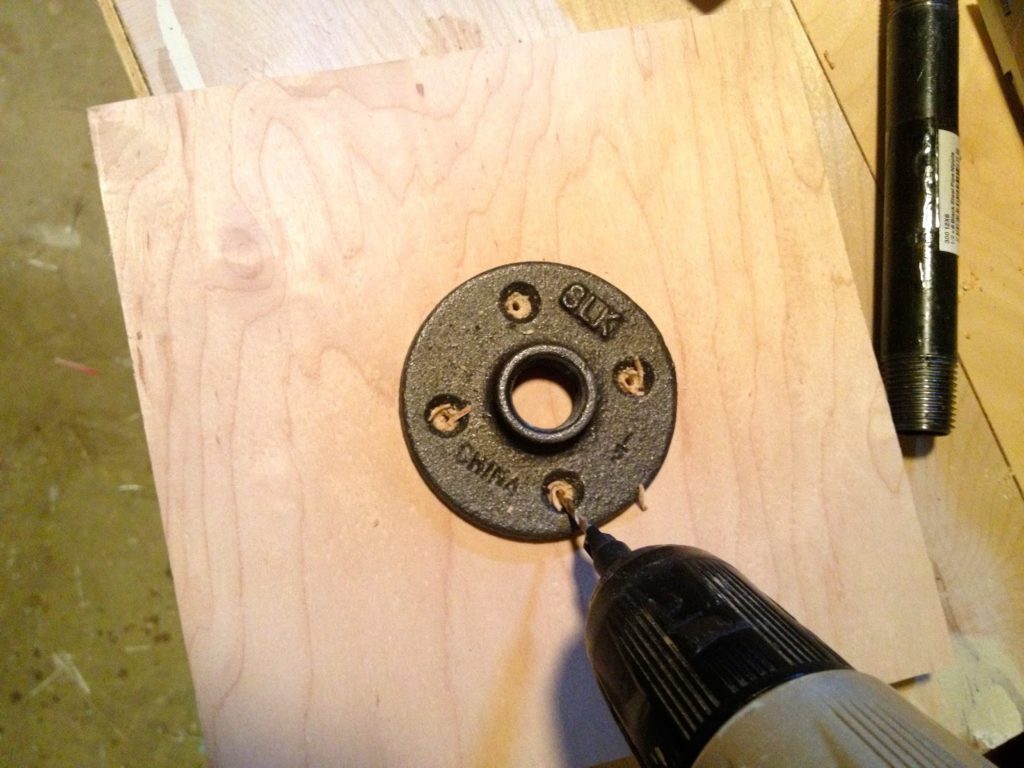
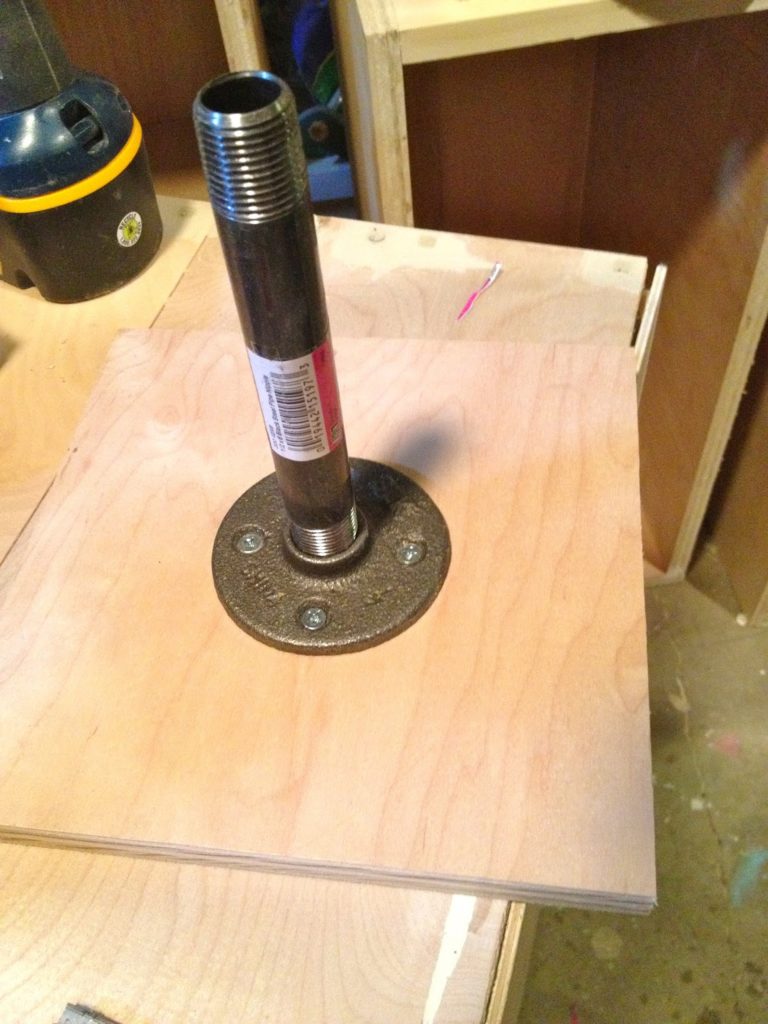
Step 1: Center the floor flange on the plywood and predrill screw holes.
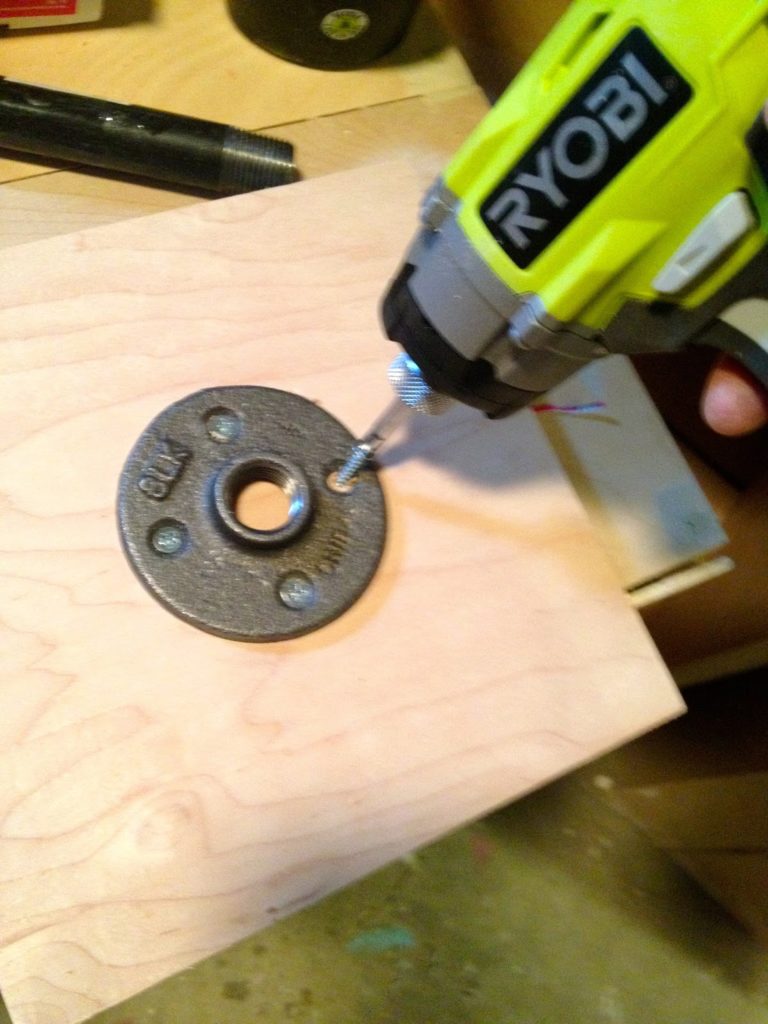
Step 2. Attach the floor flange to the plywood stand using 3/4″ wood screws.
In Step 3: Screw the 6″ nipple on to flange. (You could use glue to seal this connection but it’s not necessary.)
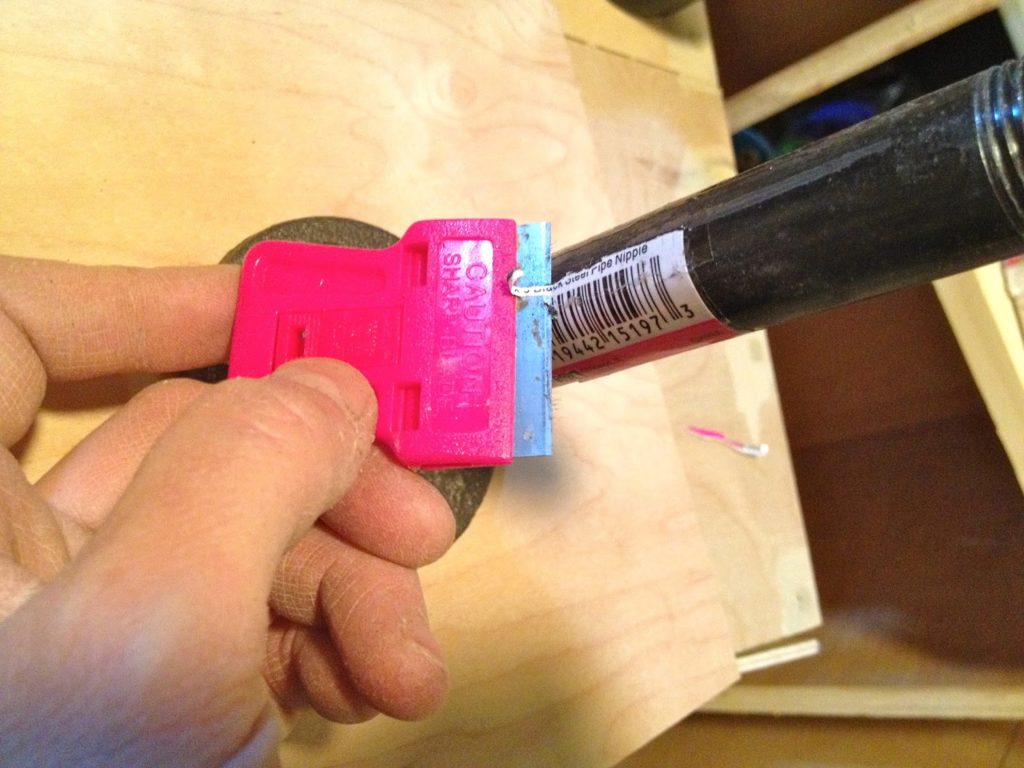
Step 4: Remove the pesky sticky label from the nipple using a scraper blade.
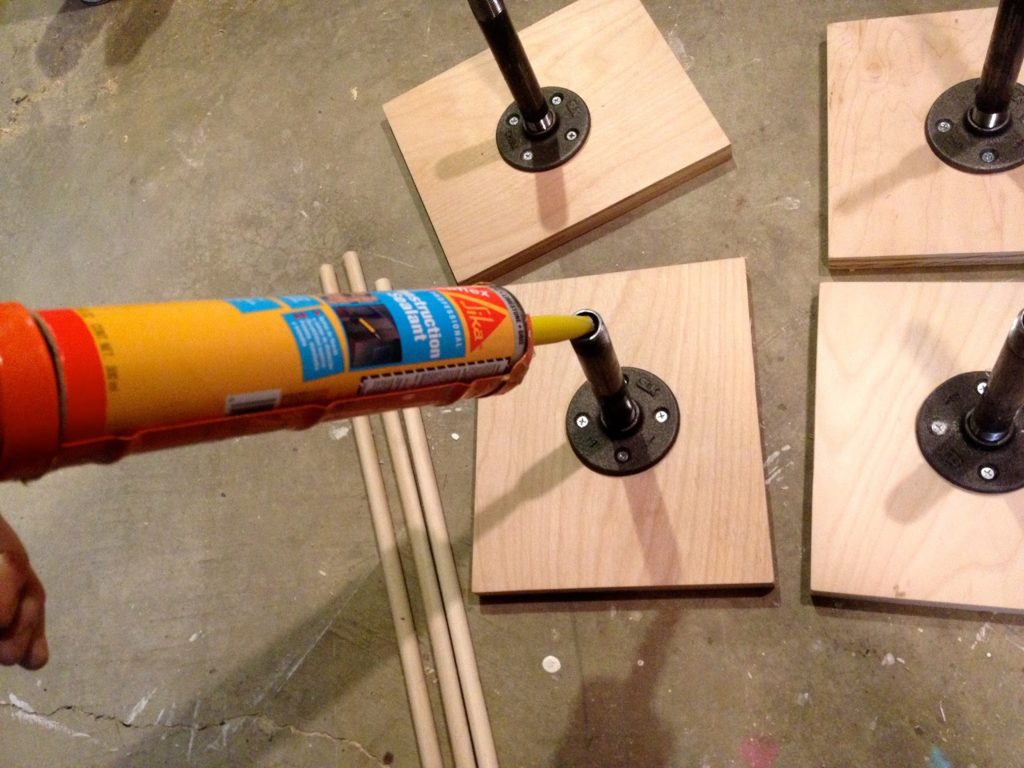
Step 5: Fill nipple 3/4 of the way up with silkaflex construction adhesive.
In Step 6: Shove wood dowel down into the adhesive inside nipple. Then let dry.
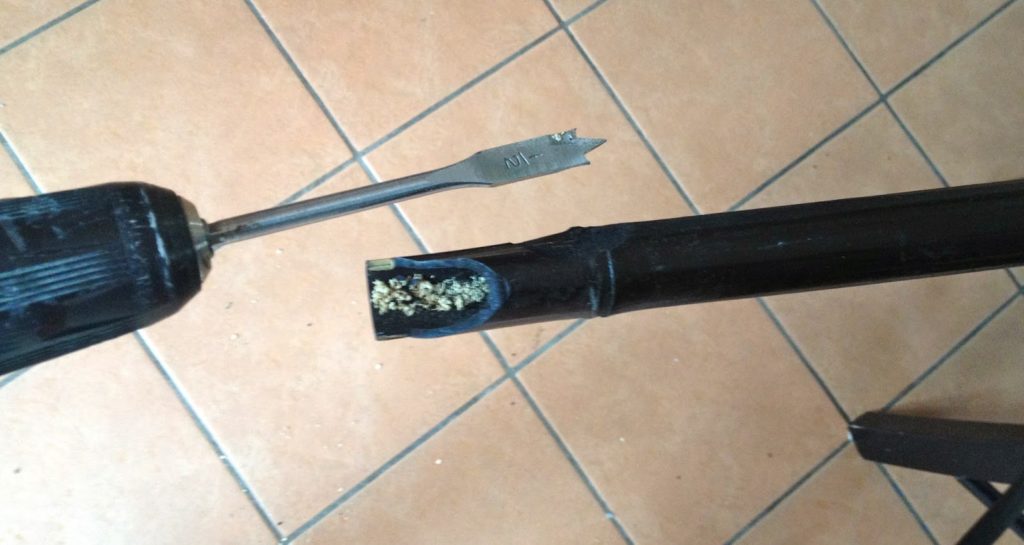
Step 7: Some of the bamboo posts have an open base while other will need you to drill through a blockage. So make a hole using a 1/2″ spade bit and drill. Sometimes the existing hole is only about 3″ deep (to prevent earth from going up in the bamboo stem), using your drill and a 1/2″ spade bit open the hole.
Step 8: Finally slide the bamboo post onto the wood dowel and you have a completed tiki torch stand.
SHOP THIS PROJECT:


Yeah! I love these and know that in a few weeks it will be warm enough to use the them!!
Love this! Such a great idea!
We would love for you to come and link up with us at Your Designs This Time, Mondays 8:00am EST. htttp://www.elizabethjoandesigns.com
What a great idea!
Beautiful post. it's really very lovely. Thank you!
Plywood Manufacturer in India
Pertaining to #4. Just heat it up for about 30 seconds with a hair dryer. It will peel right off.