• Home
  • Blog
  • About
  • Contact
    • Disclosure
    • Privacy Policy
  • SHOP
  • Widget area for main menu

    • Email
    • Facebook
    • Instagram
    • Pinterest
    • Twitter
    • YouTube
  • Skip to primary navigation
  • Skip to main content
  • Skip to primary sidebar

Jaime Costiglio

build - paint - sew

  • BUILD
    • BEDS
    • BENCHES
    • DESKS
    • DRESSERS
    • GAMES & TOYS
    • SCRAP WOOD
    • SHELVES
    • STORAGE
    • TABLES
  • TOOLS
  • PAINT
    • CRAFTS
    • FURNITURE
    • HOME DECOR
  • SEW
    • GIFTS
    • HOME DECOR
    • POUCHES
  • HANDBUILT HOLIDAY
    • 2021
    • 2019
    • 2018
    • 2017
    • 2016
    • 2015
    • 2014
    • 2013
  • GIFTS
    • BABIES
    • KIDS
    • FOR HER
    • FOR HIM
    • TEACHERS
    • WEDDINGS
  • SEASONAL
    • 4TH OF JULY
    • FALL
    • HALLOWEEN
    • CHRISTMAS
    • SUMMER
    • SPRING
    • ST. PATRICK’S DAY
    • THANKSGIVING
    • VALENTINE’S DAY
    • WINTER
  • SALTBOX PROJECT
    • BATHROOMS
    • DINING ROOM
    • EXTERIOR
    • FAMILY ROOM
    • FOYER / MUDROOM
    • KIDS BEDROOMS
    • KITCHEN
    • LIVING ROOM
    • MASTER BEDROOM
    • PLAYROOM
  • SCROLL SAW

“S” is for Sequins #3

September 29, 2012

Sew: personalized sequined pouches

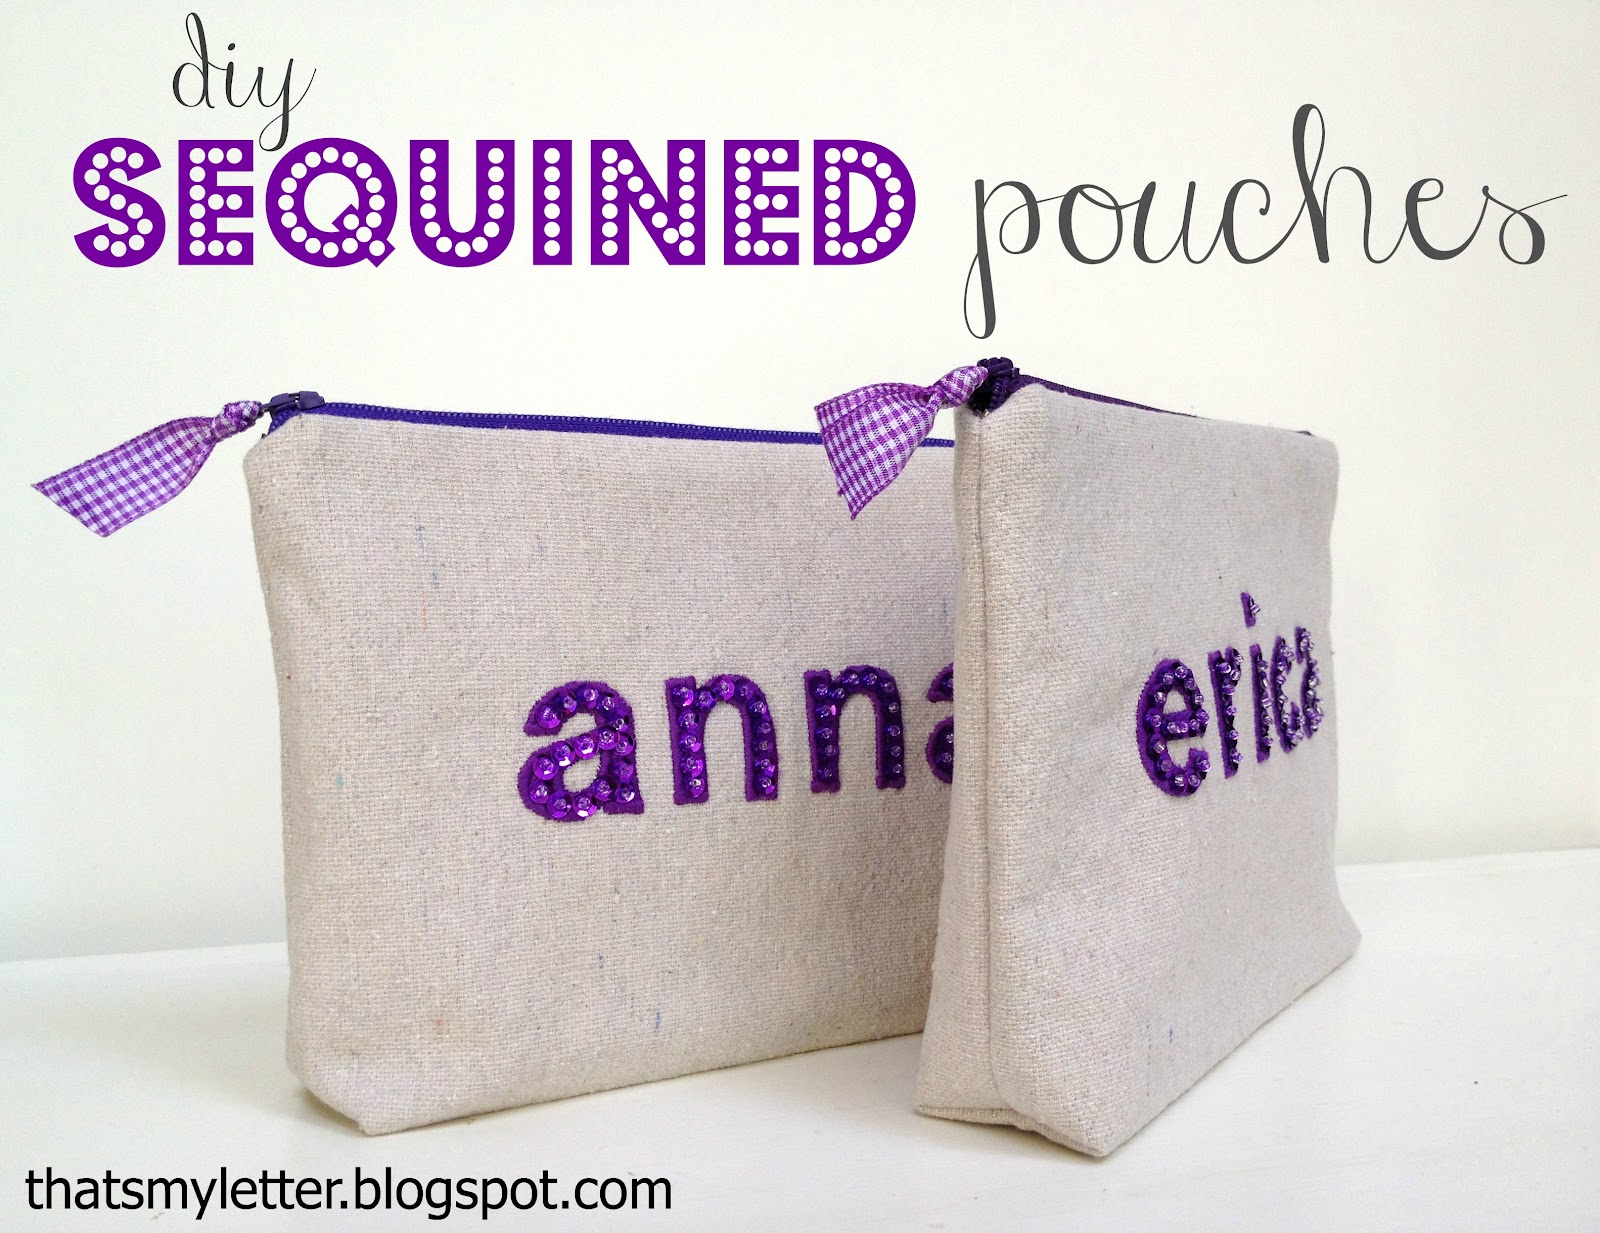
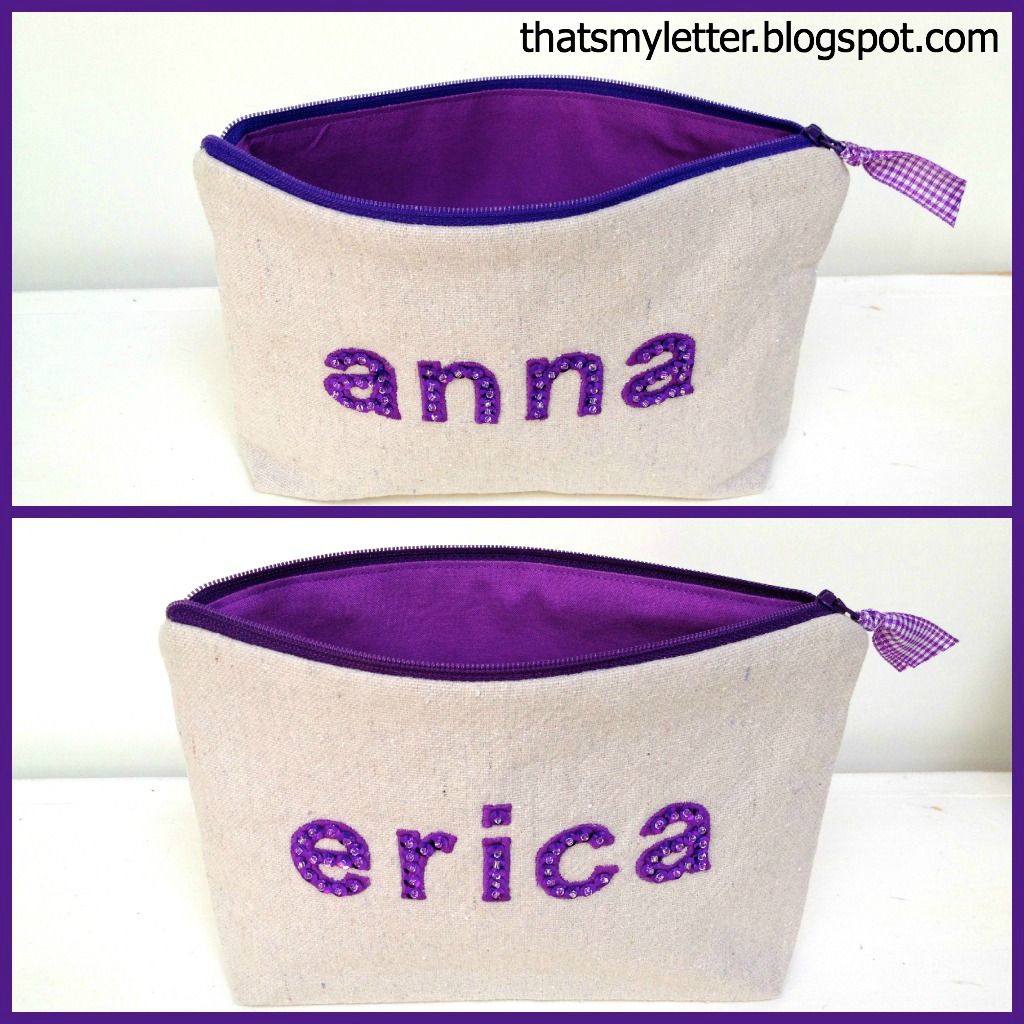
I’ve added purple sequined pouches to the line up.

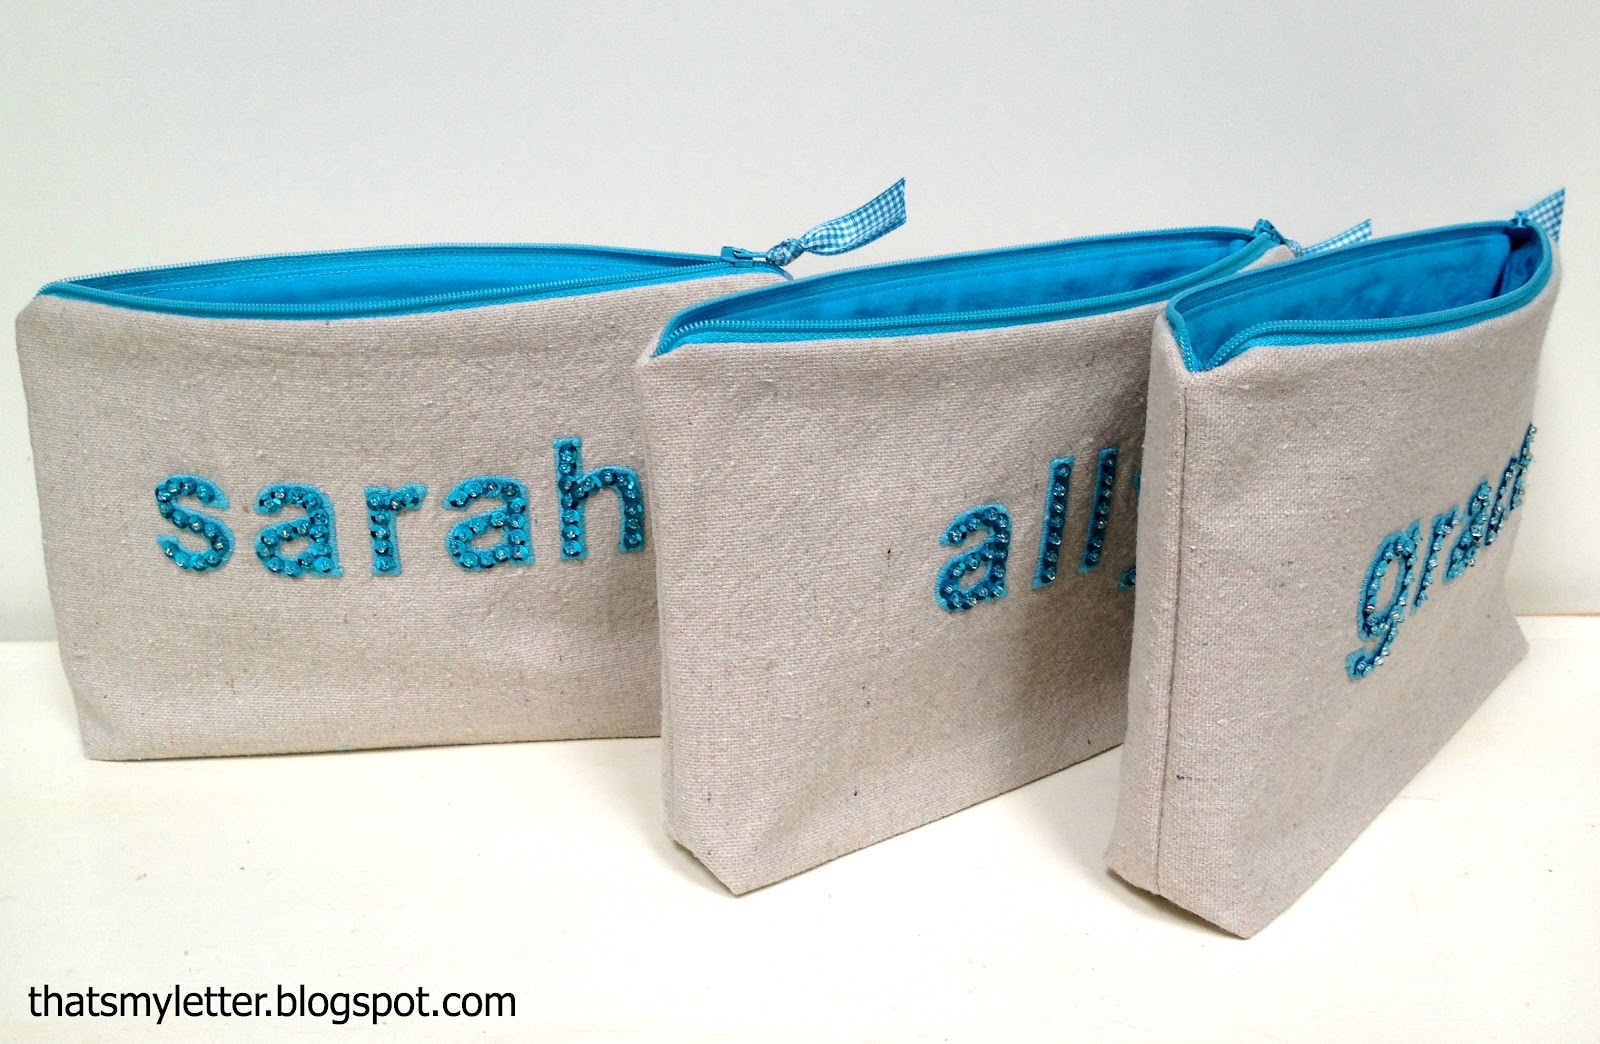
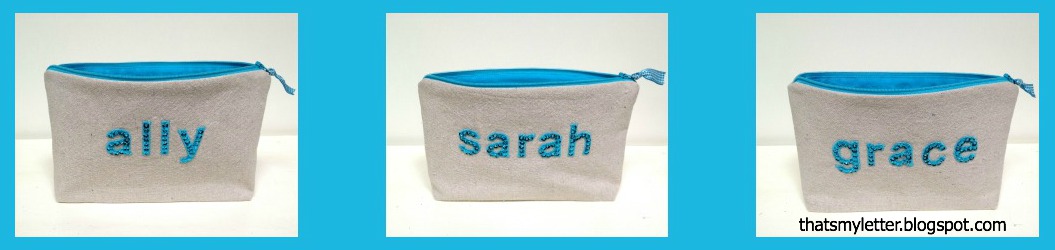
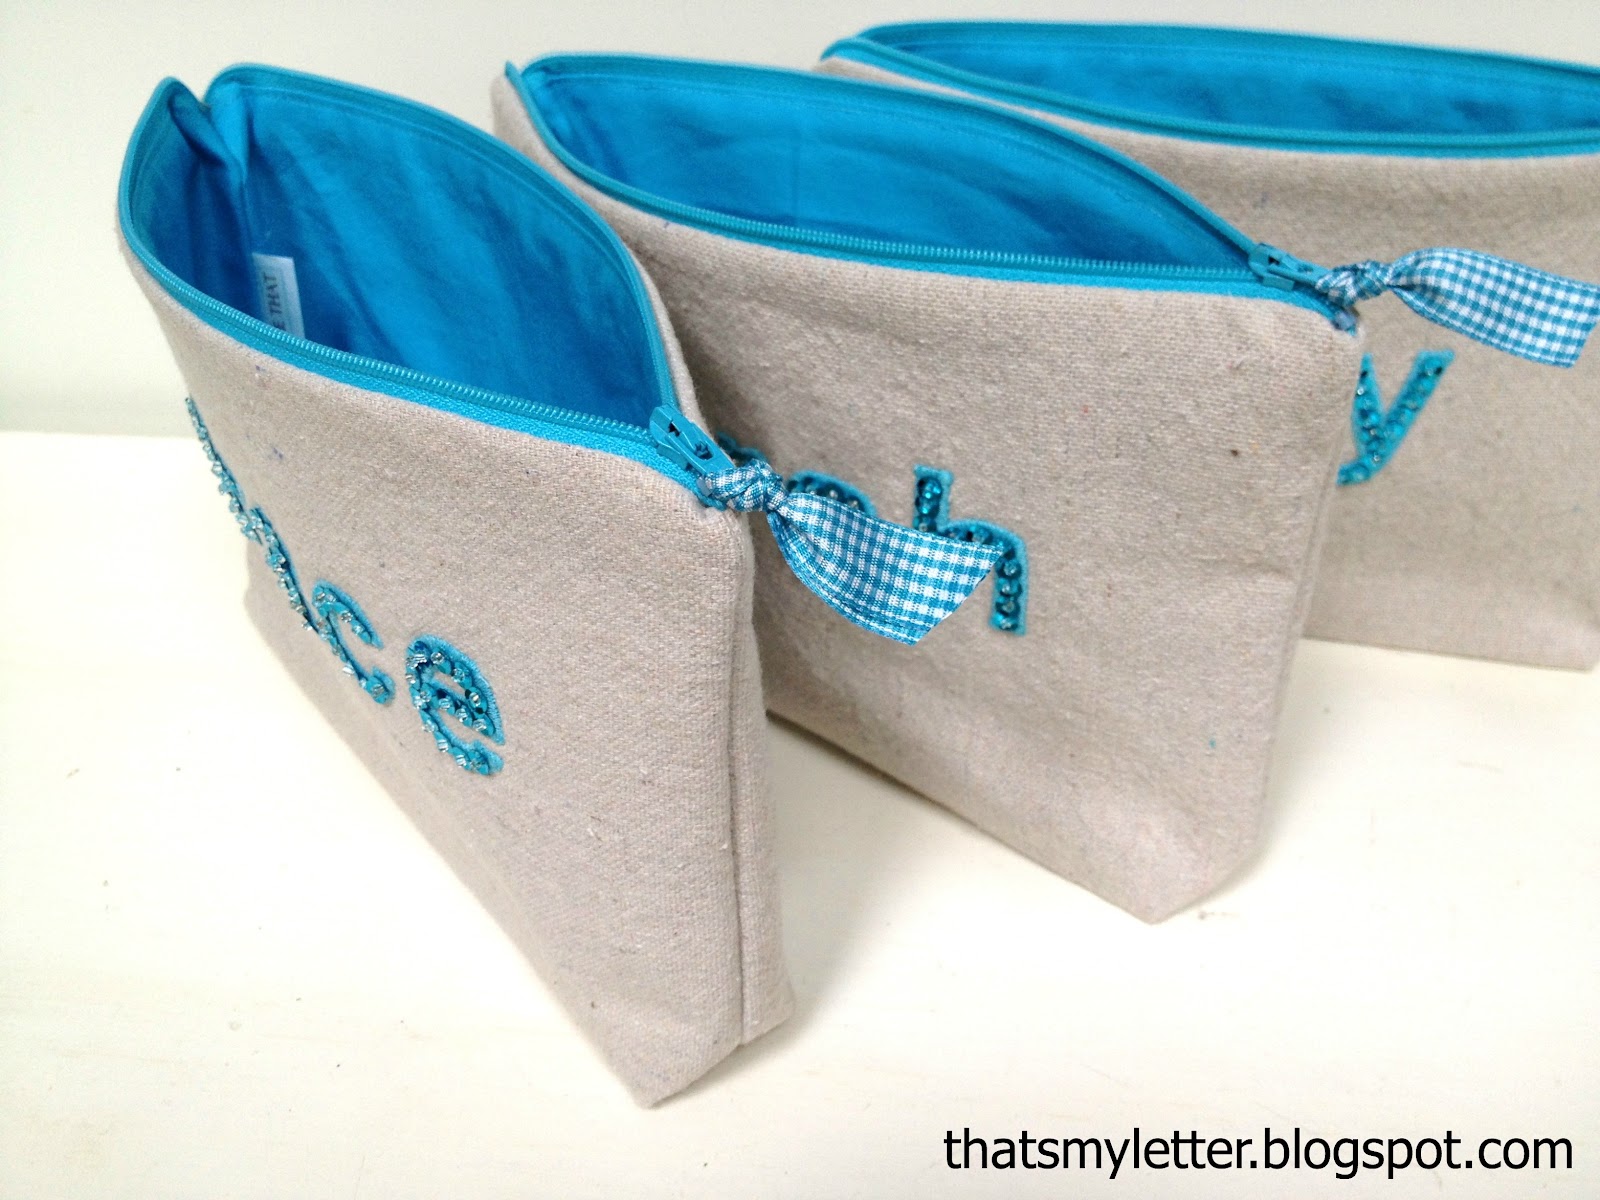
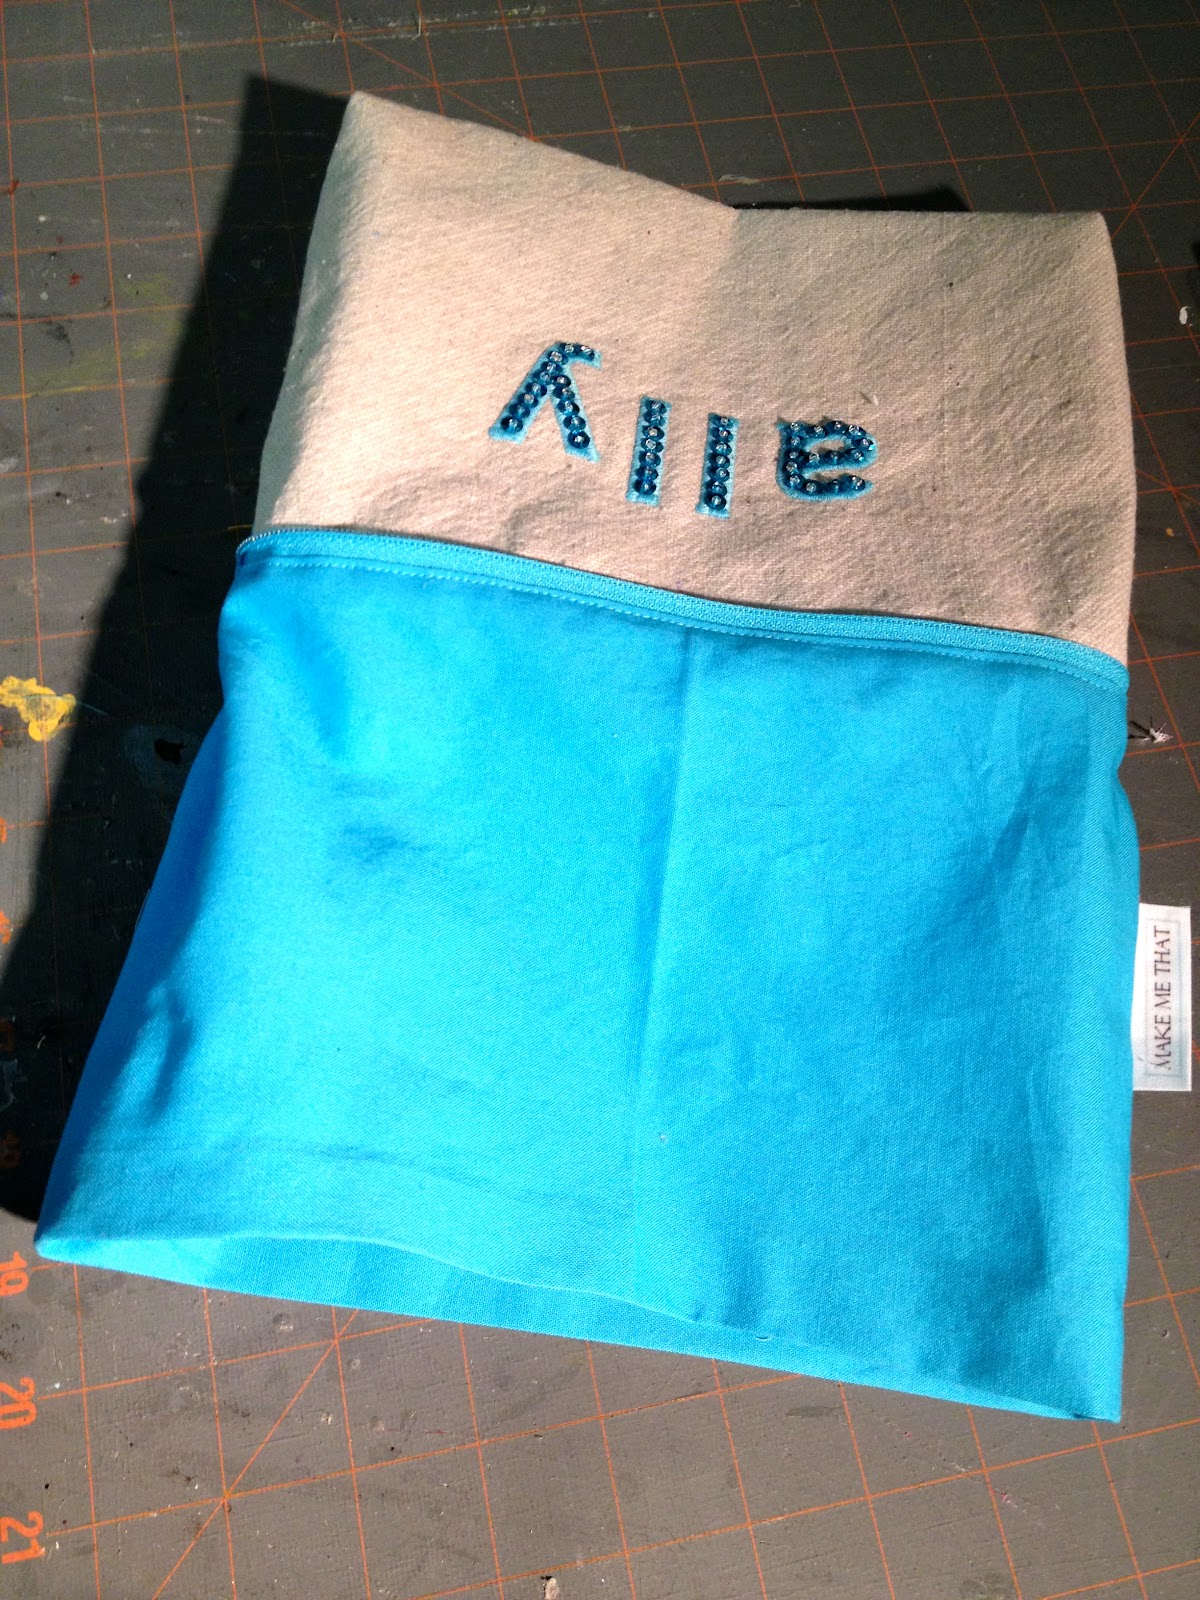
And made a few more turquoise:

In addition to the original pink and green:
Here’s how I made the sequined pouches:

1. Supplies:
drop cloth: 11″ x 14″
med. weight fusible interfacing: 11″ x 14″
cotton lining: 2 @ 11″ x 7″
zipper: 11″
fabric letters (tutorial here)
2. Fuse interfacing to drop cloth.
Center letters on one end and pin in place:


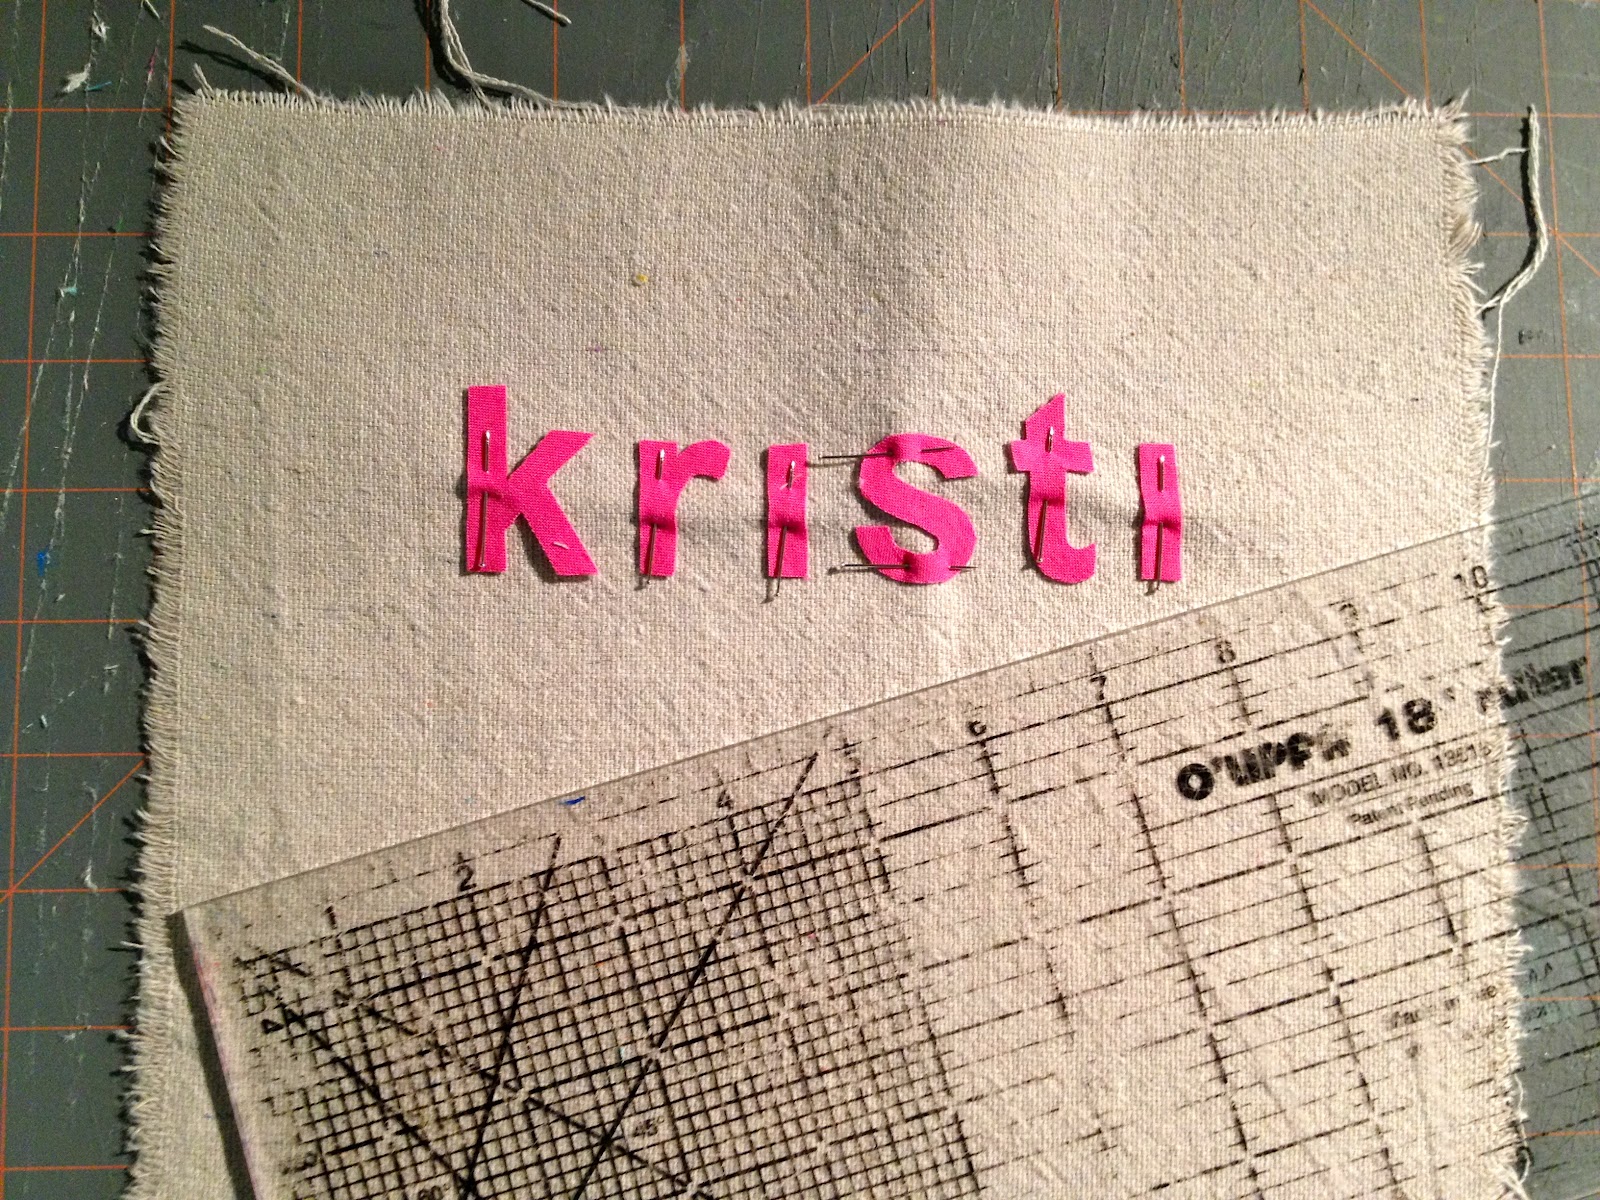
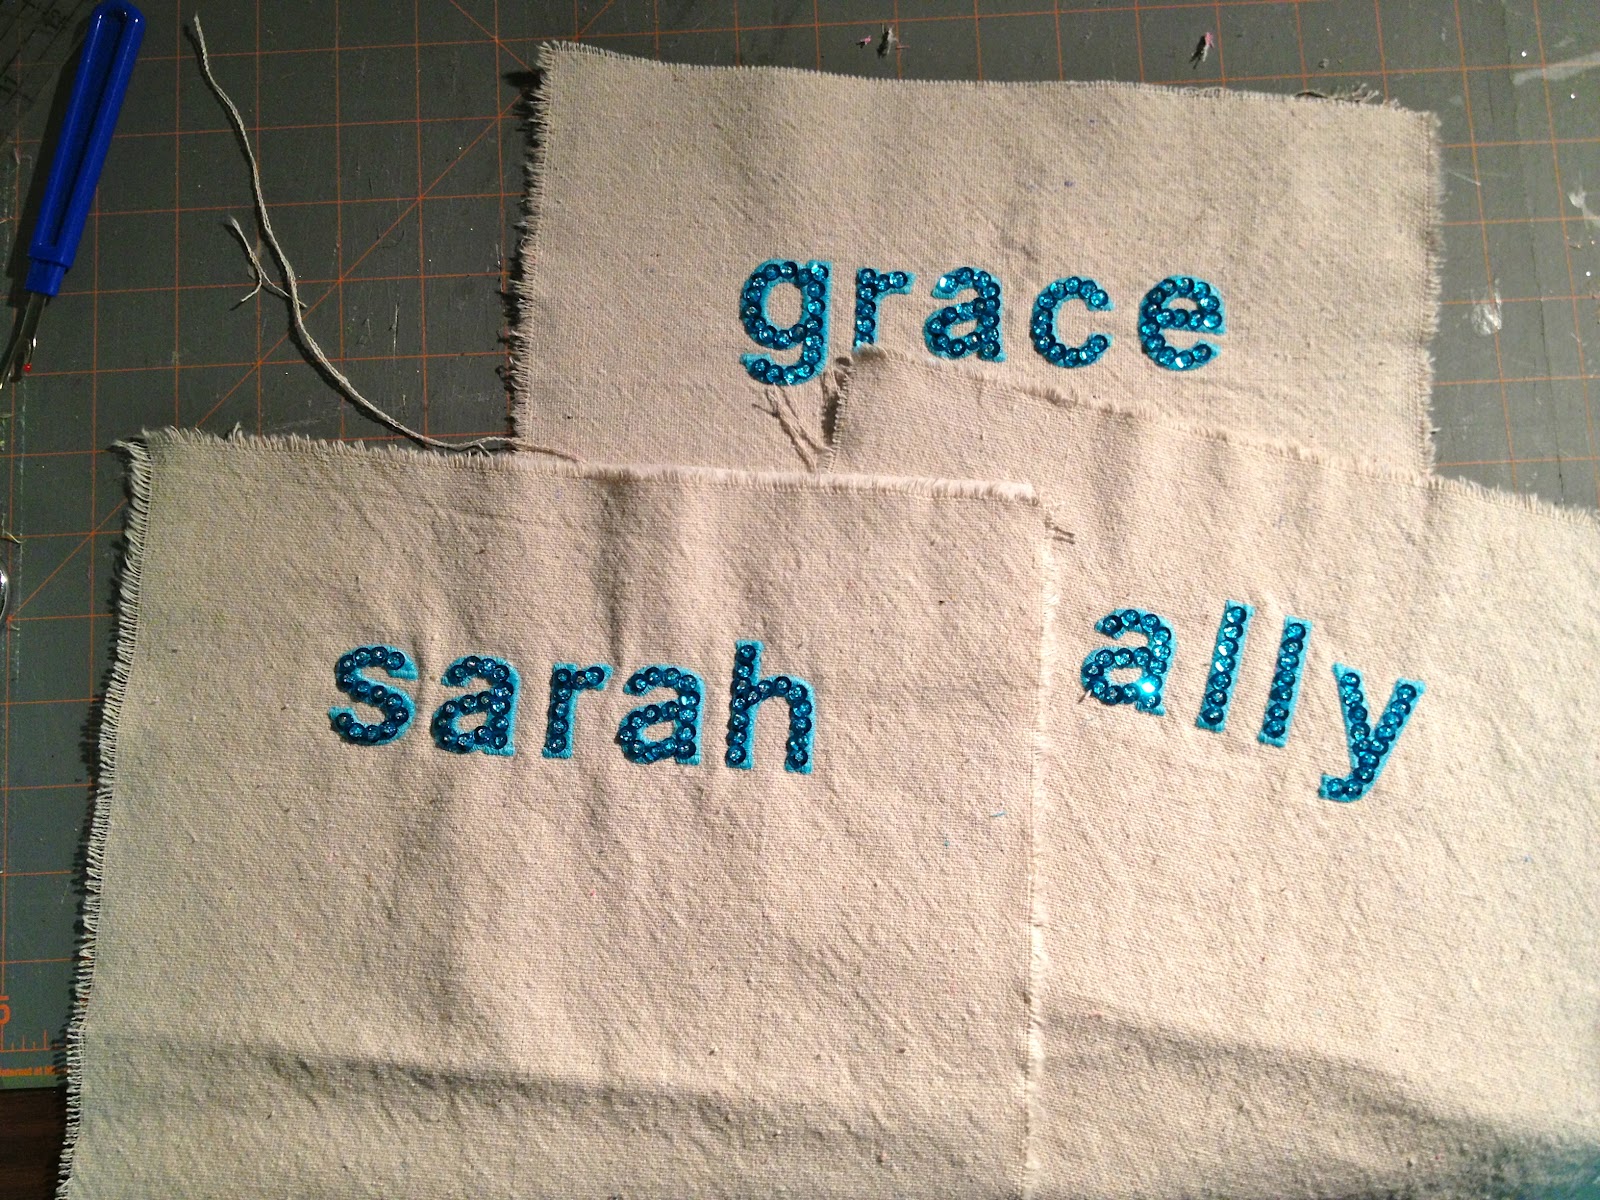
3. Zig zag stitch letters in place:
4. Sew sequins over letters.
(Tutorial here.)

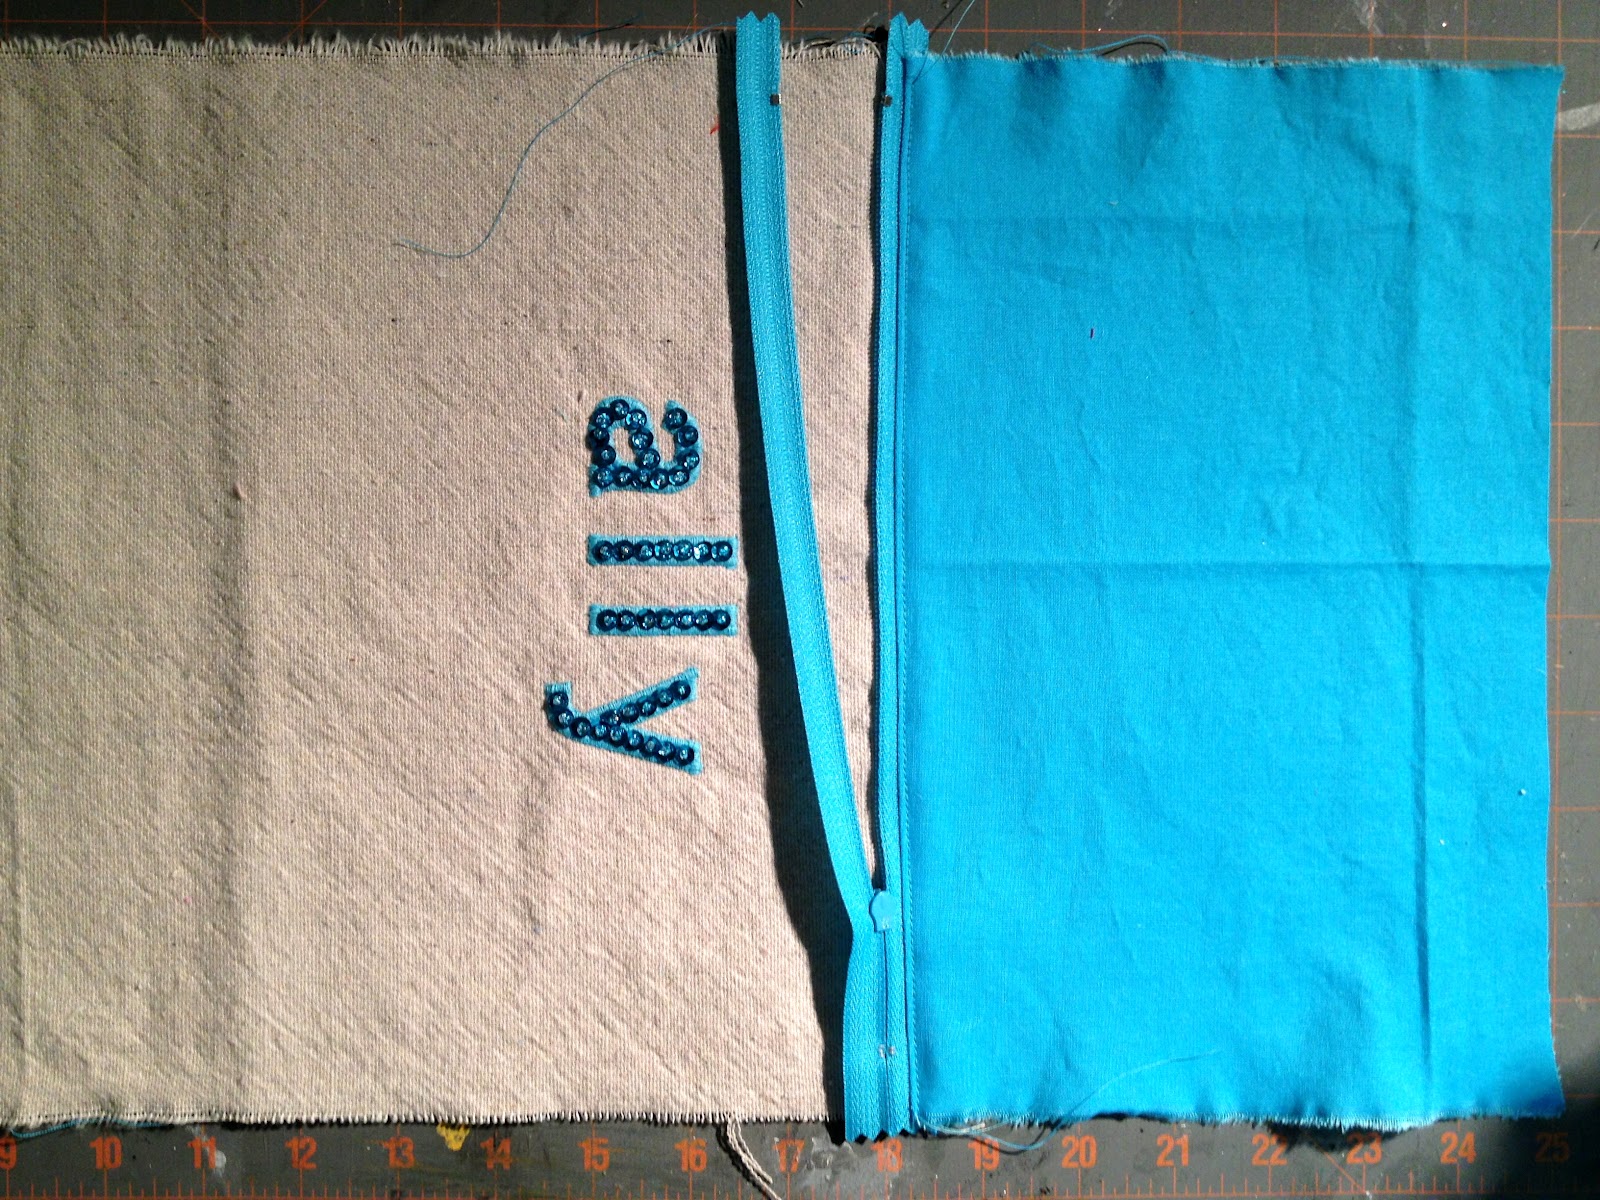
5. Place zipper face down at one end then one lining piece:

6. Straight stitch with zipper foot then top stitch on lining to keep from getting caught in zipper:

7. Repeat for other end of pouch using other side of zipper:

8. Right sides together stitch side seams closed and miter corners:

9. Clip corners, turn right side out, press lining side seams open, press lining opening up and in 1/2″:

10. Top stitch lining closed.  Push down into pouch and press smooth:
I’m linking up to:
SAS @ Funky Junk
DIY Project Parade @ The DIY Showoff
Tutorials & Tips Tuesday @ Home Stories A to Z
Strut Your Stuff @ Somewhat Simple
Share Awesomeness Thur @ The 36th Avenue
Pretty Things Thursday @ Scissors & Spatulas
Flaunt it Friday @ Chic on a Shoestring
Frugal Friday @ The Shabby Nest
SAS @ Just a Girl
Remodelaholics Anonymous @ Remodelaholic
inspiration board @ Carolyns Homework
Textiles @ Freckled Laundry
Sunday Showcase Party @ Under the Table & Dreaming

You may also like...

  • DIY Simple Personalized PillowsDIY Simple Personalized Pillows
  • DIY Embellished Monogram PouchDIY Embellished Monogram Pouch
  • “P” is for Painted Zipper Pouch“P” is for Painted Zipper Pouch
  • DIY Personalized Fabric BuntingDIY Personalized Fabric Bunting
Share this post:

Filed Under: DIY, FOR HER, GIFTS, GIFTS, KIDS, POUCHES, SEW, SEWING4 Comments

Reader Interactions

Comments

  1. Brooke says

    September 29, 2012 at 3:17 AM

    These are majorly cute! I love them. Very modern and colorful

    Reply
  2. Sydni says

    September 30, 2012 at 4:37 AM

    Where did you get such pretty colors in the sequins?

    Reply
  3. Steph @ The Silly Pearl says

    October 2, 2012 at 5:25 PM

    Very cute! I know my girls would love these, and so would I for my own bag!

    Reply
  4. freckled laundry says

    October 5, 2012 at 2:47 AM

    I think these might be my favorite pouches yet…loved the terrycloth ones from way back too though. Thanks for sharing, Jaime. Hope you have a great weekend.

    Reply

Leave a Reply Cancel reply

Your email address will not be published. Required fields are marked *

Primary Sidebar

Hi! I’m Jaime

Jaime Costiglio

Hello!

Thank you for stopping by.
Join me for lots of DIY.

Read more

Get new posts via email

Handbuilt Holiday: Gift Project Plans

handbuilt holiday gift project plans

Collection of DIY gift project plans to build.

The Home Depot Tool Prospective

THD Prospective

Tools to consider for the DIYer.

Archives

The Home Depot Logo
Copyright © 2022 Jaime Costiglio · Custom site by Moonsteam Design

Privacy Policy