• Home
  • Blog
  • About
  • Contact
    • Disclosure
    • Privacy Policy
  • SHOP
  • Widget area for main menu

    • Email
    • Facebook
    • Instagram
    • Pinterest
    • Twitter
    • YouTube
  • Skip to primary navigation
  • Skip to main content
  • Skip to primary sidebar

Jaime Costiglio

build - paint - sew

  • BUILD
    • BEDS
    • BENCHES
    • DESKS
    • DRESSERS
    • GAMES & TOYS
    • SCRAP WOOD
    • SHELVES
    • STORAGE
    • TABLES
  • TOOLS
  • PAINT
    • CRAFTS
    • FURNITURE
    • HOME DECOR
  • SEW
    • GIFTS
    • HOME DECOR
    • POUCHES
  • HANDBUILT HOLIDAY
    • 2021
    • 2019
    • 2018
    • 2017
    • 2016
    • 2015
    • 2014
    • 2013
  • GIFTS
    • BABIES
    • KIDS
    • FOR HER
    • FOR HIM
    • TEACHERS
    • WEDDINGS
  • SEASONAL
    • 4TH OF JULY
    • FALL
    • HALLOWEEN
    • CHRISTMAS
    • SUMMER
    • SPRING
    • ST. PATRICK’S DAY
    • THANKSGIVING
    • VALENTINE’S DAY
    • WINTER
  • SALTBOX PROJECT
    • BATHROOMS
    • DINING ROOM
    • EXTERIOR
    • FAMILY ROOM
    • FOYER / MUDROOM
    • KIDS BEDROOMS
    • KITCHEN
    • LIVING ROOM
    • MASTER BEDROOM
    • PLAYROOM
  • SCROLL SAW

“S” is for Seersucker #3

June 1, 2012

Sew: monogrammed seersucker pouches

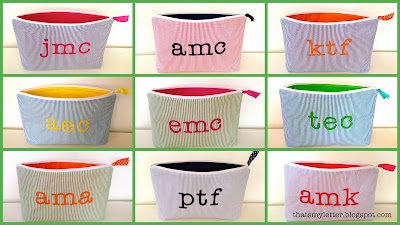
These will be end of the year teacher gifts (and one for each of my kids too!).

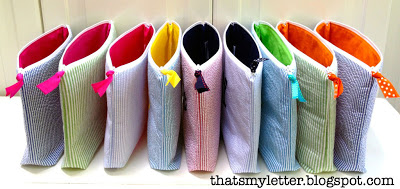
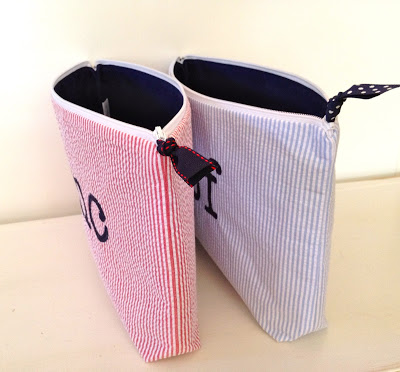
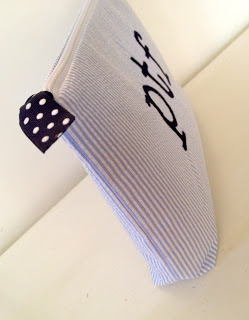
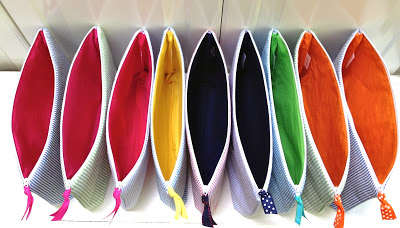
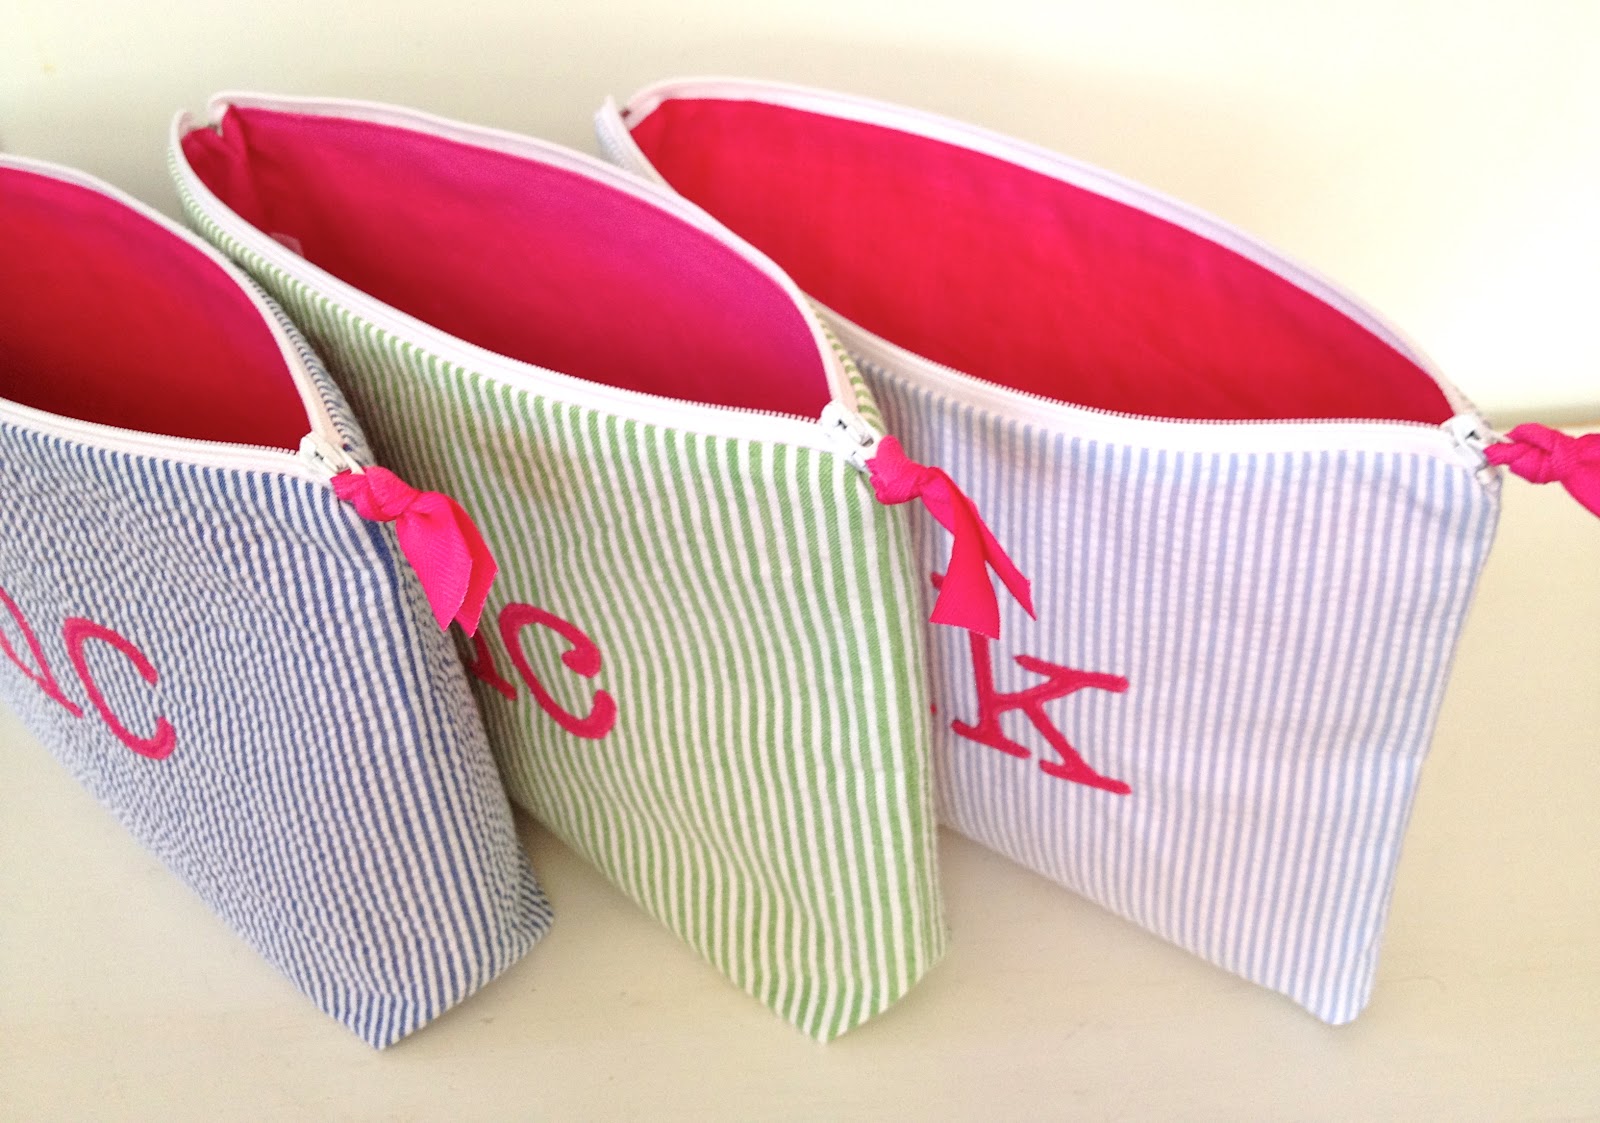
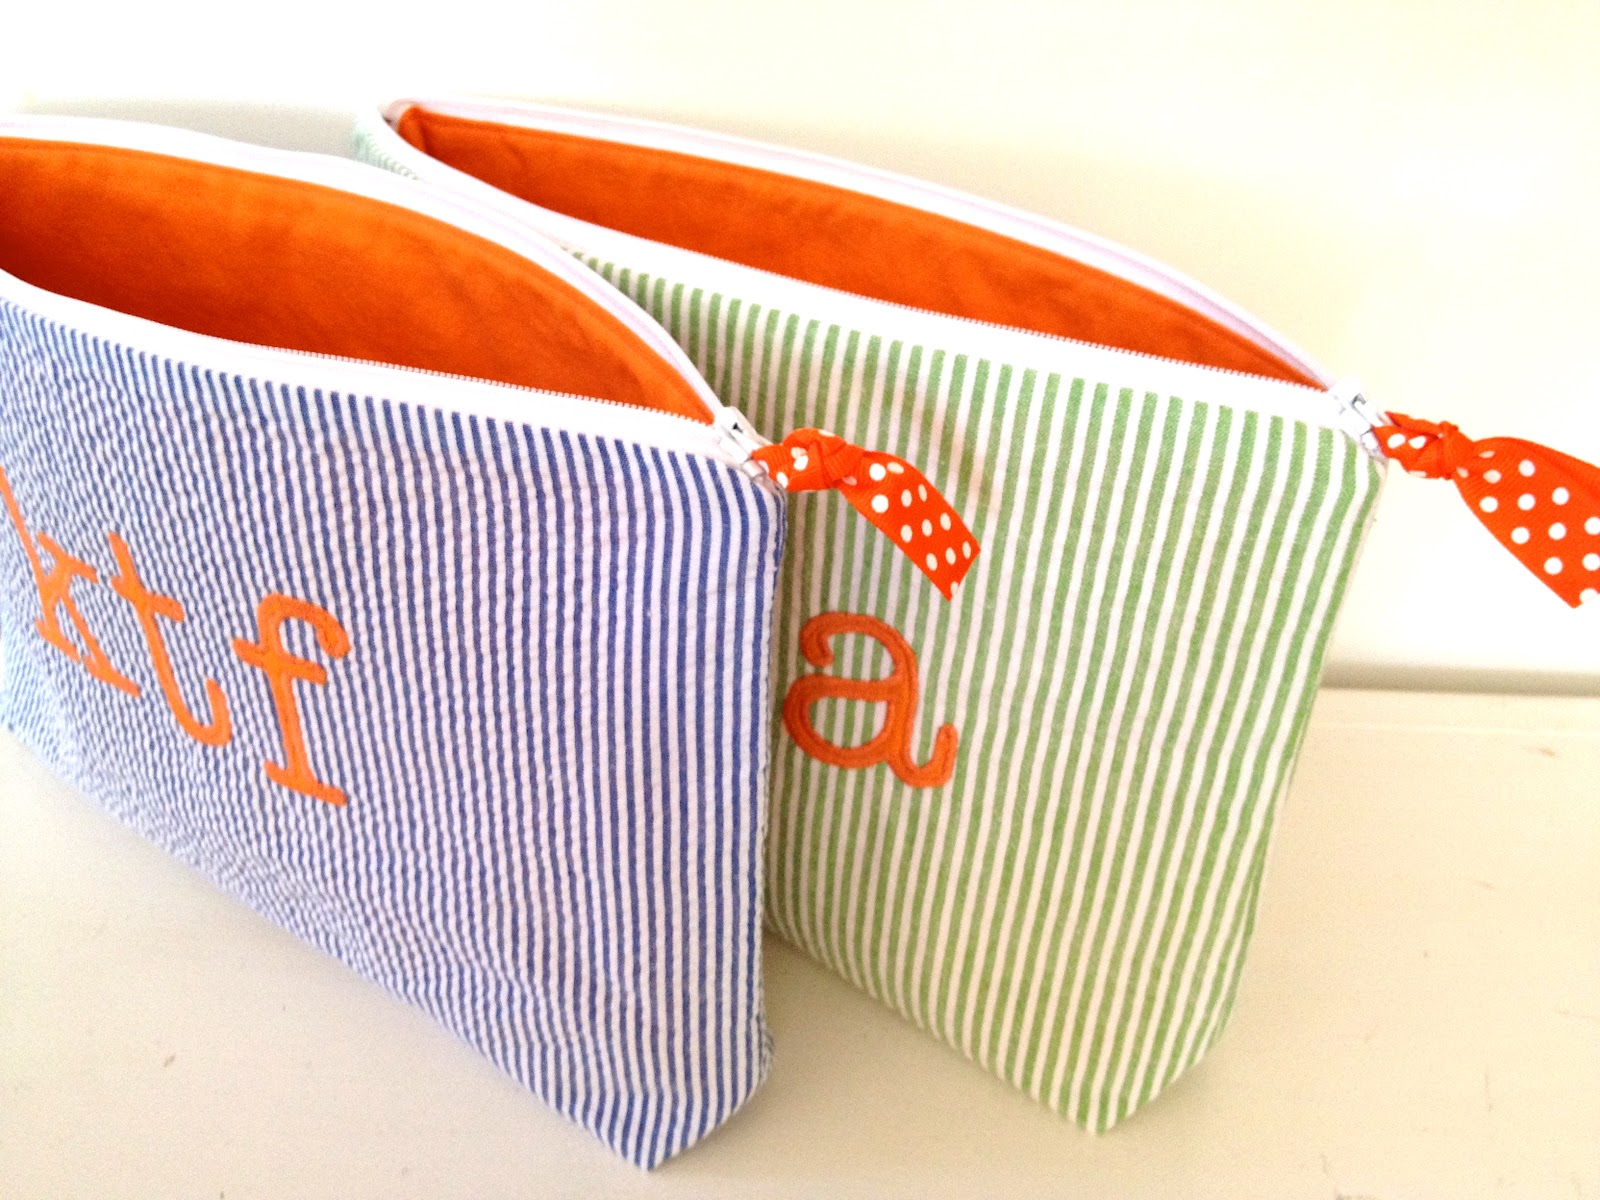
I paired seersucker with solid bright lining fabrics to make fun combinations.
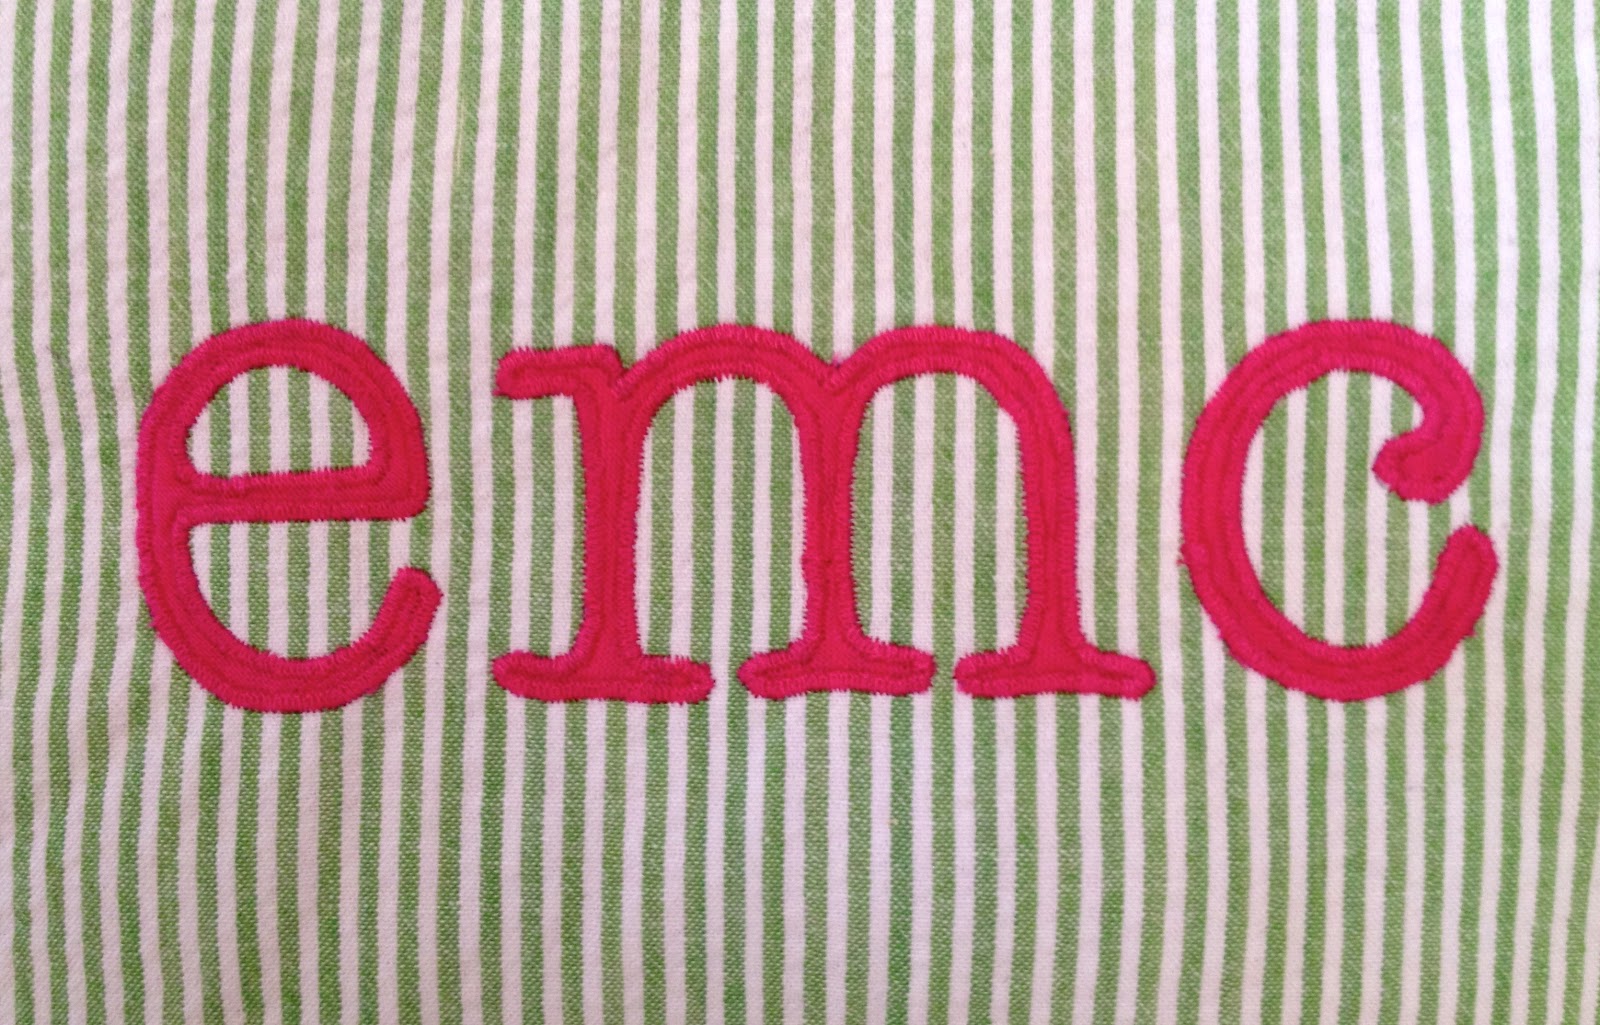
My favorite is the bright pink:

But the orange is great too!
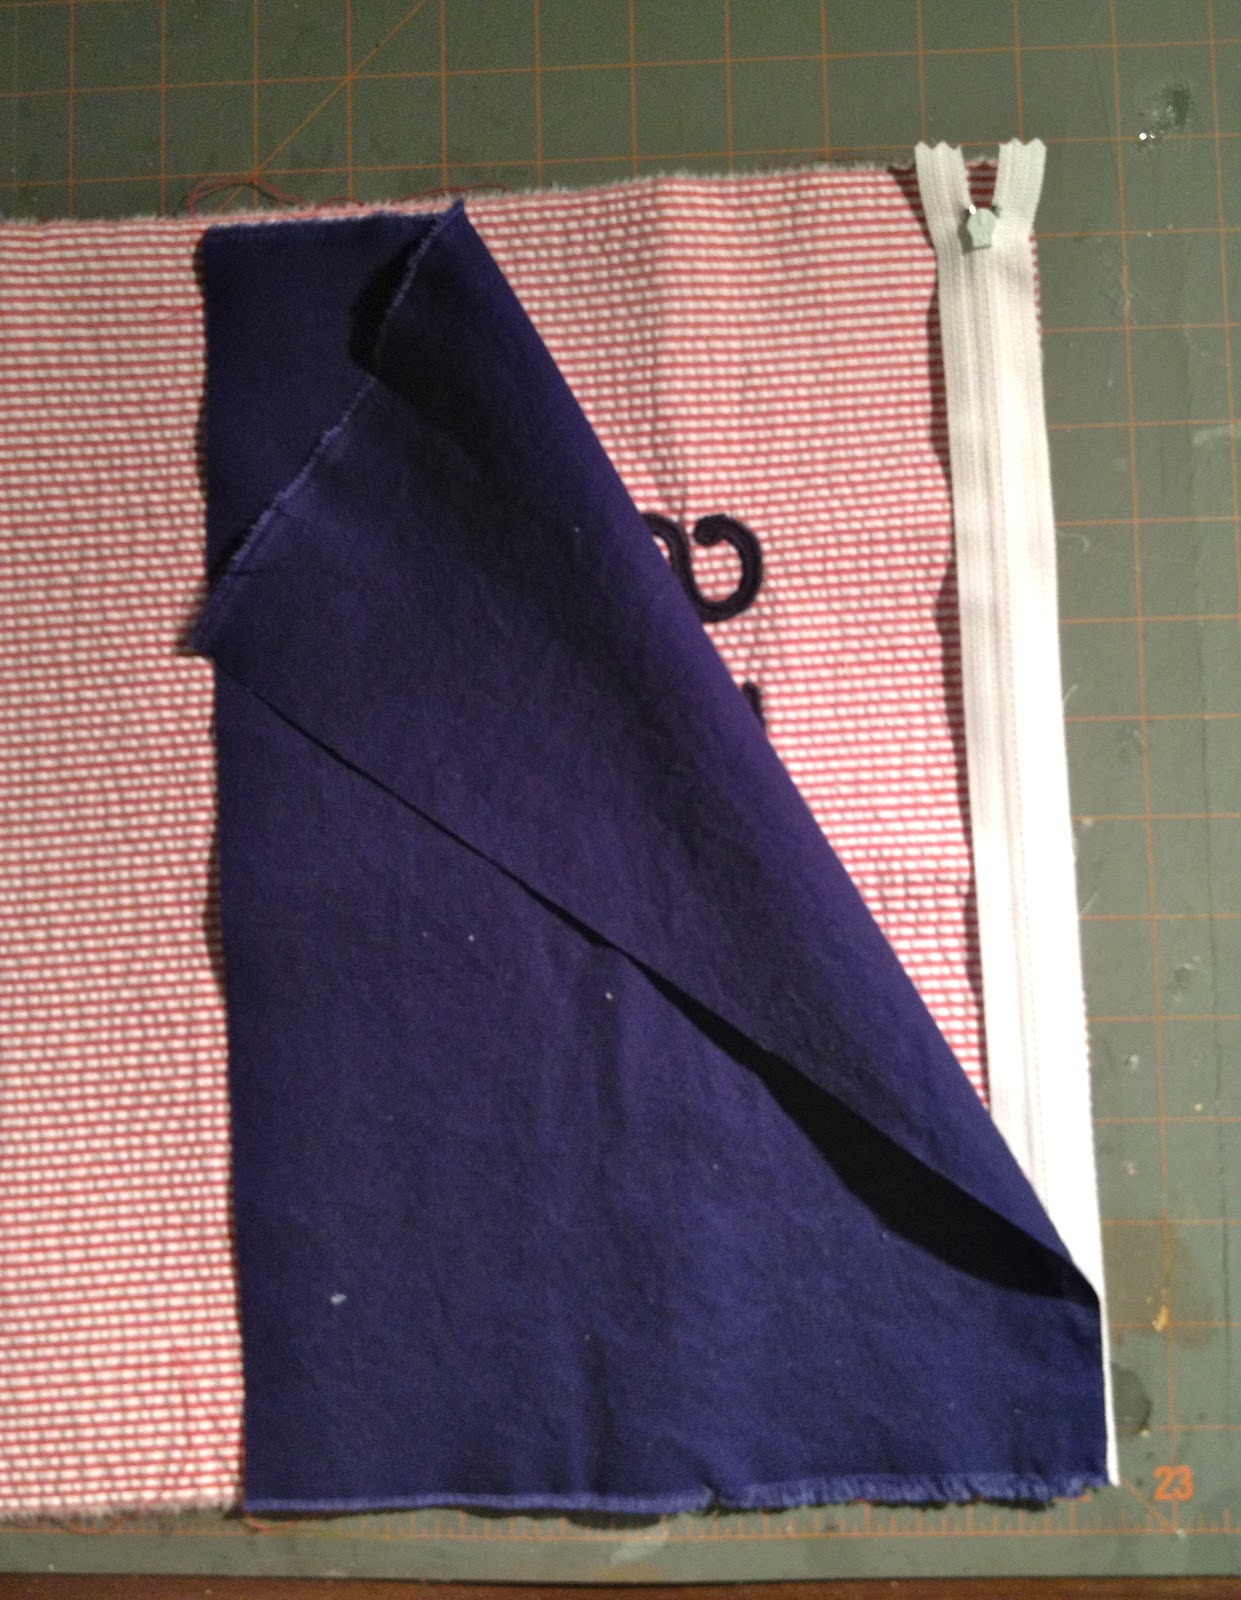
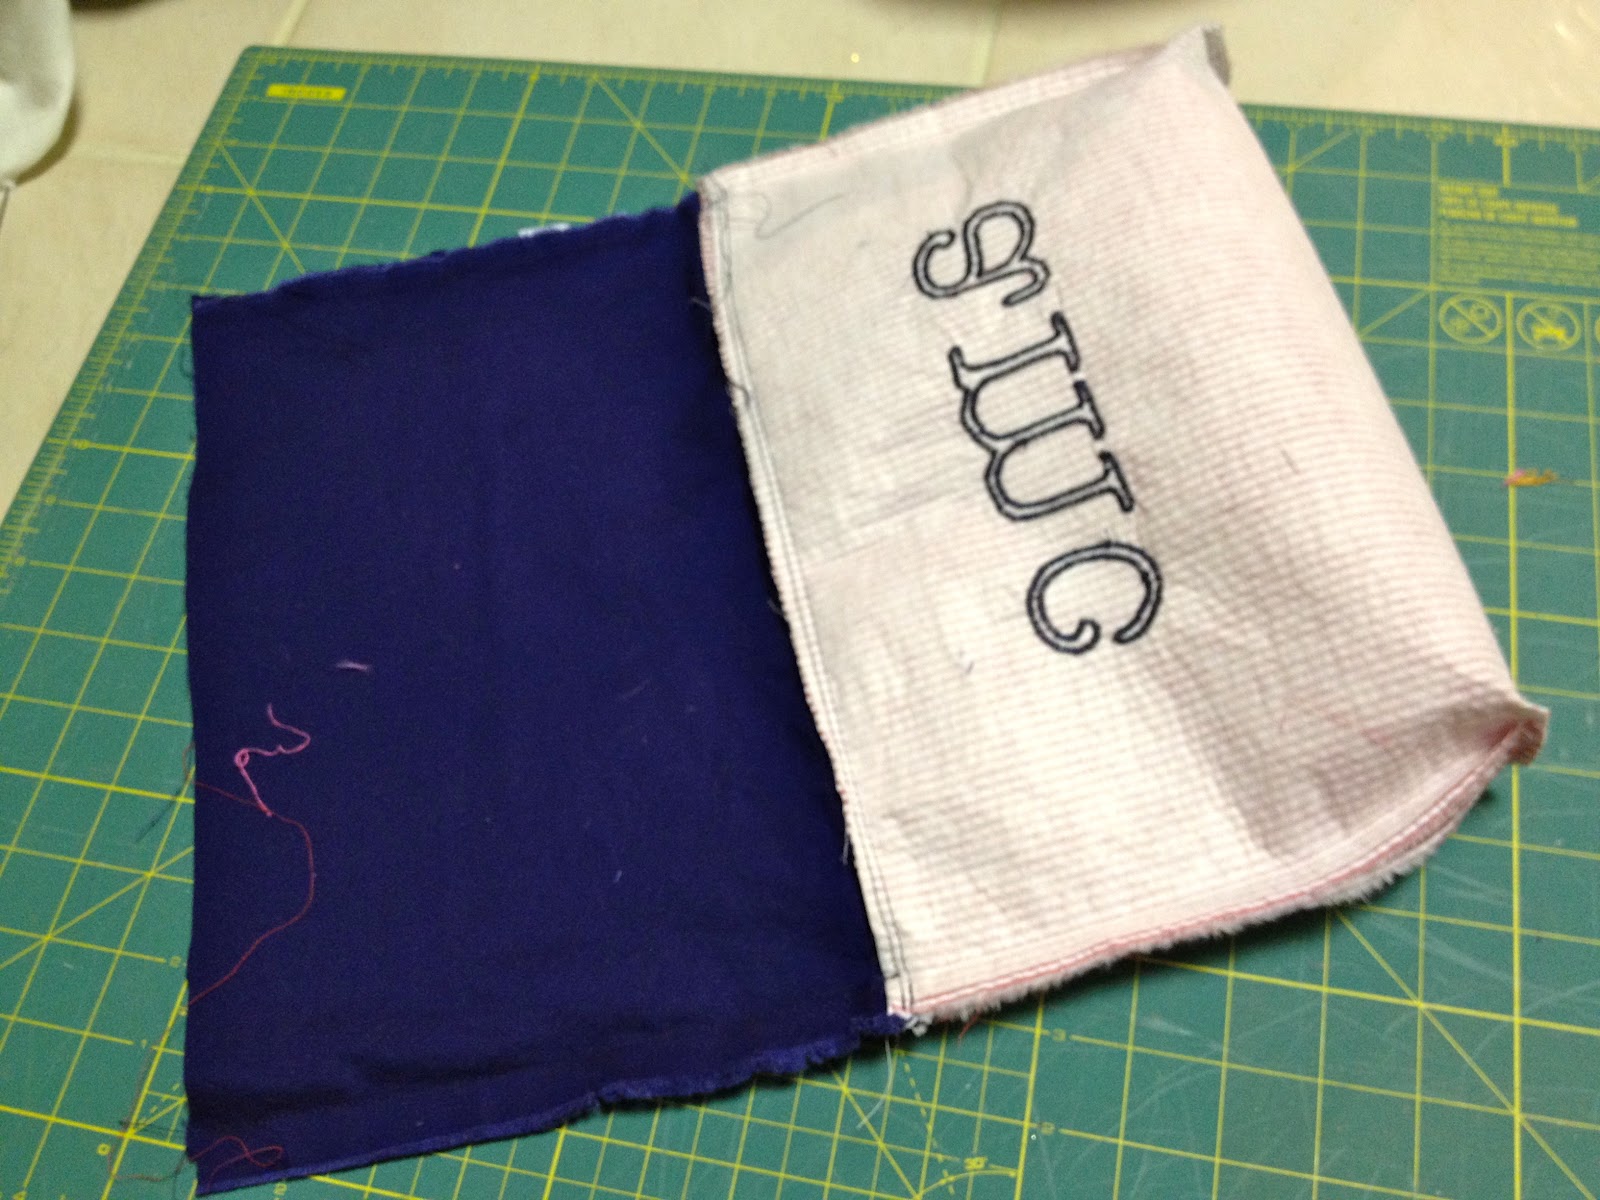
And navy is so classic:

Here’s how I made the pouches:

1. Supplies:
1 – seersucker fabric @ 13″ x 17″
1 – medium weight fusible interfacing @ 13″ x 17″
2 – lining fabric @ 13″ x 8.5″
1 – zipper @ 12″
fabric letters
ribbon for zipper pull
2. Fuse interfacing to wrong side of seersucker:
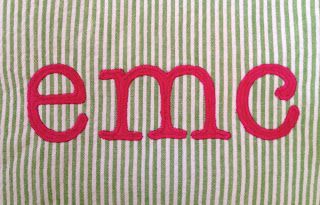
3. Center fabric letters on upper half of seersucker and pin:

4. Zigzag stitch letters into place:

5. Place zipper face down on top edge of seersucker then one piece of lining fabric:
Straight stitch using zipper foot.

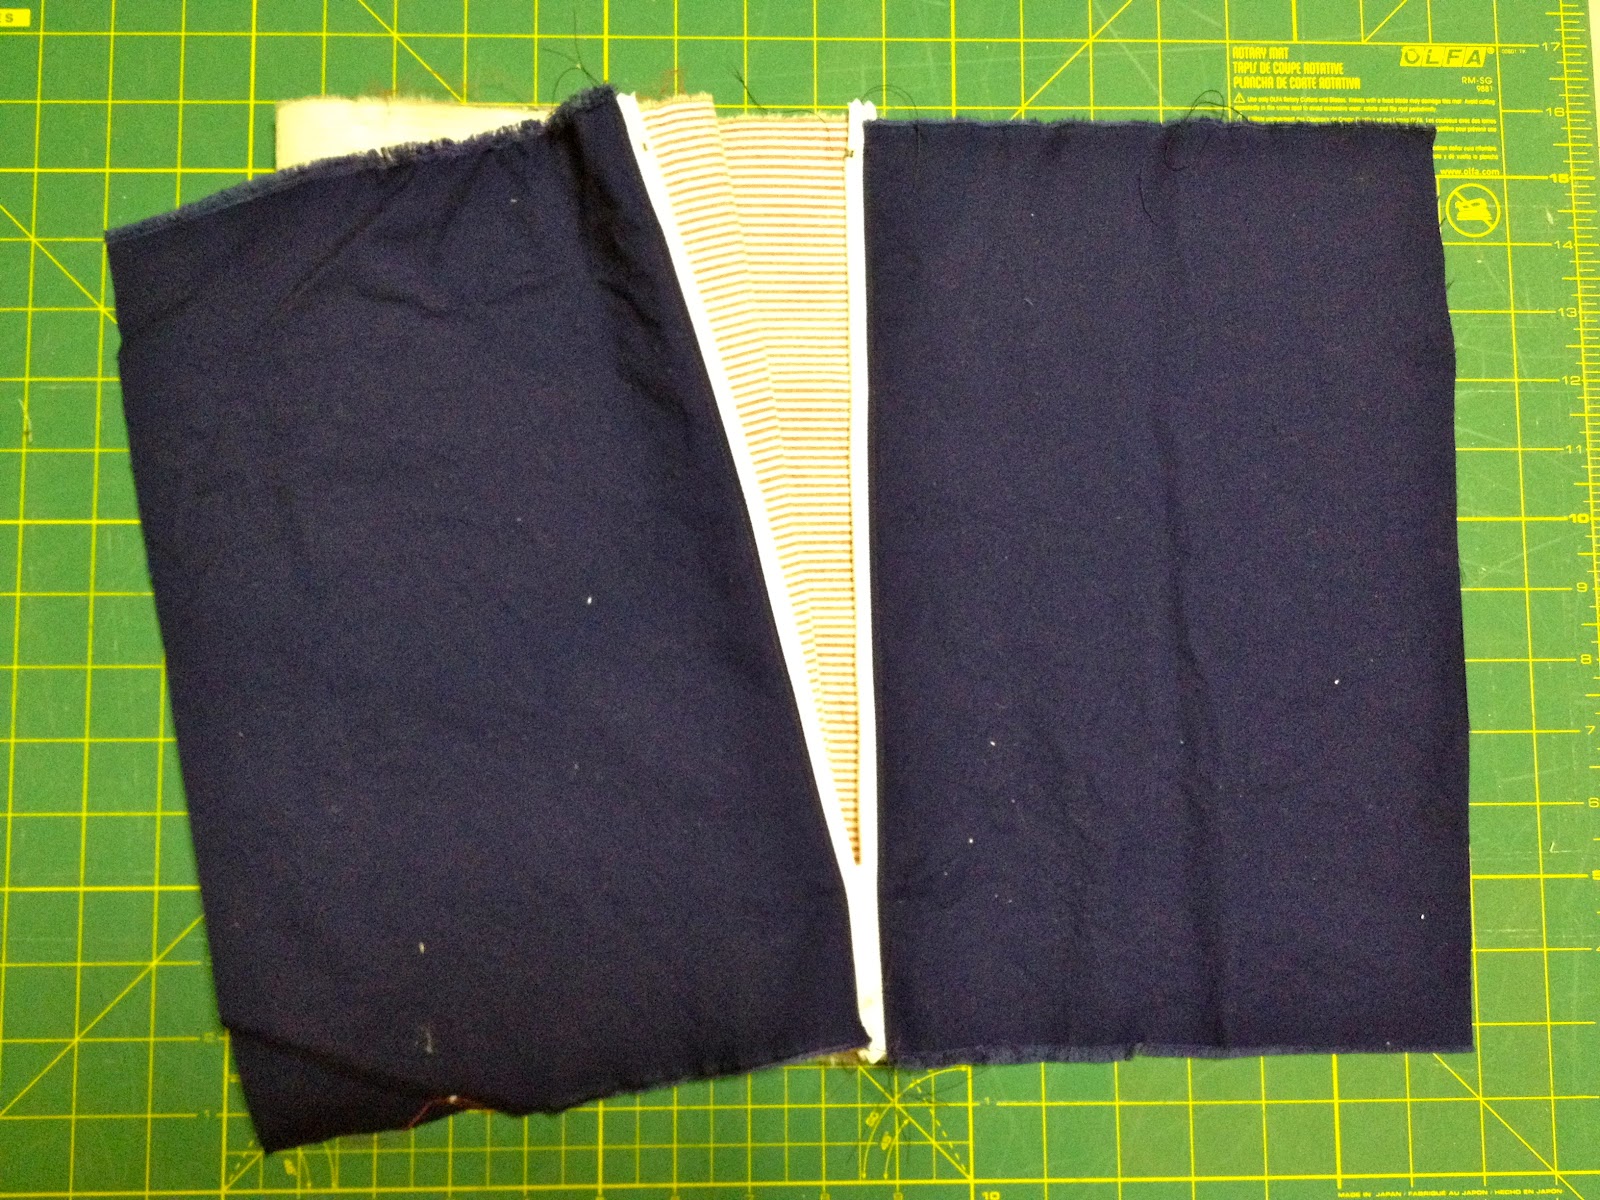
6. Repeat for other end with other side of zipper:
Be sure to top stitch lining down in place to prevent from getting caught in zipper.

7. Sew side seams and miter bottom corners:

8. Trim excess fabric from mitered corner:

9. Turn right side out and press in raw edge of lining, straight stitch closed:

10. Push lining down into pouch and press.  Add ribbon to zipper pull.
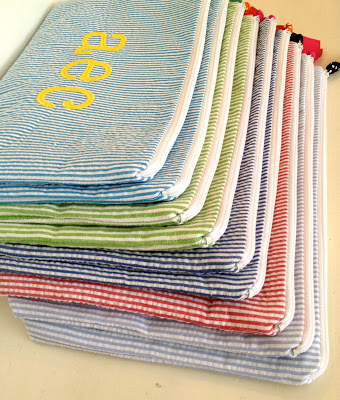
Ready to take to the beach or pool, summer is here!
I’m linking up to:
Whatcha Got Weekend @ Lolly Jane
SAS @ Funky Junk
Sister Sunday @ Sisters of the Wild West
Sunday Showcase Party @ Under the Table & Dreaming
DIY Project Parade @ The DIY Showoff
Nifty Thrifty @ Coastal Charm
Tuesday Treasures @ My Uncommon Slice of Suburbia
Tutorials & Tips Tuesday @ Home Stories A to Z
Transformation Thursday @ The Shabby Creek Cottage
Strut Your Stuff @ Somewhat Simple
Share Awesomeness Thur @ The 36th Avenue
Flaunt it Friday @ Chic on a Shoestring
Frugal Friday @ The Shabby Nest
SAS @ Just a Girl
Feathered Nest @ French Country Cottage
Remodelaholics Anonymous @ Remodelaholic
inspiration board @ Carolyns Homework
Textiles @ Freckled Laundry

You may also like...

  • Cross Stitch Monogram Ornament PlacecardCross Stitch Monogram Ornament Placecard
  • DIY Embellished Monogram PouchDIY Embellished Monogram Pouch
  • “P” is for Painted Zipper Pouch“P” is for Painted Zipper Pouch
  • “R” is for Rugby Stripe Pouch“R” is for Rugby Stripe Pouch
Share this post:

Filed Under: DIY, FOR HER, GIFTS, GIFTS, POUCHES, SEW, SEWING, TEACHERS4 Comments

Reader Interactions

Comments

  1. Recipes We Love says

    June 2, 2012 at 9:57 PM

    These are fabulous!!!! If I got these as a gift I would LOVE it!!

    Reply
  2. Catrin says

    June 5, 2012 at 9:25 AM

    Oh I love these. They are great. I have very little expierence with zippers, so I might try these to get some.
    Greetings from Germany
    Catrin

    Reply
  3. Lolly Jane says

    June 9, 2012 at 1:42 AM

    Adorable, Jaime! Featuring you this weekend! xoxo

    Reply
  4. Danielle Bartran says

    June 18, 2012 at 9:52 PM

    Just made one of these for my sister in law {birthday gift} so easy and went together very quickly! Thanks for sharing your tutorial!

    Reply

Leave a Reply Cancel reply

Your email address will not be published. Required fields are marked *

Primary Sidebar

Hi! I’m Jaime

Jaime Costiglio

Hello!

Thank you for stopping by.
Join me for lots of DIY.

Read more

Get new posts via email

Handbuilt Holiday: Gift Project Plans

handbuilt holiday gift project plans

Collection of DIY gift project plans to build.

The Home Depot Tool Prospective

THD Prospective

Tools to consider for the DIYer.

Archives

The Home Depot Logo
Copyright © 2023 Jaime Costiglio · Custom site by Moonsteam Design

Privacy Policy