• Home
  • Blog
  • About
  • Contact
    • Disclosure
    • Privacy Policy
  • SHOP
  • Widget area for main menu

    • Email
    • Facebook
    • Instagram
    • Pinterest
    • Twitter
    • YouTube
  • Skip to primary navigation
  • Skip to main content
  • Skip to primary sidebar

Jaime Costiglio

build - paint - sew

  • BUILD
    • BEDS
    • BENCHES
    • DESKS
    • DRESSERS
    • GAMES & TOYS
    • SCRAP WOOD
    • SHELVES
    • STORAGE
    • TABLES
  • TOOLS
  • PAINT
    • CRAFTS
    • FURNITURE
    • HOME DECOR
  • SEW
    • GIFTS
    • HOME DECOR
    • POUCHES
  • HANDBUILT HOLIDAY
    • 2021
    • 2019
    • 2018
    • 2017
    • 2016
    • 2015
    • 2014
    • 2013
  • GIFTS
    • BABIES
    • KIDS
    • FOR HER
    • FOR HIM
    • TEACHERS
    • WEDDINGS
  • SEASONAL
    • 4TH OF JULY
    • FALL
    • HALLOWEEN
    • CHRISTMAS
    • SUMMER
    • SPRING
    • ST. PATRICK’S DAY
    • THANKSGIVING
    • VALENTINE’S DAY
    • WINTER
  • SALTBOX PROJECT
    • BATHROOMS
    • DINING ROOM
    • EXTERIOR
    • FAMILY ROOM
    • FOYER / MUDROOM
    • KIDS BEDROOMS
    • KITCHEN
    • LIVING ROOM
    • MASTER BEDROOM
    • PLAYROOM
  • SCROLL SAW

“R” is for Rugby Stripe Pouch

September 9, 2013

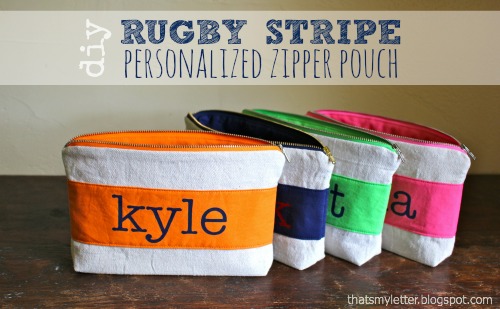
Sew: rugby stripe personalized zipper pouch
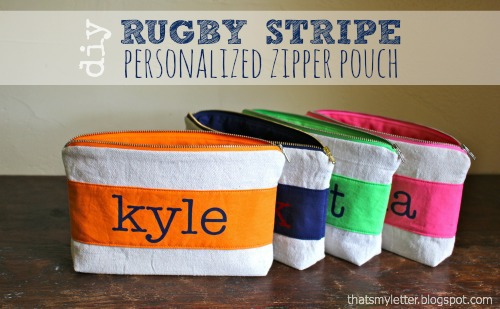
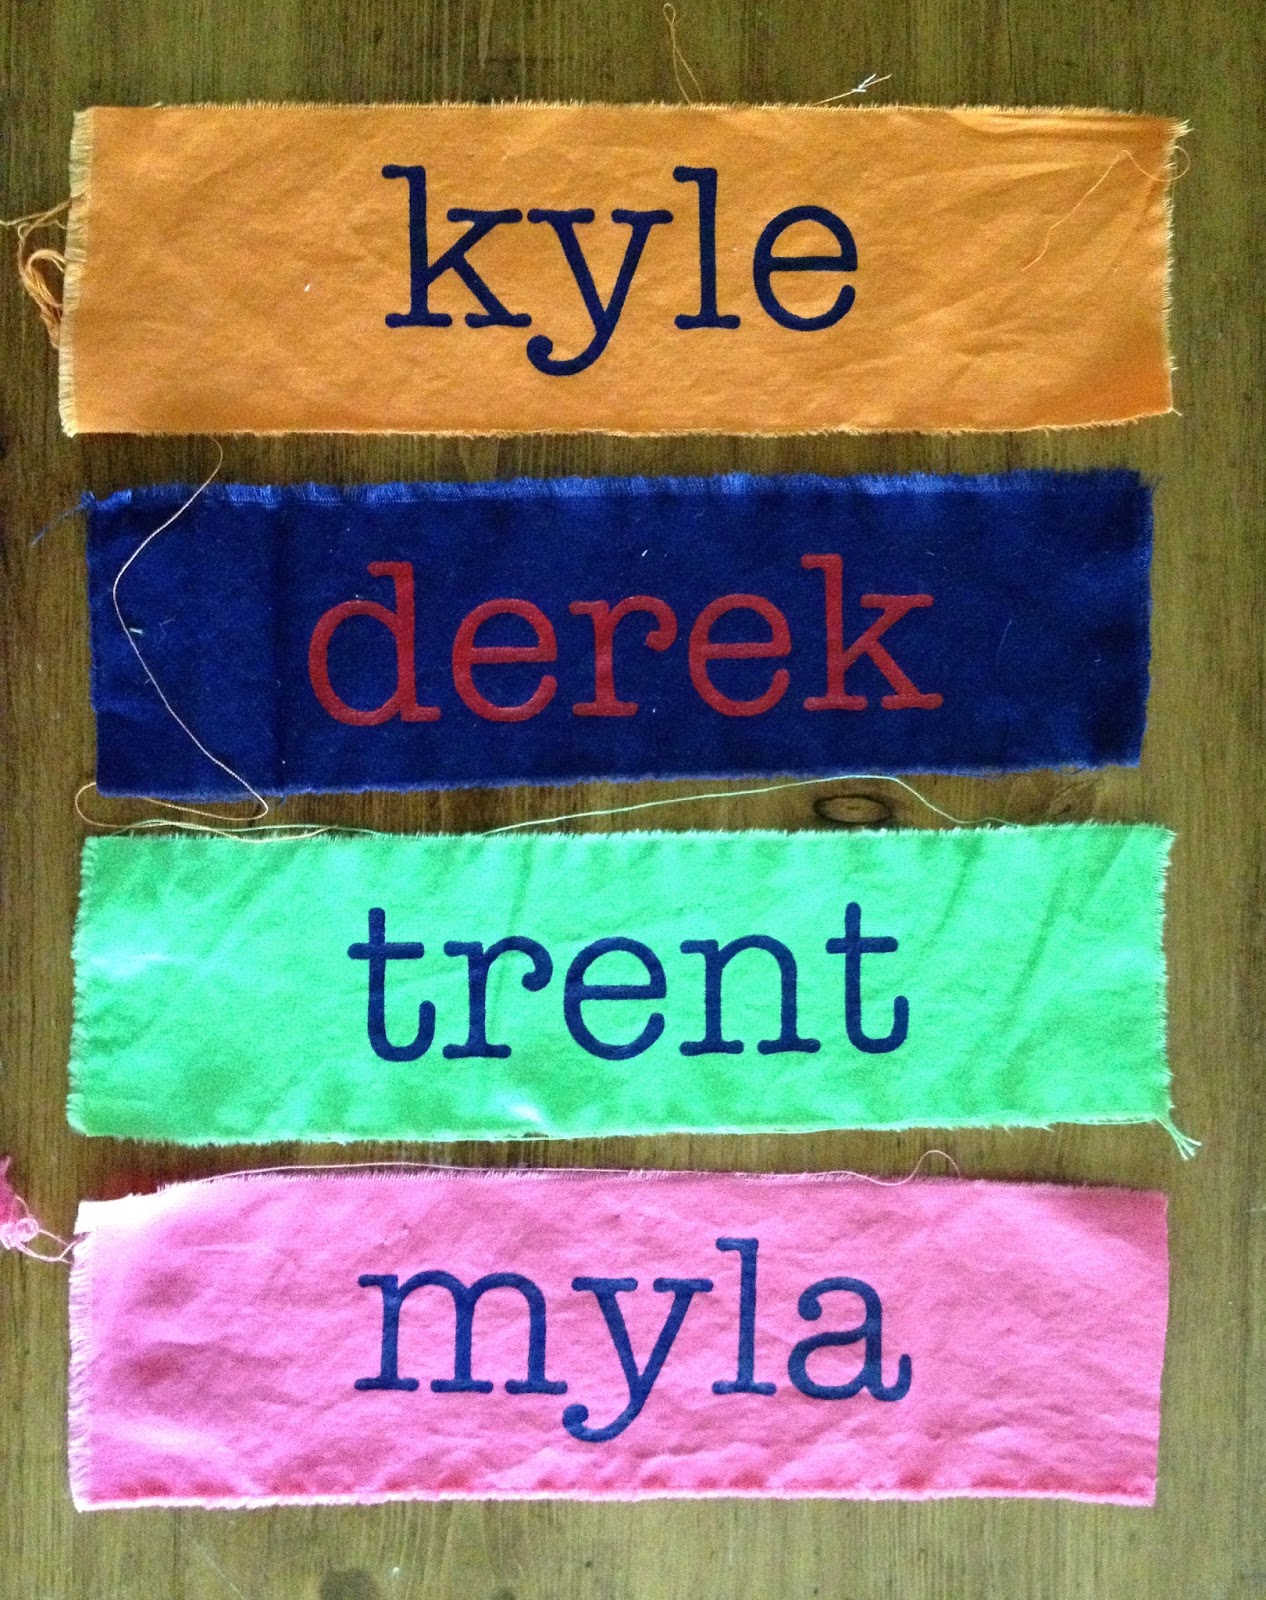
Just in time for back to school!  Handpaint any name with acrylic paints onto fun solid cotton fabrics and then make a drop cloth zipper pencil pouch:

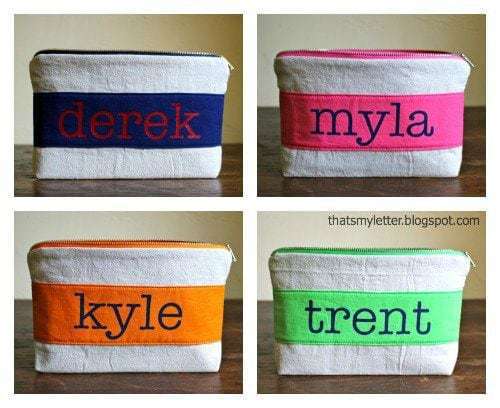
The personalization possibilities are endless, I used American Typewriter font at 175 point.
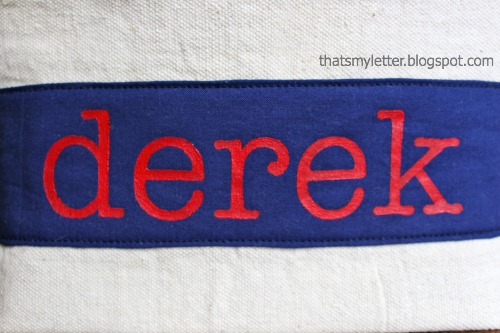
All you need is a lightbox and a steady hand to create this look:


The finished size of these pouches is 10″l x 6″h x 1.5″wide at base:


The interior lining matches the rugby stripe band on the exterior.
And the metal zippers are from my friend Jennie at ZipIt.
How to make the rugby stripe personalized zipper pouch:
 
1. Supplies:
1 – 11″ x 14″ drop cloth (exterior)
1 – 11″ x 14″ fusible interfacing
1 – 11″ x 14″ cotton (lining)
2 – 3″ x 11″ cotton (stripe bands)
1 – 11″ zipper (I used 14″ a cut off the excess)
2. Begin by printing the name to size.
 I used American Typewriter font at 175 point:
3. Fold the 3″ stripe band in half and the printed name in half to find the middle point:


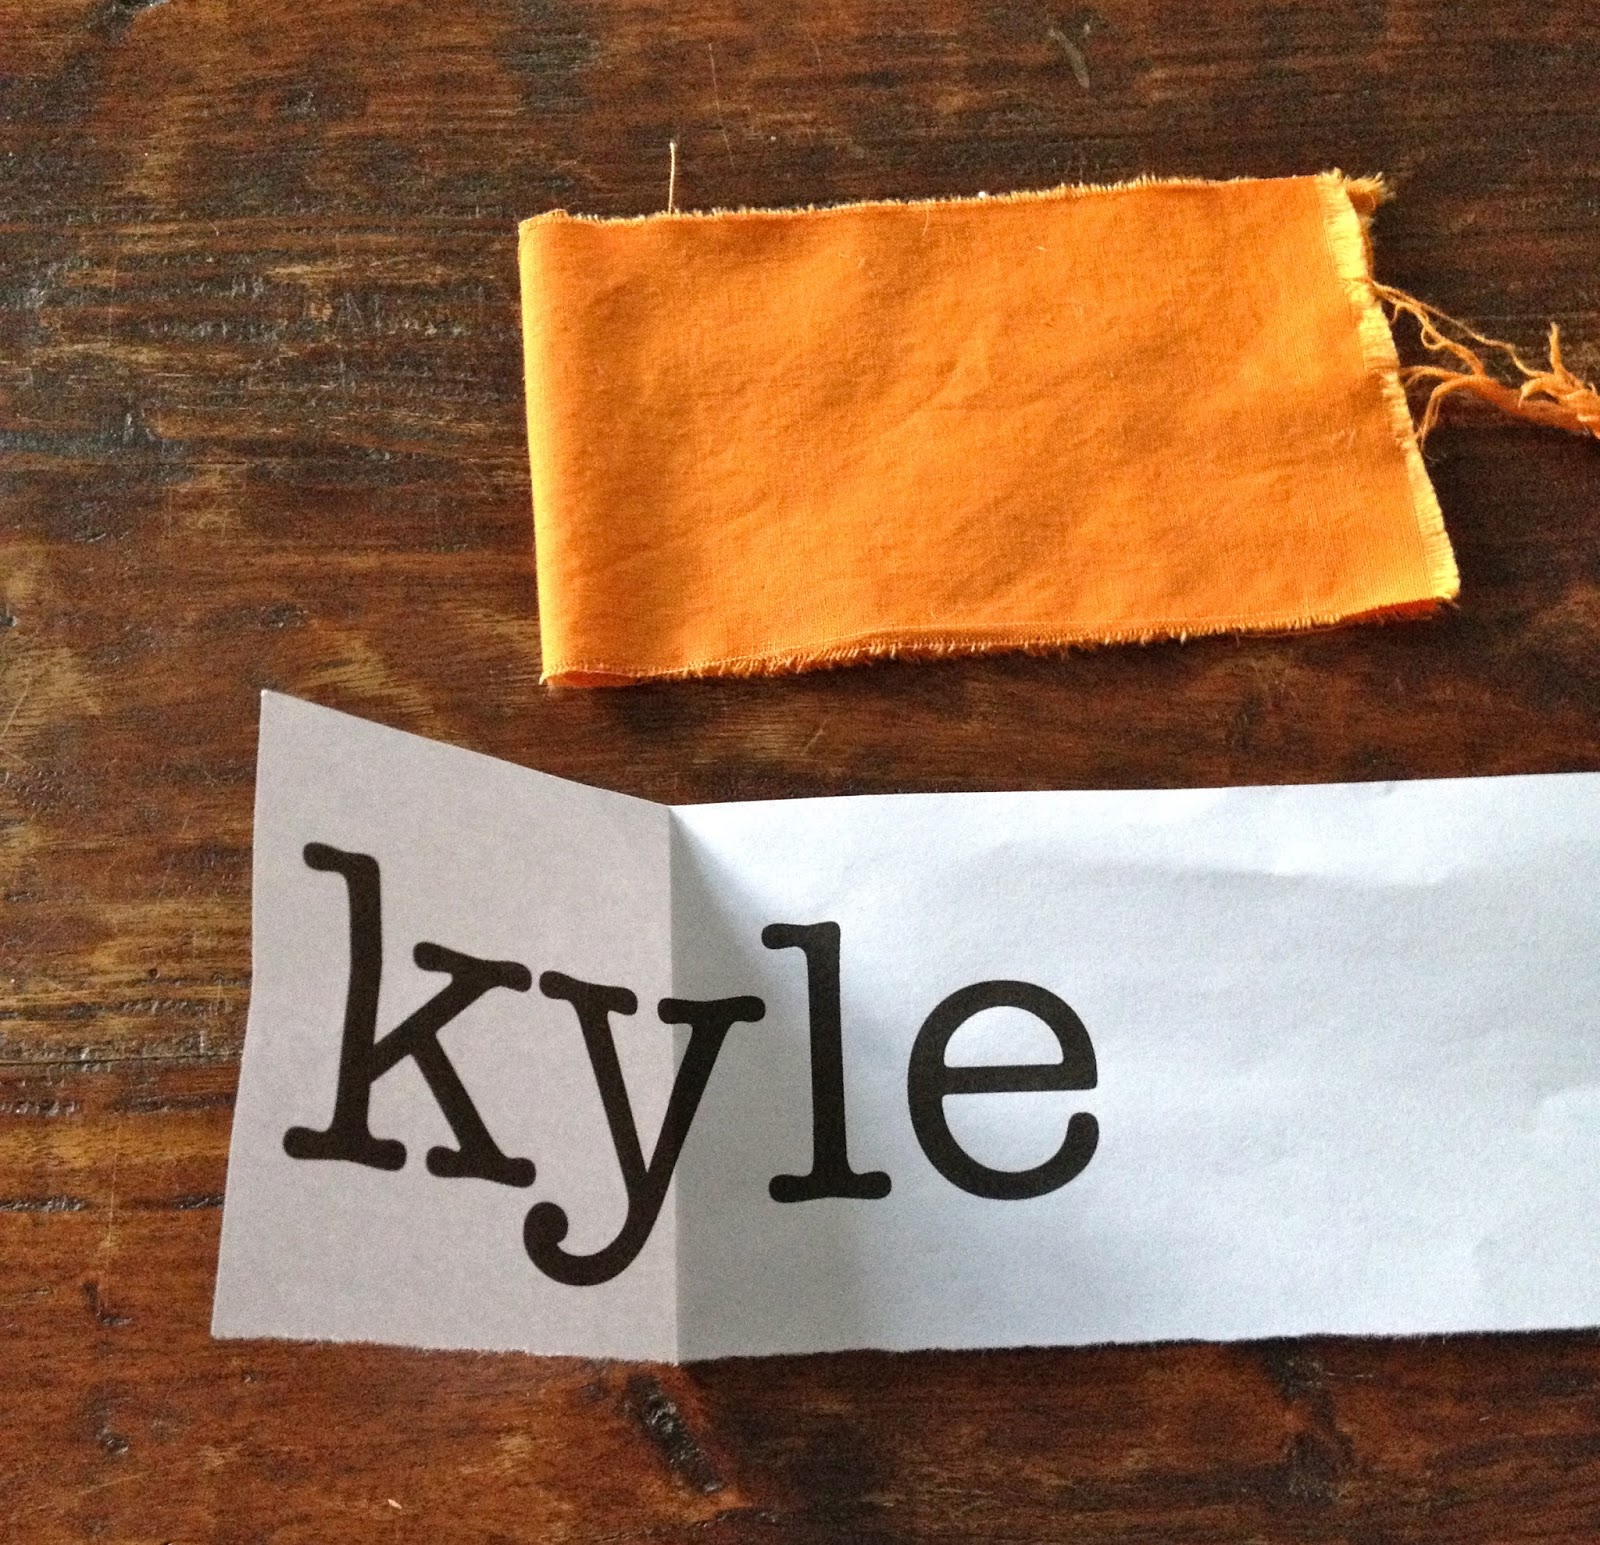
4. Line up the middle folds and pin fabric on top of printed name:


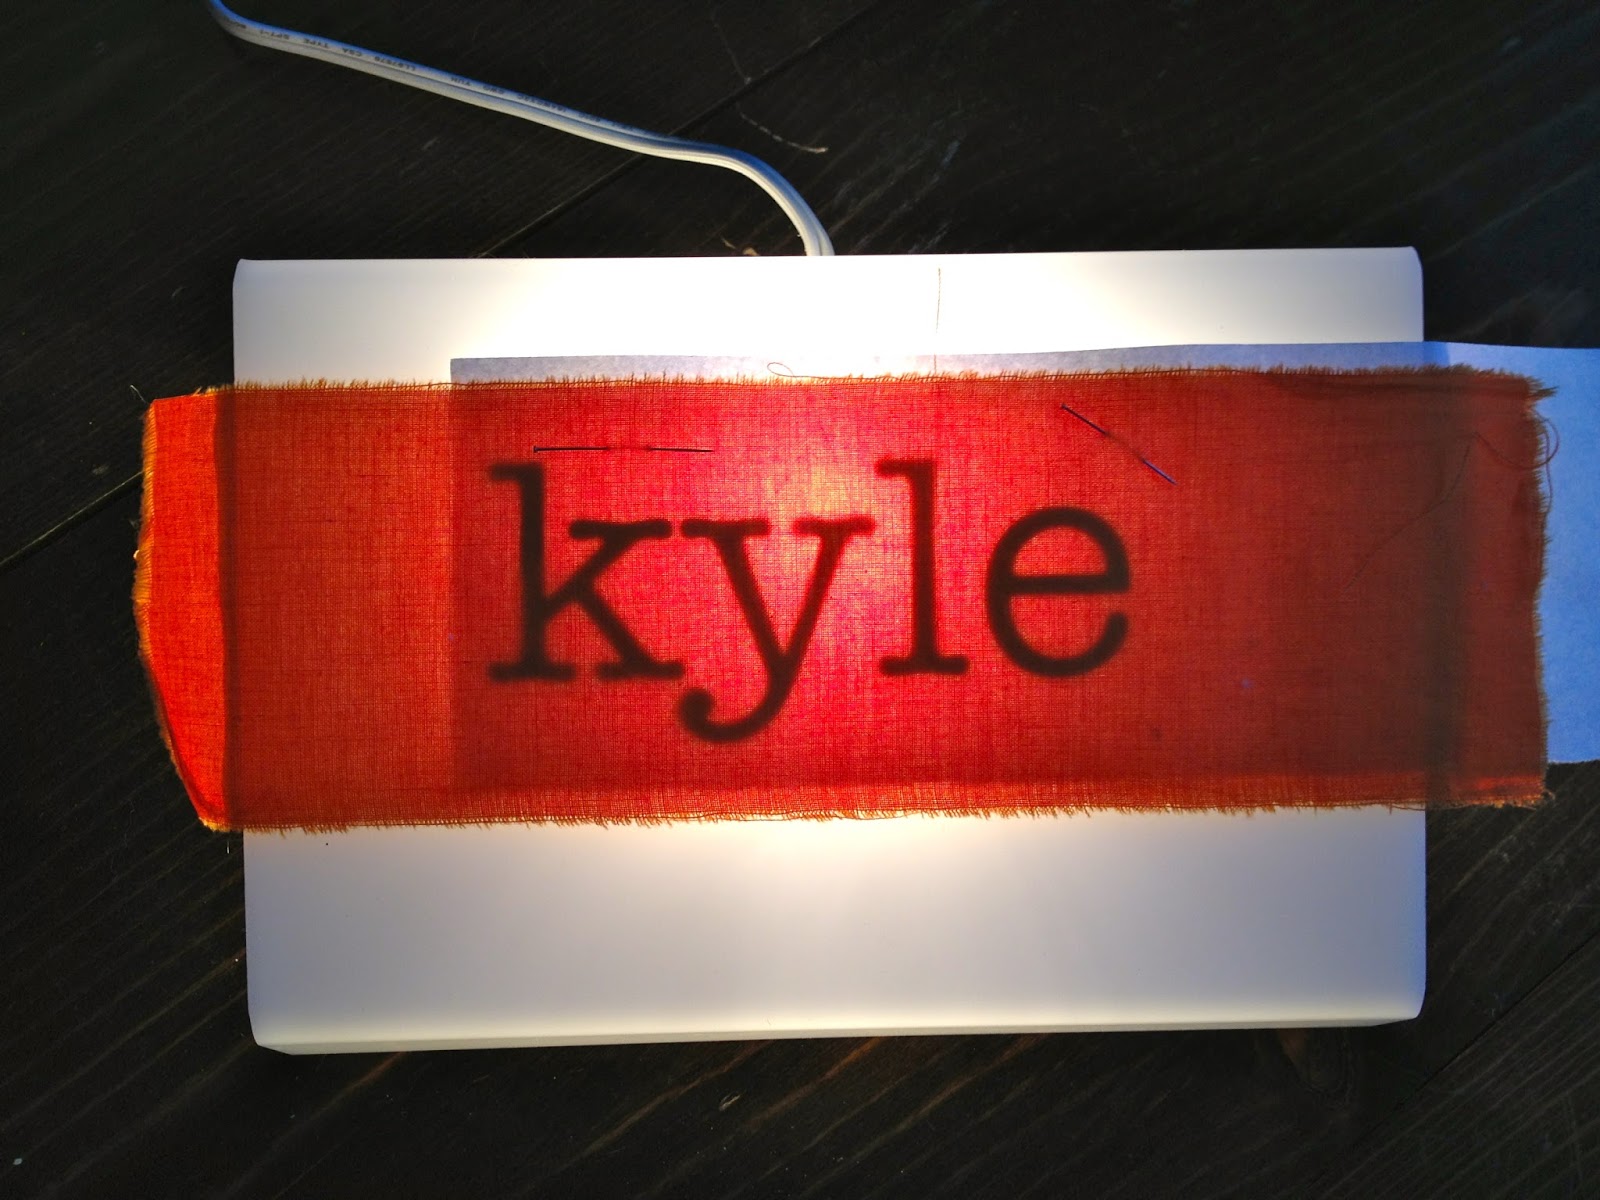
5. Using a lightbox and acrylic paint, paint inside the lines of the shadow:


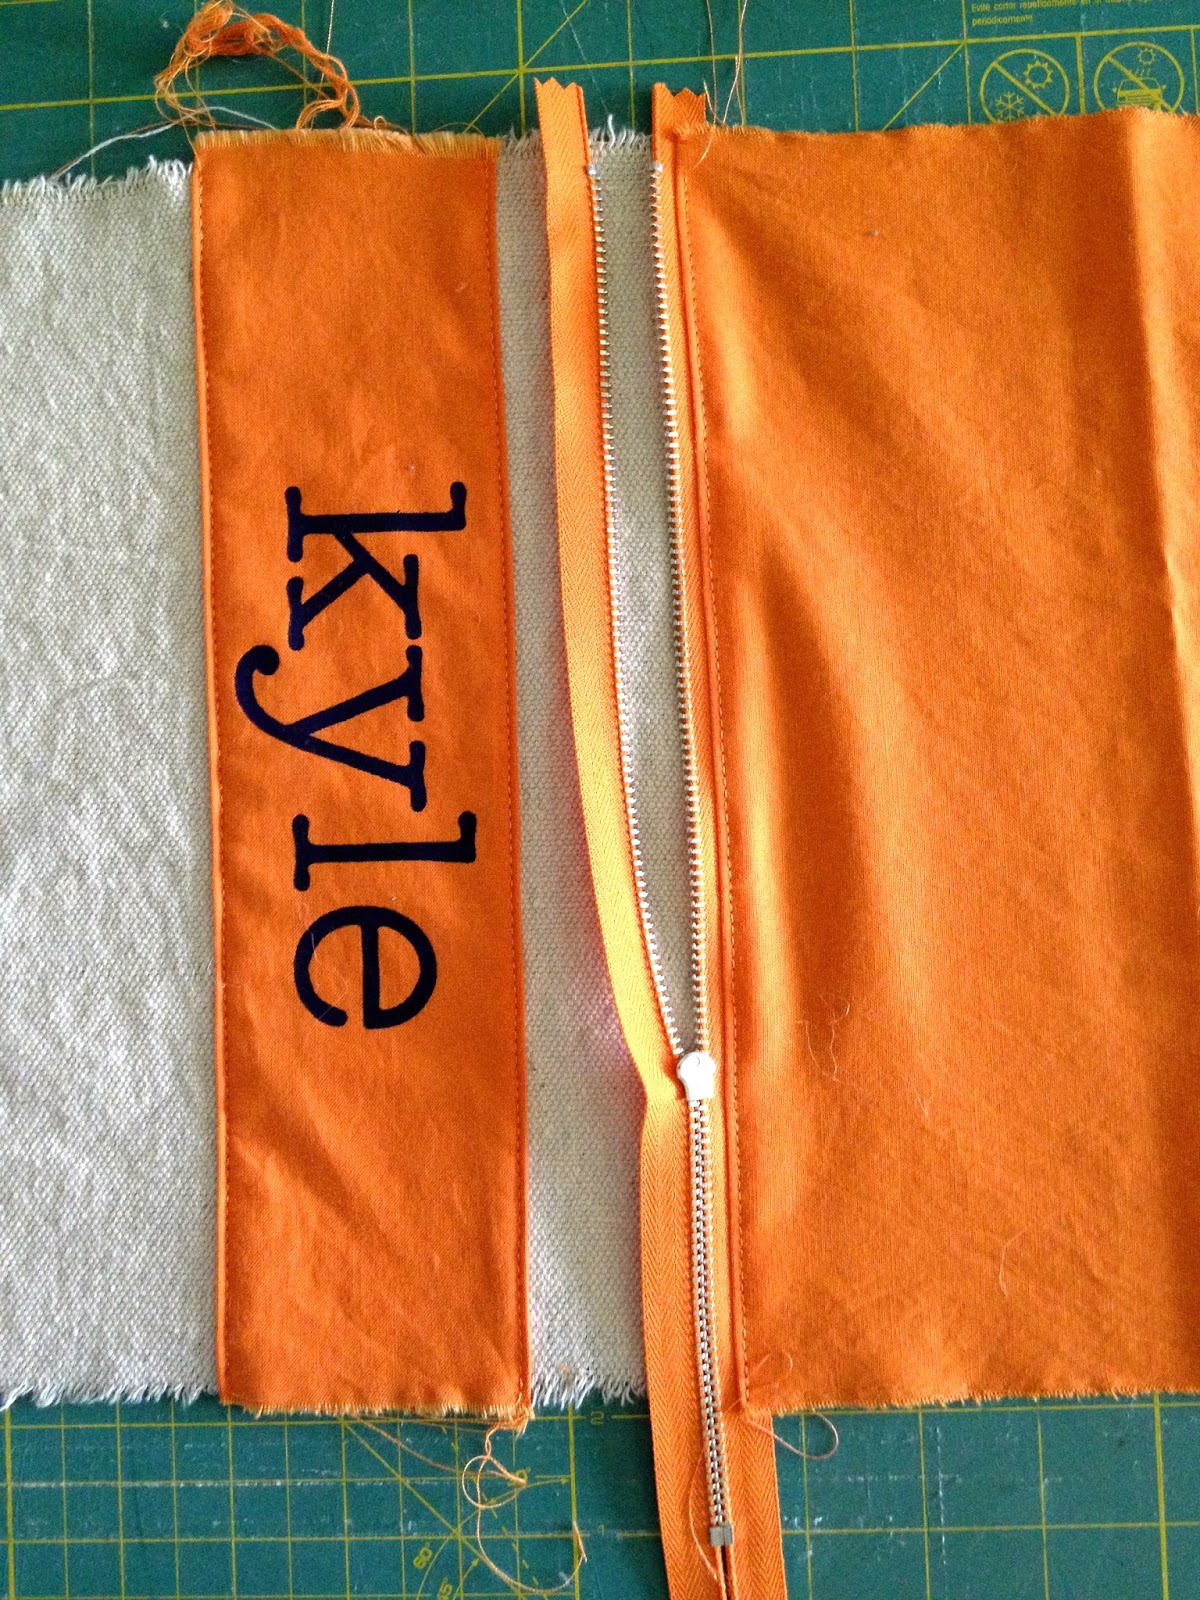
6. Press under 1/4″ raw edge on both top and bottom of stripe:


7. Pin in place on drop cloth exterior piece (2″ from top edges):


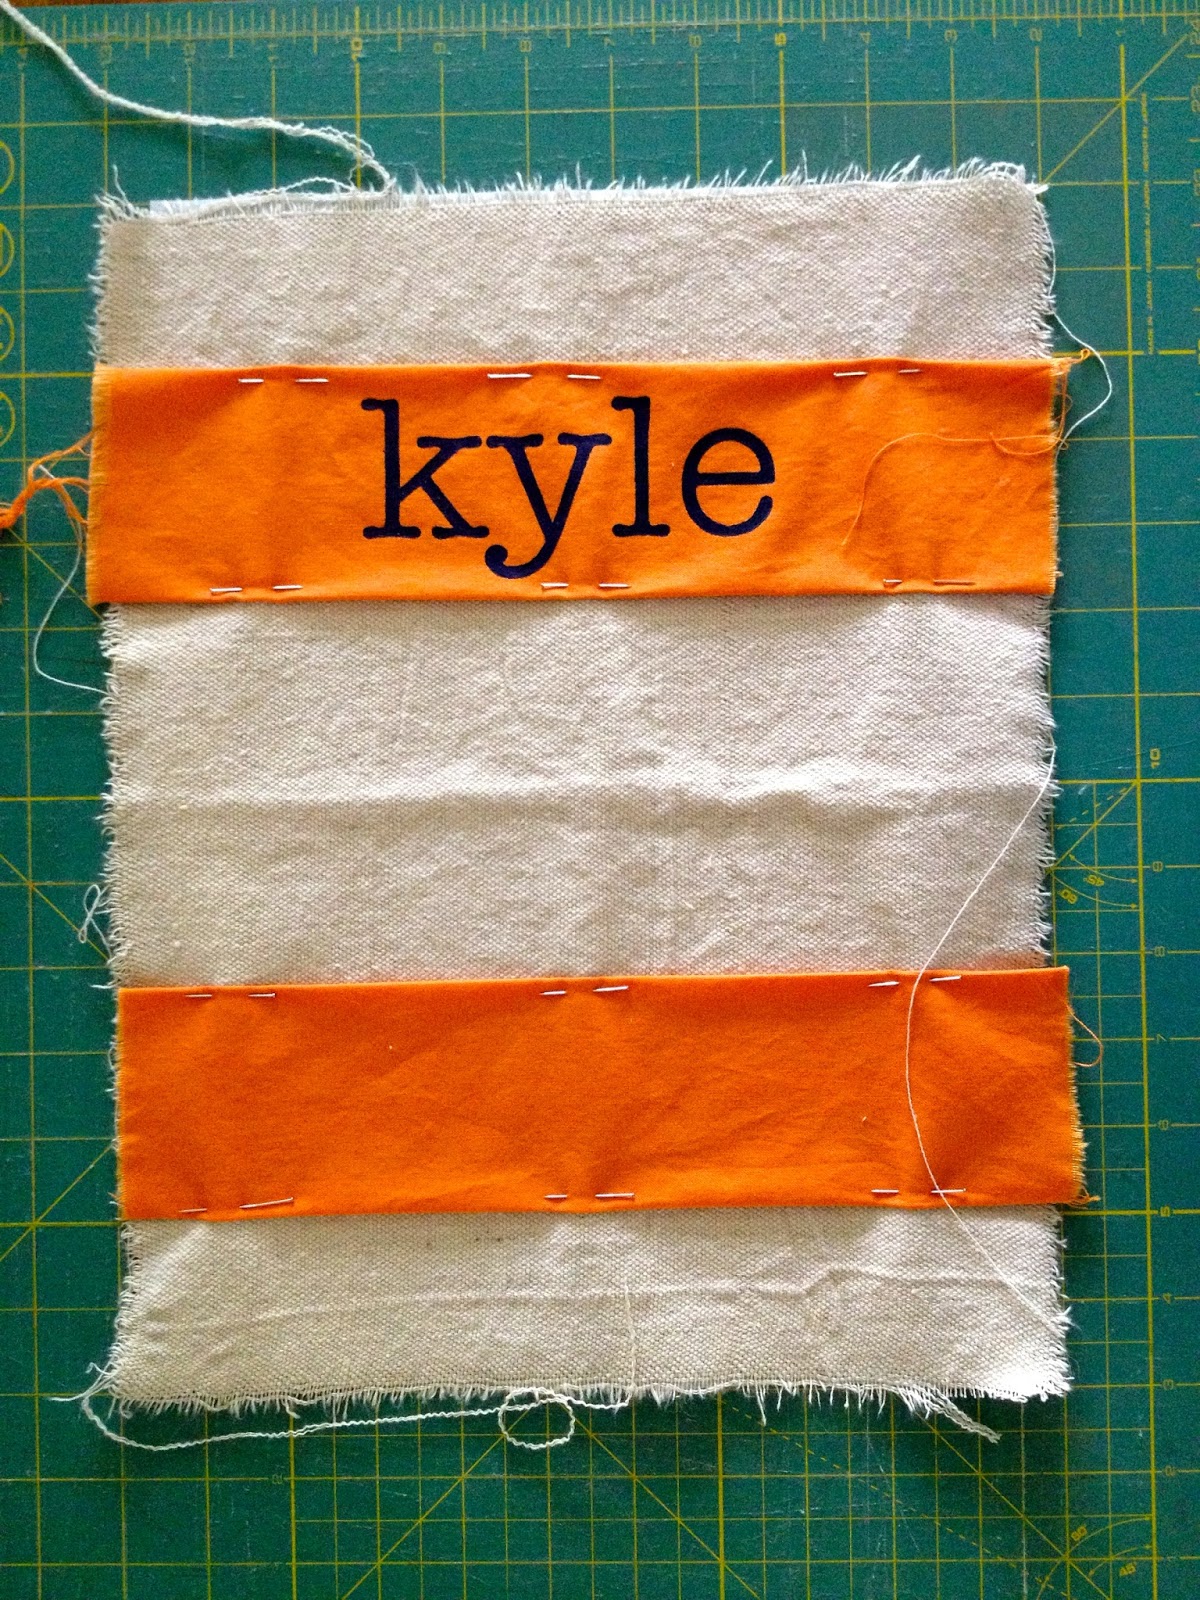
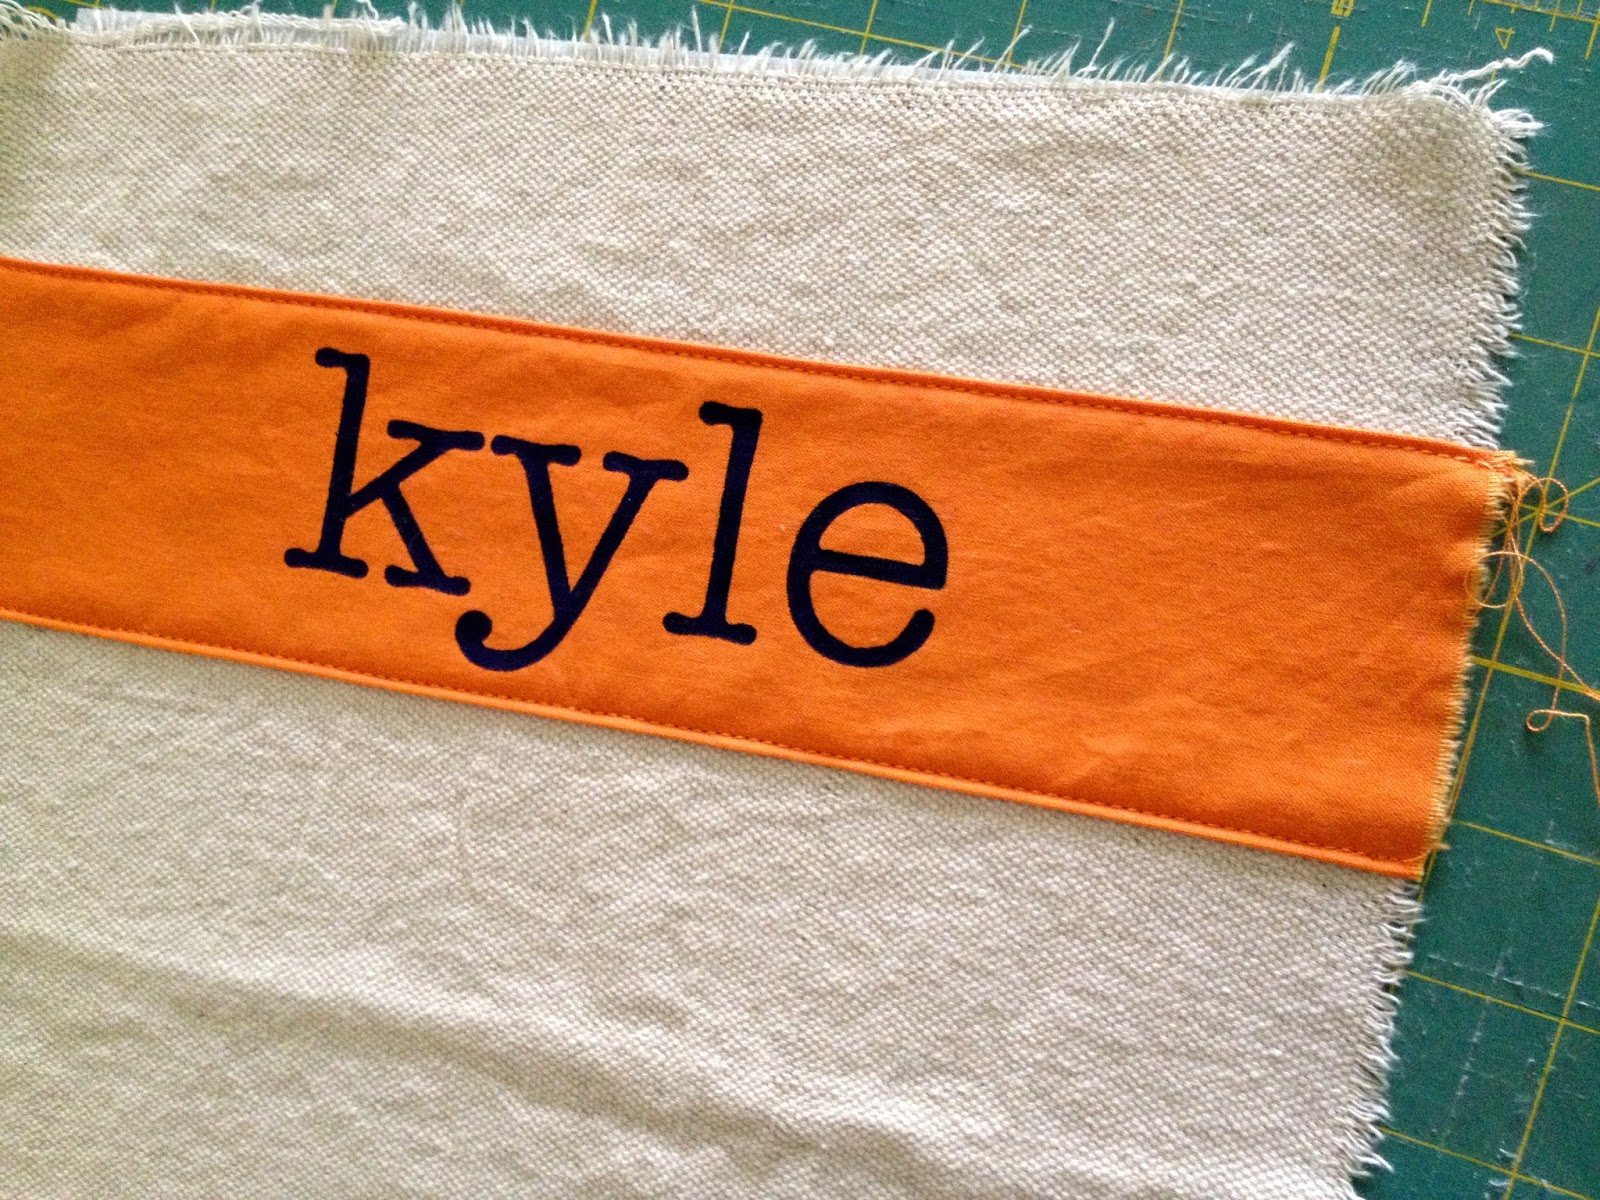
Then top stitch in place:


8. To add zipper place zipper face down at top edge then interior lining:


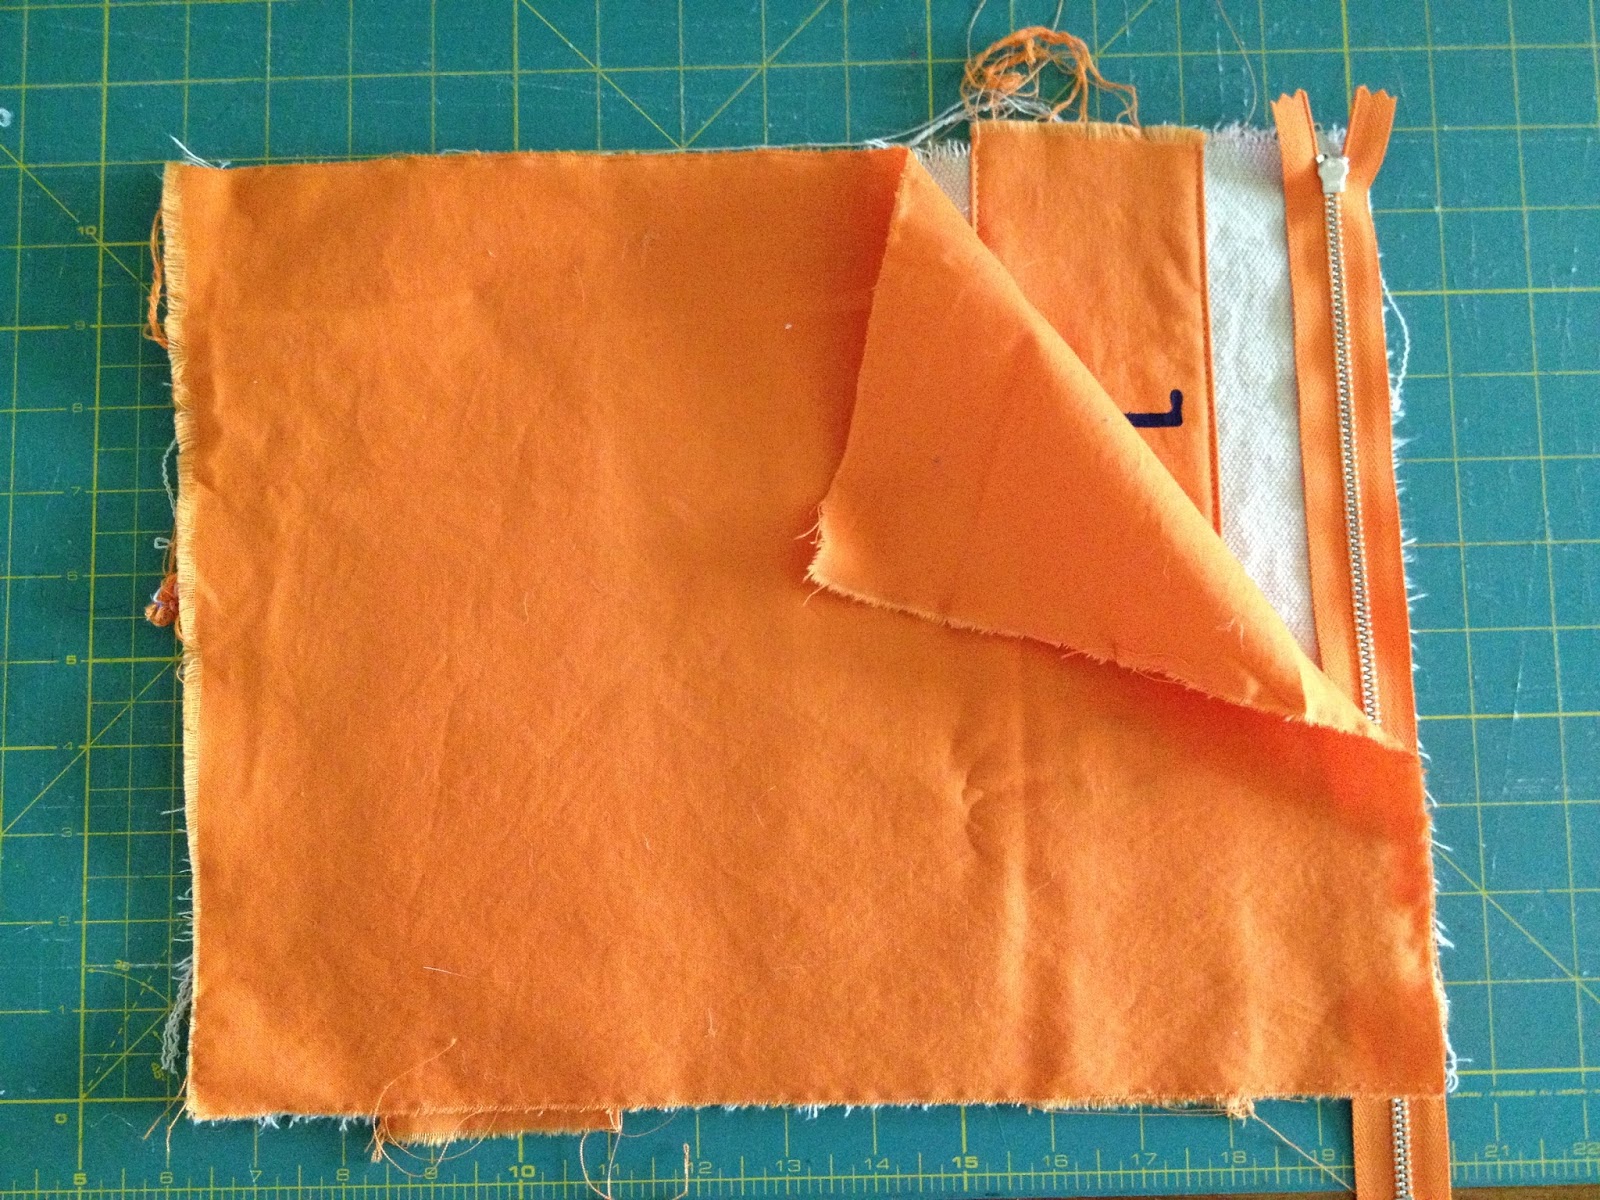
9. Sew in place with zipper foot then flip lining over and top stitch down:
10. Repeat for other end of drop cloth exterior, zipper and lining:


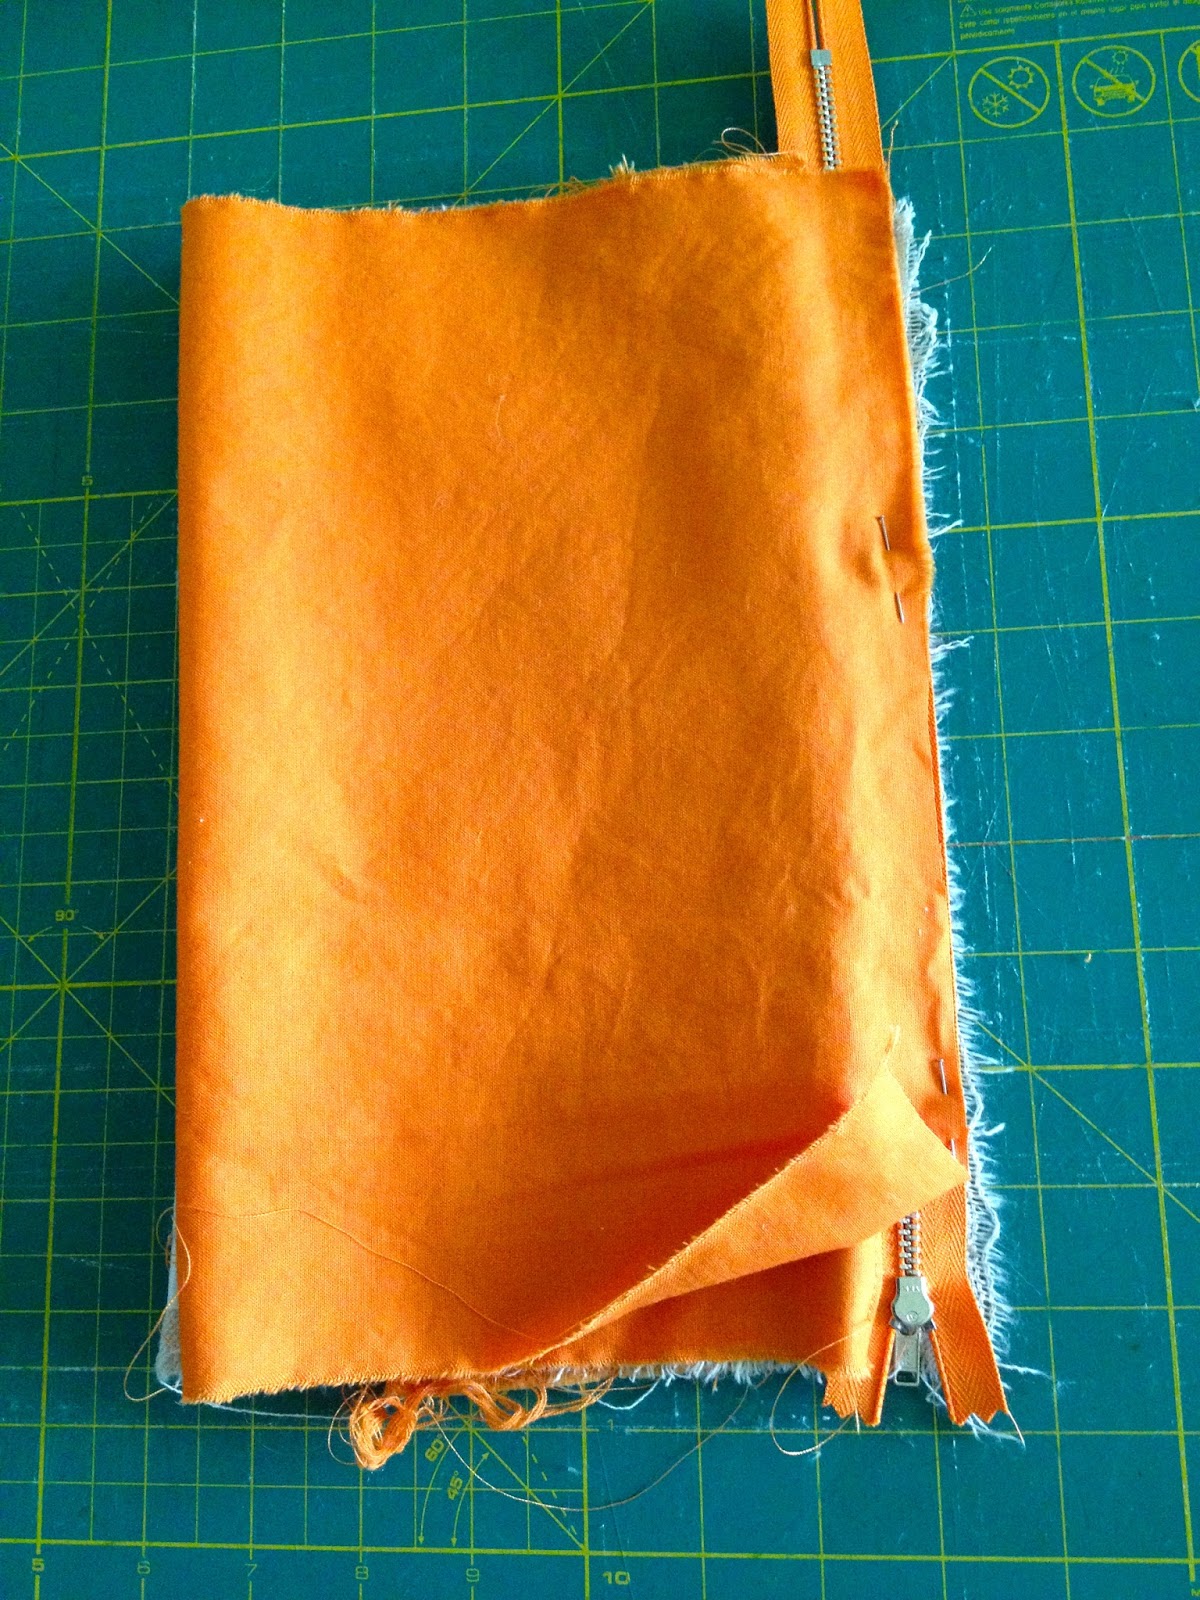
11. Now line up exterior and interior lining, be sure to line up stripe band portion at sides:


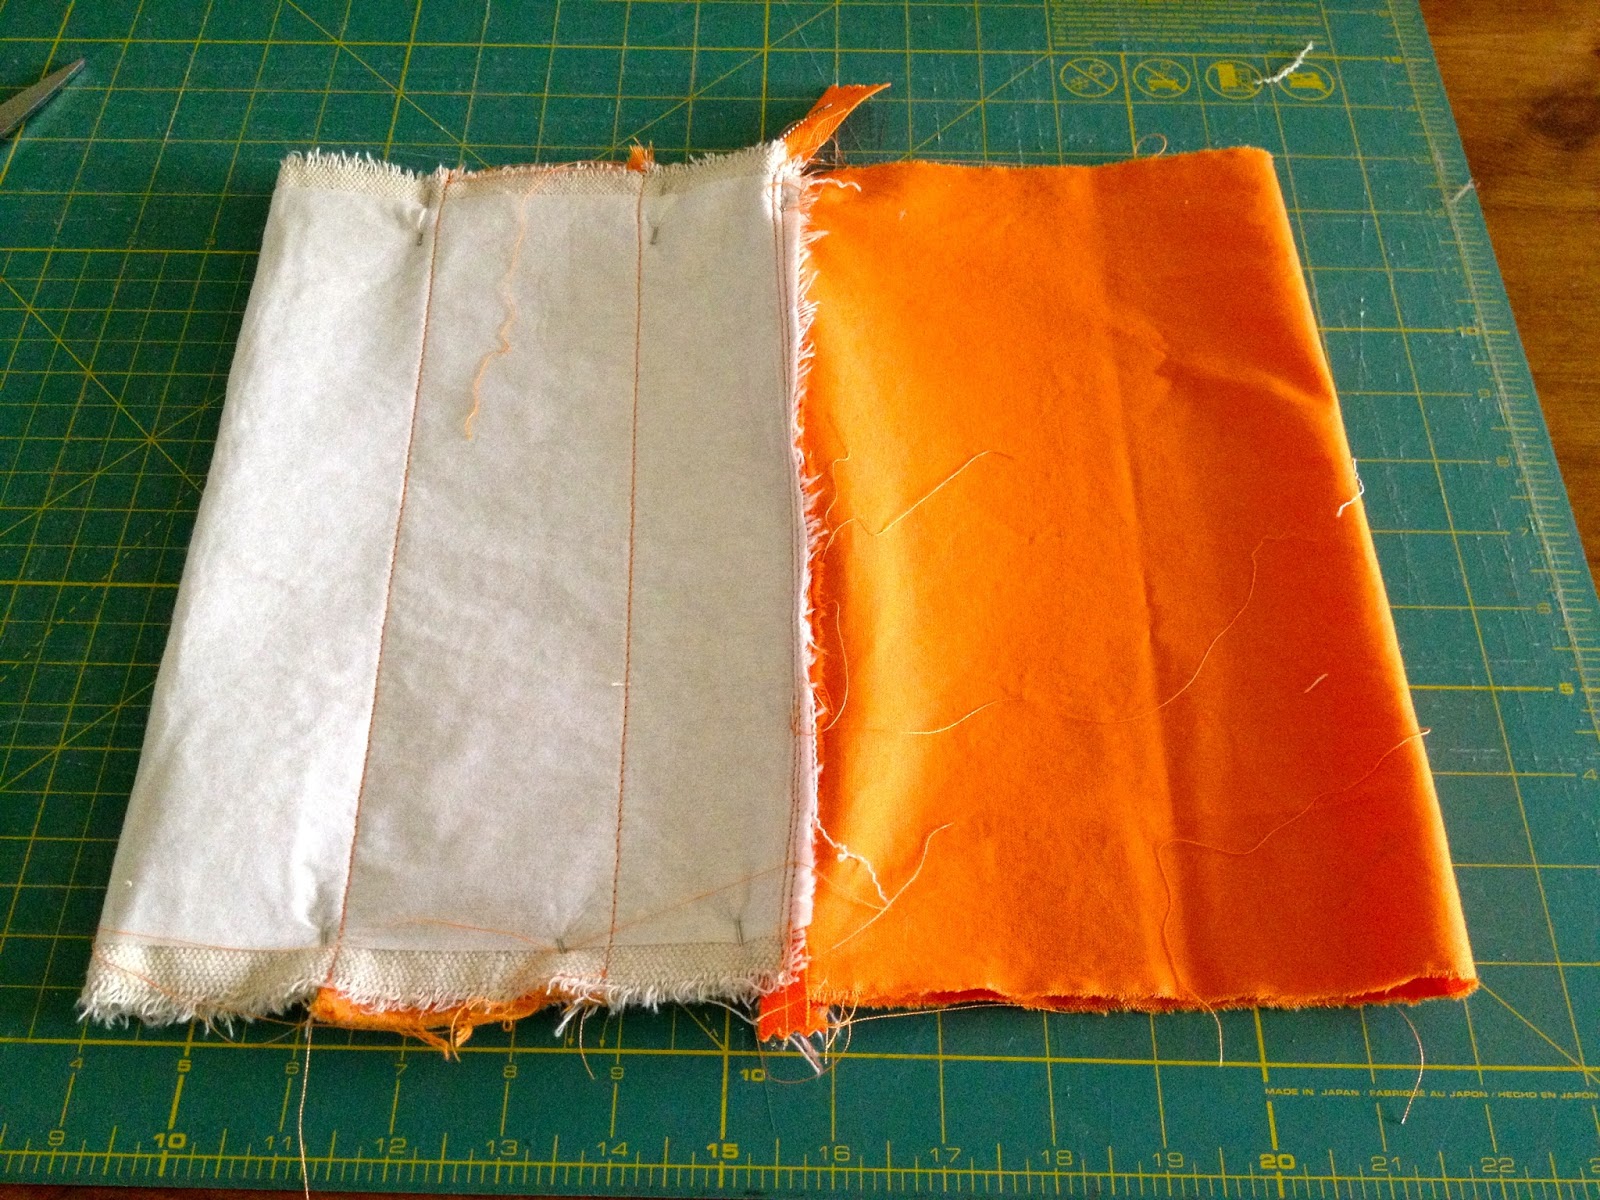
12. Sew side seams, leave one 4″ opening in lining and miter corners:


3. Clip corners and turn right side out through opening, top stitch opening closed.


Push lining down into pouch and press.

You may also like...

  • Cross Stitch Monogram Ornament PlacecardCross Stitch Monogram Ornament Placecard
  • DIY Embellished Monogram PouchDIY Embellished Monogram Pouch
  • “P” is for Painted Zipper Pouch“P” is for Painted Zipper Pouch
  • “A” is for Apple Pouch“A” is for Apple Pouch
Share this post:

Filed Under: DIY, FOR HER, FOR HIM, GIFTS, GIFTS, KIDS, POUCHES, SEW, SEWING, TEACHERS3 Comments

Reader Interactions

Comments

  1. [email protected] says

    September 9, 2013 at 2:00 PM

    These are SO cute!

    Reply
  2. Rhonda says

    September 13, 2013 at 2:31 AM

    We love what you have done. Please come share it with us at http://obsessiveandcreative.blogspot.com Craft Frenzy Friday! The party starts Thursday to 7pm cst. I won't be a party without you!

    Reply
  3. Brittany says

    September 15, 2013 at 11:44 PM

    Awesome tutorial! Those little pouches are so cute and would make really great gifts! Thanks for sharing!!
    http://healthybodyhappywallet.blogspot.com/

    Reply

Leave a Reply Cancel reply

Your email address will not be published. Required fields are marked *

Primary Sidebar

Hi! I’m Jaime

Jaime Costiglio

Hello!

Thank you for stopping by.
Join me for lots of DIY.

Read more

Get new posts via email

Handbuilt Holiday: Gift Project Plans

handbuilt holiday gift project plans

Collection of DIY gift project plans to build.

The Home Depot Tool Prospective

THD Prospective

Tools to consider for the DIYer.

Archives

The Home Depot Logo
Copyright © 2023 Jaime Costiglio · Custom site by Moonsteam Design

Privacy Policy