Sew: monogrammed seersucker pouches
Summer is knocking on the door and nothing says summer like seersucker.
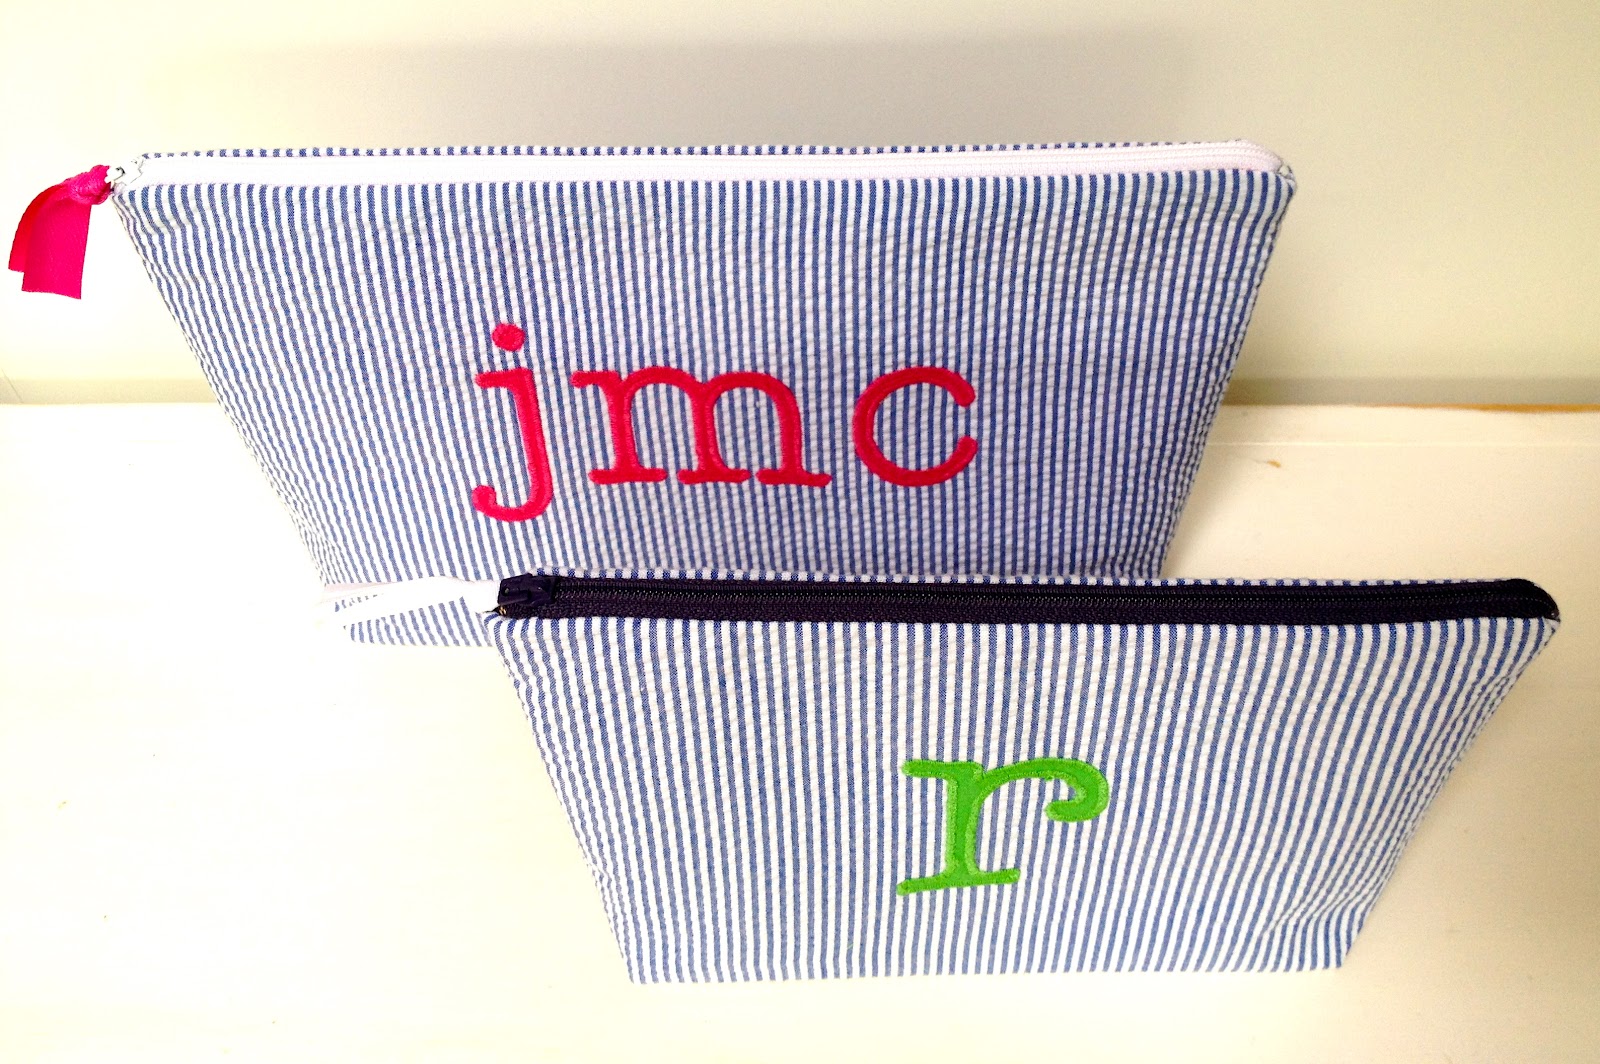
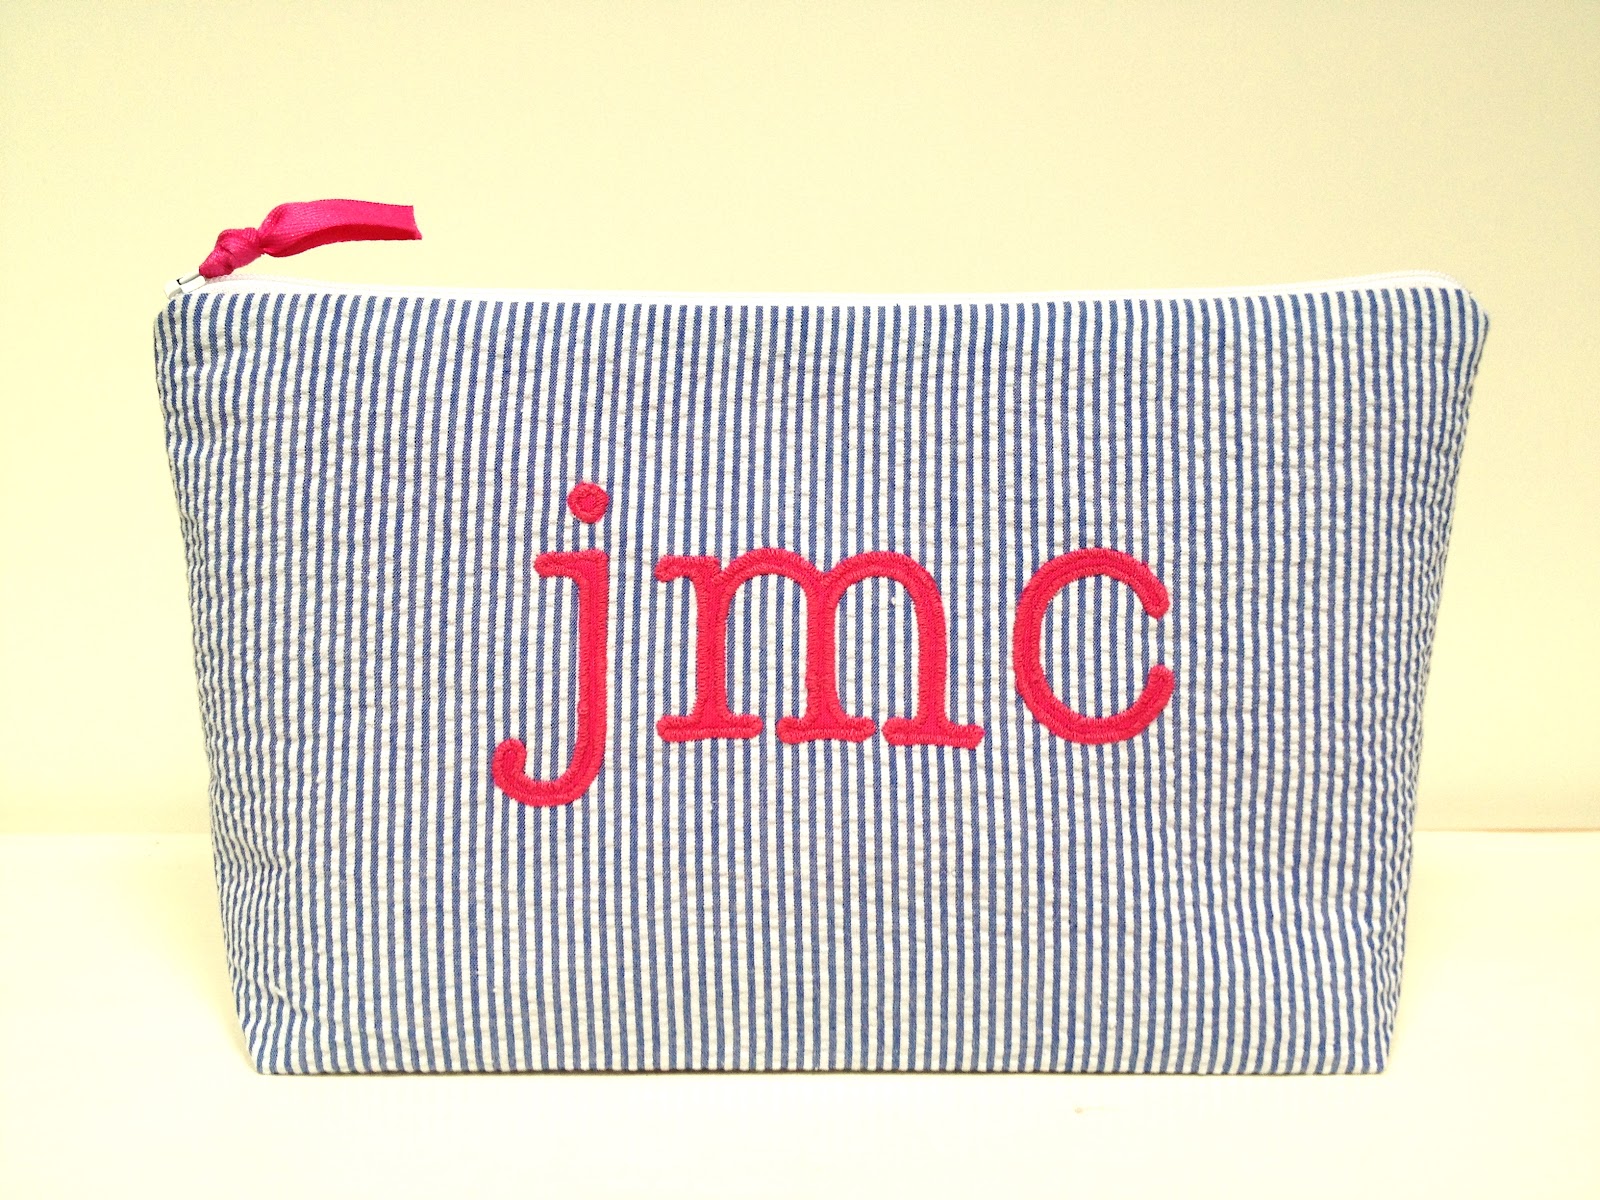
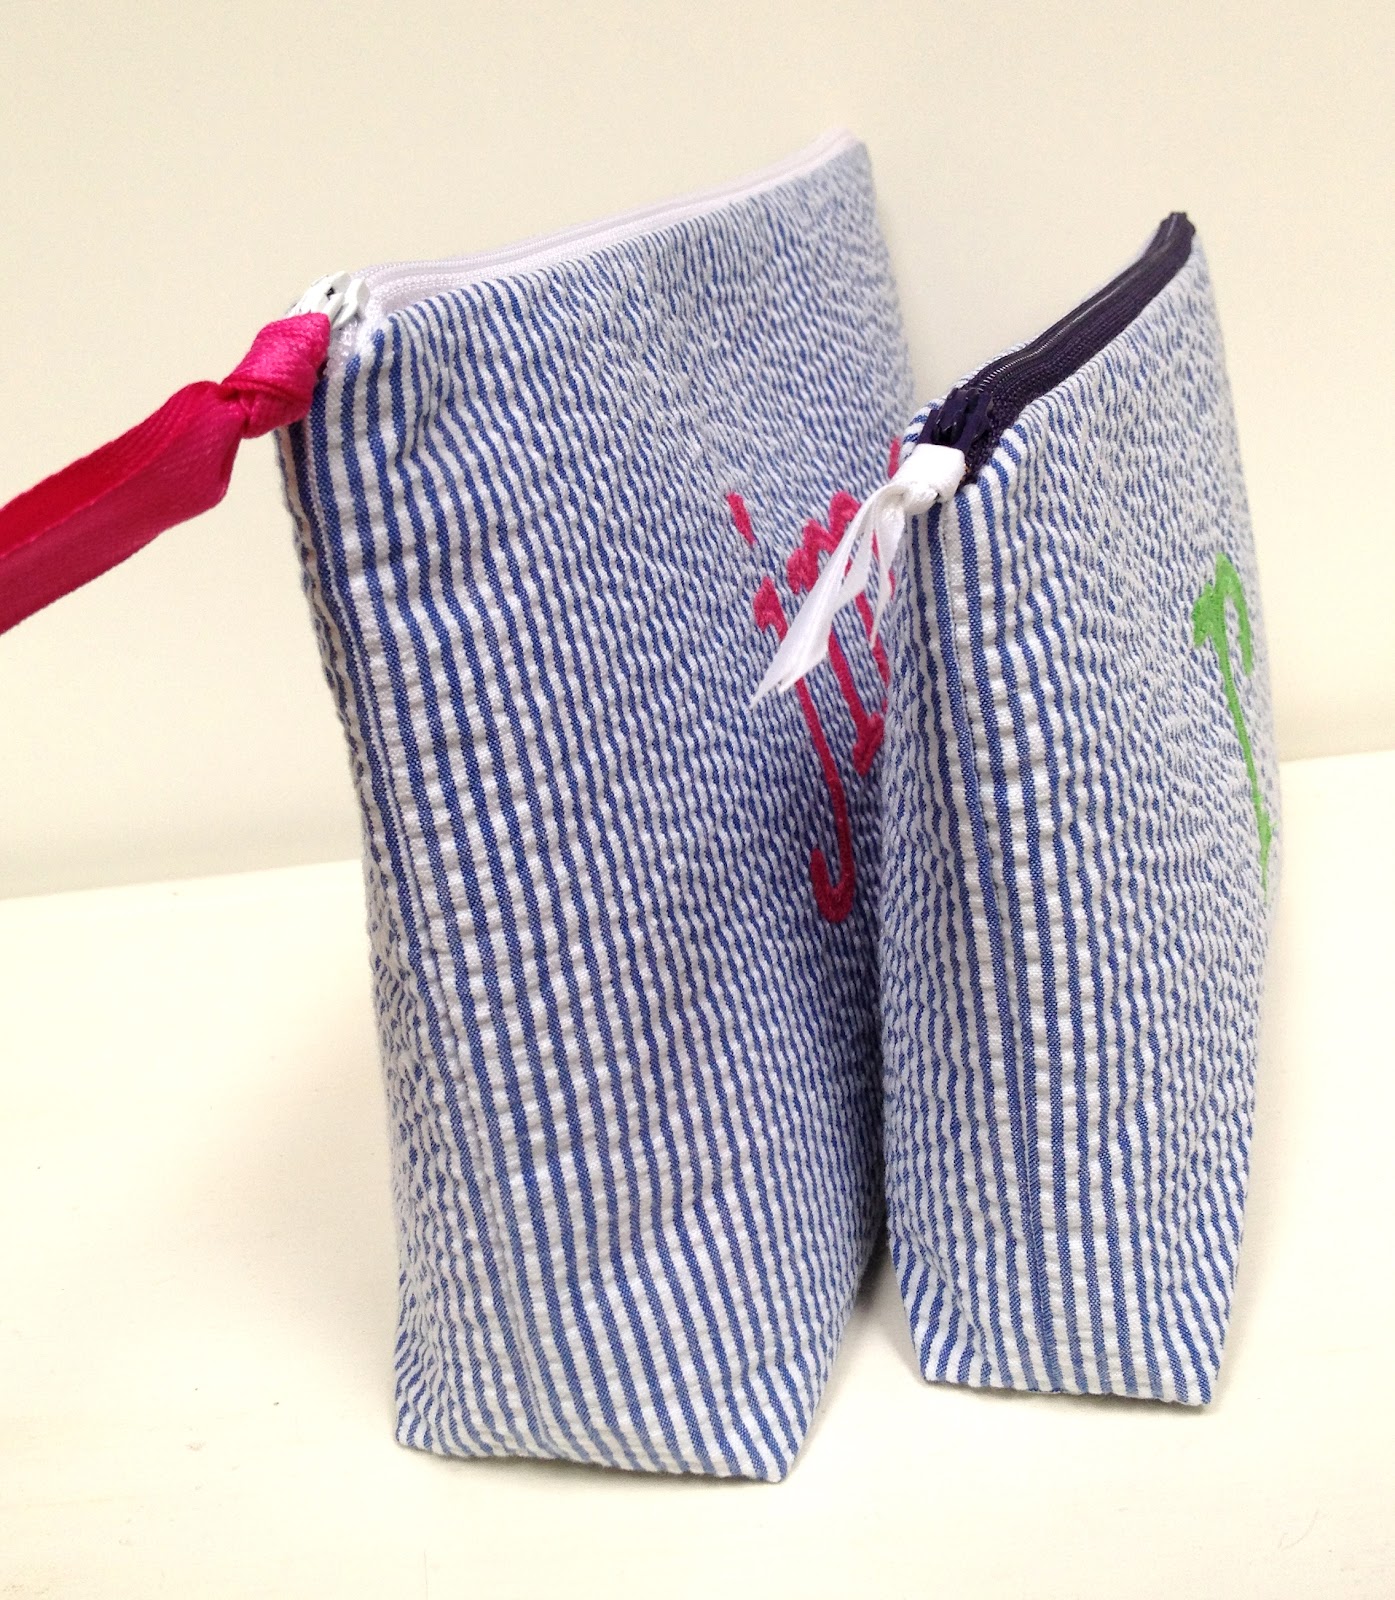
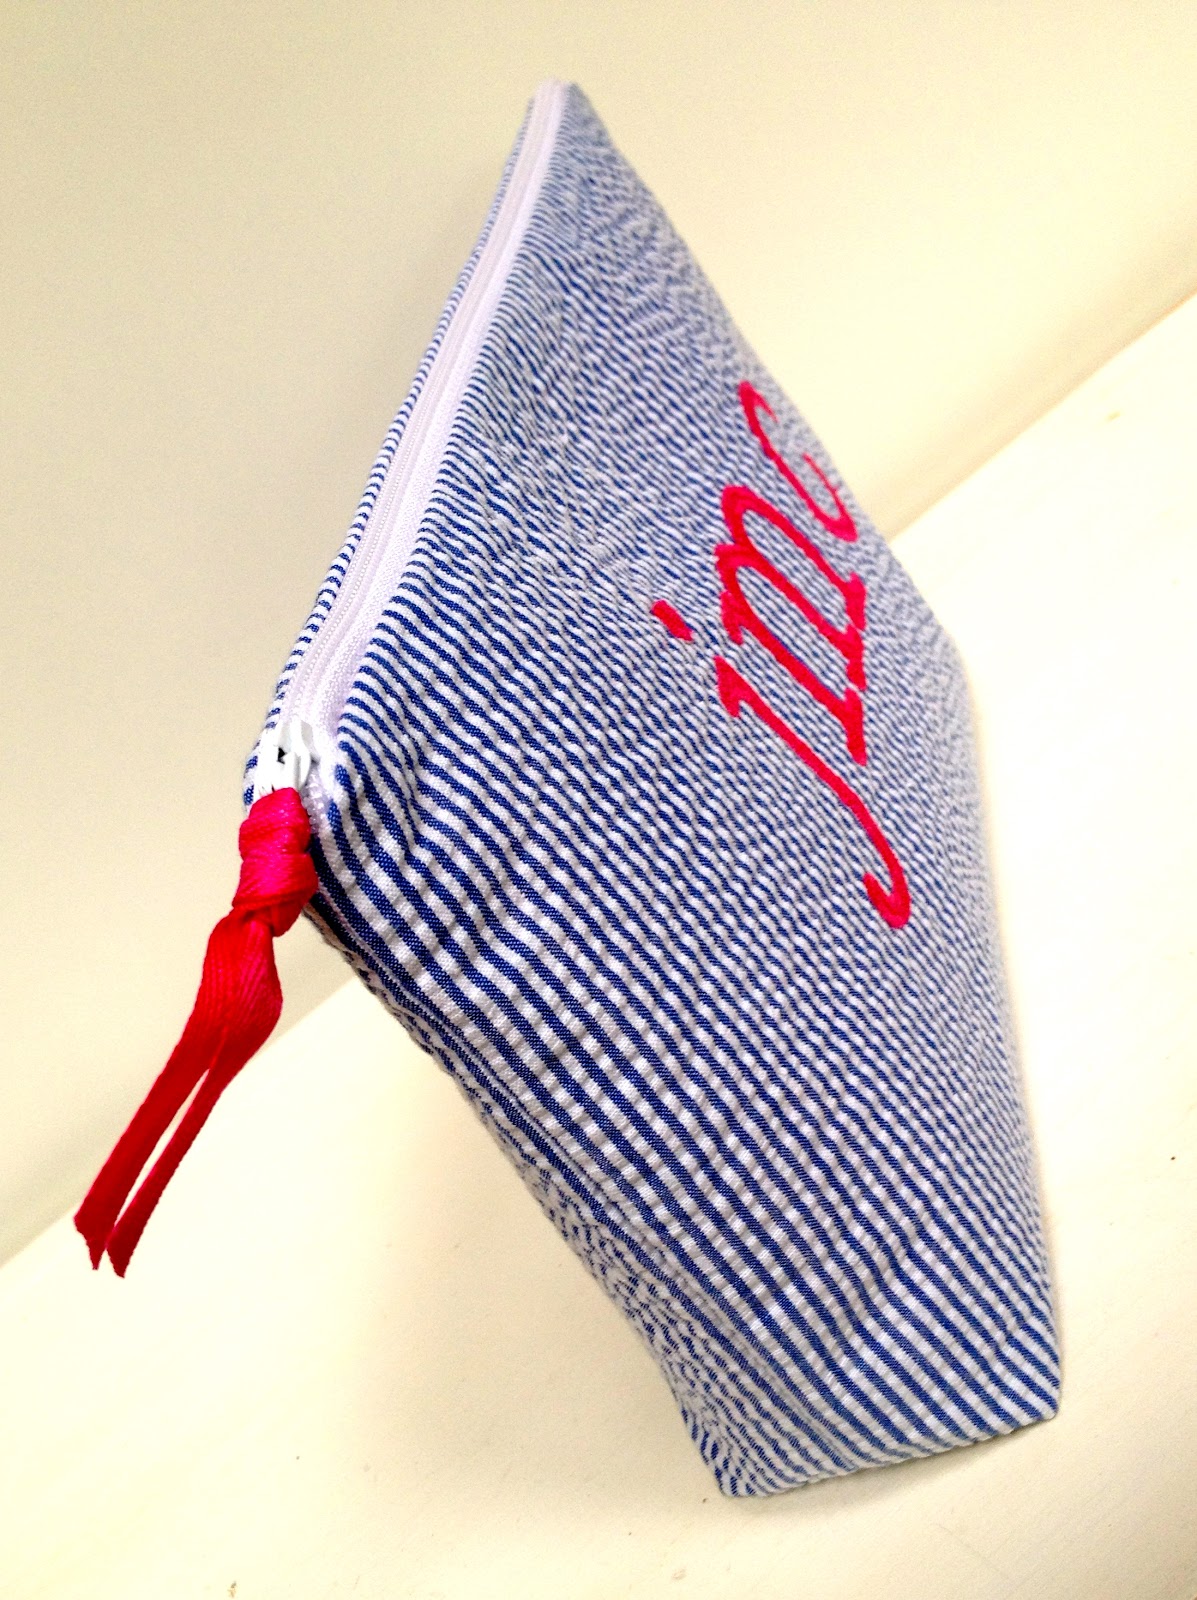
Finally I made a pouch for myself:
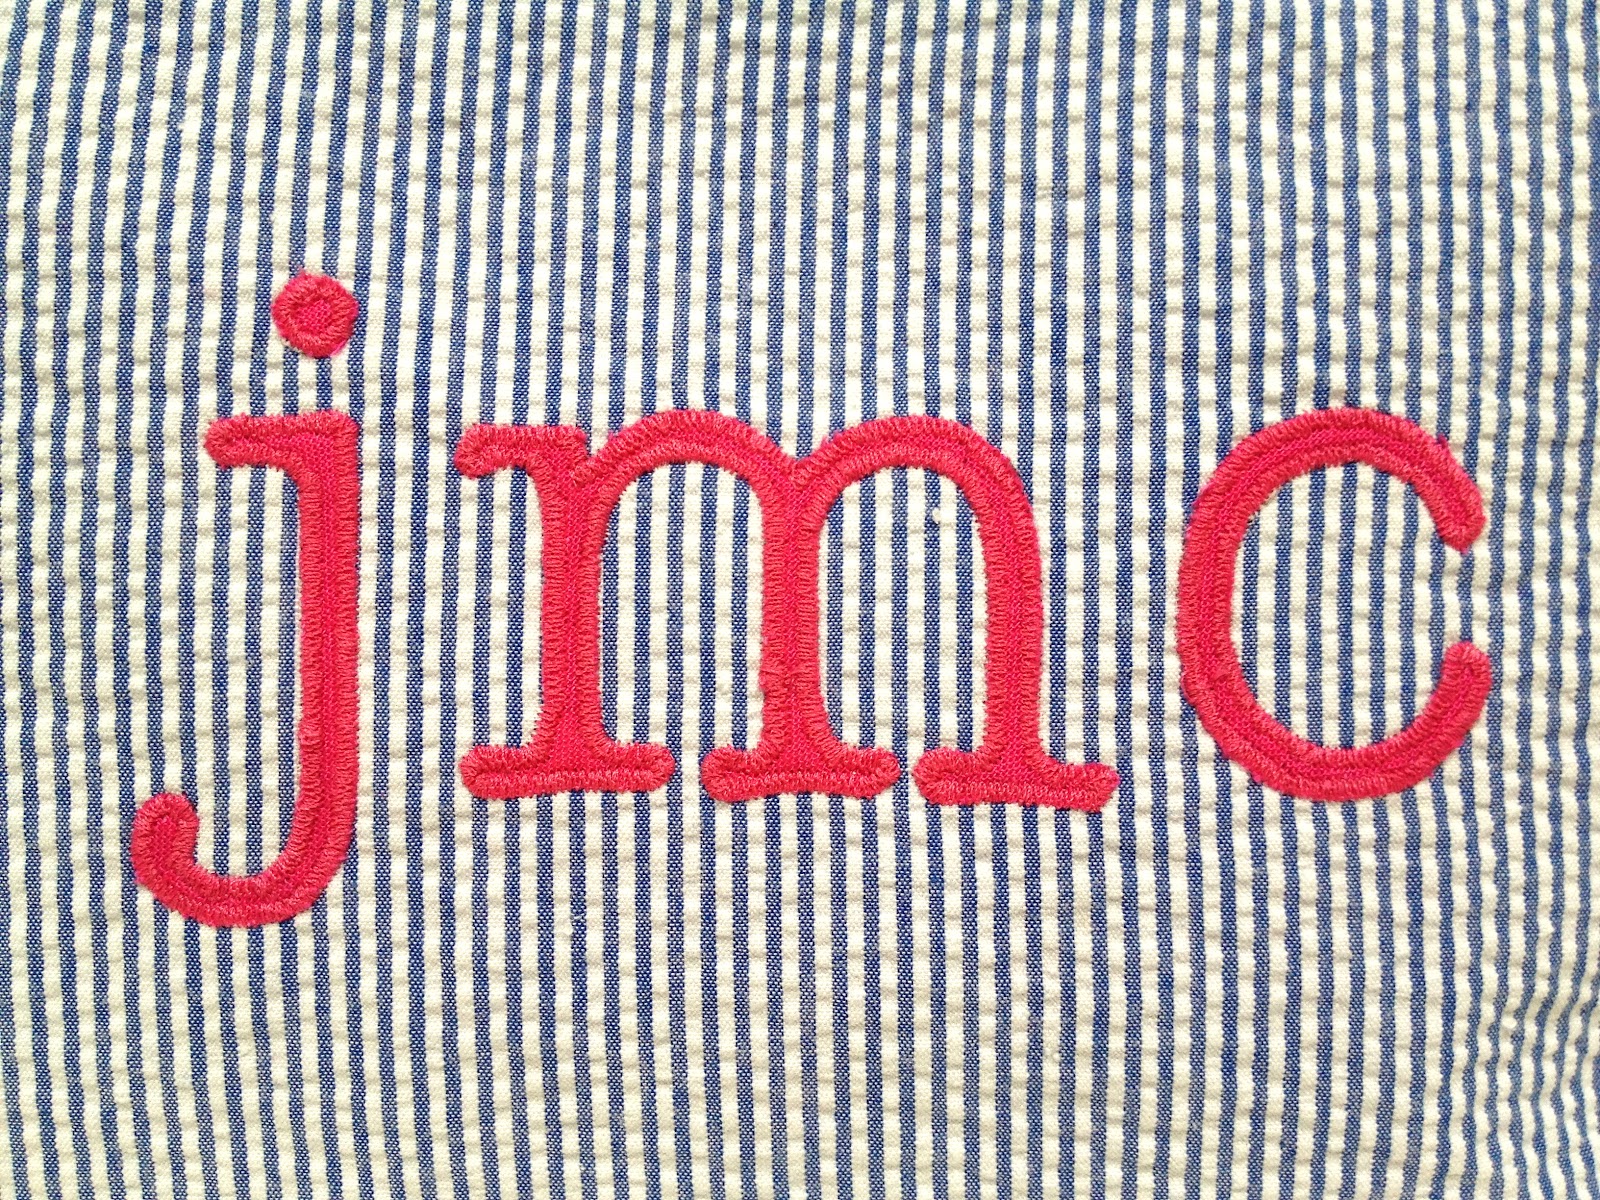
And a smaller more simplified version for a new baby boy gift:
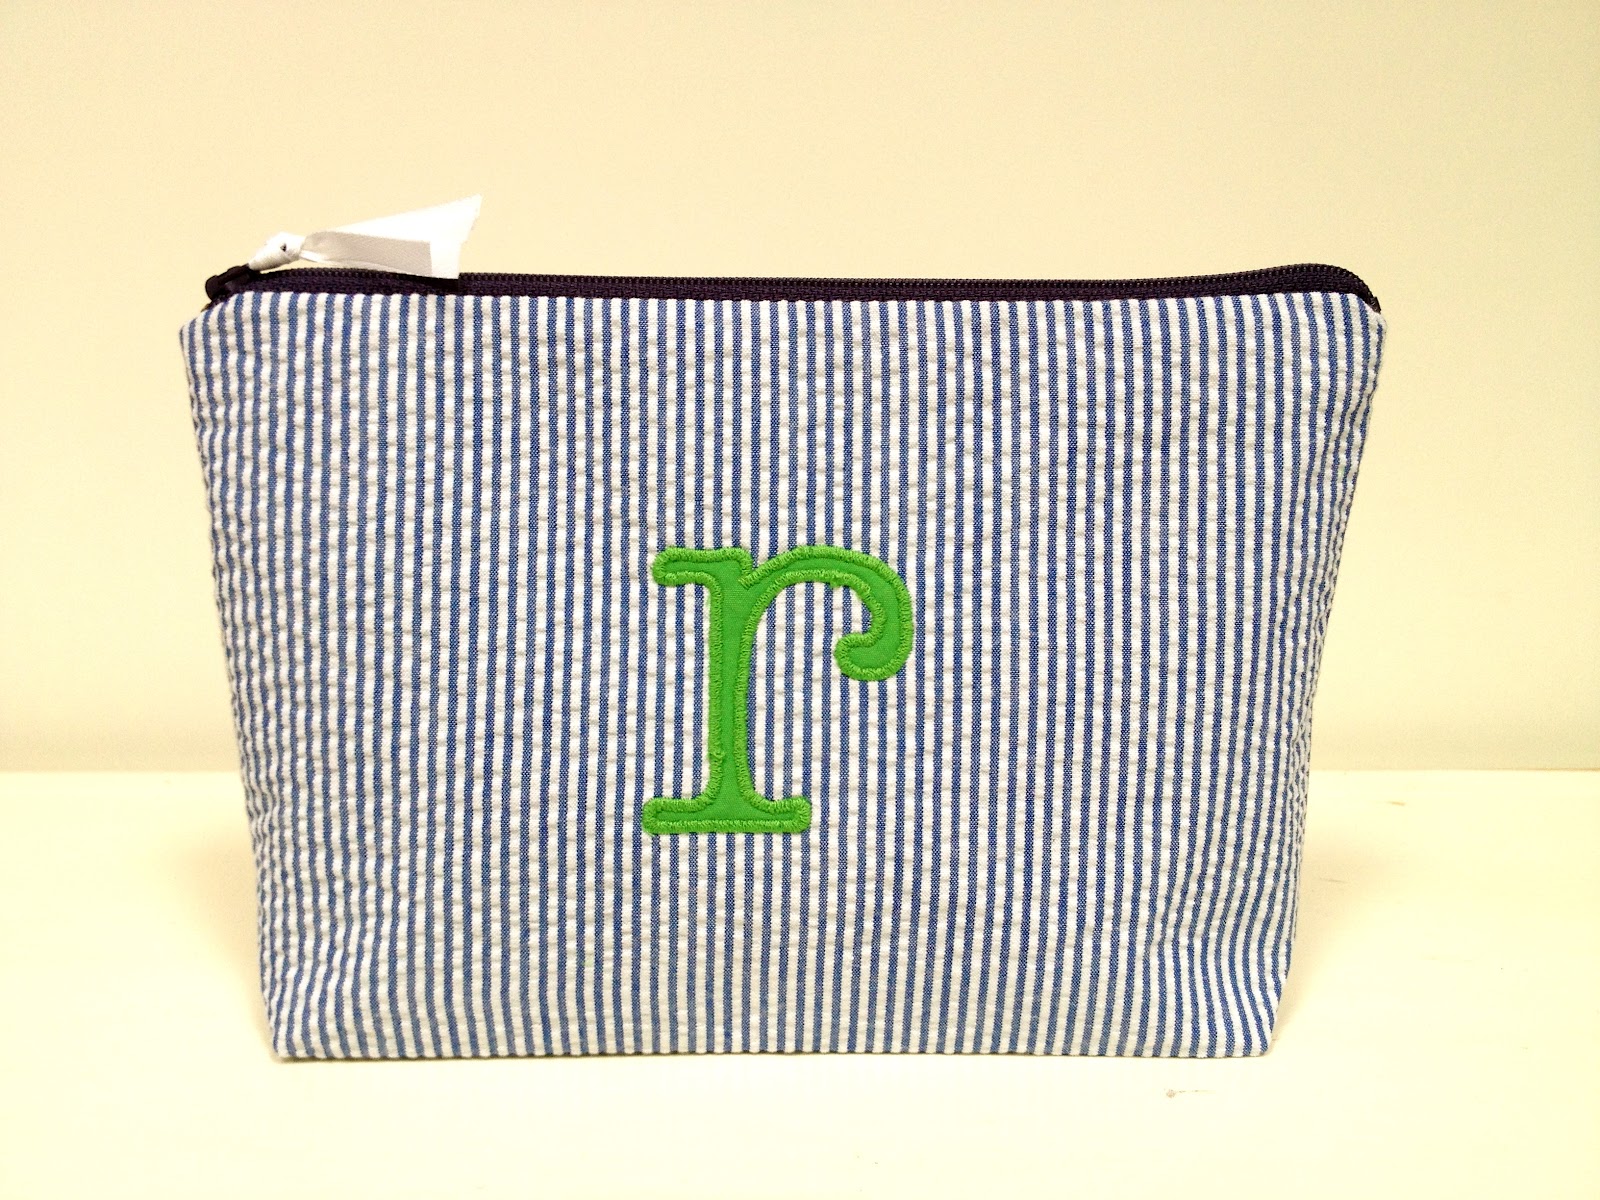
The lining matches the monogram and I’m loving the navy zipper with the green, a tiny bit more masculine for the male set:

Perfect for the beach bag, pool bag, cosmetics or travel:

Here’s how I made the pouches:
1. Supplies:
(for green ‘r’ version)
1 – blue seersucker @ 10″w x 14″l
1 – fusible interfacing @ 10″w x 14″l
2 – lining fabric (kelly green) @ 10″w x 7″l
1 – navy zipper @ 9″
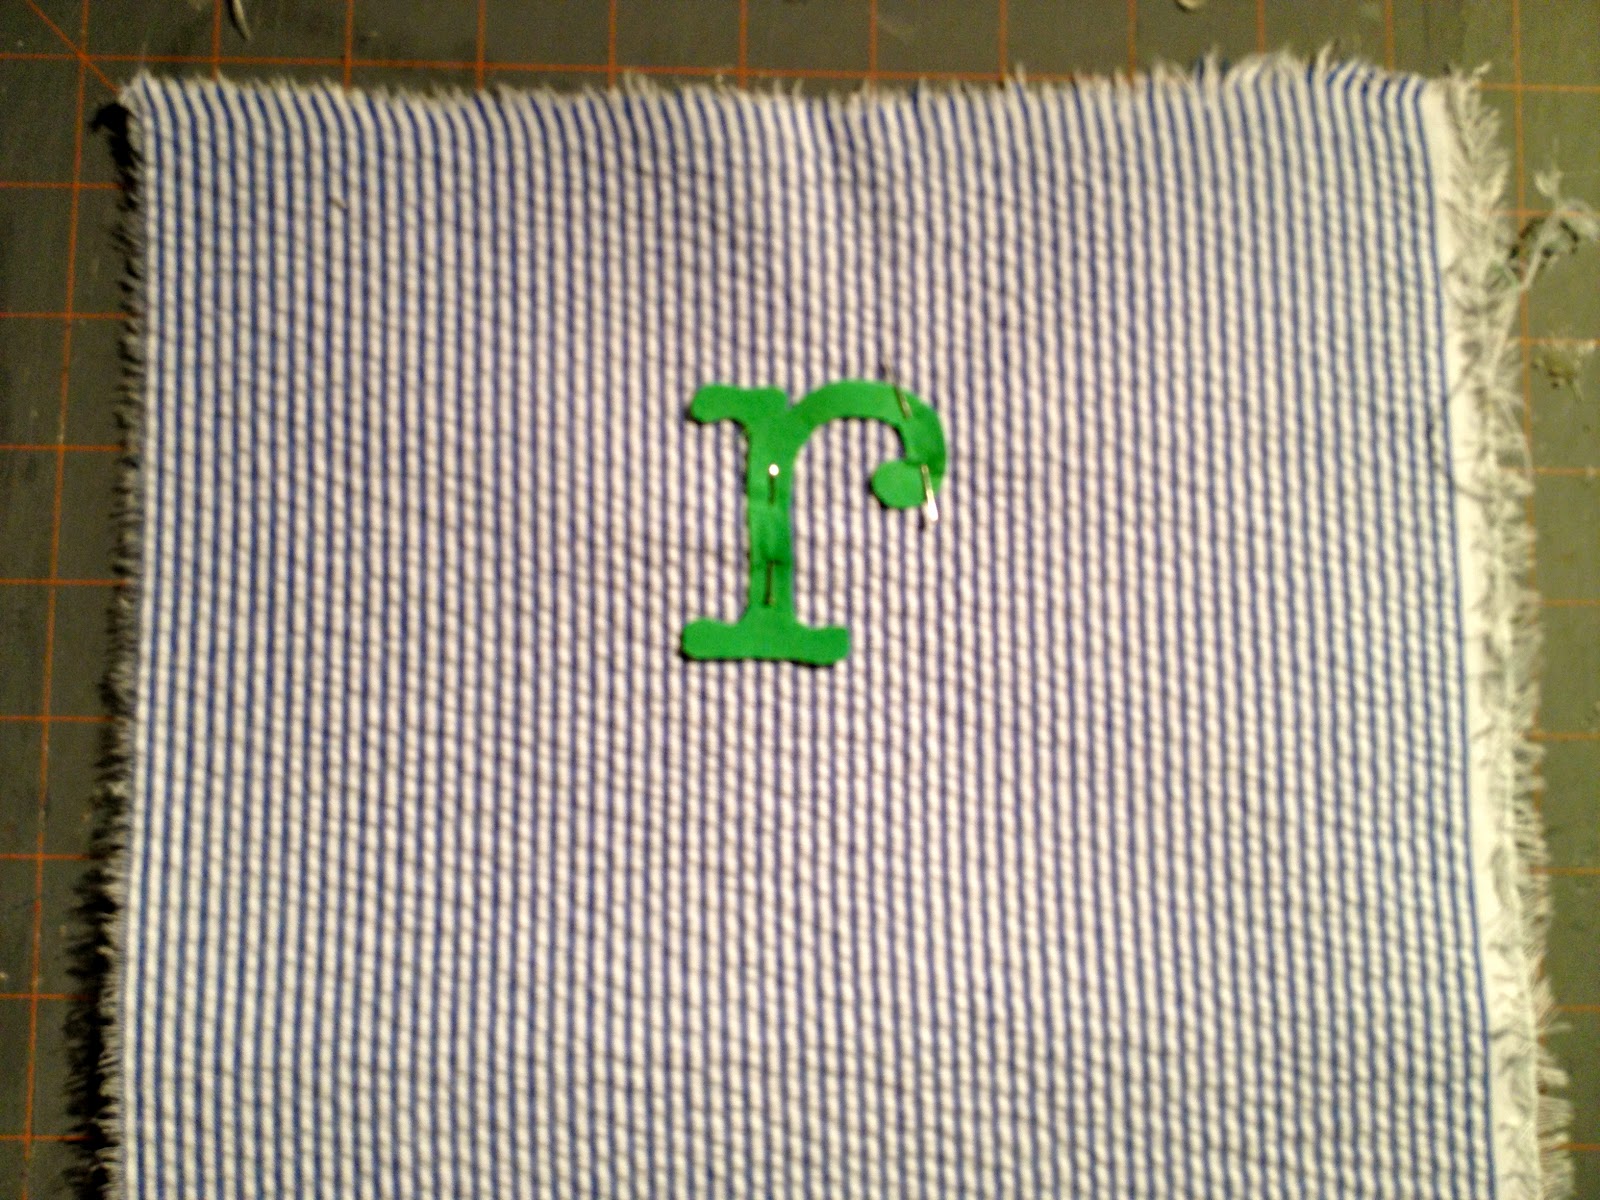
‘r’ letter cut out
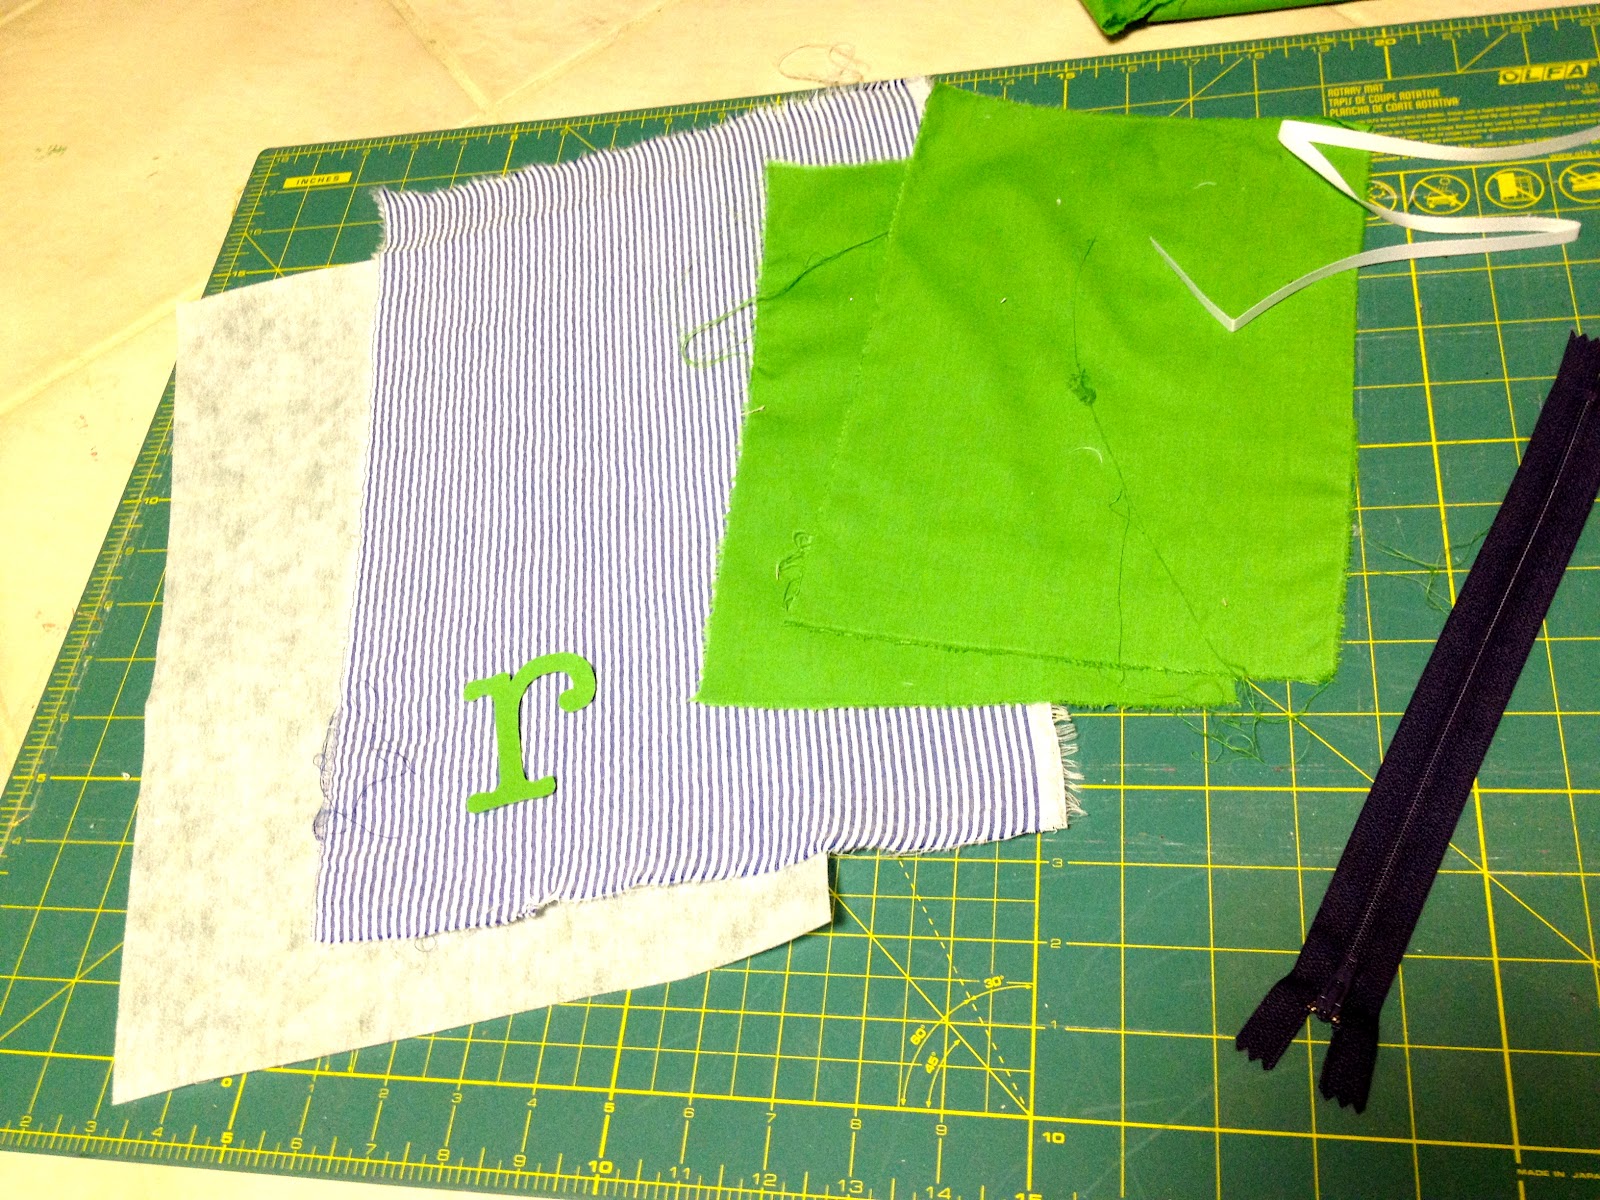
2. Fuse interfacing to wrong side of seersucker.
Pin letter in place:
3. Zig zag stitch around letter:
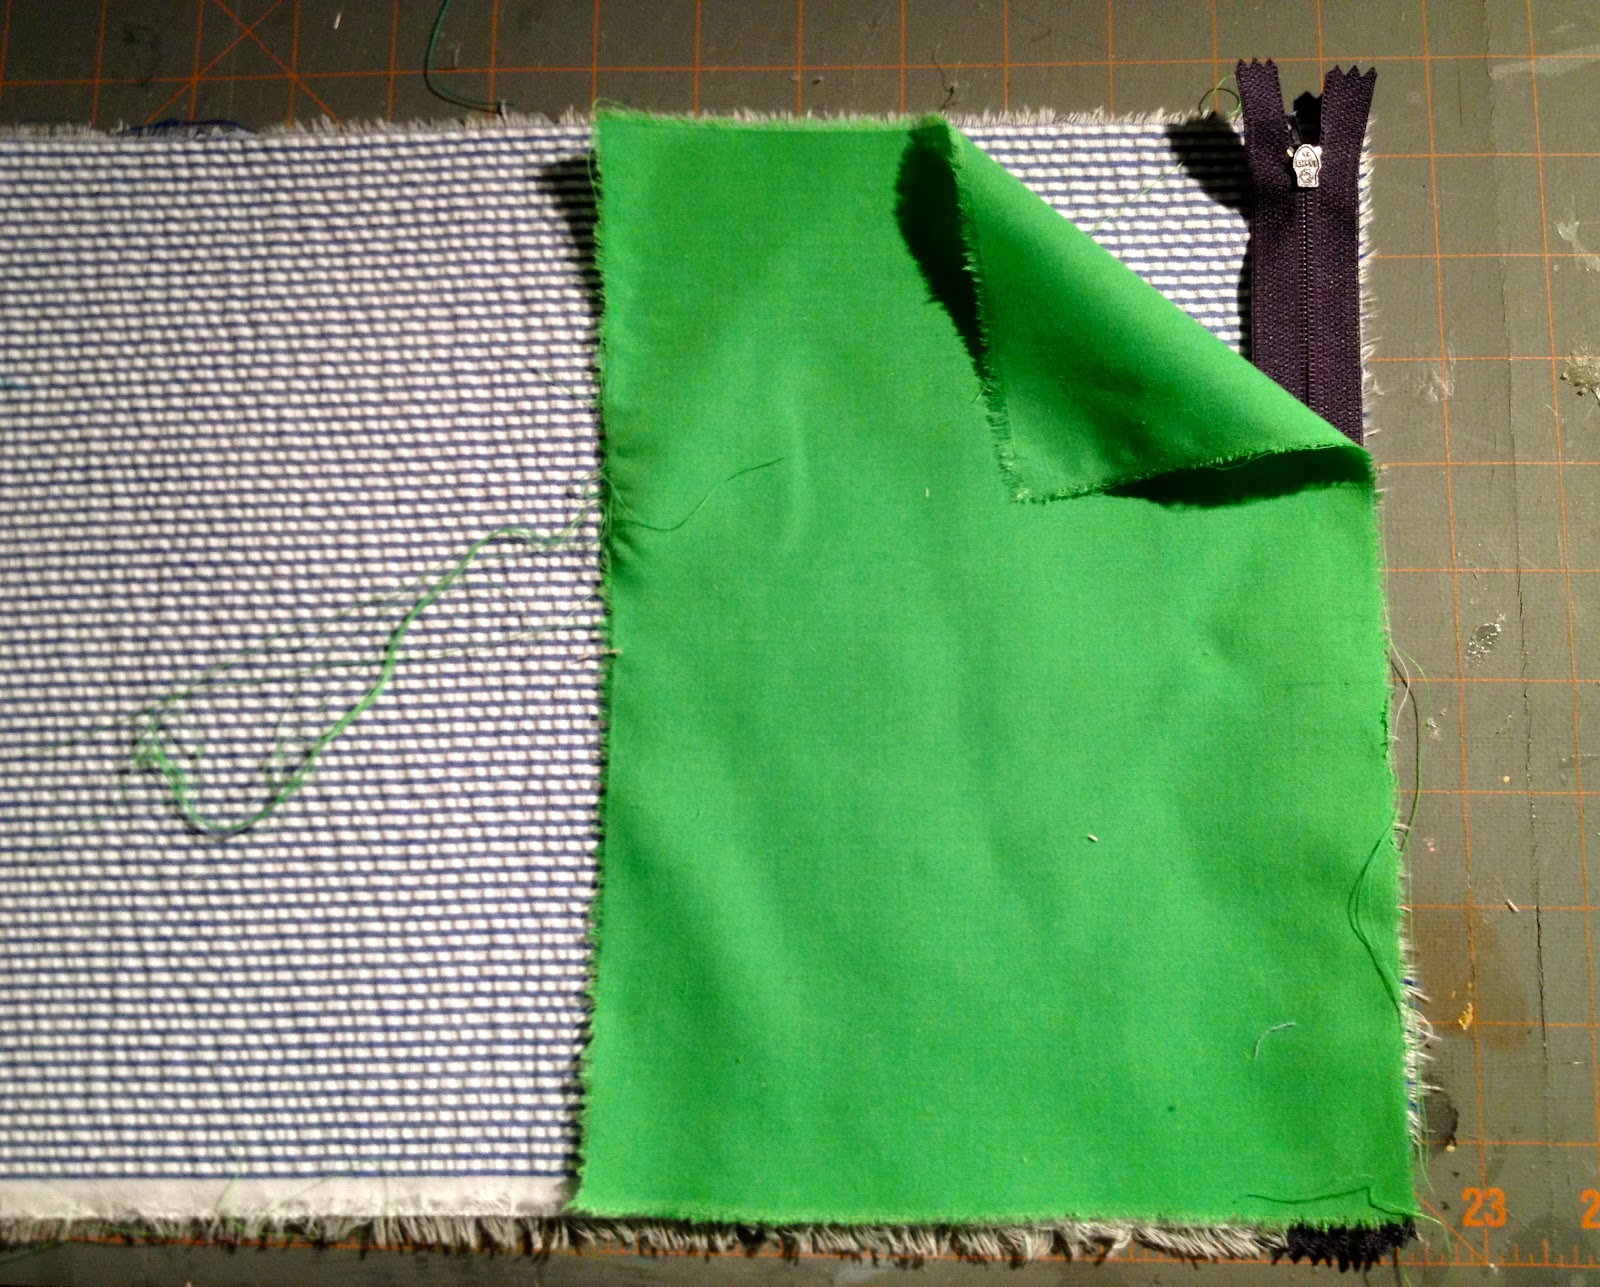
4. Place zipper face down on top end of seersucker then lining:
Stitch.
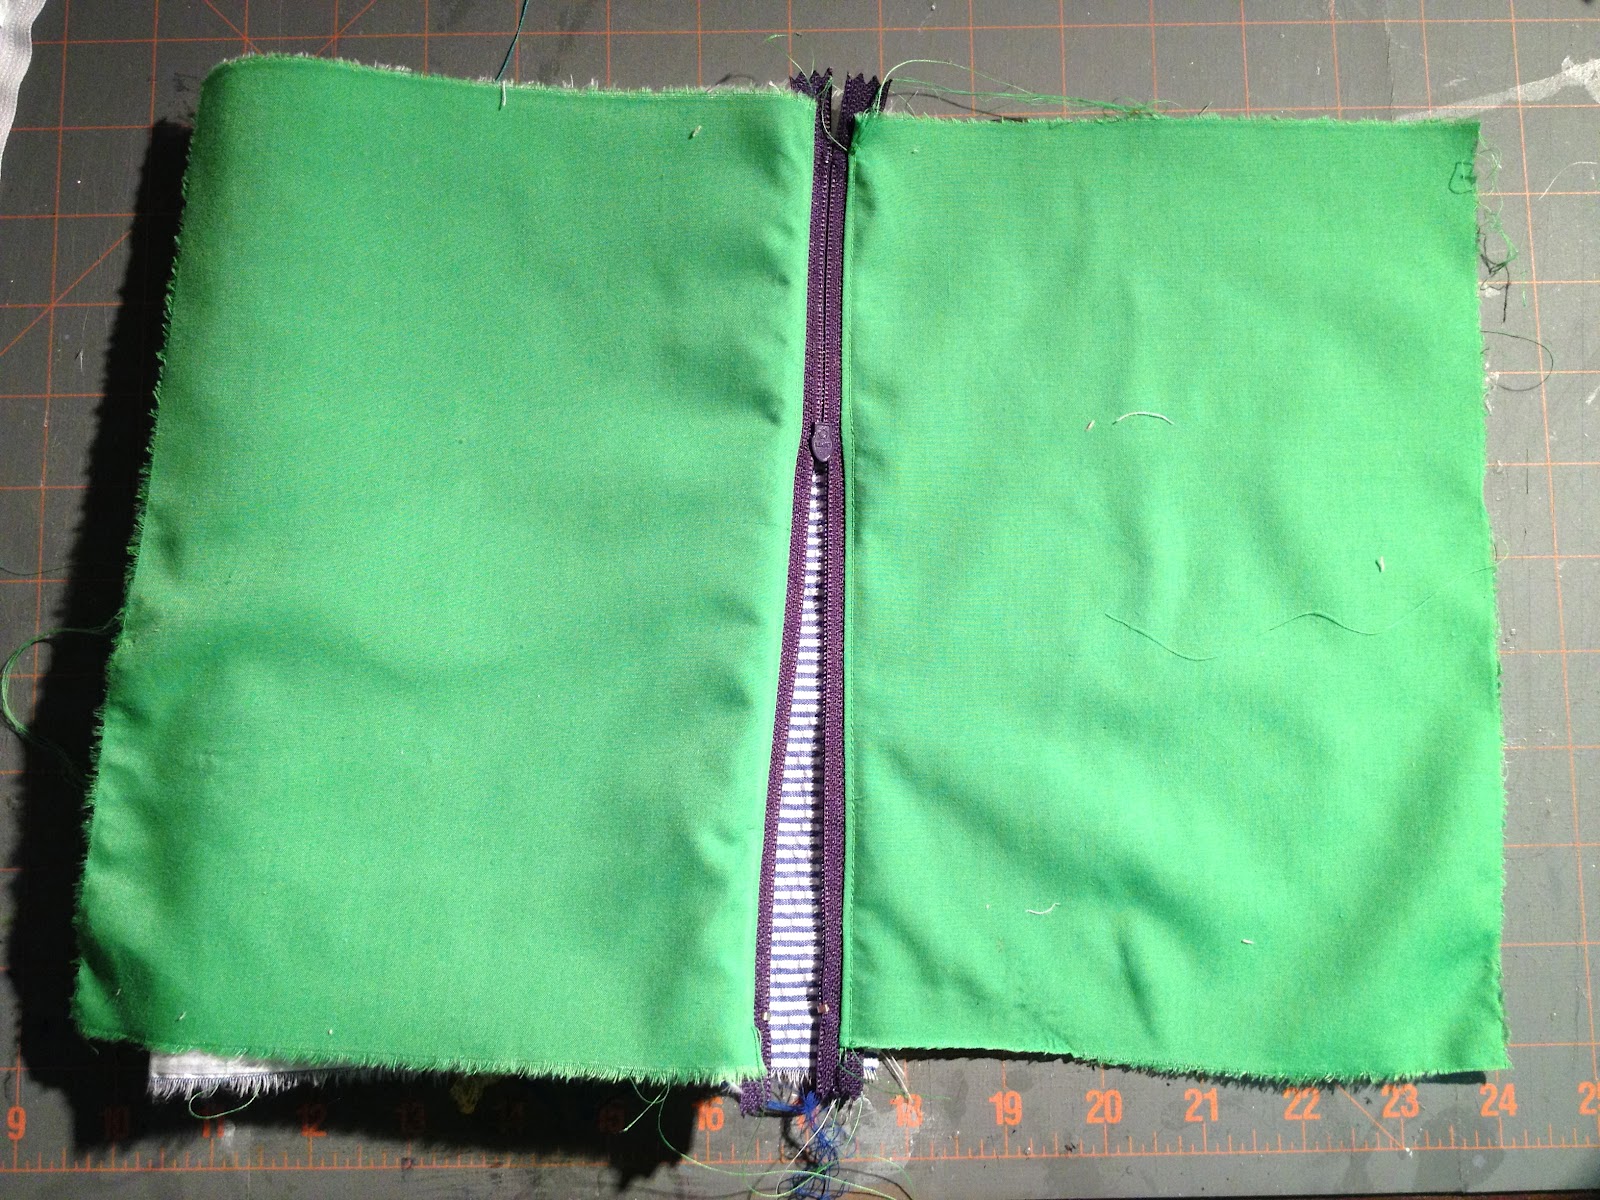
5. Repeat for other side:
6. Wrong sides together sew side seams together then miter the corners:

7. Clip excess from corners and turn right side out.
Press lining side seams open and raw edge up 1/2″, straight stitch lining closed:

8. Push lining down into pouch and press:

This medium size pouch finished size is 9″w x 6″h x 1.5″thick at base:

The mitered corners make a perfect base for the pouch to stand on it’s own and create space inside for goodies.
The larger size measures 12″l x 7″h x 2.25″thick at base:
You can bet I’ll be getting some good use out of my new monogrammed pouch this summer.

I’m linking up to:
Weekend Wrap Up @ Tatertots and Jello
Whatcha Got Weekend @ Lolly Jane
SAS @ Funky Junk
Sister Sunday @ Sisters of the Wild West
Sunday Showcase Party @ Under the Table & Dreaming
DIY Project Parade @ The DIY Showoff
Nifty Thrifty @ Coastal Charm
Tuesday Treasures @ My Uncommon Slice of Suburbia
Tutorials & Tips Tuesday @ Home Stories A to Z
Transformation Thursday @ The Shabby Creek Cottage
Strut Your Stuff @ Somewhat Simple
Share Awesomeness Thur @ The 36th Avenue
Flaunt it Friday @ Chic on a Shoestring
Frugal Friday @ The Shabby Nest
SAS @ Just a Girl
Feathered Nest @ French Country Cottage
Remodelaholics Anonymous @ Remodelaholic


LOVE these pouches! I've been sewing for a few years but have yet to sew with sear sucker!
I love these little pouches! I am wondering what you use for the letter cut outs. Do you cut them by hand, or are they die cut? I would love to make some for teacher gifts. Thanks! that crafty k at g mail dot com
These are too cute!
Mrs. Delightful
http://www.ourdelightfulhome.blogspot.com
Jamie these are adorable! Sear Sucker isn't easy to work with sometimes!
I would LOVE for you to stop over and link this up in our Crafty Saturday Showcase! It runs from Sat-Thur. Then we pick the top post to feature on Friday.
Hope you have a great weekend!
Susie @Bowdabra
http://bowdabrablog.com/2012/05/19/saturday-showcase-craft-projects-2/
I love your little pouches. My son's monogram is JMC and so is mine if you remove my middle initial and insert my maiden. *WINK* Ha! Kidding, of course. I bet you can sew these in your sleep by now. I think I will make these for teachers gift so thank you for the tutorial. Thanks for dropping off your always pretty laundry! xo Jami
You should sell these! I would totally buy one. So cute!
You should sell these! I would totally buy one. So cute!