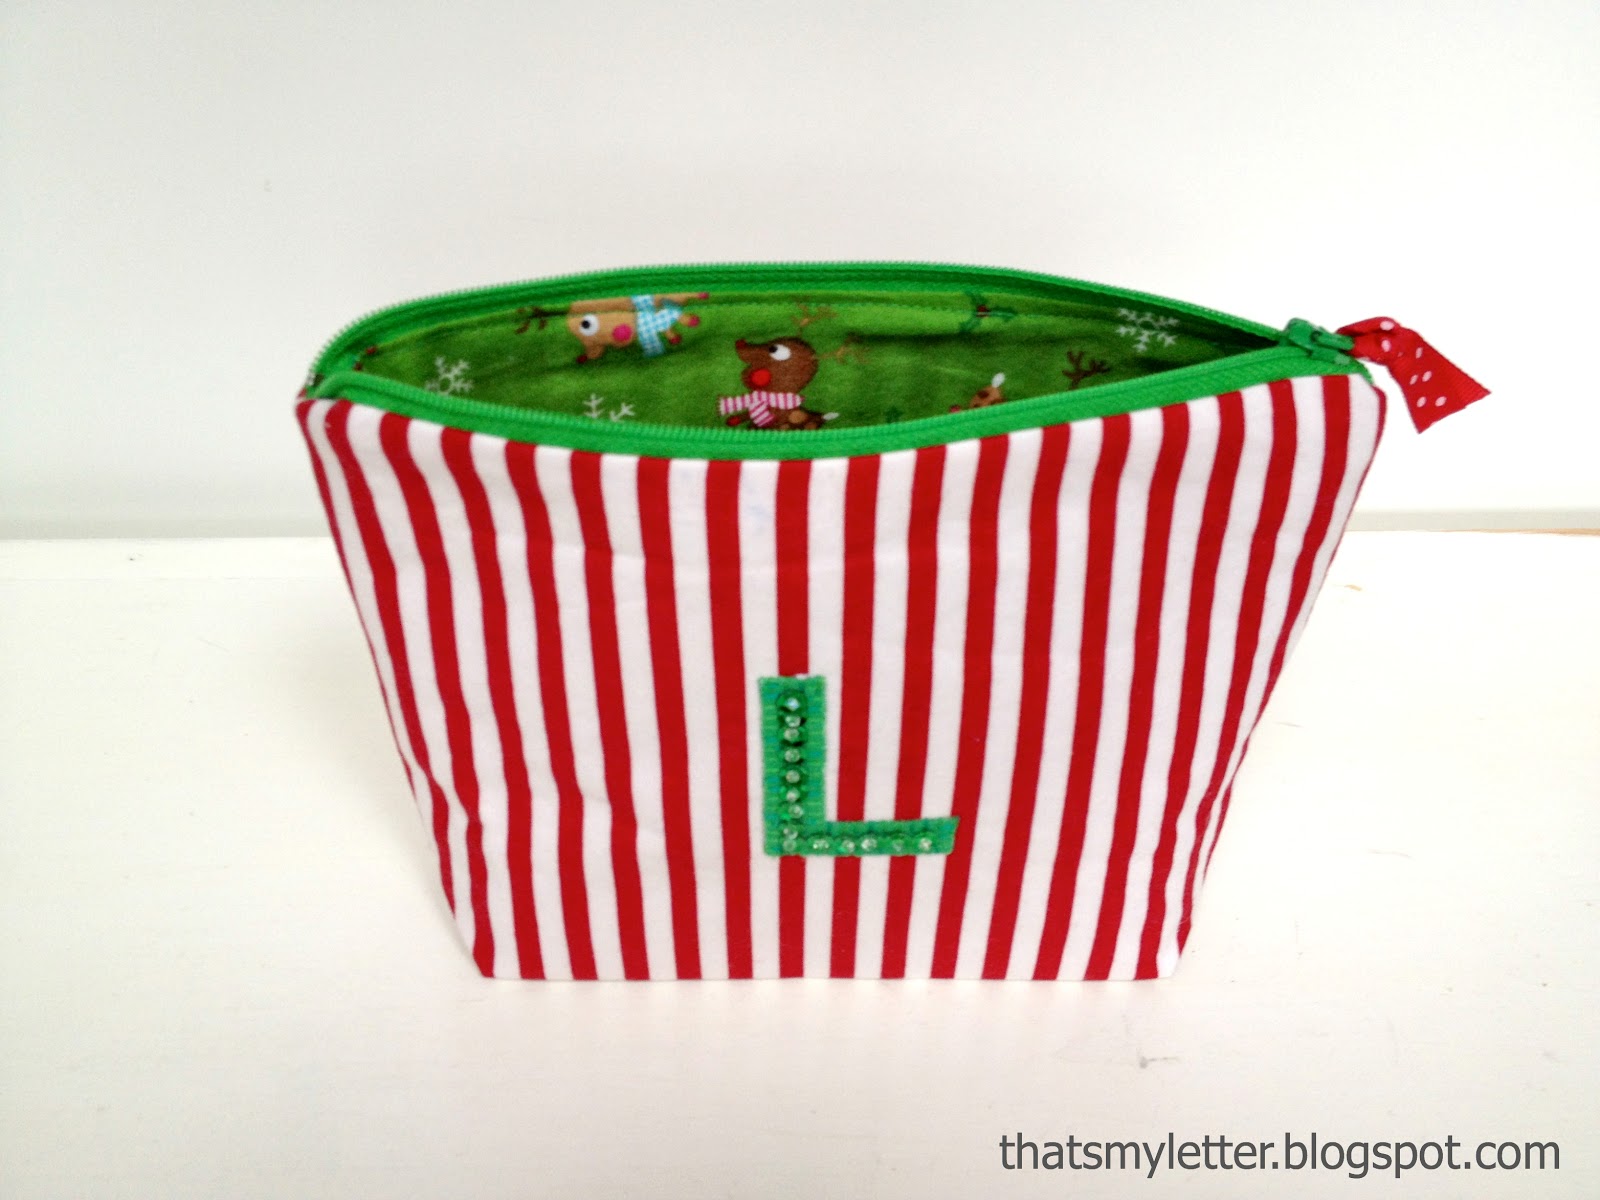
Sew: secret Santa pouch

Personalized with a sequined initial and the cutest reindeer lining:

We filled it with a tiny Christmas stamp set and matching key fob:
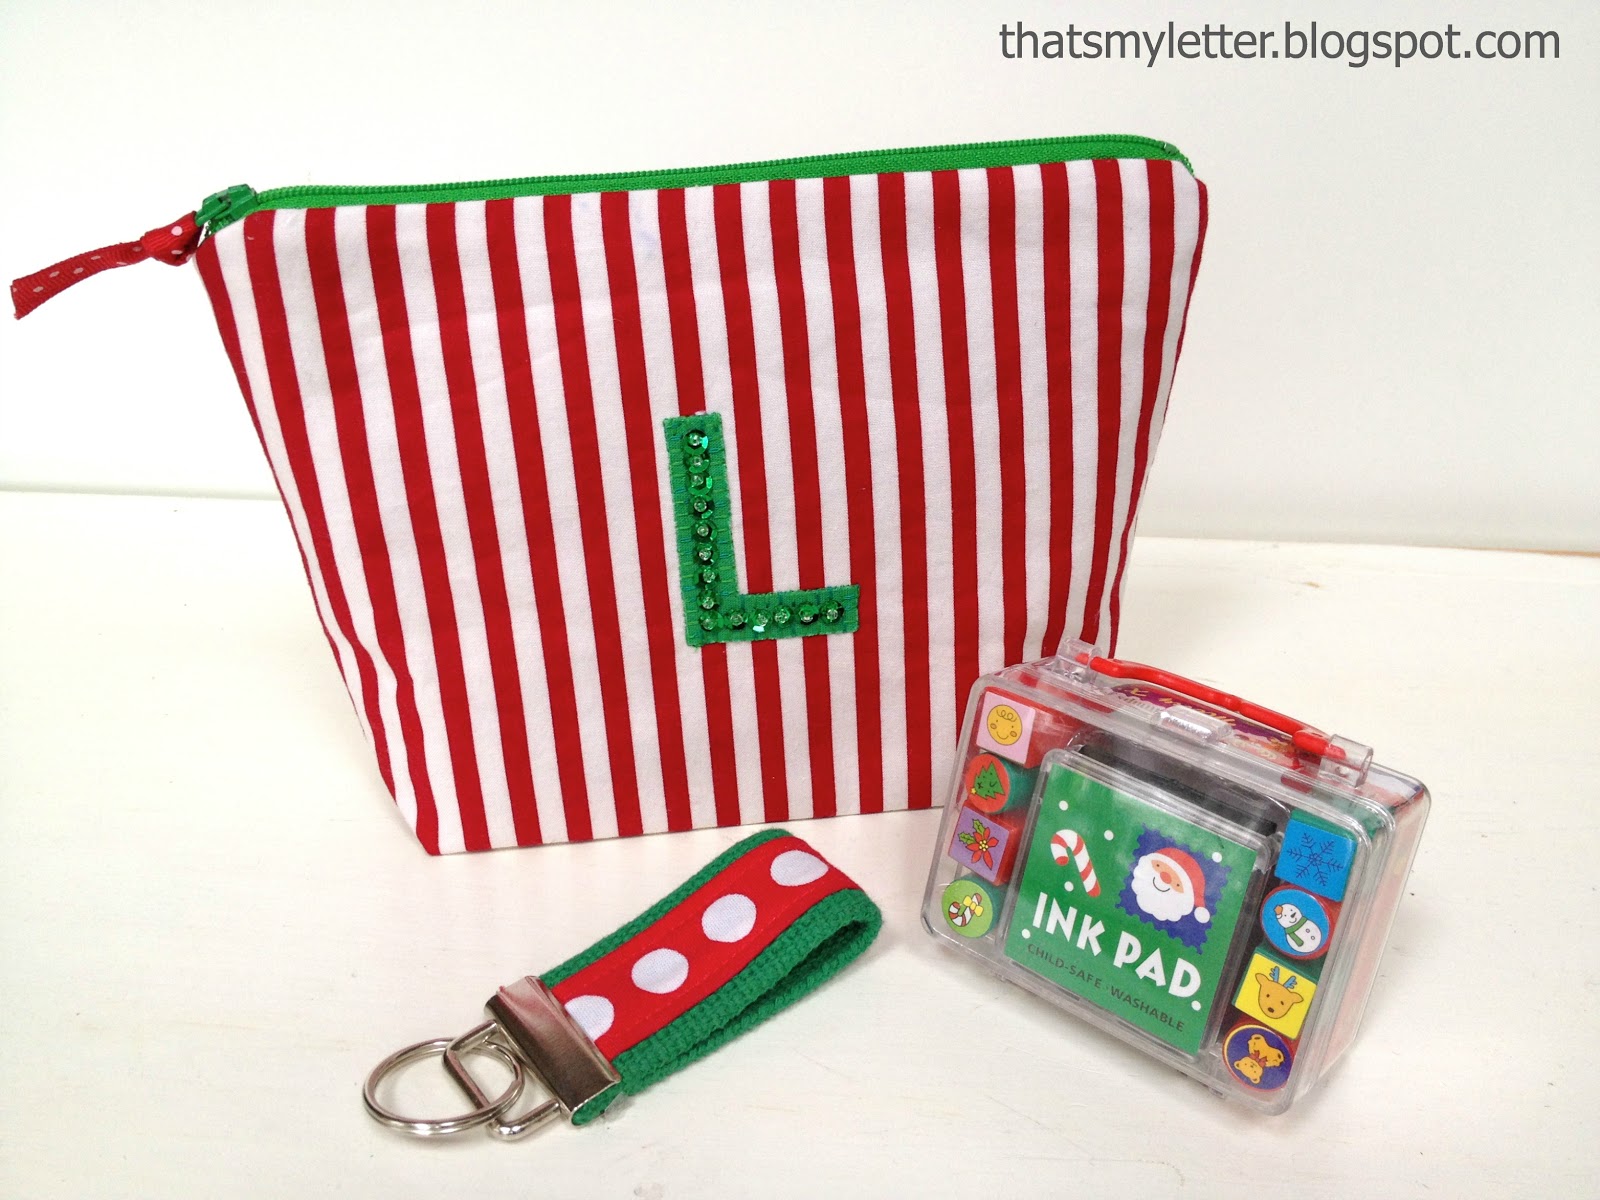
All wrapped up and ready to give:

Here’s how to make the secret Santa pouch:
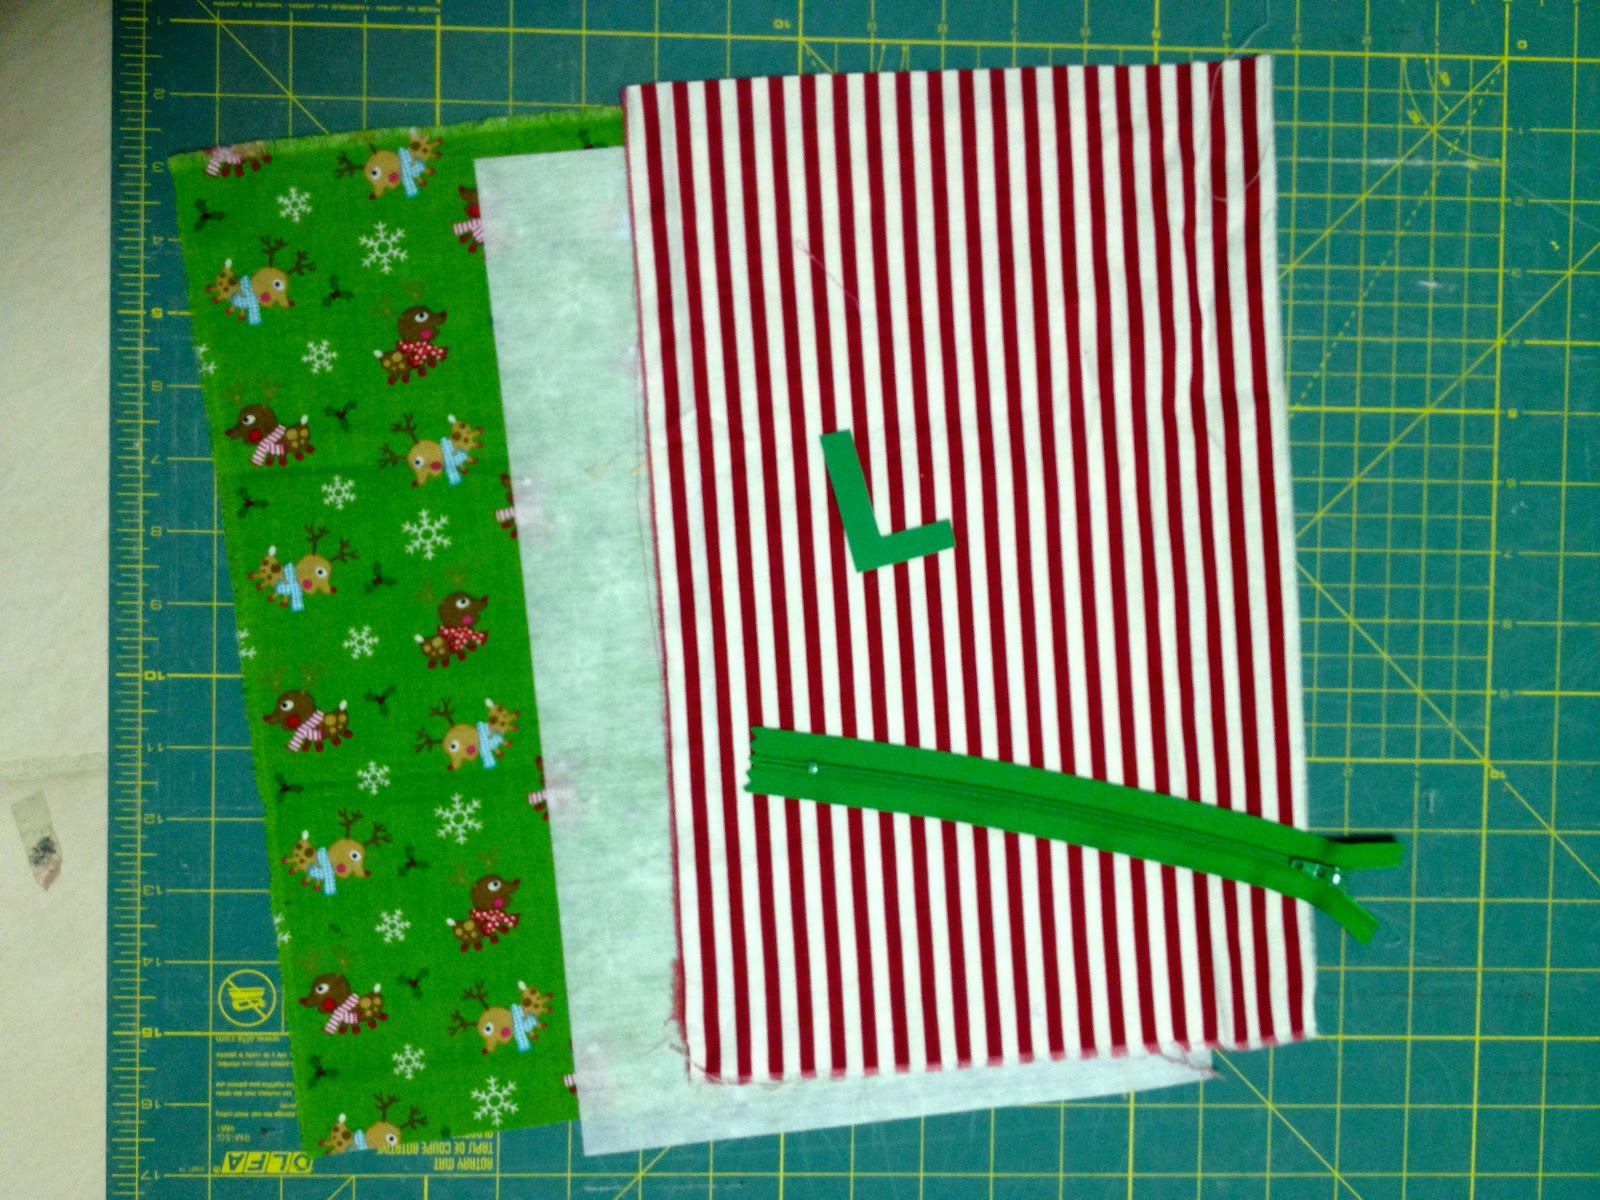
1. Cut fabrics:
1 – exterior stripes 9″ x 14″
1 – med weight fusible interfacing 9″ x 14″
1 – lining 9″ x 14″
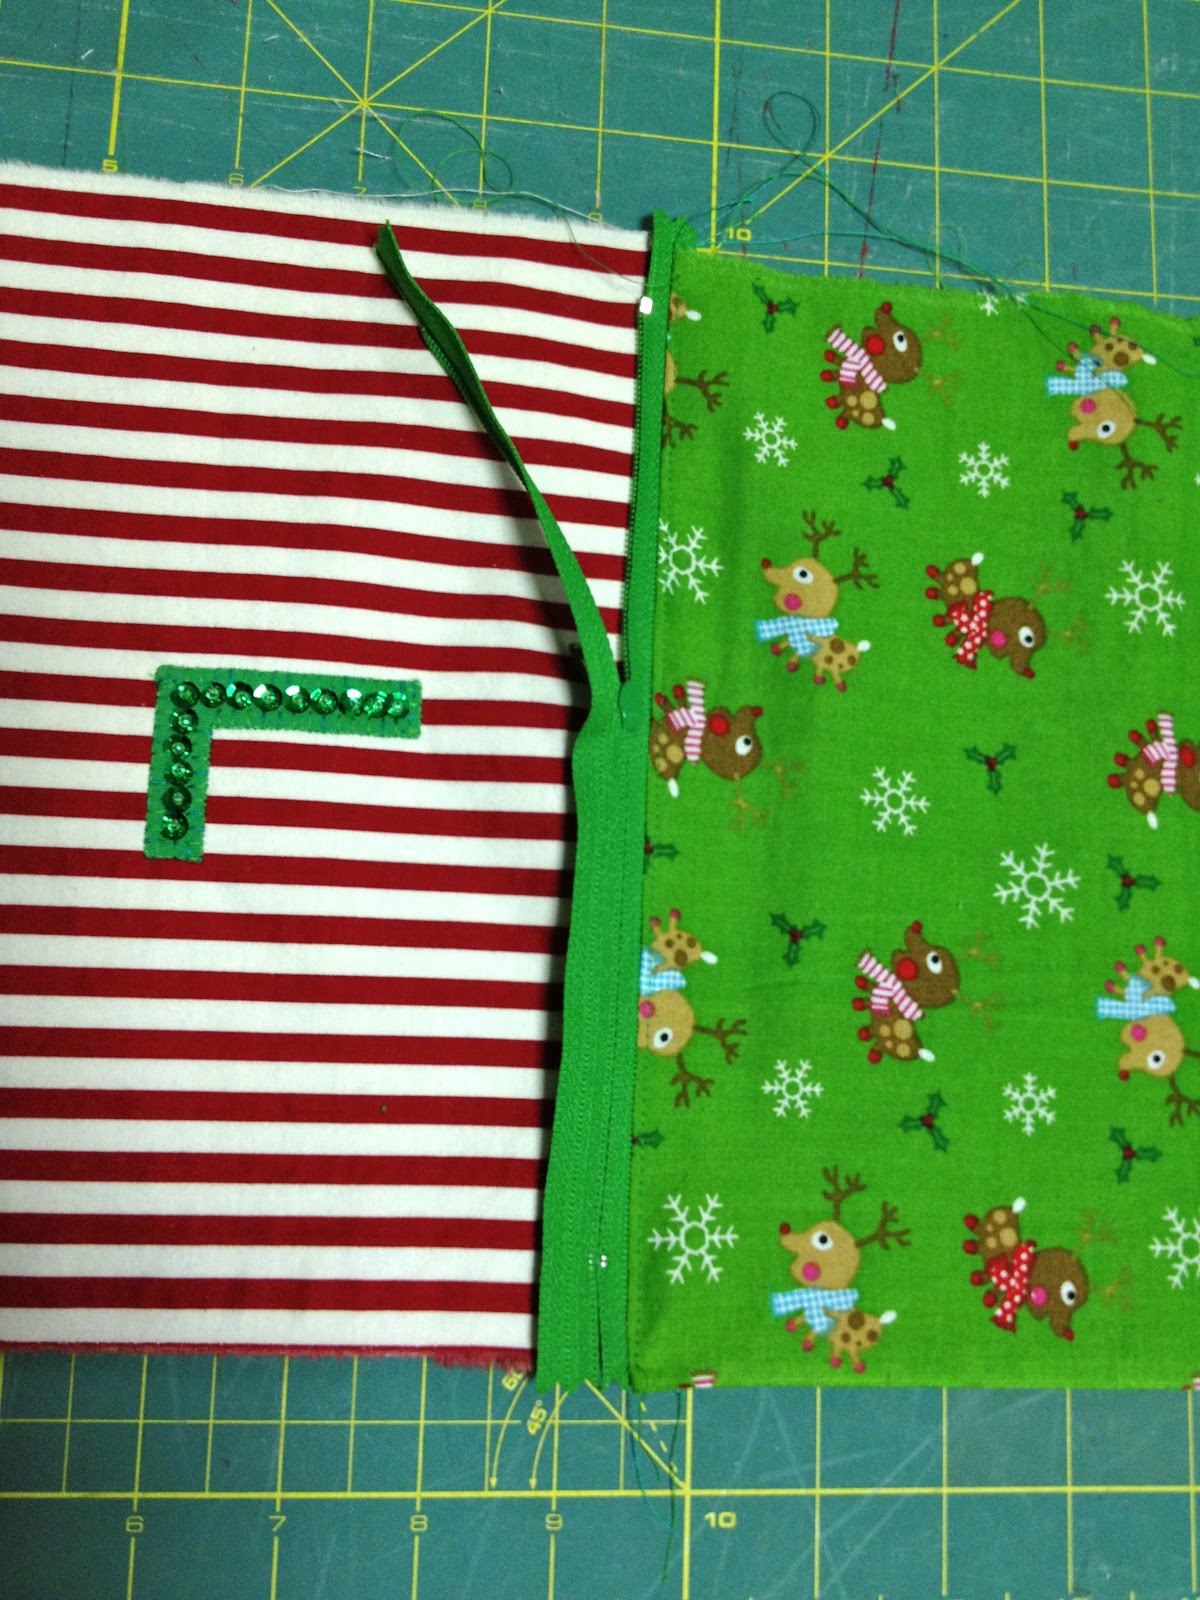
1 – fabric letter (see how to post here)
1 – 8″ zipper
2. Prepare exterior fabric with fusible interfacing applied to wrong side.
The sew on fabric letter with blanket or zig zag stitch and add sequins.
3. Place zipper face down at one end of exterior fabric then place lining right side down on top:
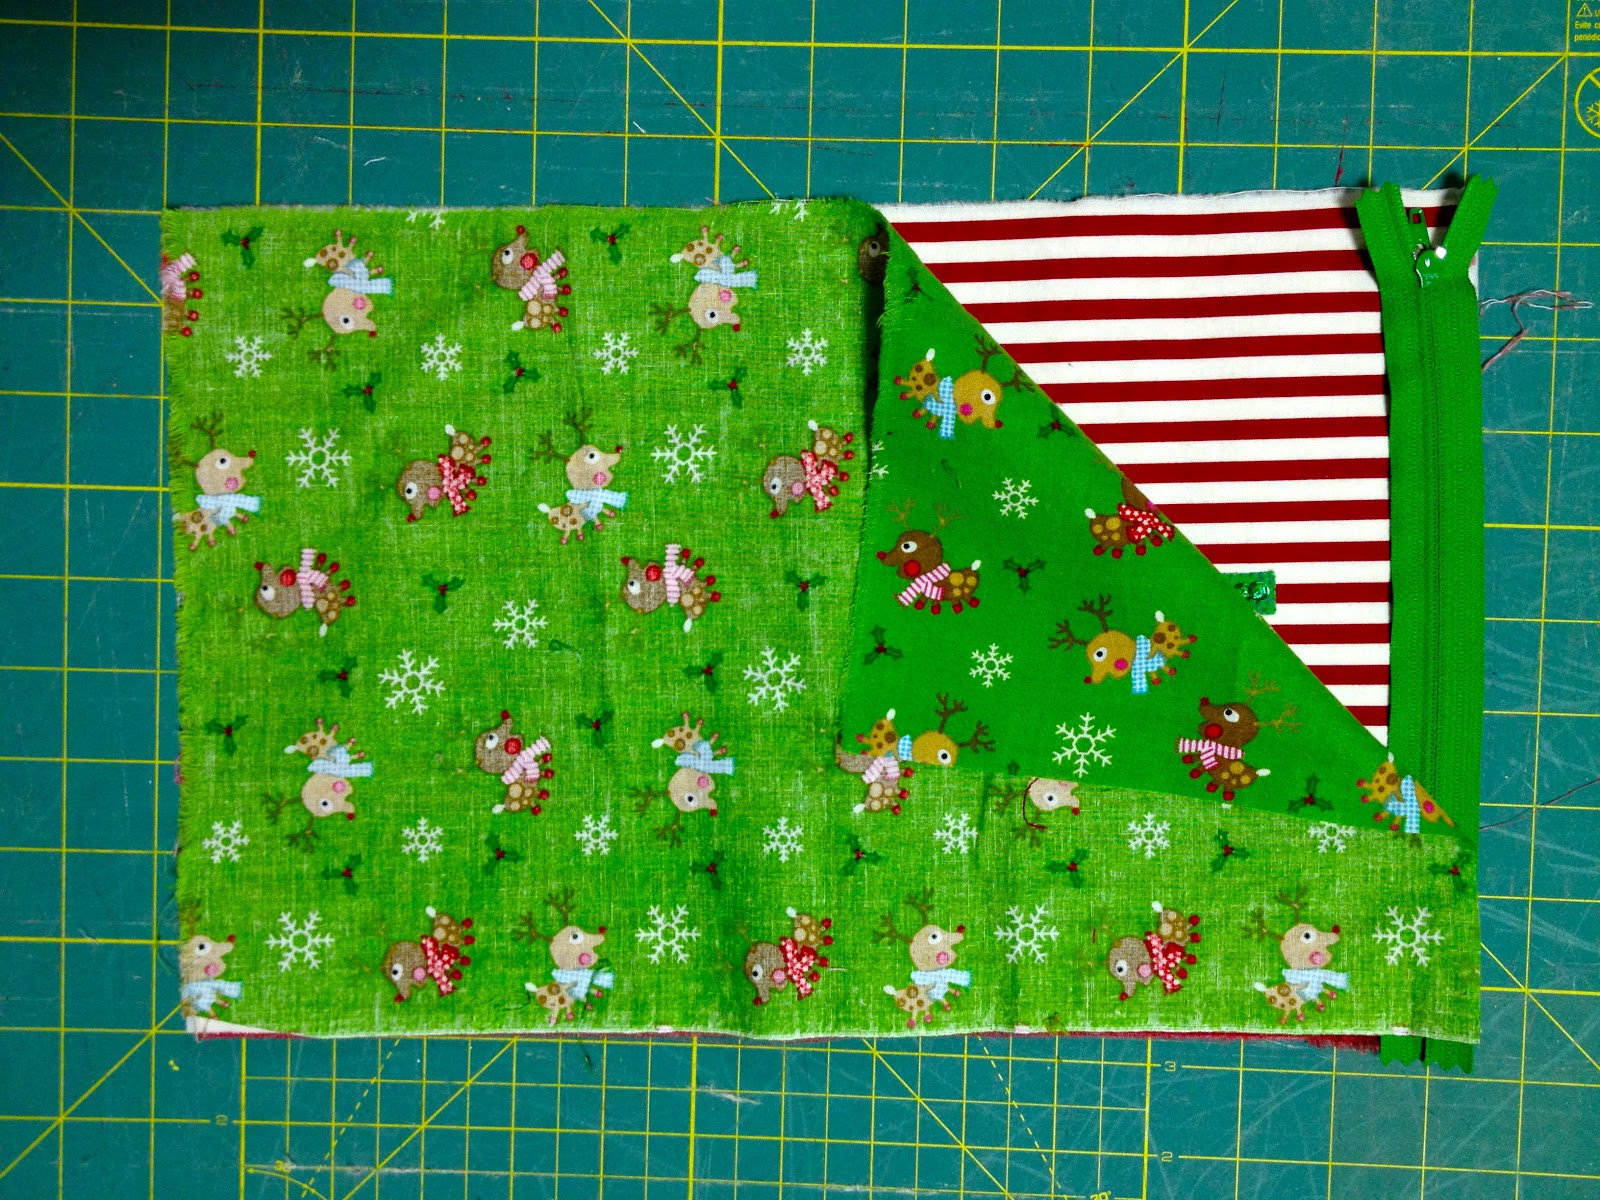
4. Sew using zipper foot. Then top stitch lining to prevent from getting stuck in zipper:
5. Repeat step 4 & 5 for other short end.
6. Now sew side seams, be sure to keep 4″ open in lining:
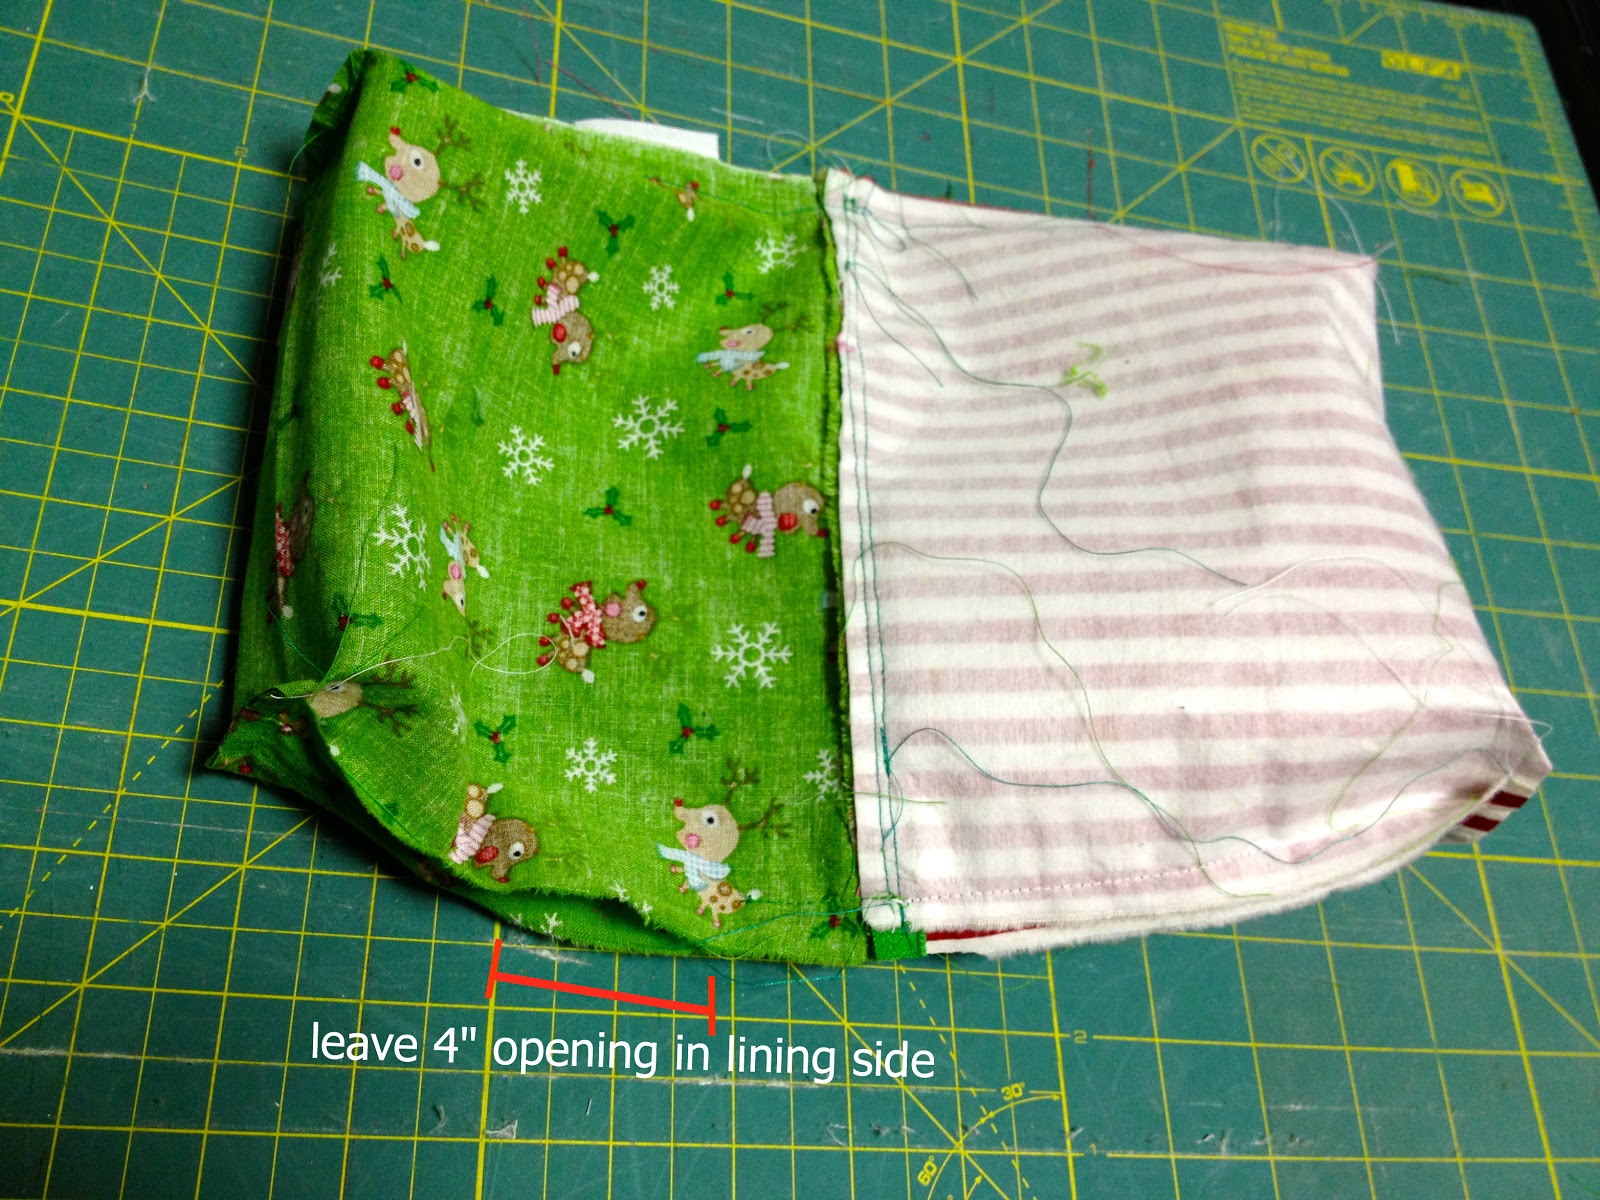
7. Miter corners and clip excess. Turn right side out, push lining down into pouch and press.
Add ribbon to zipper pull.

I’m linking up to:
SAS @ Funky Junk
Nifty Thrifty Sunday @ Nifty Thrifty Things
DIY Project Parade @ The DIY Showoff
Tutorials & Tips Tuesday @ Home Stories A to Z
Strut Your Stuff @ Somewhat Simple
Share Awesomeness Thur @ The 36th Avenue
Pretty Things Thursday @ Scissors & Spatulas
Flaunt it Friday @ Chic on a Shoestring
Frugal Friday @ The Shabby Nest
SAS @ Just a Girl
Remodelaholics Anonymous @ Remodelaholic
inspiration board @ Carolyns Homework
Sunday Showcase Party @ Under the Table & Dreaming
Weekend Bloggy Reading @ Serenity Now


This may be a dumb question, but how do you miter the corners? I'm new to sewing and couldn't quite figure that step out.
This is just so cute!!