• Home
  • Blog
  • About
  • Contact
    • Disclosure
    • Privacy Policy
  • SHOP
  • Widget area for main menu

    • Email
    • Facebook
    • Instagram
    • Pinterest
    • Twitter
    • YouTube
  • Skip to primary navigation
  • Skip to main content
  • Skip to primary sidebar

Jaime Costiglio

build - paint - sew

  • BUILD
    • BEDS
    • BENCHES
    • DESKS
    • DRESSERS
    • GAMES & TOYS
    • SCRAP WOOD
    • SHELVES
    • STORAGE
    • TABLES
  • TOOLS
  • PAINT
    • CRAFTS
    • FURNITURE
    • HOME DECOR
  • SEW
    • GIFTS
    • HOME DECOR
    • POUCHES
  • HANDBUILT HOLIDAY
    • 2021
    • 2019
    • 2018
    • 2017
    • 2016
    • 2015
    • 2014
    • 2013
  • GIFTS
    • BABIES
    • KIDS
    • FOR HER
    • FOR HIM
    • TEACHERS
    • WEDDINGS
  • SEASONAL
    • 4TH OF JULY
    • FALL
    • HALLOWEEN
    • CHRISTMAS
    • SUMMER
    • SPRING
    • ST. PATRICK’S DAY
    • THANKSGIVING
    • VALENTINE’S DAY
    • WINTER
  • SALTBOX PROJECT
    • BATHROOMS
    • DINING ROOM
    • EXTERIOR
    • FAMILY ROOM
    • FOYER / MUDROOM
    • KIDS BEDROOMS
    • KITCHEN
    • LIVING ROOM
    • MASTER BEDROOM
    • PLAYROOM
  • SCROLL SAW

“A” is for Apple Pouch

September 2, 2013

Sew: apple zipper pouch

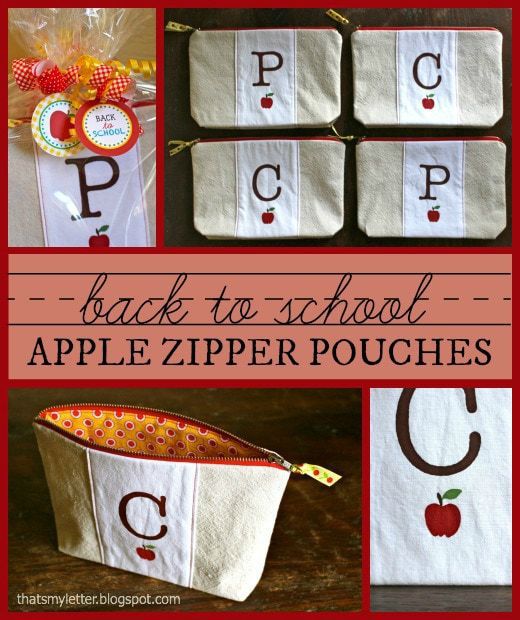
A personalized back to school gift for teachers.
I filled each pouch with a fun notepad and post-it page markers in rainbow colors:
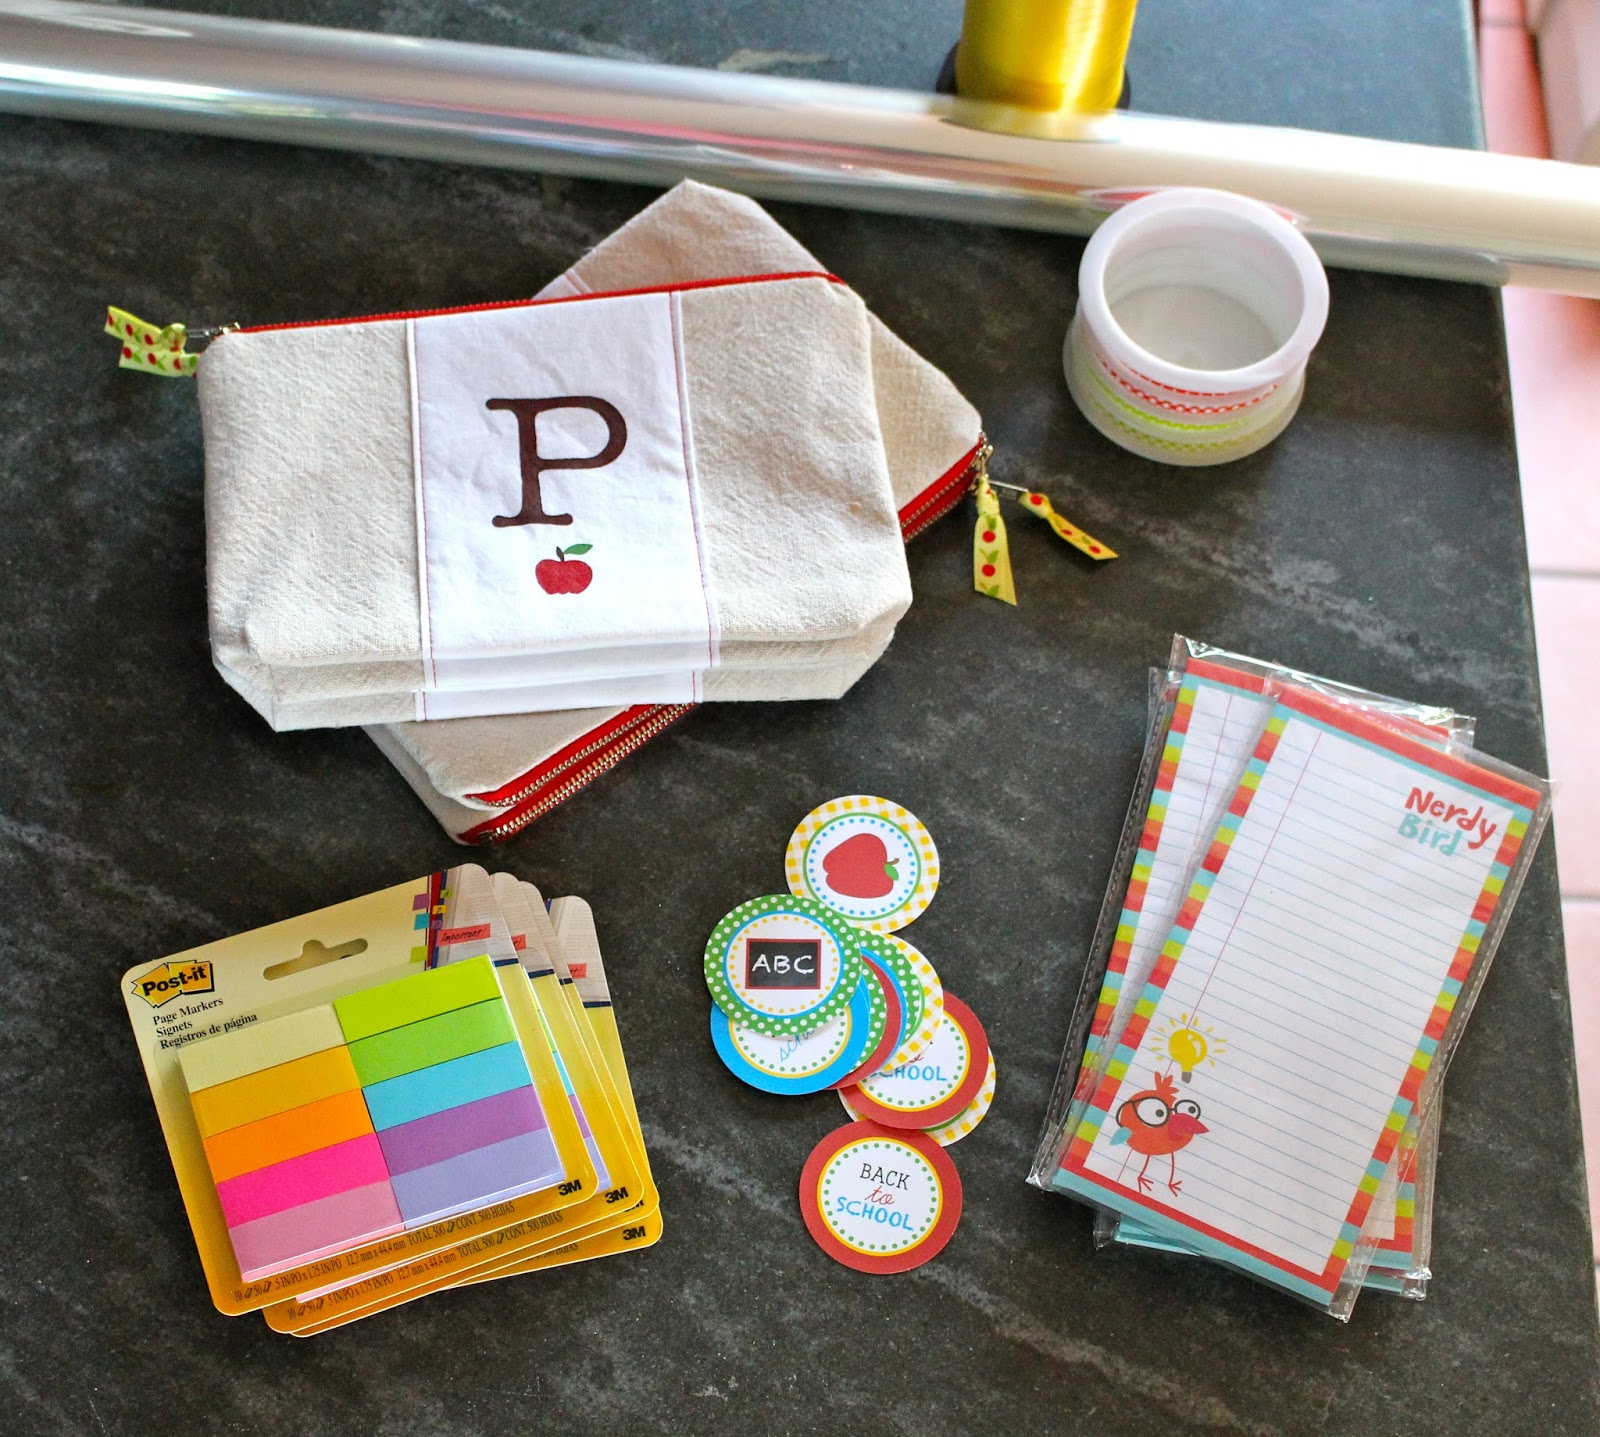
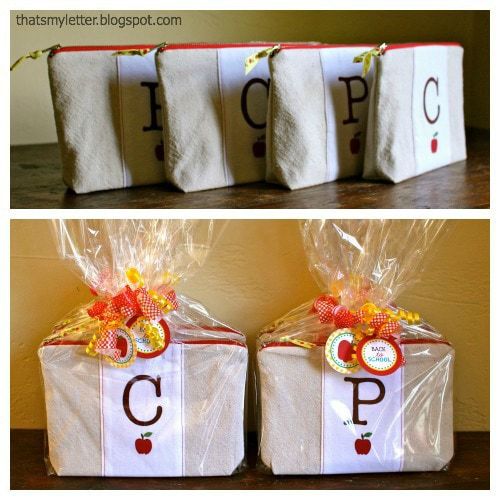
Then wrapped in cellophane and used cupcake toppers for tags:
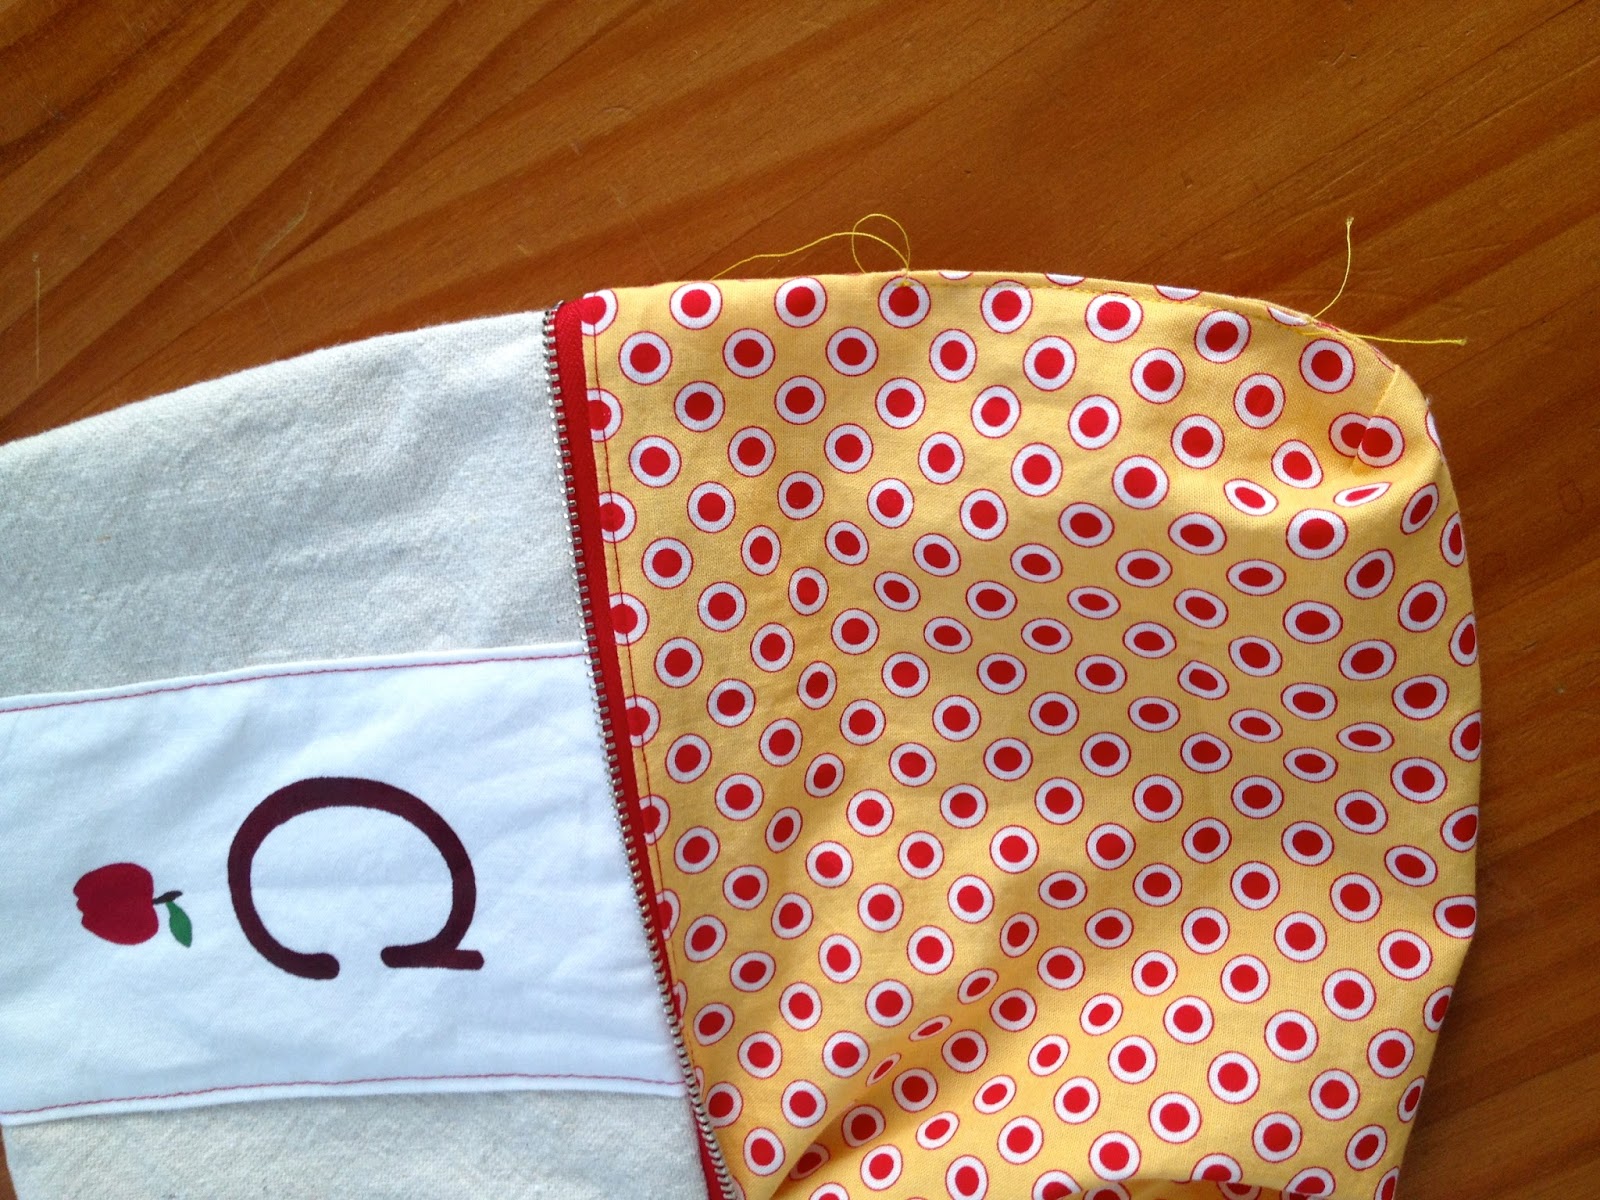
The interior is lined with cotton, this one red gingham:
And the center white band wraps all the way around.  So glad I choose red thread for the top stitching, it really completes the look when paired with the red metal zipper:
Here’s how to make the personalized apple zipper pouches:
 
1. Supplies (for one pouch):
1 – exterior drop cloth 10″ x 14″
1 – interior cotton lining 10″ x 14″
1 – white cotton band 5″ x 14″
1 – med. weight fusible interfacing 10″ x 14″
acrylic paints and brush
1 – 9″ red metal zipper (source here)
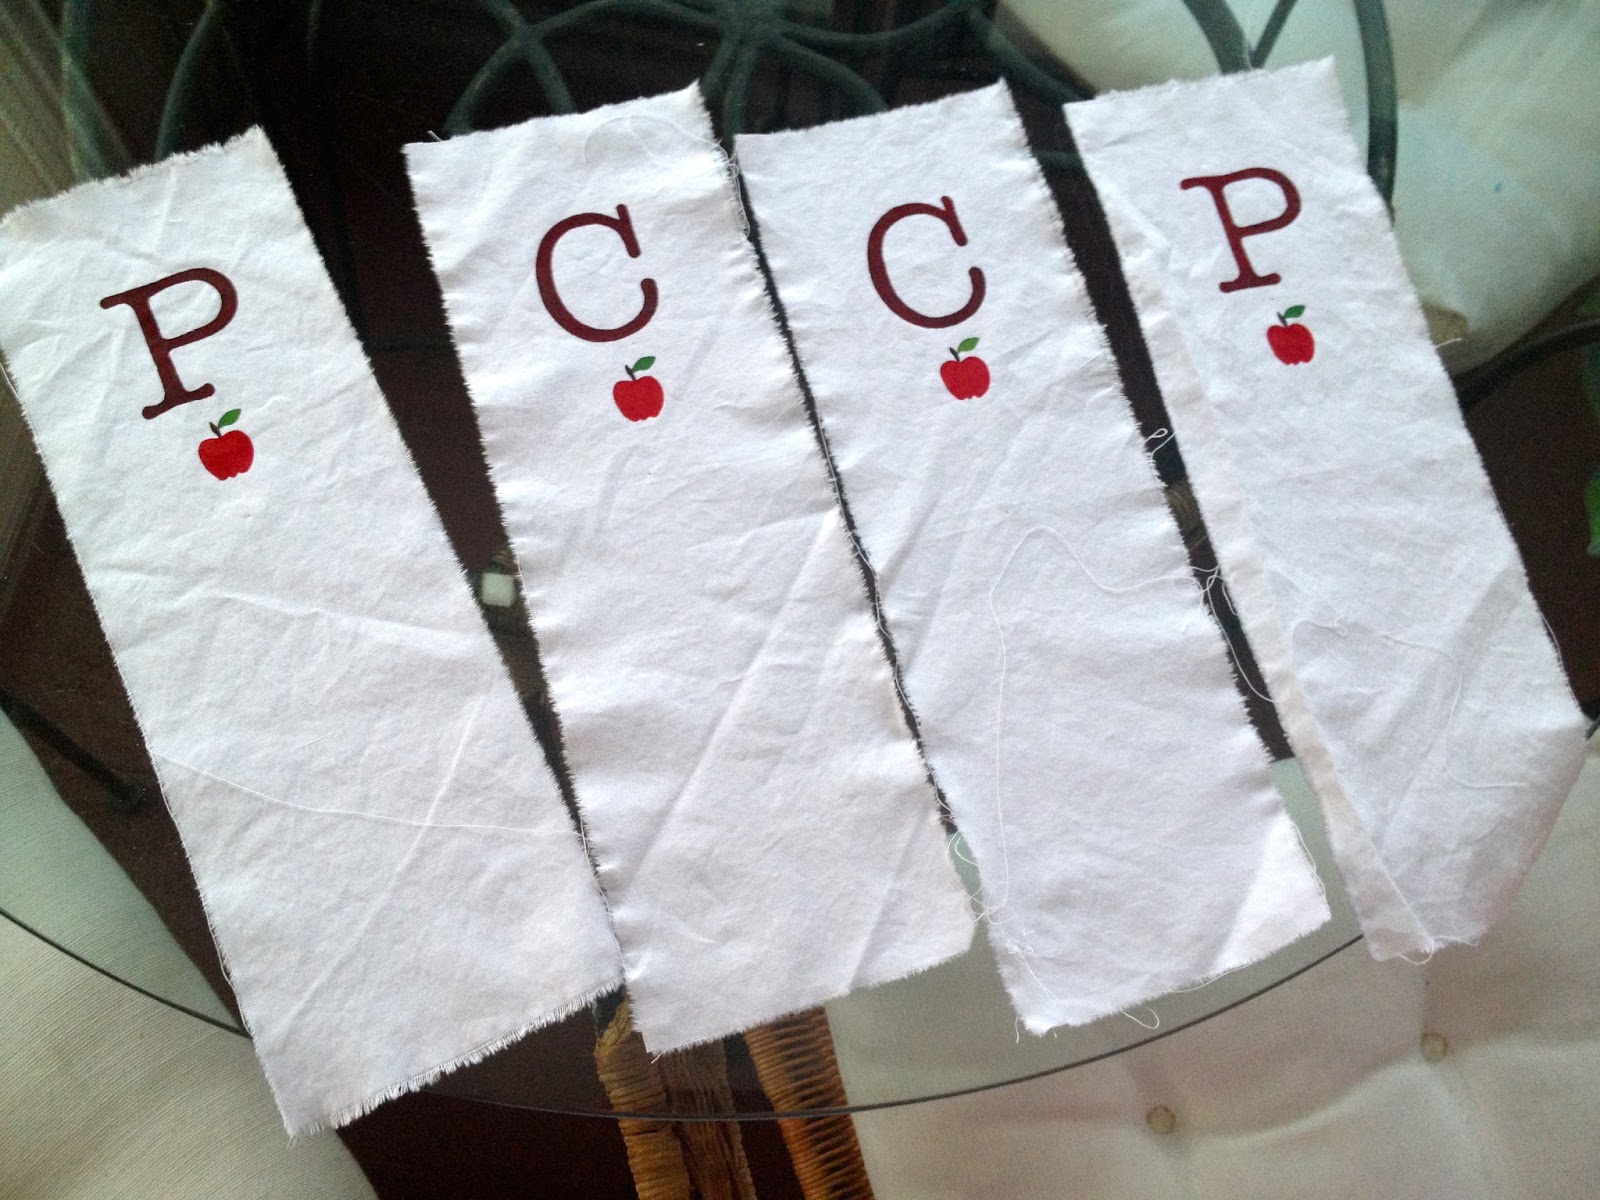
2. Print out desired letter.
I used American Typewriter font at 225 point.
Center behind white panel over a light box:


Paint inside the monongram with brown/red acrylic paint.
3. Using a clip art apple printed to desired size place behind white panel, centering the apple just below letter.
Paint inside apple with red acrylic paint:


Finish apple stem with brown and leaf with green.
4. Press under 1/2″ raw edges and pin white panel down center of drop cloth.
(Interfacing has already been ironed onto drop cloth.)


Top stitch panel in place, I choose to use red thread for contrast.
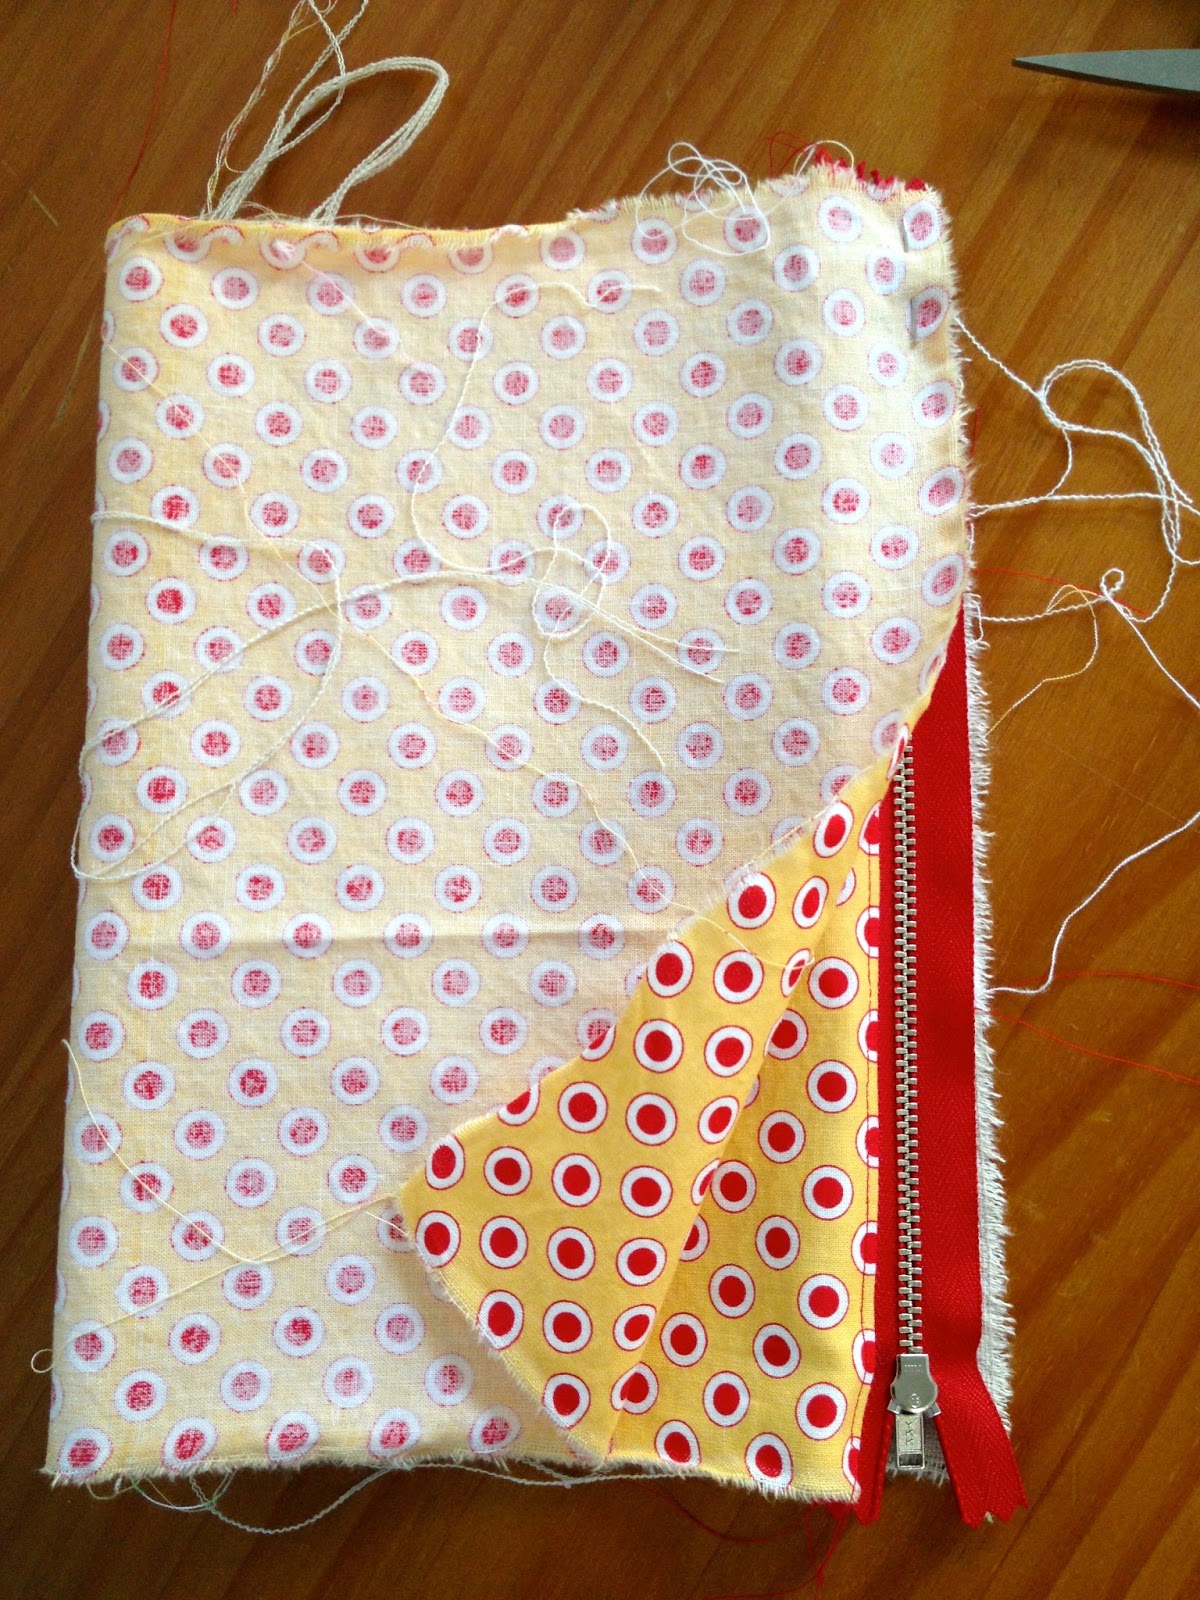
5. To add zipper place zipper face down at end of exterior then place lining face down on top of zipper:


Using a zipper foot stitch in place.
6. Fold lining over and top stitch down:


7. Repeat process for other end of exterior using other side of zipper and lining:


8. Now sew side seams, be sure to leave a 4″ opening one lining side in order to turn right side out.
Miter all four corners:


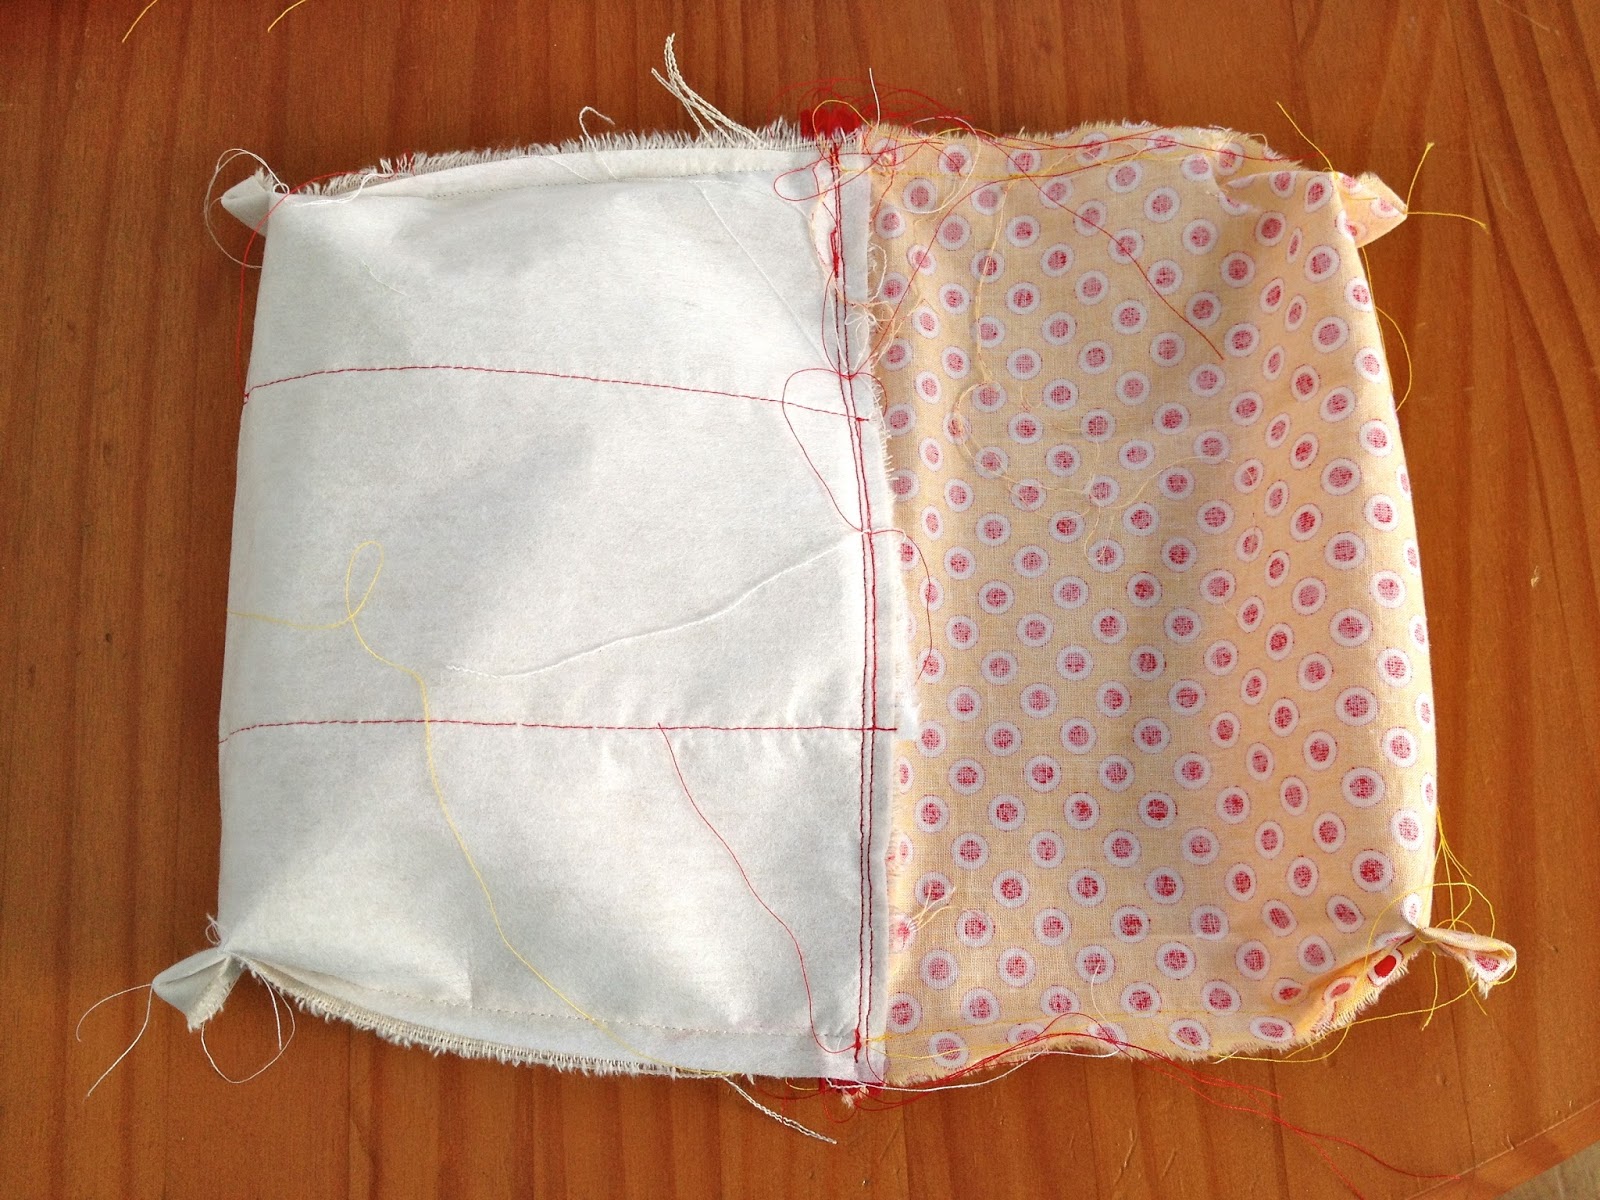
Clip corners and turn right side out.
9. Sew lining opening shut with top stitch:

You may also like...

  • Cross Stitch Monogram Ornament PlacecardCross Stitch Monogram Ornament Placecard
  • DIY Embellished Monogram PouchDIY Embellished Monogram Pouch
  • “P” is for Painted Zipper Pouch“P” is for Painted Zipper Pouch
  • “R” is for Rugby Stripe Pouch“R” is for Rugby Stripe Pouch
Share this post:

Filed Under: DIY, GIFTS, GIFTS, POUCHES, SEW, SEWING, TEACHERS4 Comments

Reader Interactions

Comments

  1. Vicky says

    September 2, 2013 at 7:46 PM

    your pouches just keep on getting cuter!

    Reply
  2. Lisa says

    May 6, 2019 at 12:12 PM

    How do you ‘mitre’ corners, please?

    Reply
    • Jaime says

      May 7, 2019 at 8:13 AM

      Hi Lisa, to miter the corners press the bottom seam up against the side seam then sew across the corner (perpendicular). Snip off the excess. Hope that helps.

      Reply
      • Lisa says

        May 7, 2019 at 9:26 AM

        Brilliant! Thank you Jaime, that’s a big help! Will be making my first one the week but can see many more following this one!

        Reply

Leave a Reply Cancel reply

Your email address will not be published. Required fields are marked *

Primary Sidebar

Hi! I’m Jaime

Jaime Costiglio

Hello!

Thank you for stopping by.
Join me for lots of DIY.

Read more

Get new posts via email

Handbuilt Holiday: Gift Project Plans

handbuilt holiday gift project plans

Collection of DIY gift project plans to build.

The Home Depot Tool Prospective

THD Prospective

Tools to consider for the DIYer.

Archives

The Home Depot Logo
Copyright © 2023 Jaime Costiglio · Custom site by Moonsteam Design

Privacy Policy