Sew: pink robots pouch
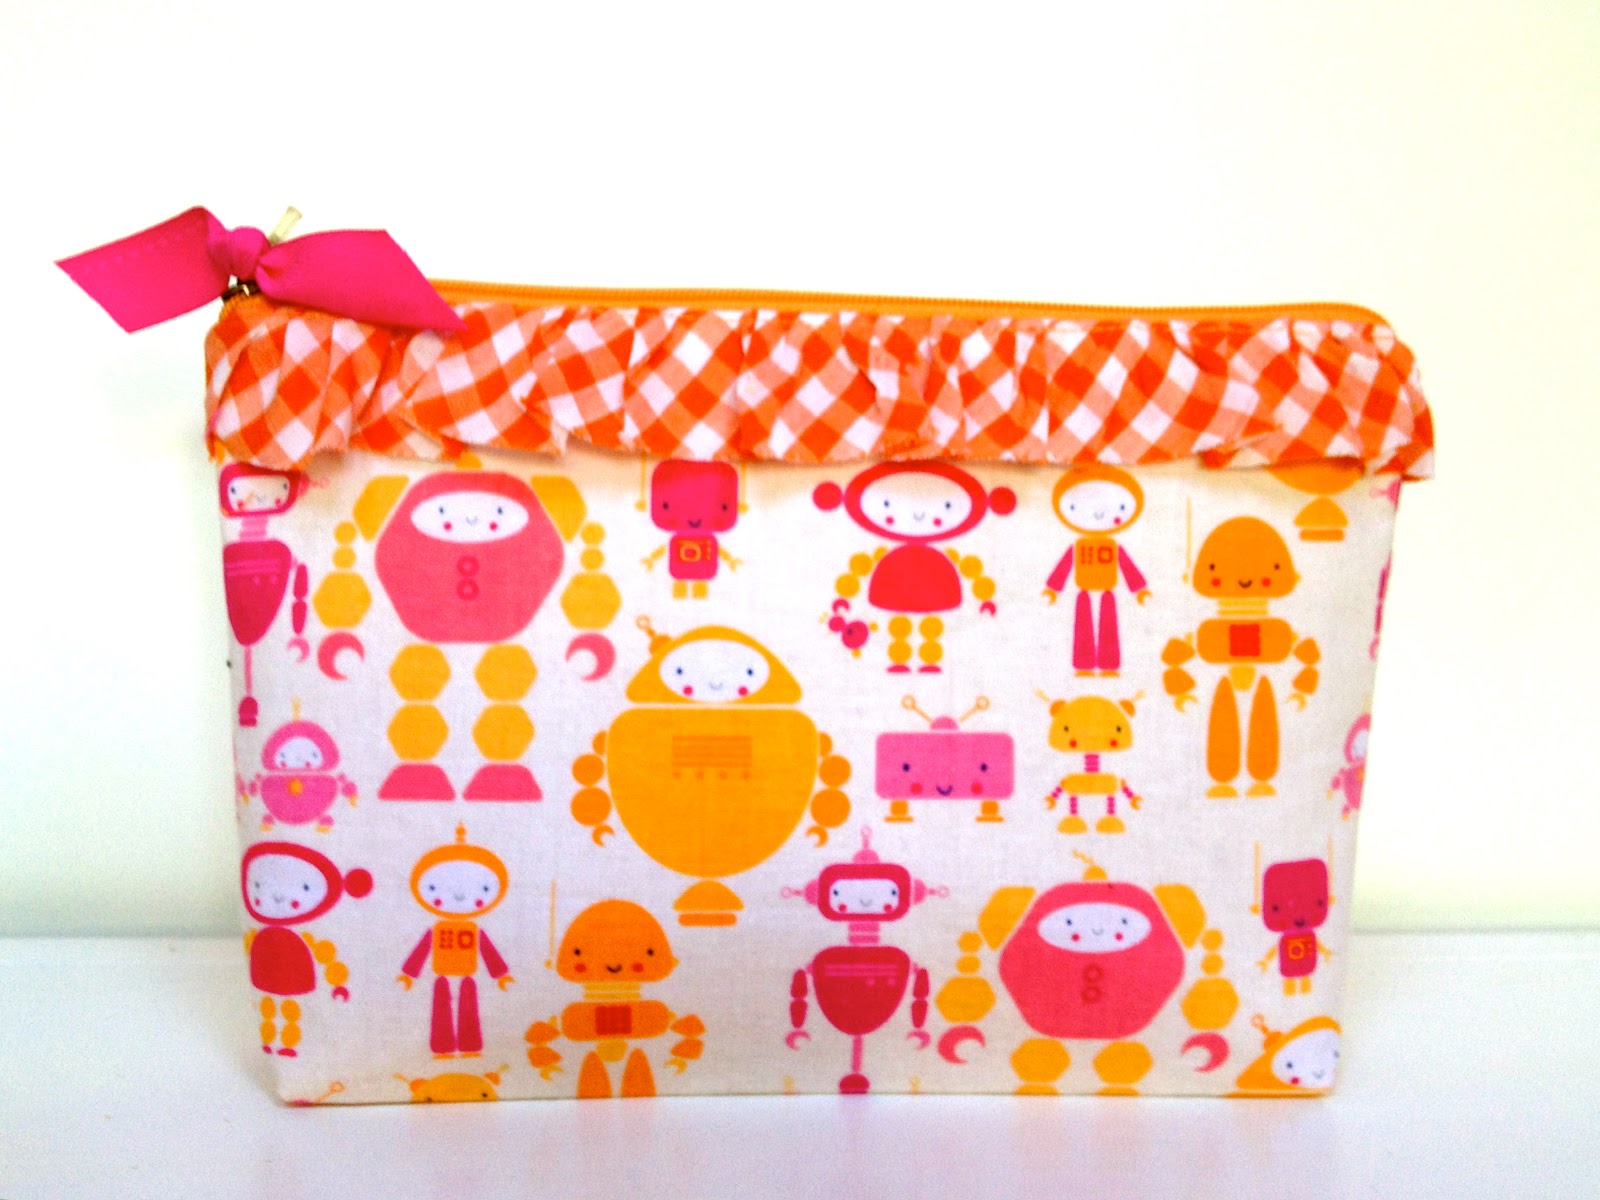
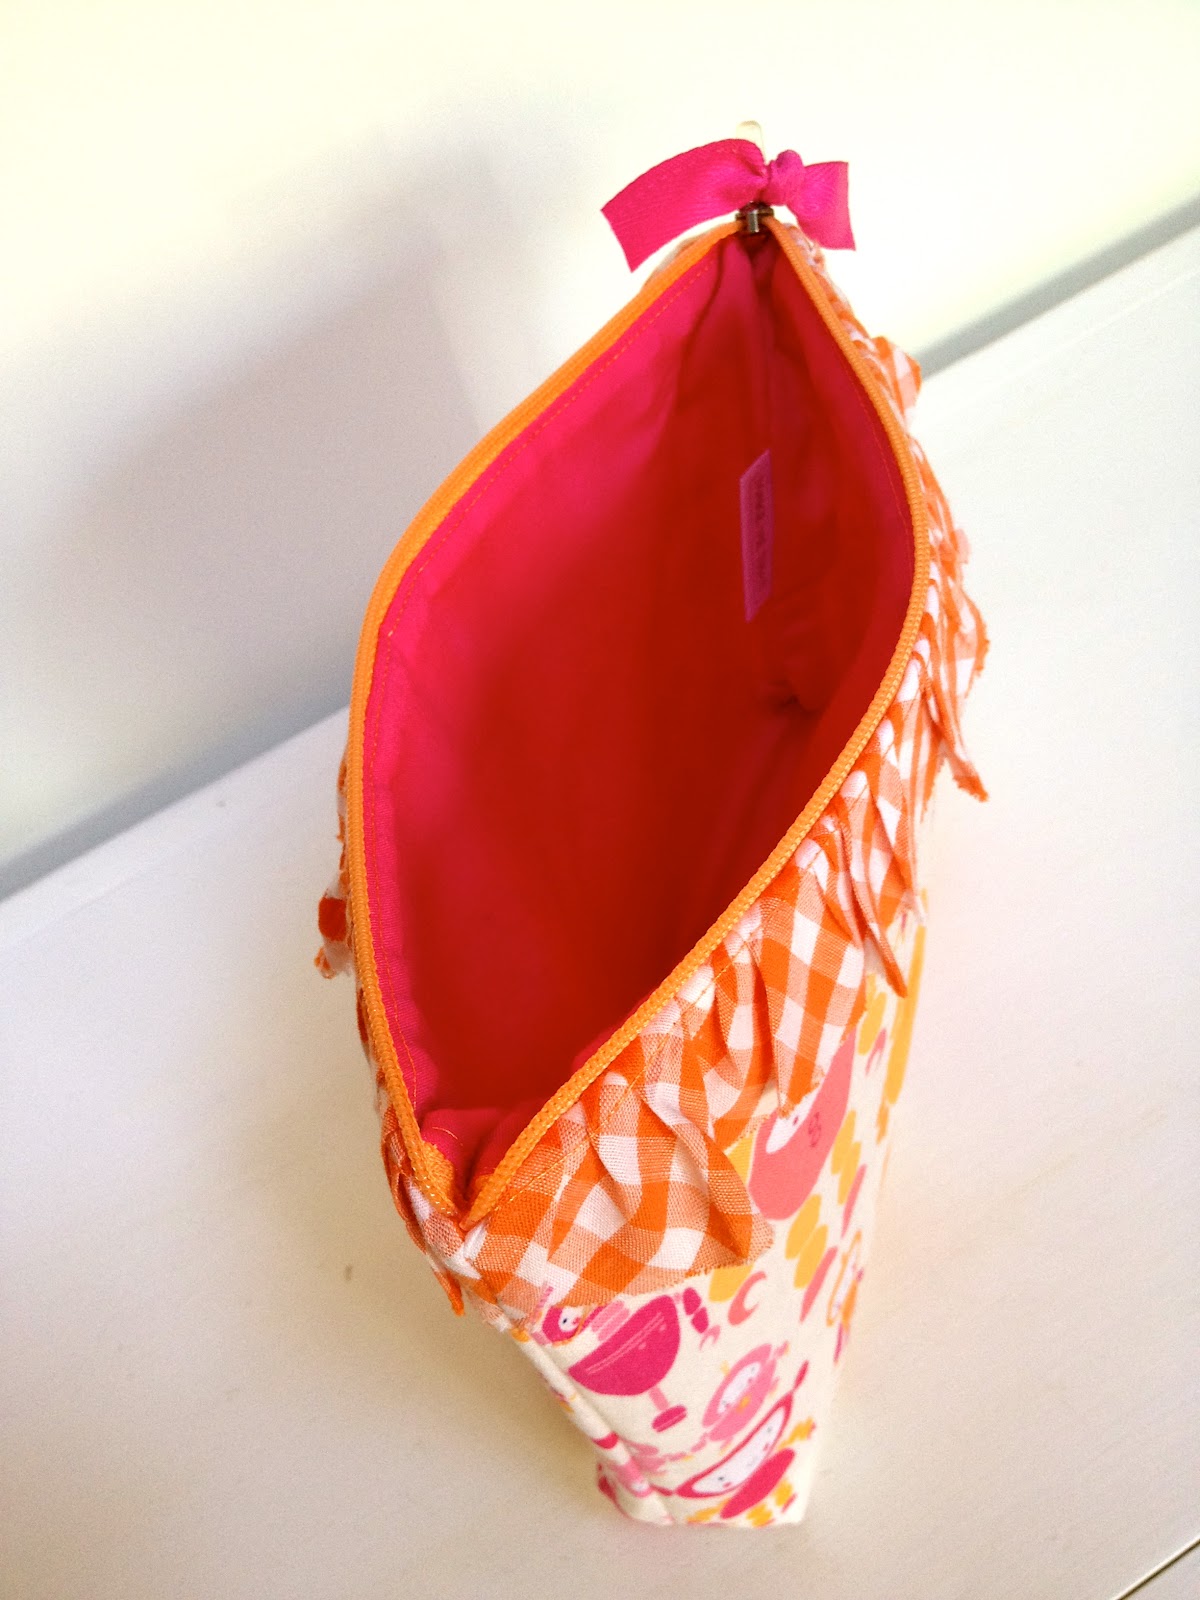
Made girly with an orange gingham ruffle detail tucked under the zipper and fuschia pink lining:
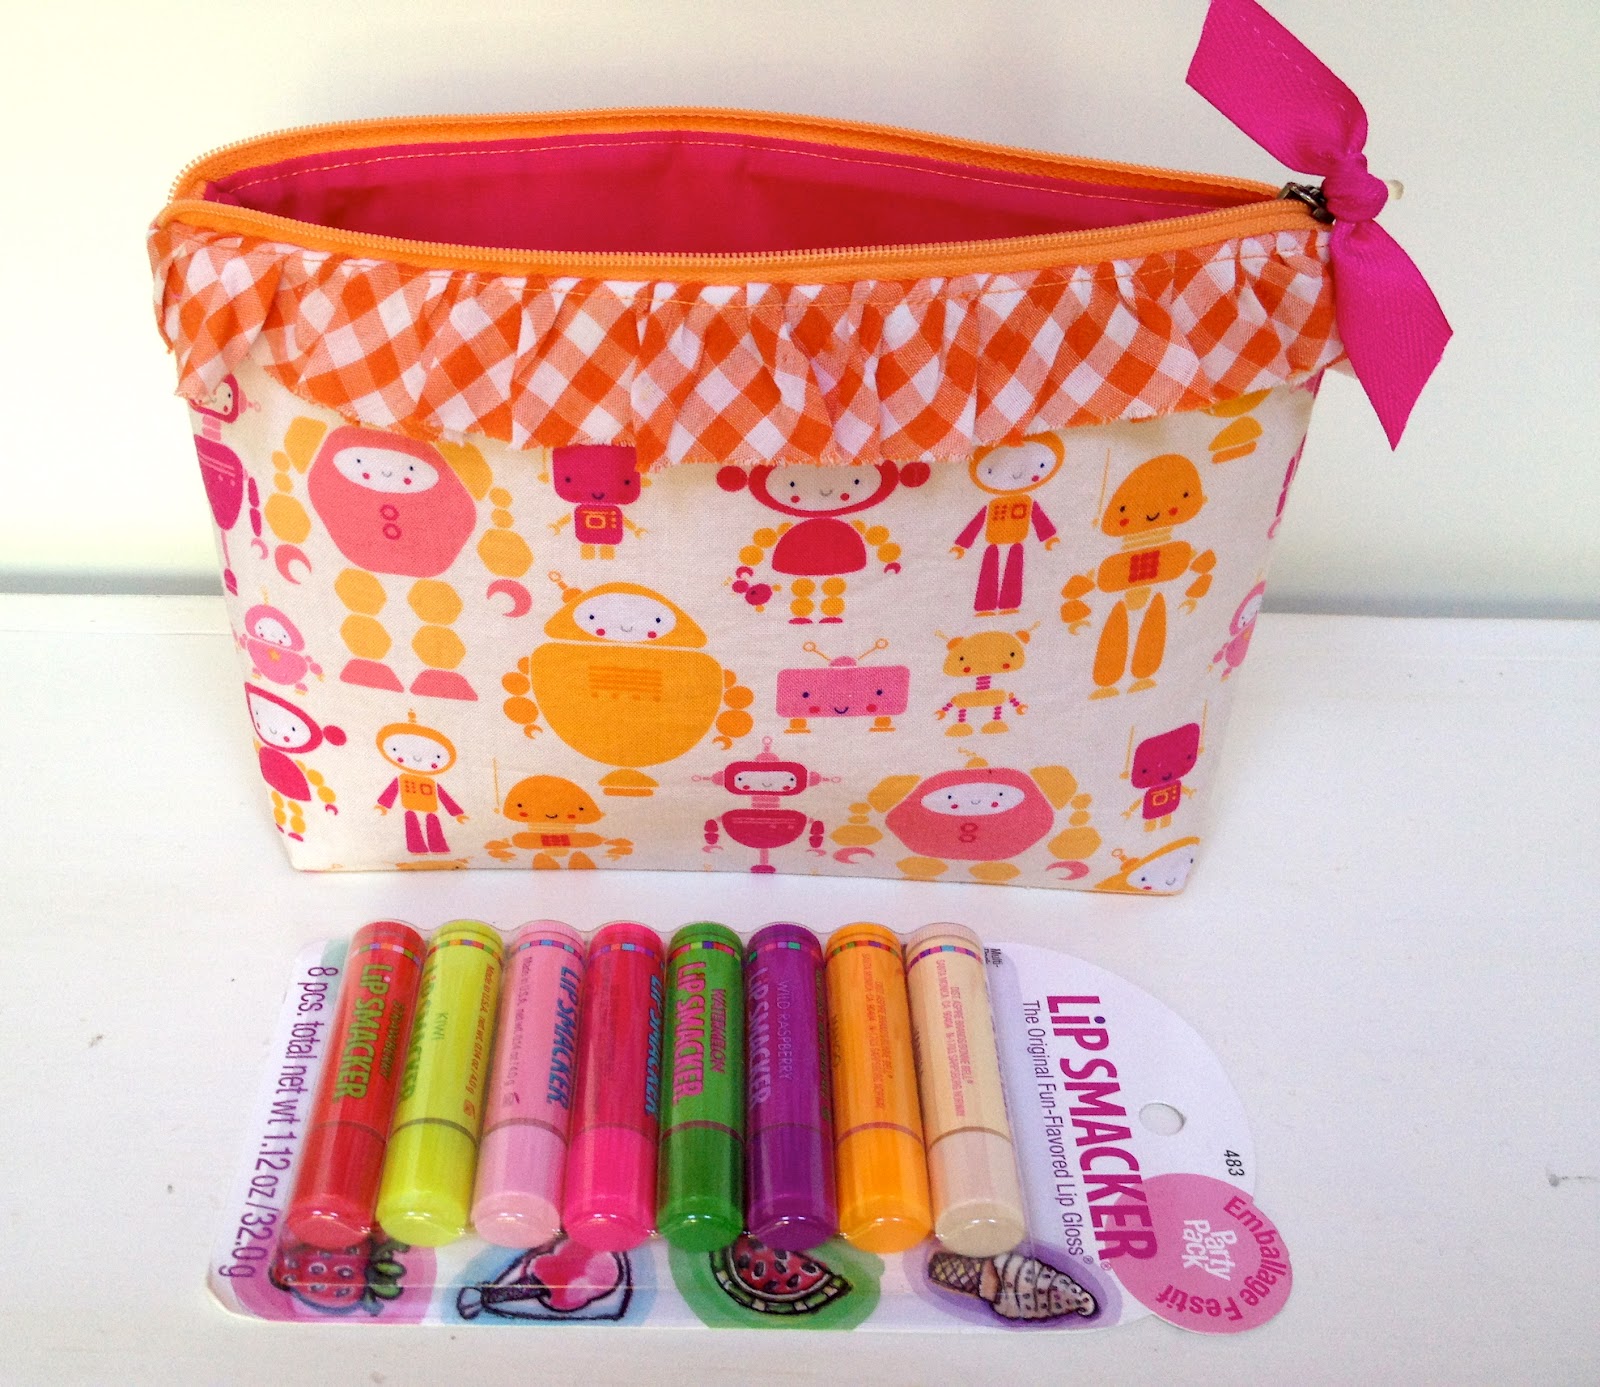
This pouch goes to a school friend for her 4th birthday.
Add some lip smacker lip balms to fit inside:
I wrapped up the lip balms like candy in bright orange and fuschia to match the pouch:
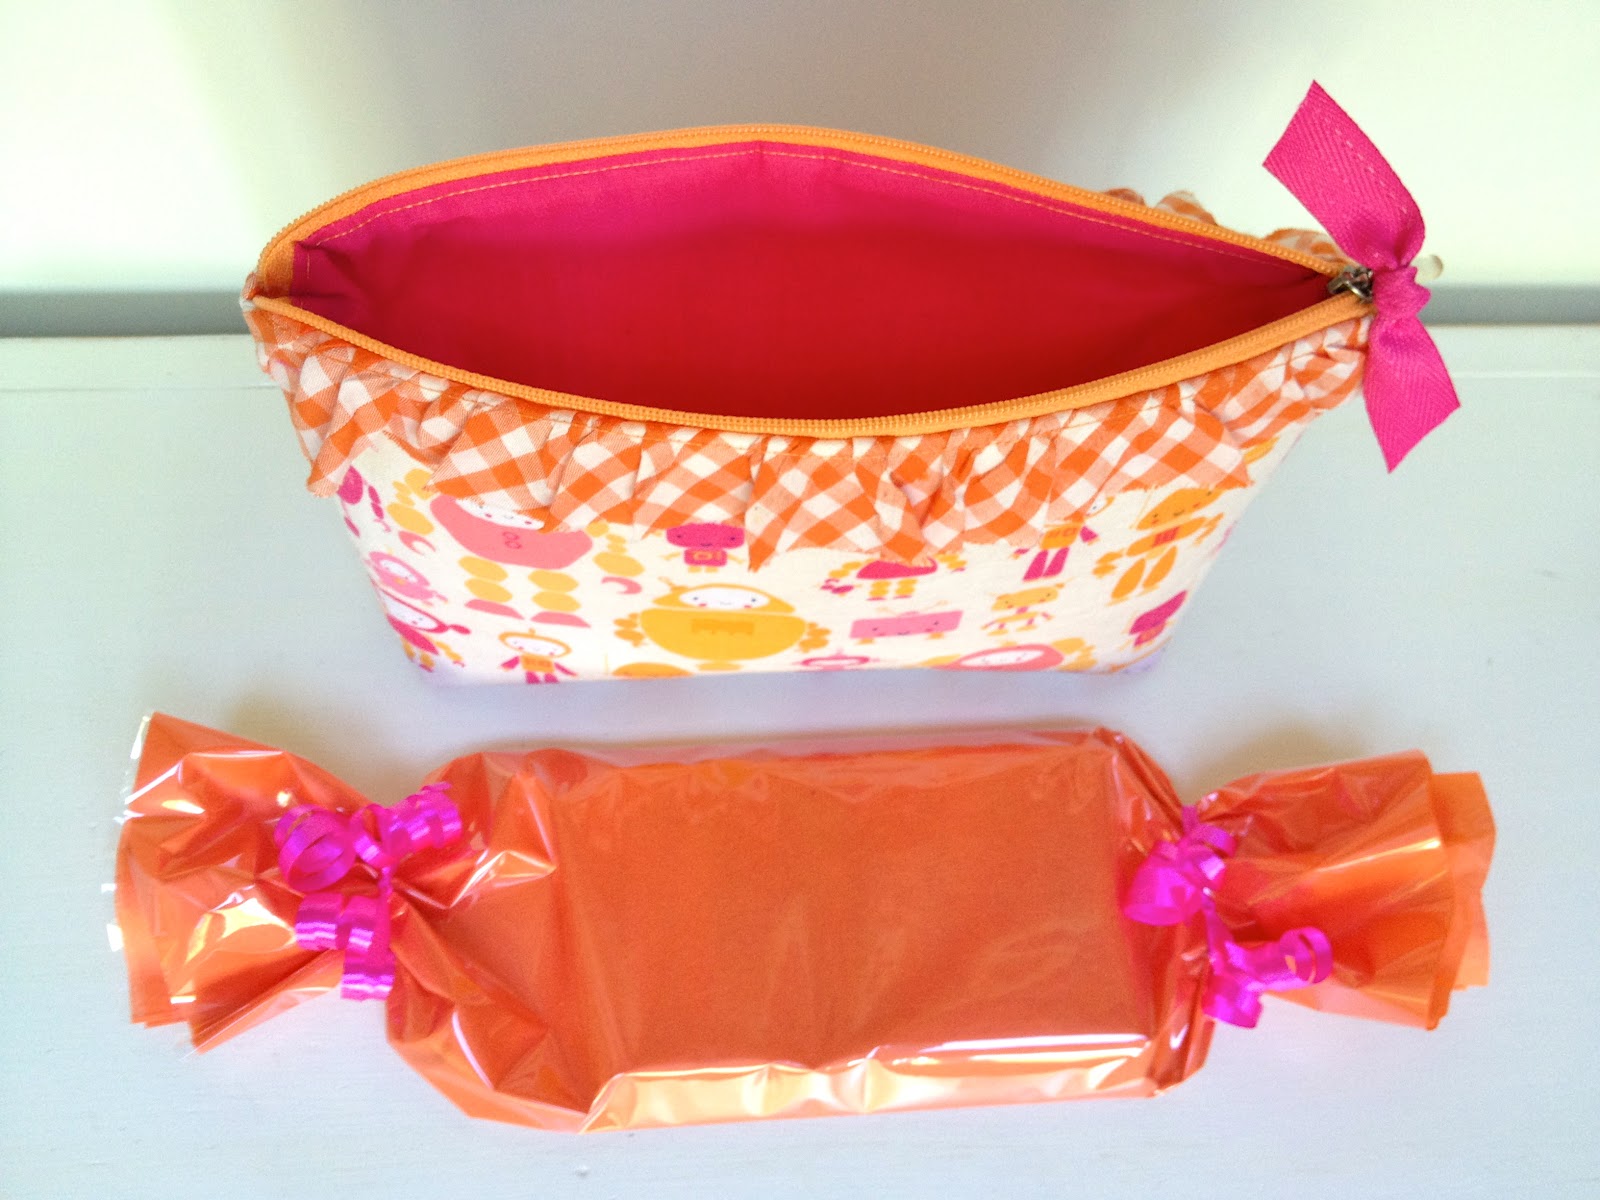
Placed the pouch and lip balms inside the trug:
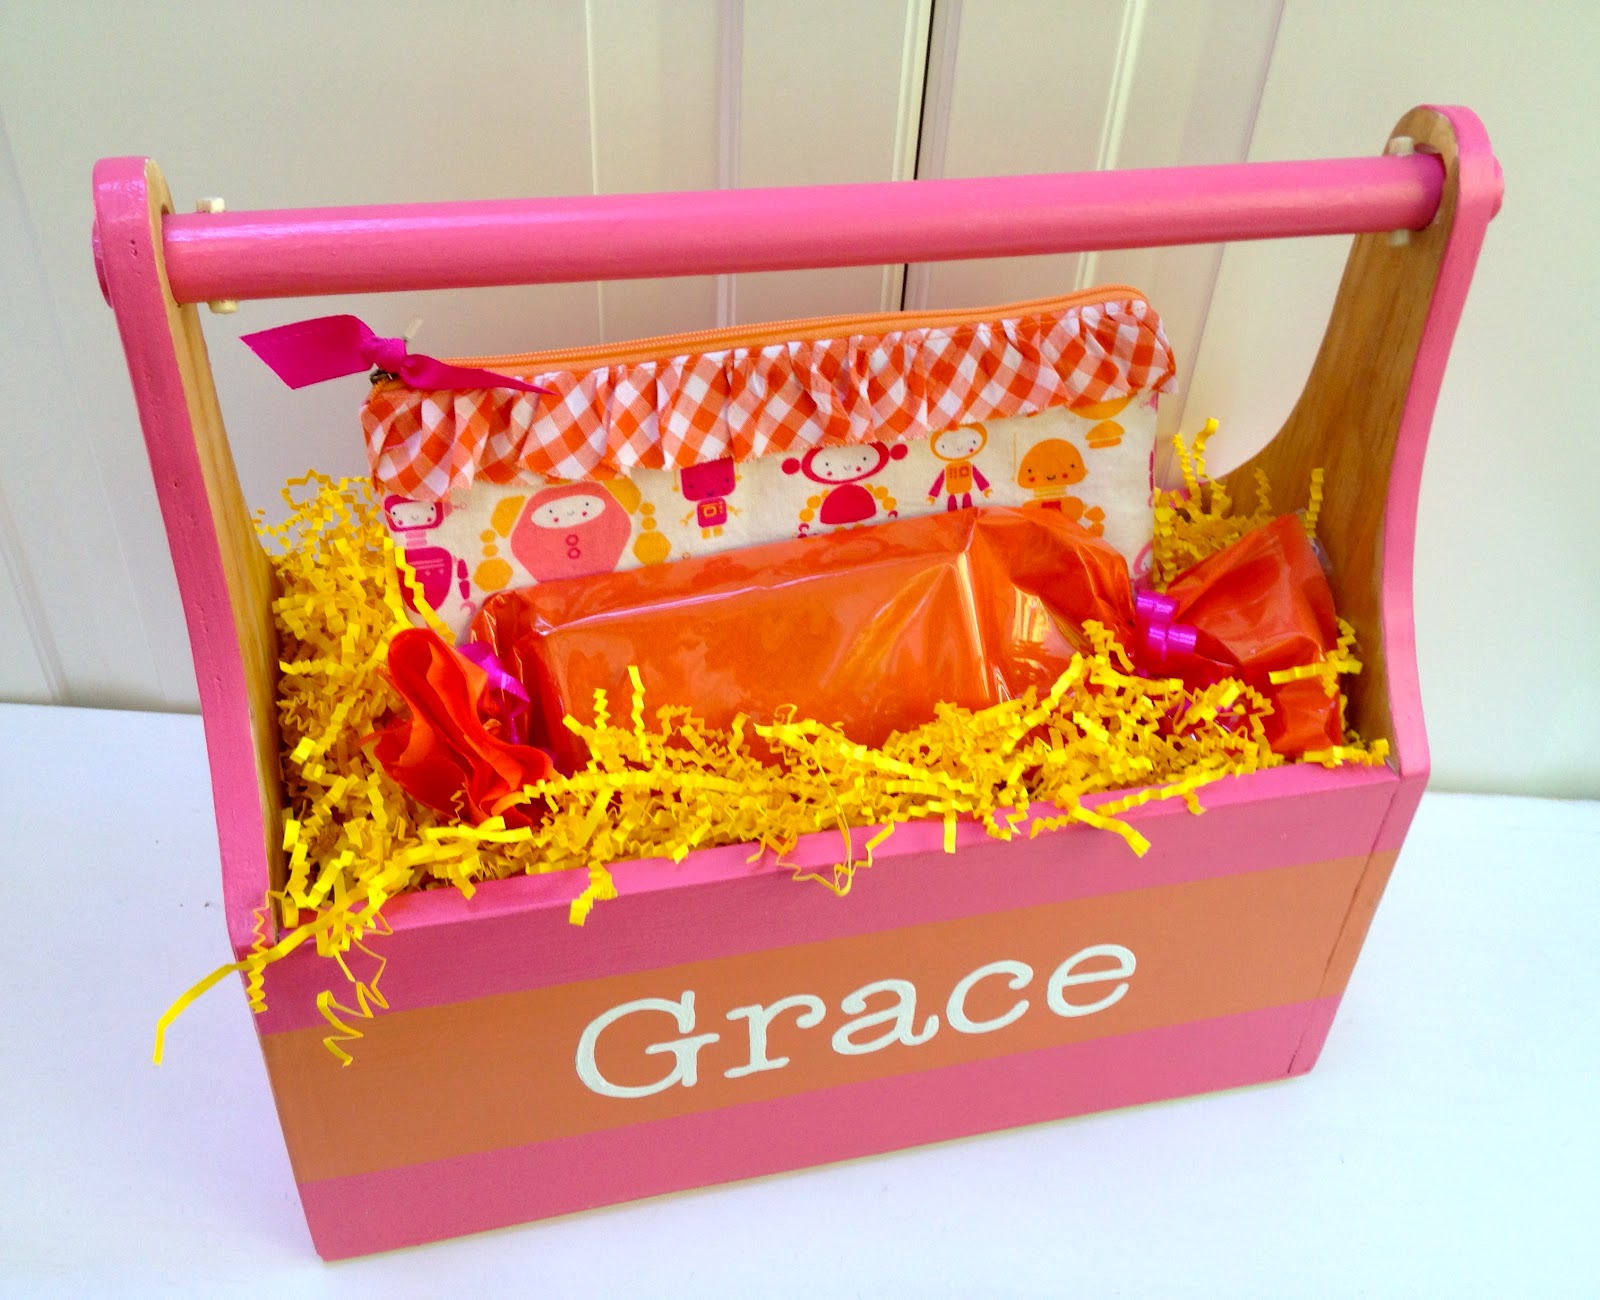
And wrapped everything in cellophane:

A handmade gift that’s useful and fun (and not another plastic toy with lots of pieces!!).
Here’s how I made the pouch:
1. Supplies:
1 – exterior fabric (pink robots) @ 10″w x 14″l
1 – fusible interfacing @ 10″w x 14″l
2 – lining fabric (fuschia) @ 10″w x 7″l
1 – orange zipper @ 9″
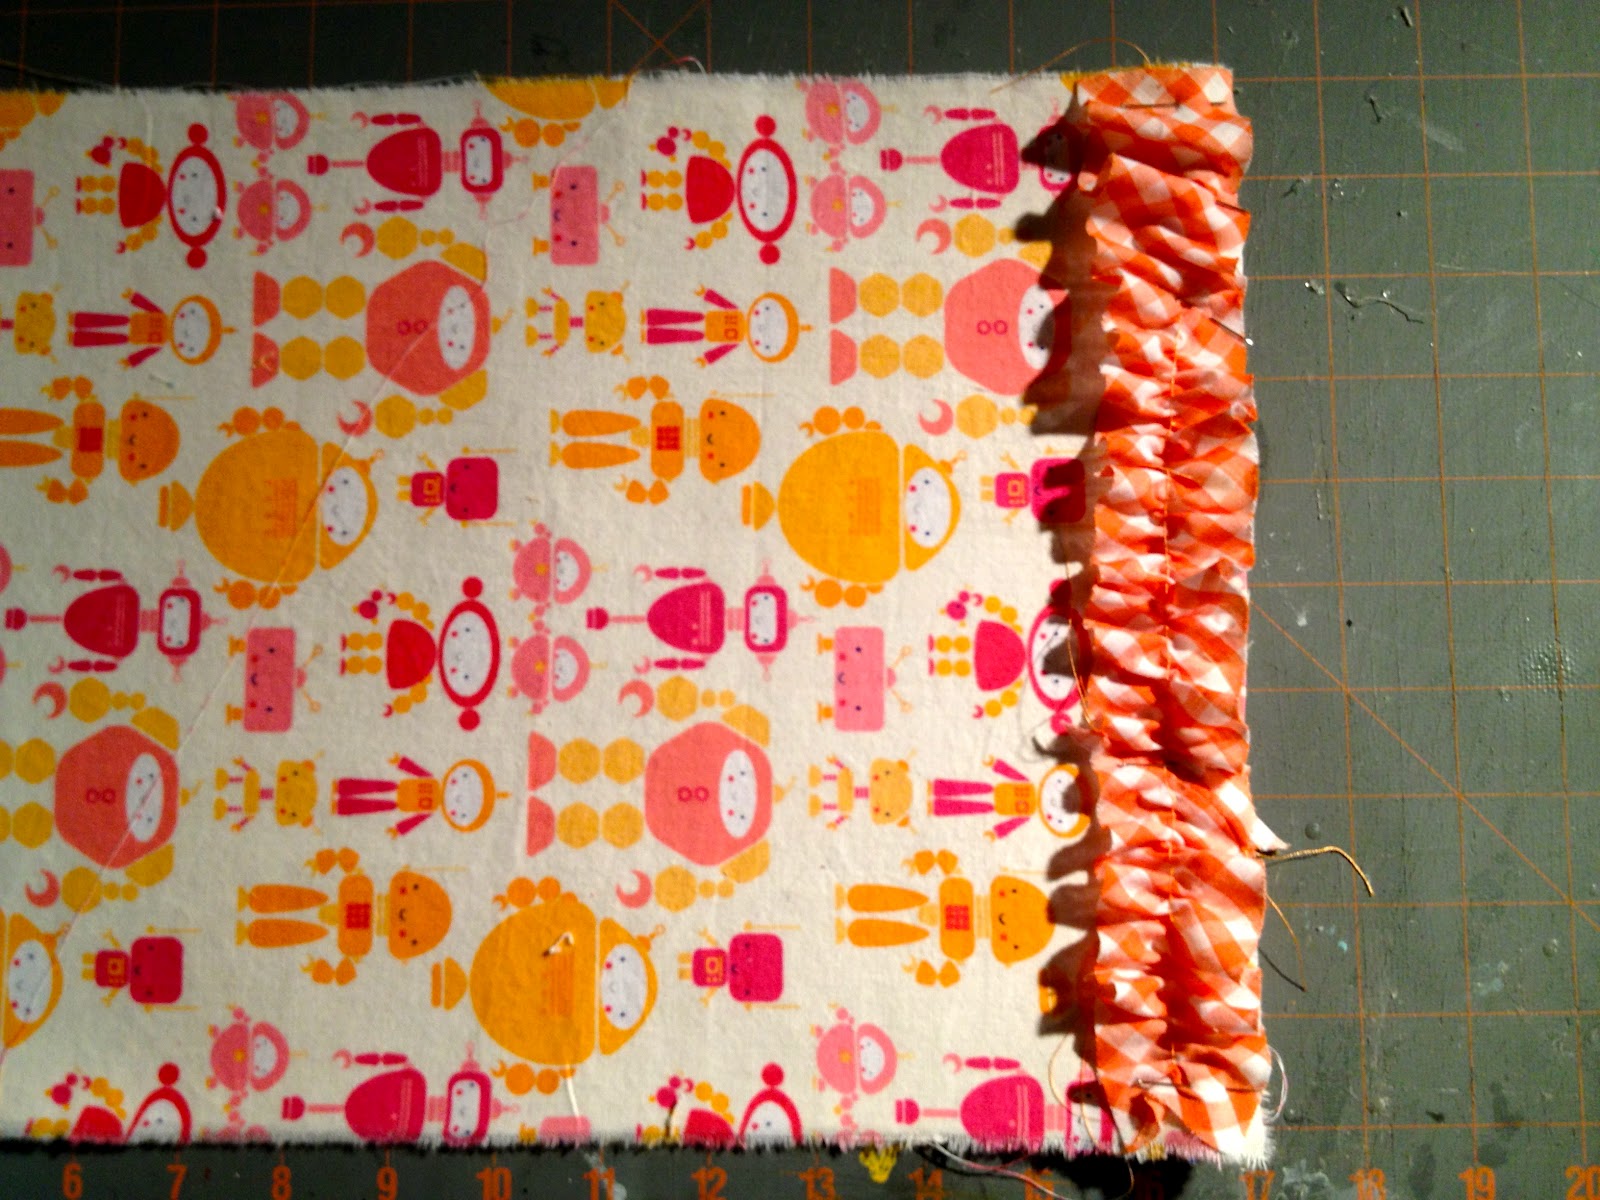
2 – ruffle strips @ 1.5″w x 20″l

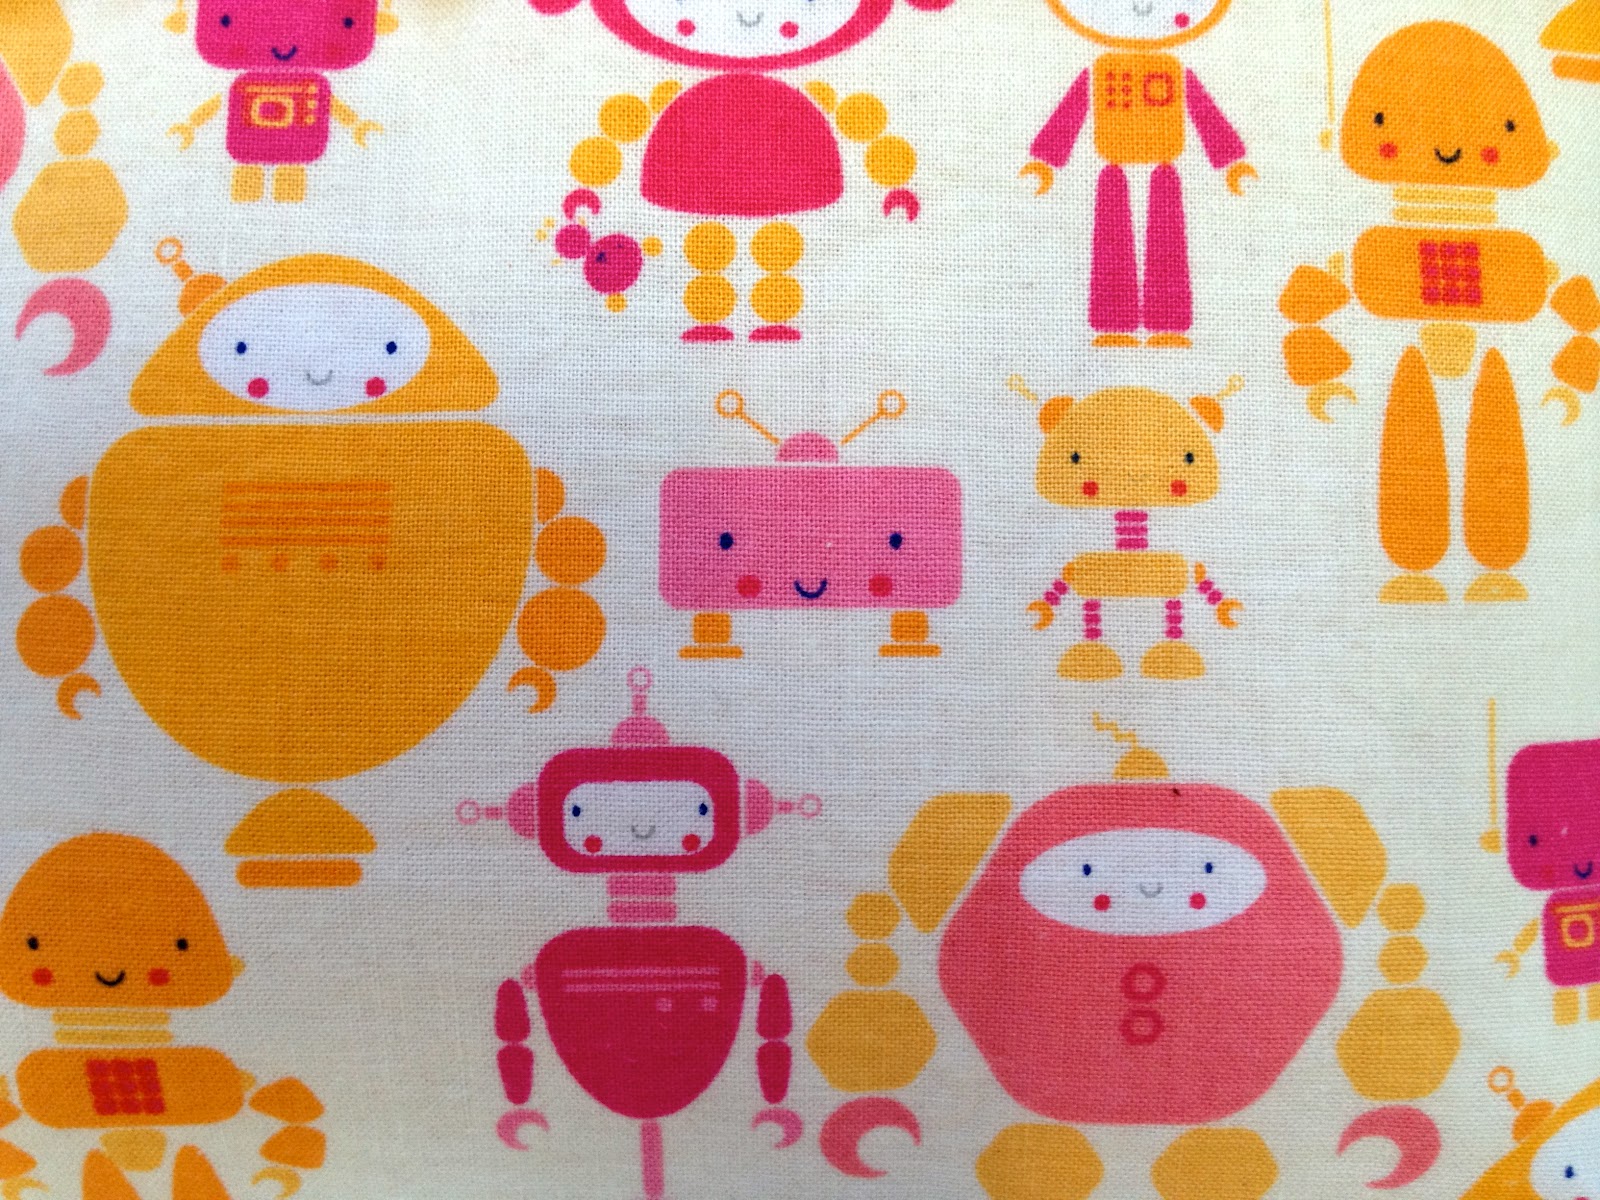
I used Rashida Coleman’s Timeless Treasures pink robots cotton fabric:
2. To make the ruffle sew a long zig zag stitch down middle of the strip then pull one thread carefully to gather up ruffle to 10″.
Fuse interfacing to wrong side of exterior fabric.
Pin ruffle to top edge of exterior fabric then straight stitch in place 1/4″SA:
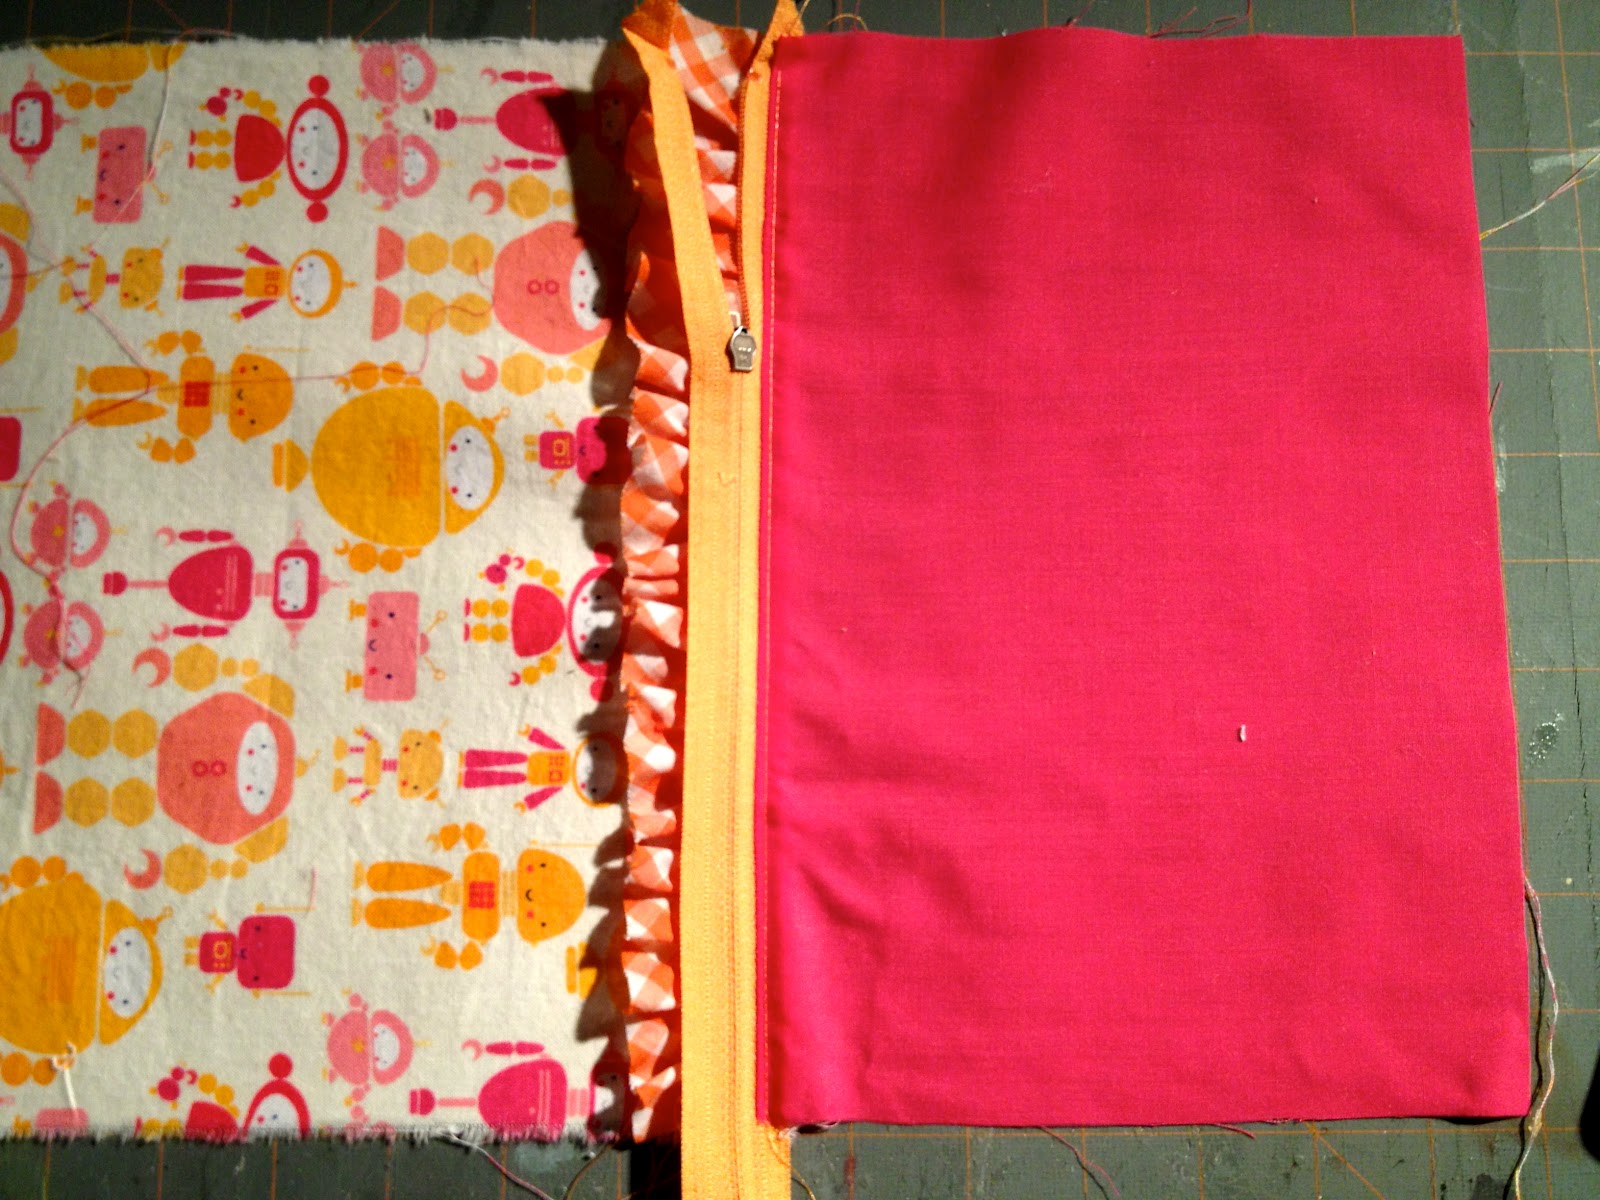
3. Place zipper face down on top of ruffle then one lining piece.
Sew with zipper foot at 1/2″SA.

4. Top stitch lining down and top stitch ruffle as well, both 1/4″ SA to keep from getting caught in zipper:
5. Repeat process for other side of zipper.
6. Sew side seams then miter corners:
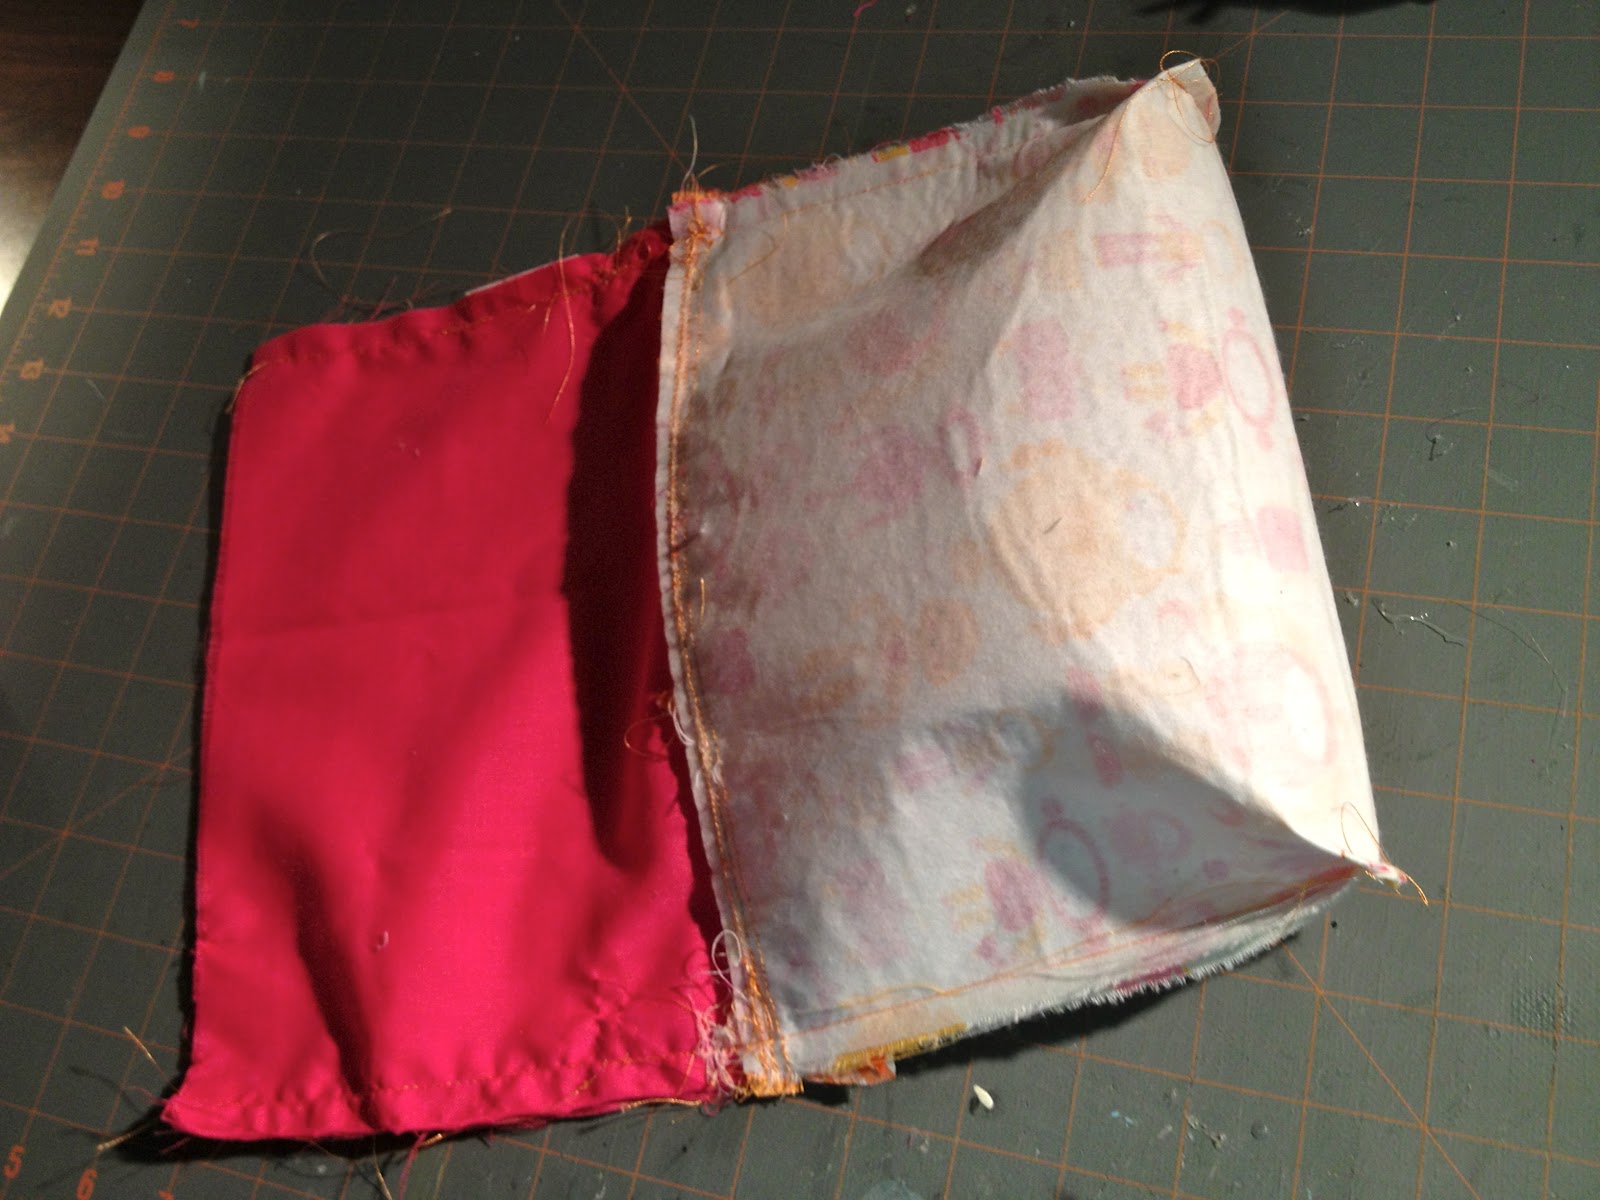
7. Trim mitered corners to remove bulk.
Turn right side out, press lining side seams open then press in raw edge 1/2″ and straight stitch bottom edge of lining closed:

8. Push lining down into pouch.
Add grosgrain ribbon to zipper pull:


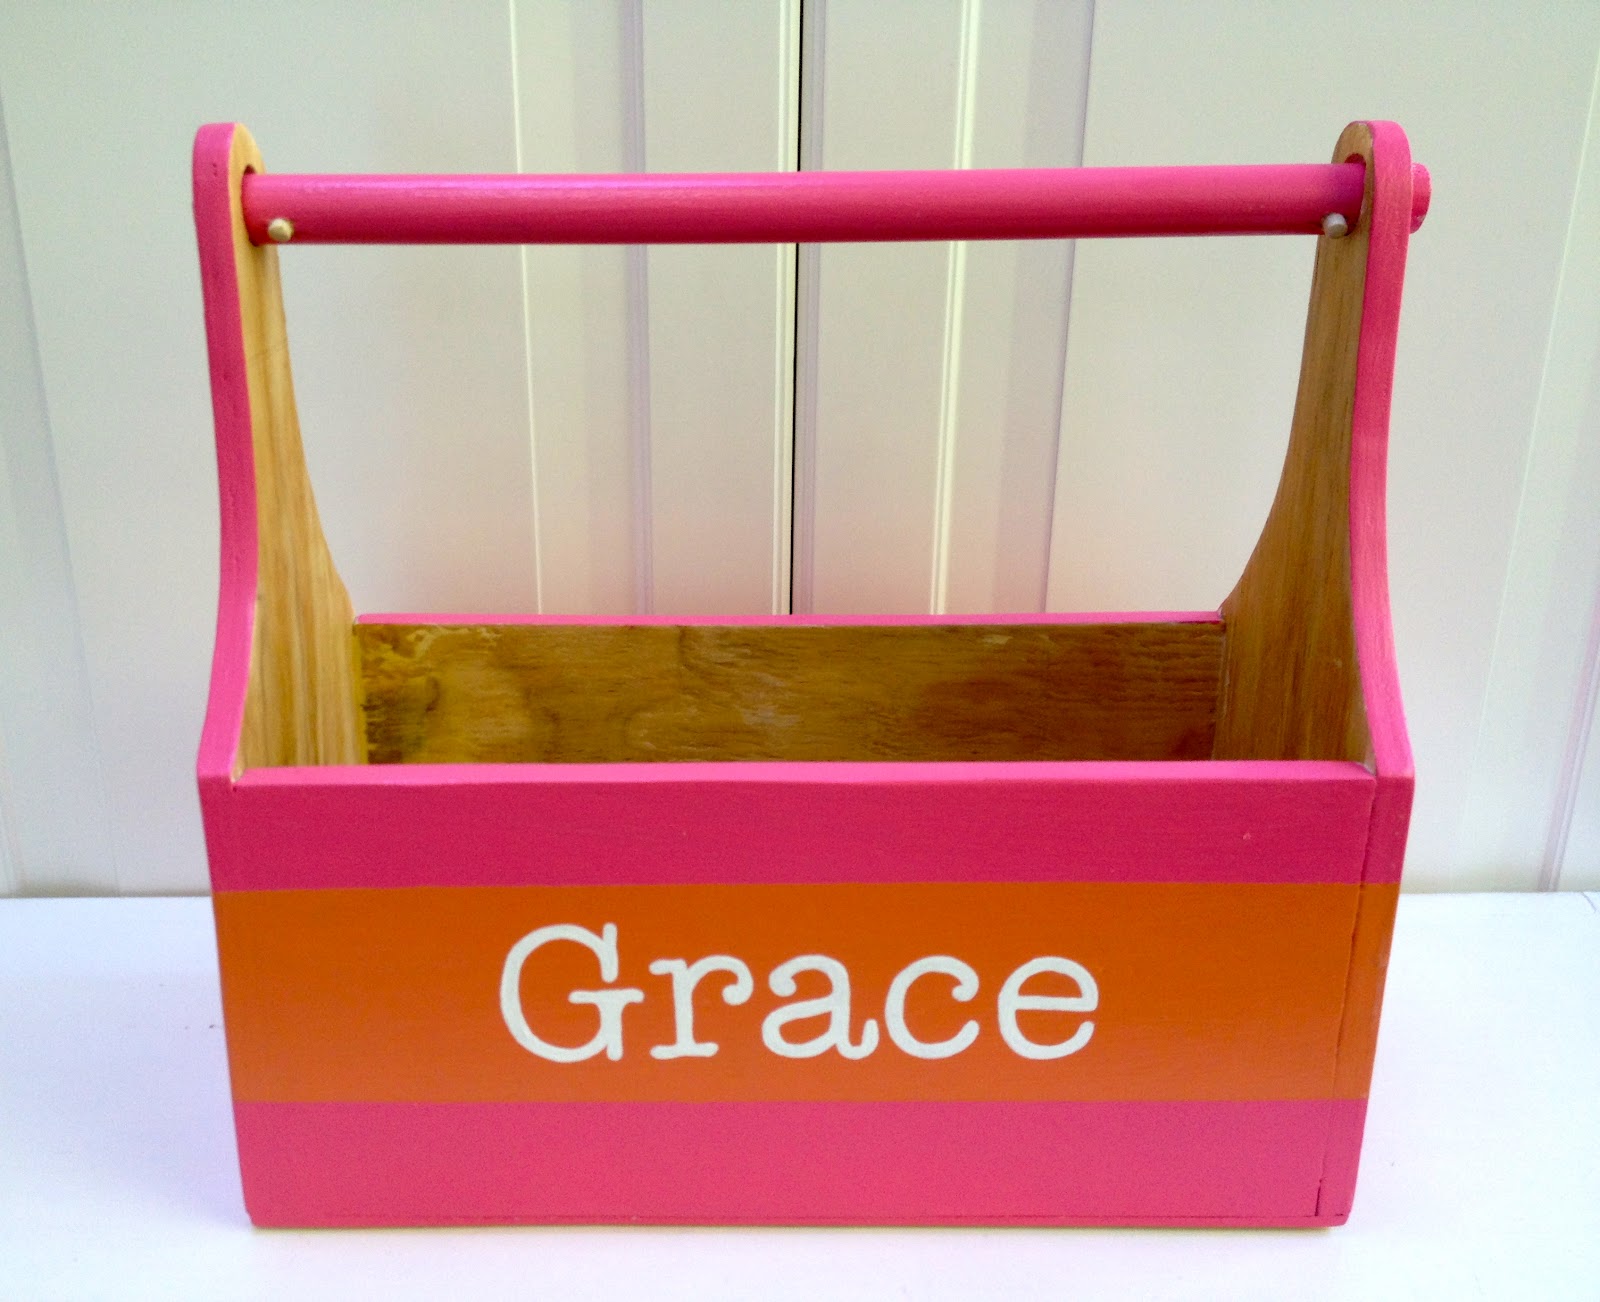
And more on how to personalize the trug in my post here.
If you have a computer, printer, ballpoint pen, paint and brush then you can do this:
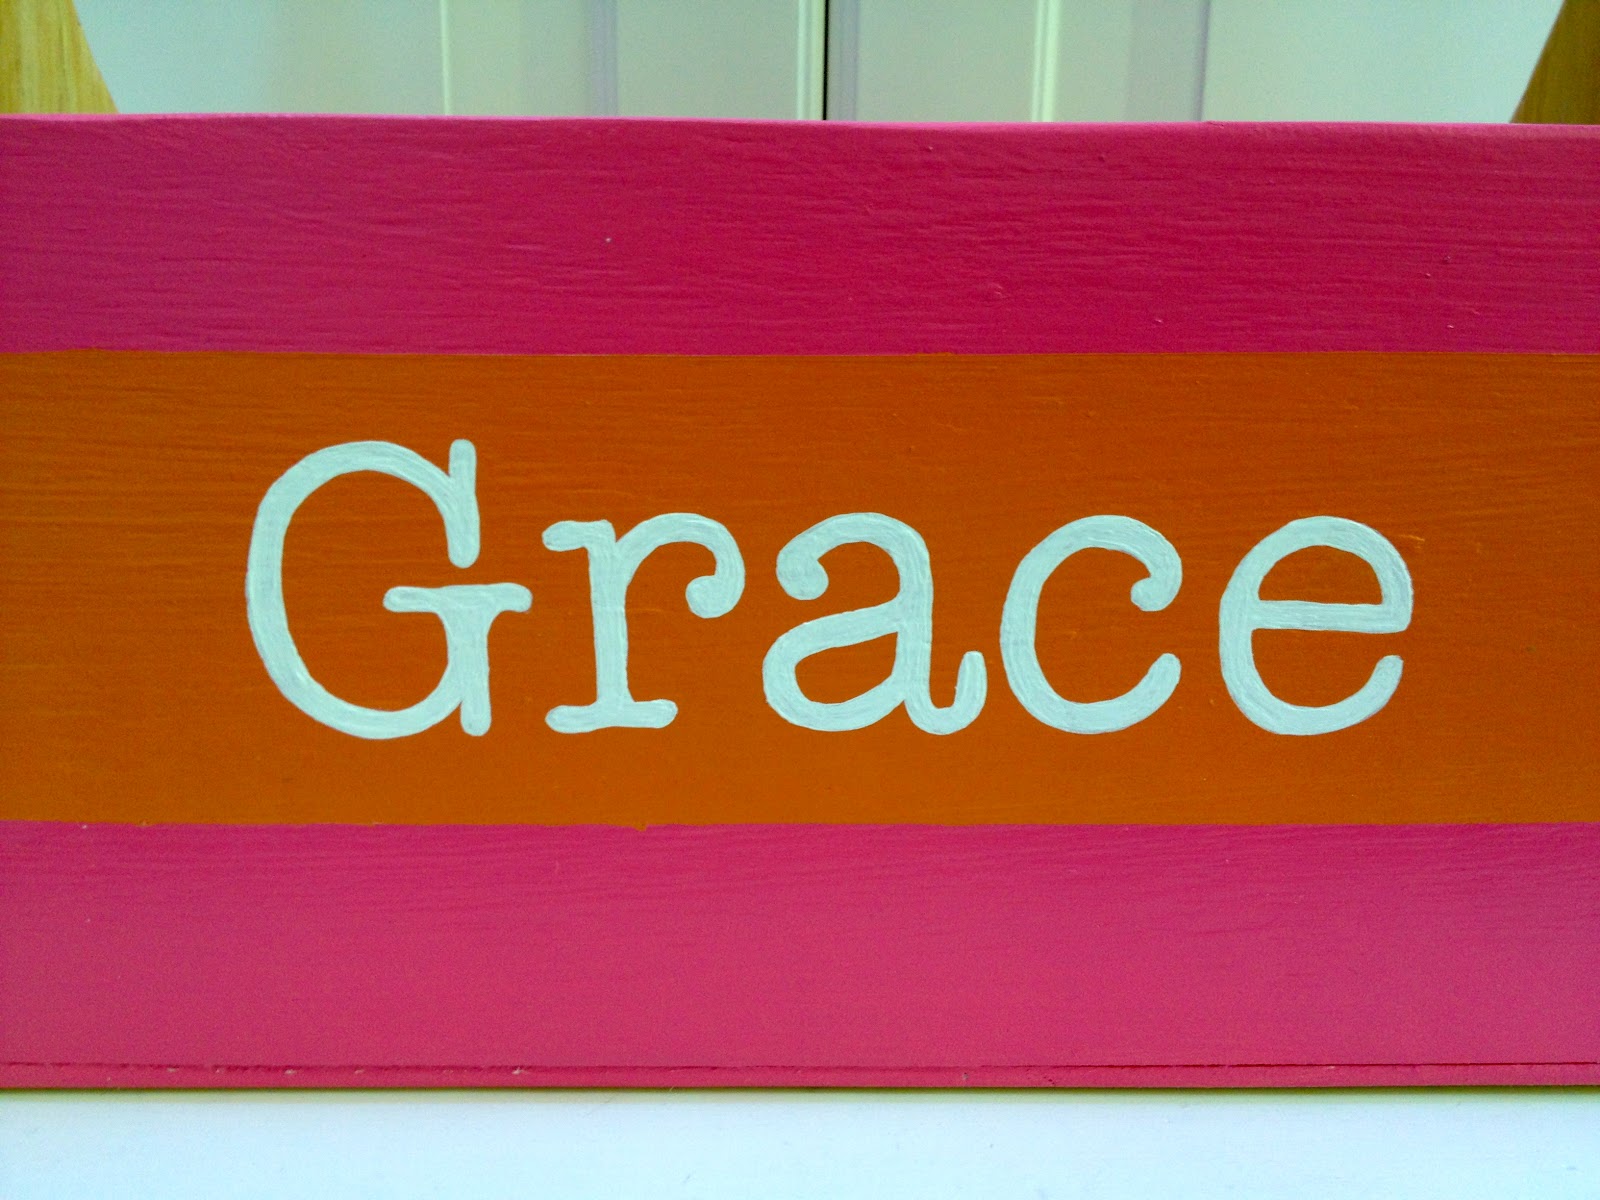
I left the inside unpainted, I love how the bare wood looks against the bright pink and orange:

Happy Birthday Grace!
Hope you have the most fun today at your party on such a beautiful day.

I’m linking up to:
Whatcha Got Weekend @ Lolly Jane
SAS @ Funky Junk
Sister Sunday @ Sisters of the Wild West
Sunday Showcase Party @ Under the Table & Dreaming
DIY Project Parade @ The DIY Showoff
Nifty Thrifty @ Coastal Charm
Tuesday Treasures @ My Uncommon Slice of Suburbia
Tutorials & Tips Tuesday @ Home Stories A to Z
Transformation Thursday @ The Shabby Creek Cottage
Strut Your Stuff @ Somewhat Simple
Share Awesomeness Thur @ The 36th Avenue
Flaunt it Friday @ Chic on a Shoestring
Frugal Friday @ The Shabby Nest
SAS @ Just a Girl
Feathered Nest @ French Country Cottage
Remodelaholics Anonymous @ Remodelaholic


Are you a robot? You are so prolific in your work. I so enjoy reading your blog, and I'm always amazed by how much you accomplish. With children running around, I don't know how you do it. You should post on how you organize your day!
omgosh – super cute!! I am definitely trying these pouches this summer!!
That's adorable… thanks for the tutorial 🙂
What a neat gift idea! Thanks for the tutorial on how to make the pouches.
Thank you for the tutorial for the pouch, I'm going to give a try later
I love making bags like this! How cute the fabric and details! I love it!
That is an awesome gift. So cute!
Oh my gosh that is adorable. You are an amazing gift giver.