• Home
  • Blog
  • About
  • Contact
    • Disclosure
    • Privacy Policy
  • SHOP
  • Widget area for main menu

    • Email
    • Facebook
    • Instagram
    • Pinterest
    • Twitter
    • YouTube
  • Skip to primary navigation
  • Skip to main content
  • Skip to primary sidebar

Jaime Costiglio

build - paint - sew

  • BUILD
    • BEDS
    • BENCHES
    • DESKS
    • DRESSERS
    • GAMES & TOYS
    • SCRAP WOOD
    • SHELVES
    • STORAGE
    • TABLES
  • TOOLS
  • PAINT
    • CRAFTS
    • FURNITURE
    • HOME DECOR
  • SEW
    • GIFTS
    • HOME DECOR
    • POUCHES
  • HANDBUILT HOLIDAY
    • 2021
    • 2019
    • 2018
    • 2017
    • 2016
    • 2015
    • 2014
    • 2013
  • GIFTS
    • BABIES
    • KIDS
    • FOR HER
    • FOR HIM
    • TEACHERS
    • WEDDINGS
  • SEASONAL
    • 4TH OF JULY
    • FALL
    • HALLOWEEN
    • CHRISTMAS
    • SUMMER
    • SPRING
    • ST. PATRICK’S DAY
    • THANKSGIVING
    • VALENTINE’S DAY
    • WINTER
  • SALTBOX PROJECT
    • BATHROOMS
    • DINING ROOM
    • EXTERIOR
    • FAMILY ROOM
    • FOYER / MUDROOM
    • KIDS BEDROOMS
    • KITCHEN
    • LIVING ROOM
    • MASTER BEDROOM
    • PLAYROOM
  • SCROLL SAW

DIY Polka Spot Table Makeover

April 15, 2013

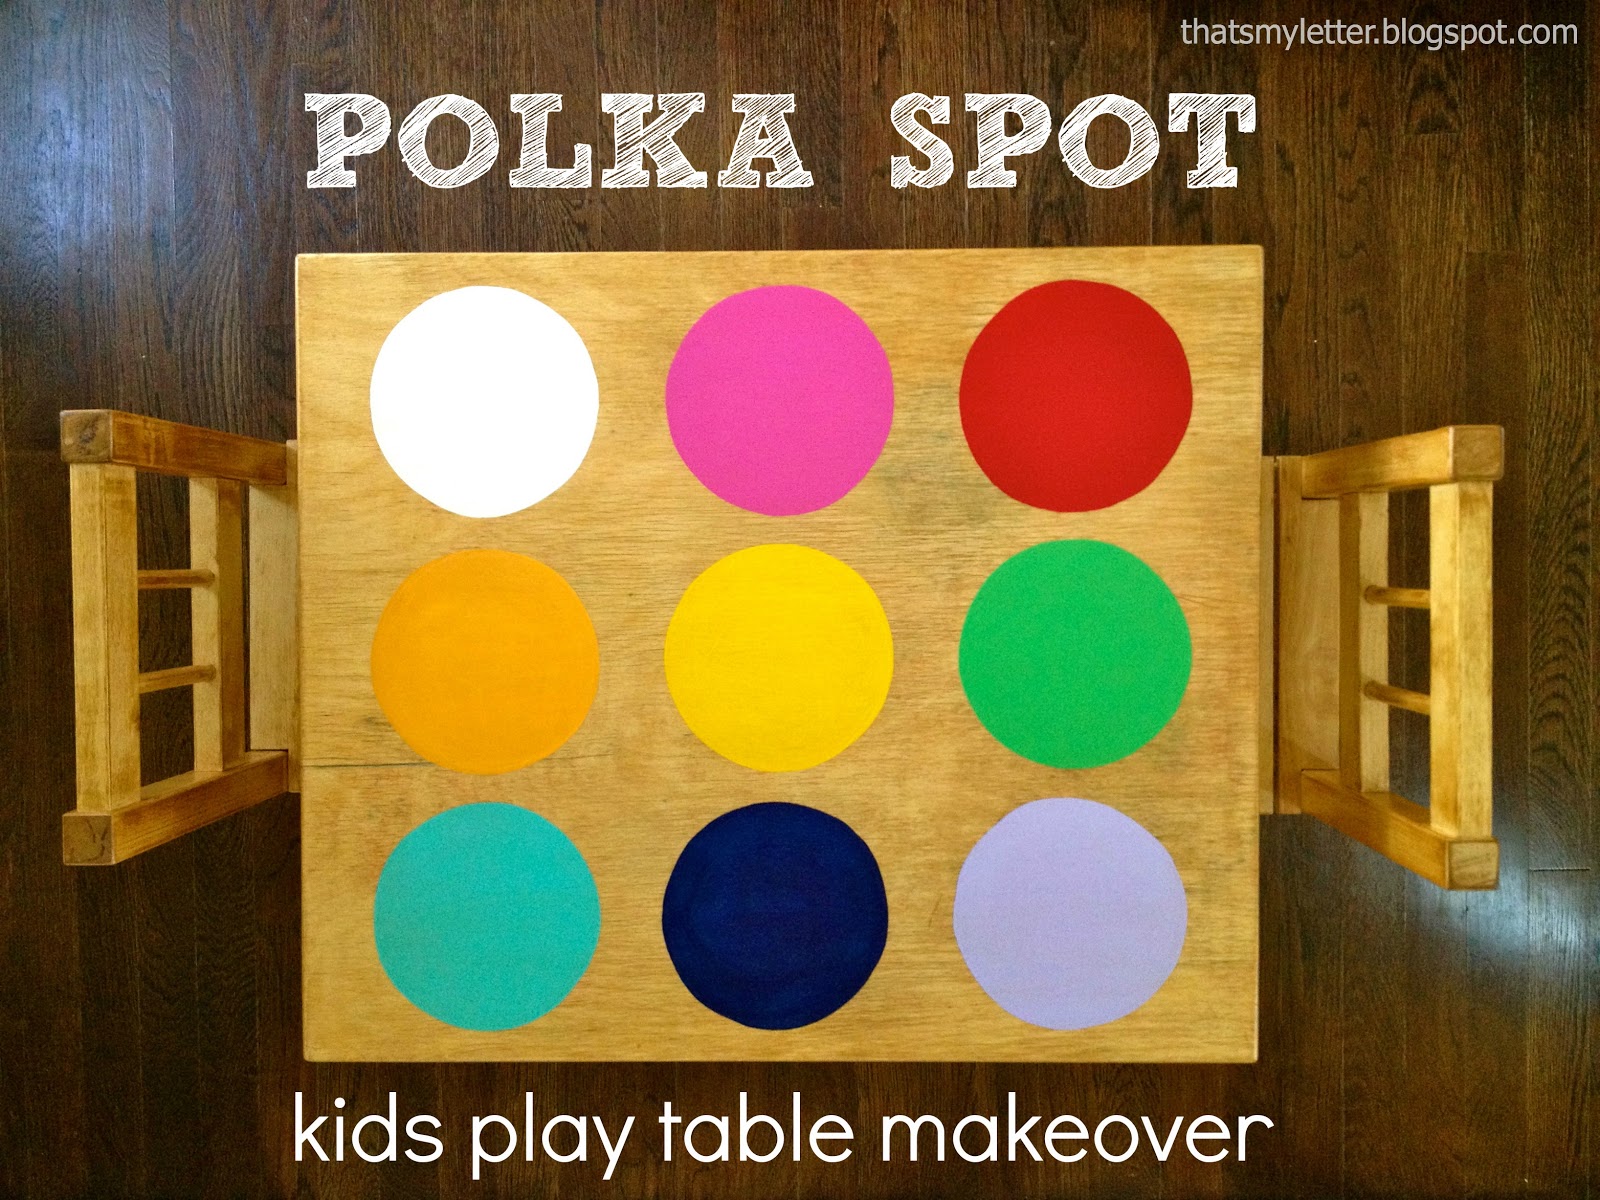
Paint: kids play table makeover
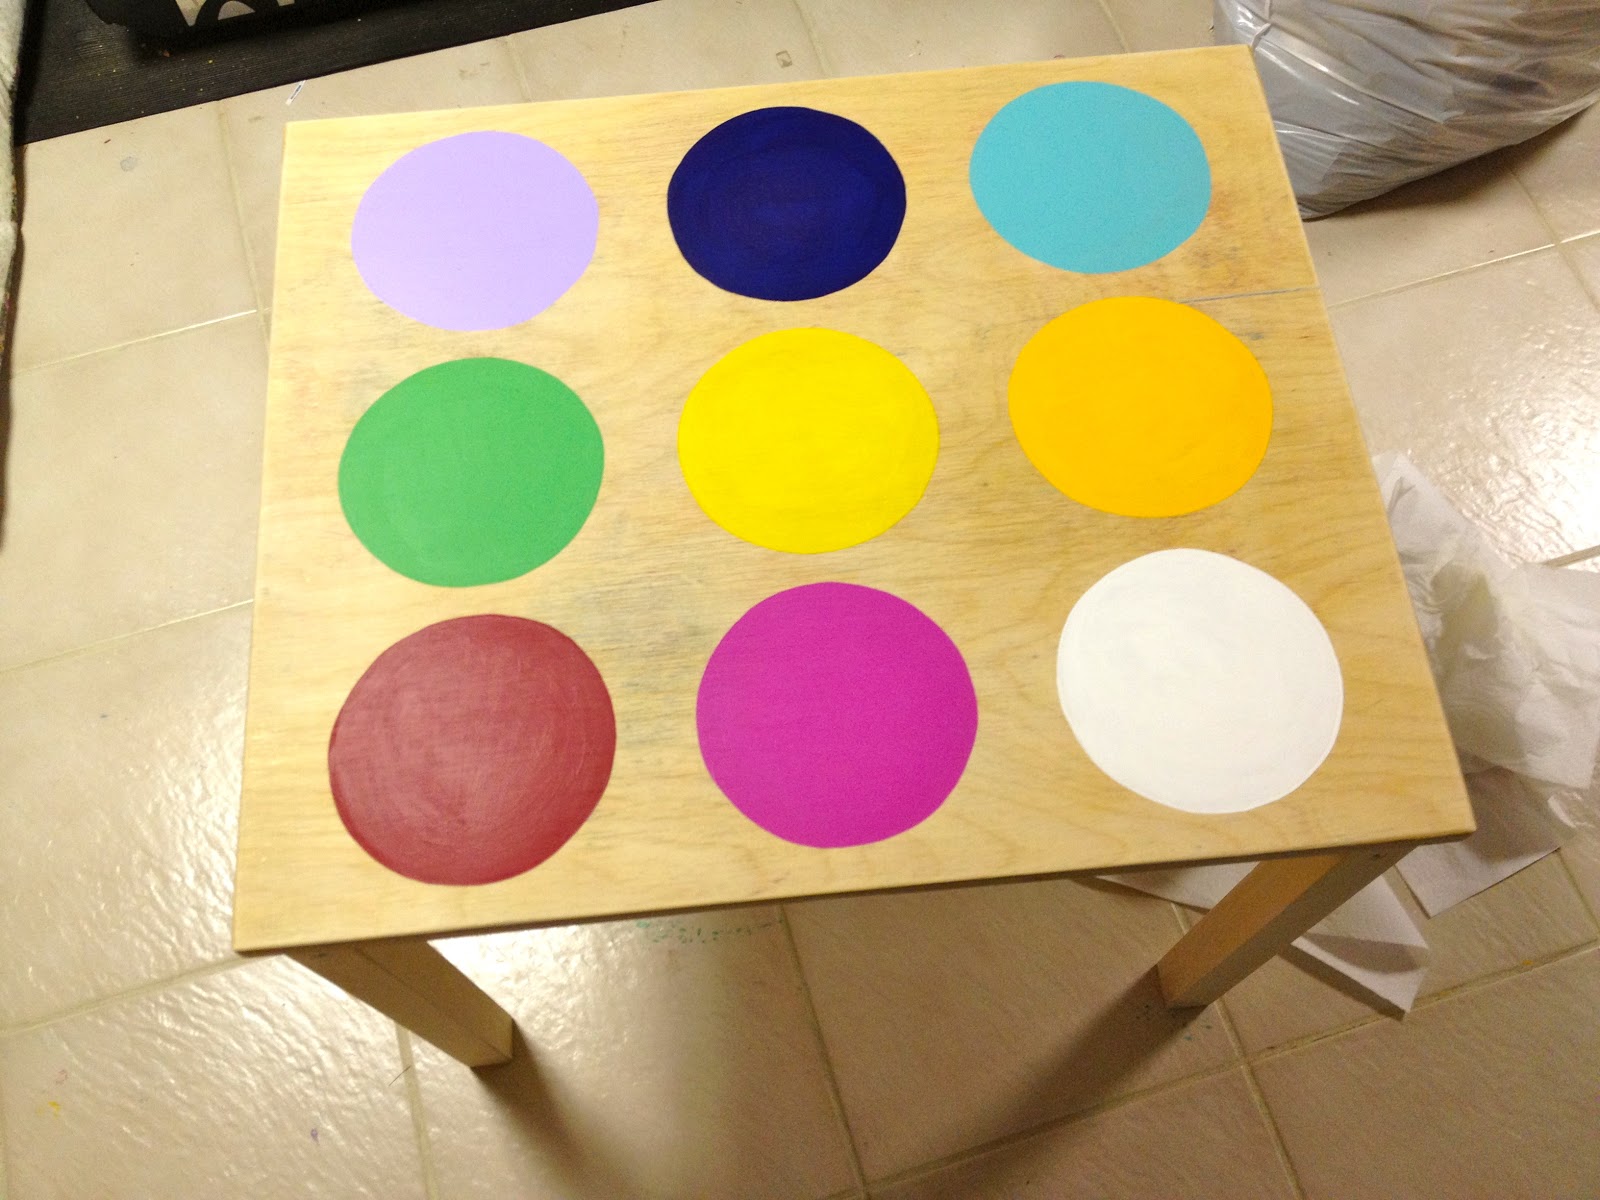
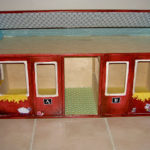
A little paint and stain gives new life to this little kids table and chairs:

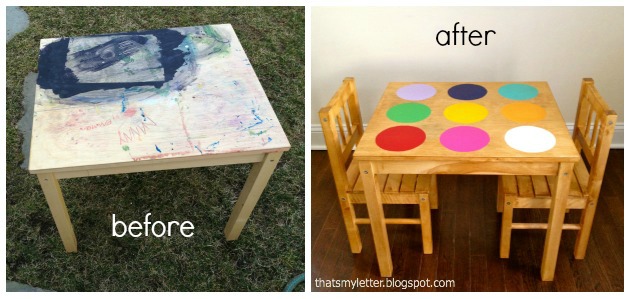
My kids had ‘lovingly’ used this Ikea table and chairs set for many years.
Now they’re too big to comfortably fit but the table is sturdy and still functional so I refinished it for the neighbors.
It’s fun, playful and suitable for both boys and girls.

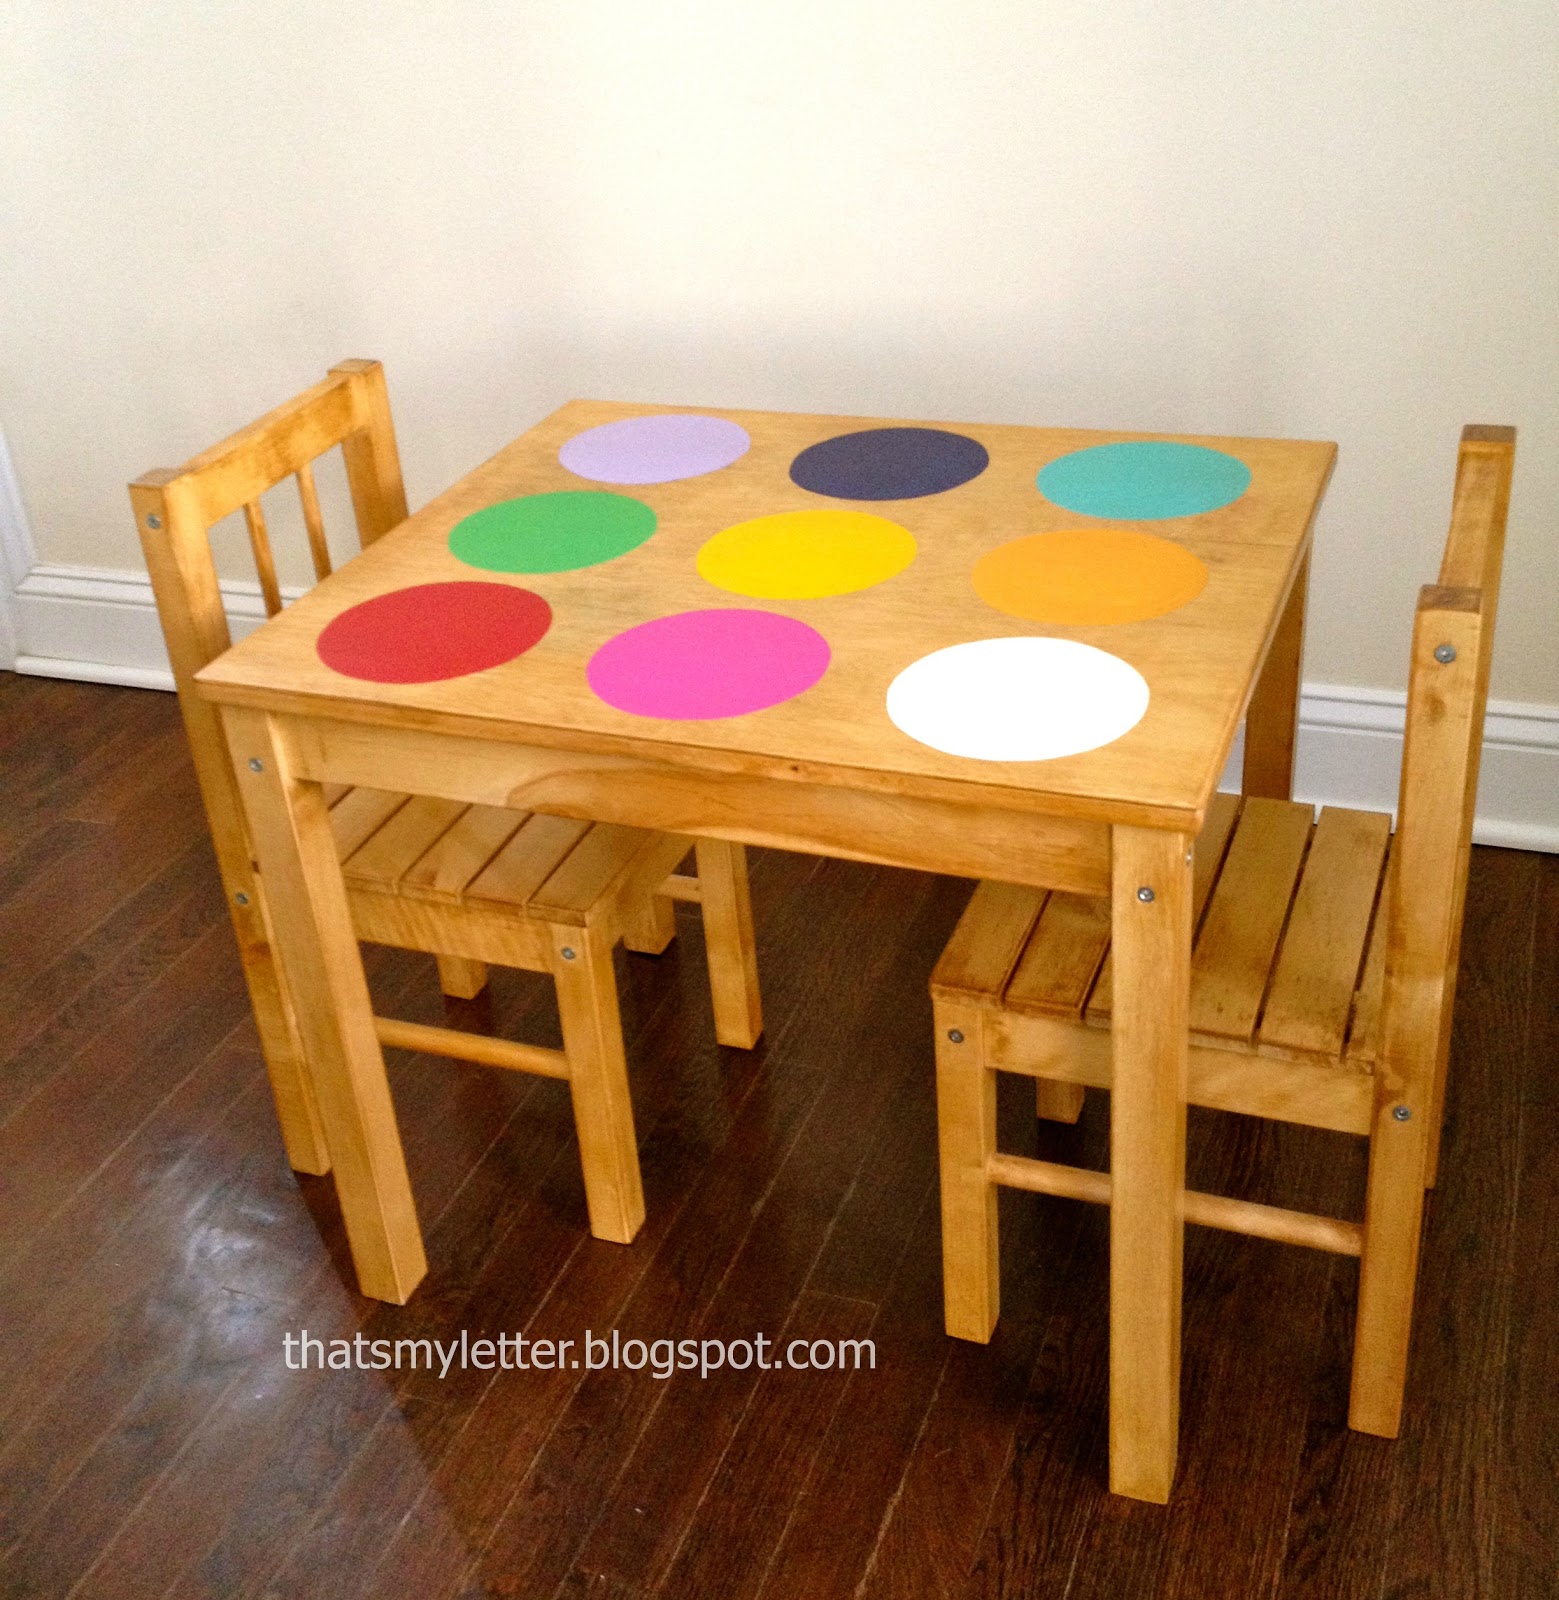
Here’s how to makeover the polka spot table:

1. Start with a solid wood – been loved by kids – table:

2. Sand off all stains:
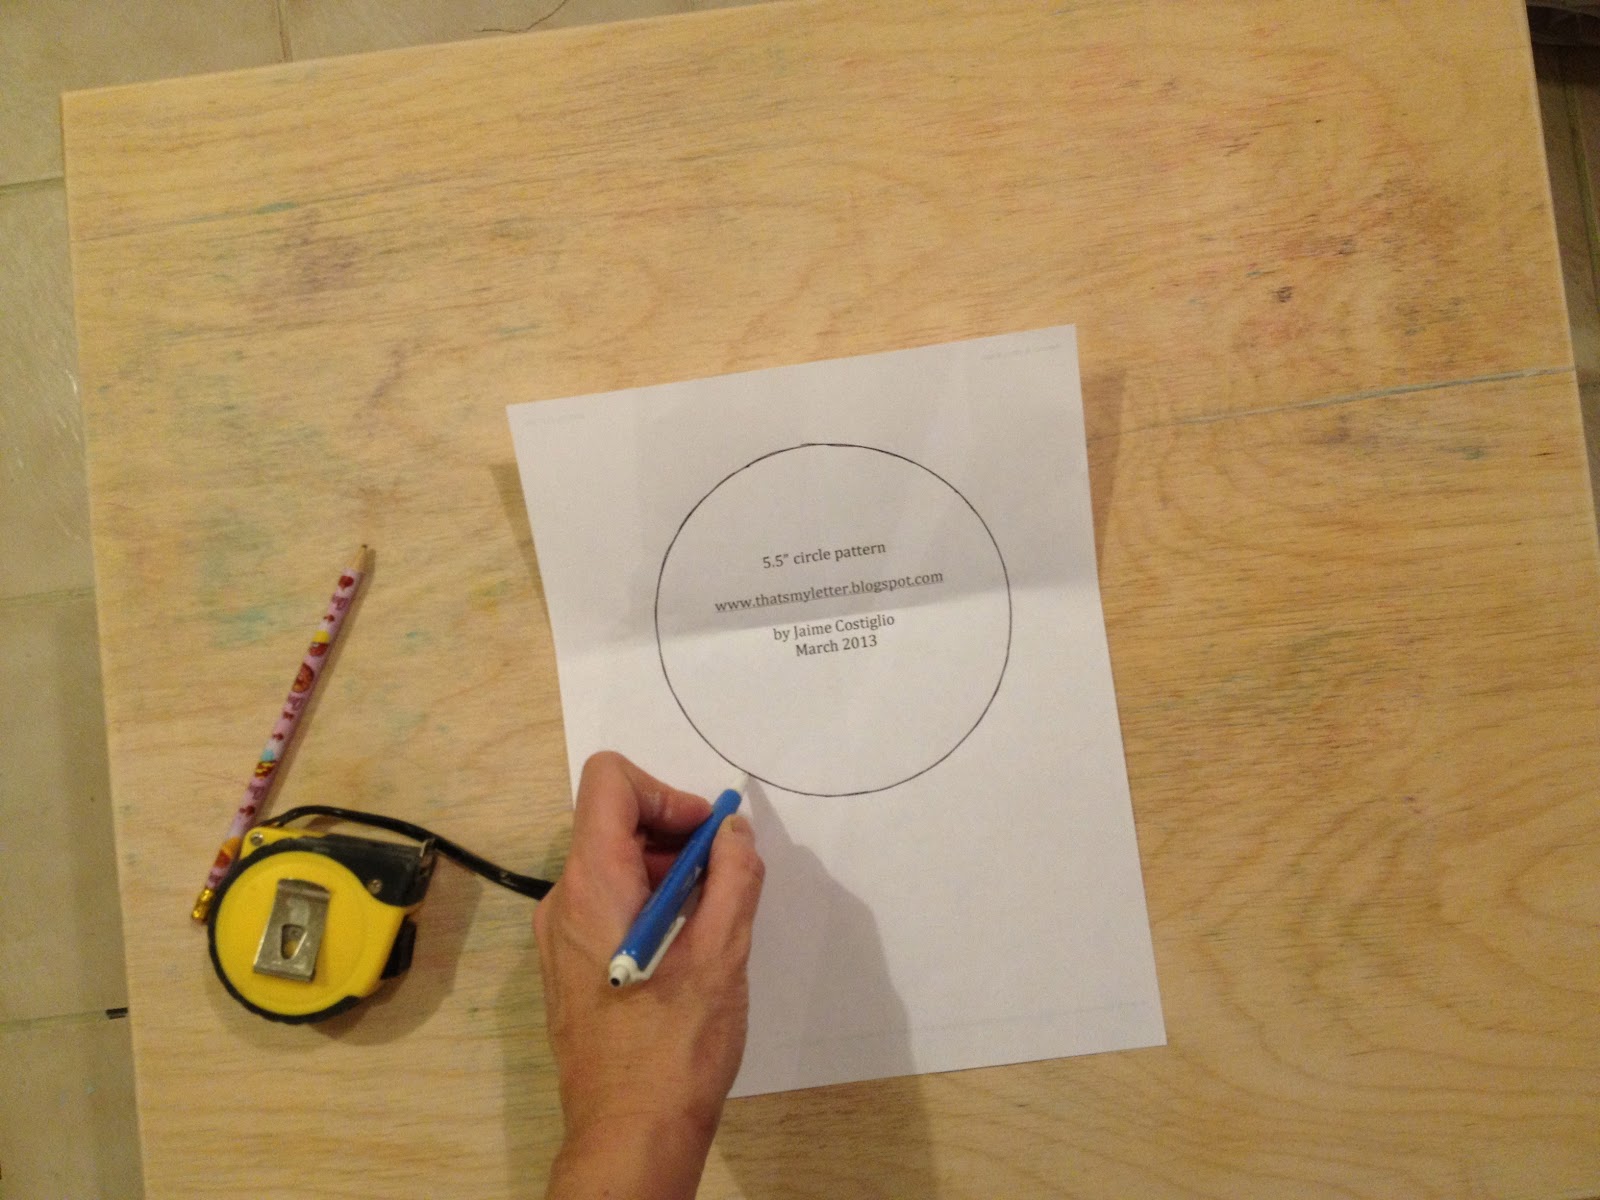
3. Print out 5.5″ circle pattern (free download here).
Find center of pattern (fold in quarters) and center of table (using tape measure), match up center points and trace circle with ballpoint pen to create slight indent in wood:
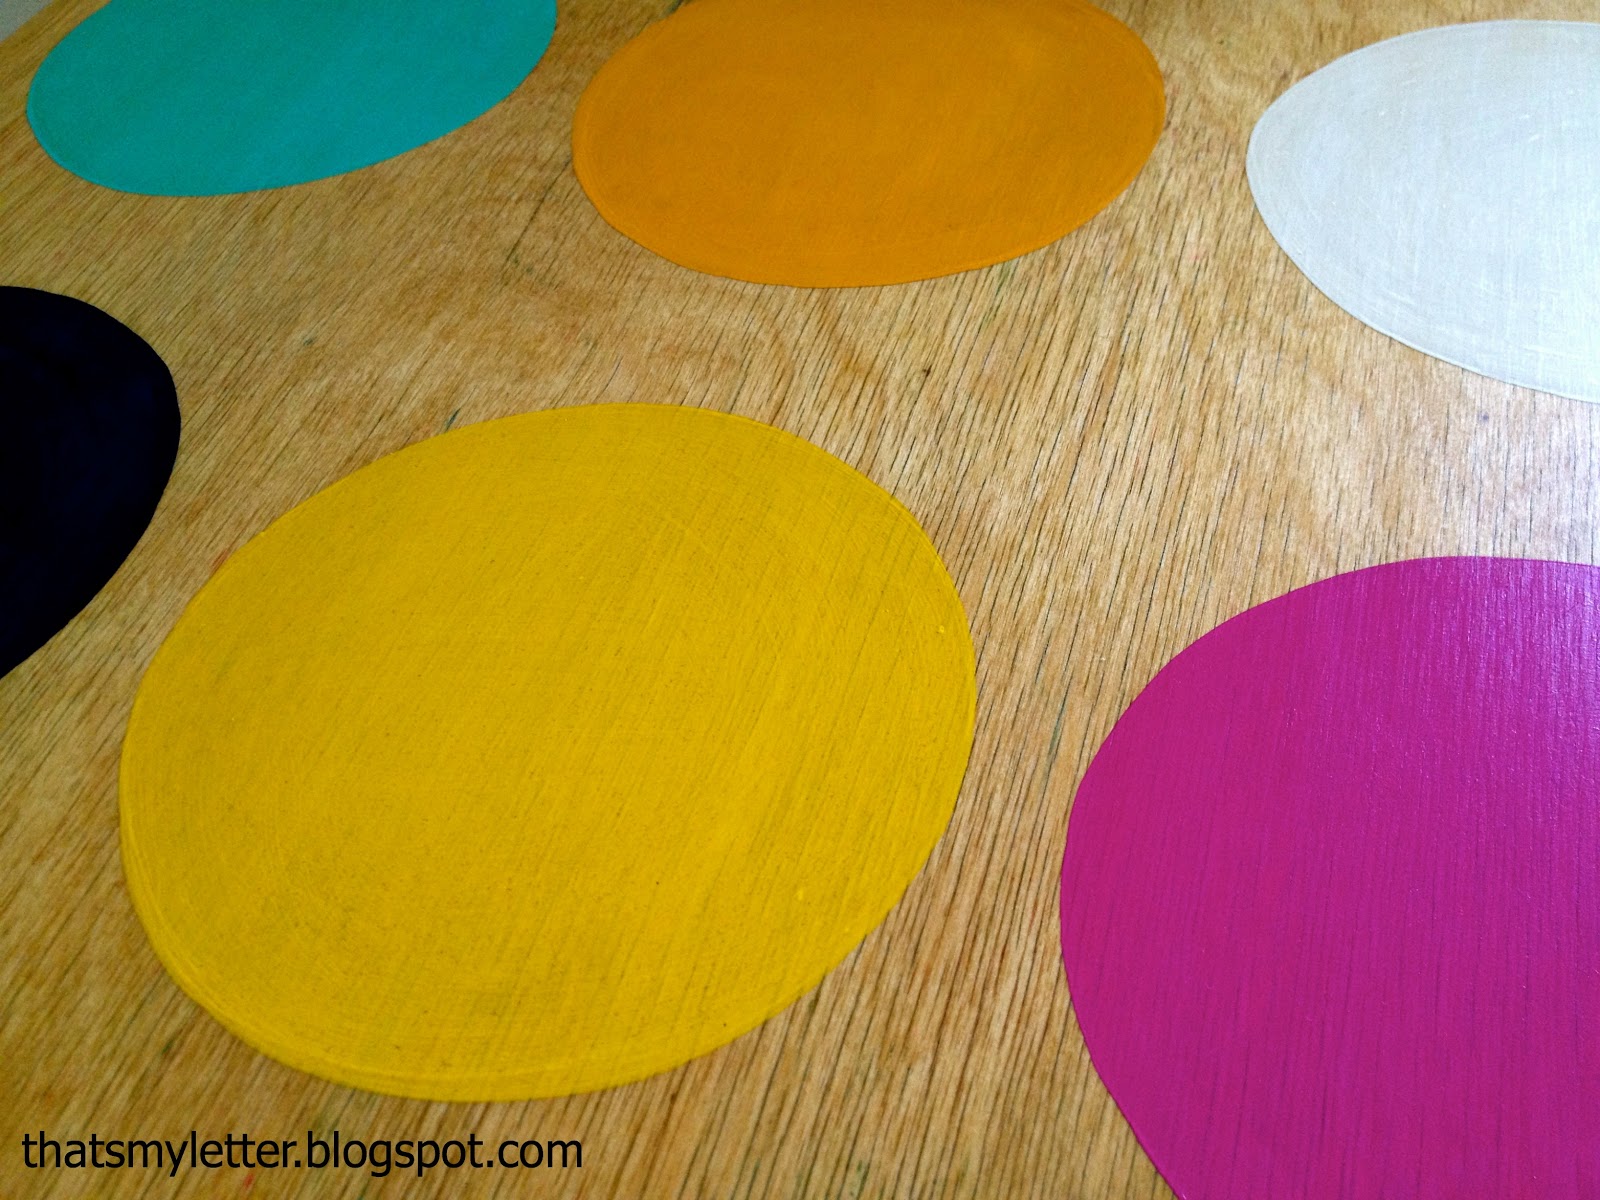
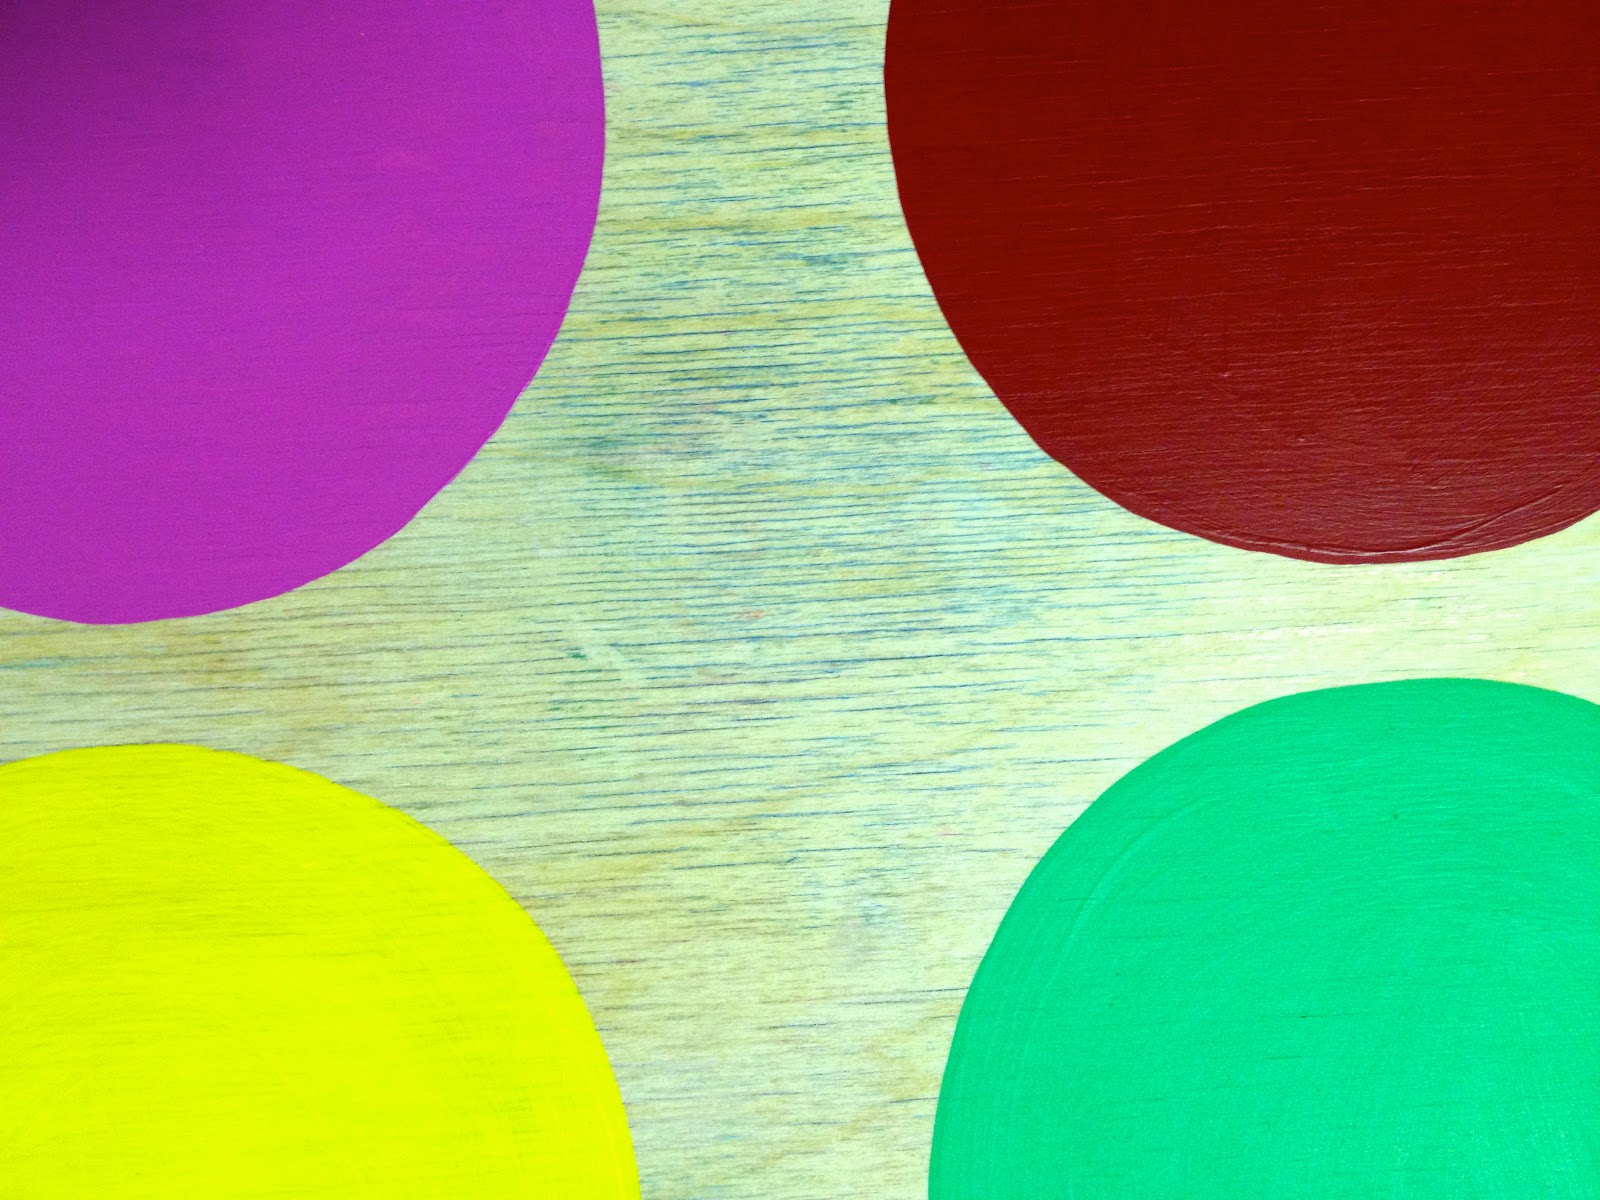
4. Paint center circle as desired (I used all acrylic paints for the spots, some lighter colors required multiple coats.)
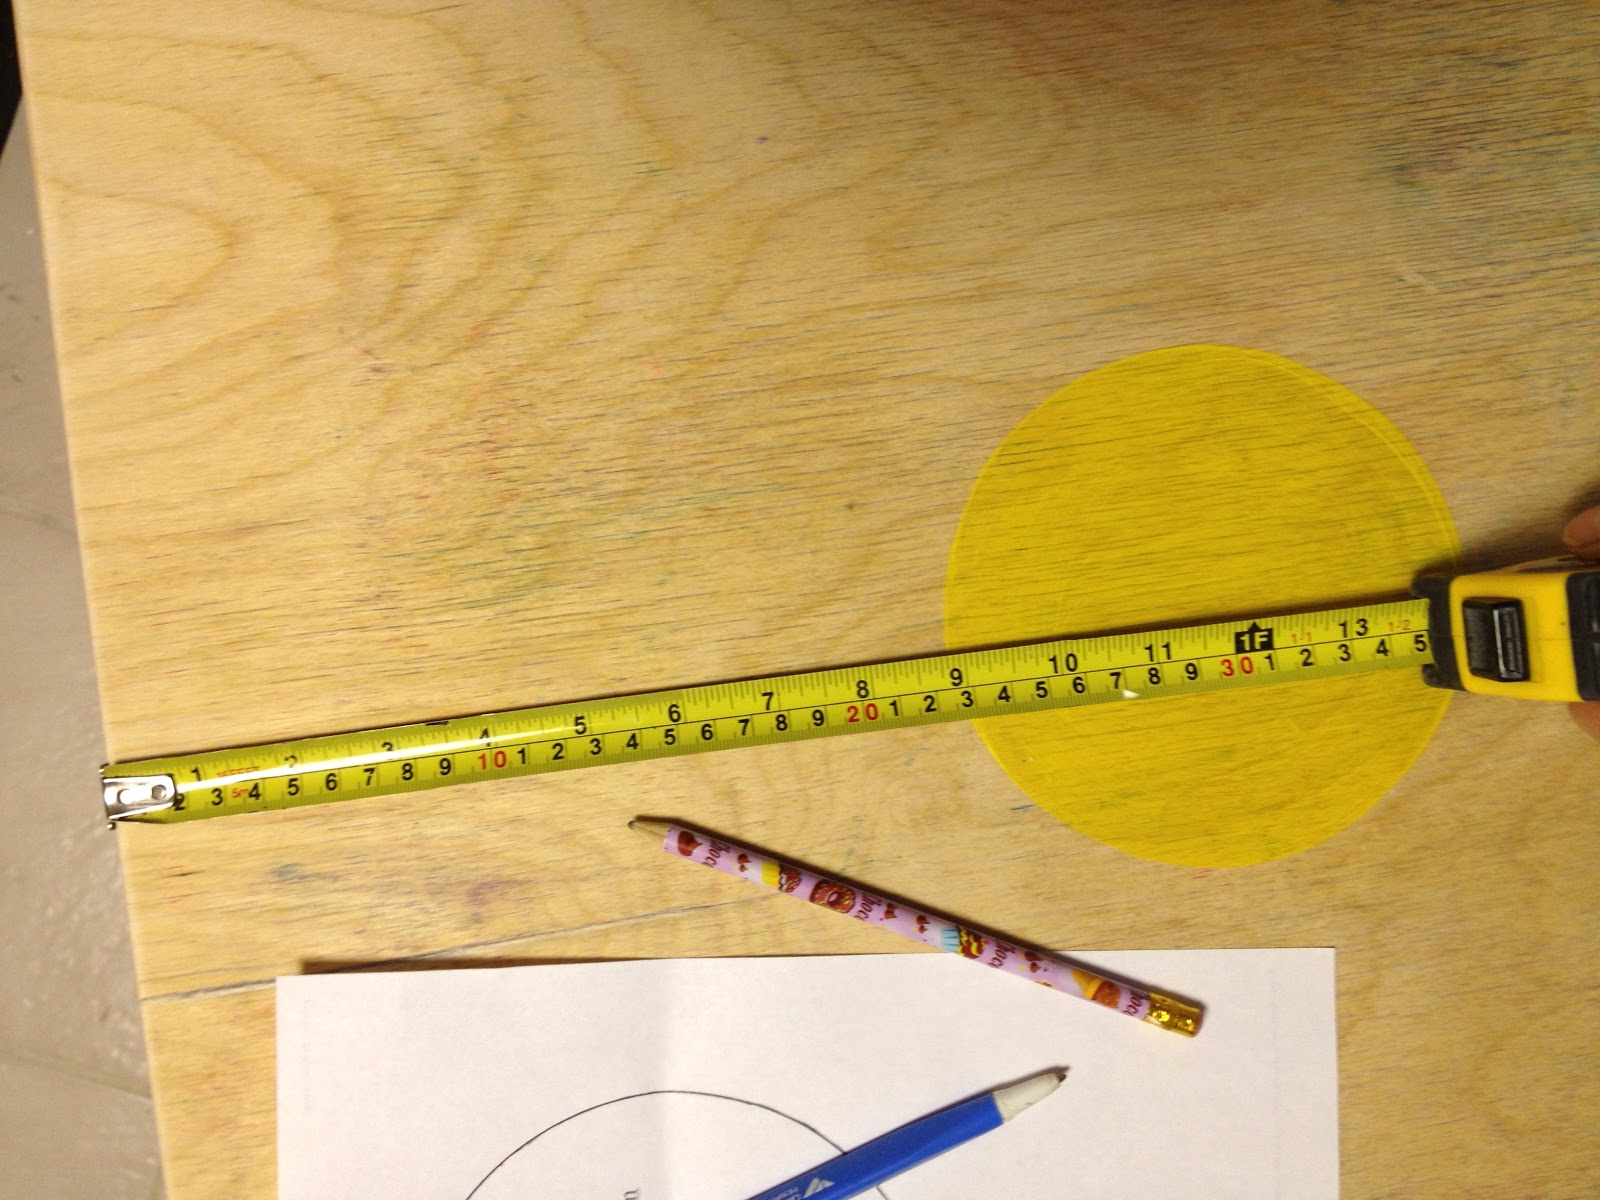
5. Working from the center spot – you can find the center mark between the edge of the table and the edge of the center spot.
Trace the next circle:
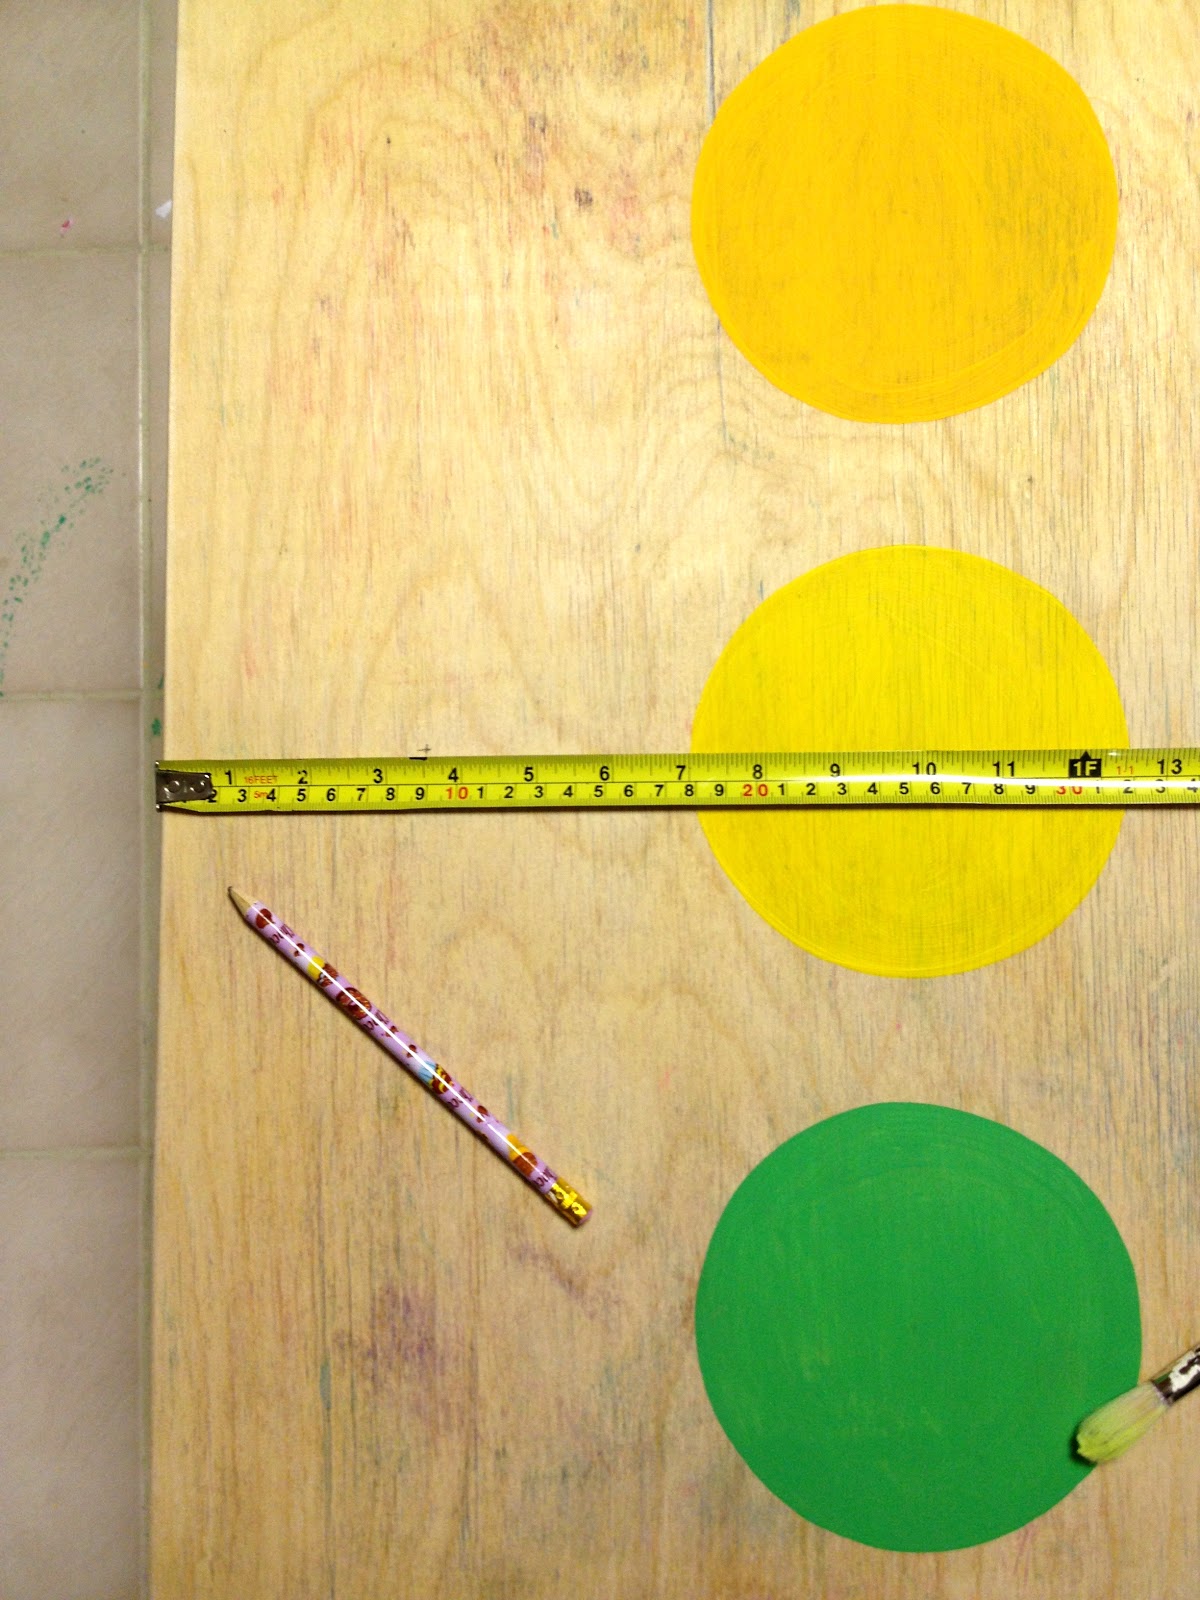
6. Once the center row is complete move on to the side rows repeating the same process:

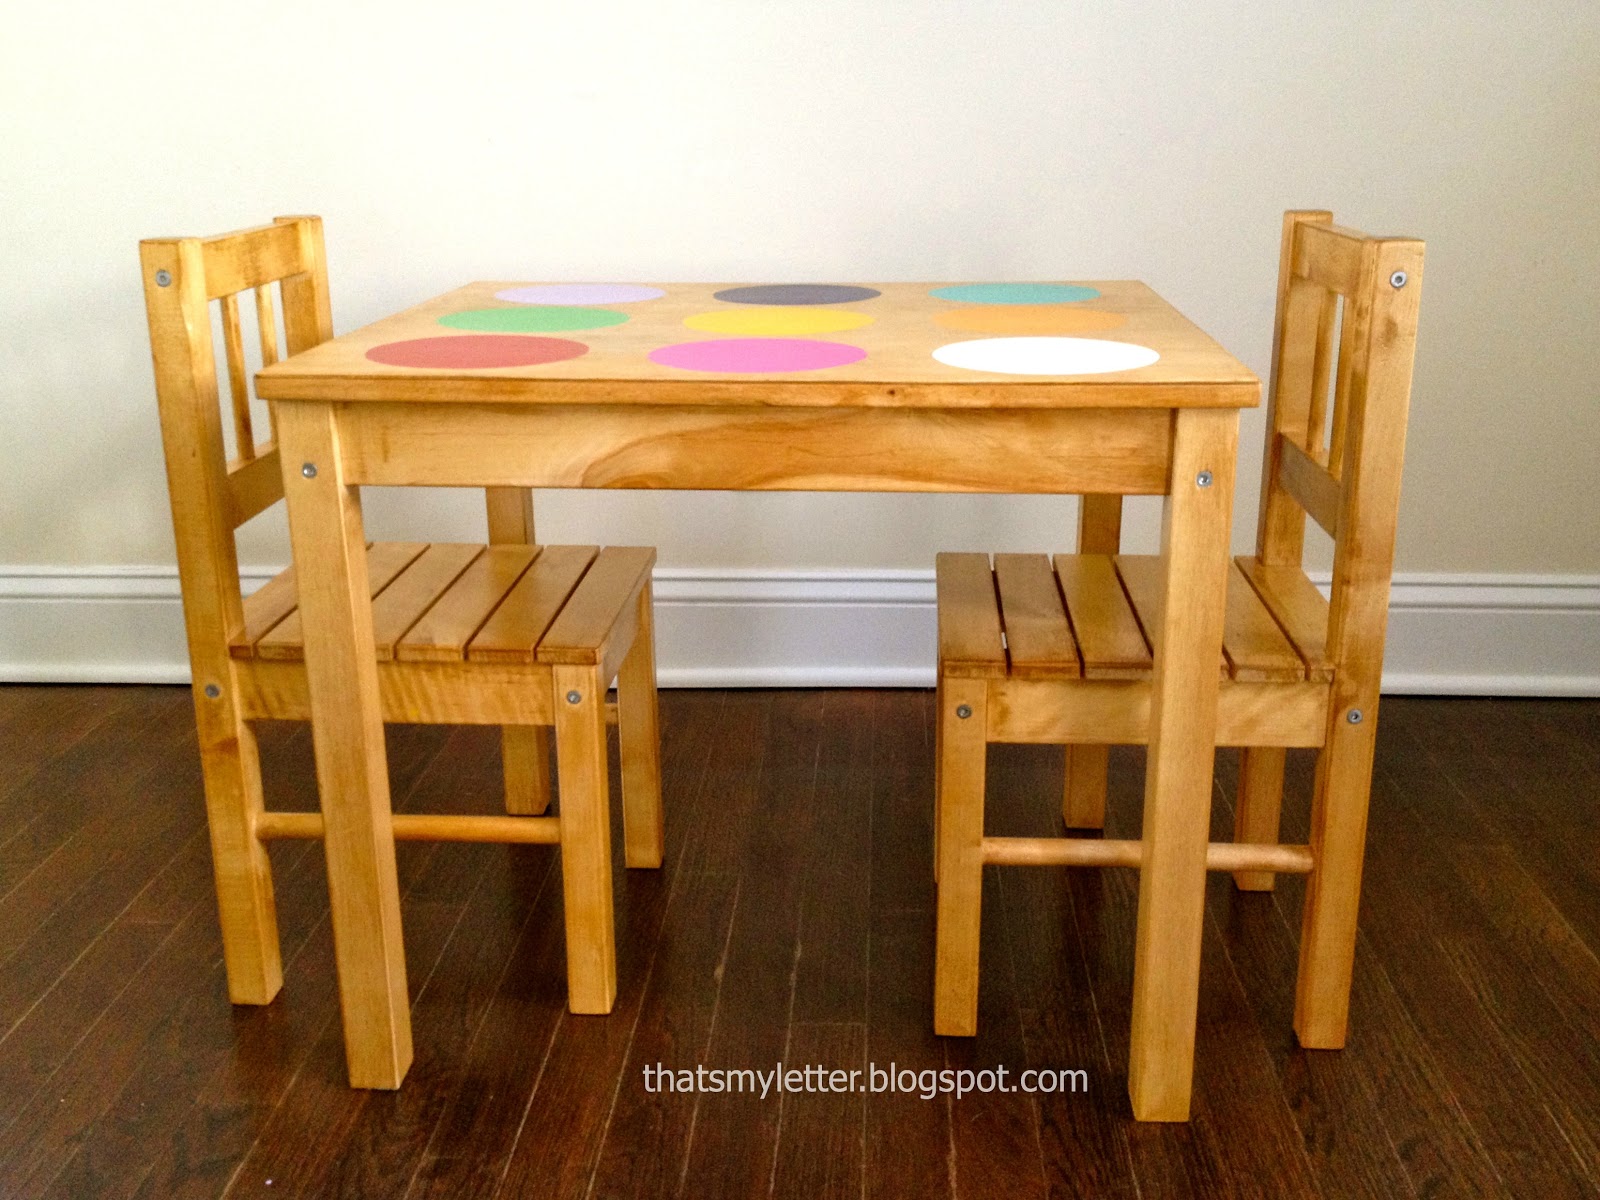
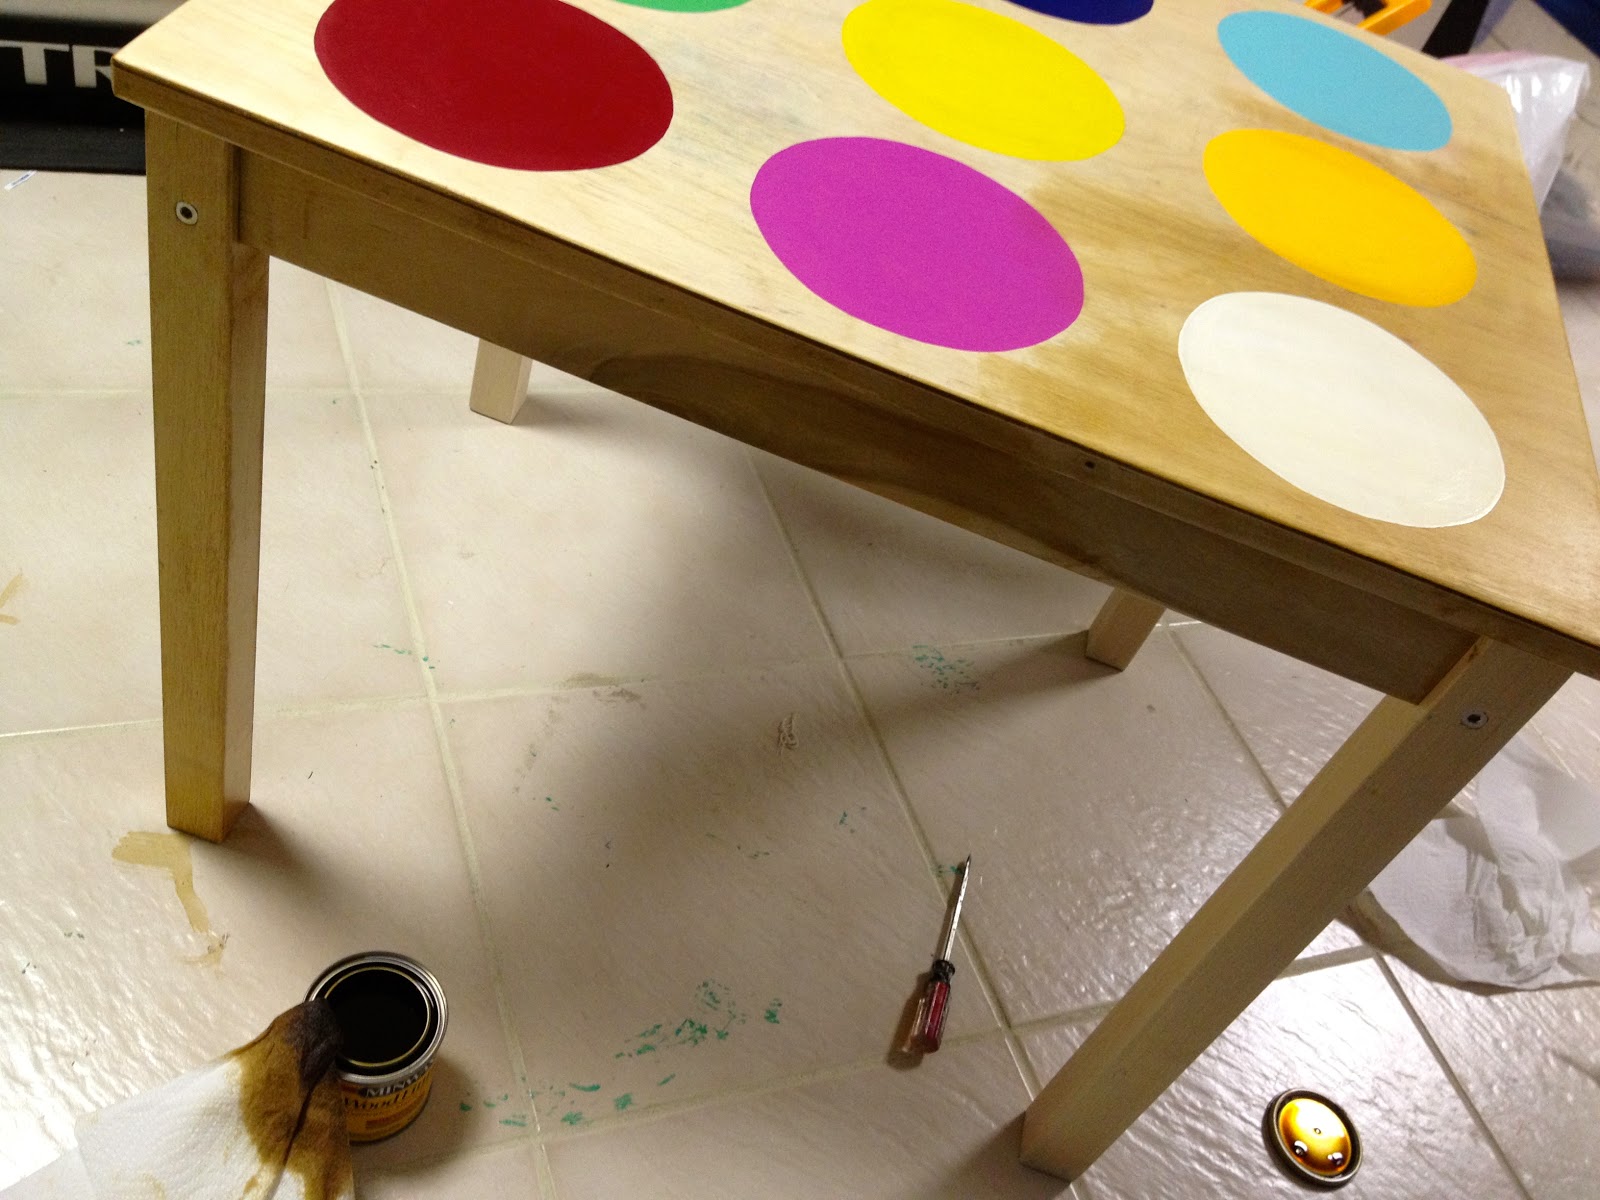
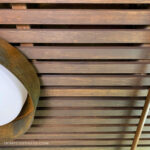
7. Because the wood had deep stains from my kids I opted to apply a wood stain to the whole table in an effort to hide some of the original stains.
See the stains ingrained here:
Apply Minwax golden oak stain:

8. Seal table and chairs with two coats Minwax clear satin poly.

I’m linking up to:
Best DIY Projects of April @ Beneath My Heart
SAS @ Funky Junk
Nifty Thrifty Sunday @ Nifty Thrifty Things
That DIY Showoff @ The DIY Showoff
Tutorials & Tips Tuesday @ Home Stories A to Z
The Scoop @ Lolly Jane
Strut Your Stuff @ Somewhat Simple
Transformation Thursday @ The Shabby Creek Cottage
Share Awesomeness Thur @ The 36th Avenue
Pretty Things Thursday @ Scissors & Spatulas
Flaunt it Friday @ Chic on a Shoestring
Frugal Friday @ The Shabby Nest
Furniture Feature Friday @ Miss Mustard Seed
SAS @ Just a Girl
Remodelaholics Anonymous @ Remodelaholic
inspiration board @ Carolyns Homework
Sunday Showcase Party @ Under the Table & Dreaming
Weekend Bloggy Reading @ Serenity Now

You may also like...

  • DIY Playroom Built Ins from Ikea CabinetsDIY Playroom Built Ins from Ikea Cabinets
  • Freecycle Kids Play Barn MakeoverFreecycle Kids Play Barn Makeover
  • How to Install a Slat CeilingHow to Install a Slat Ceiling
  • Ceiling Makeover: Exposed Wood BeamsCeiling Makeover: Exposed Wood Beams
Share this post:

Filed Under: DIY, FURNITURE, FURNITURE, PAINT7 Comments

Reader Interactions

Comments

  1. Cassie @ Primitive & Proper says

    April 15, 2013 at 11:58 AM

    love this!!!! it's so fun and whimsical!

    Reply
  2. [email protected] says

    April 15, 2013 at 1:35 PM

    Looks like a whole new table! Great rescue.

    Reply
  3. Katie says

    April 15, 2013 at 2:16 PM

    I love this Jamie!! It's so bright and cheery! Perfect for kids!!

    Reply
  4. Shelly says

    April 15, 2013 at 3:46 PM

    That is adorable!!!
    Shelly-Minettesmaze.blogspot.com

    Reply
  5. LeighAnn says

    April 15, 2013 at 7:07 PM

    Very cute! Like Pottery Barn.

    Reply
  6. Maureen says

    April 16, 2013 at 5:03 AM

    That's so sweet of you to redo the table for the neighbour's kids! the polka dots add a lot of fun to the look and I bet the kids love it.

    Reply
  7. DaiseyJayne.com says

    April 16, 2013 at 12:23 PM

    I'm loving this table, has a very "mod" look and I can imagine on an adult size table also, very cool!

    Reply

Leave a Reply Cancel reply

Your email address will not be published. Required fields are marked *

Primary Sidebar

Hi! I’m Jaime

Jaime Costiglio

Hello!

Thank you for stopping by.
Join me for lots of DIY.

Read more

Get new posts via email

Handbuilt Holiday: Gift Project Plans

handbuilt holiday gift project plans

Collection of DIY gift project plans to build.

The Home Depot Tool Prospective

THD Prospective

Tools to consider for the DIYer.

Archives

The Home Depot Logo
Copyright © 2023 Jaime Costiglio · Custom site by Moonsteam Design

Privacy Policy