Sewing: A monogrammed polka dot pouch
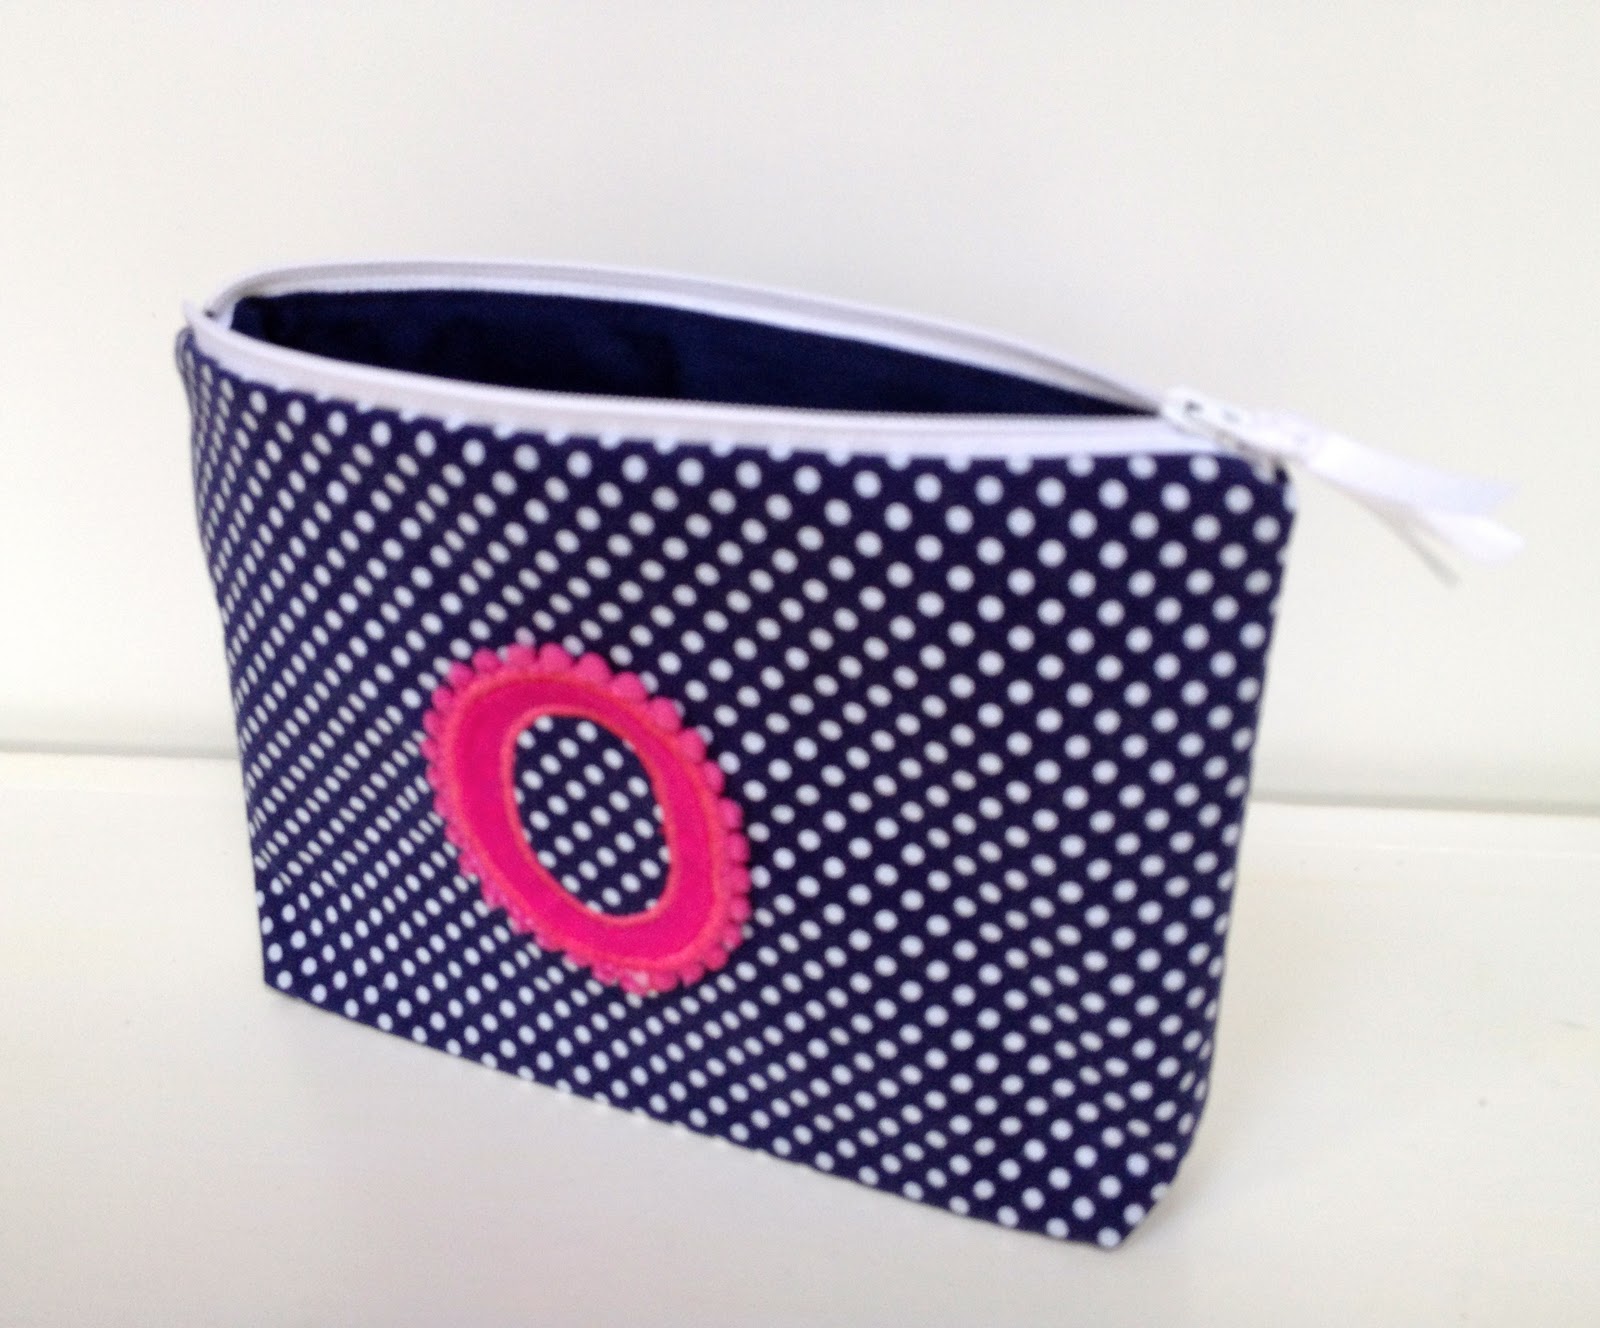
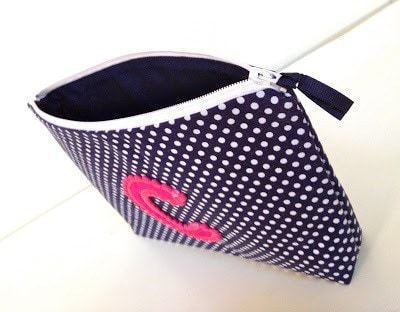
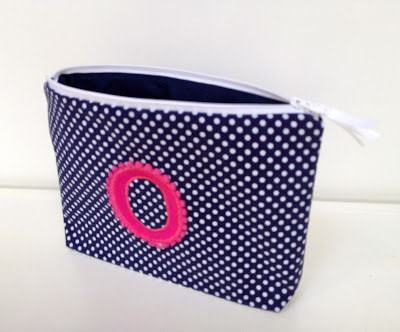
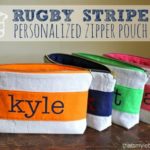
I made another variation on the pouch.

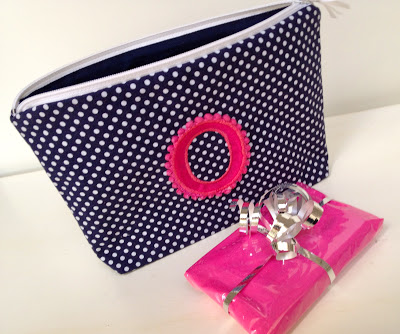
A perfect little Christmas gift for a school friend.


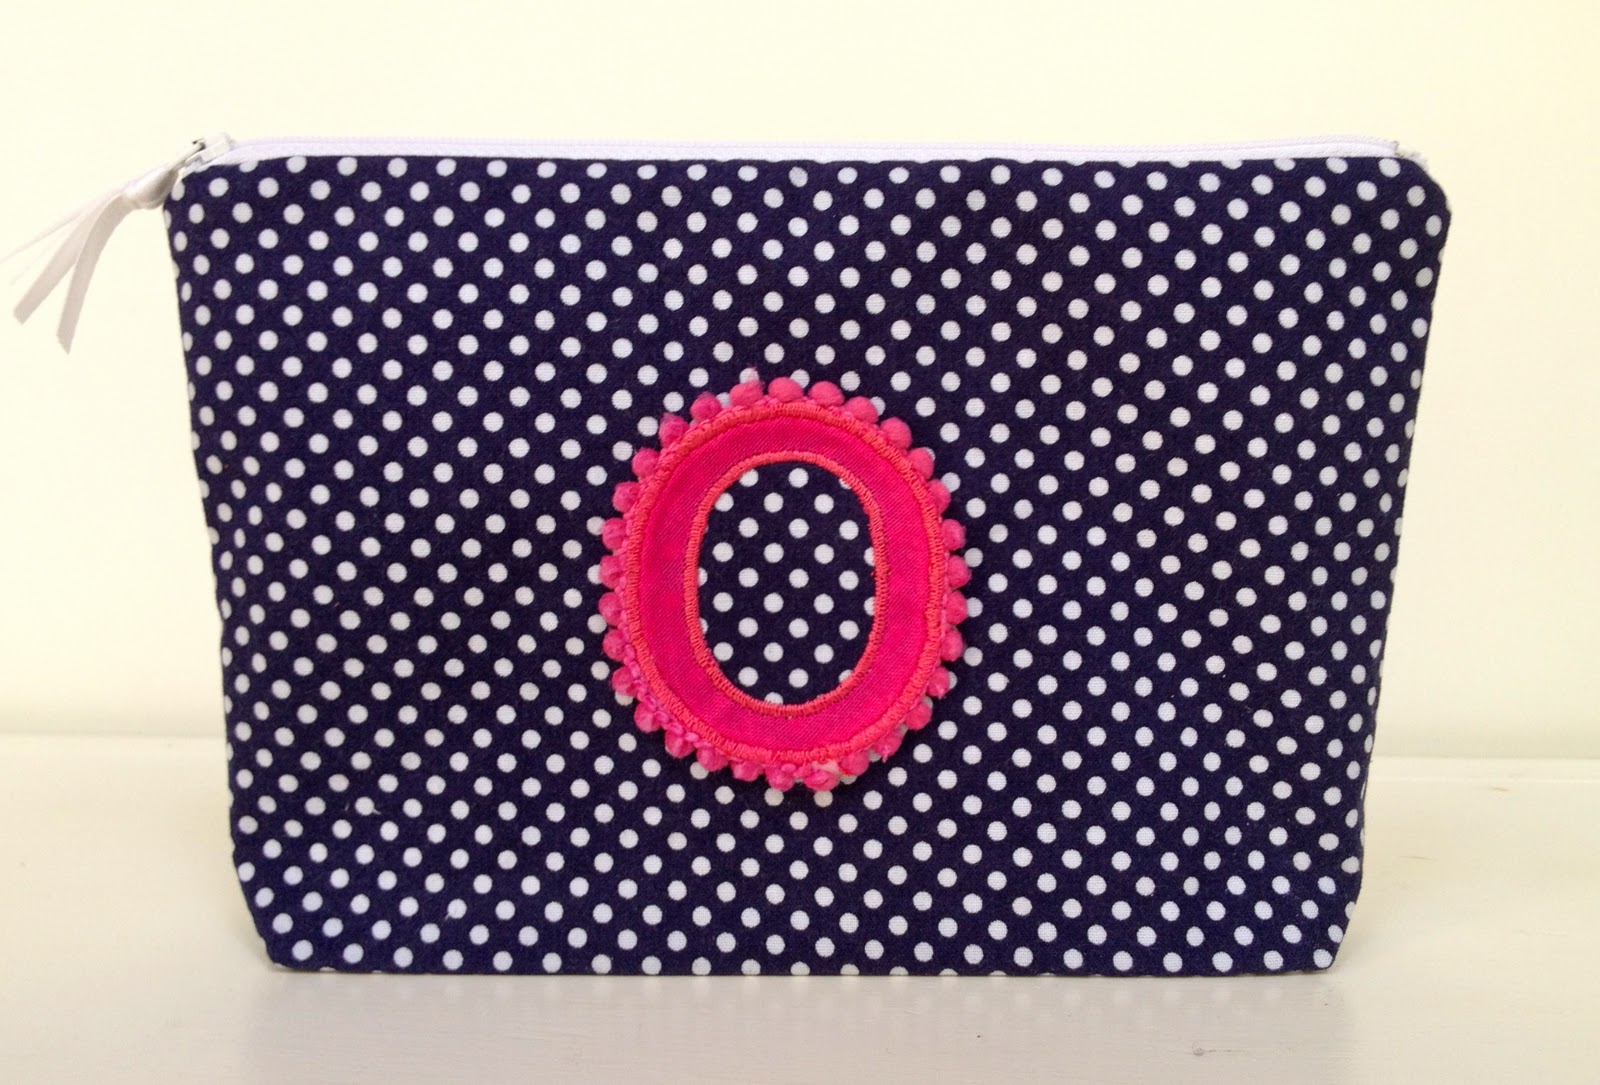
“O” is for Olivia


Here’s how I made the pouch;
1. Supplies needed:


exterior fabric: 10″ x 14″
lining: 2 @ 10″ x 7″
medium weight fusible interfacing: 10″ x 14″
1 – 9″ zipper
monogram letter (backed with double sided fusible)
trim

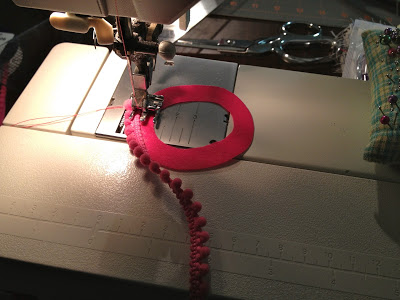
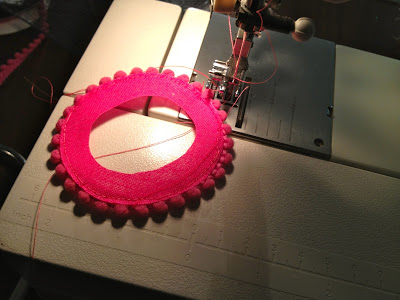
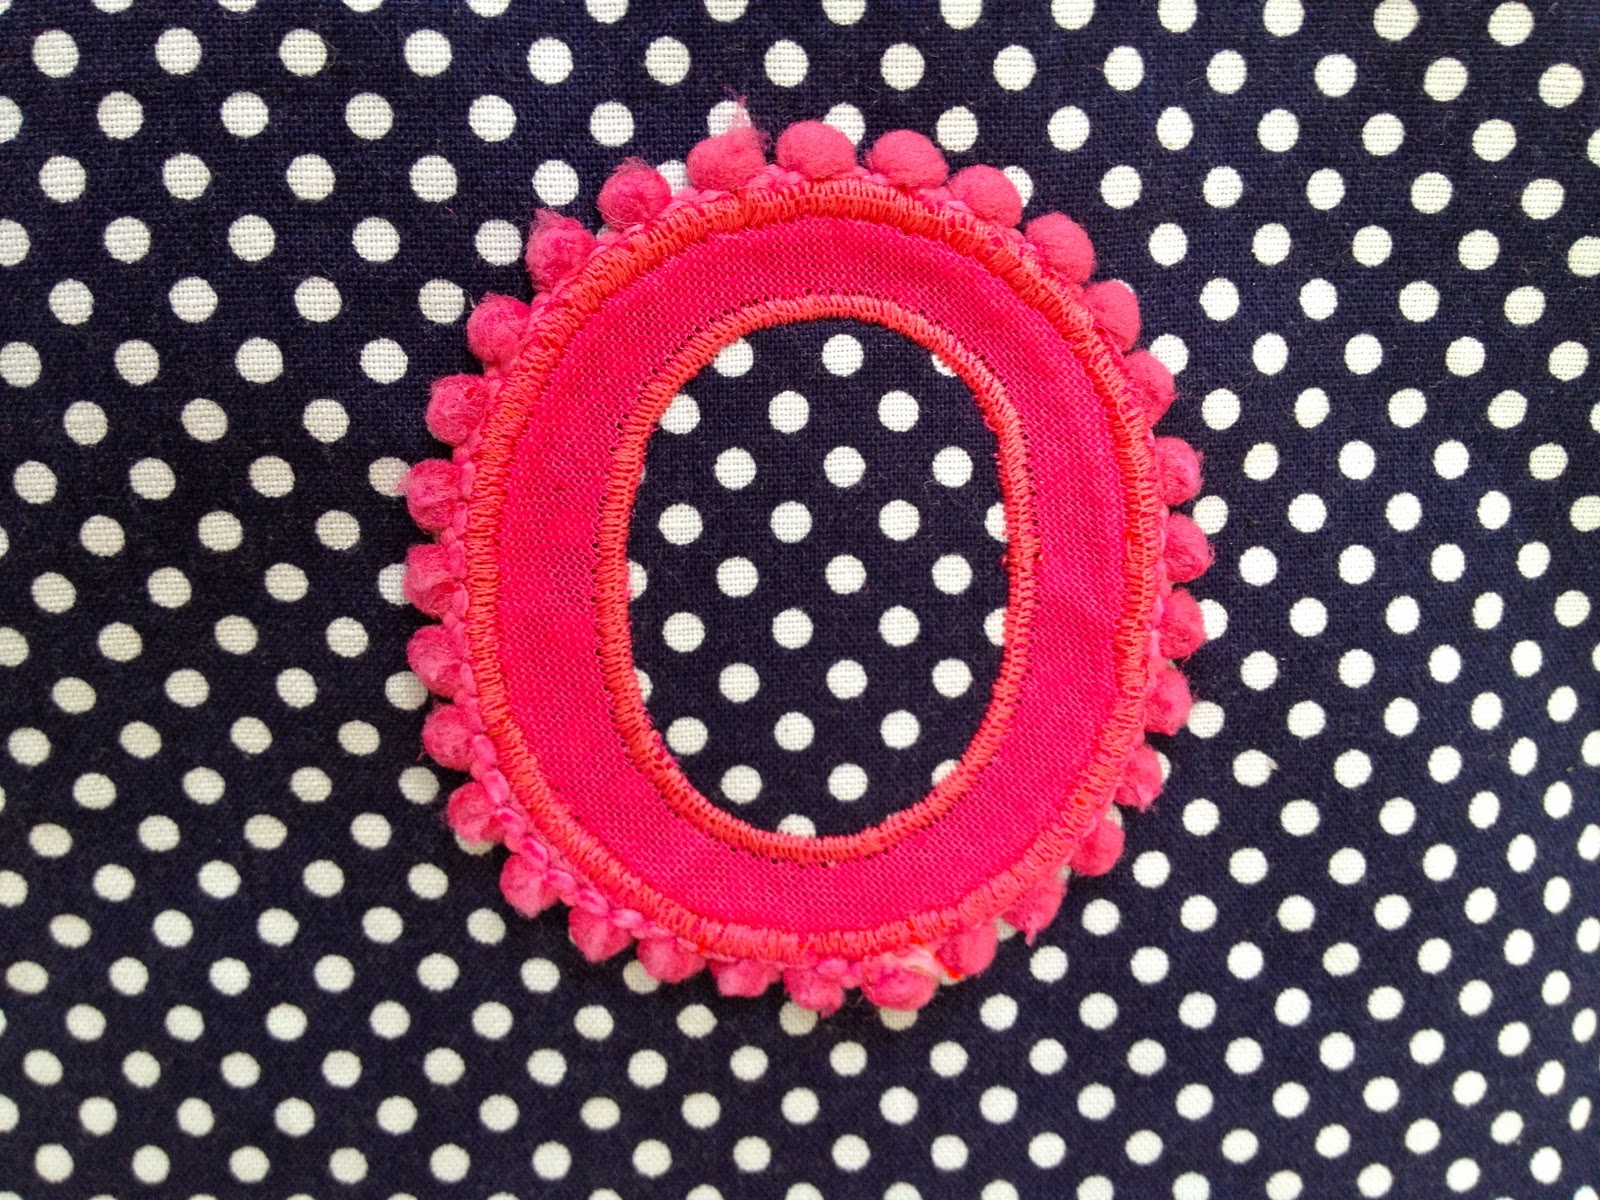
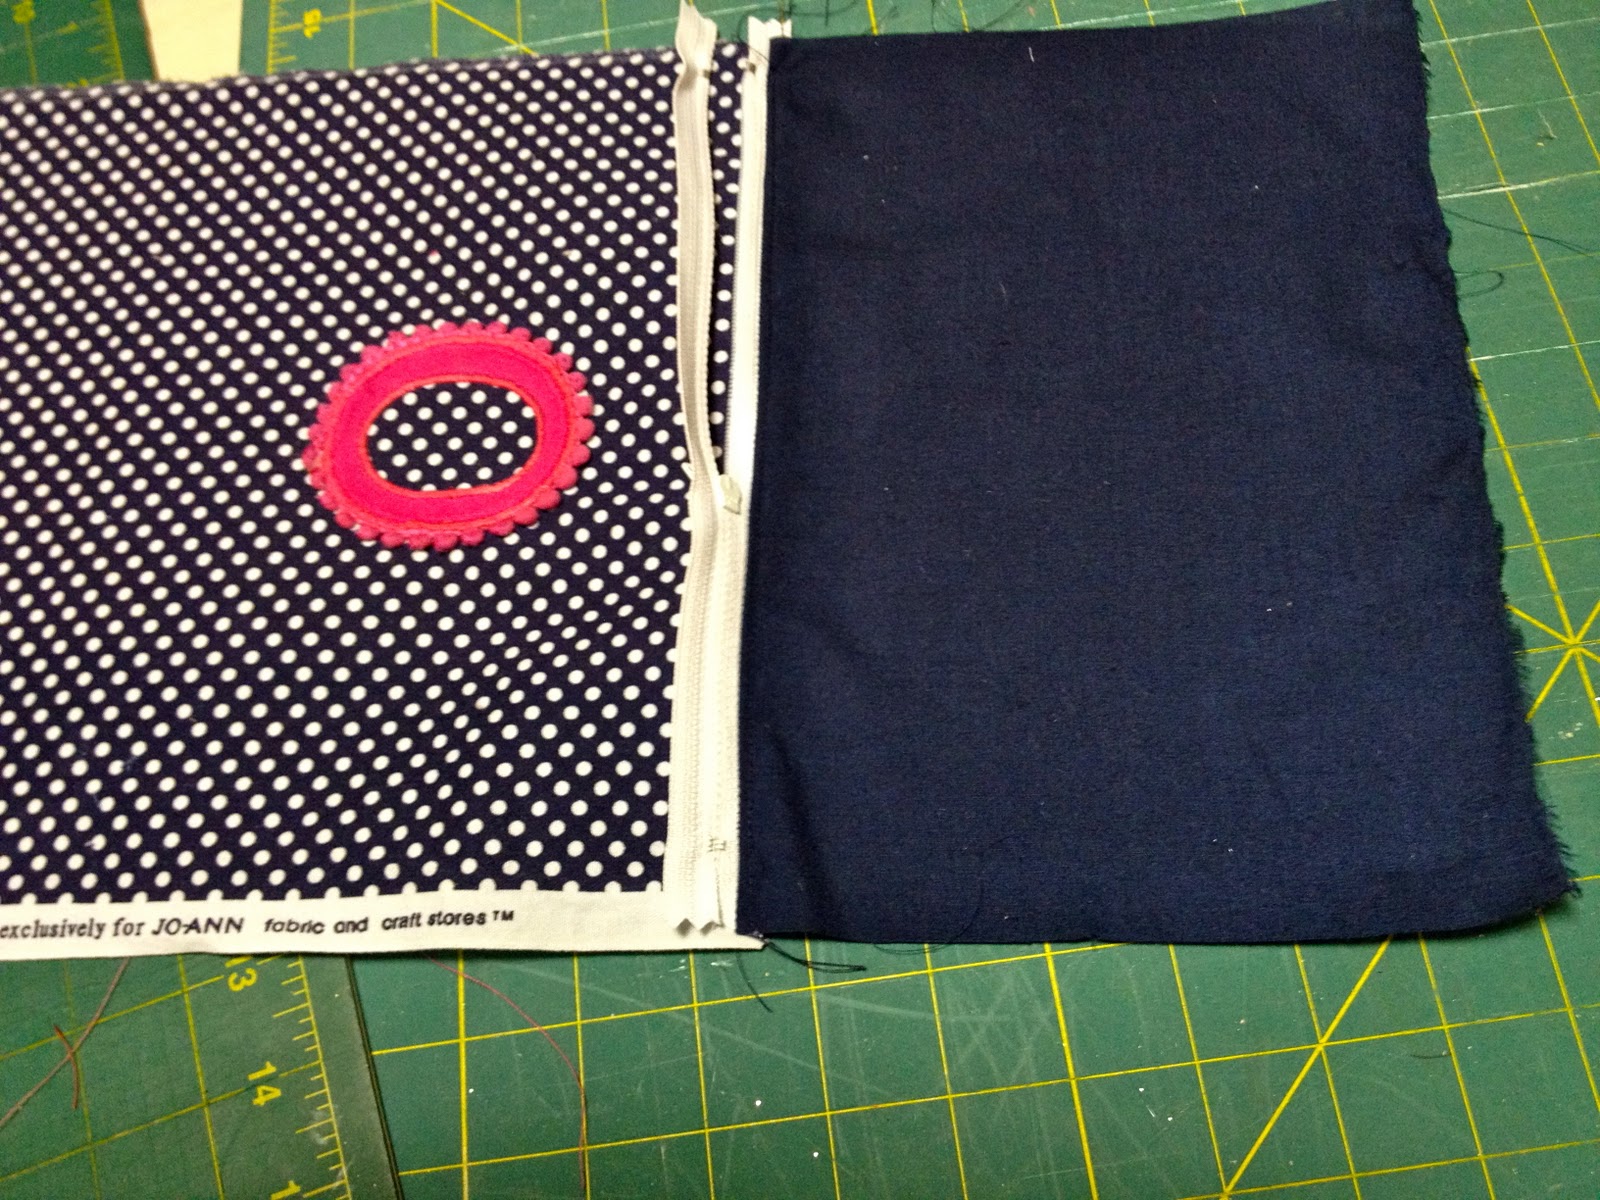
2. Secure trim to monogram using zipper foot and straight stitch:


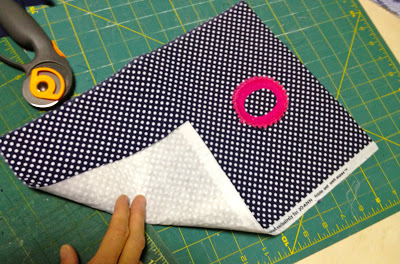
3. Press monogram in place.
Apply interfacing to wrong side of exterior fabric:

4. Zig zag stitch around letter:
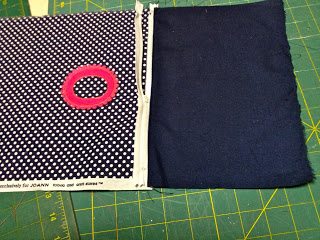
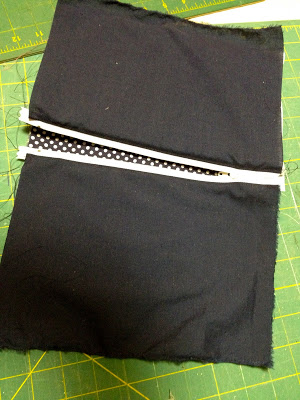
5. Add zipper between top edge and one piece of lining.
** Top stitch lining down on right side to keep from catching in zipper.
6. Repeat for other side of zipper:

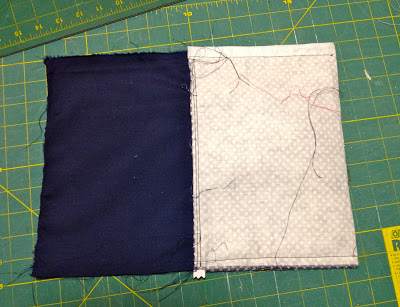
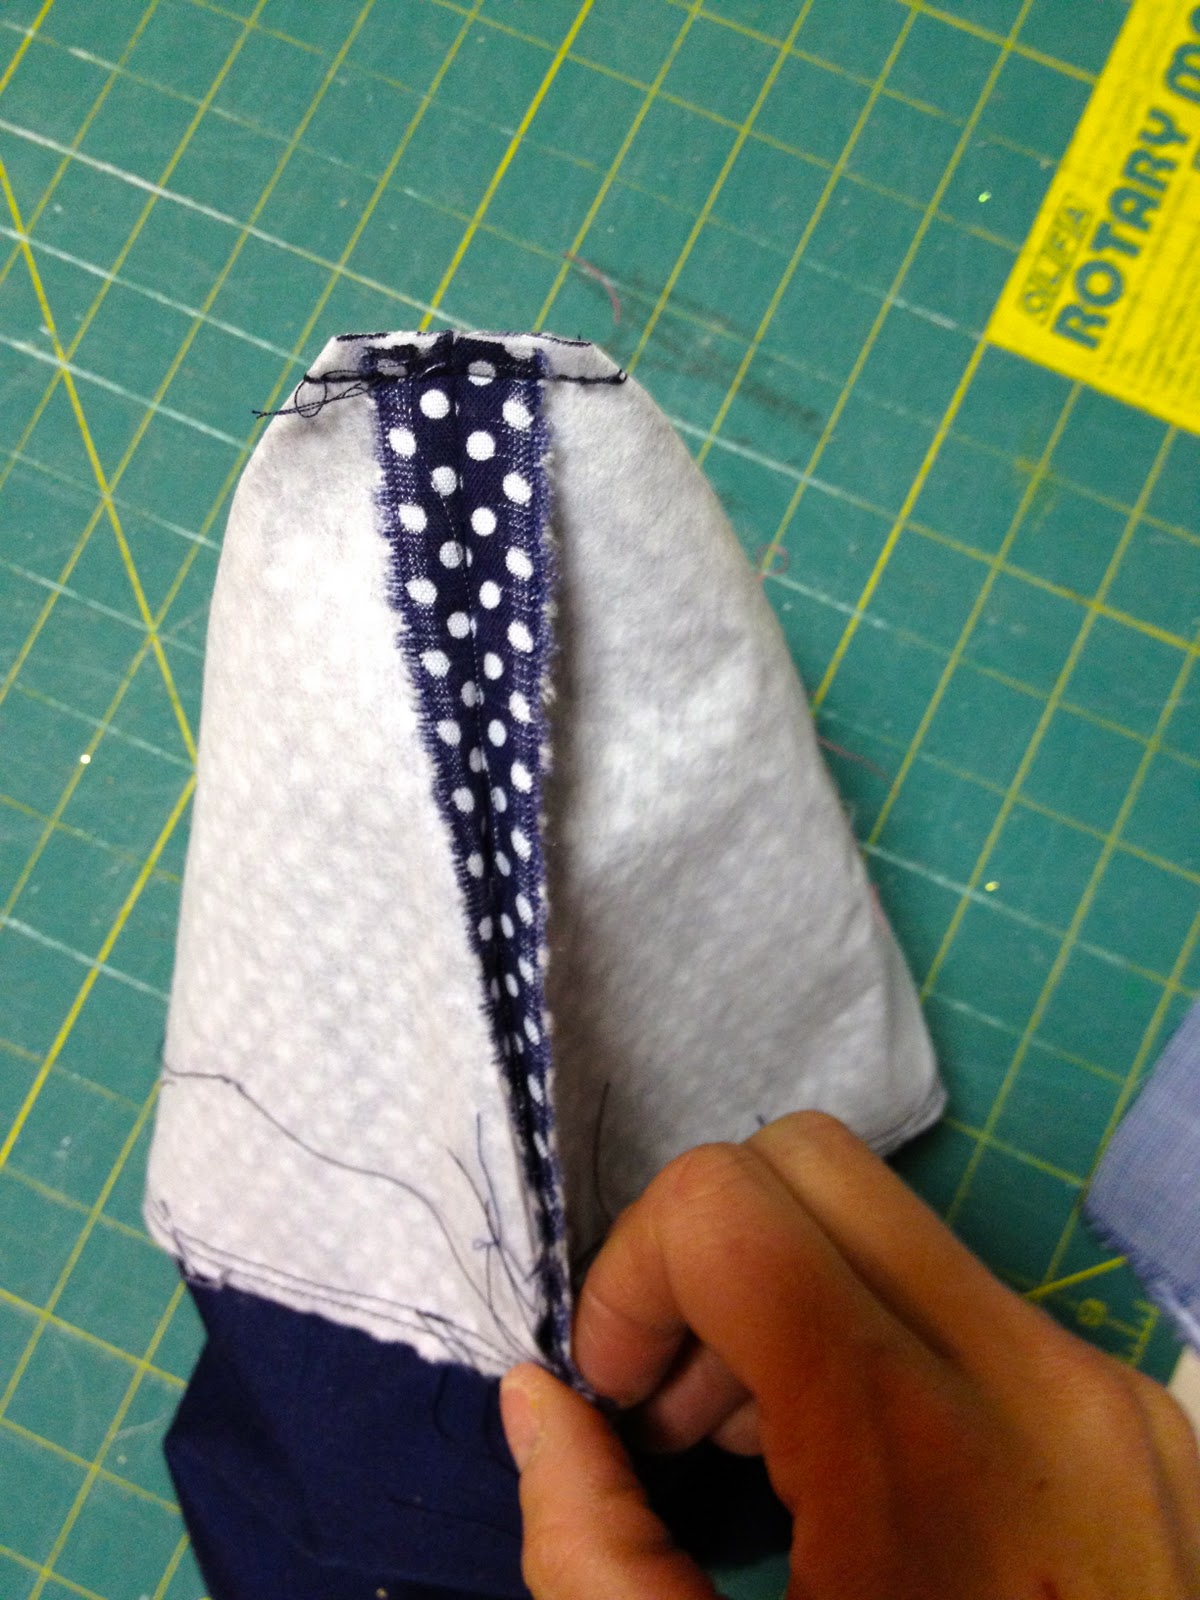
7. Right sides together stitch the side seams:

8. Miter the bottom corners and snip off the excess:
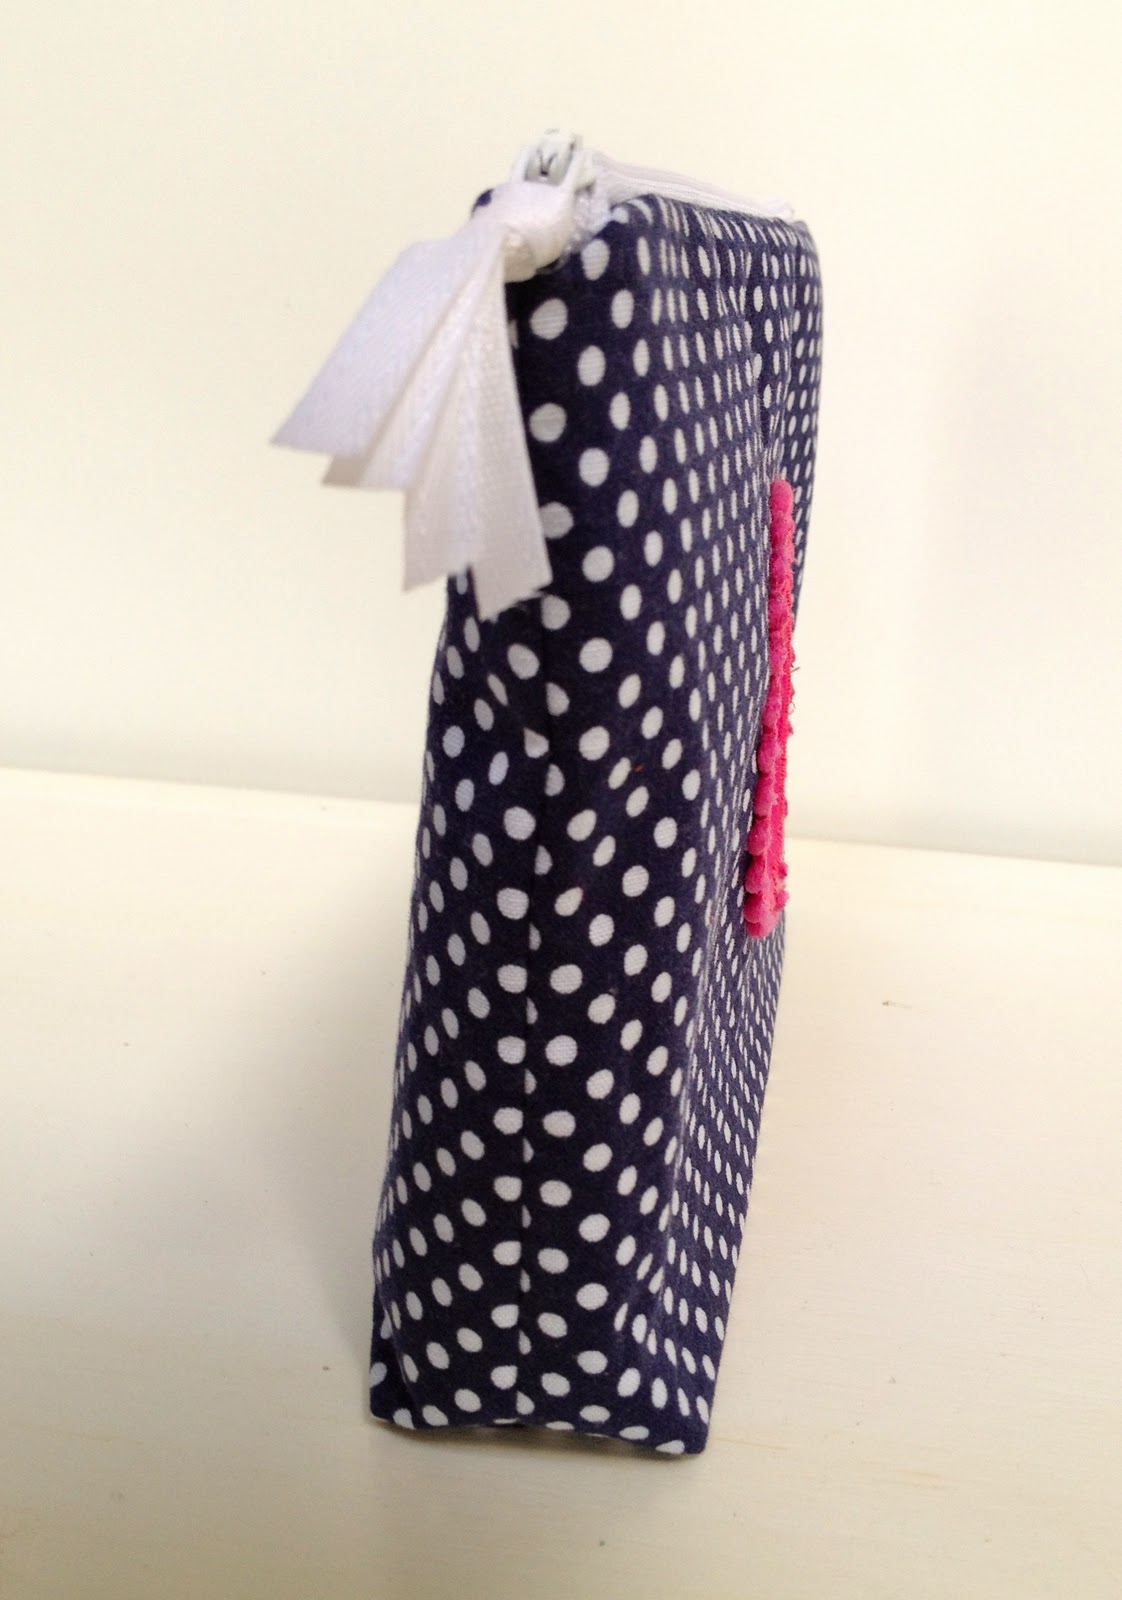
9. Turn right side out, press lining side seams open, then press in raw edges of lining bottom edge and straight stitch shut:

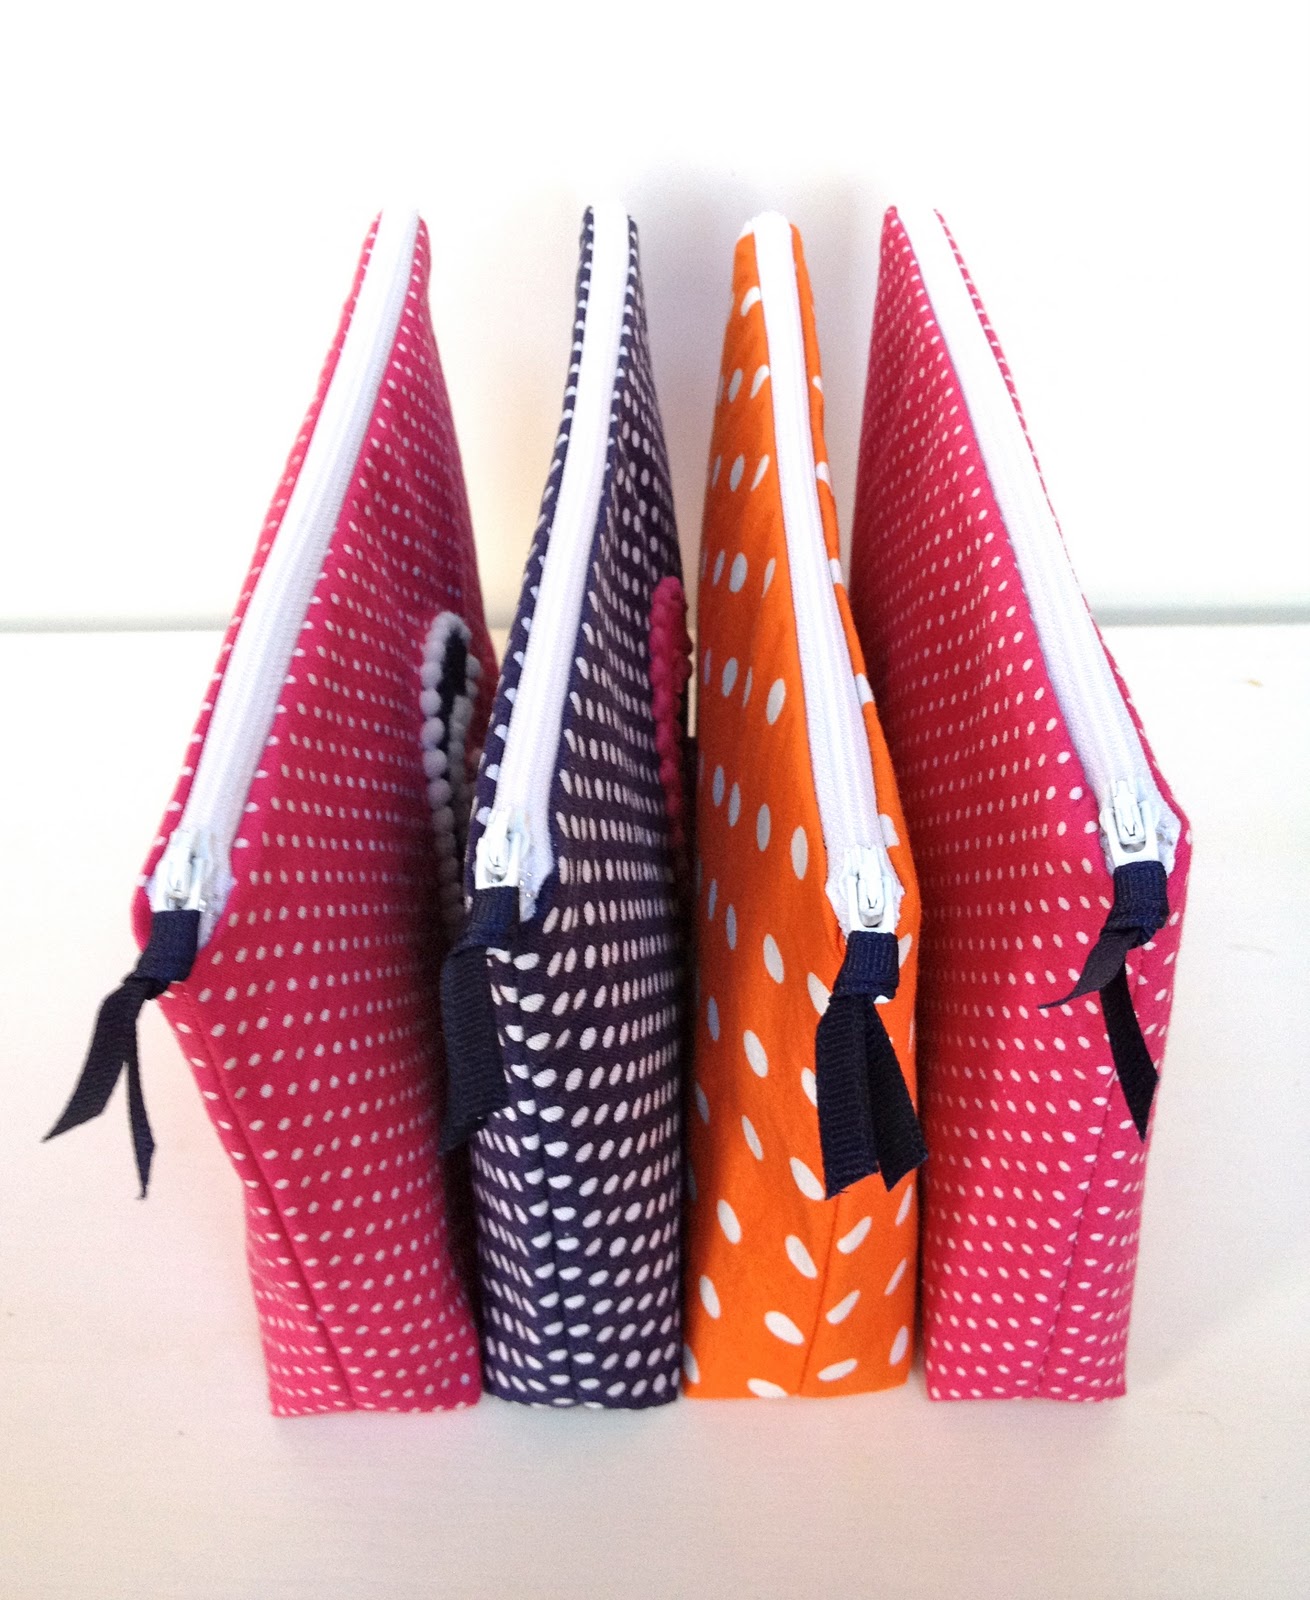
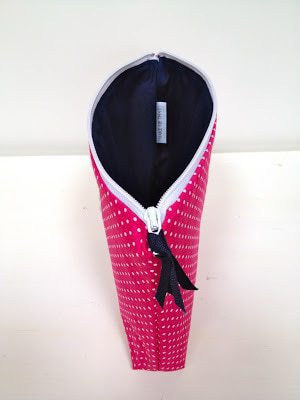
Press lining down into pouch and add ribbon to zipper pull:

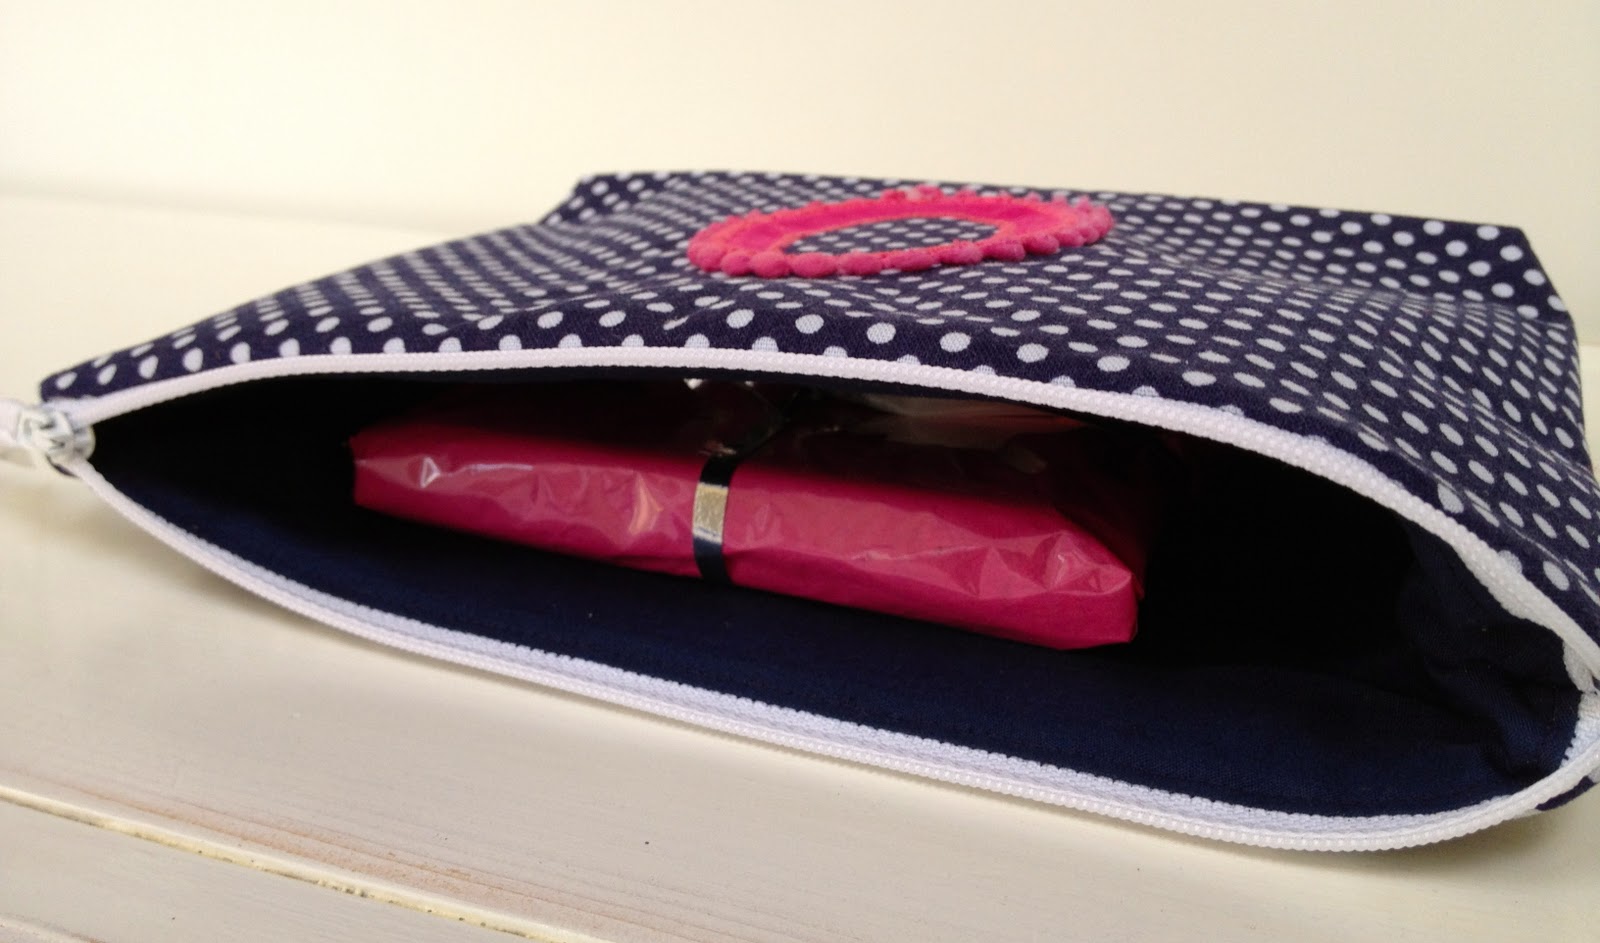
I added a little token gift of assorted lip balms:

Wrapped in tissue to match:

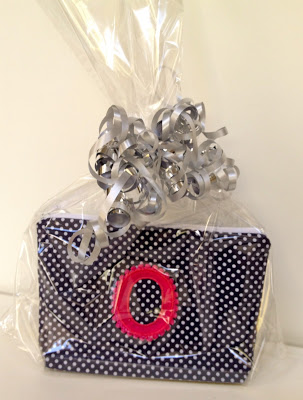
Then wrapped the pouch in a cellophane bag for giving:
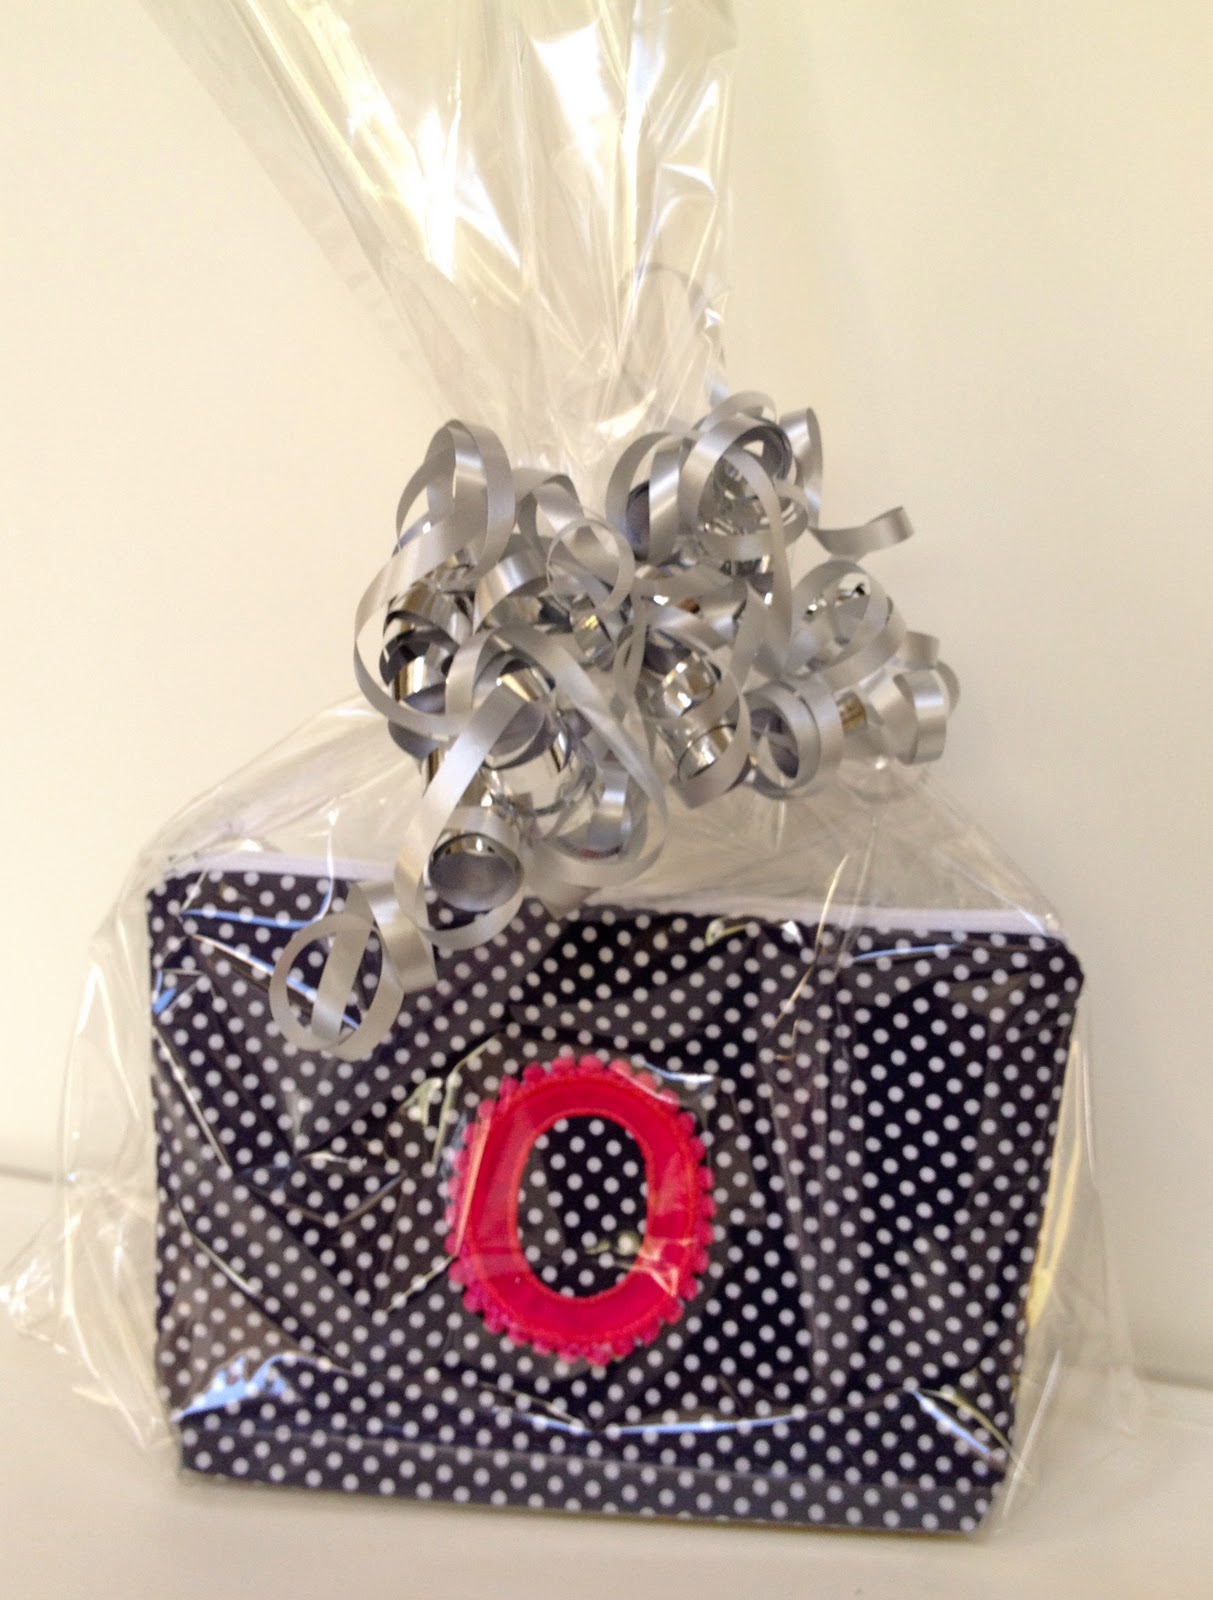
Who can resist those polka dots?


I’m linking up to:
Whatcha Got Weekend @ Lolly Jane
SAS @ Funky Junk
Weekend Wrap Up @ Tatertots & Jello
Sundae Scoop @ I Heart Naptime
Sister Sunday @ Sisters of the Wild West
Sunday Showcase Party @ Under the Table & Dreaming
Just Something I Whipped Up @ The Girl Creative
DIY Fall Festival @ The DIY Showoff
Made by You Mondays @ Skip to My Lou
Making the World Cuter @ Making the World Cuter
Nifty Thrifty @ Coastal Charm
Tuesday Treasures @ My Uncommon Slice of Suburbia
Tutorials & Tips Tuesday @ Home Stories A to Z
Good Life @ A Beach Cottage
Delightfully Inspiring @ Delightful Order
Transformation Thursday @ The Shabby Creek Cottage
Strut Your Stuff @ Somewhat Simple
Share Awesomeness Thur @ The 36th Avenue
Flaunt it Friday @ Chic on a Shoestring
Tickled Pink @ 504 Main
Frugal Friday @ The Shabby Nest
SAS @ Just a Girl
Feathered Nest @ French Country Cottage
Remodelaholics Anonymous @ Remodelaholic


I pinned this….love it 🙂 Went straight out and bought zips!
This is adorable! Of course I love all things polka dot haha 🙂 Love how you wrapped it as well! Simple but cute – best way to go!!
I'd love for you to link this up to my link party, Your Whims Wednesday. The party is open until Sunday! http://www.mygirlishwhims.blogspot.com/2011/12/your-whims-wednesday-39-and-features.html
All my favs: polka dots and fushia and makeup pouch! All the details are perfect! Would love love love for you to share this at my Best of 2011 party going on now http://space46.blogspot.com. Happy new year! My
Love the trim detail on the monogram–cute!!
So cute, I am going to give these a try.
Adorable! I really need to make a few of these for crayons, my makeup, etc. I never would have thought to put those cute little pom-pom things around the monogram. Love that! Thanks for sharing, Jamie!
so cute! just found your blog…and I just pinned this 🙂
http://thatsmyletter.blogspot.com/2011/12/p-is-for-polka-dots.html
Soo cute! Did you just cut out the monogram from fabric or did you buy it? You really inspire me! Great work!