• Home
  • Blog
  • About
  • Contact
    • Disclosure
    • Privacy Policy
  • SHOP
  • Widget area for main menu

    • Email
    • Facebook
    • Instagram
    • Pinterest
    • Twitter
    • YouTube
  • Skip to primary navigation
  • Skip to main content
  • Skip to primary sidebar

Jaime Costiglio

build - paint - sew

  • BUILD
    • BEDS
    • BENCHES
    • DESKS
    • DRESSERS
    • GAMES & TOYS
    • SCRAP WOOD
    • SHELVES
    • STORAGE
    • TABLES
  • TOOLS
  • PAINT
    • CRAFTS
    • FURNITURE
    • HOME DECOR
  • SEW
    • GIFTS
    • HOME DECOR
    • POUCHES
  • HANDBUILT HOLIDAY
    • 2021
    • 2019
    • 2018
    • 2017
    • 2016
    • 2015
    • 2014
    • 2013
  • GIFTS
    • BABIES
    • KIDS
    • FOR HER
    • FOR HIM
    • TEACHERS
    • WEDDINGS
  • SEASONAL
    • 4TH OF JULY
    • FALL
    • HALLOWEEN
    • CHRISTMAS
    • SUMMER
    • SPRING
    • ST. PATRICK’S DAY
    • THANKSGIVING
    • VALENTINE’S DAY
    • WINTER
  • SALTBOX PROJECT
    • BATHROOMS
    • DINING ROOM
    • EXTERIOR
    • FAMILY ROOM
    • FOYER / MUDROOM
    • KIDS BEDROOMS
    • KITCHEN
    • LIVING ROOM
    • MASTER BEDROOM
    • PLAYROOM
  • SCROLL SAW

“P” is for Polka Dots #2

March 15, 2012

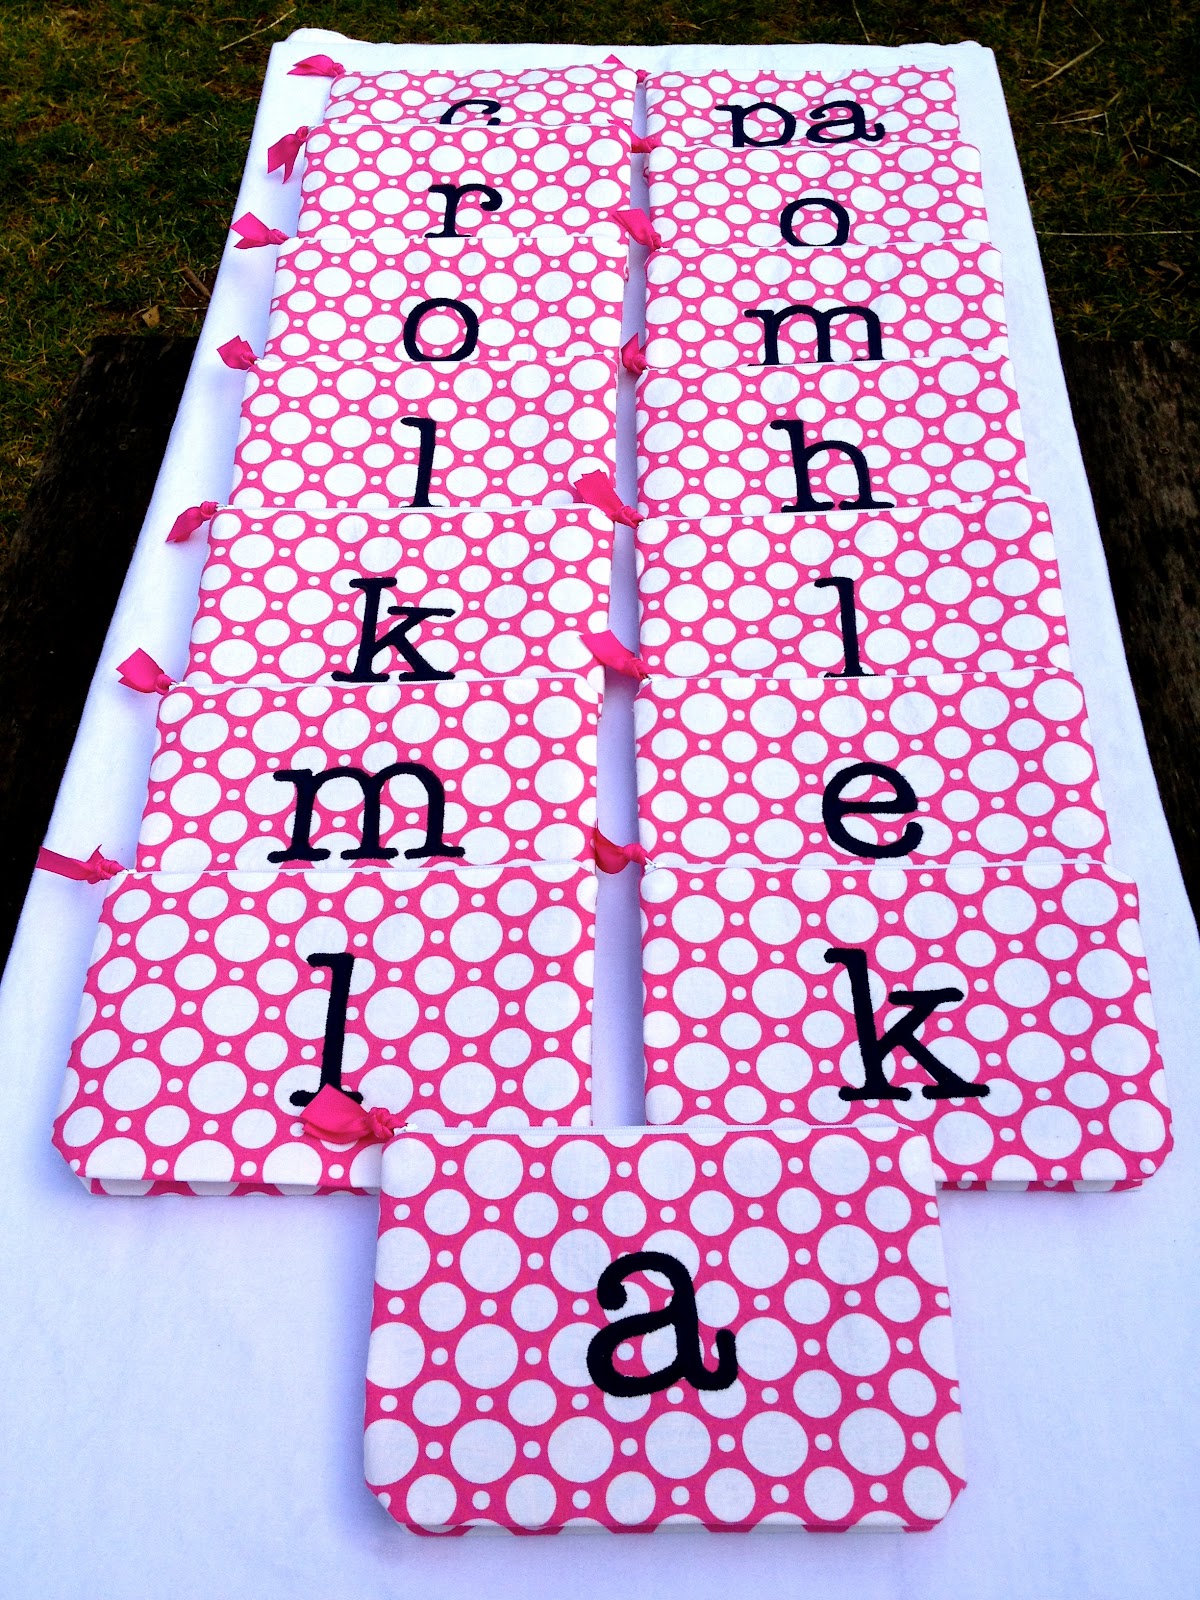
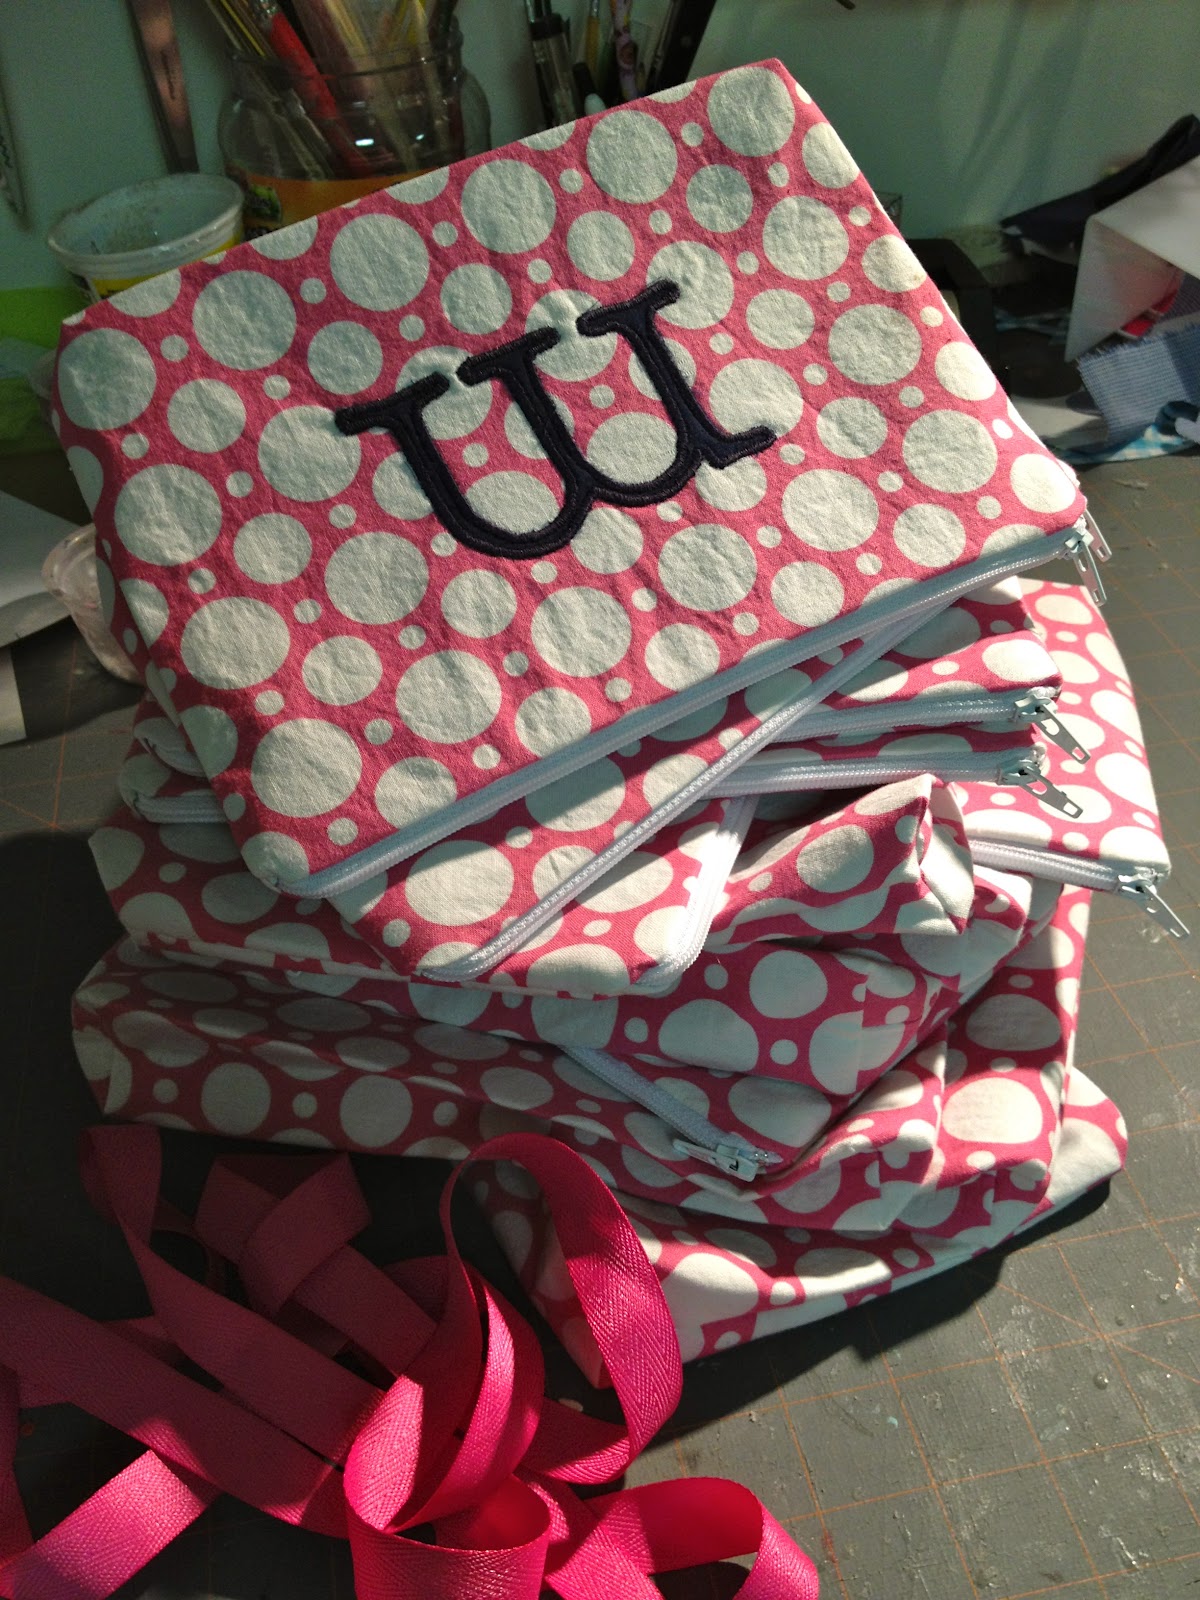
Sew: Monogrammed polka dot pouches

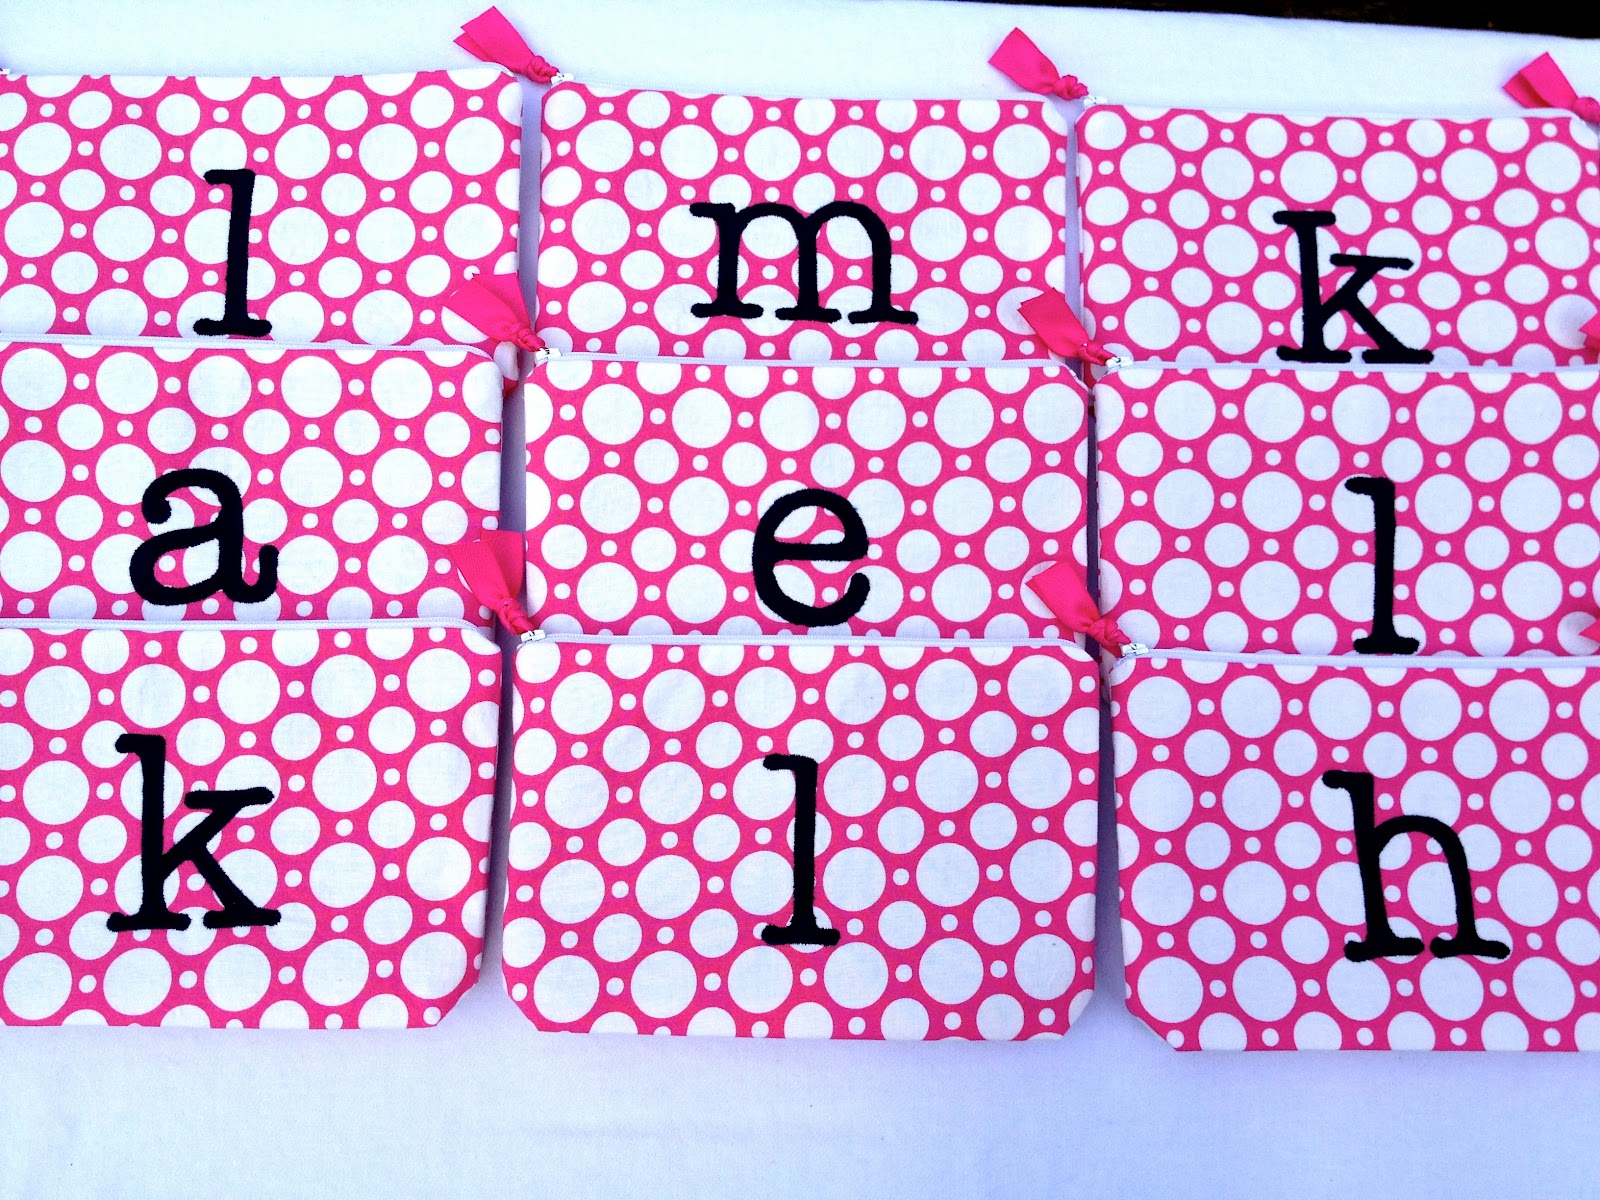
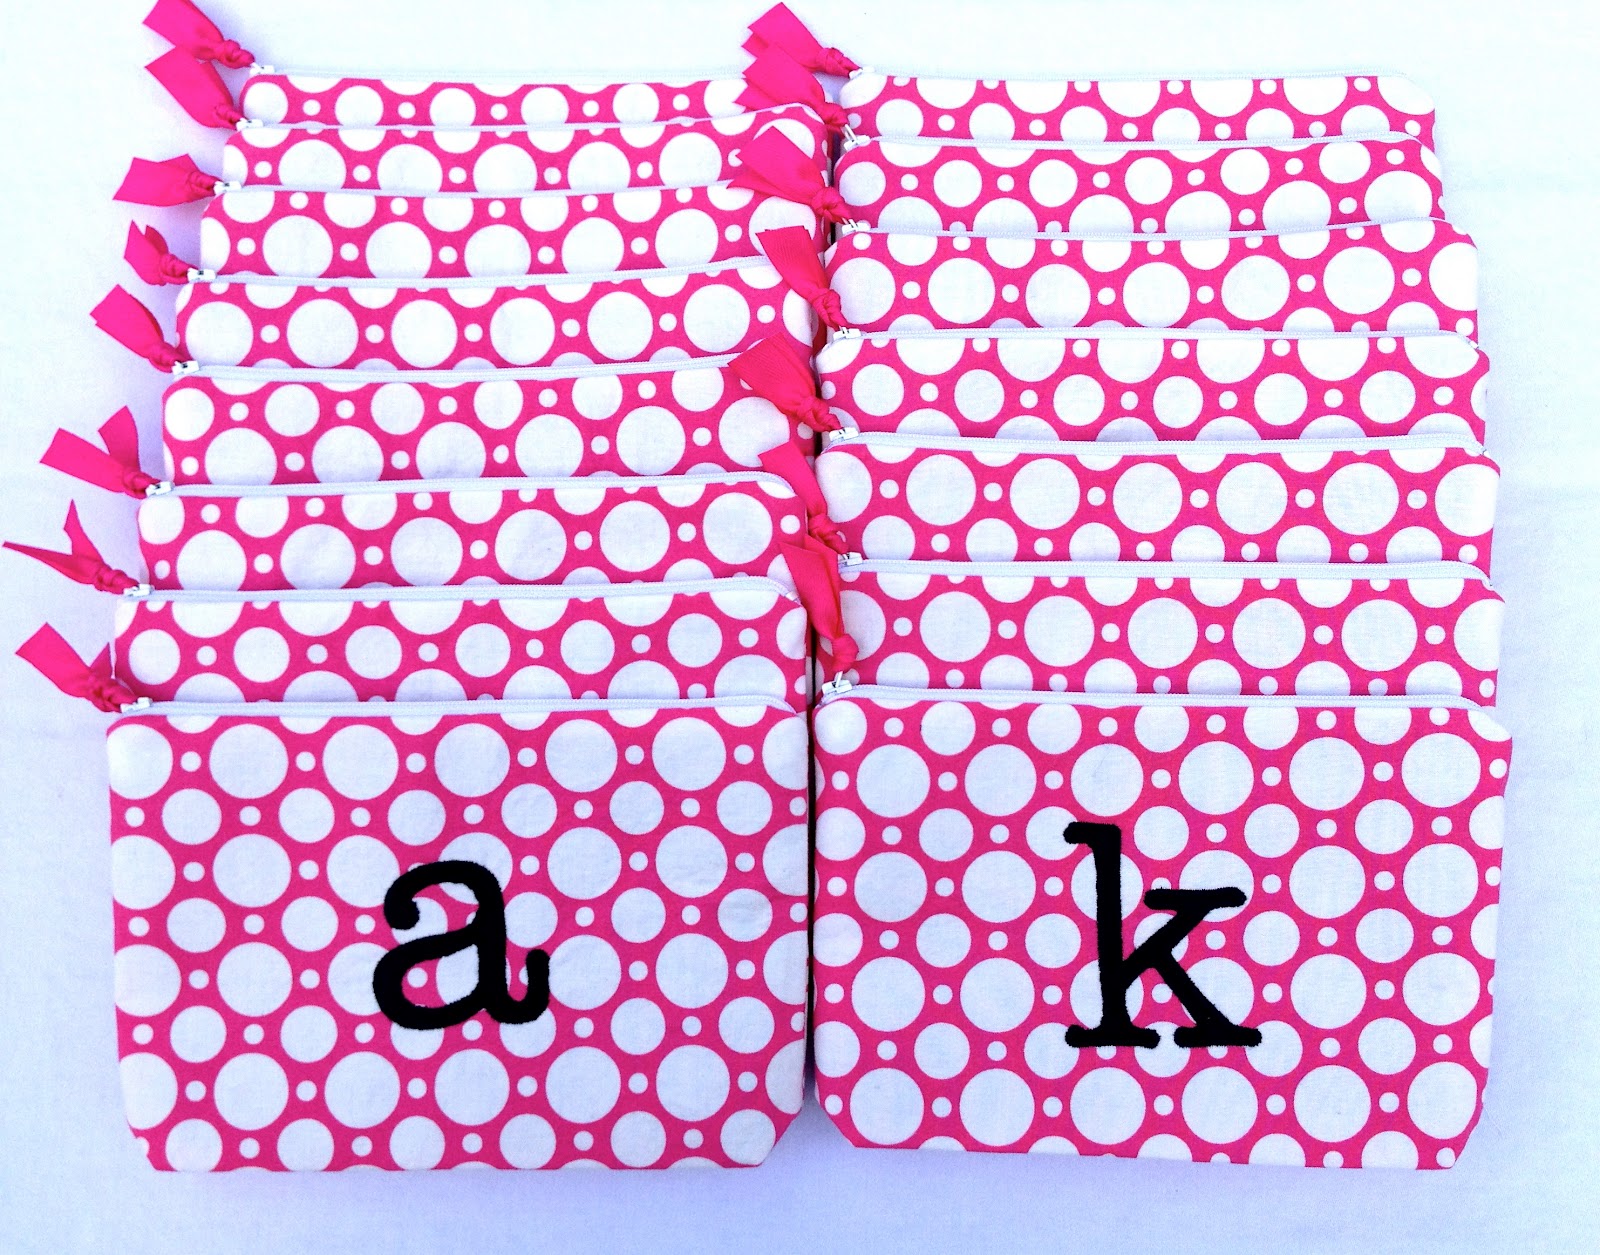
A custom order for a young girl’s birthday party favors. 
Each pouch is lined in navy blue to match the monogram:

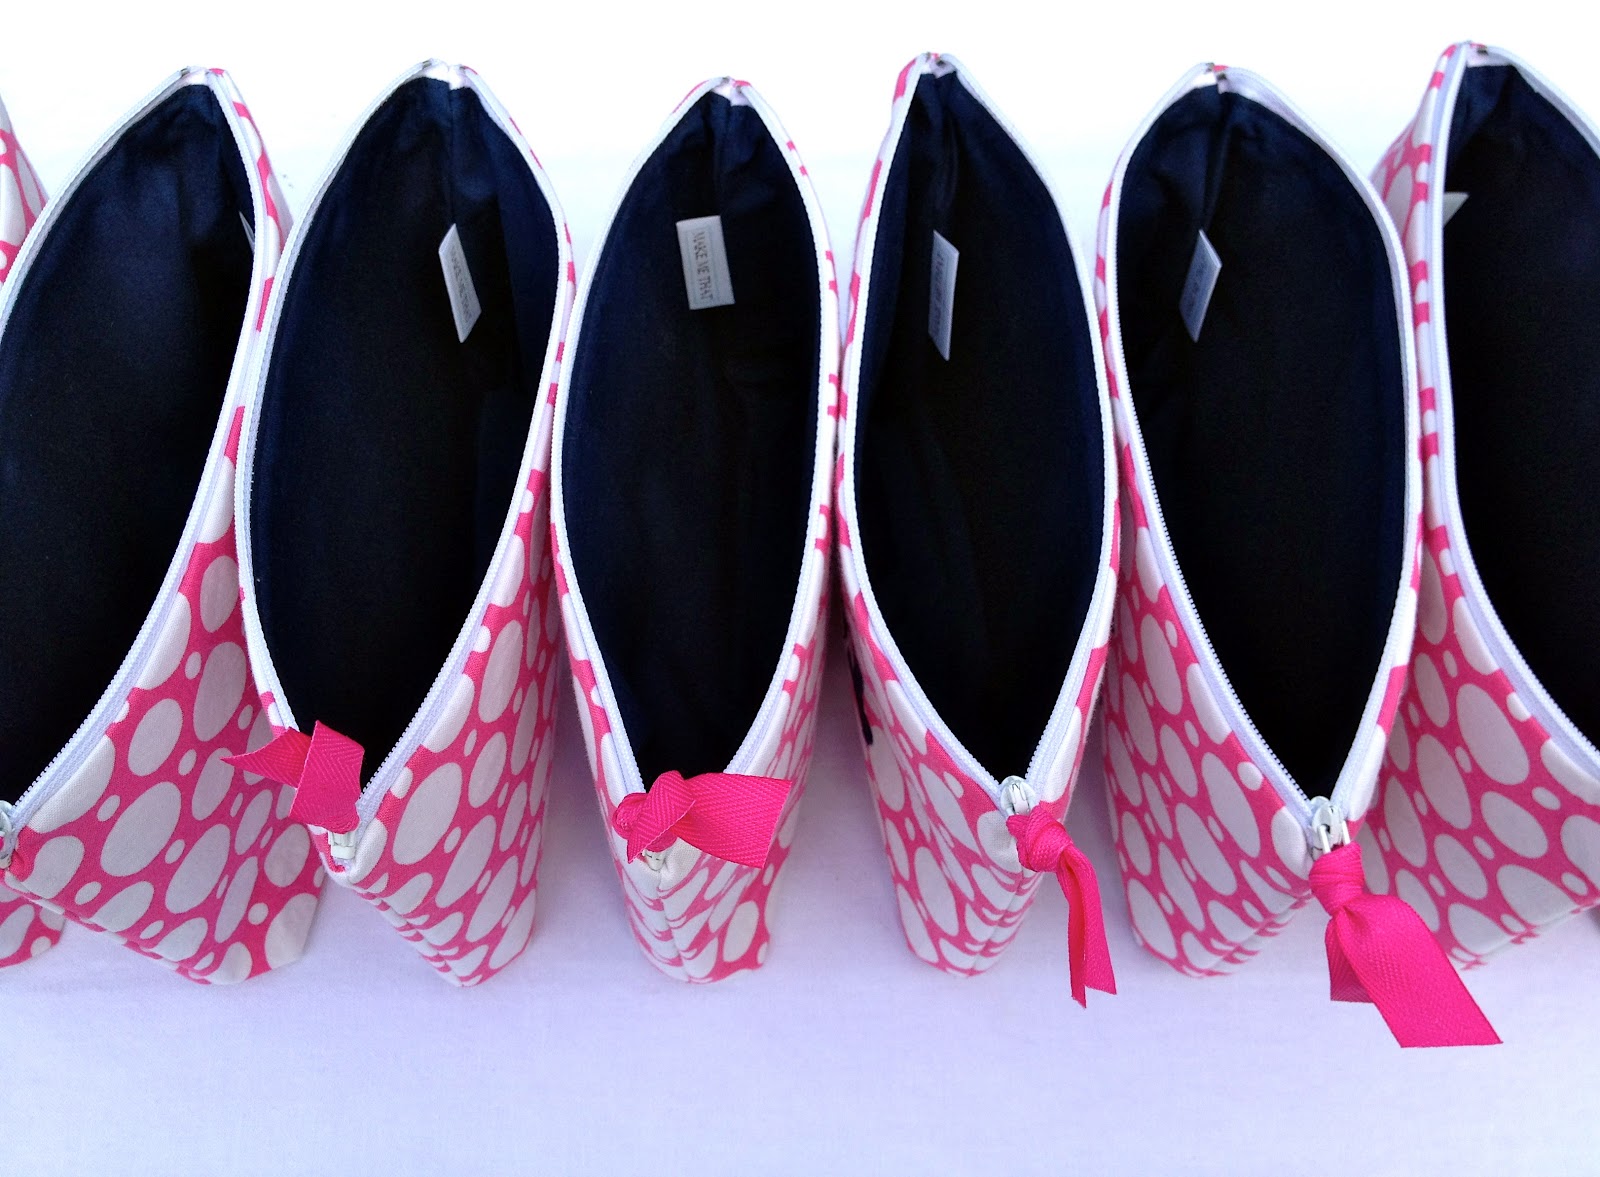
One for each of her girly friends.

We used pink jumbo Crazy for Dots & Stripes fabric by RJR:
Here’s how I made the pouches:
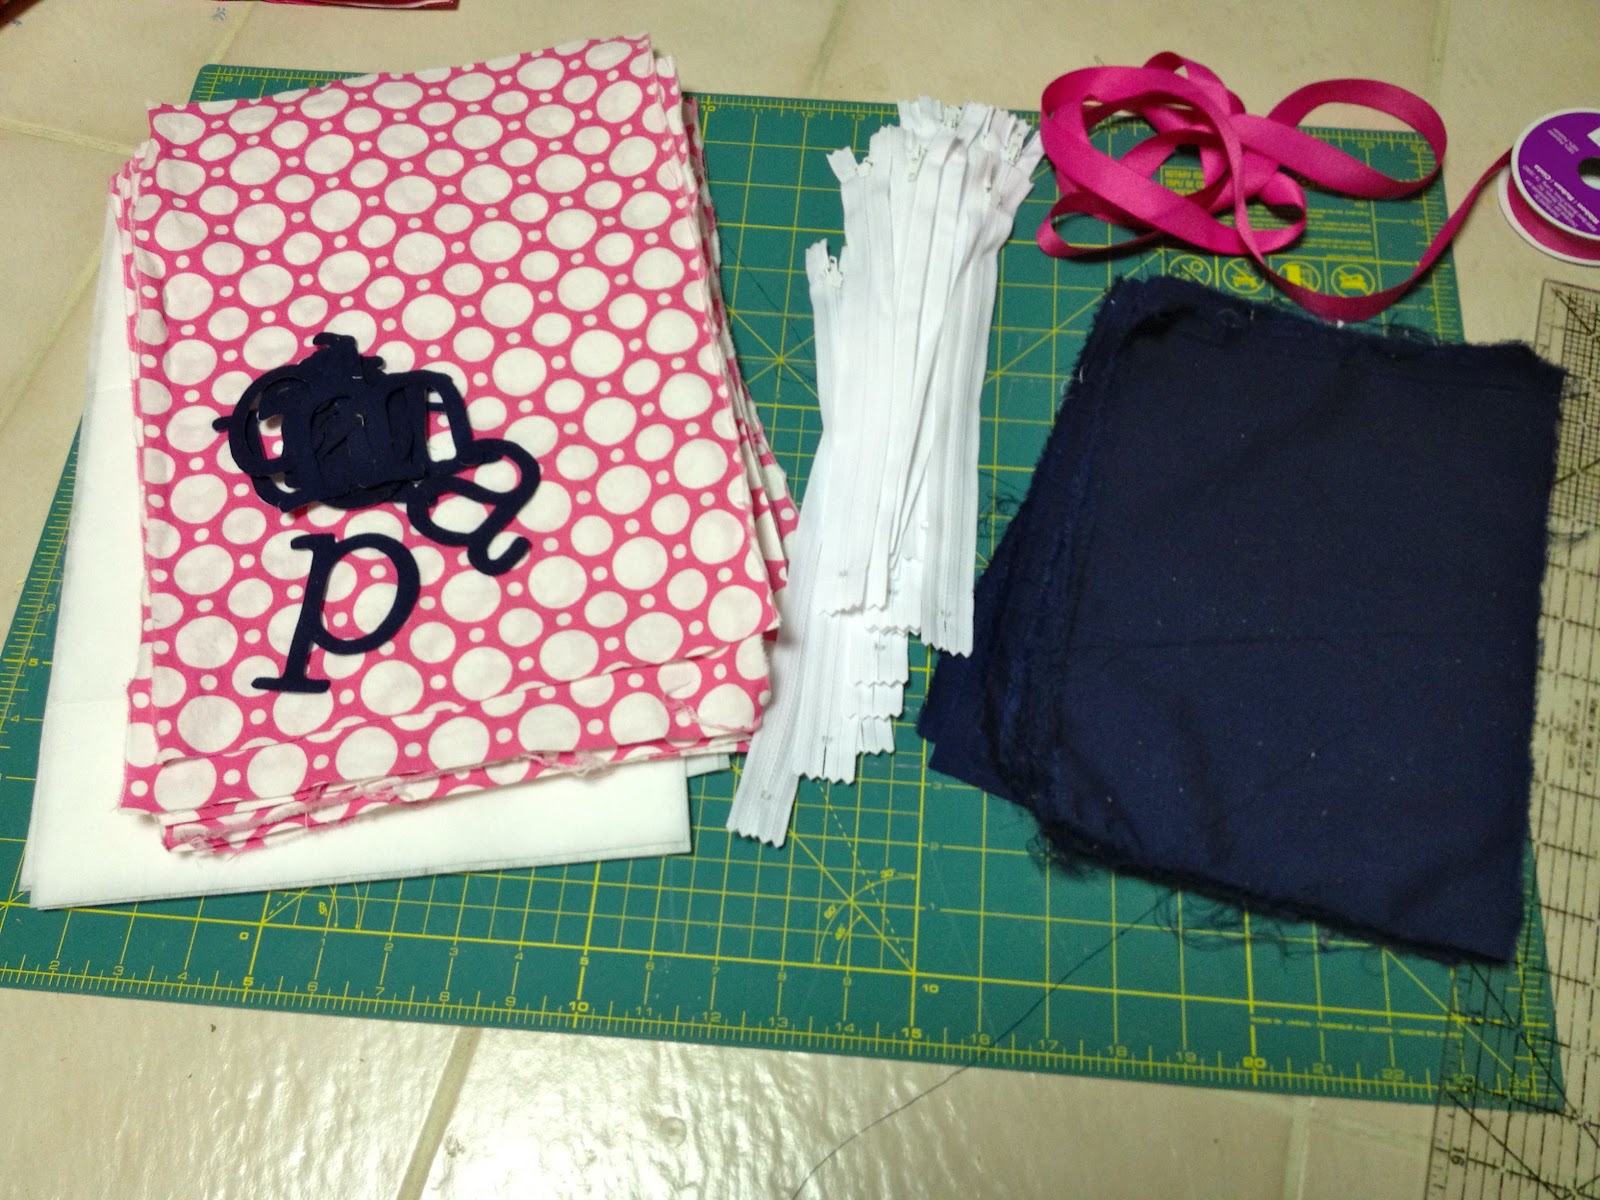
1. Cut fabrics:
1 – exterior polka dots 10″ x 14″
1 – fusible med. weight interfacing 10″ x 14″
2 – lining 10″ x 7″
1 – 9″ zipper
ribbon for zipper pull
scrap lining pieces for monogram
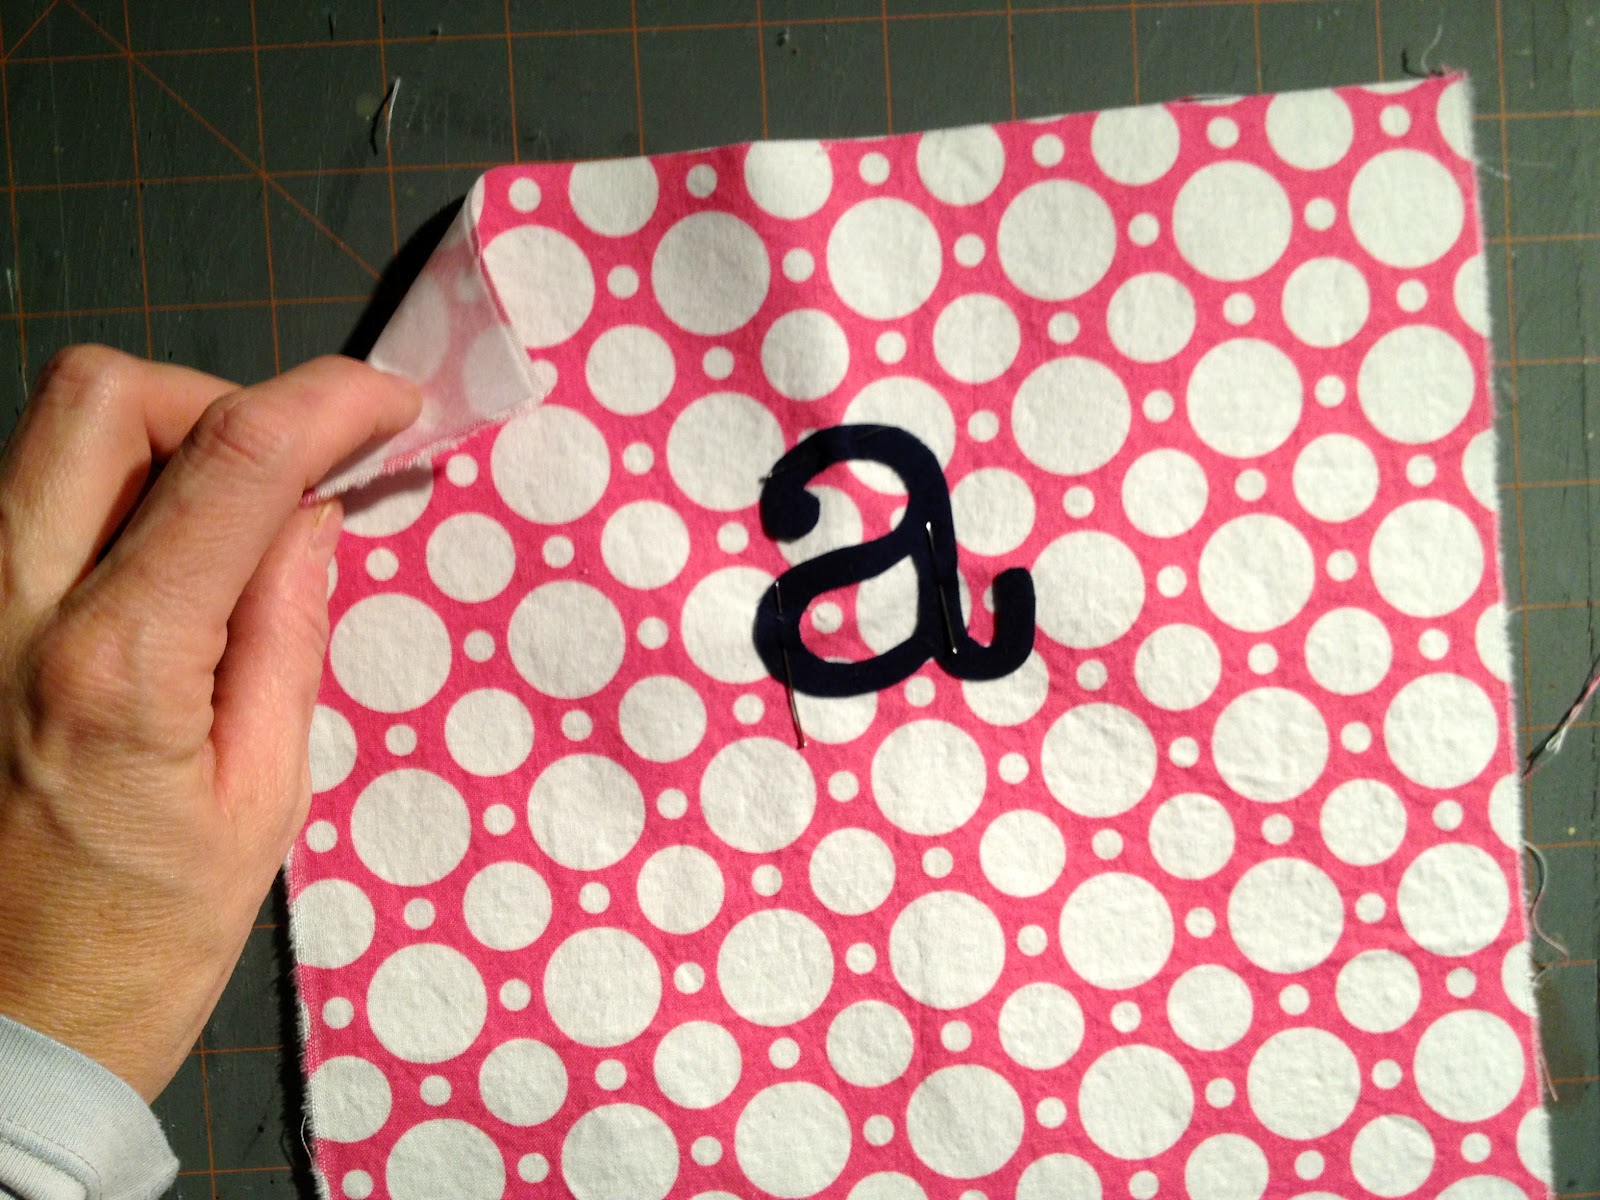
2. Iron fusible interfacing to wrong side of fabric.
Pin letter in place.
(For a complete tutorial on how-to make the letters click here.)

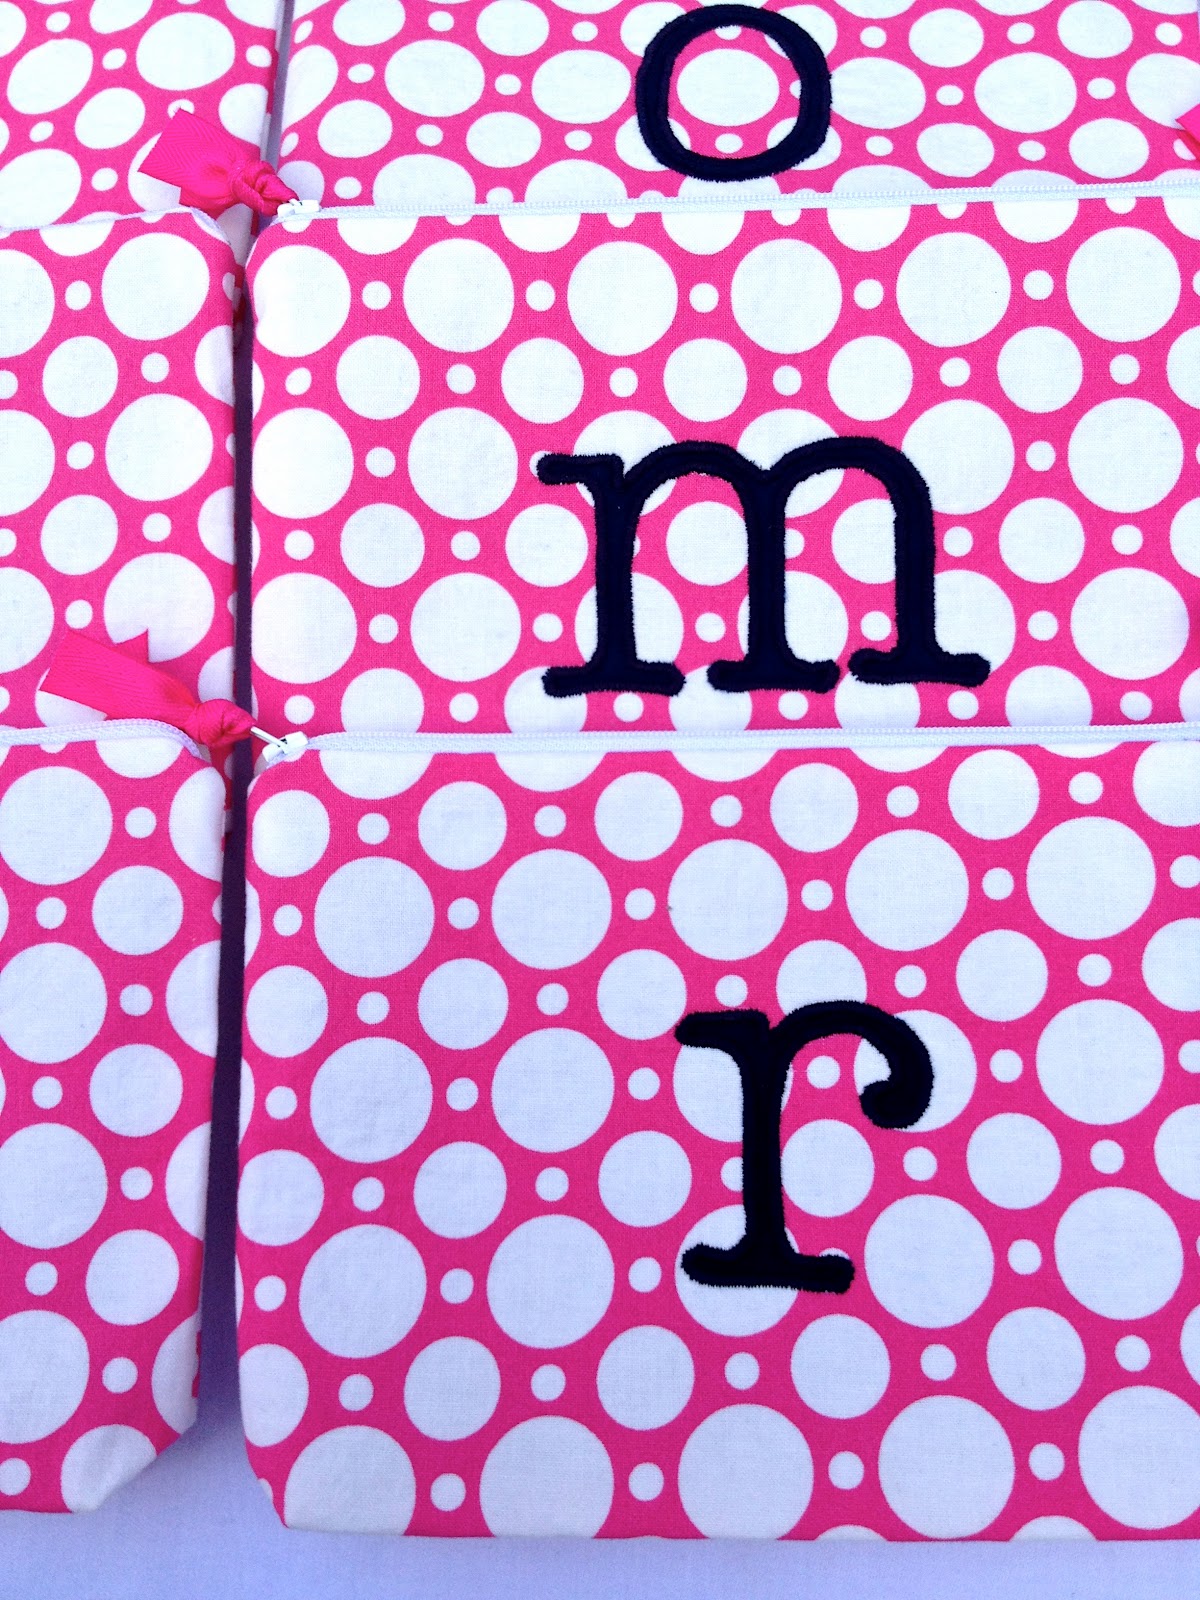
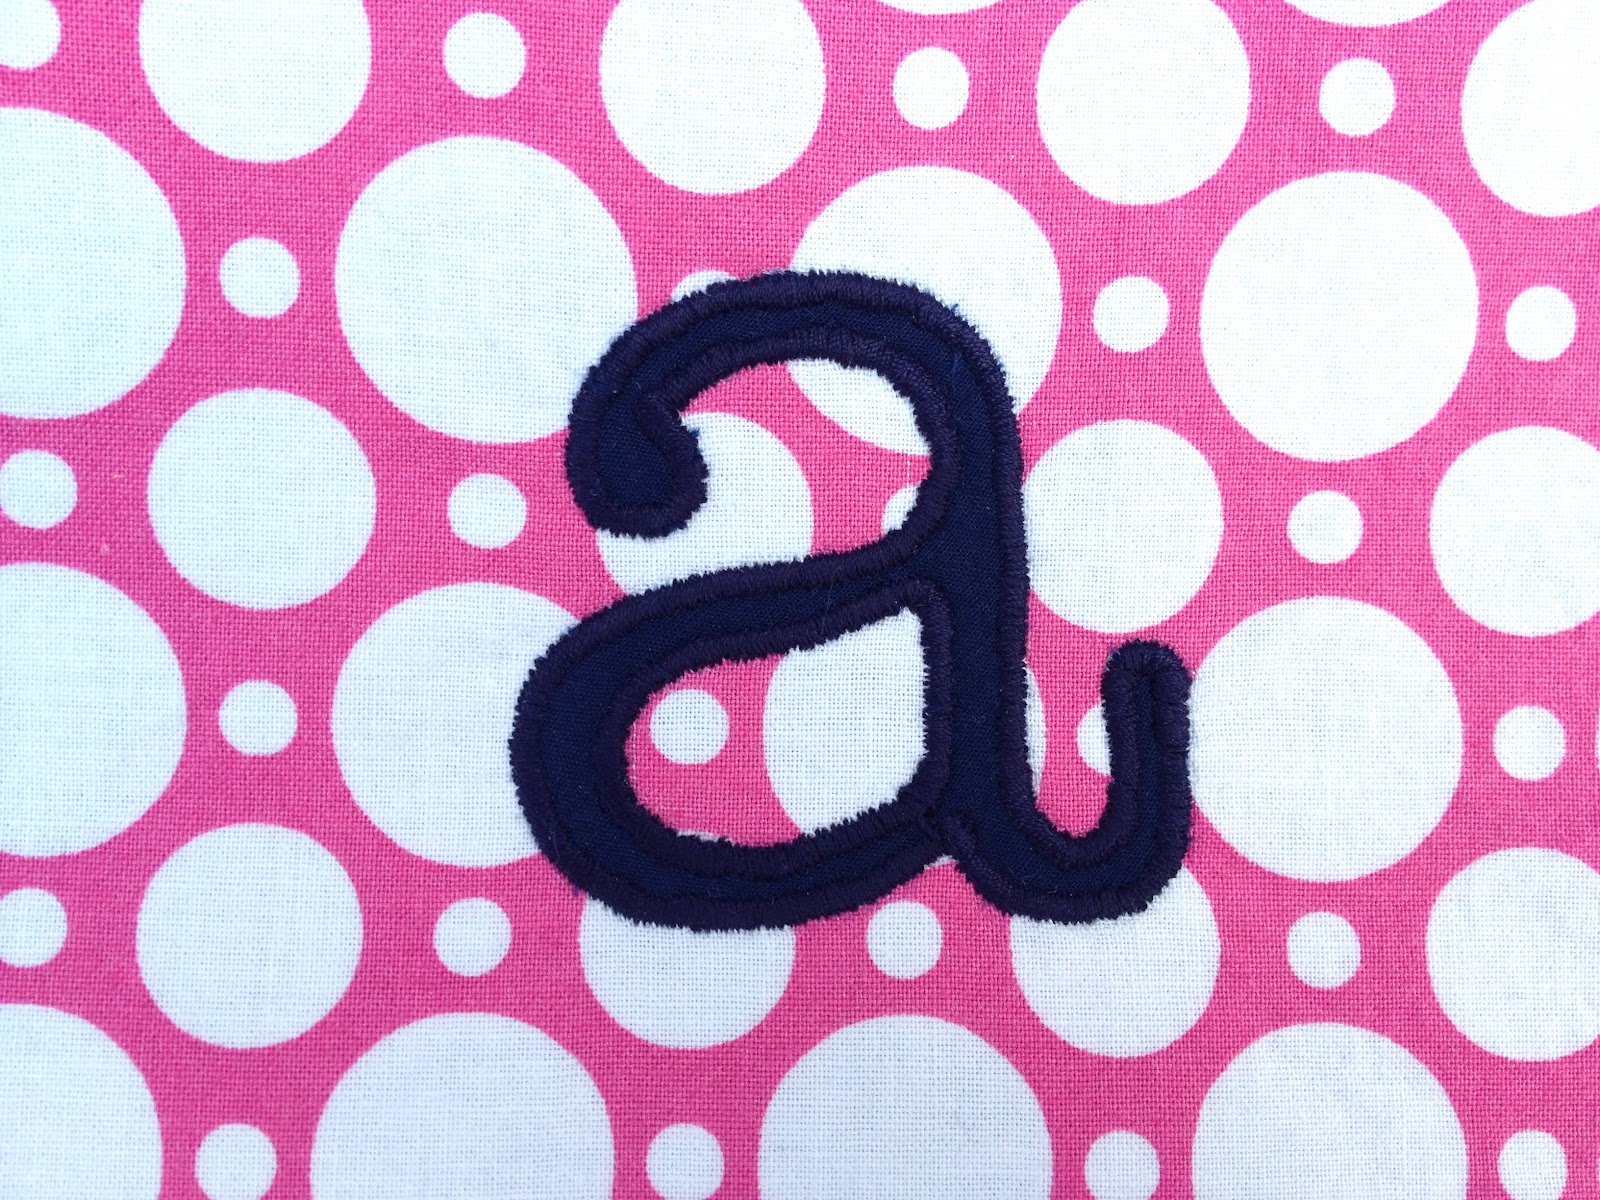
3. Zig zag stitch around letter:
4. Next sew in the zipper between the lining and exterior on both ends.
The whole process can be seen in my post here.
Then sew up the side seams, miter the corners and turn right side out:
5. Press lining raw edge in 1/2″ and top stitch closed.
6. Push lining down into pouch and press all smooth.
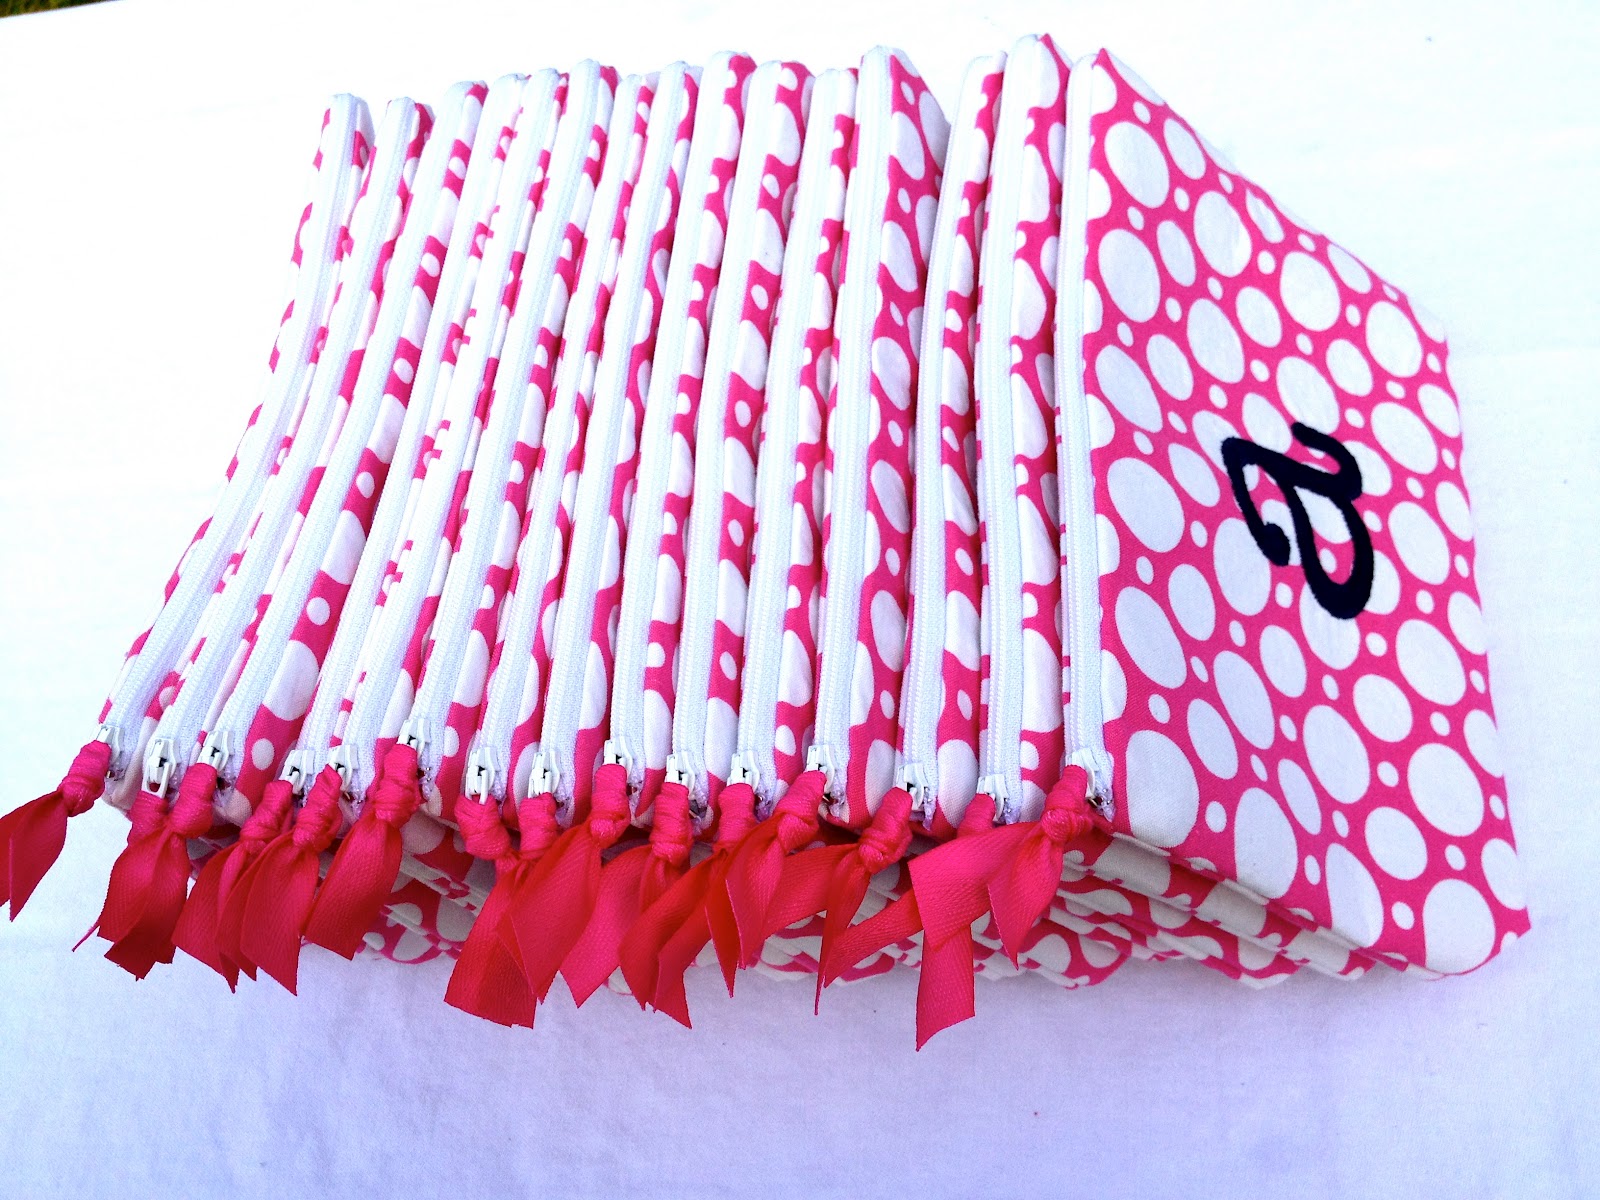
Finally add ribbon to zipper pull, be sure to fray chek the cut ends:

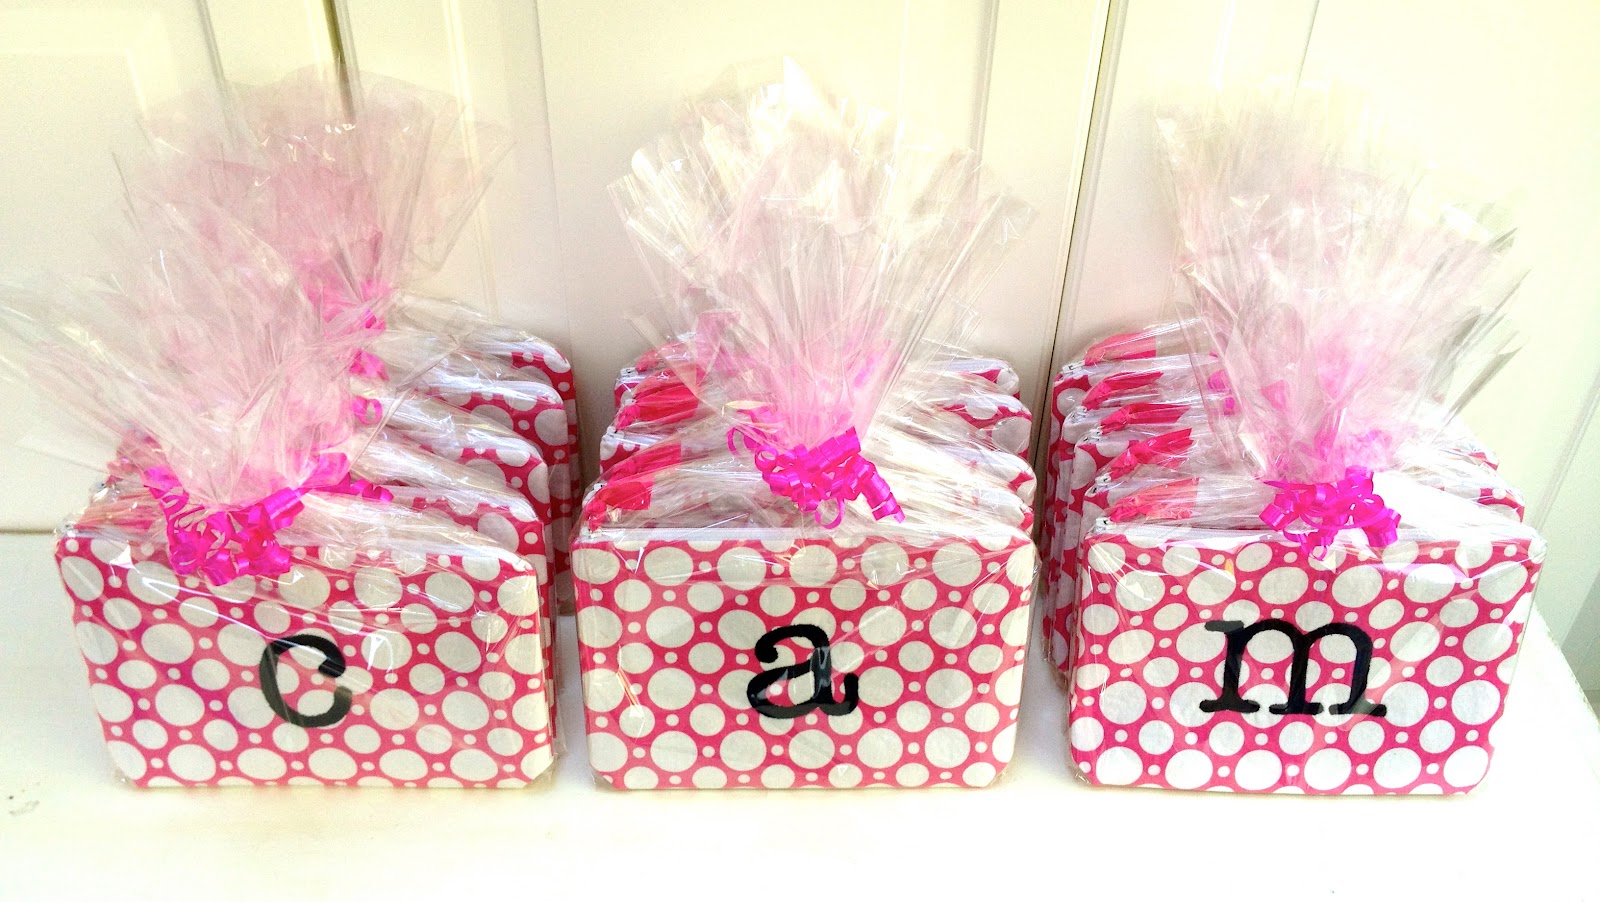
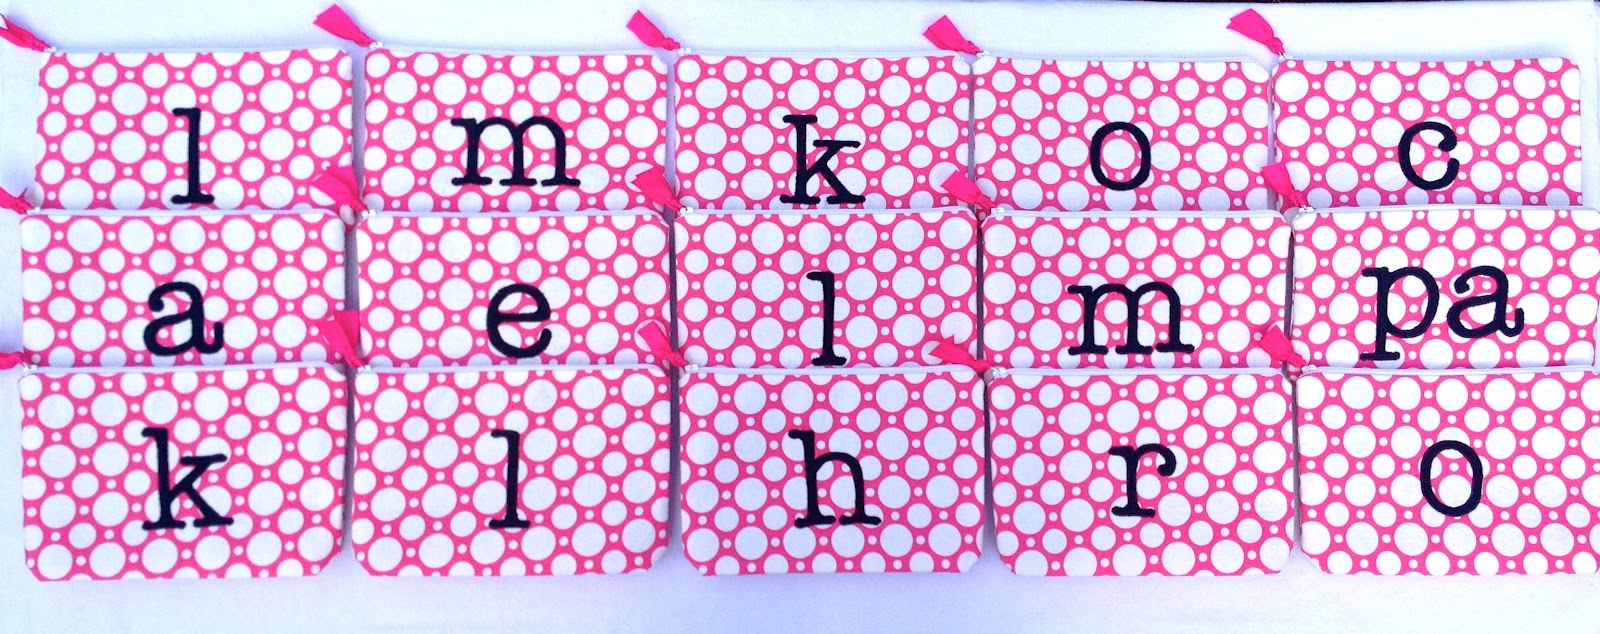
Ready for giving, they make the perfect party favor:

I’m linking up to:
Whatcha Got Weekend @ Lolly Jane
SAS @ Funky Junk
Weekend Wrap Up @ Tatertots & Jello
Sundae Scoop @ I Heart Naptime
Sister Sunday @ Sisters of the Wild West
Sunday Showcase Party @ Under the Table & Dreaming
Just Something I Whipped Up @ The Girl Creative
DIY Project Parade @ The DIY Showoff
Made by You Mondays @ Skip to My Lou
Making the World Cuter @ Making the World Cuter
Nifty Thrifty @ Coastal Charm
Tuesday Treasures @ My Uncommon Slice of Suburbia
Tutorials & Tips Tuesday @ Home Stories A to Z
Good Life @ A Beach Cottage
Delightfully Inspiring @ Delightful Order
Transformation Thursday @ The Shabby Creek Cottage
Strut Your Stuff @ Somewhat Simple
Share Awesomeness Thur @ The 36th Avenue
Flaunt it Friday @ Chic on a Shoestring
Tickled Pink @ 504 Main
Frugal Friday @ The Shabby Nest
SAS @ Just a Girl
Feathered Nest @ French Country Cottage
Remodelaholics Anonymous @ Remodelaholic
inspiration board @ Carolyns Homework
Textiles @ Freckled Laundry

You may also like...

  • Cross Stitch Monogram Ornament PlacecardCross Stitch Monogram Ornament Placecard
  • DIY Simple Personalized PillowsDIY Simple Personalized Pillows
  • DIY Embellished Monogram PouchDIY Embellished Monogram Pouch
  • “P” is for Painted Zipper Pouch“P” is for Painted Zipper Pouch
Share this post:

Filed Under: DIY, GIFTS, GIFTS, POUCHES, SEW, SEWING8 Comments

Reader Interactions

Comments

  1. Inspire Me Heather says

    March 15, 2012 at 11:39 AM

    Oh, that would be a fabulous party favor – too cute!

    Reply
  2. Erica says

    March 16, 2012 at 3:38 AM

    Those are so cute!

    Reply
  3. Christine says

    March 16, 2012 at 1:11 PM

    These pouches are FABULOUS!!!! The steps by steps are great! You did a fantastic job with this tutorial!!

    I truly hope you'll share this over at The DIY Dreamer!
    http://thediydreamer.blogspot.com/2012/03/from-dream-to-reality-linky-party-7.html

    Reply
  4. Mama Jodi says

    March 16, 2012 at 3:09 PM

    These are adorable. I don't think I have the skills to pull it together, but I'm impressed.

    Reply
  5. Toodie says

    March 18, 2012 at 5:08 PM

    Absolutely love them! So cute and vibrant! My granddaughter is turning 14 soon and this would make a great gift for her!

    Reply
  6. pinktoesandpowertools.com says

    March 21, 2012 at 12:27 AM

    Love the fabric and the monogram font on this version of your pouches! We are breathing easier with all the birthdays in the rear view mirror now–hope you are getting some of your time back soon too 🙂

    Reply
  7. Jessi says

    March 21, 2012 at 3:55 PM

    These are fabulous and I'd love to be one of those lucky gals receiving one! I love the mix of pink and navy blue. I really need to learn how to use my sewing machine!

    Reply
  8. Claudia Patricia says

    January 28, 2013 at 6:29 PM

    Beautiful!!!

    Reply

Leave a Reply Cancel reply

Your email address will not be published. Required fields are marked *

Primary Sidebar

Hi! I’m Jaime

Jaime Costiglio

Hello!

Thank you for stopping by.
Join me for lots of DIY.

Read more

Get new posts via email

Handbuilt Holiday: Gift Project Plans

handbuilt holiday gift project plans

Collection of DIY gift project plans to build.

The Home Depot Tool Prospective

THD Prospective

Tools to consider for the DIYer.

Archives

The Home Depot Logo
Copyright © 2023 Jaime Costiglio · Custom site by Moonsteam Design

Privacy Policy