• Home
  • Blog
  • About
  • Contact
    • Disclosure
    • Privacy Policy
  • SHOP
  • Widget area for main menu

    • Email
    • Facebook
    • Instagram
    • Pinterest
    • Twitter
    • YouTube
  • Skip to primary navigation
  • Skip to main content
  • Skip to primary sidebar

Jaime Costiglio

build - paint - sew

  • BUILD
    • BEDS
    • BENCHES
    • DESKS
    • DRESSERS
    • GAMES & TOYS
    • SCRAP WOOD
    • SHELVES
    • STORAGE
    • TABLES
  • TOOLS
  • PAINT
    • CRAFTS
    • FURNITURE
    • HOME DECOR
  • SEW
    • GIFTS
    • HOME DECOR
    • POUCHES
  • HANDBUILT HOLIDAY
    • 2021
    • 2019
    • 2018
    • 2017
    • 2016
    • 2015
    • 2014
    • 2013
  • GIFTS
    • BABIES
    • KIDS
    • FOR HER
    • FOR HIM
    • TEACHERS
    • WEDDINGS
  • SEASONAL
    • 4TH OF JULY
    • FALL
    • HALLOWEEN
    • CHRISTMAS
    • SUMMER
    • SPRING
    • ST. PATRICK’S DAY
    • THANKSGIVING
    • VALENTINE’S DAY
    • WINTER
  • SALTBOX PROJECT
    • BATHROOMS
    • DINING ROOM
    • EXTERIOR
    • FAMILY ROOM
    • FOYER / MUDROOM
    • KIDS BEDROOMS
    • KITCHEN
    • LIVING ROOM
    • MASTER BEDROOM
    • PLAYROOM
  • SCROLL SAW

DIY Patchwork Quilt

December 20, 2011

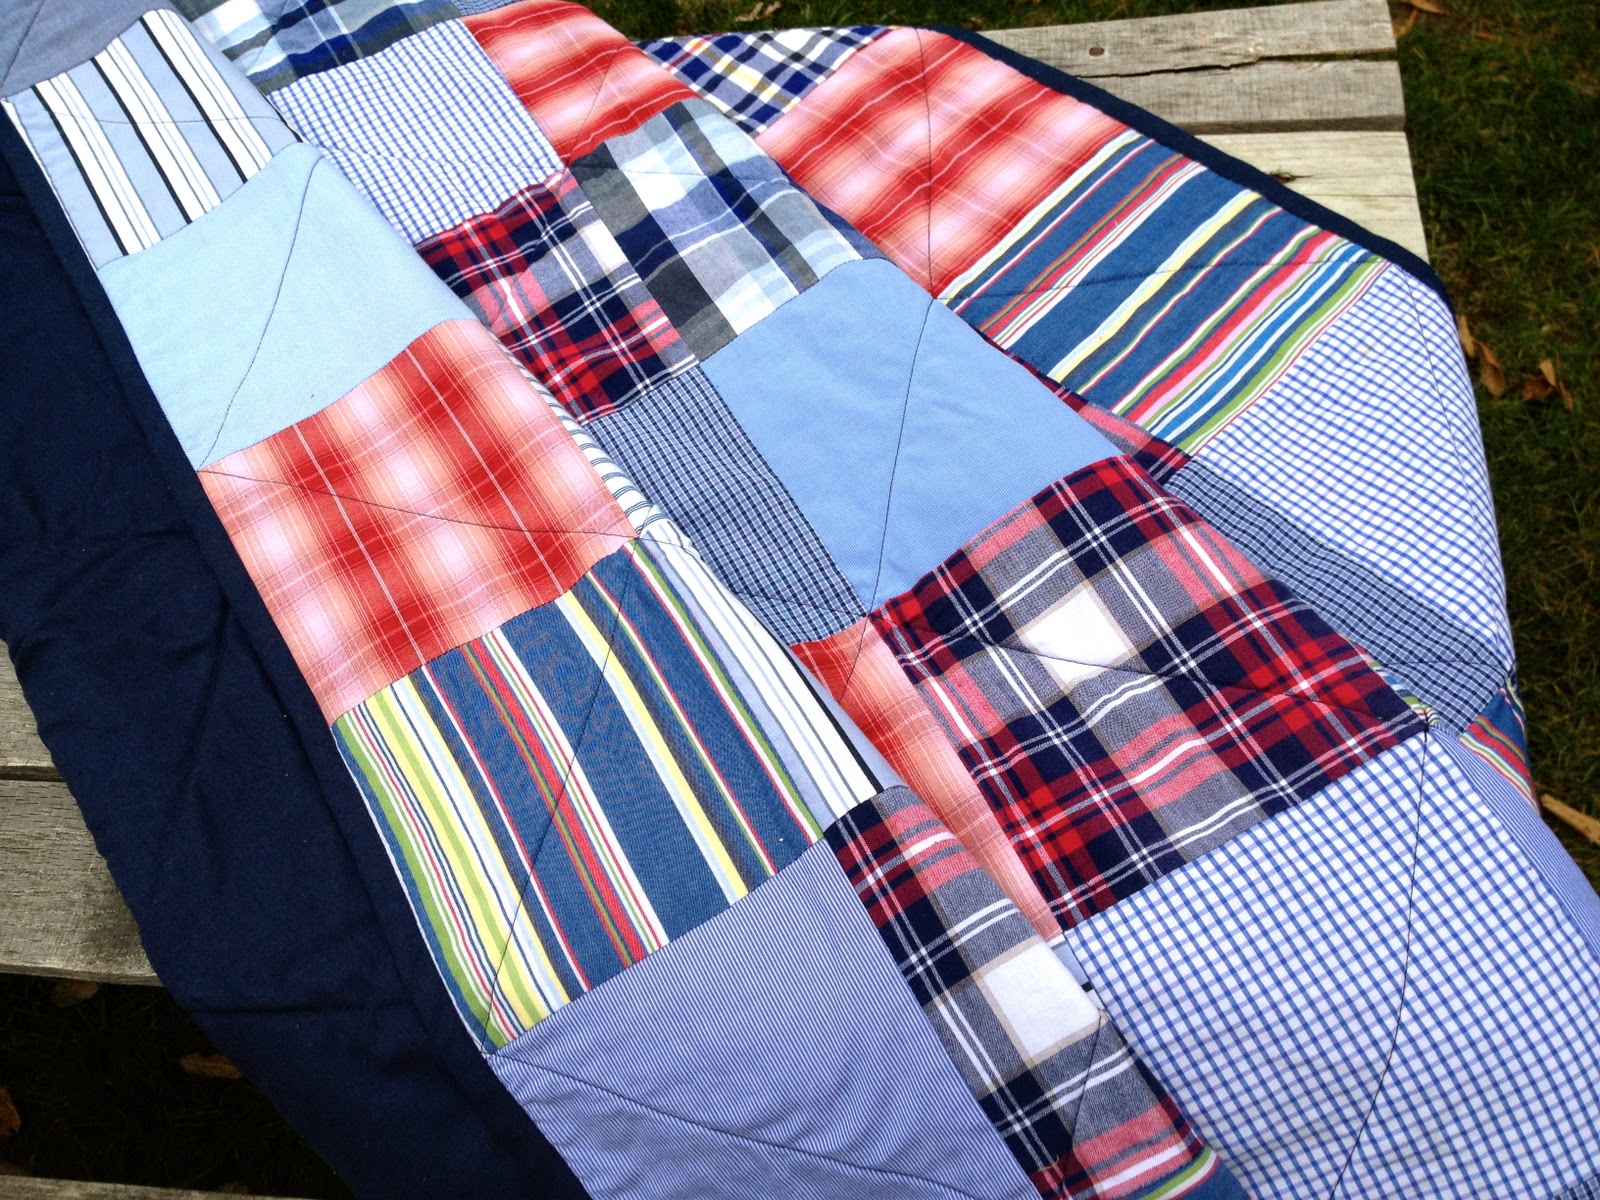
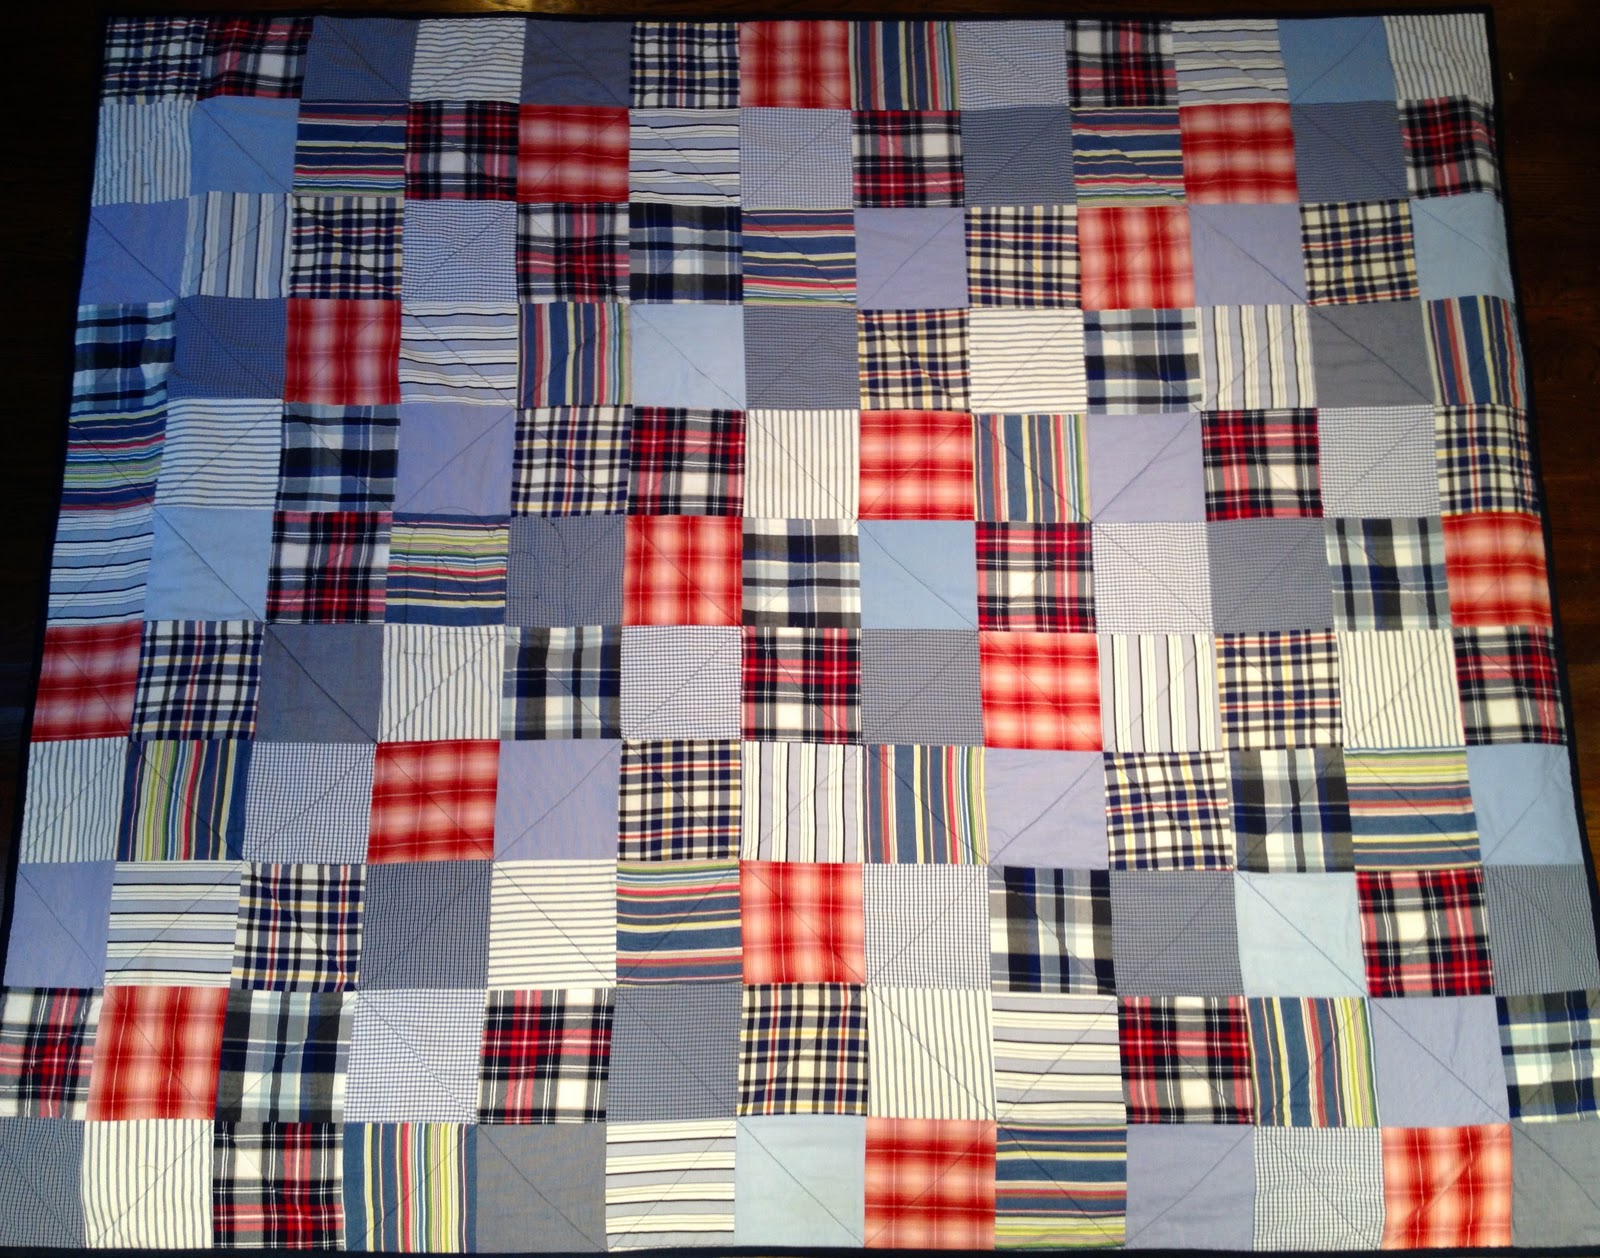
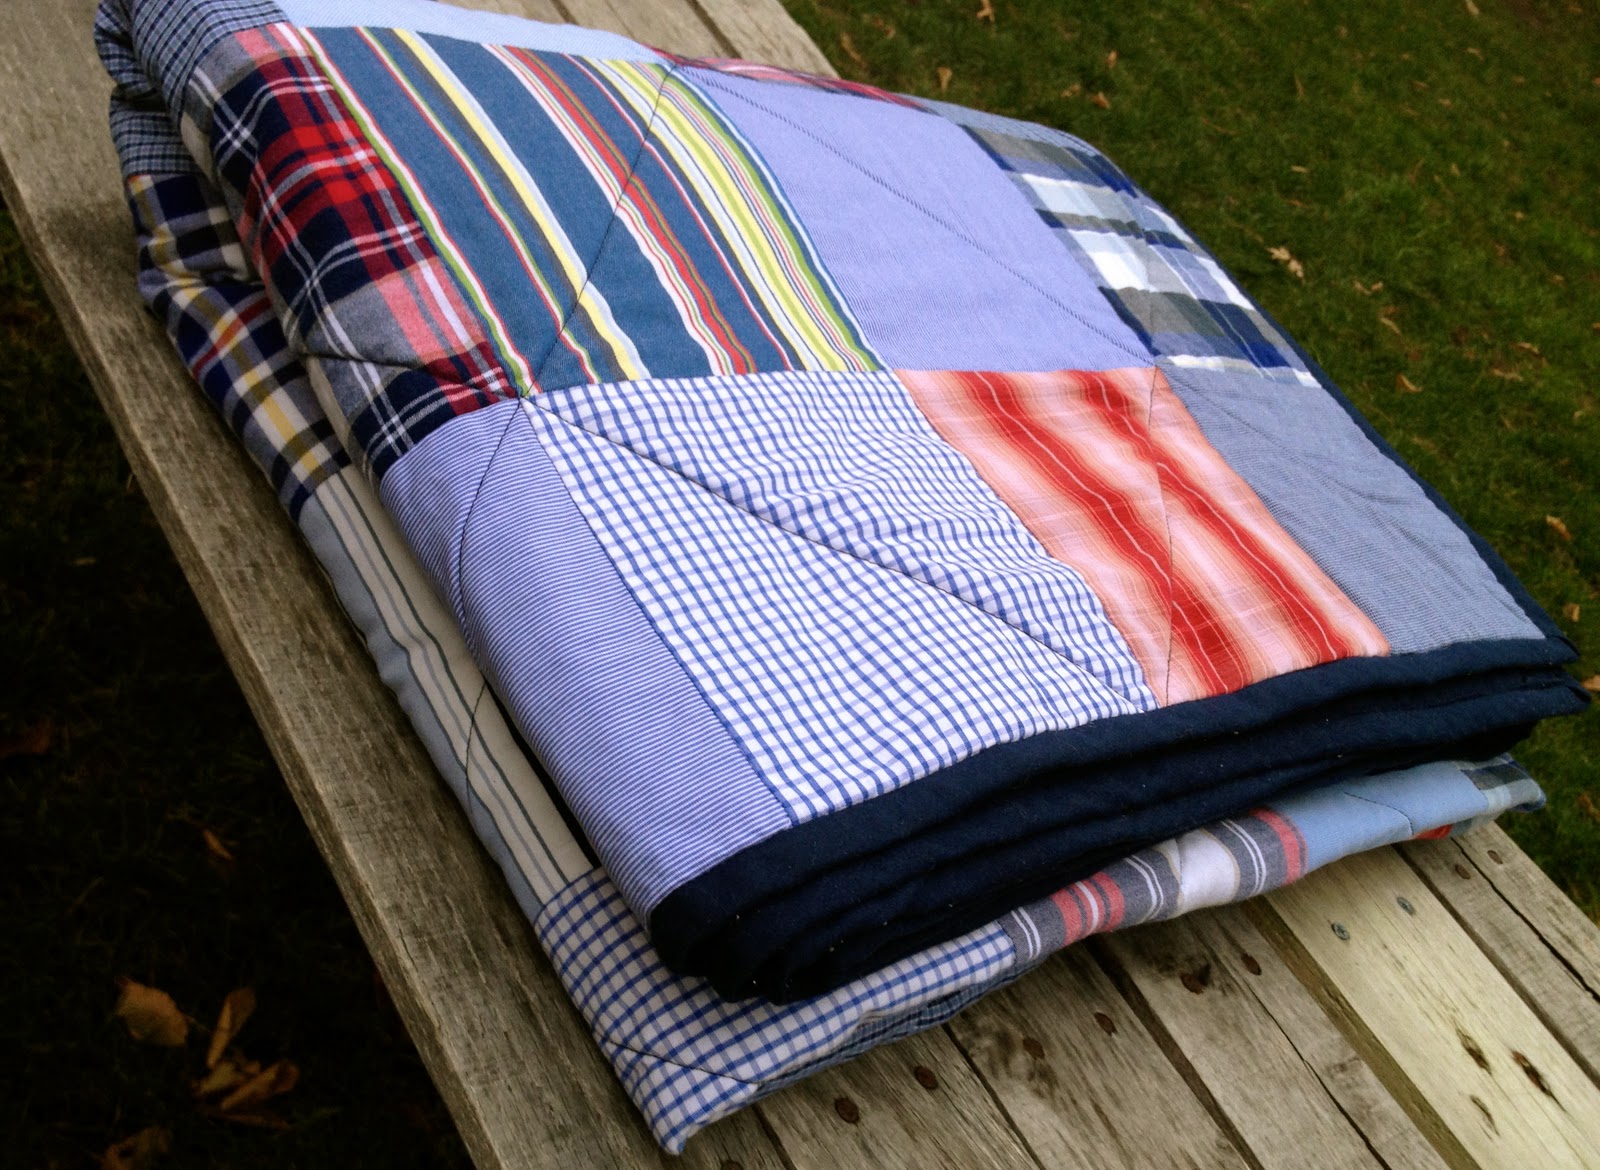
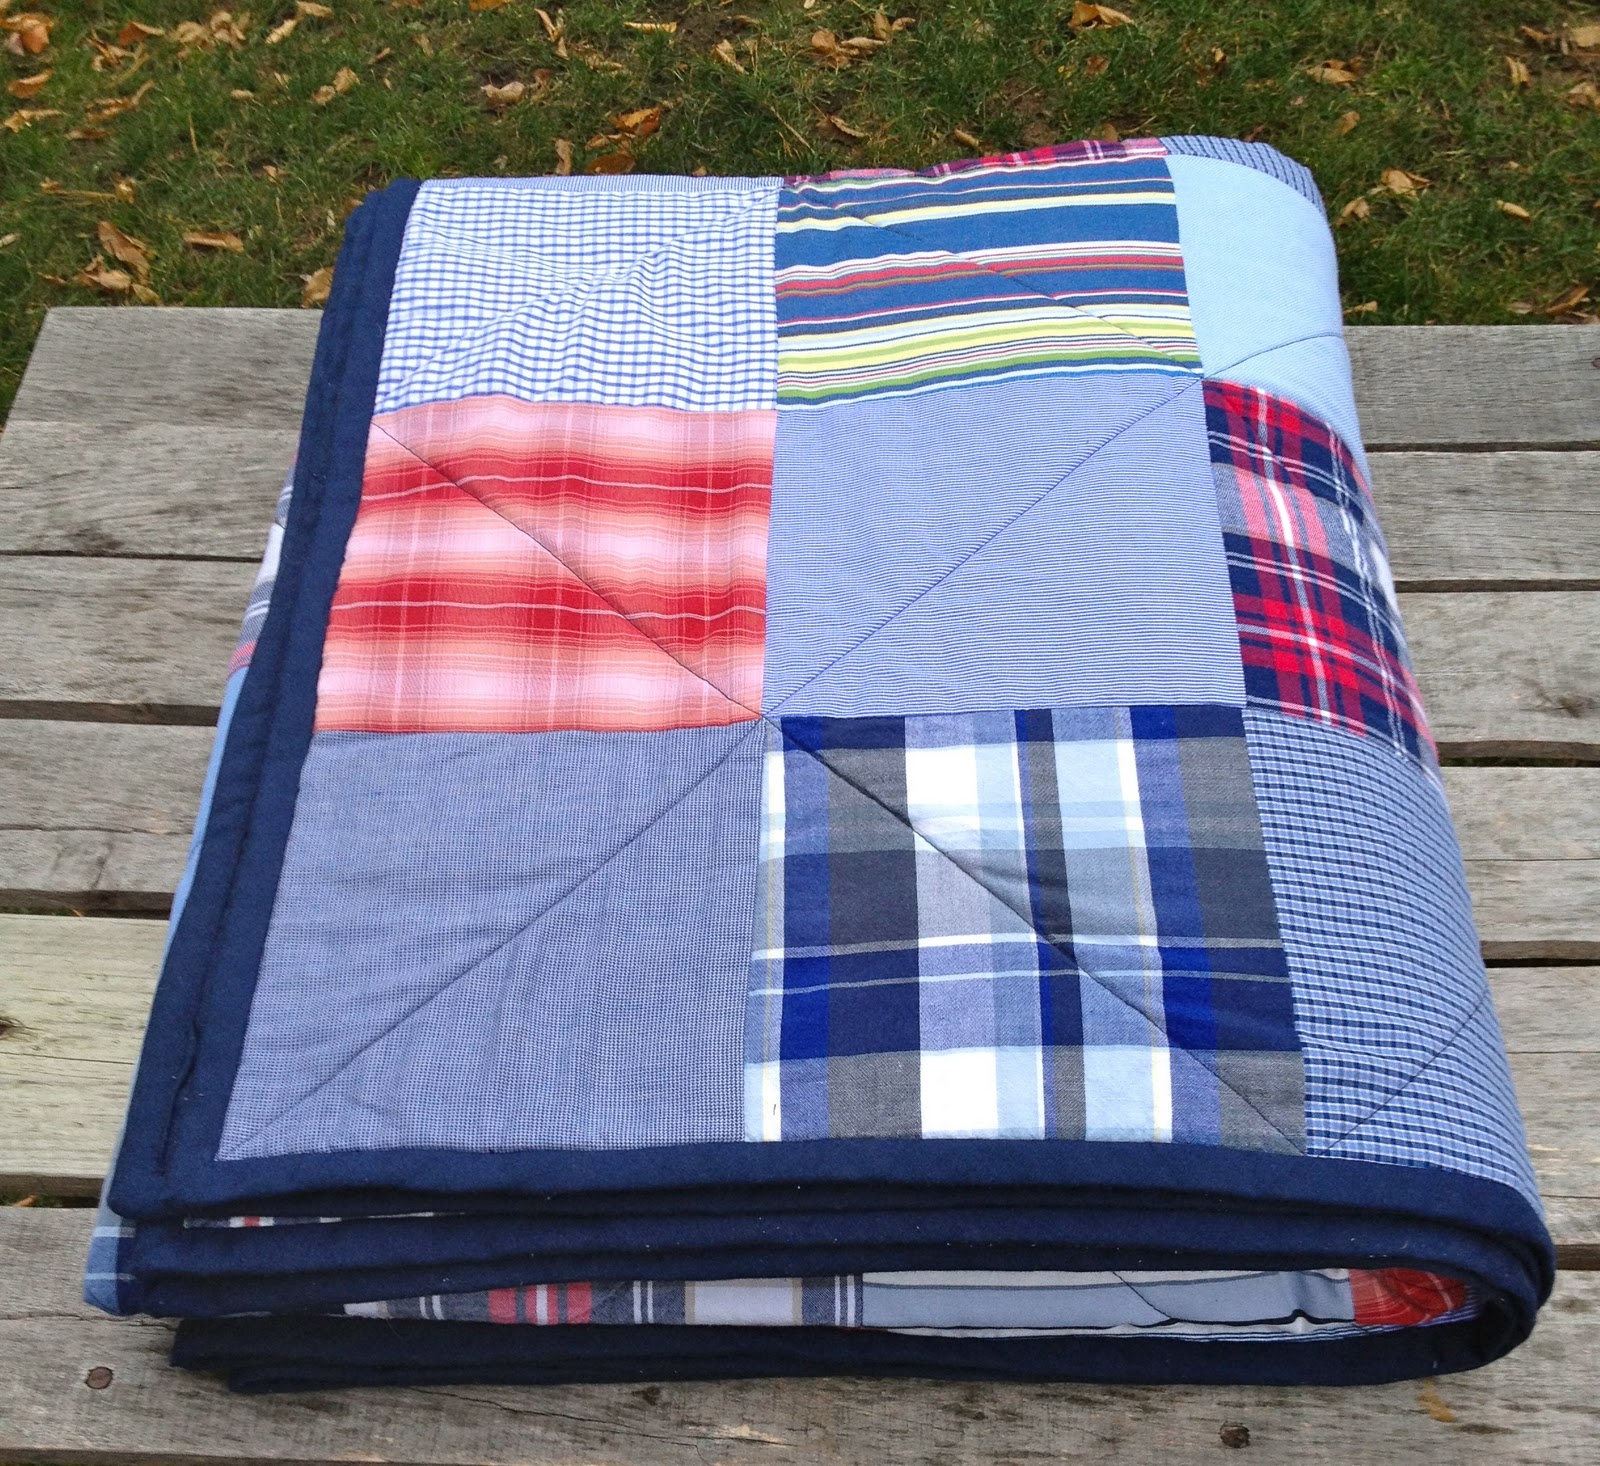
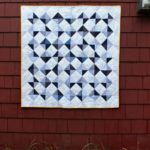
A patchwork quilt for Ben:

Twin size to fit his big boy bed:

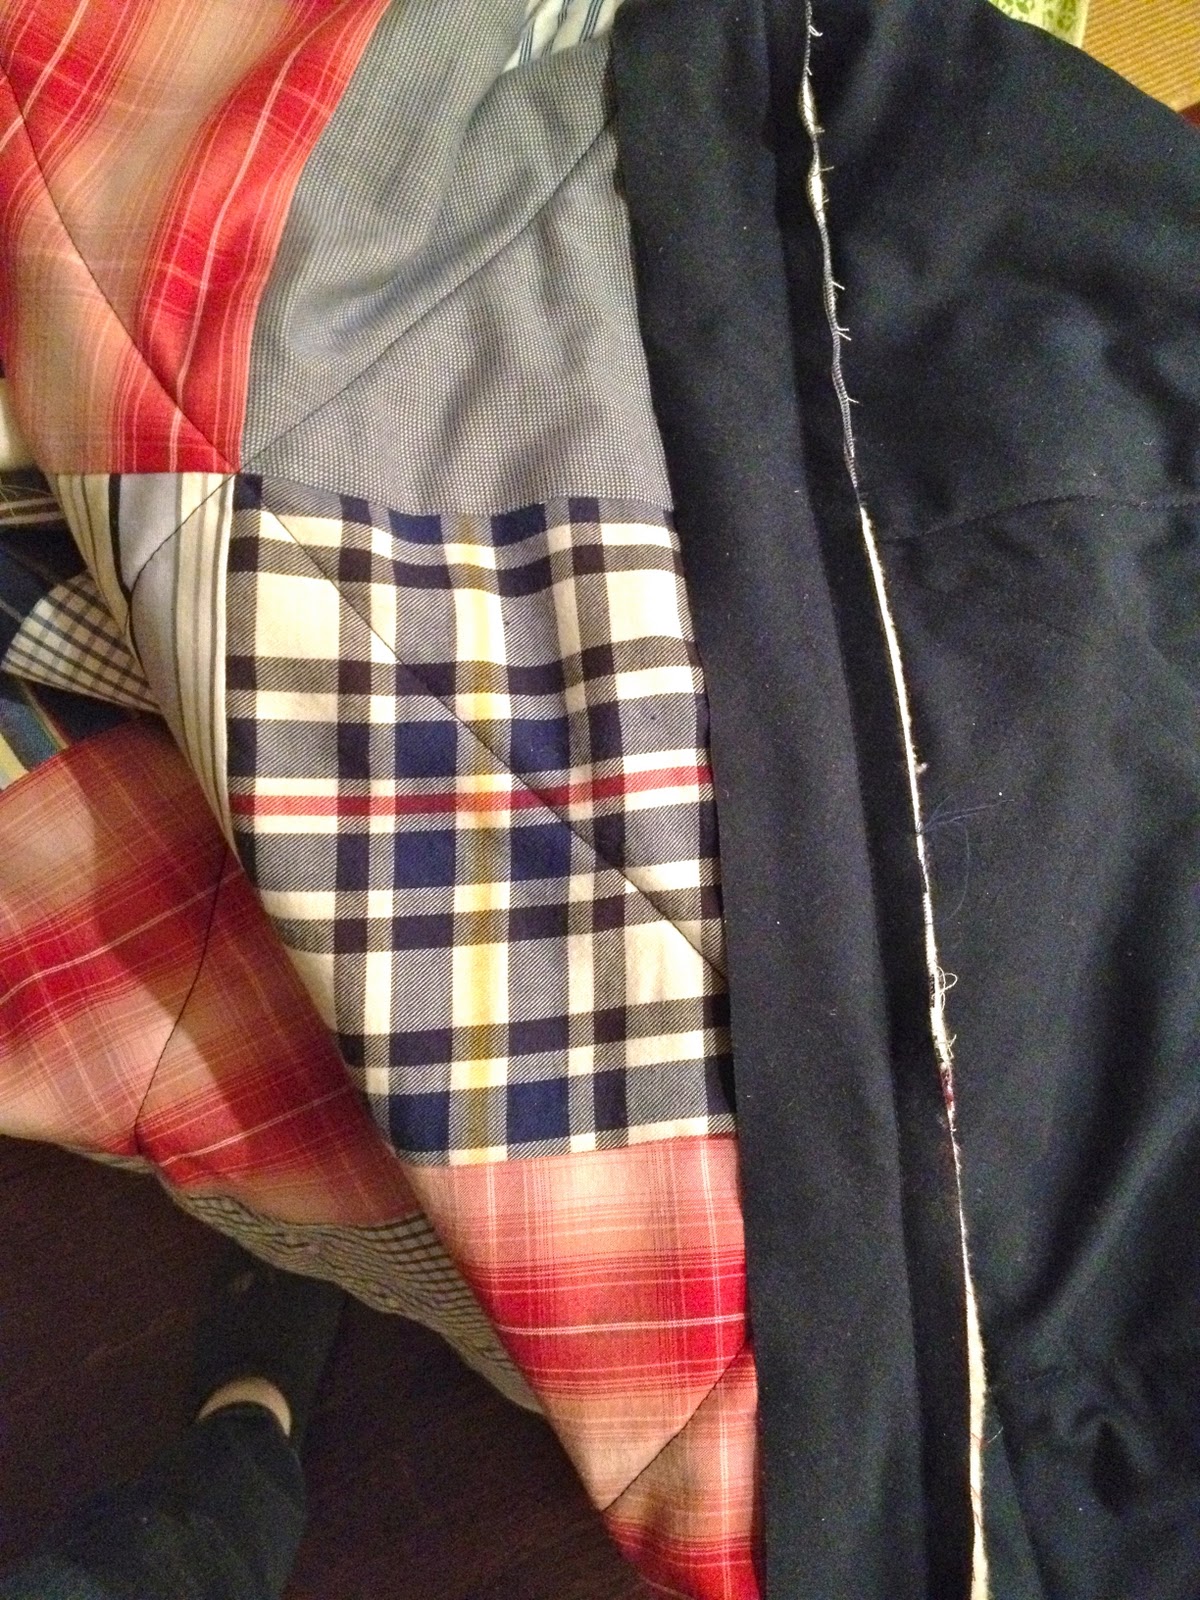
And personalized on the back side:
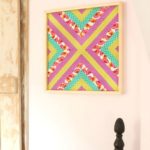
Inspired by this quilt from Pottery Barn:

And this monogram style from Pottery Barn:
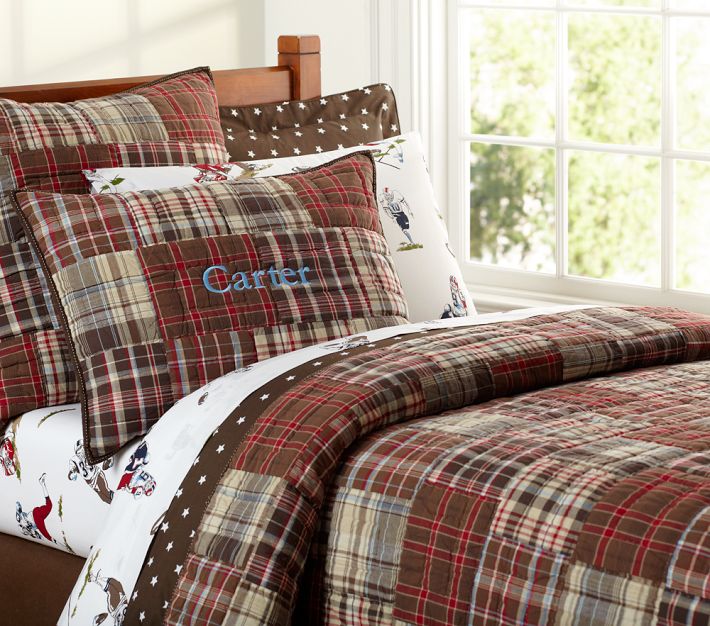
I combined the two styles and used colors to match Ben’s bedroom:
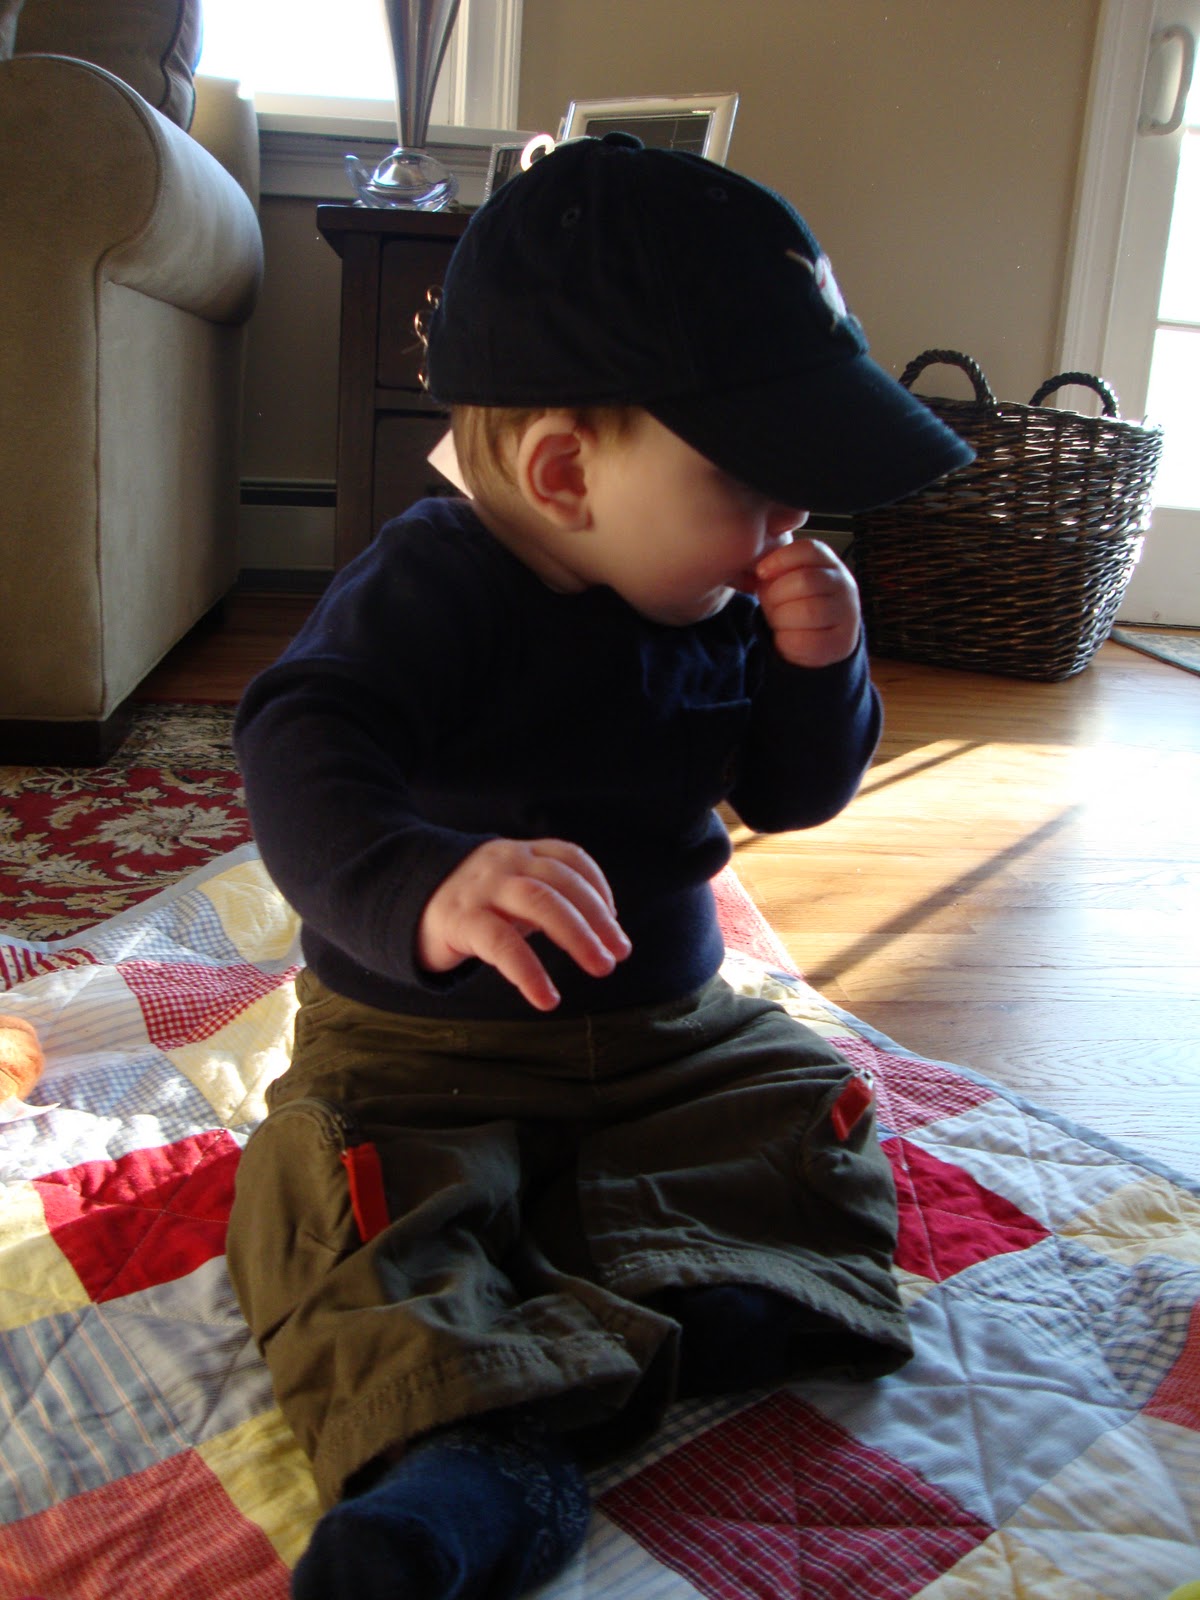
Back when Ben was first born I had made a crib size quilt as a gift.
Ben’s Mommy sent me this picture of him sitting on it:
Fast forward two plus years later and now he’s ready for a big boy bed and a bigger quilt:

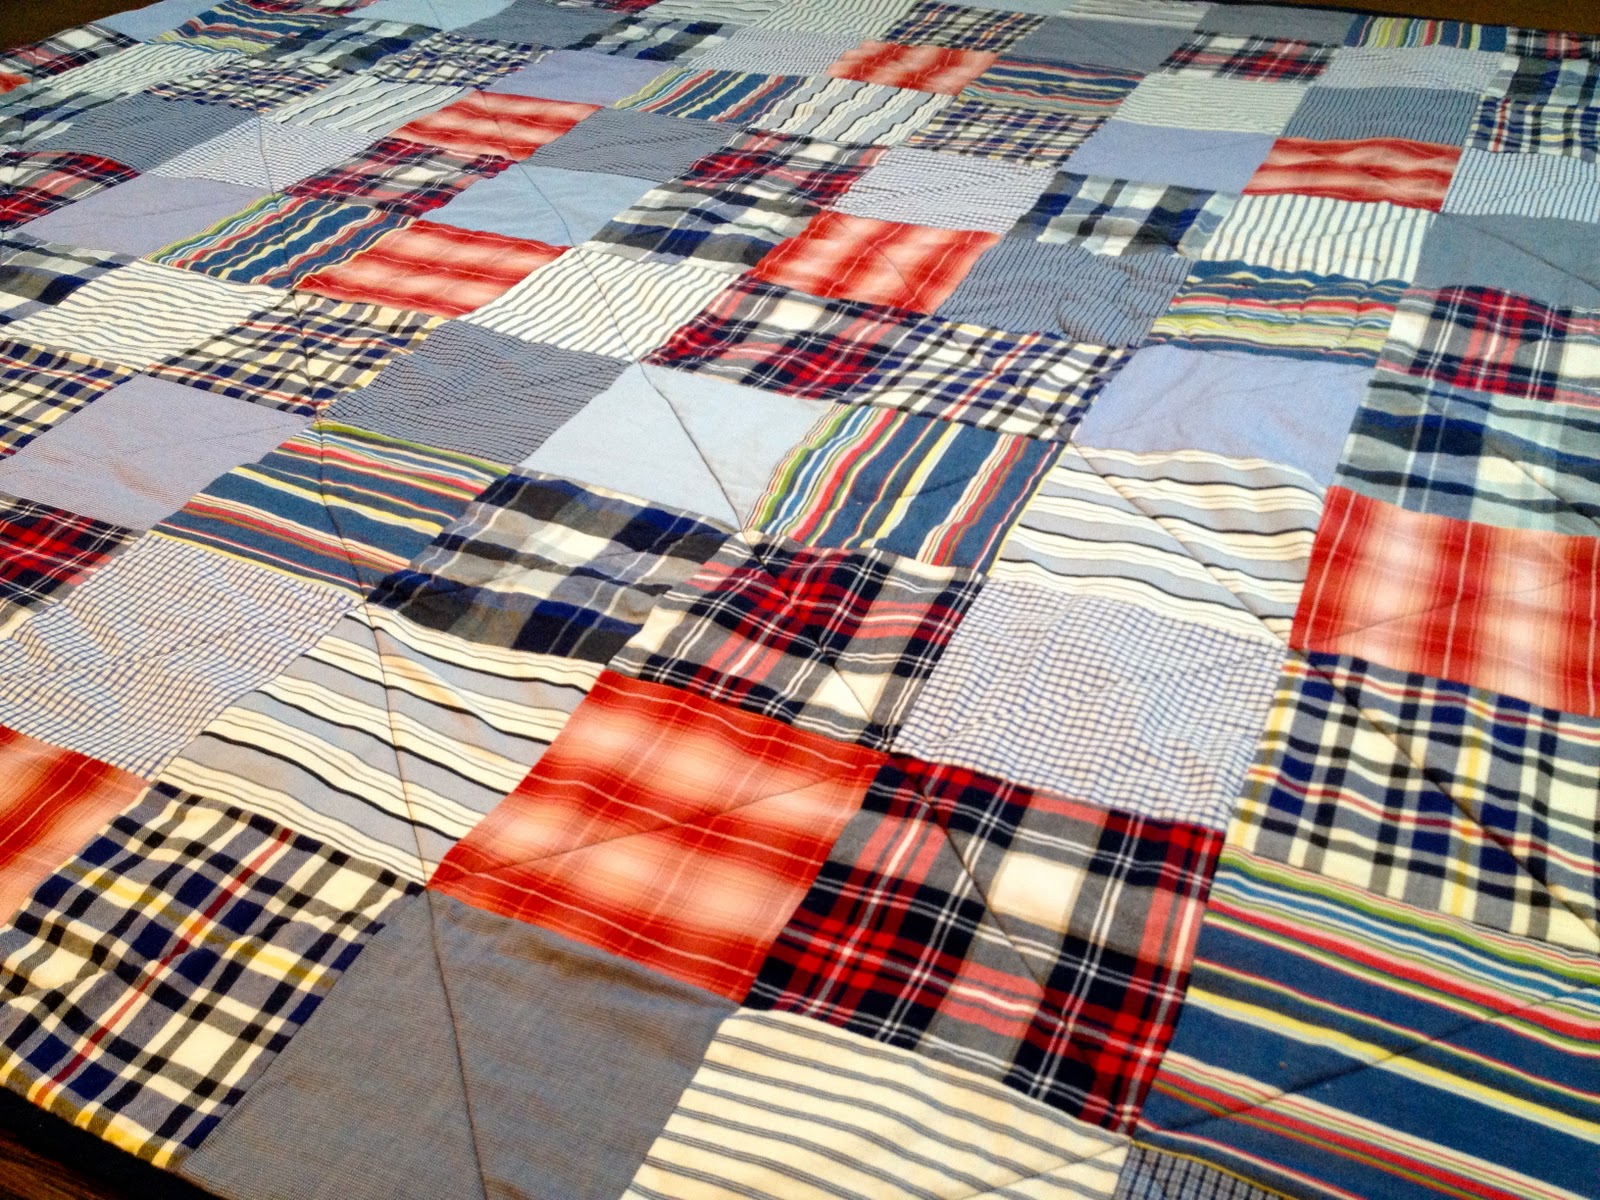
Here’s how I made the quilt:


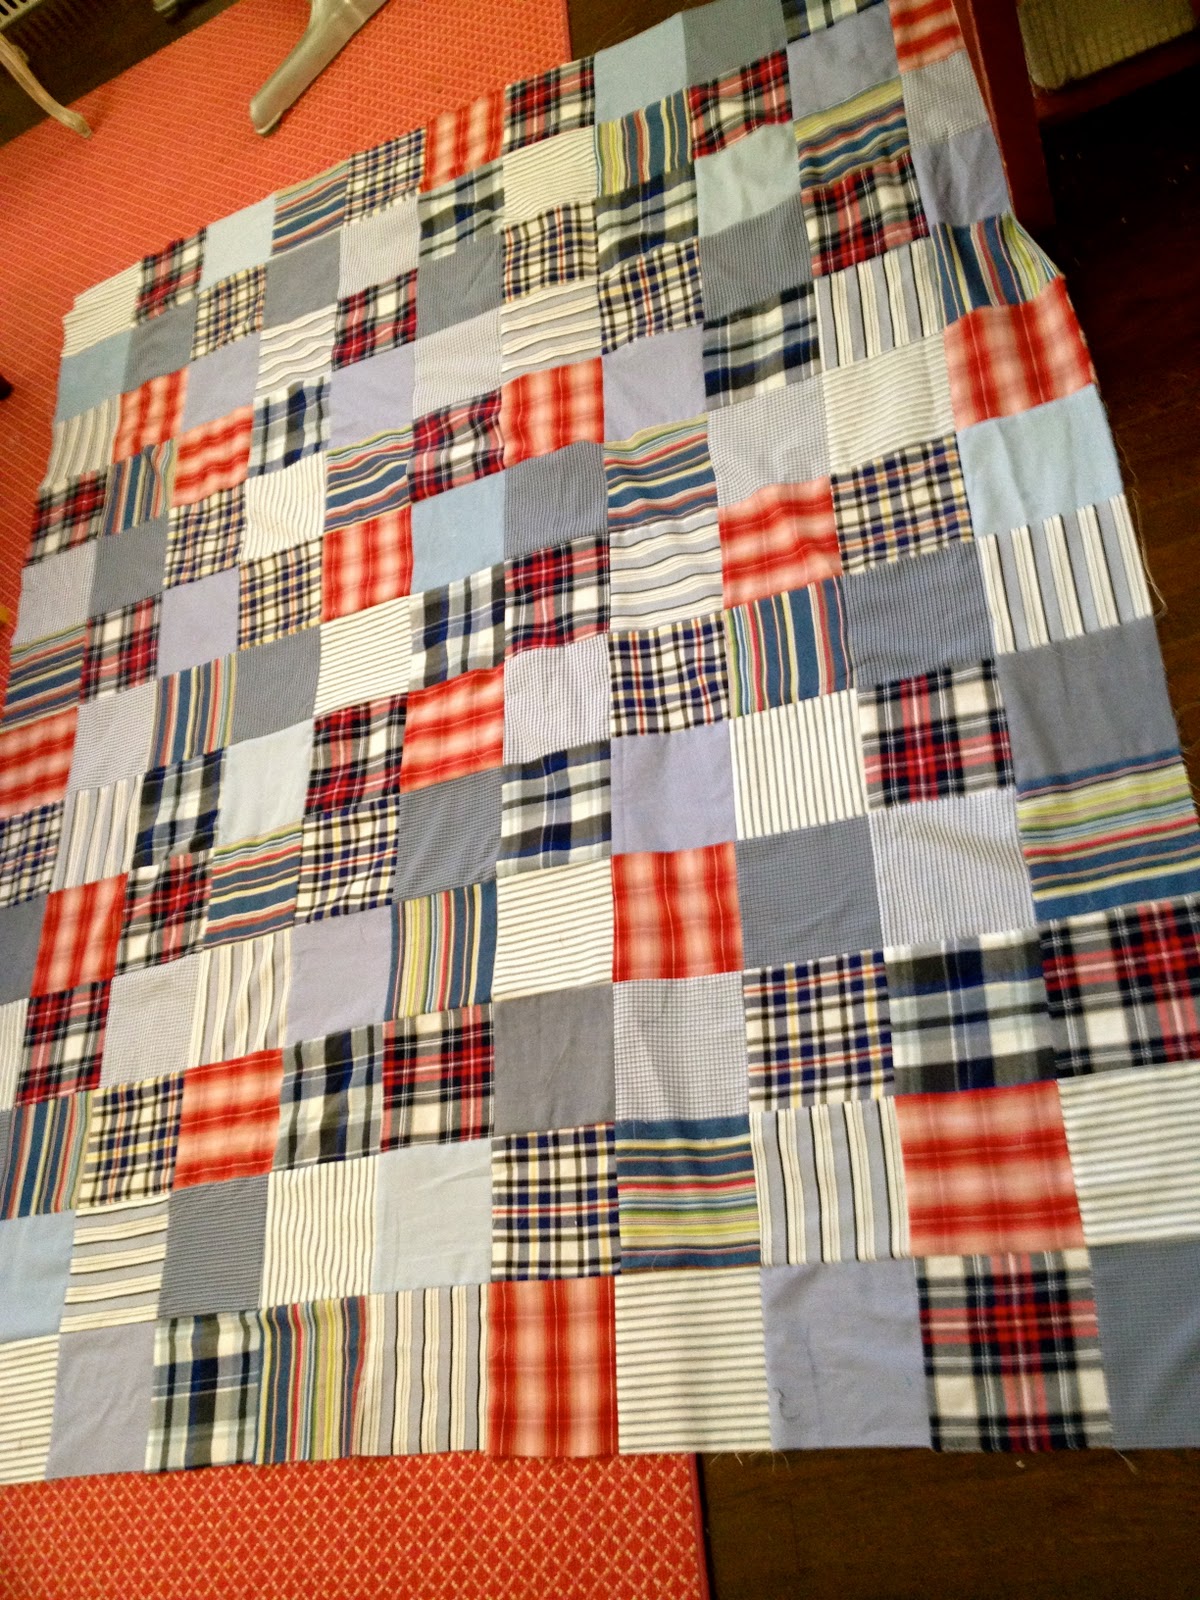
1. Cut 7″ squares and layout:

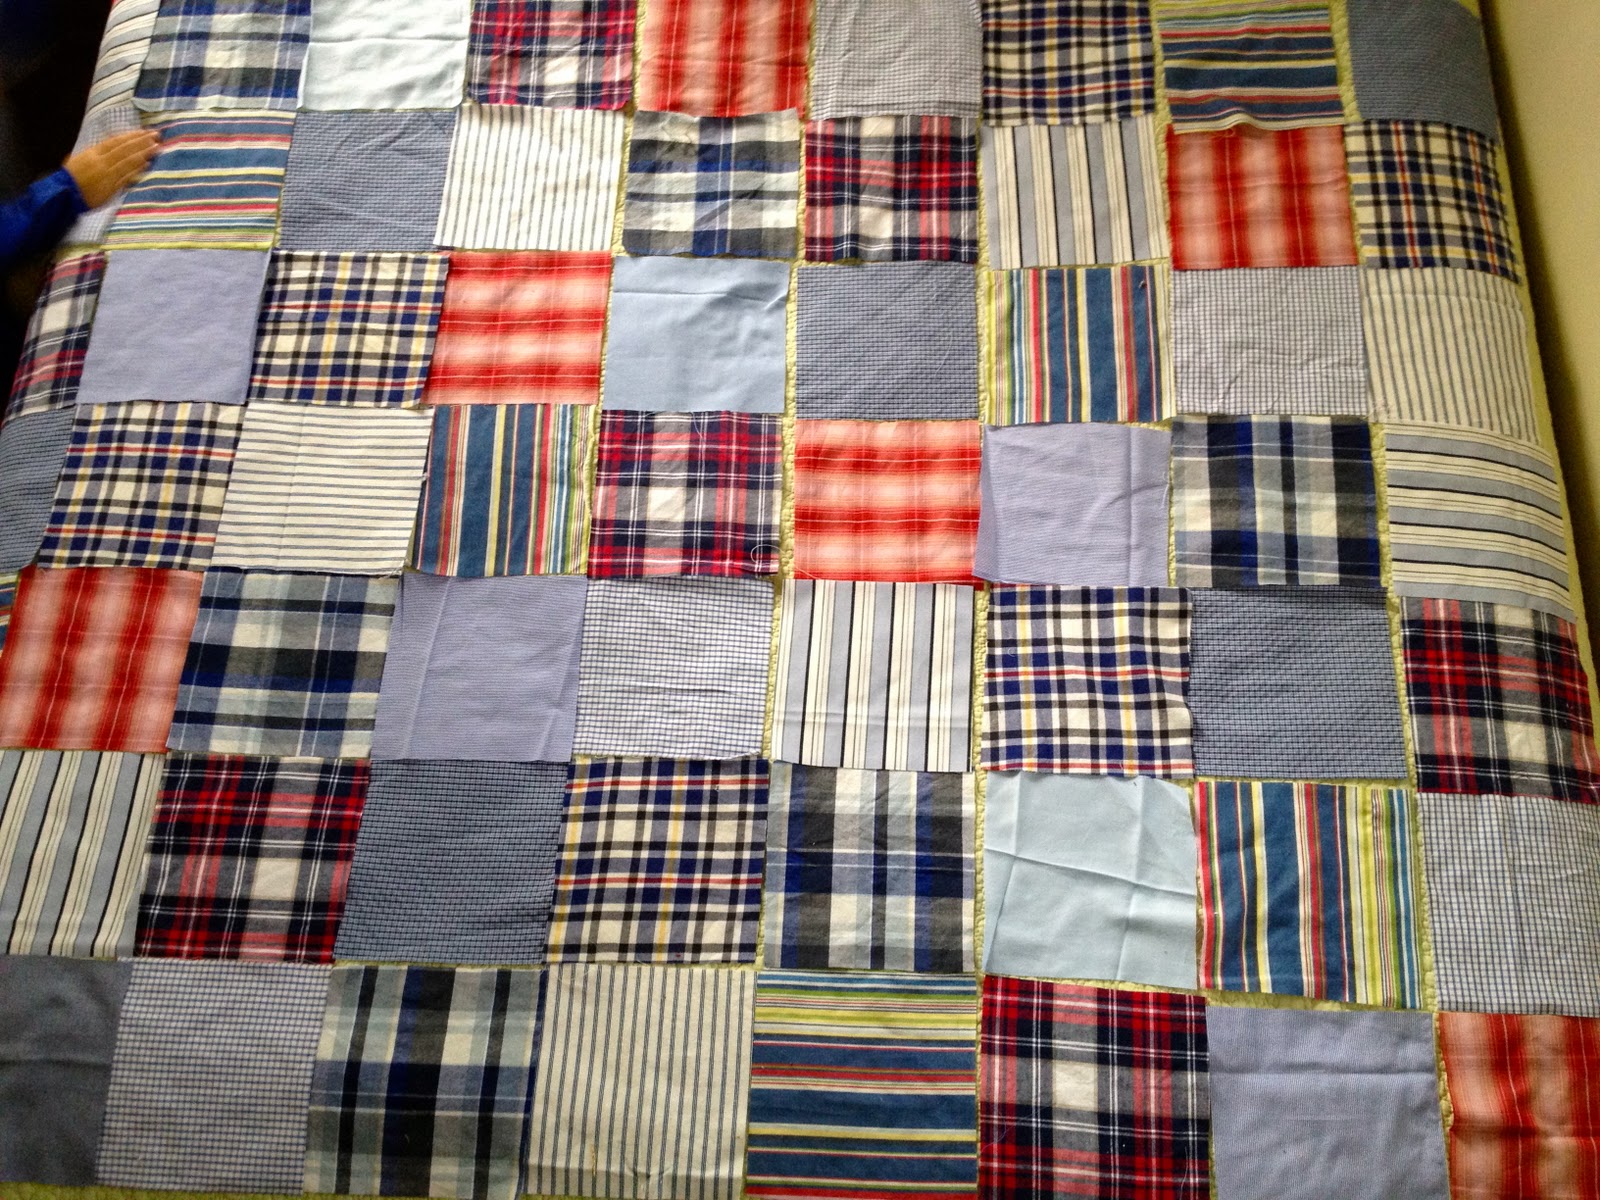
2. Sew squares together:
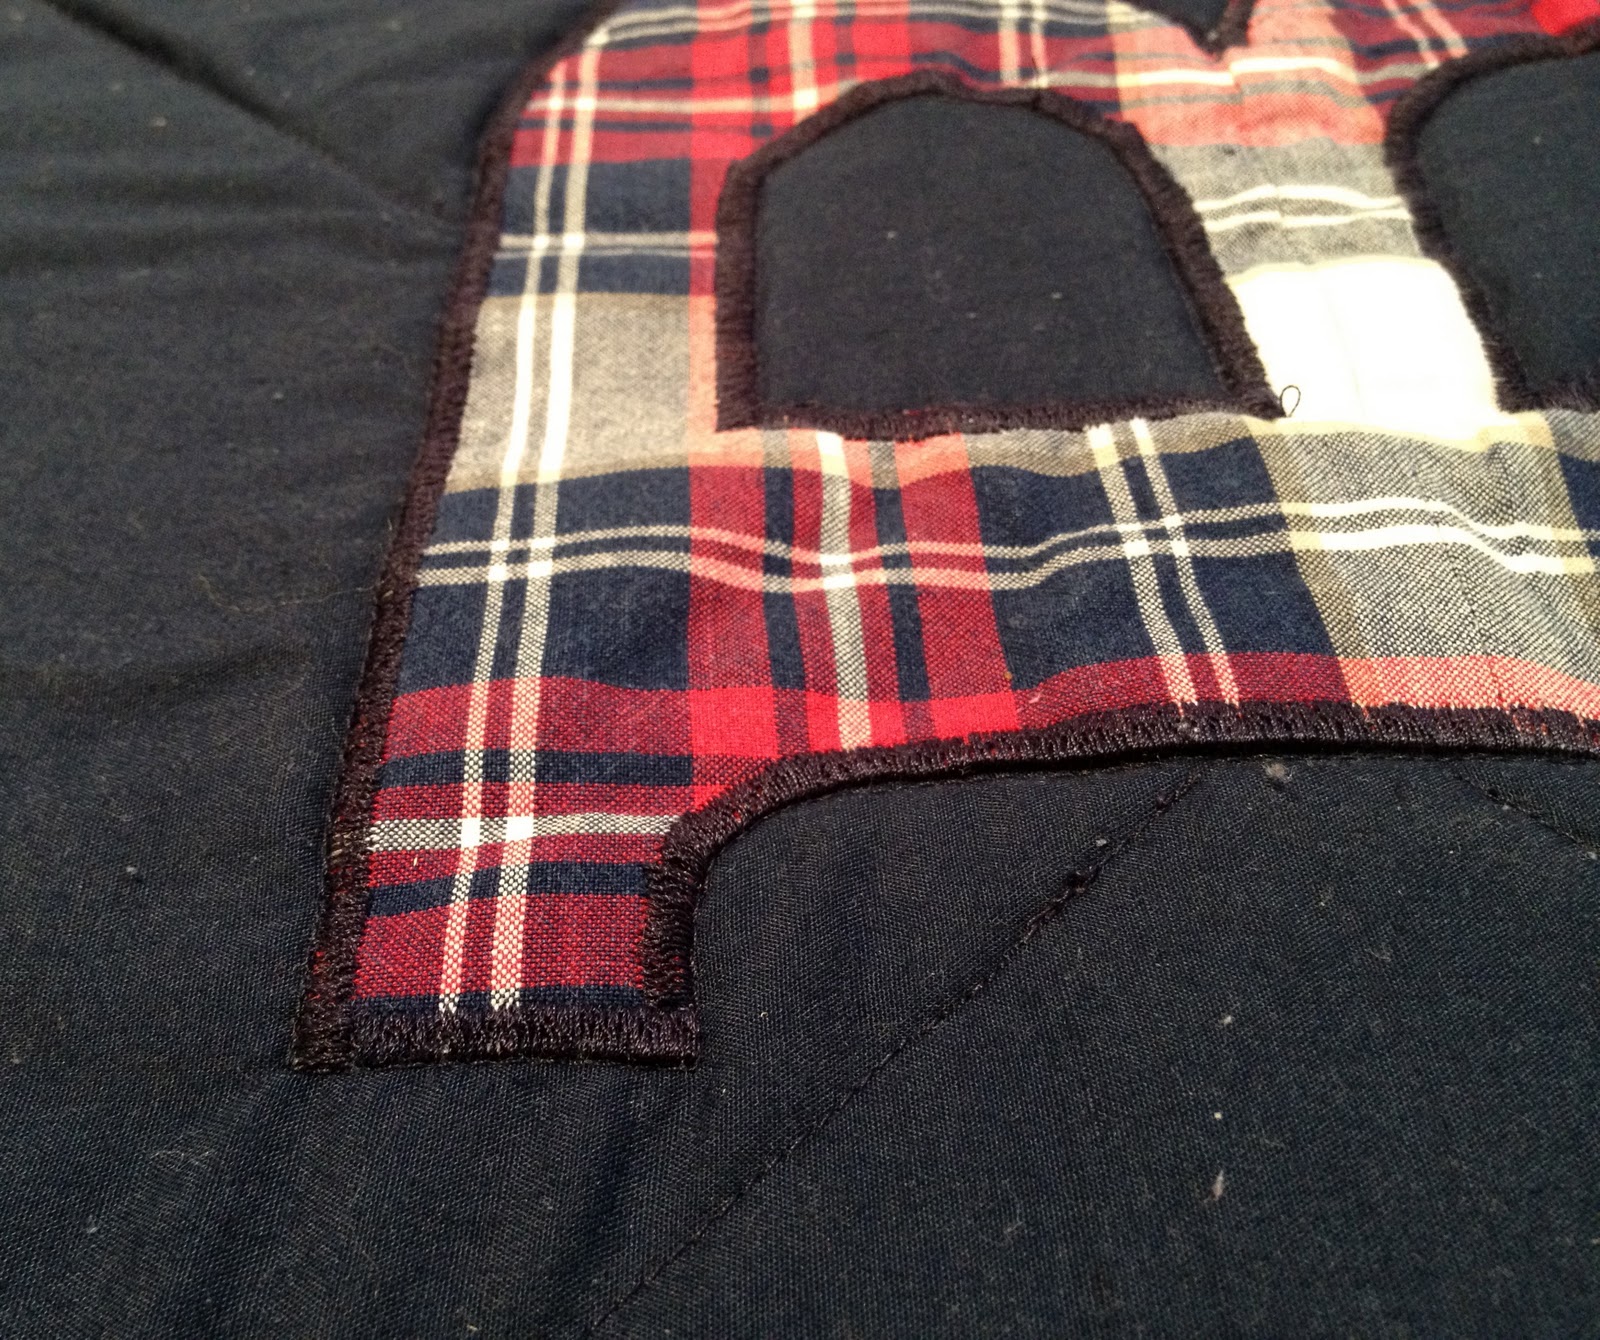
3. Prepare the backing monogram.
Print out letter to size.
Apply double sided fusible to fabric.
4. Place letter backwards on light box then place fabric face down on light box and trace onto paper backing:

5. Cut out letter, place on backing and iron into place:

6. Zigzag stitch around edge:
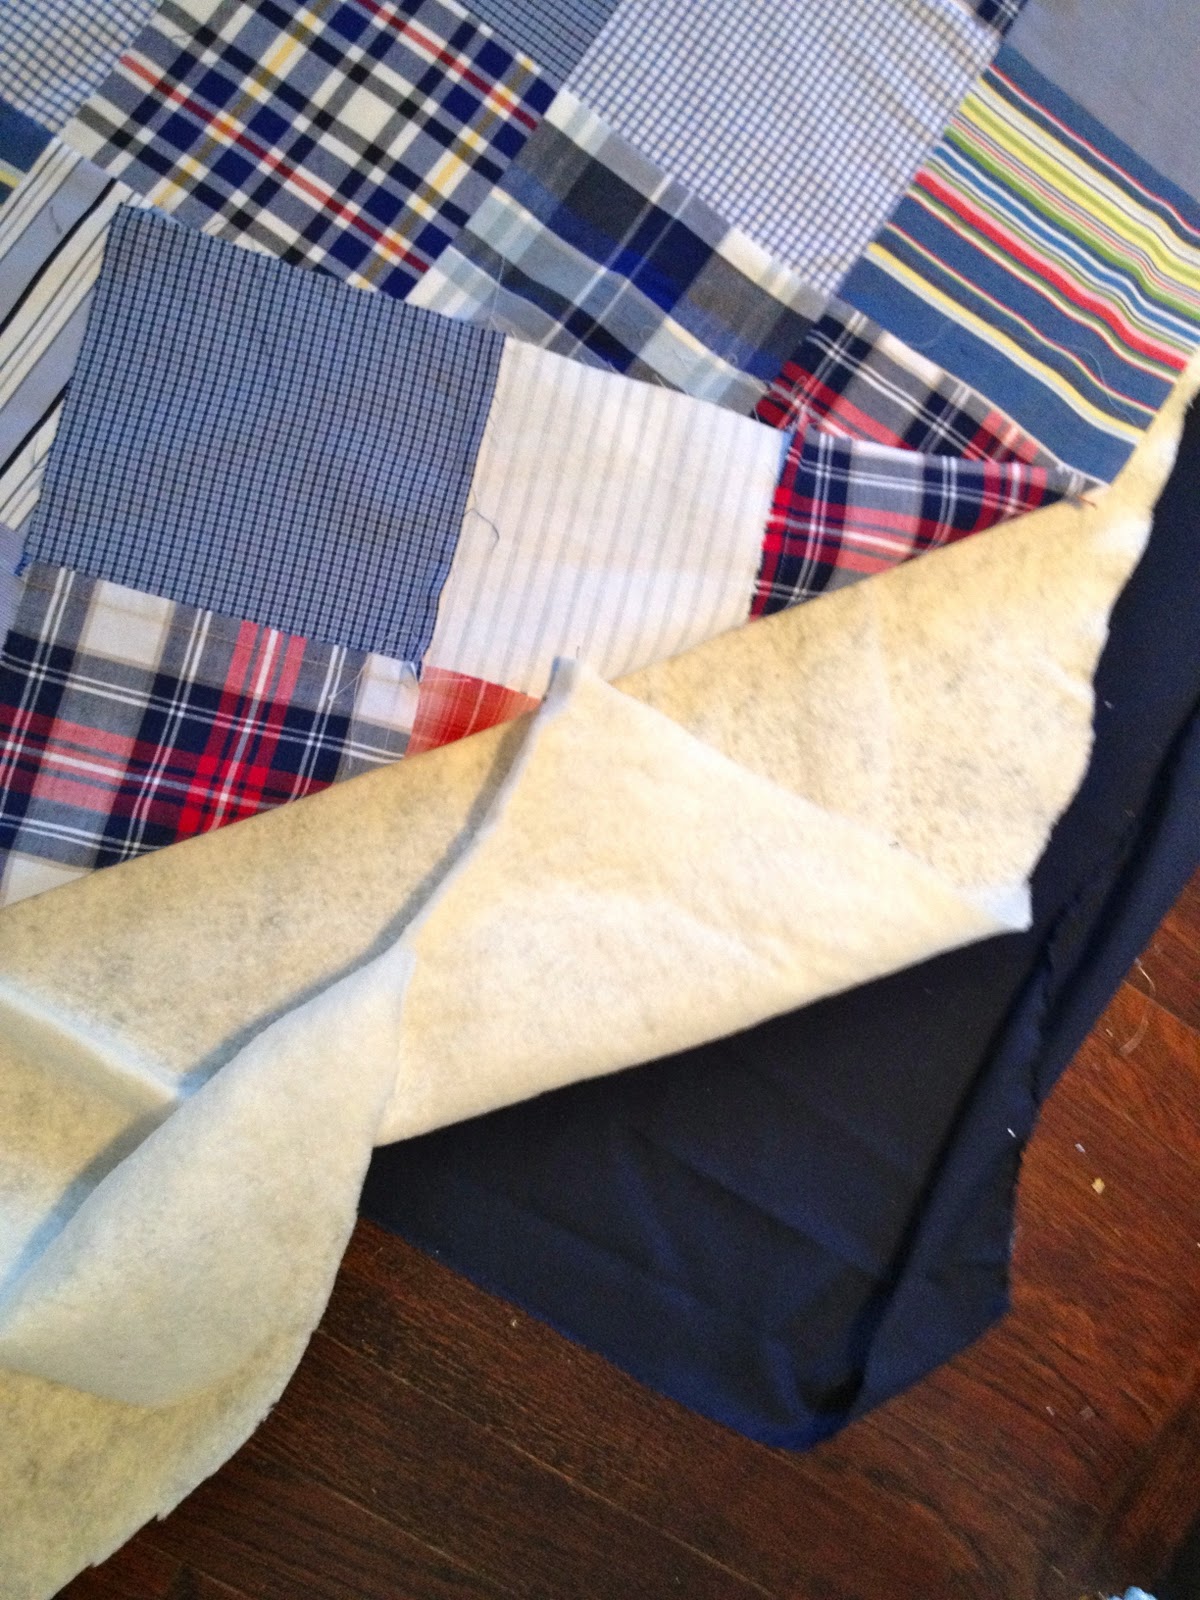
7. Make quilt sandwich: backing, batting and top:

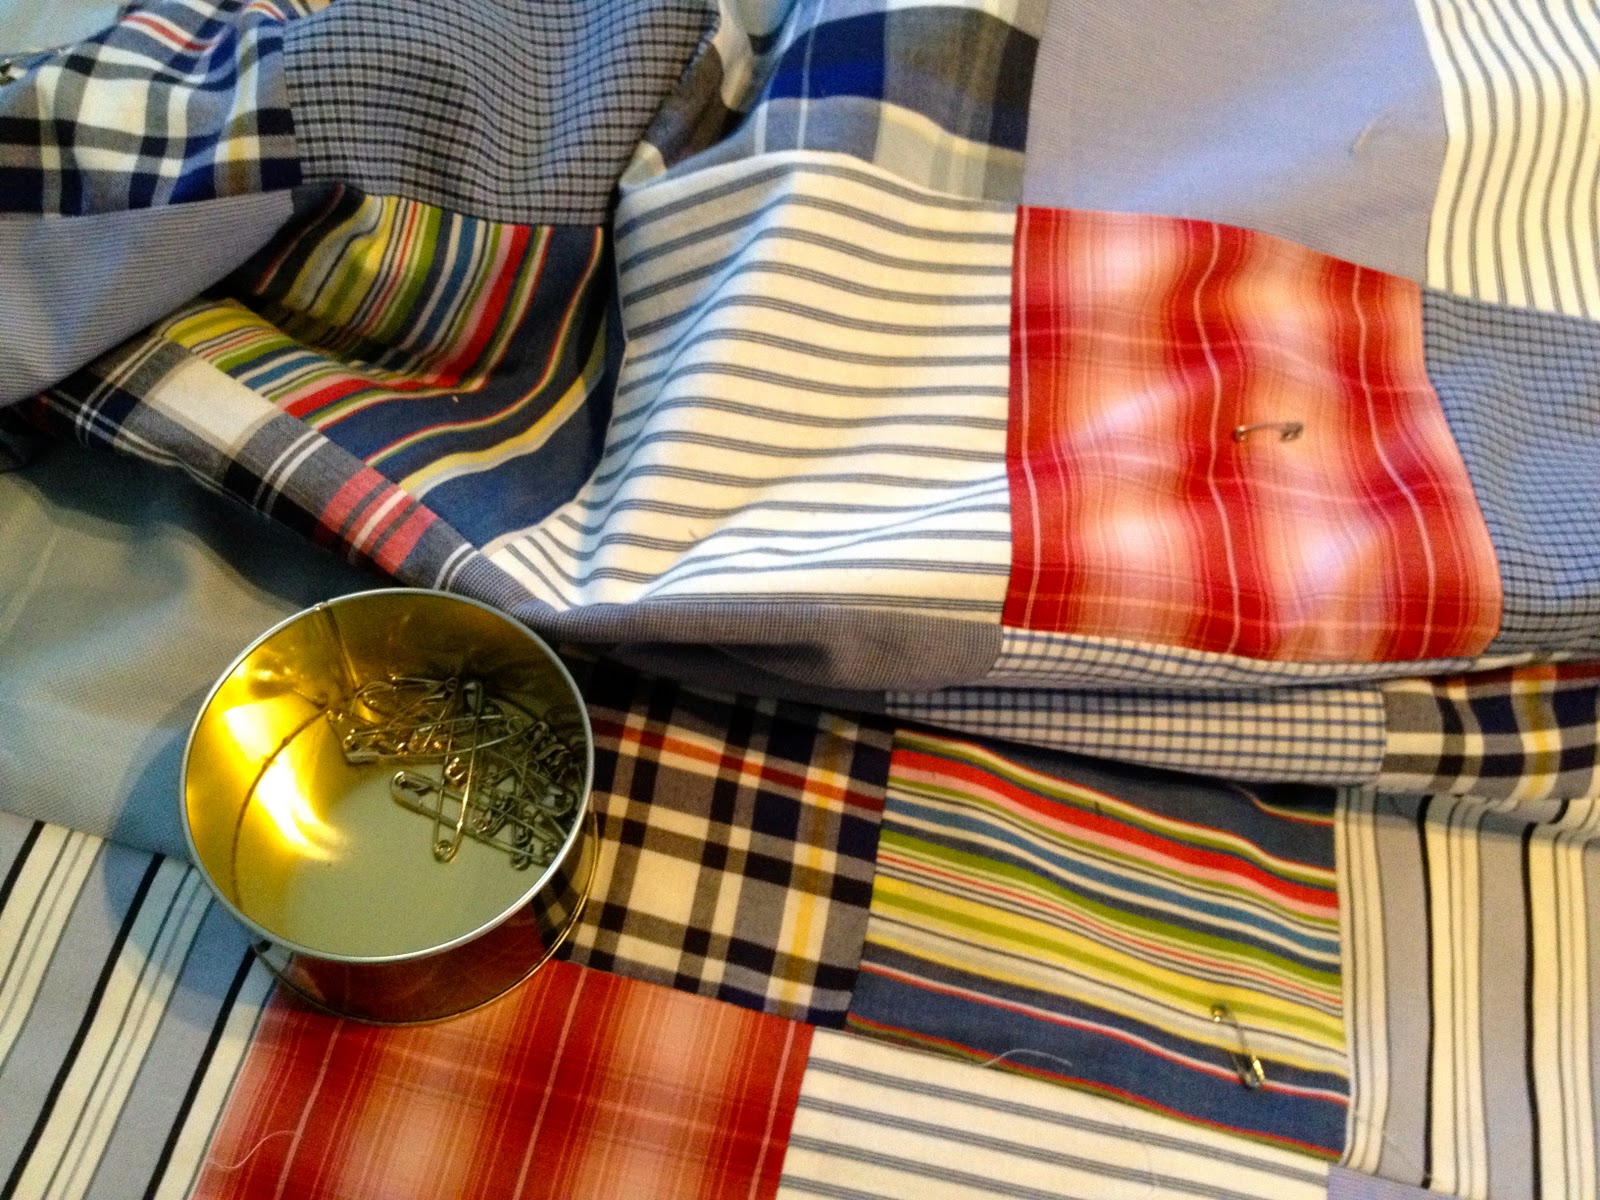
8.  Using safety pins secure quilt sandwich every 8″ or so.
Then quilt on the diagonal.
9. Trim edges and add binding:
10. Press binding over quilt edge and fold in raw edge, then straight stitch in the gutter from the top:
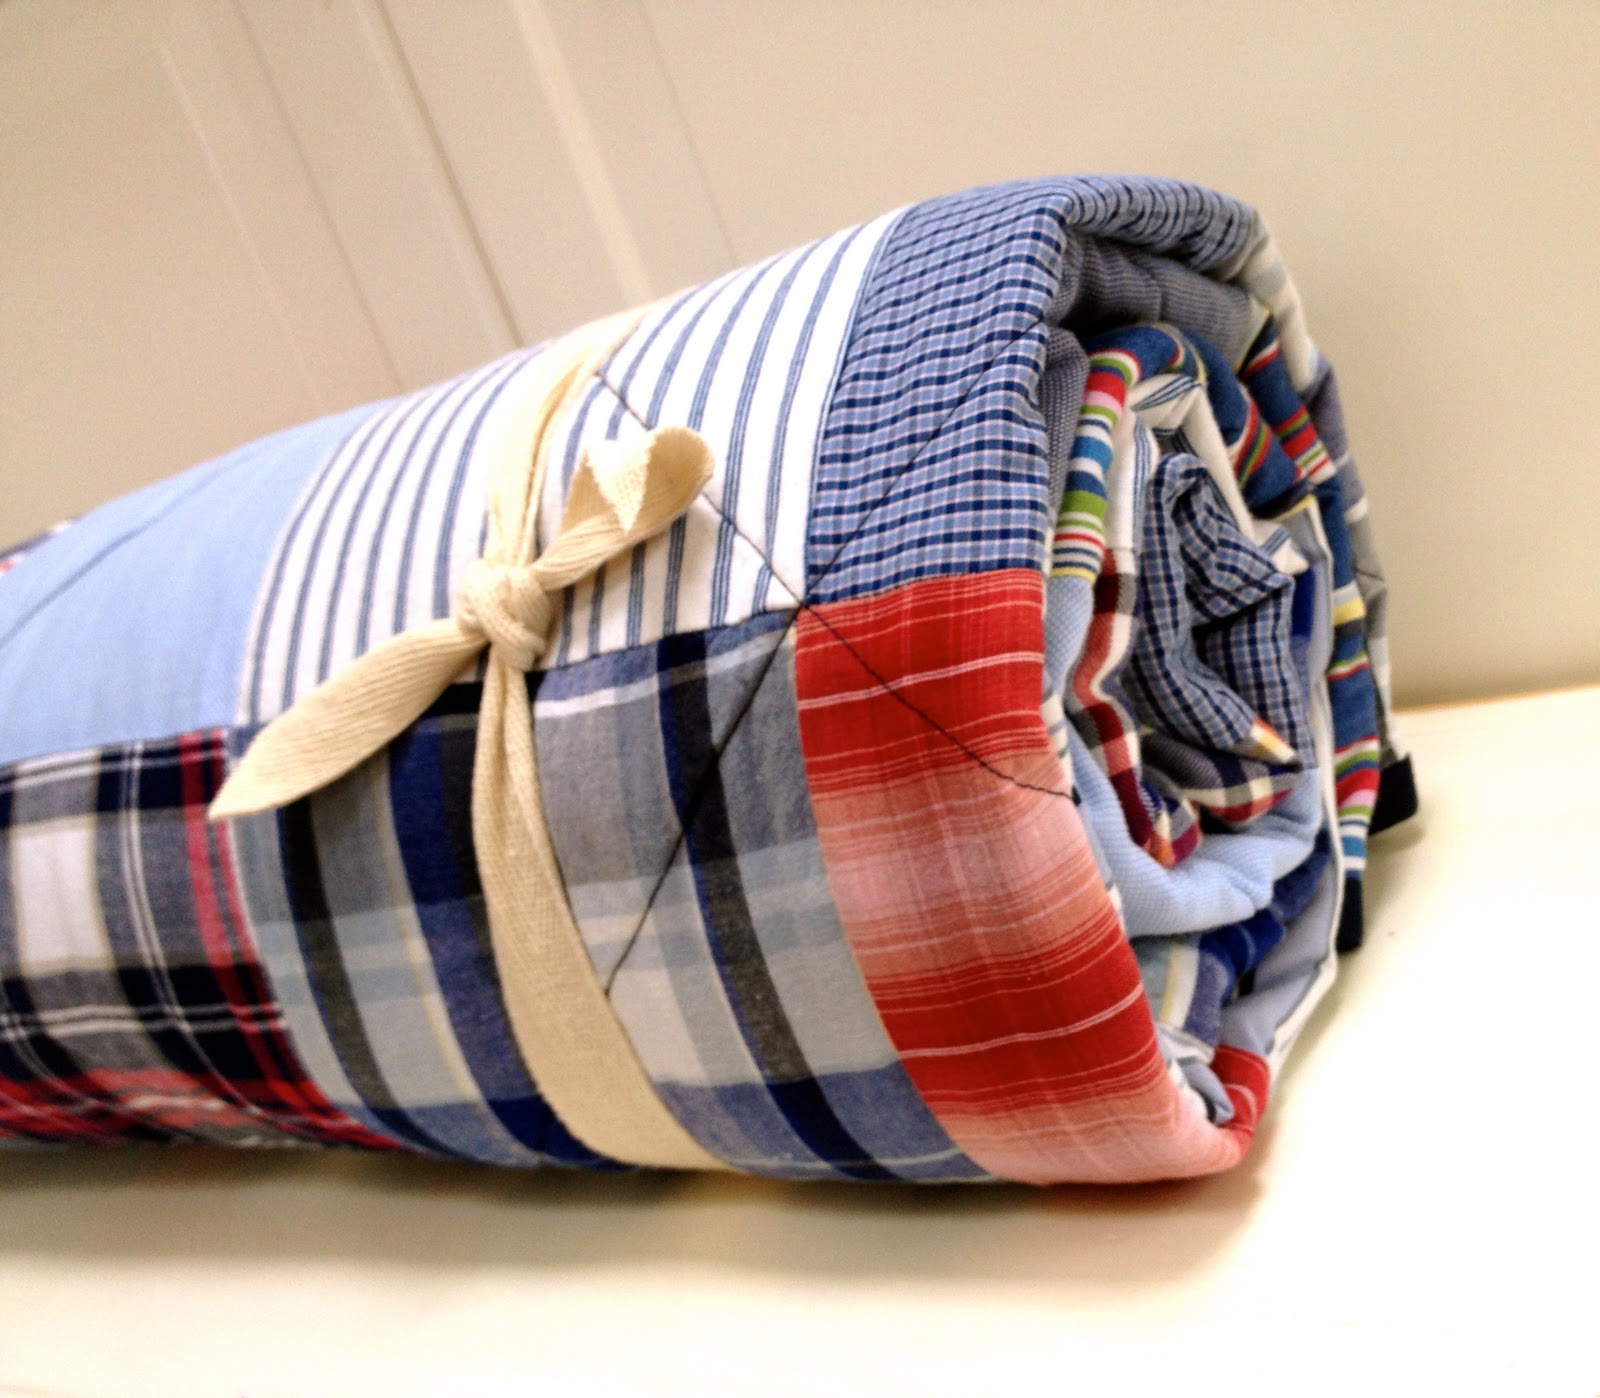
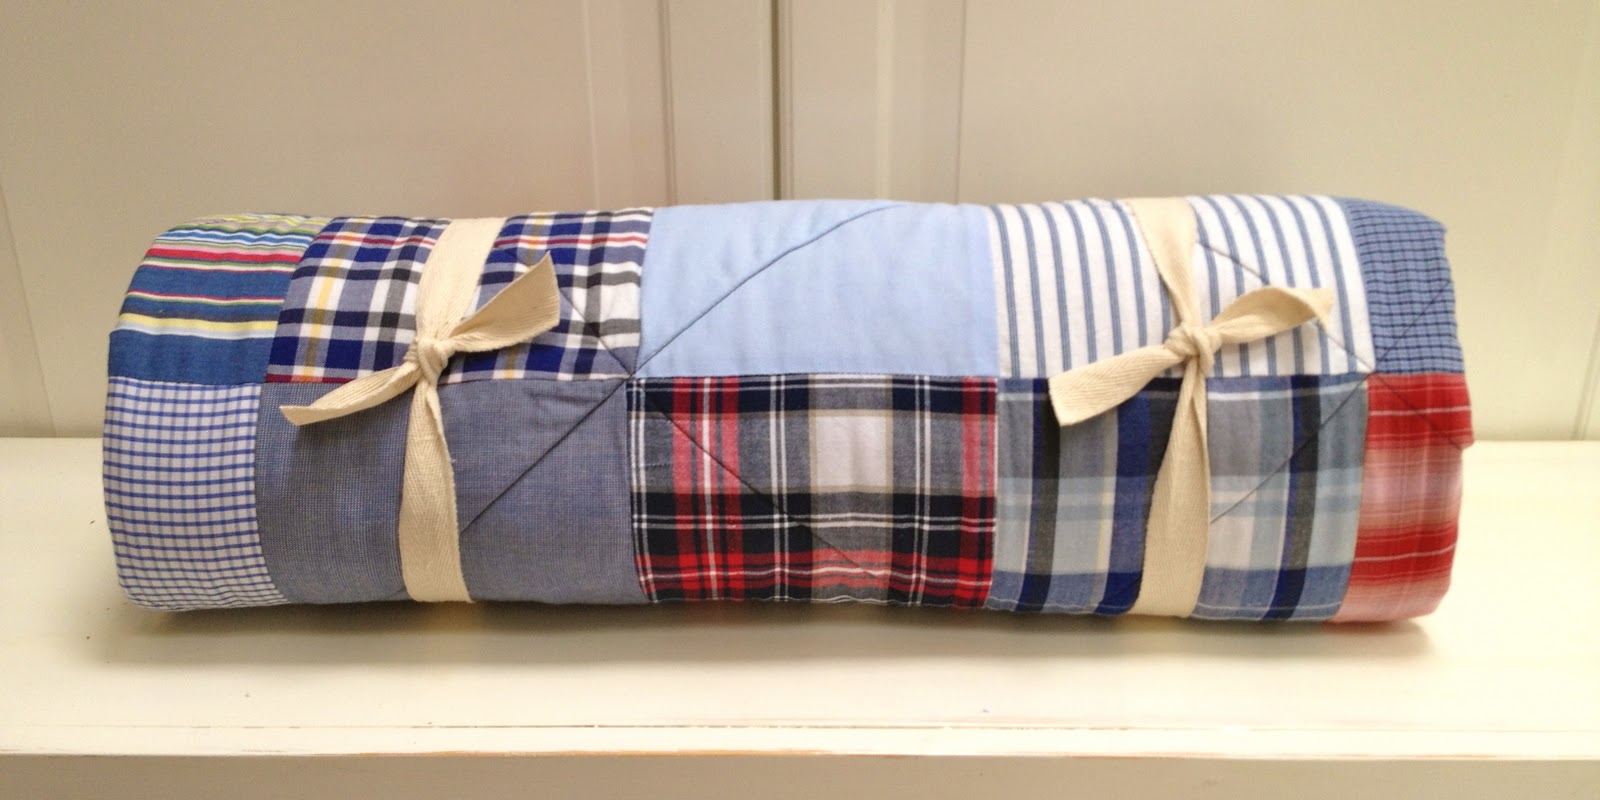
11. Wash and dry and it’s ready.
 Enjoy your new quilt Ben
Use it often (and wash it too!) because, as with everything, it only gets better with age.

You may also like...

  • “Q” is for Quilted Drop Cloth Pouch“Q” is for Quilted Drop Cloth Pouch
  • Cross Stitch Monogram Ornament PlacecardCross Stitch Monogram Ornament Placecard
  • Half Square Triangle QuiltHalf Square Triangle Quilt
  • Framed Wall QuiltFramed Wall Quilt
Share this post:

Filed Under: DIY, GIFTS, SEW, SEWING10 Comments

Reader Interactions

Comments

  1. Inspire Me Heather says

    December 20, 2011 at 3:10 PM

    Love it! I love the colours and the fabric you picked out – it's gorgeous Jaime!

    Reply
  2. [email protected] says

    December 20, 2011 at 3:27 PM

    Beautiful work, Jaime!

    Reply
  3. Haven says

    December 21, 2011 at 5:47 AM

    Your quilt is soooo much prettier than the Pottery Barn one. It is calling my name. My little boy is 32 and doesn't live here. If he did…

    Reply
  4. Bronwyn says

    December 22, 2011 at 1:49 AM

    Ben and Ben's mommy are going to love it! What a agreat choice of fabric – it will grow with that little man and possibly travel with him to college one day. You never know….

    Reply
  5. Cheryl says

    December 27, 2011 at 5:06 PM

    Lovely quilt that your son will treasure…and one day become a family heirloom piece.
    Thanks for taking the time to share and photograph the how to on the letter.
    Did you buy different fabrics or did you cut them out of close he has worn?

    Reply
    • Jaime says

      March 10, 2020 at 10:18 AM

      Hi Cheryl, The plaids are all different cotton fabrics and old shirts I cut up. Check Goodwill for inexpensive plaid shirts, sometimes they have better options than fabric stores.

      Reply
      • Cheryl danner says

        November 29, 2022 at 12:58 AM

        I am going to use this pattern for a memory pillow and quilt thank you for this pattern

        Reply
  6. Christine @ sugarandtrash.com says

    December 29, 2011 at 5:04 PM

    This is adorable and I'll bet its so warm too 🙂 Ben is one lucky kid!

    Reply
  7. Jo's This and That says

    March 10, 2012 at 3:30 AM

    Love your work great job I just finished my first quilt come and follow be back joann

    Reply
  8. Veach says

    November 21, 2022 at 4:48 PM

    I was a RN for a little over 12 years and I saved all my uniforms because I wanted to make a quilt with them. I have never quilted before but I hope this gives me some inspiration and insight on how to make one. I have enough material to make 3 or 4 quilts and I’ve got to make them for my grandkids and great grandkids. Thank you for these easy to follow directions.

    Reply

Leave a Reply Cancel reply

Your email address will not be published. Required fields are marked *

Primary Sidebar

Hi! I’m Jaime

Jaime Costiglio

Hello!

Thank you for stopping by.
Join me for lots of DIY.

Read more

Get new posts via email

Handbuilt Holiday: Gift Project Plans

handbuilt holiday gift project plans

Collection of DIY gift project plans to build.

The Home Depot Tool Prospective

THD Prospective

Tools to consider for the DIYer.

Archives

The Home Depot Logo
Copyright © 2023 Jaime Costiglio · Custom site by Moonsteam Design

Privacy Policy