Birthday party favor bags, Halloween themed.
Two of my kids’ birthdays straddle Halloween so this year we are having one big Halloween party.
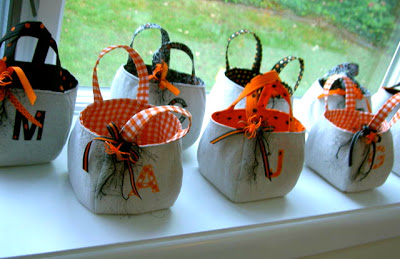


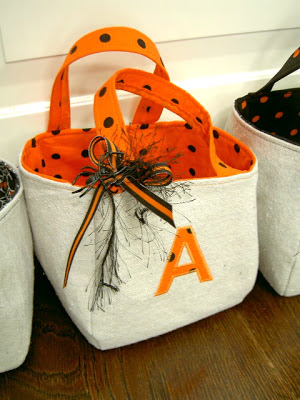


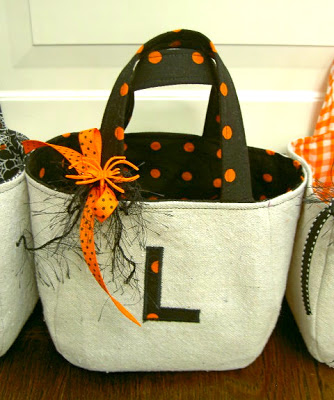

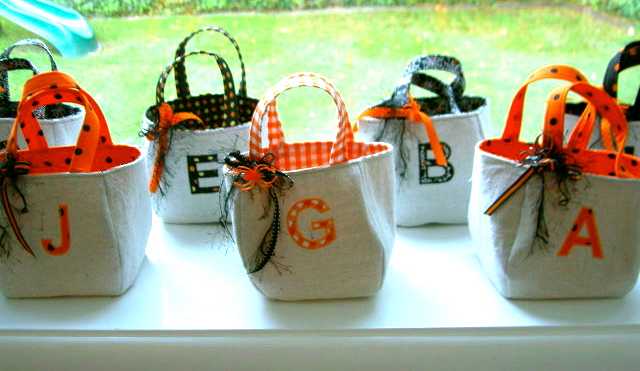
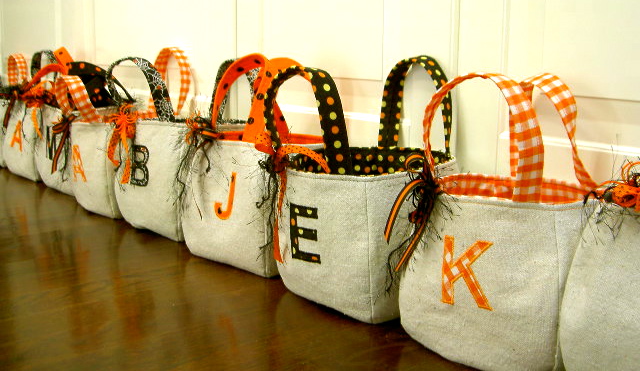
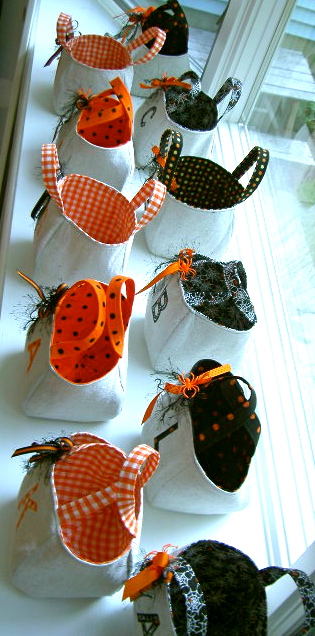
Of course we need party favor bags so I made these pumpkin shaped bags with drop cloth and Halloween themed fabric:

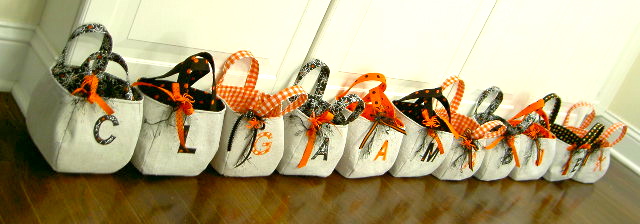
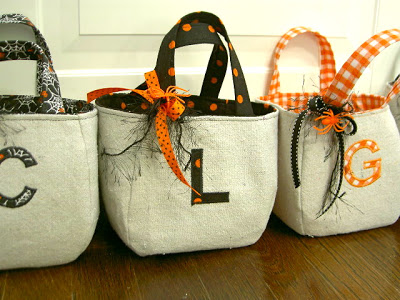
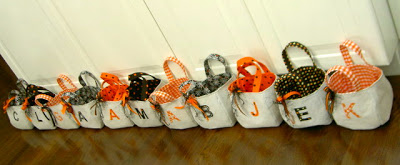
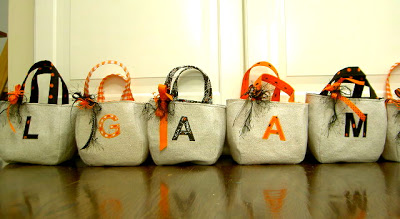
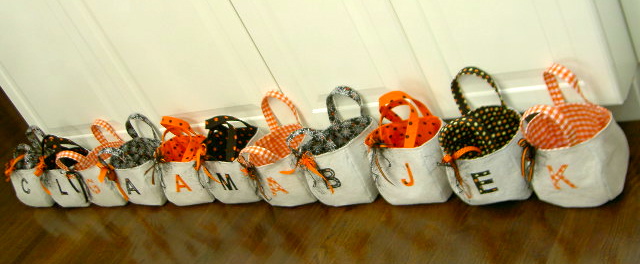
Each kid has their own personalized bag.

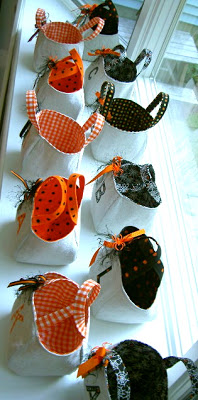
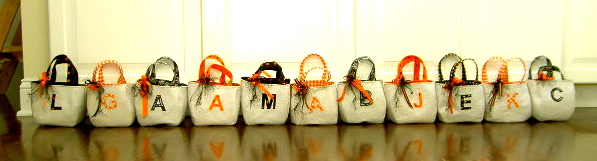
11 kids at this party:
Ready to be filled with party treats and candy.

Here’s how I made the bags:
1. Follow the same tutorial from my pumpkin bag post here.
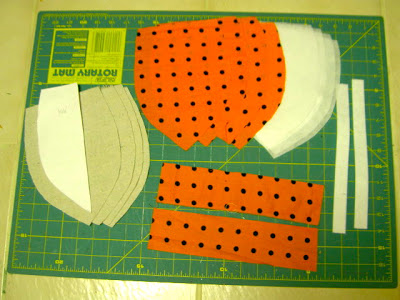
Cut pieces:

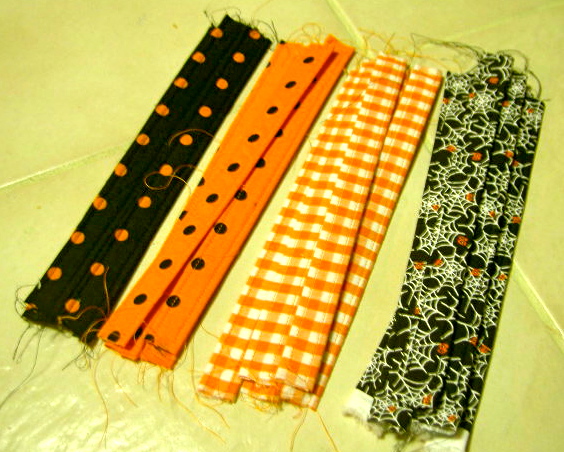
2. Make handles:
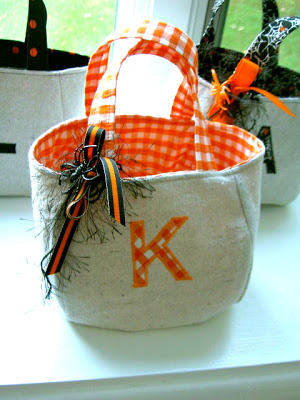
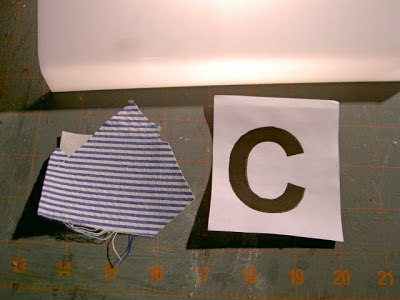
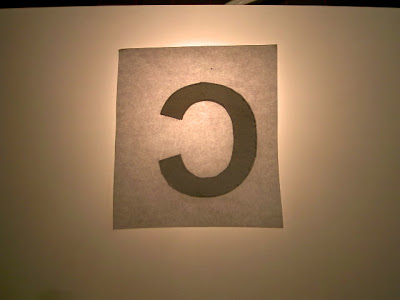
3. Before sewing outer pieces together make the monogram.
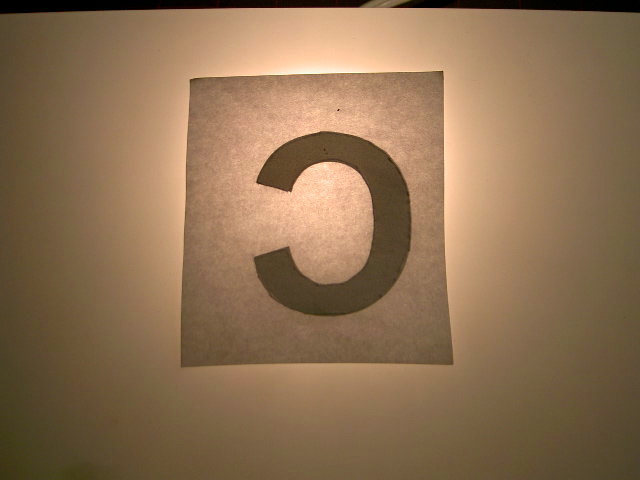
Print out letter.
Iron on double sided fusible to wrong side of letter fabric:

Using a light box, flip letter over and place right side of fabric down onto paper:
Trace letter outline onto paper backing of fusible.
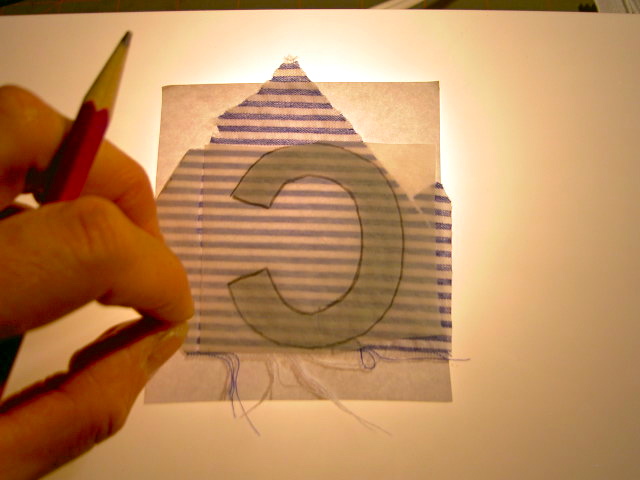
Cut out letter:

Iron into place on outer fabric, zig zag stitch around edge:

4. Continue constructing the bag as per the instructions in this post here.
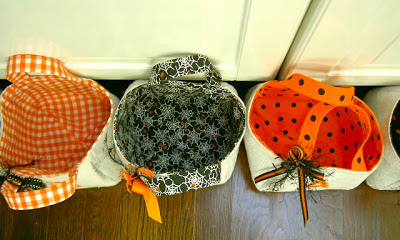
5. Add ribbon, decorative string and spider decoration:
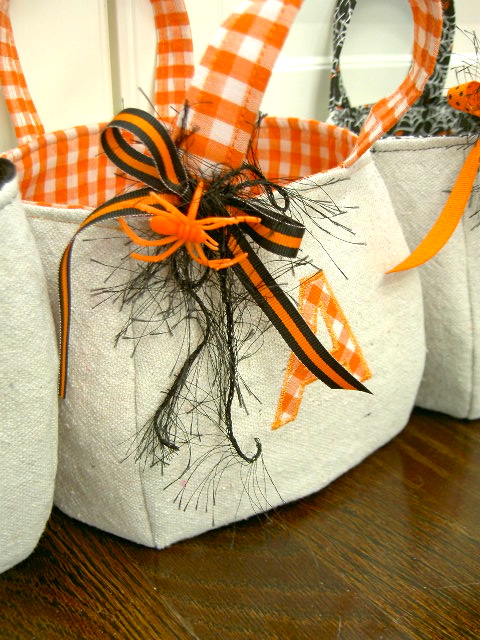
All ready for the party:
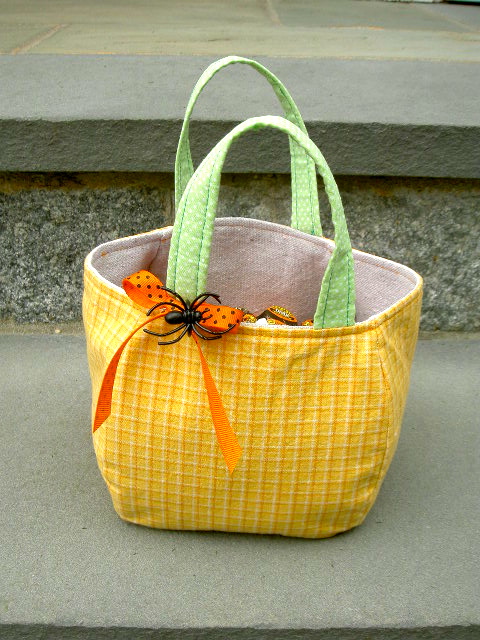
The original pumpkin bag was my inspiration:
Now each party goer will have their own treat bag:
We’re ready for a Halloween birthday party.

I’m linking up to:
Whatcha Got Weekend @ Lolly Jane
SAS @ Funky Junk
Weekend Wrap Up @ Tatertots & Jello
Sundae Scoop @ I Heart Naptime
Sister Sunday @ Sisters of the Wild West
Sunday Showcase Party @ Under the Table & Dreaming
Just Something I Whipped Up @ The Girl Creative
DIY Fall Festival @ The DIY Showoff
Made by You Mondays @ Skip to My Lou
Making the World Cuter @ Making the World Cuter
Nifty Thrifty @ Coastal Charm
Tuesday Treasures @ My Uncommon Slice of Suburbia
Tutorials & Tips Tuesday @ Home Stories A to Z
Good Life @ A Beach Cottage
Delightfully Inspiring @ Delightful Order
Transformation Thursday @ The Shabby Creek Cottage
Strut Your Stuff @ Somewhat Simple
Share Awesomeness Thur @ The 36th Avenue
Flaunt it Friday @ Chic on a Shoestring
Tickled Pink @ 504 Main
Frugal Friday @ The Shabby Nest
SAS @ Just a Girl
Feathered Nest @ French Country Cottage
Remodelaholics Anonymous @ Remodelaholic
inspiration board @ Carolyns Homework
Textiles @ Freckled Laundry
Weekly Challenge @ The CSI Project
Textiles @ Freckled Laundry
Weekly Challenge @ The CSI Project


You are the best mom ever!
That is fabulous! You are so incredibly crafty! I used to live in Rockland County and miss the area. You are a hop, skip and a jump away. I am a new follower from The Shabby Nest. Vicky from http://www.messforless.net
These are adorable! I love the monograms!!
You are a SENSATION!!!!! I thought I was good making some handmade party favors! Those bags look AMAZING! I love that fabric lining too! Enjoy the party! x
Great little bags. Love the shape!!!
how cute love all the splashes of color
I want one of those. What a gorgeous job. And they look so sturdy. Come check our some yarn flowers.
These treat bags are fantastic. Each child will be lucky to receive one.
Thanks for sharing.
Michele
Wow, this looks fabulous and your blog too. I am following you and I hope to see you at My Dream Canvas.
I just saw your post on Uncommon Slice of Suburbia. What a great blog you have! These bags are amazing! I am your newest follower; and I hope you will follow me too. Blessings to you!!
these are so so cute!
thanks for sharing the turorial.
cheryl xox.
You are absolutely the best Mom! I want you to live by me so we can go to your birthday parties! Seriously, absolutely adorable!
Heidi@HomemadeBeautiesByHeidi
Wow, these look really, really good. The kids are going to be so excited to get these!
these are adorable! I grew up in Westchester as well (New Rochelle), now live in Virginia Beach – don't see many bloggers from that area. Found you are The Girl Creative's Link party. Love the bags 🙂
Those couldn't be any cuter. I can't believe you made all of those bags though…such a great mom!
They're wonderful!
I've been trying to figure out a party favour bag too lately….
This is great.
These are adorable! I want one! I love the fabric you used and that each bag is personalized.
These are awesome! I hope you will link this project up to my Wickedly Creative Halloween Ideas Party!
http://www.itsybitsypaperblog.com
Wow! I love these, & all the other monogrammed & personalized items on your blog! I'm a new follower & look forward to seeing more!
Hi Jaime…
Ohhh…your pumpkin party bags are just adorable! Forget the kids…I want one! Hehe…just kidding! Your kiddos will love them! I really like all the pretty halloween fabrics that you chose for liners….sooo bright and colorful! Thanks for sharing your pretty pumpkin bags with us…and the great tutorial! What a creative and talented lady you are, my friend!
Warmest autumn wishes,
Chari
Wow, I'm in love with your bags and the idea behind them. I'm sure the kids will go skipping down the drive carrying their new initialed bags. Great job and thanks for sharing.
Jaime, these are SO cute! Love 'em!!
Looks like a lot of time and love spent on them! 🙂
Jamie, I hope you don't mind I shared this project on my blog today! Have a great weekend, Laura
http://findinghomeonline.com/2011/10/show-tell-friday.html
Please make one of these adorable bags with an "R"…I'm on my way! It looks like your off to a terrific start.
I absolutely love these!! You did a wonderful job. I want to make one just for Trick or Treating!!
~Nikki
http://everything-underthemoon.blogspot.com
These bags are spectacular. Wish I could get one. You must have been super busy making these. They're a treat all by themselves. Just wonderful!!
Ruth
BTW~I am having a giveaway on my blog. Hope you can stop by.
Ruth
Jaime, these are darling! I love their pudgy little shape and the quality with which you made them. If you want to show them off anywhere else, I'd love to have you over at my Bewitching Craft linky party at http://igottacreate.blogspot.com. Have a great weekend!
Fabulous! You are so incredibly crafty! I am a new follower from The Shabby Nest. Cutting alphabets is too hard for me, Instead of it, I painted it with oil painting.
rubber anti fatigue mats
These are amazing gift bags and my new years project. I saw your idea on Jessica's mesewcrazy site (wish I knew how to make a link….i'm so new at this!). If it turns out credibly, i'll link to you on my site. Thank you for such an awesome idea.
R x
http://twelvecraftsofchristmas.blogspot.com
You are so insanely talented! Thanks for linking up this project to The Talent Scouting Party at WhisperWood Cottage!
Thank for the idea! Made these for my daughter and her friends who are college students. They will love them.
I can’t figure out how to post photo but they are adorable!
Thanks Ann, great to hear from readers who are making the projects!