• Home
  • Blog
  • About
  • Contact
    • Disclosure
    • Privacy Policy
  • SHOP
  • Widget area for main menu

    • Email
    • Facebook
    • Instagram
    • Pinterest
    • Twitter
    • YouTube
  • Skip to primary navigation
  • Skip to main content
  • Skip to primary sidebar

Jaime Costiglio

build - paint - sew

  • BUILD
    • BEDS
    • BENCHES
    • DESKS
    • DRESSERS
    • GAMES & TOYS
    • SCRAP WOOD
    • SHELVES
    • STORAGE
    • TABLES
  • TOOLS
  • PAINT
    • CRAFTS
    • FURNITURE
    • HOME DECOR
  • SEW
    • GIFTS
    • HOME DECOR
    • POUCHES
  • HANDBUILT HOLIDAY
    • 2021
    • 2019
    • 2018
    • 2017
    • 2016
    • 2015
    • 2014
    • 2013
  • GIFTS
    • BABIES
    • KIDS
    • FOR HER
    • FOR HIM
    • TEACHERS
    • WEDDINGS
  • SEASONAL
    • 4TH OF JULY
    • FALL
    • HALLOWEEN
    • CHRISTMAS
    • SUMMER
    • SPRING
    • ST. PATRICK’S DAY
    • THANKSGIVING
    • VALENTINE’S DAY
    • WINTER
  • SALTBOX PROJECT
    • BATHROOMS
    • DINING ROOM
    • EXTERIOR
    • FAMILY ROOM
    • FOYER / MUDROOM
    • KIDS BEDROOMS
    • KITCHEN
    • LIVING ROOM
    • MASTER BEDROOM
    • PLAYROOM
  • SCROLL SAW

“P” is for Paper Wreath

September 4, 2012

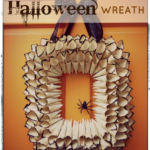
Craft: rolled paper wreath
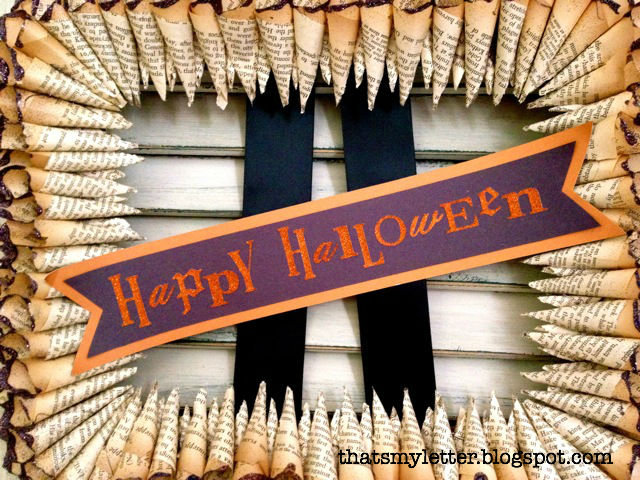
Old book pages rolled into cones and applied to a frame create this Fall wreath.  
Yes I’m a bit early for Halloween!

The ends of the paper rolls are coated with a black and dark purple glitter mix:

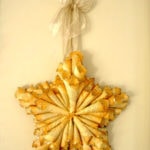
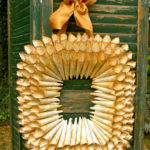
This is a spin on my paper wreaths, star and star ornaments from last Fall:
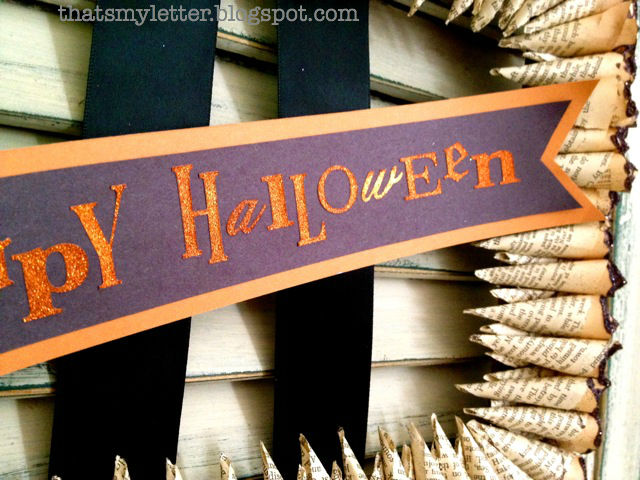
The center banner is simple cardstock with glitter sticker letters:

The paper rolls really create a lot of volume:

Here’s how I made the paper wreath:

1. Obtain a plastic frame, mine has an 8″ x 10″ opening in the center.
Cover the outer edge of the frame with a strip of drop cloth or neutral fabric.
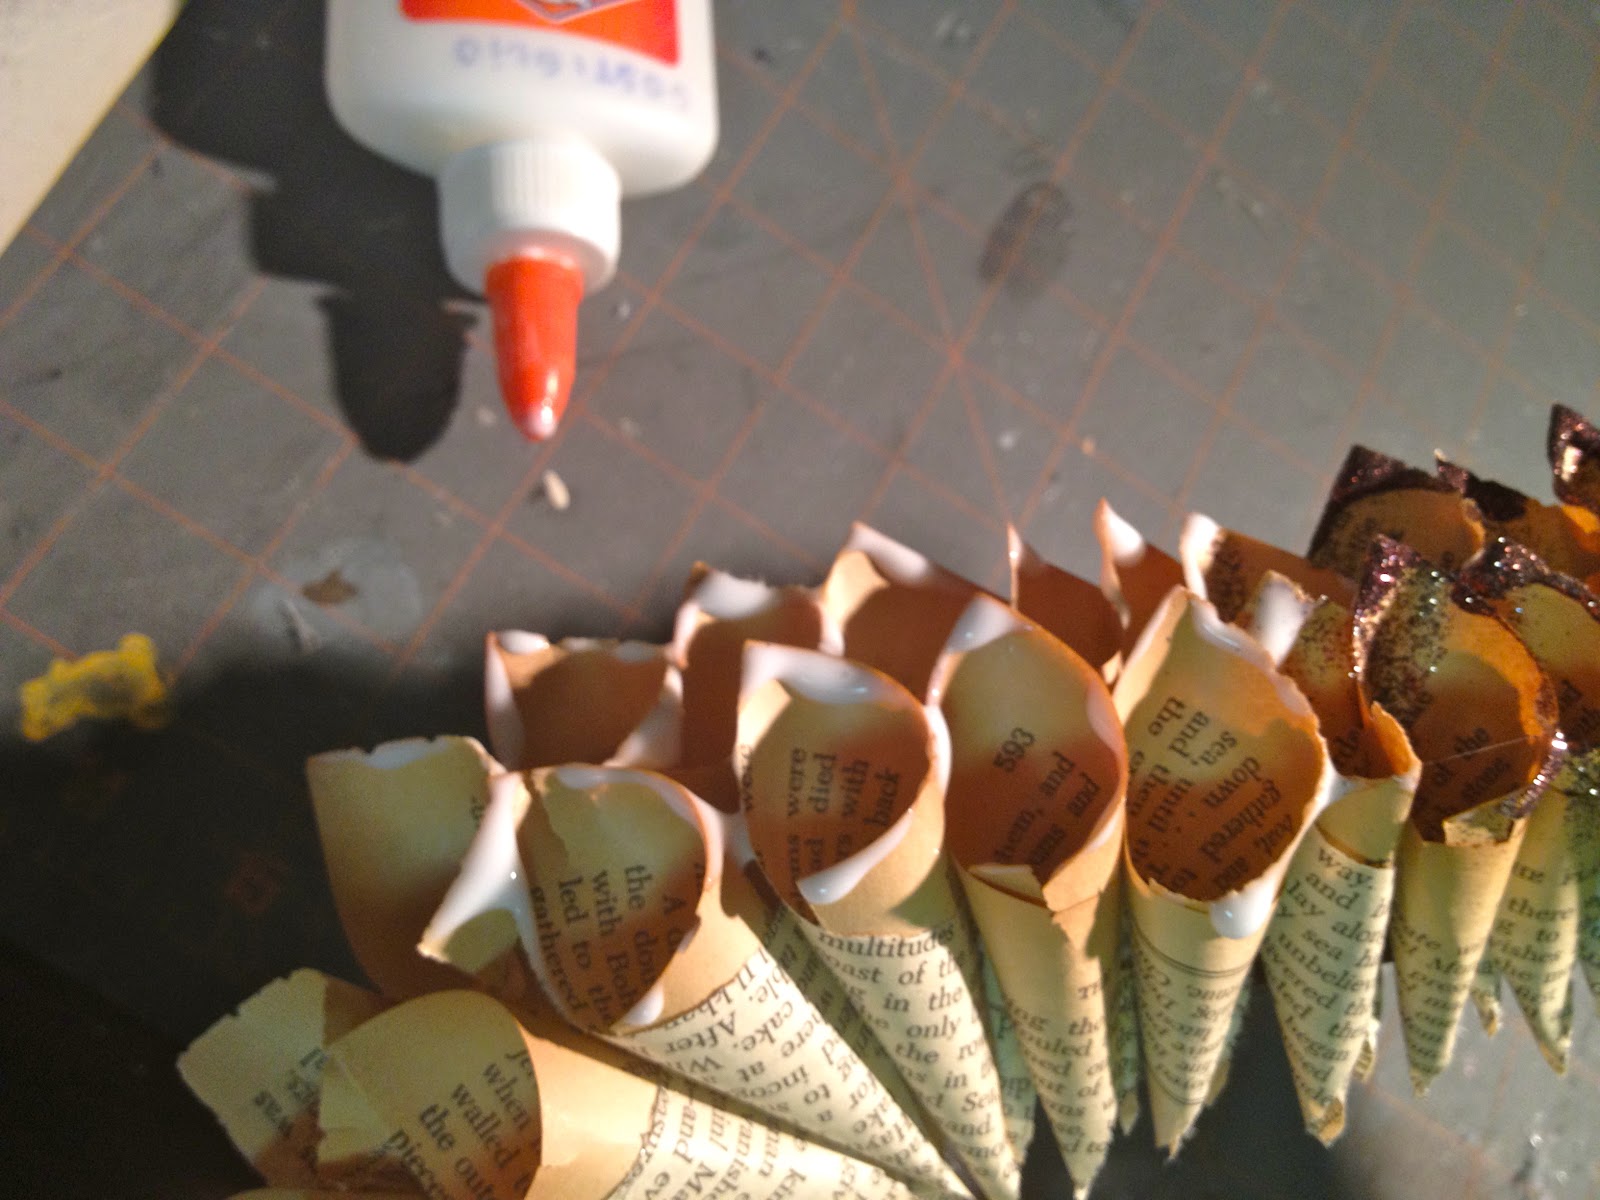
2. Make paper rolls:
I used old book pages torn into little rectangles about 2″ x 3″.
Roll into cone shape and hot glue:
3. Hot glue rolls to frame starting in corners and then equally spacing as you go:

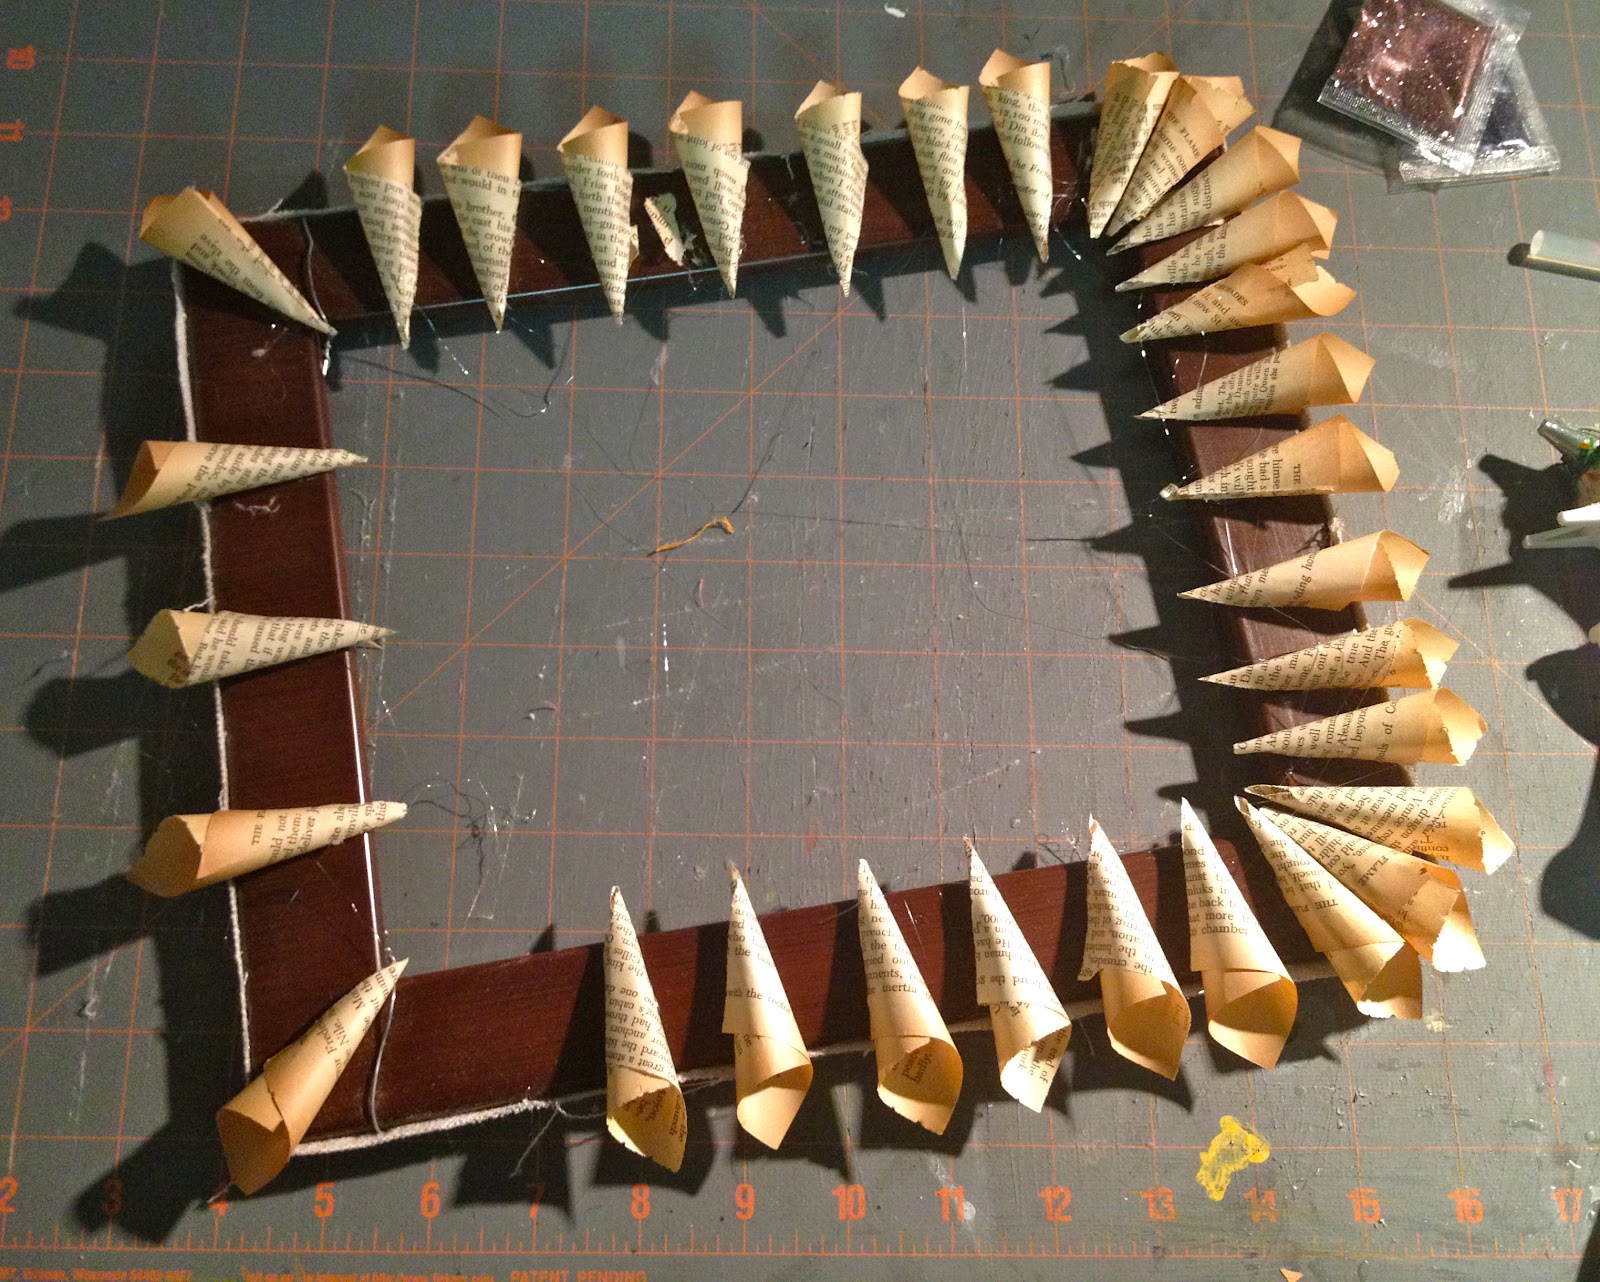
4. One layer on, now add a second layer in the same fashion to cover remaining frame bits showing through:

5. Apply glue straight from bottle to edges of paper then sprinkle glitter over glue:

Add ribbon and banner:
I’m linking up to:
DIY Show Off Fall Festival Party

SAS @ Funky Junk
Nifty Thrifty Sunday @ Nifty Thrifty Things
DIY Project Parade @ The DIY Showoff
Tutorials & Tips Tuesday @ Home Stories A to Z
Strut Your Stuff @ Somewhat Simple
Share Awesomeness Thur @ The 36th Avenue
Pretty Things Thursday @ Scissors & Spatulas
Flaunt it Friday @ Chic on a Shoestring
Frugal Friday @ The Shabby Nest
SAS @ Just a Girl
Remodelaholics Anonymous @ Remodelaholic
inspiration board @ Carolyns Homework
Sunday Showcase Party @ Under the Table & Dreaming

You may also like...

  • “S” is for Spider Wreath“S” is for Spider Wreath
  • “S” is for Star“S” is for Star
  • “P” is for Paper“P” is for Paper
  • Thanksgiving Mantel with Paper PoinsettiasThanksgiving Mantel with Paper Poinsettias
Share this post:

Filed Under: CRAFTS, DIY, FALL, HOME DECOR, SEASONAL5 Comments

Reader Interactions

Comments

  1. Cassie @ Primitive & Proper says

    September 4, 2012 at 9:44 PM

    LOVE it! i pinned it- love the shape, love that it's halloween! i am actually working right now on a bookpage halloween banner!

    Reply
  2. [email protected] Road says

    September 6, 2012 at 3:42 AM

    That is CUTE! I wondered how you got the pages to look orange, but then I realized they're just old and yellowed. Cute, cute, cute! Very Halloween!

    Reply
  3. Dixie n Dottie says

    September 7, 2012 at 2:04 AM

    Very creative! The picture with the paper wrapped around your finger reminds of bugles (the snack chip). When I was younger I use to put them on my fingers. 🙂 Would love if you'd join our Countdown to Fall link party! Hope to see you there! Have a great week! 🙂
    http://dixie-n-dottie.blogspot.com/2012_09_03_archive.html

    Reply
  4. http://sarahsaturdiy.blogspot.com/ says

    September 10, 2012 at 11:04 PM

    This looks great! I couldn't figure out what the book pages were until I read the post. I am a follower of your blog and would love if you could hop over to my blog (http://sarahsaturdiy.blogspot.com/) and share the blog love. Have a happy Monday!

    Reply
  5. Bliss says

    October 19, 2012 at 2:34 AM

    Stopping in to pin this wreath, it's wonderful.

    Bliss

    Reply

Leave a Reply Cancel reply

Your email address will not be published. Required fields are marked *

Primary Sidebar

Hi! I’m Jaime

Jaime Costiglio

Hello!

Thank you for stopping by.
Join me for lots of DIY.

Read more

Get new posts via email

Handbuilt Holiday: Gift Project Plans

handbuilt holiday gift project plans

Collection of DIY gift project plans to build.

The Home Depot Tool Prospective

THD Prospective

Tools to consider for the DIYer.

Archives

The Home Depot Logo
Copyright © 2023 Jaime Costiglio · Custom site by Moonsteam Design

Privacy Policy