• Home
  • Blog
  • About
  • Contact
    • Disclosure
    • Privacy Policy
  • SHOP
  • Widget area for main menu

    • Email
    • Facebook
    • Instagram
    • Pinterest
    • Twitter
    • YouTube
  • Skip to primary navigation
  • Skip to main content
  • Skip to primary sidebar

Jaime Costiglio

build - paint - sew

  • BUILD
    • BEDS
    • BENCHES
    • DESKS
    • DRESSERS
    • GAMES & TOYS
    • SCRAP WOOD
    • SHELVES
    • STORAGE
    • TABLES
  • TOOLS
  • PAINT
    • CRAFTS
    • FURNITURE
    • HOME DECOR
  • SEW
    • GIFTS
    • HOME DECOR
    • POUCHES
  • HANDBUILT HOLIDAY
    • 2021
    • 2019
    • 2018
    • 2017
    • 2016
    • 2015
    • 2014
    • 2013
  • GIFTS
    • BABIES
    • KIDS
    • FOR HER
    • FOR HIM
    • TEACHERS
    • WEDDINGS
  • SEASONAL
    • 4TH OF JULY
    • FALL
    • HALLOWEEN
    • CHRISTMAS
    • SUMMER
    • SPRING
    • ST. PATRICK’S DAY
    • THANKSGIVING
    • VALENTINE’S DAY
    • WINTER
  • SALTBOX PROJECT
    • BATHROOMS
    • DINING ROOM
    • EXTERIOR
    • FAMILY ROOM
    • FOYER / MUDROOM
    • KIDS BEDROOMS
    • KITCHEN
    • LIVING ROOM
    • MASTER BEDROOM
    • PLAYROOM
  • SCROLL SAW

DIY Outdoor Sofa

May 27, 2014

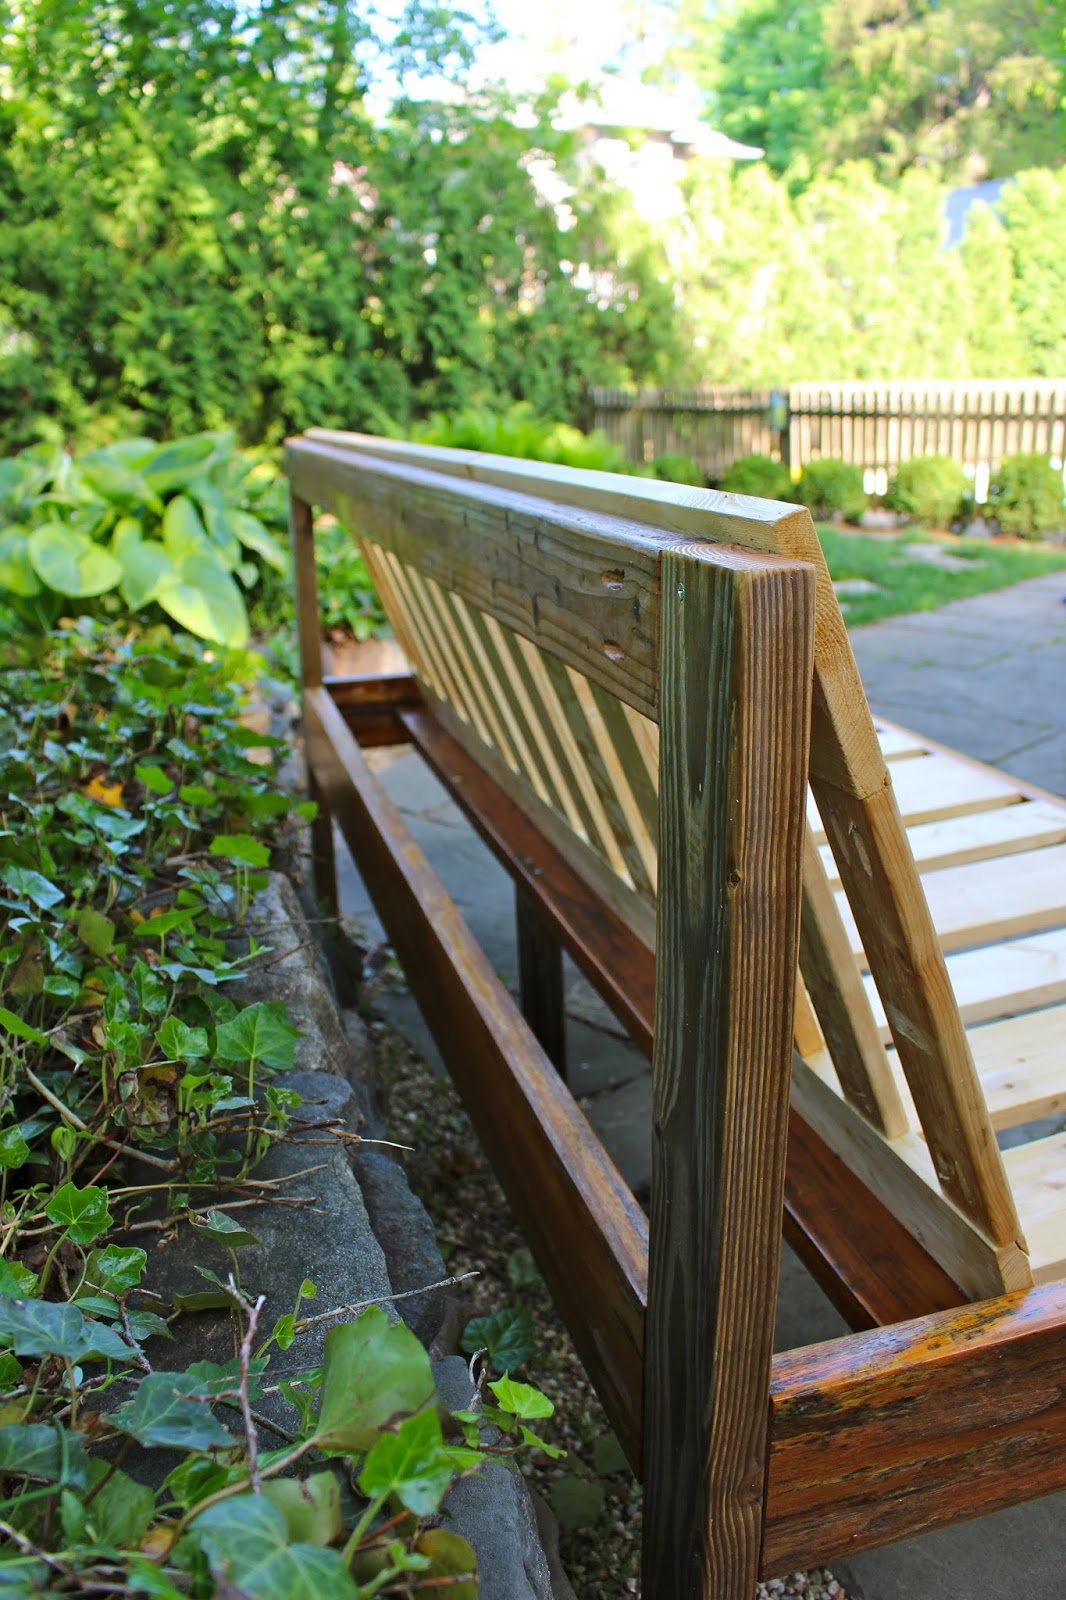
Build: diy outdoor sofa
Build an outdoor sofa using 2x wood scraps and top it with Ikea cushions for extra outdoor seating.
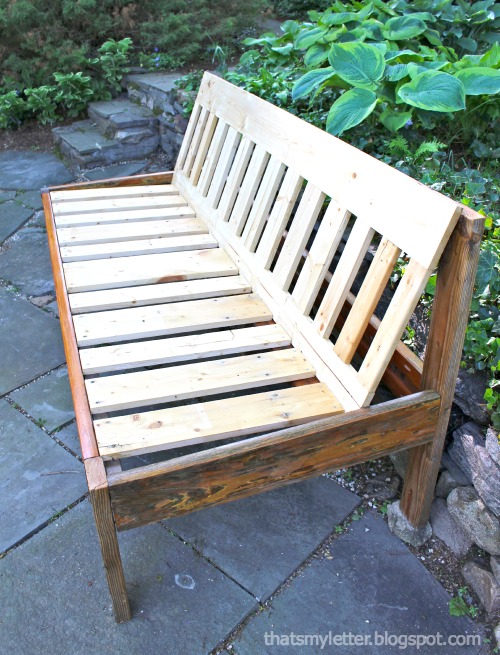
A slight modification of Ana White’s outdoor sofa I choose to eliminate the arms making more of an open bench feel. 

It’s plenty deep, in fact I would make it about 3″ shallower next time.
The cushions are Ikea Hallo series: one chaise pad and three back cushions.
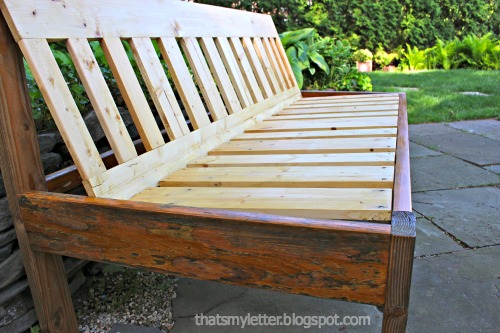
This sofa was built mostly with 2×6 teak boards and other scraps.
Total cost to build this outdoor sofa: $85 (all cushions).
How to build an outdoor sofa:

wood cuts:
2 – 2×6 @ 68″ (front & back support)
2 – 2×4 @ 18″ (front legs)
2 – 2×6 @ 30″ (sides)
2 – 2×4 @ 35″ (back legs)
1 – 2×4 @ 68″ (back top support)
1 – 2×4 @ 16″ (middle support leg) *cut to fit
1 – 2×6 @ 70″ (seat support) *cut to fit
12-15 – various 1x @ 22″ (seat slats)
1 – 1×6 @ 72″ (back top support)
1 – 1×4 @ 72″ (back bottom support)
14-16 1×3 @ 12″ (back slats)
Check Ana’s plans here for more details.
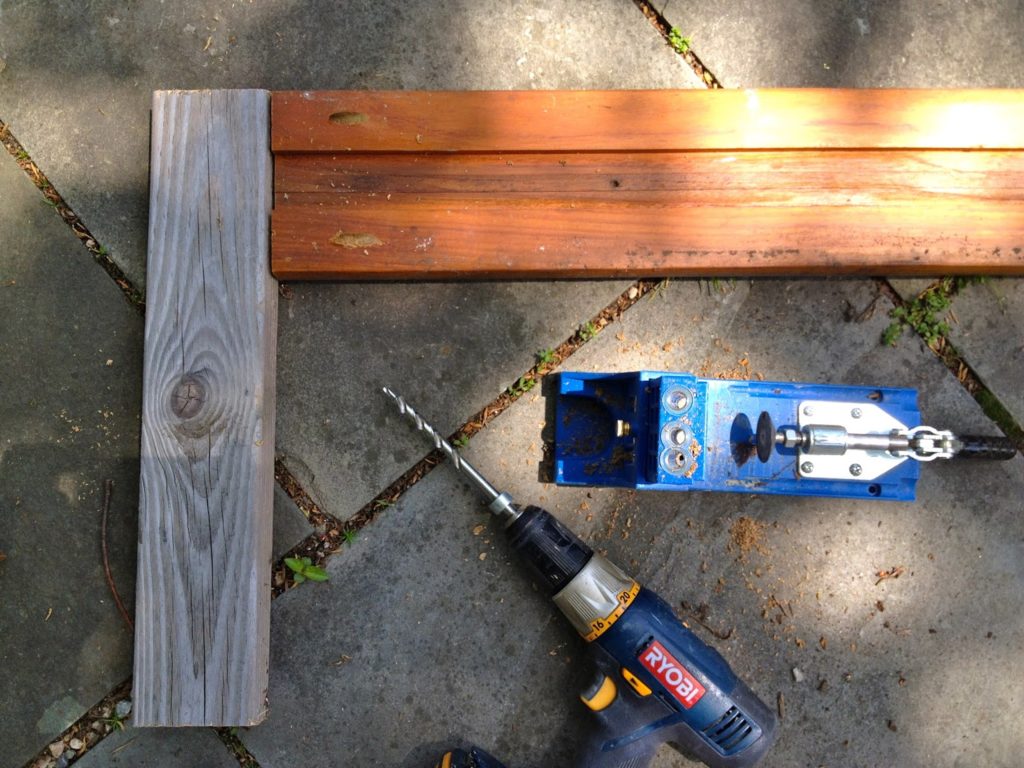
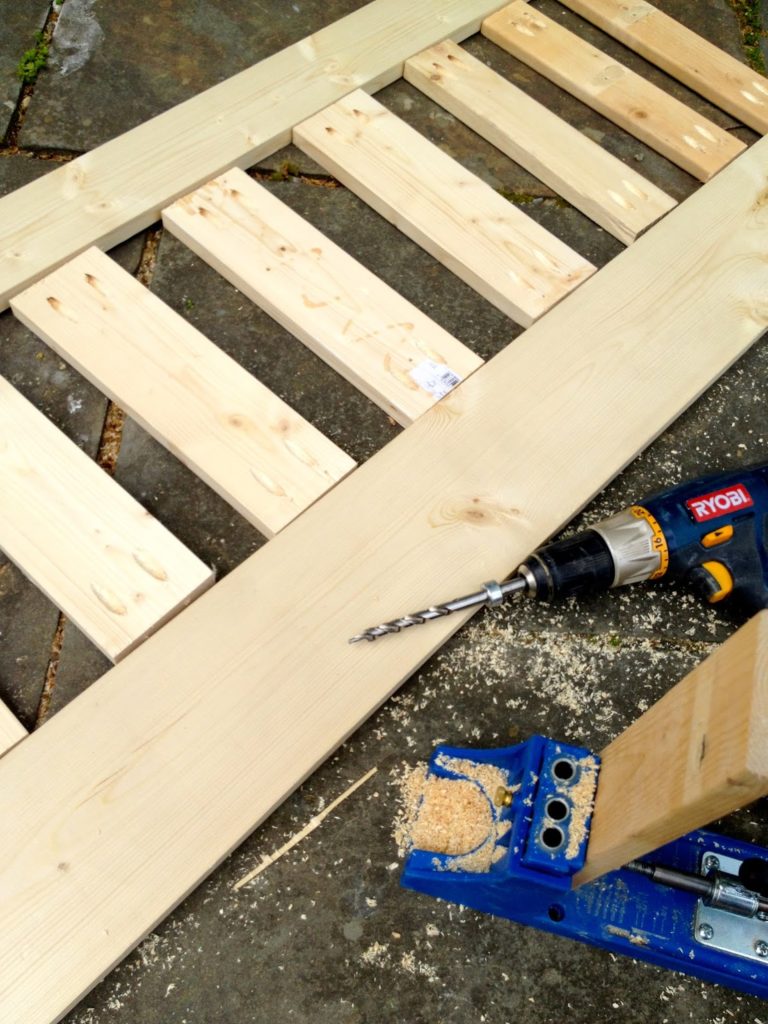
Step 1: Attach front legs to front support using Kreg jig pocket holes, glue and 2 1/2″ screws.

Step 2: Repeat process for back legs and back support then attach to sides to make box.

Step 3: Add seat support.  My teak boards had a notched groove perfect for the support piece, secure with pocket holes from underneath.

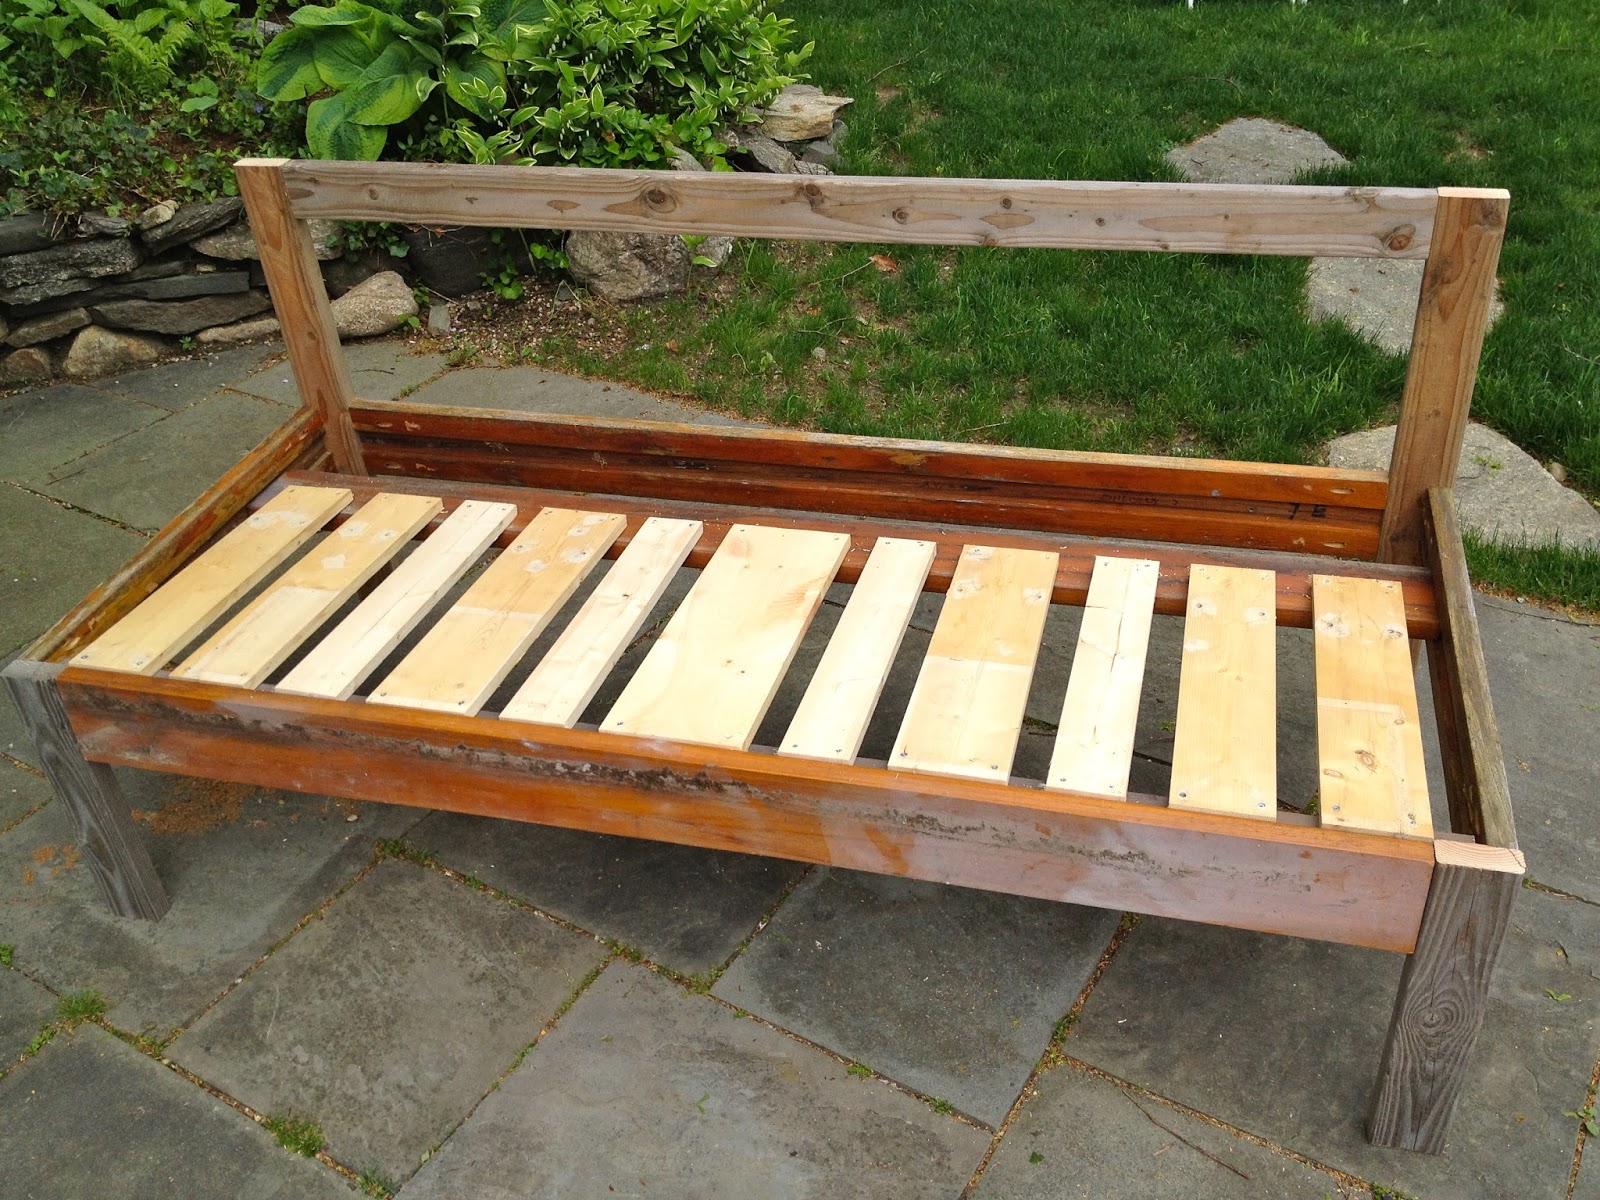
Step 4: Attach top back support and seat slats.
Step 5: Attach middle support leg.
Step 6: Construct back support again using pocket holes.
Step 7: Place back support in position and secure from back at top and base.
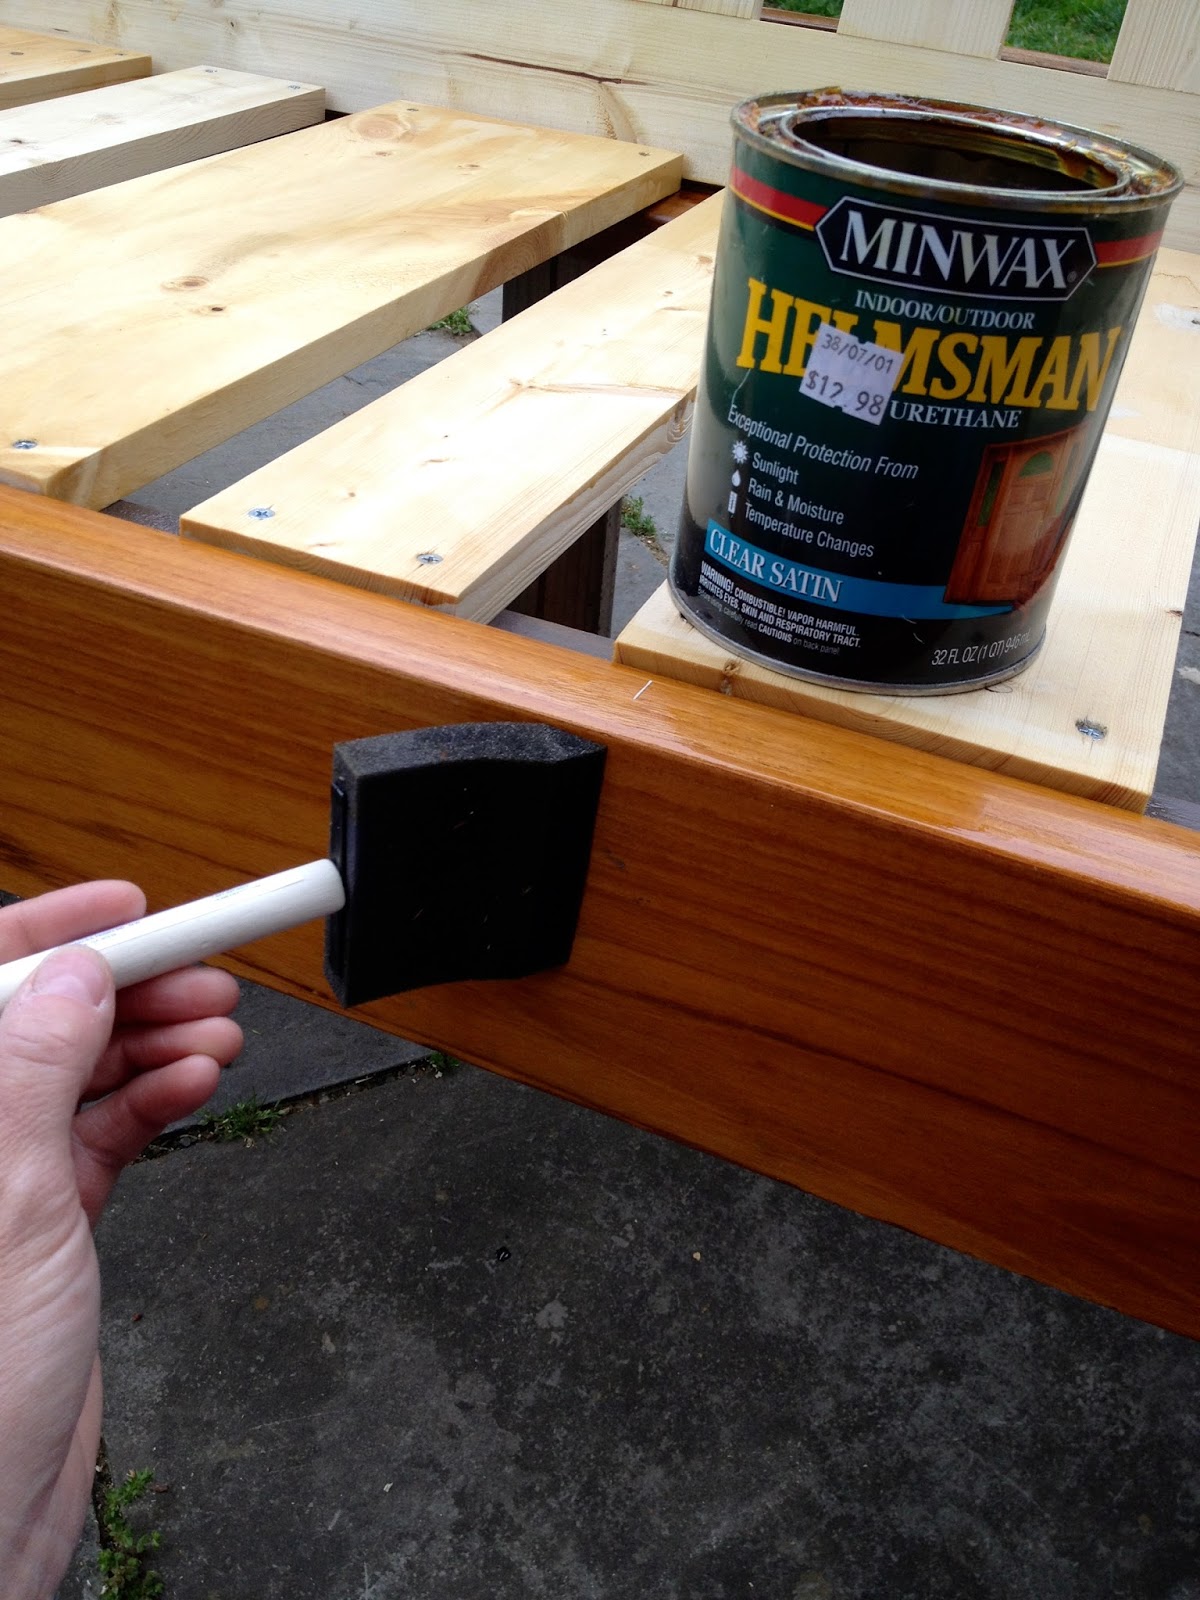
Step 8: Seal with Minwax Helmsman exterior grade clear satin poly, 3 coats.

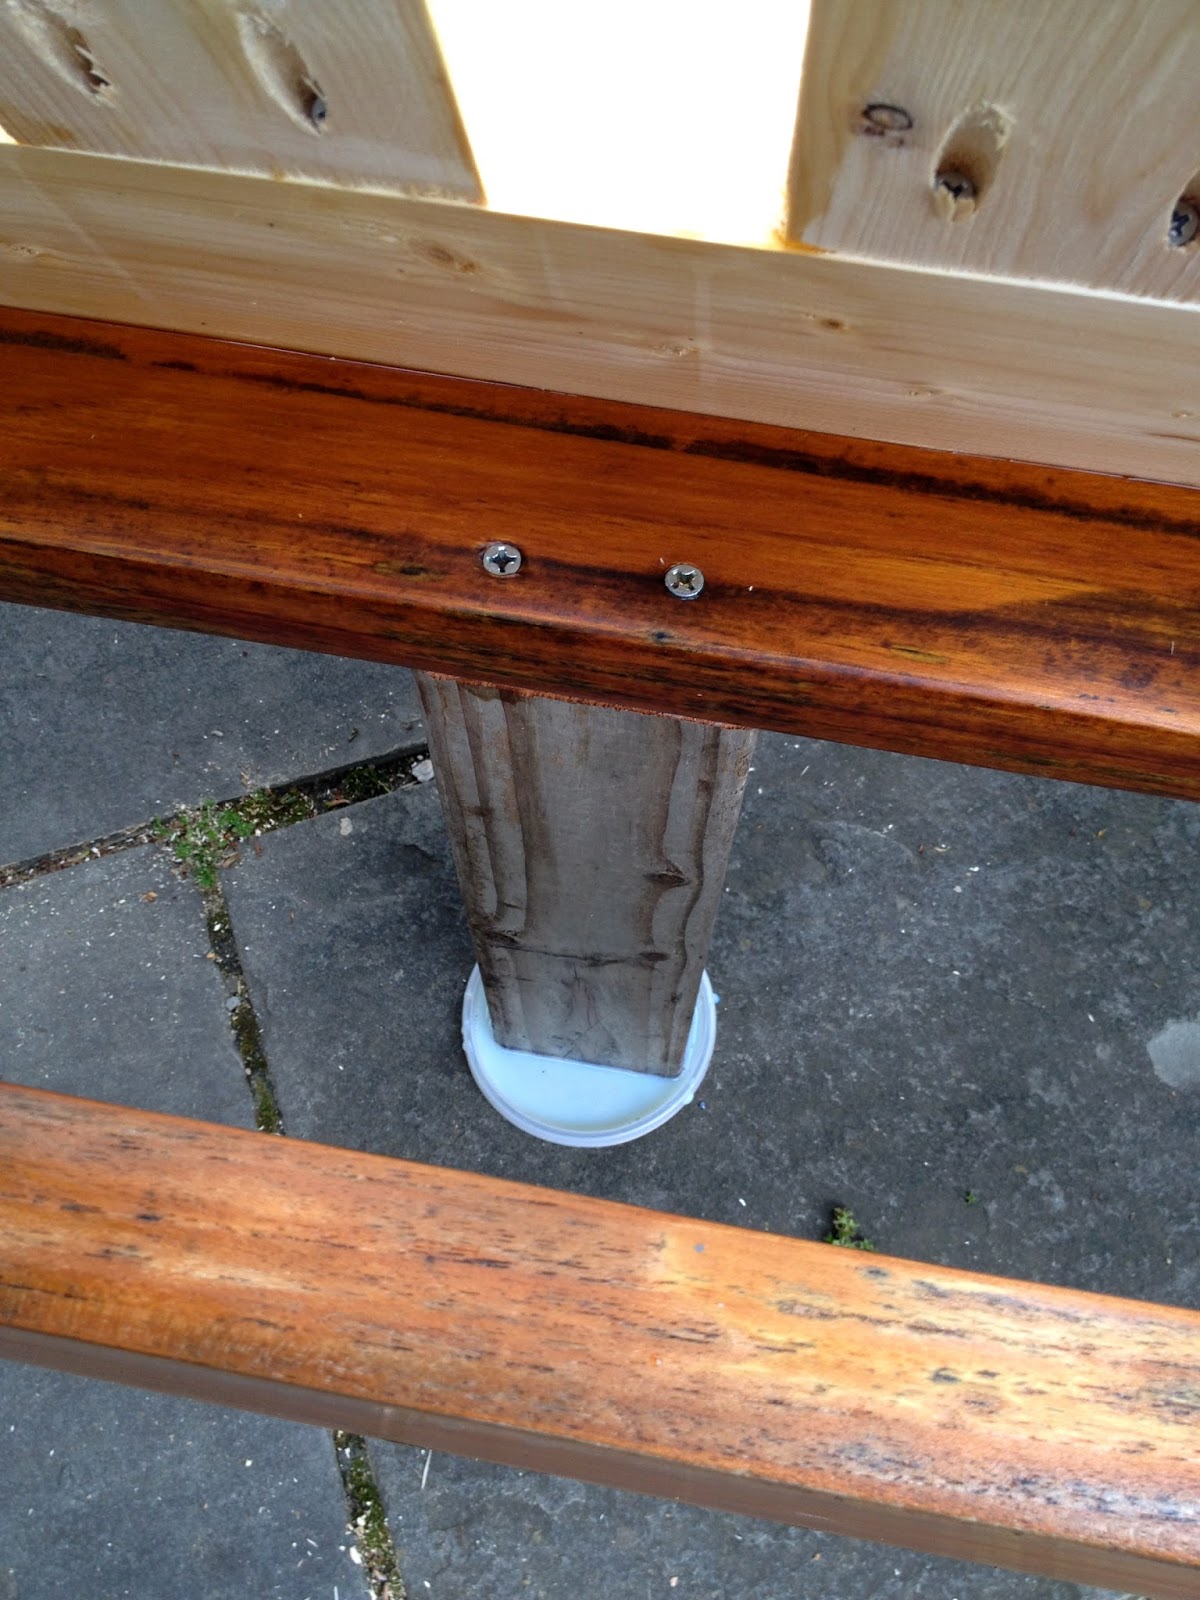
Step 9: Soak the legs in poly then flip the sofa upside-down and let dry.
This will seal up the open wood on the legs which is most susceptible to water damage from sitting on the ground. 

You may also like...

  • DIY Outdoor Toy Storage BinDIY Outdoor Toy Storage Bin
  • DIY Lemonade StandDIY Lemonade Stand
  • DIY Mini Putt CourseDIY Mini Putt Course
  • DIY Loft Bed with Lego Storage & Work SpaceDIY Loft Bed with Lego Storage & Work Space
Share this post:

Filed Under: BENCHES, BUILD, DIY, EXTERIOR, FURNITURE, SALTBOX PROJECT, SEASONAL, SUMMER3 Comments

Reader Interactions

Comments

  1. Our Pinteresting Family says

    May 27, 2014 at 4:57 PM

    Looks like a great spot to relax outside. I love that you used pre-made cushions too. I can't wait to show Rob your newest project.

    Reply
  2. Our Pinteresting Family says

    May 27, 2014 at 4:57 PM

    Looks like a great spot to relax outside. I love that you used pre-made cushions too. I can't wait to show Rob your newest project.

    Reply
  3. iqra says

    June 2, 2017 at 7:09 PM

    nice post

    Reply

Leave a Reply Cancel reply

Your email address will not be published. Required fields are marked *

Primary Sidebar

Hi! I’m Jaime

Jaime Costiglio

Hello!

Thank you for stopping by.
Join me for lots of DIY.

Read more

Get new posts via email

Handbuilt Holiday: Gift Project Plans

handbuilt holiday gift project plans

Collection of DIY gift project plans to build.

The Home Depot Tool Prospective

THD Prospective

Tools to consider for the DIYer.

Archives

The Home Depot Logo
Copyright © 2023 Jaime Costiglio · Custom site by Moonsteam Design

Privacy Policy