Orange, red and yellow pumpkin placecards.
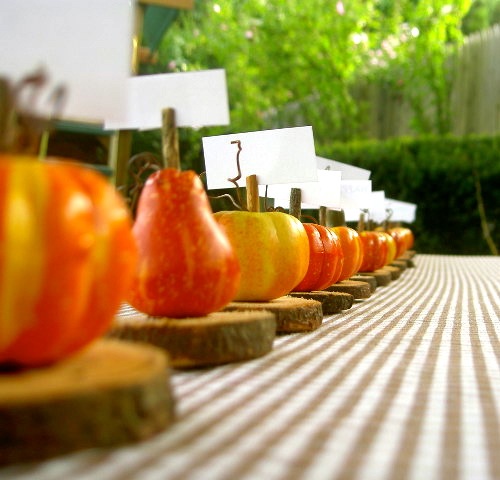
Ready for Fall, Halloween and Thanksgiving.

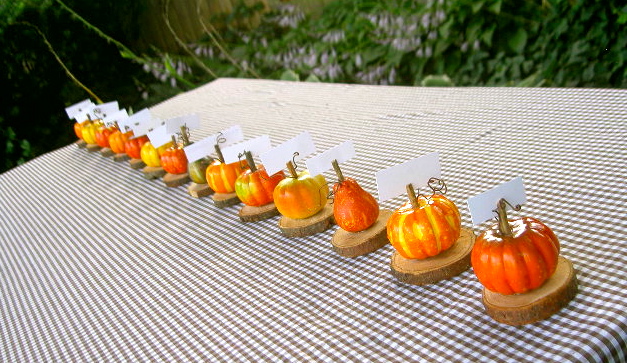
Plastic little pumpkins transformed into pretty placecards.
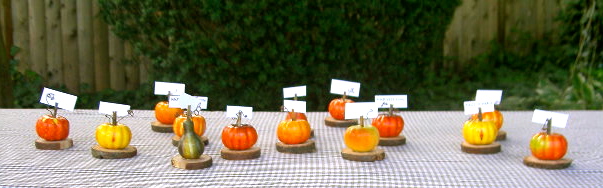
Just add the names and set your table.
Or label your food offerings.
Easy, inexpensive and fast to make.

Here’s how I made the placecards:
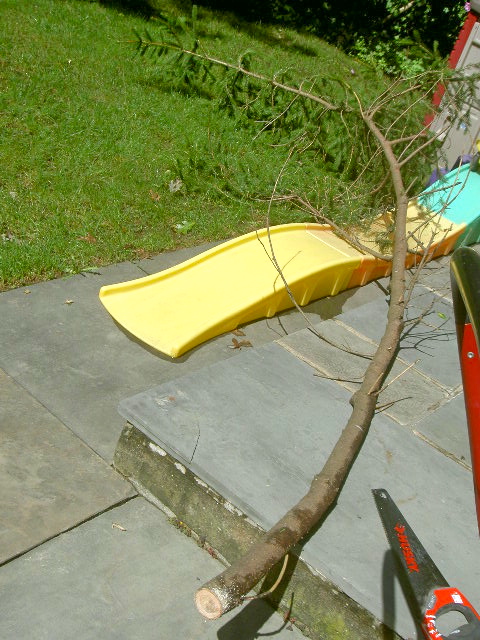
1. Find a thick tree branch – approx. 2.5″ diameter.
(Easy when Hurricane Irene just came through.)
2. Saw circle slices, approx. 1/2″ thick.
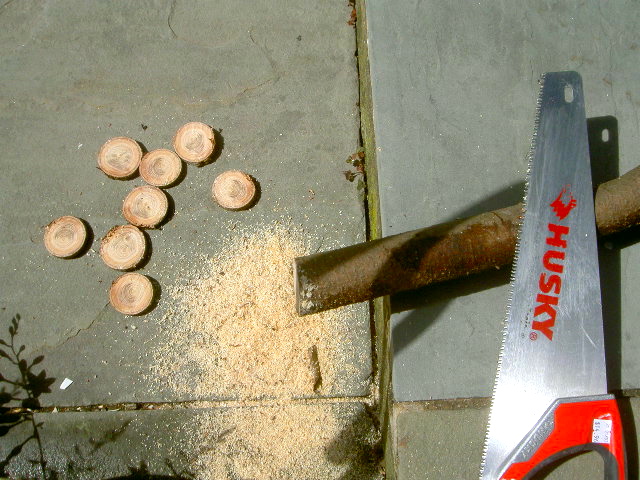
3. Lightly sand circle pieces.
Seal both sides with spray poly satin.

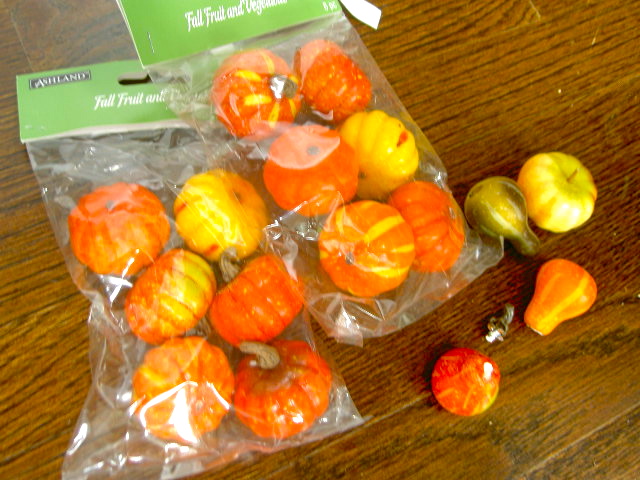
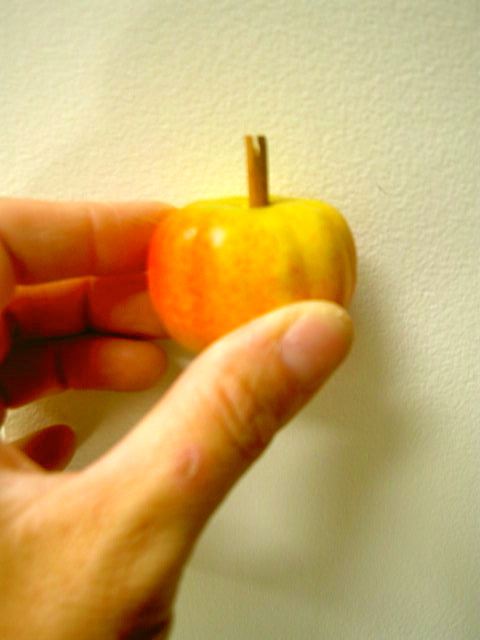
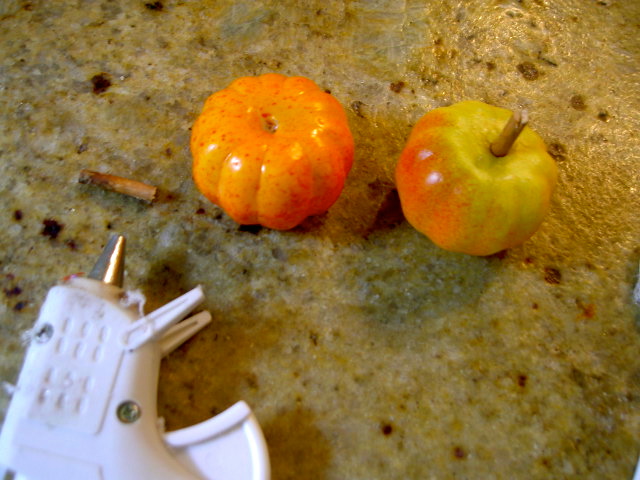
4. Using mini plastic pumpkins, remove all stems:
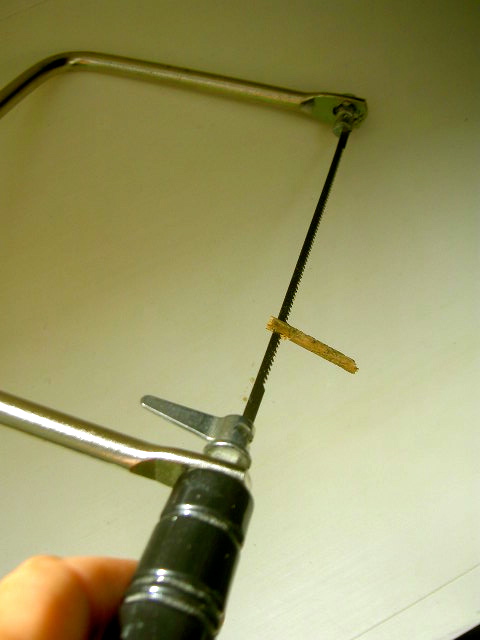
5. Cut real wood stems from thin branch approx. 2″ long.
Make a horizontal cut into top of stem to hold paper piece.
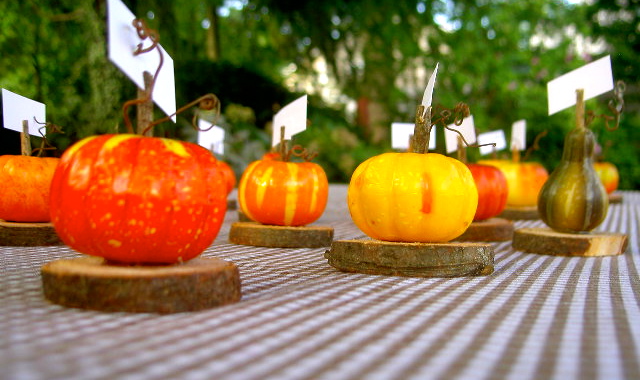
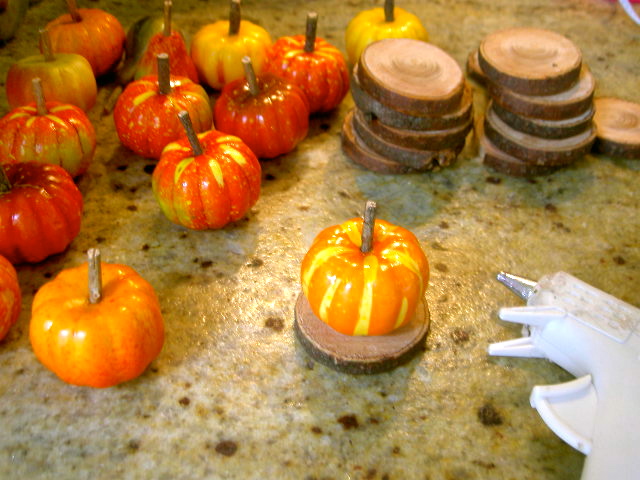
6. Hot glue wood stem into pumpkins:
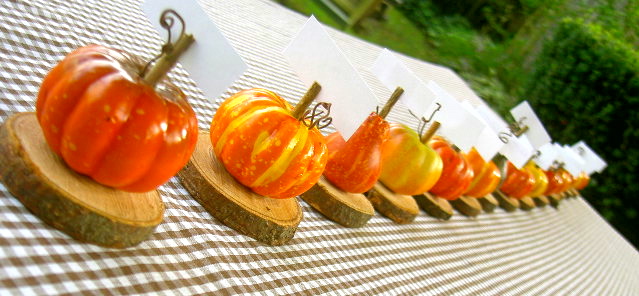
7. Hot glue pumpkin onto circle wood piece:
8. Add curly wood pieces (taken from a grapevine wreath) to complete:
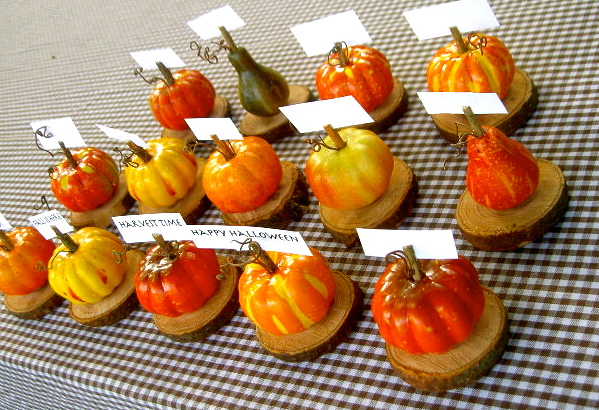
9. Cut heavy card stock to fit.
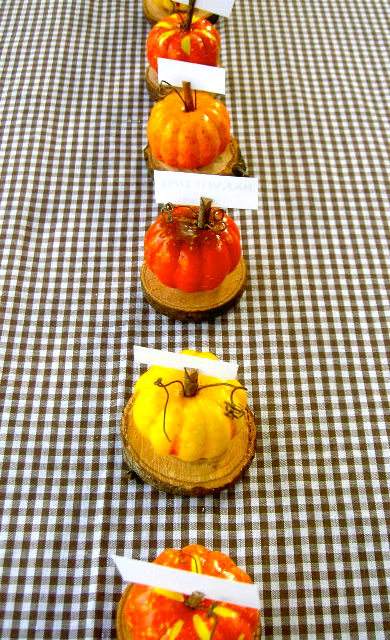
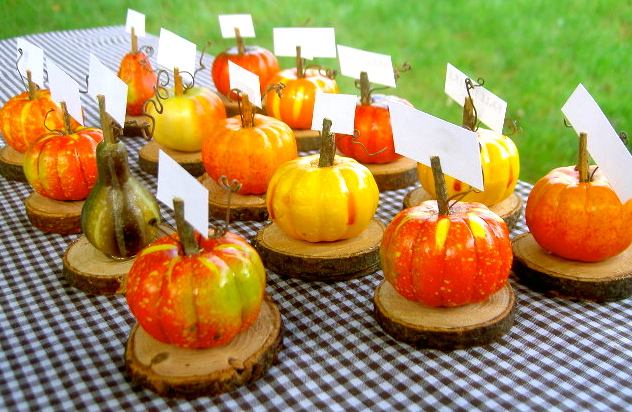
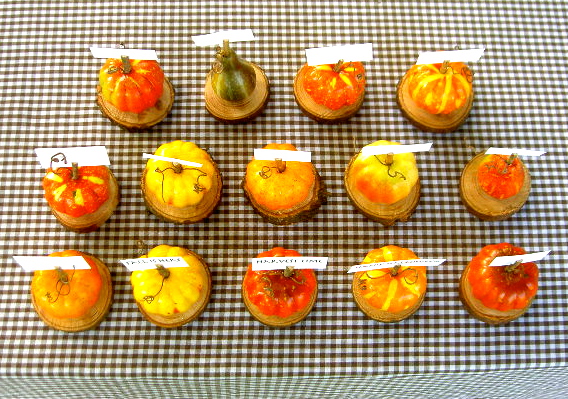
Plastic cheesy pumpkins taken to a new level with real wood stems, vines and proper base.
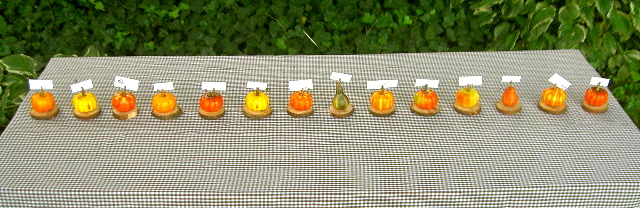
Not so cheesy anymore.
Happy Fall.
I’m linking up to:
Weekly Challenge @ The CSI Project
Whatcha Got Weekend @ Lolly Jane
SAS @ Funky Junk
Weekend Wrap Up @ Tatertots & Jello
Sundae Scoop @ I Heart Naptime
Sister Sunday @ Sisters of the Wild West
Sunday Showcase Party @ Under the Table & Dreaming
Just Something I Whipped Up @ The Girl Creative
DIY Fall Festival @ The DIY Showoff
Made by You Mondays @ Skip to My Lou
Making the World Cuter @ Making the World Cuter
Nifty Thrifty @ Coastal Charm
Tuesday Treasures @ My Uncommon Slice of Suburbia
Tutorials & Tips Tuesday @ Home Stories A to Z
Good Life @ A Beach Cottage
Delightfully Inspiring @ Delightful Order
Transformation Thursday @ The Shabby Creek Cottage
Strut Your Stuff @ Somewhat Simple
Share Awesomeness Thur @ The 36th Avenue
Flaunt it Friday @ Chic on a Shoestring
Tickled Pink @ 504 Main
Frugal Friday @ The Shabby Nest
SAS @ Just a Girl
Feathered Nest @ French Country Cottage
Remodelaholics Anonymous @ Remodelaholic
inspiration board @ Carolyns Homework
Cottage Flora Thursdays @ Fishtail Cottage
Fall Nesting @ The Inspired Room

Cottage Flora Thursdays @ Fishtail Cottage
Fall Nesting @ The Inspired Room


This is such a great idea Jamie!! I love them! Cute and cheap!!
So clever!!! Boo hoo that all our courtesy-of-Irene branches and whatnot have already been hauled away to the transfer station. I love this idea!
Super, super cute! (Again, here I am… drawn to one of your projects…)
Absolutely adorable and creative! Thanks for sharing your instructions on how to make. Visiting from French Country. Have a wonderful weekend.
Those are so cute. Great idea.
Love this idea! I'd love it if you would link up!!! http://adiamondinthestuff.blogspot.com/2011/09/time-to-shine-link-party-no-34.html
Those are so cute! I want to copy everything you do!
Debbie
These are darling!!
Coley @
http://www.whatyoumakeit-coley.blogspot.com
They turned out really cute:@)
Super cute idea to put them on the wood coasters. Adorable!
(Visiting from the csi project)
I am so in love with these its ridiculous. This is a FABULOUS idea!! I will me making them for sure!! They would look so cute with my fall napkin rings (linked up to the party).
Pinning this!
Kara
http://www.mineforthemaking.com
And I am featuring it on my facebook page 🙂
https://www.facebook.com/pages/Mine-for-the-Making/172346556115099
Over from CSI Project. These are adorable!
I am going to have to make these!!
That's a really great idea! You're very clever; I'm so glad I found you today. I'm following right along now 🙂
Miranda @ Just Drink a Coke.
Jaime, another pretty idea for Halloween. Thanks so much for posting for us to peek 😀
Visiting from Midwestern Sewing Girl's Everything Halloween Linky Party today,
~Suzanne in NW Illinois
That is another cute idea! The wood bottoms are the perfect Fall touch too.
OK, how do you keep coming up with these ideas???? I LOVE this!!!! Thanks so much for linking it up to my Everything Halloween party!!!
Oh wow!! How do you manage to come up with such amazing ideas.. I'm now following you!! You rock.. Looking forward to being inspired..
Please do drop by my blog.. and link your Halloween posts.. http://coloursdekor.blogspot.com/2011/10/in-spotlight-of-spooks-sparkles.html
Would love to see you there! 🙂
What a great project! 🙂 I've featured this post on Craft Gossip here:
http://homeandgarden.craftgossip.com/pumpkin-place-cards/
If you would like a "featured by" button, you can grab one here:
http://homeandgarden.craftgossip.com/grab-a-craft-gossip-button/
Totally in love with these! Wish I had thought of it! 🙂 Thanks for linking up to The Talent Scouting Party at WhisperWood Cottage, Jaime!