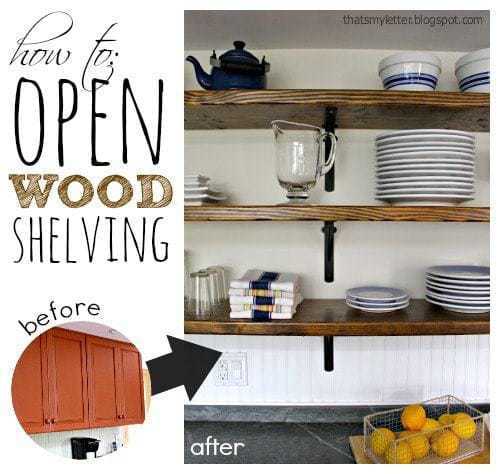
How to make and install open wood shelving.
Transform your kitchen with diy open wood shelving and you’ll never look back!
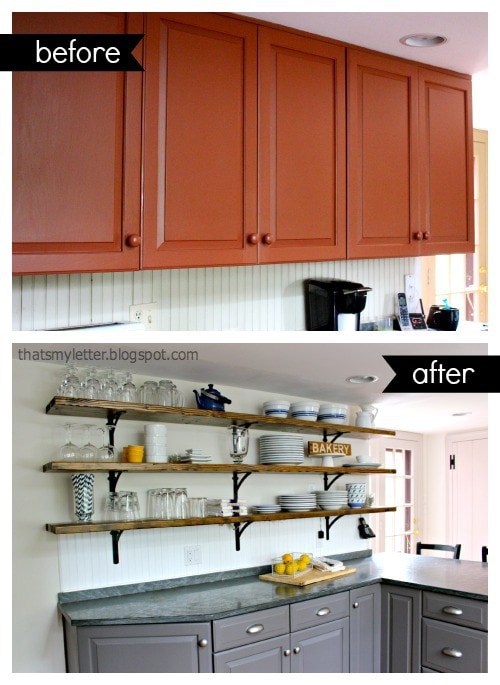
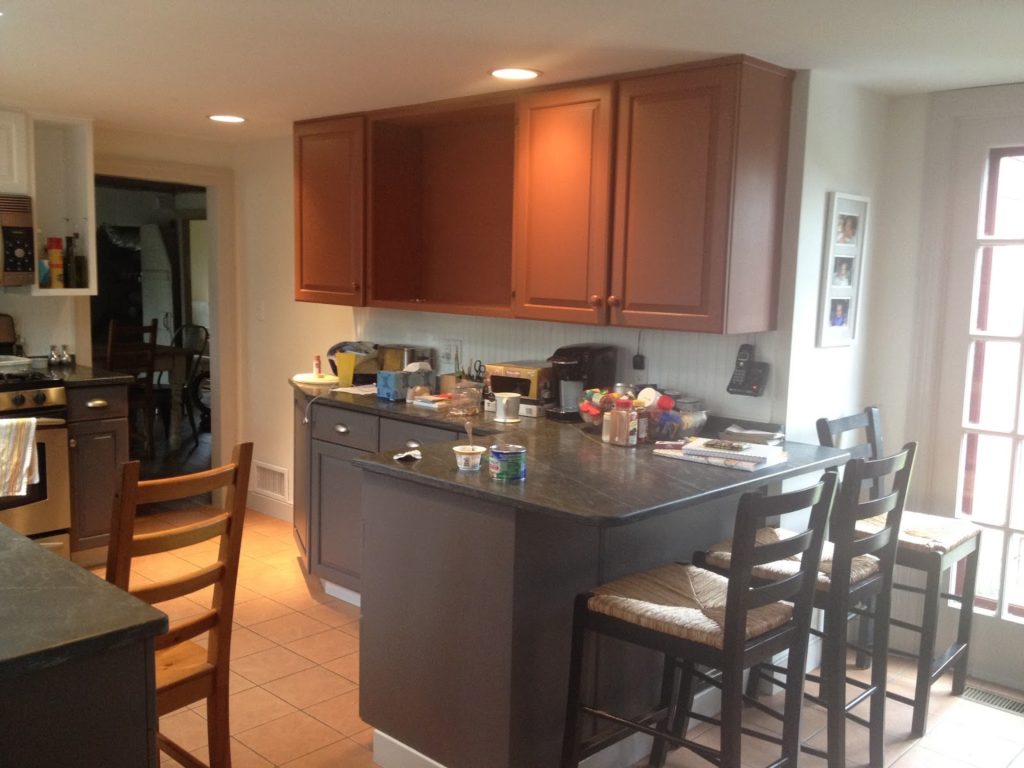
I got a little crazy one weekend while in the middle of painting all the kitchen cabinets and decided to remove an 8 foot bank of wall cabinets from the interior wall.
Because painting cabinets is not my favorite task!
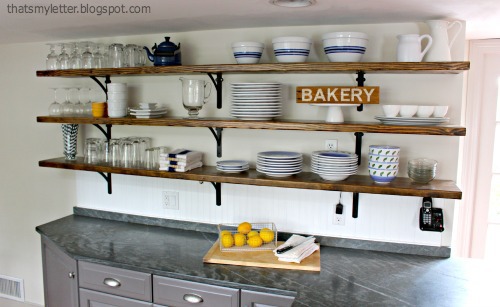
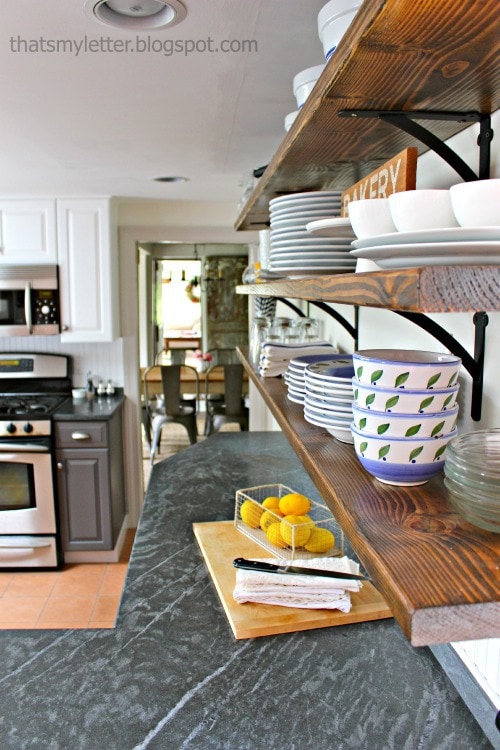
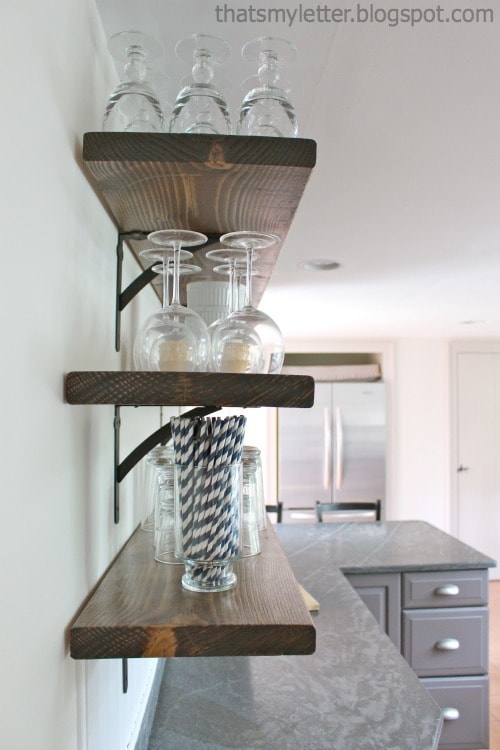
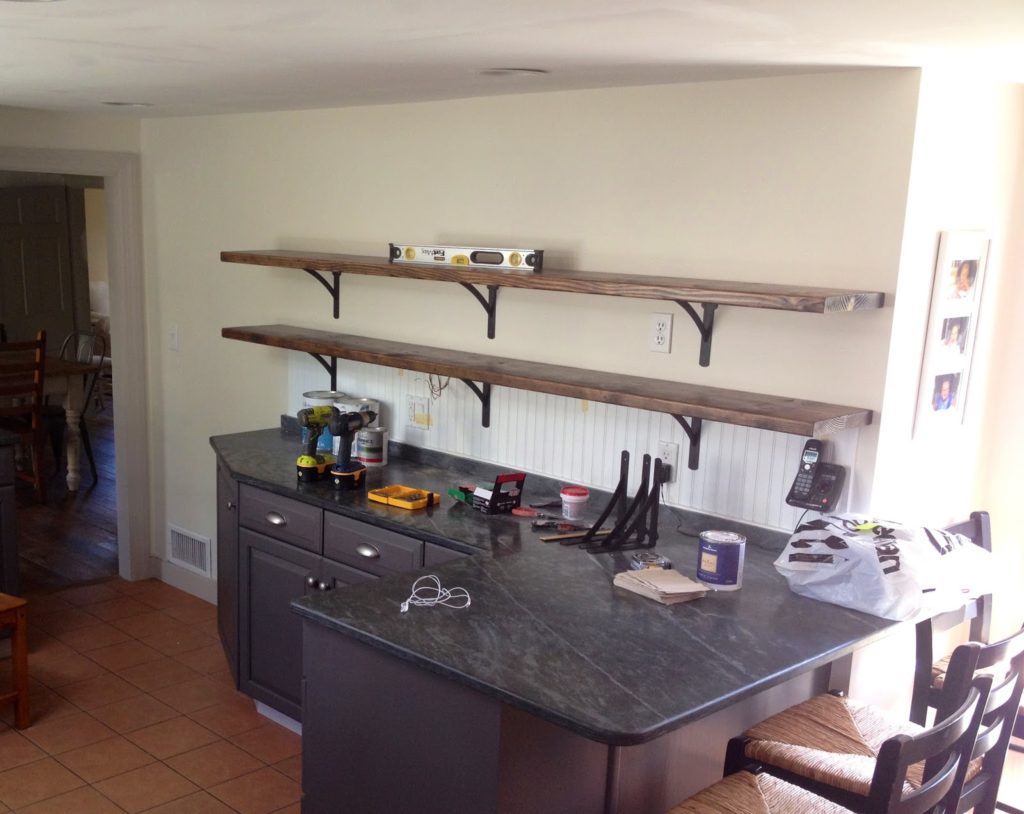
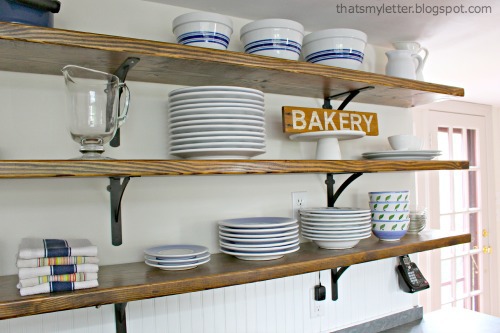
And 24 feet of chunky warm wood makes unloading the dishwasher a cinch.
From the view above you can see the entire length of the house into the dining room and then further into the family room. Before when the cabinets were there this view was slightly obscured.
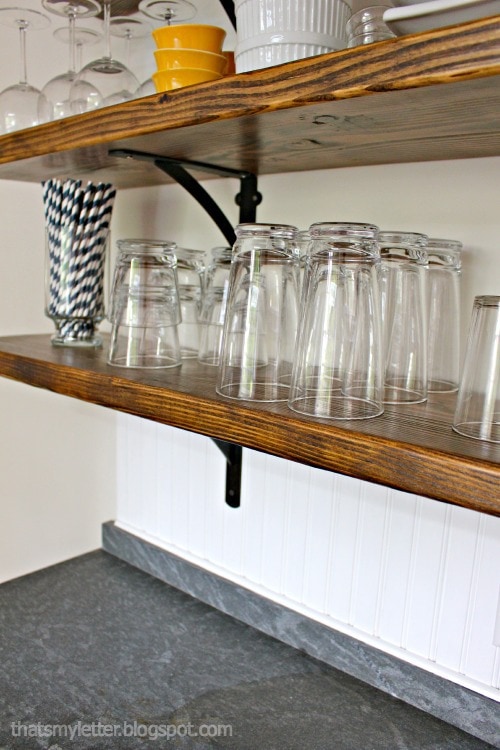
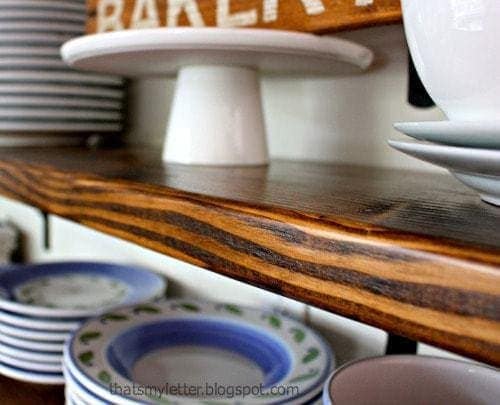
The thick 2x boards are sturdy and strong and provide great contrast against white dishes.
How to install open wood shelving:
Step 1: Remove existing cabinets. Take doors off first then crown moulding.
Begin unscrewing the cabinet from the interior, bottom screws first then top.
I was able to remove all the cabinets alone, they are slightly heavy (solid wood) but it was managable.
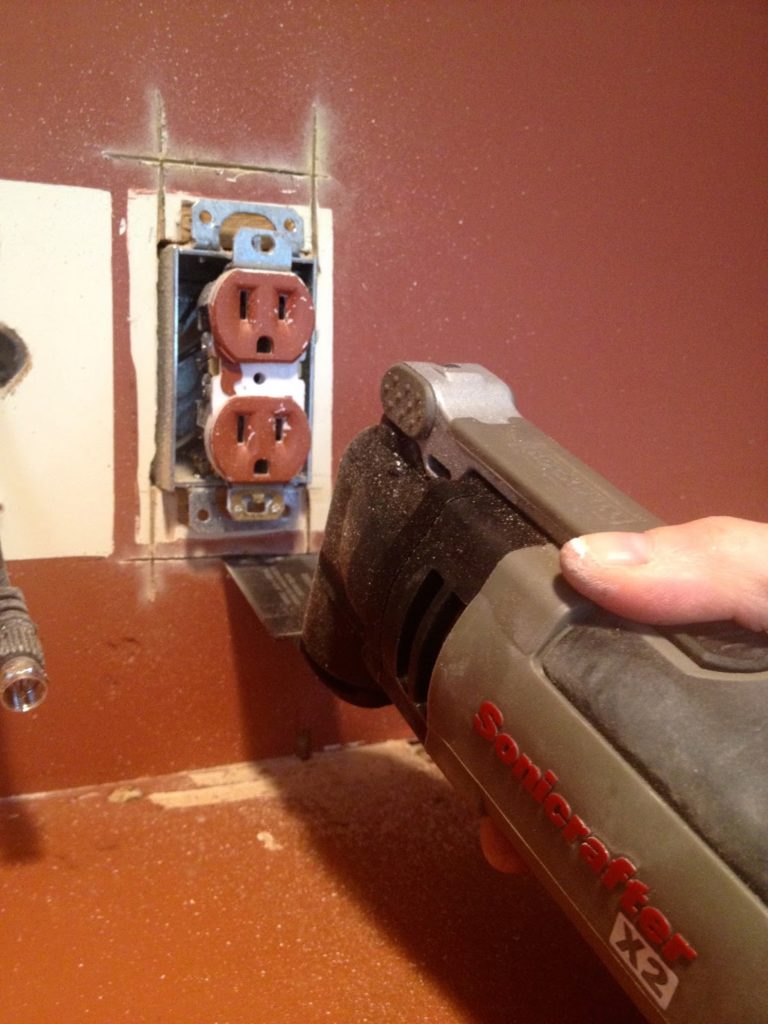
Step 2: I had an outlet inside one cabinet. Using my Rockwell Sonicrafter X2 I simply cut a hole around the outlet (the backing board was 3/4″ thick). I did have to scrape off the red paint but much easier than replacing the entire outlet.
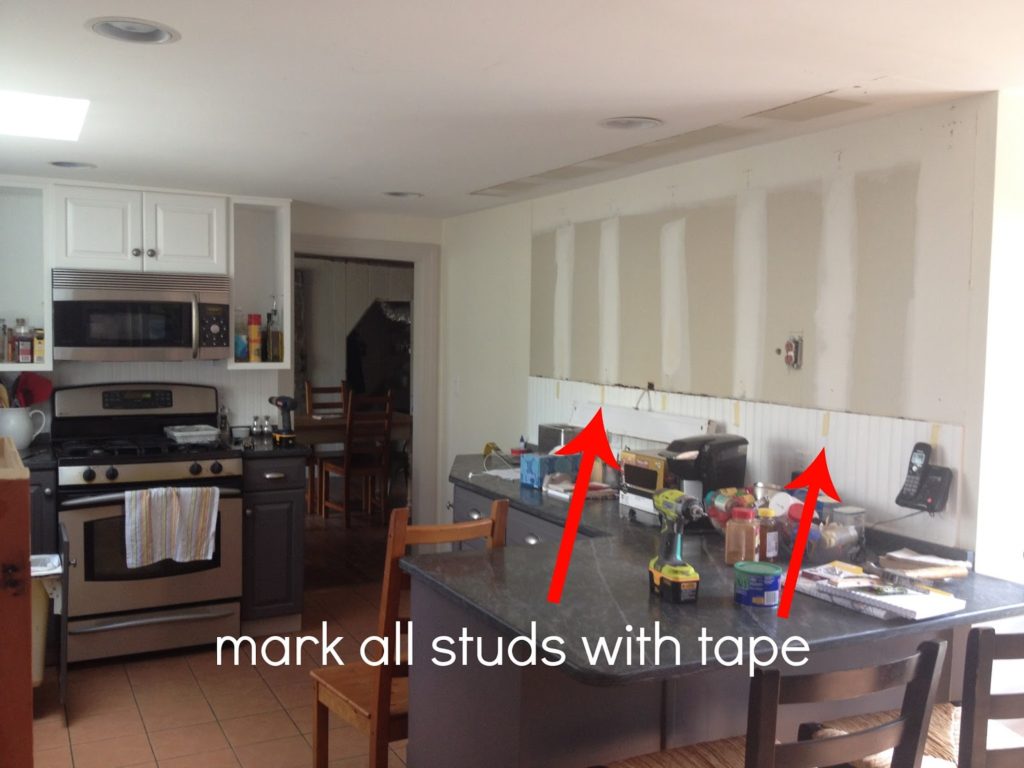
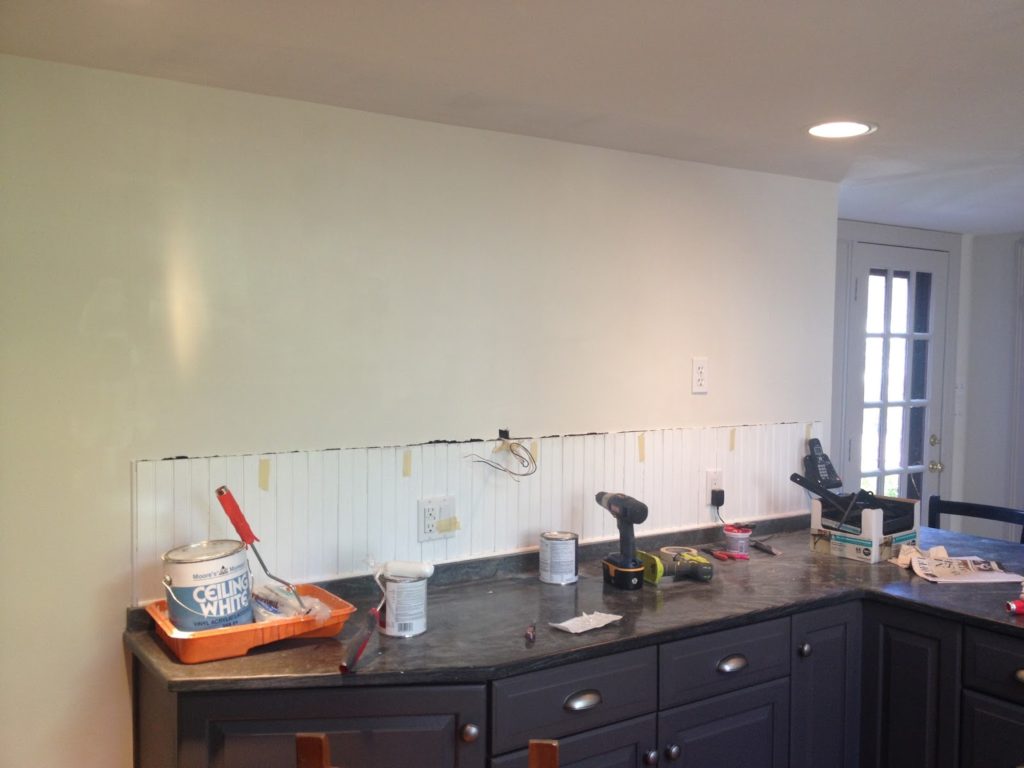
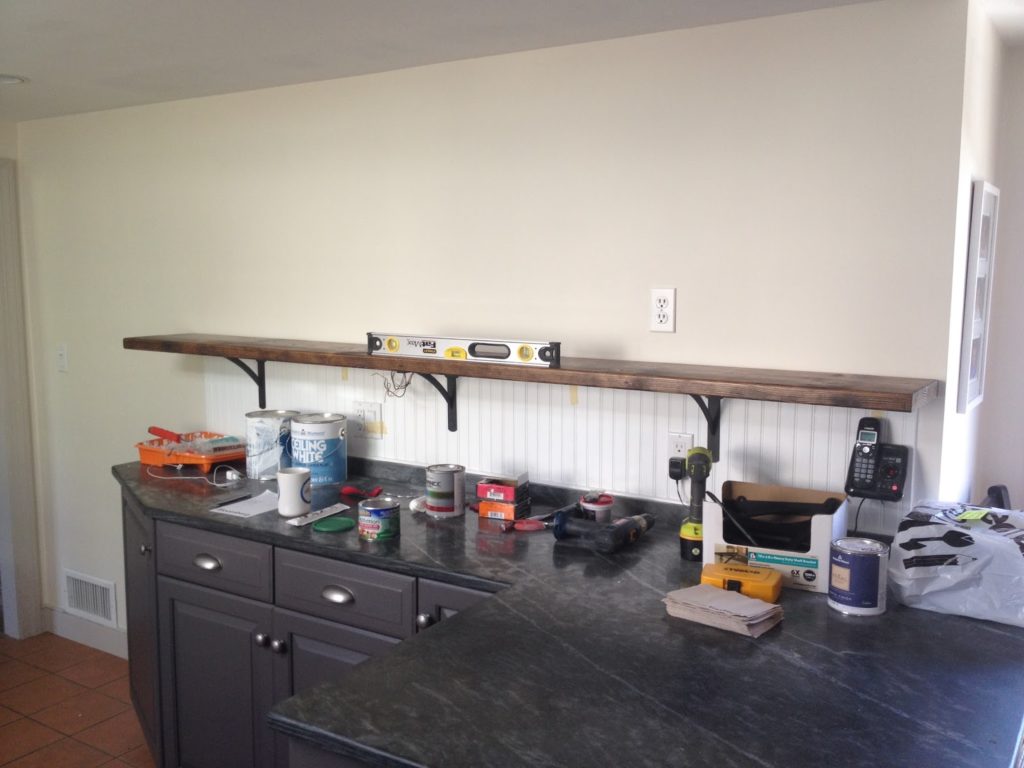
Step 3: Once cabinets are down mark all studs (I used masking tape on the existing beadboard backsplash.) Your brackets should be hung on the studs for maximum support.
Step 4: Patch all holes and paint.
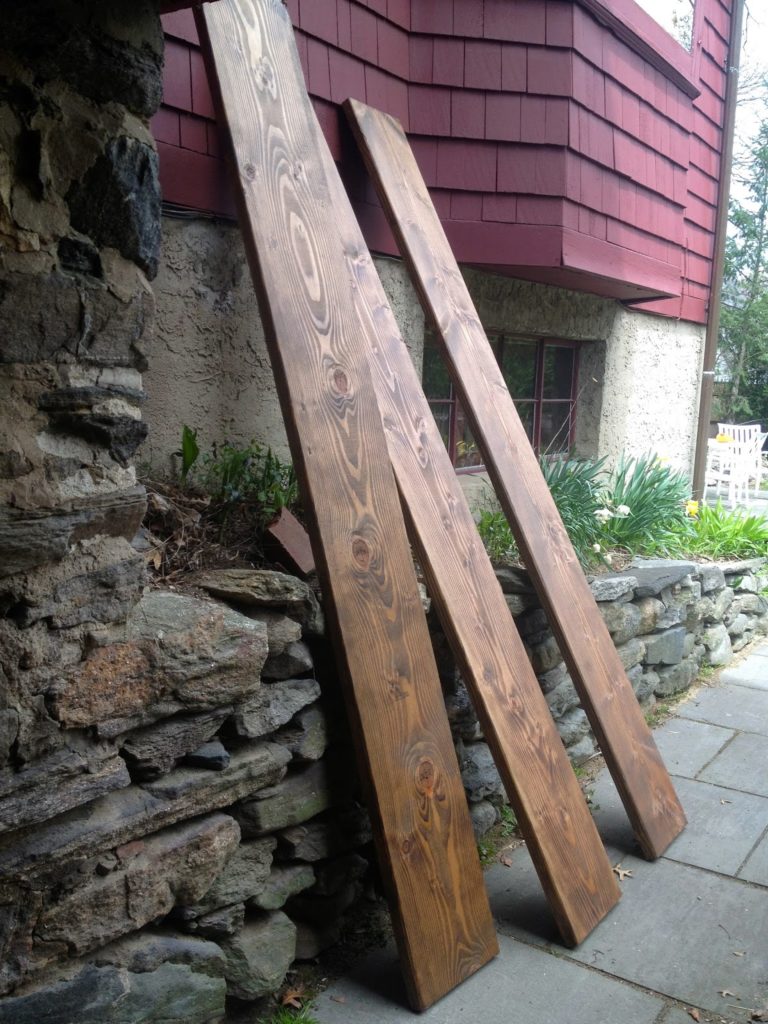
Step 5: Purchase 2 – 2x8x16 boards. I had Home Depot cut the boards in half to 8′ lengths (in order to fit in my minivan). Sand and putty any deep gauges.
Step 6: Stain. I used a combination of Minwax provincial + weathered oak + early american + jacobean.
Once dry apply 3 coats of Minwax polyureathane satin finish, sand between coats.
Step 7: Hang the bottom shelf. I used 3 brackets for these 8′ shelves. The brackets are rated for 600# each giving me plenty of strength. The brackets must be attached to a stud and make a vertical line for each row of brackets. I used 2 1/2″ #10 wood screws into the studs.
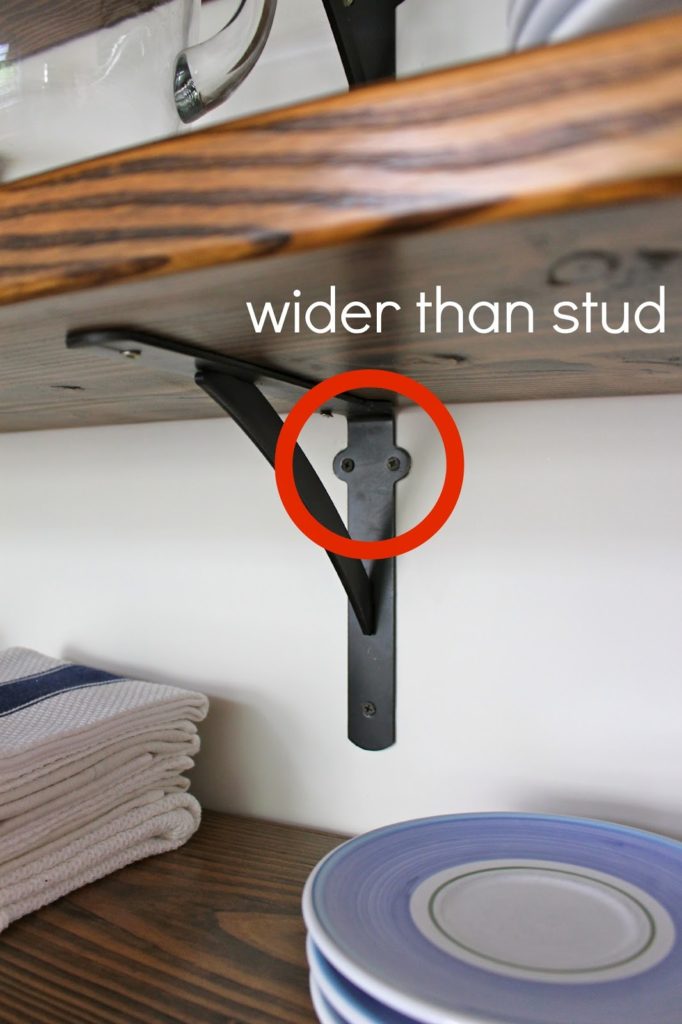
Step 8: NOTE: when attaching the brackets the middle 2 screws portion is wider than a stud (hello poor design feature 🙁 ) but I was able to angle the screws into the stud. My screw heads don’t sit completely flush but I’m okay with that.
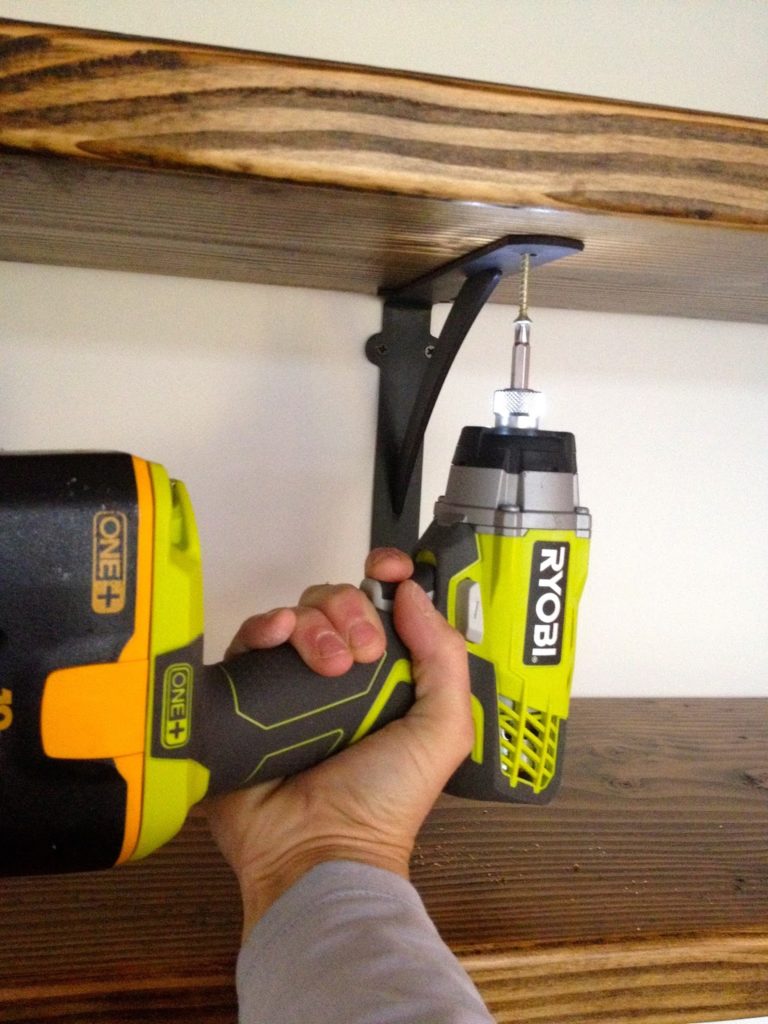
Step 9: The wood shelves must be secured to the brackets from the underside. I used 1 1/2″ wood screws here.
Step 10: Continue with the second and third shelves.
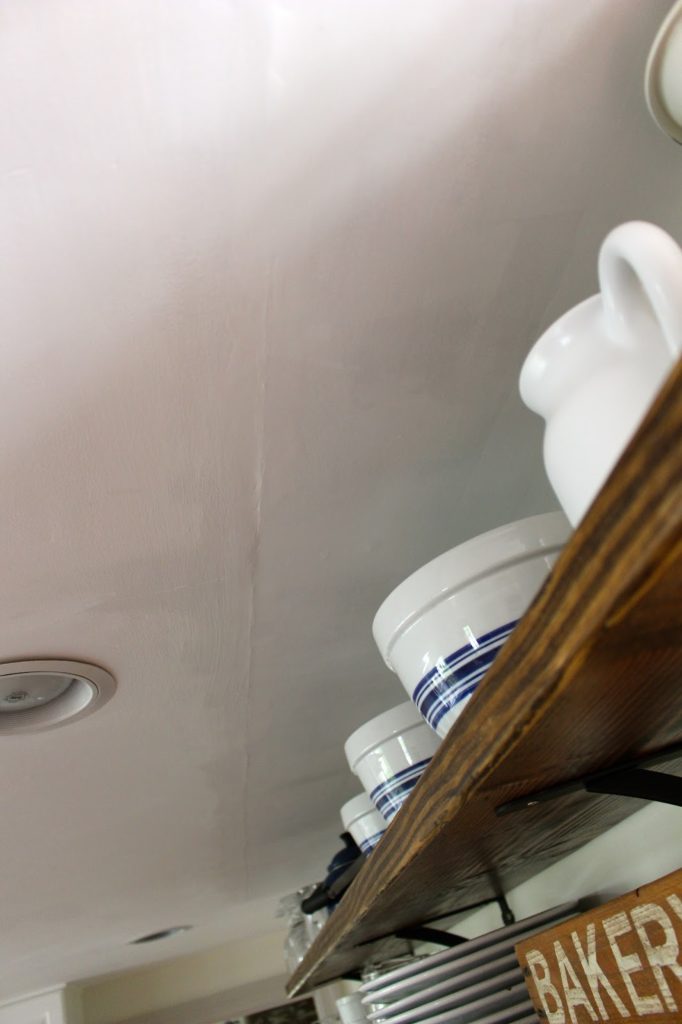
Step 11: There is some marring on the ceiling from the old crown moulding, I spackeled and sanded as best I could (and the ceiling has since been painted) so it’s not that visible but definitely take note.
To see the full kitchen makeover click here.
Love it! I found your blog via your handmade holiday collaboration with Ana White and I love everything and I've read back in your archives. I love building, sewing, decorating and I'm glad to have found a blog that does it all so well 🙂
These look amazing! I agree with you about the poor design feature… Whose idea was that??
I think your shelves turned out really cute! I am in the process of adding just one shelf in my kitchen! We already removed an old hood which is where we are putting the shelving. I see yours and it's so pretty I am inspired to finish mine:) found at inspire me monday. Have a great week.
What is the color of your bottom cabinets
I plan on doing this to my kitchen and haven't seen anything online how to do it. thanks for the info and I sure hope mine turn out as nice as yours.
What type of wood is this? thank you!!
This kitchen is beautiful! Love your style!
Great post and the kitchen looks lovely. thanks for sharing it.
What an amazing job you did, it's just beautiful! So fresh and clean!
How did you do the stain? Does it matter which stain you apply first? What was the order and any tips on the method you did. They are gorgeous!!!!! Good job 🙂
What type of wood is this? What steps/ order did you apply the stain process? thank you!!
Hi Tami, these are 2×10 which are typically Douglas fir. Just wipe on the stain with a cloth, let dry then seal with poly.