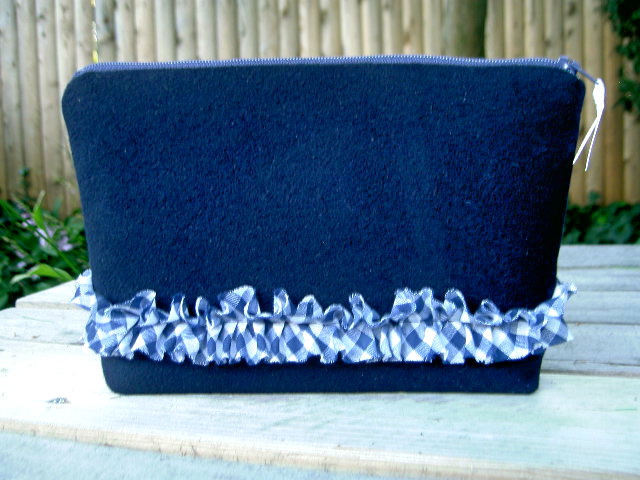
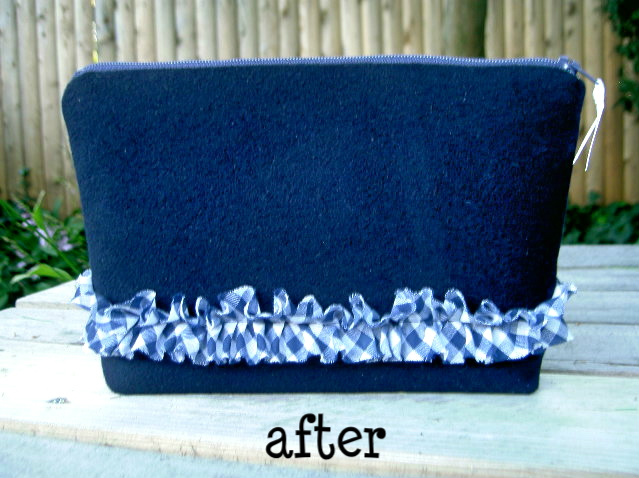
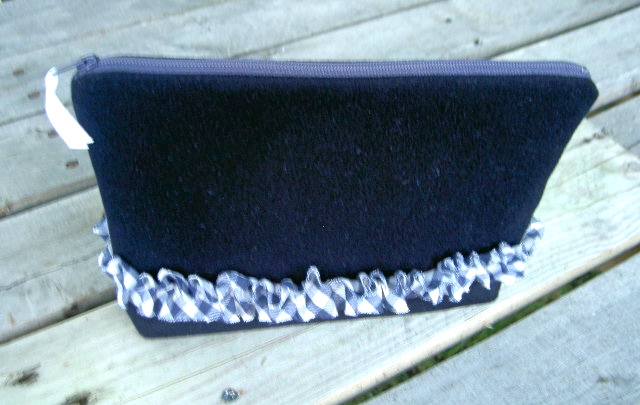
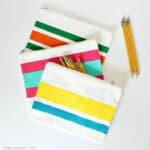
Navy wool pouch with gingham ruffle.

Seasons are changing and so are the pouches.
I took an old wool sport coat destined for Goodwill and made a classy pouch.

For money and credit cards, cell phone, cosmetics, anything goes.
Here’s how I made the pouch:
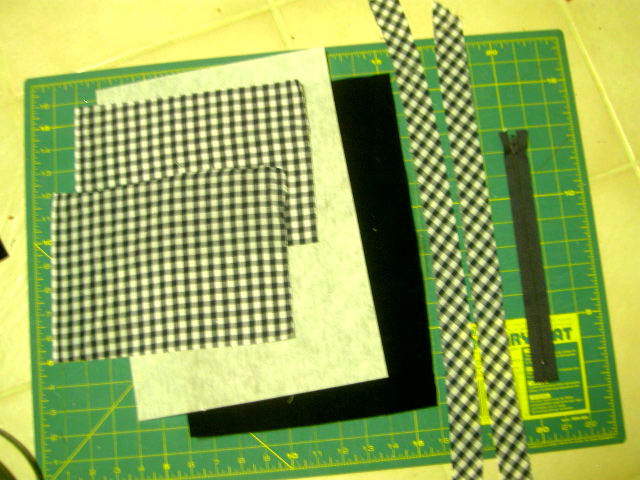
1. Cut pieces:
blue wool – 1 @ 10″ x 14″
lining – 2 @ 10″ x 7″
interfacing – 1 @ 10″ x 14″
ruffle – bias cut 2 @ 1.25″w x 20″l
zipper – 1 @ 9″
2. Iron interfacing onto wrong side of wool.
Make ruffles using long straight stitch off center and pulling either thread.

3. Pin ruffle into place 4″ from both short edges:
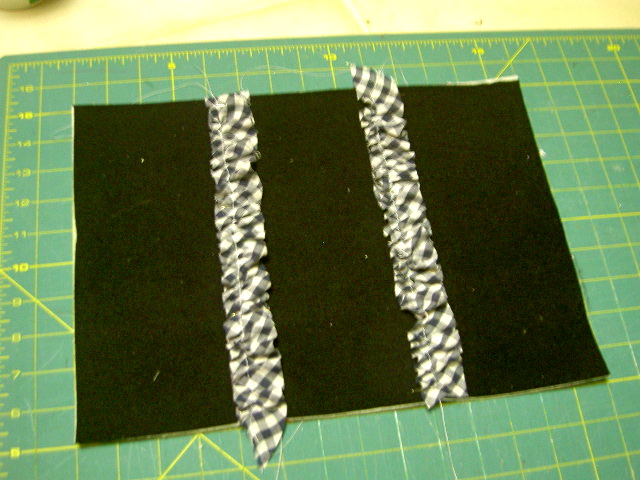
4. Straight stitch ruffle to pouch down middle:

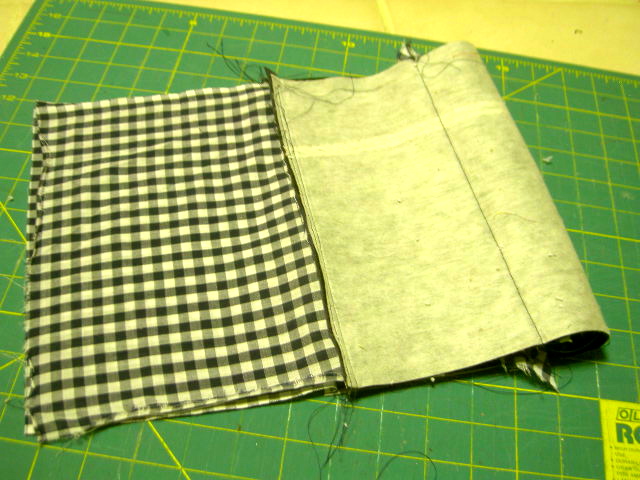
5. Place zipper at one short end, face down onto wool, then lining:
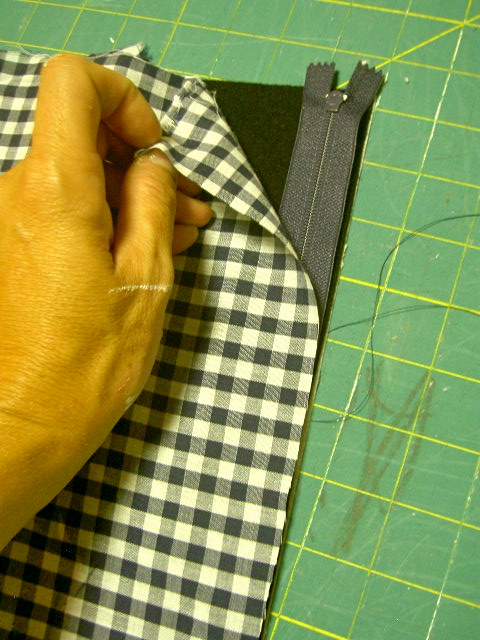
6. Using zipper foot sew zipper into place:
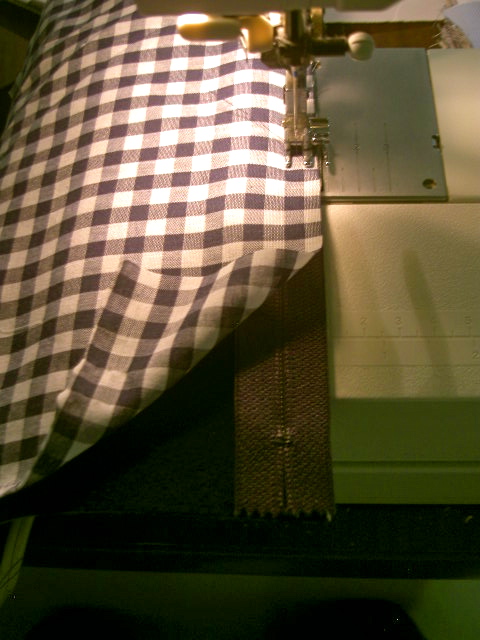
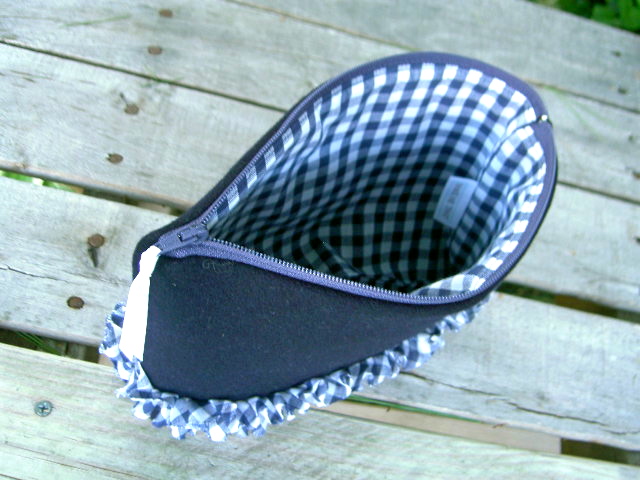
7. Pull lining over to reveal zipper back and straight stitch lining 1/8″ from zipper edge:

This helps to prevent lining from getting stuck in zipper.

8. Repeat for other end using other side of zipper.

9. Now the pouch will be inside out completely.
Stitch sides closed starting at wool portion, lining up zipper ends and ending at lining:
10. Make wool ends square.
Open side seams, pull bottom edge fold to meet side seam and sew 2″ into side seam:
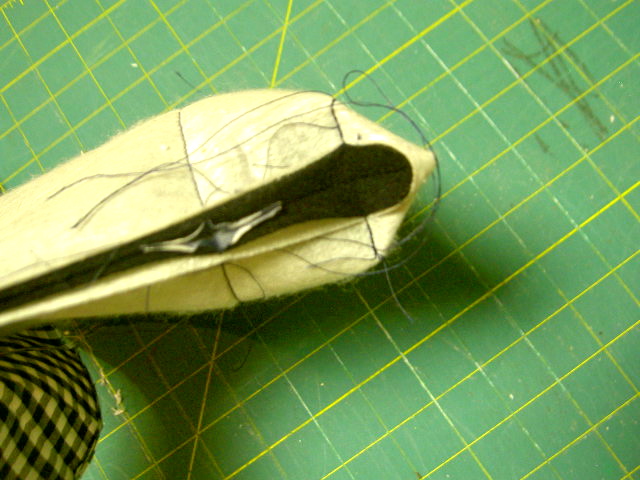
11. Clip excess from bottom corners.
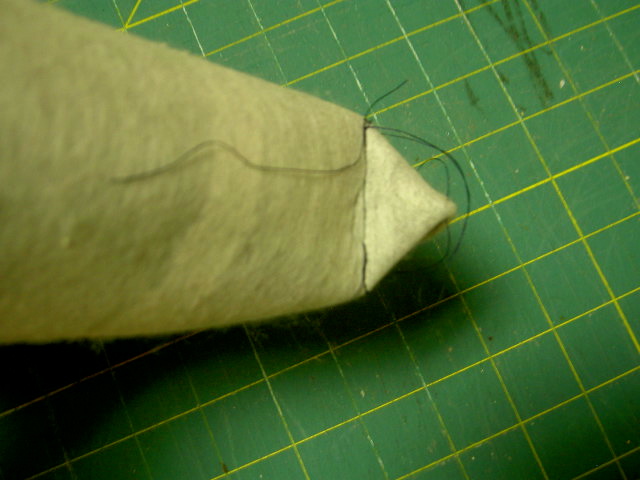
Turn pouch right side out.
Press lining side seams open.
Press up lining edge 1/2″ all around.

12. Straight stitch lining closed.
Push lining down into pouch and press smooth especially around top edge near zipper.
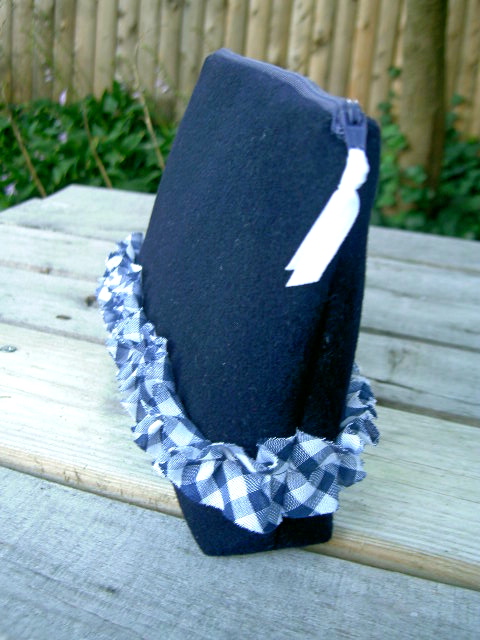
Add ribbon detail to zipper pull.
A great way to reuse a wool sport coat and make something purposeful for many days to come.
I’m linking up to:
Whatcha Got Weekend @ Lolly Jane
SAS @ Funky Junk
Lovely Crafty Weekend @ Lovely Crafty Home
Weekend Wrap Up @ Tatertots & Jello
Sundae Scoop @ I Heart Naptime
Sister Sunday @ Sisters of the Wild West
Sunday Showcase Party @ Under the Table & Dreaming
Just Something I Whipped Up @ The Girl Creative
DIY Project Parade @ The DIY Showoff
Made by You Mondays @ Skip to My Lou
Making the World Cuter @ Making the World Cuter
Nifty Thrifty @ Coastal Charm
Tuesday Treasures @ My Uncommon Slice of Suburbia
Tutorials & Tips Tuesday @ Home Stories A to Z
Good Life @ A Beach Cottage
Delightfully Inspiring @ Delightful Order
Strut Your Stuff @ Somewhat Simple
Share Awesomeness Thur @ The 36th Avenue
Flaunt it Friday @ Chic on a Shoestring
Tickled Pink @ 504 Main
Frugal Friday @ The Shabby Nest
SAS @ Just a Girl
Feathered Nest @ French Country Cottage
Remodelaholics Anonymous @ Remodelaholic
Textiles @ Freckled Laundry
inspiration board @ Carolyns Homework


I love the blue wool! Such a great way to repurpose that blazer!
Love navy and accenting with the gingham is just lovely!
Great tutorial! I love that you repurposed a blazer.
Oh this is so cute, and your tutorial is excellent! I'm pinning this to Pinterest!
An amazing job, Jaime! You are very creative..thanks for connecting..glad you were ok after hurricane..we lost power for a short time.
So cute! I love it. Thanks so much for the tutorial.
That ruffle is just too cute- ties the look together! Great job!! xo