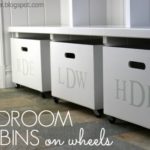
Tapered wood bins for mudroom storage.
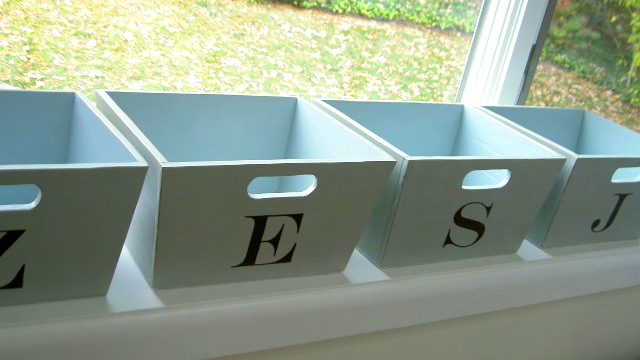
I built custom wood bins for mudroom cubbies for a Westport customer.
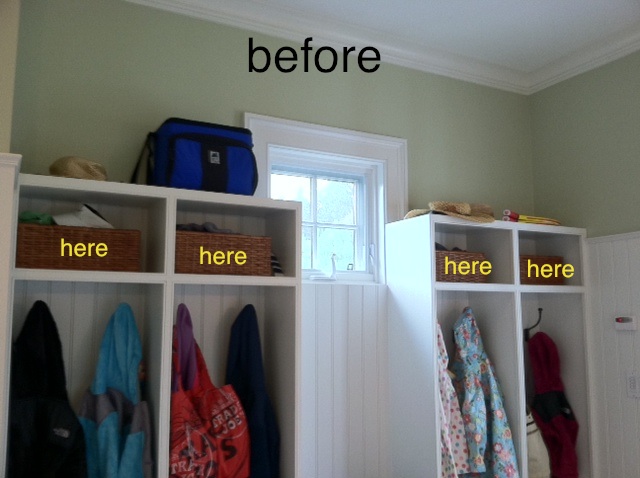
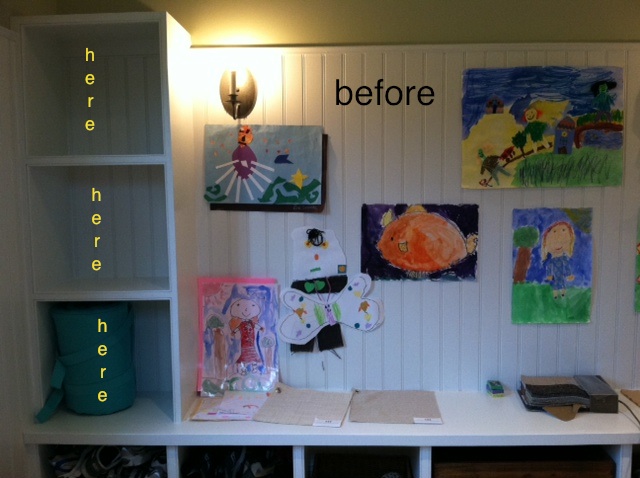
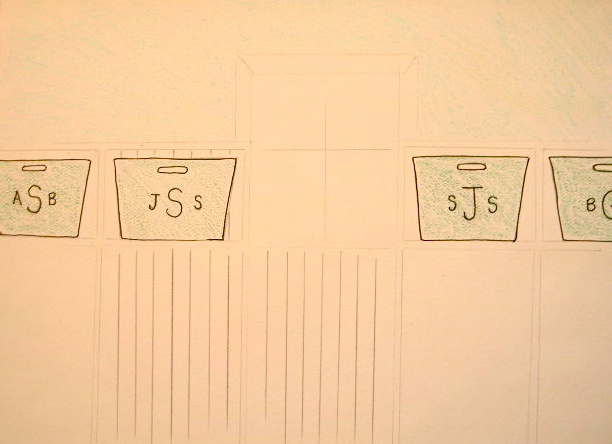
Here’s the before pic of the space, you’ll have to imagine the bins placed in each ‘here’ section:
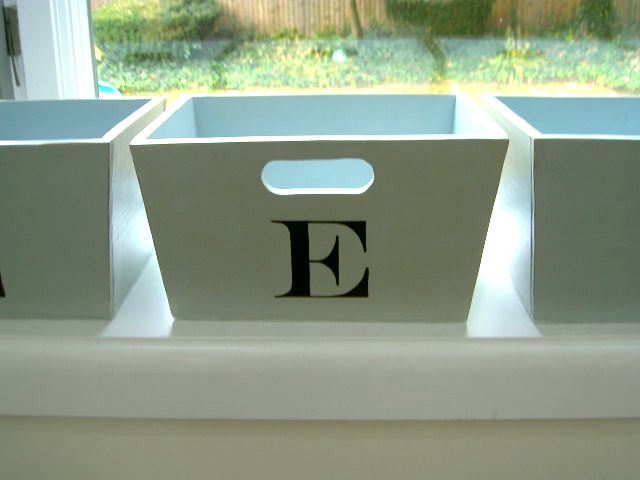
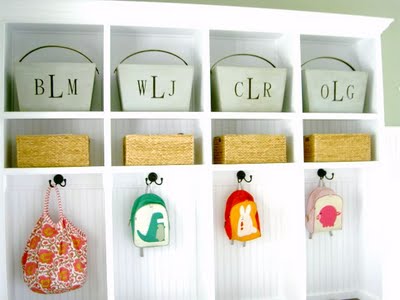
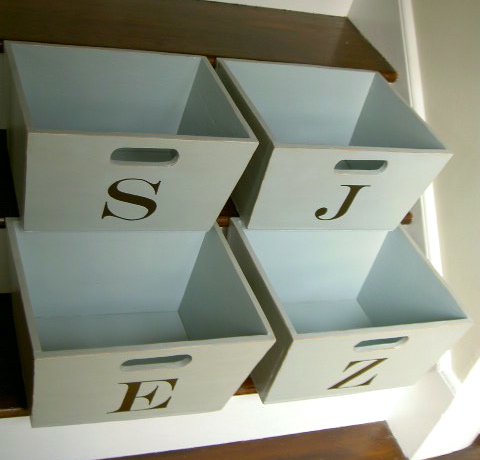
Each initial stands for the first letter of the family member:

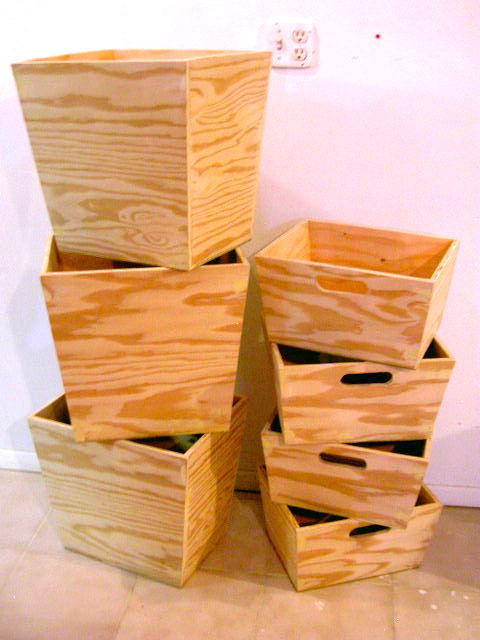
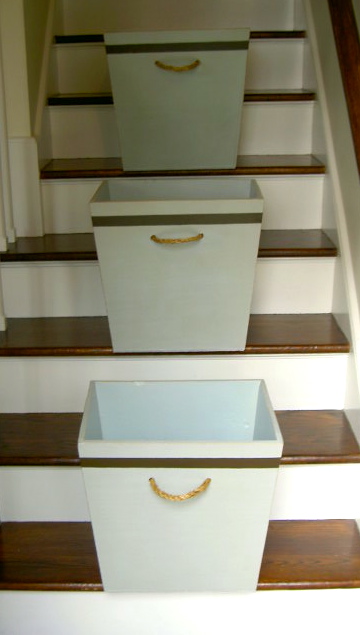
And then I built three large, deep bins too:


Another before pic shows the opposite side of their mudroom, imagine these tall bins in the ‘here’ spots:
These deep bins will provide beautiful, concealed storage:

And easy to pull out with the rope handle:

The inspiration for this project came straight from a previous post here:
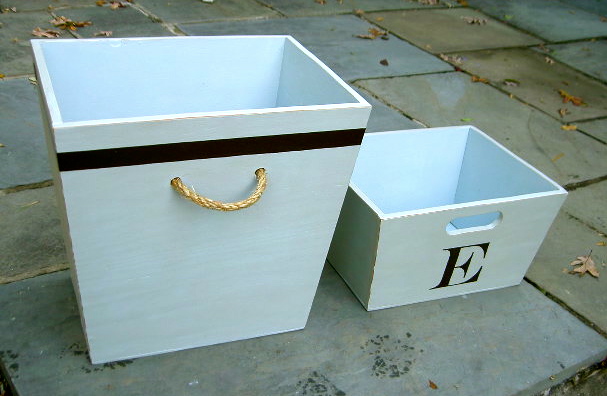
I built these monogrammed tapered wood bins with handles:
Here’s how I made the bins:
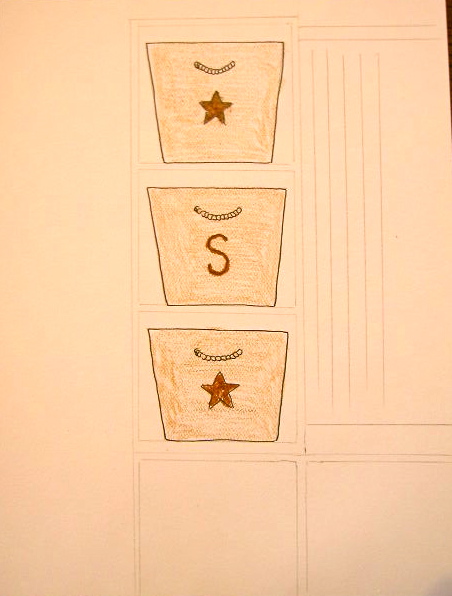
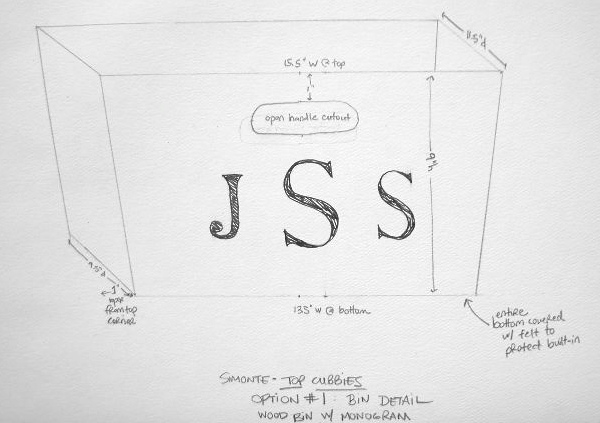
1. After receiving an email request from the customer I drew up a few options and we settled on these shapes:
2. Using 1/2″ plywood cut the pieces:
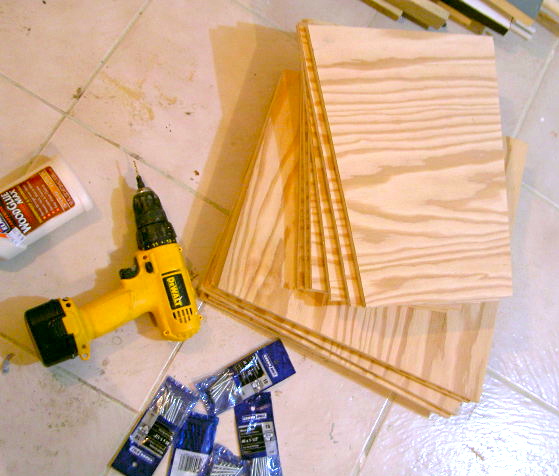
3. Cut out the handle opening for the smaller bins using a jigsaw:

4. Assemble the boxes using #6 – 1 1/2″screws and glue.
Nail 1/4″ plywood to bottoms.
Putty up and sand smooth.
Pre-drill holes for rope handles now.
5. Finish:
– One coat Zinsser primer
– Two coats BM wedgewood blue
– Sand edges to distress
– Stain Minwax Early American
Add decorative items now.
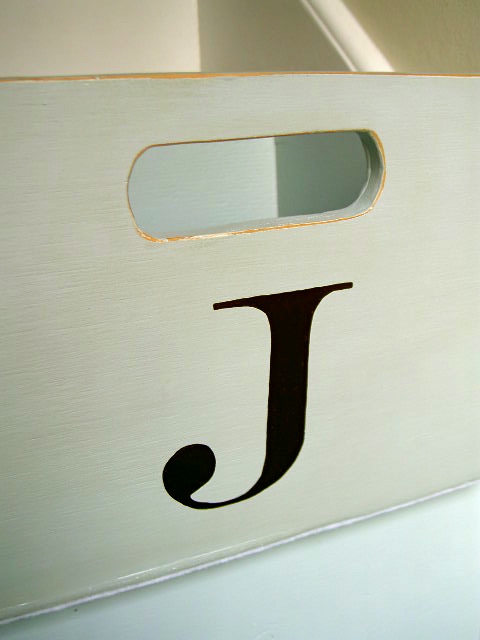
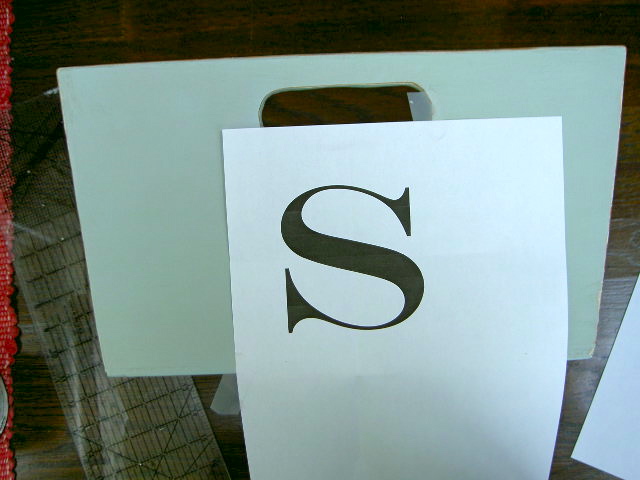
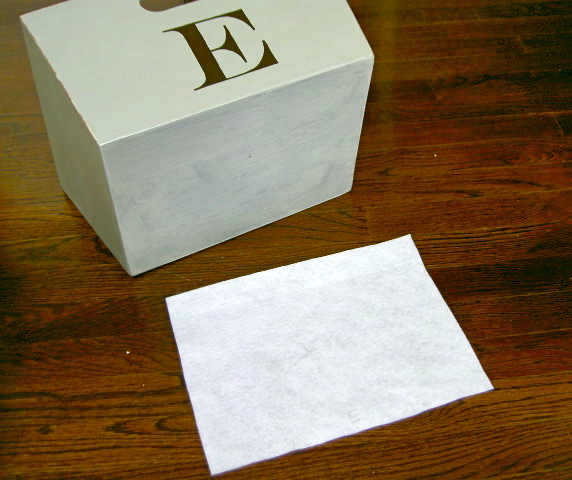
6. For the monogrammed bins find the middle:
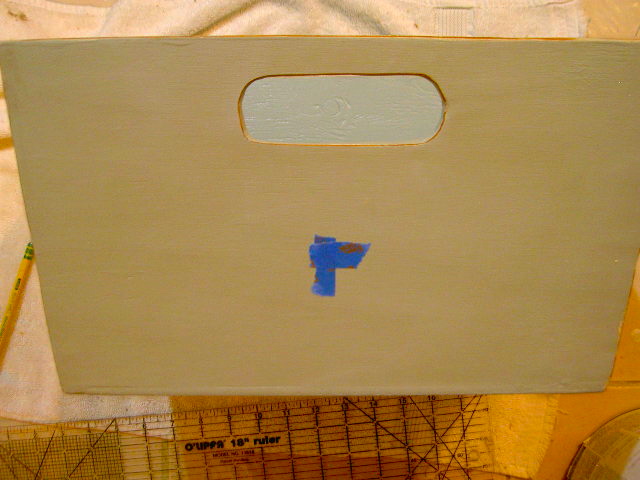
7. Print out the letter to size and fold to find the middle.
Match up midpoints and secure paper to bin.
Trace around letter using ballpoint pen to leave indent in wood.
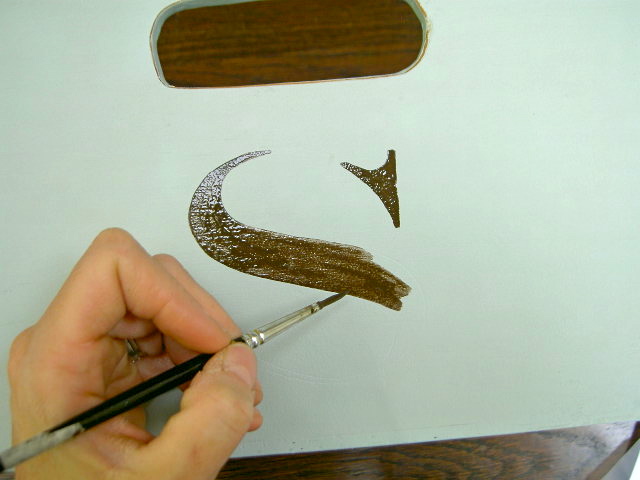
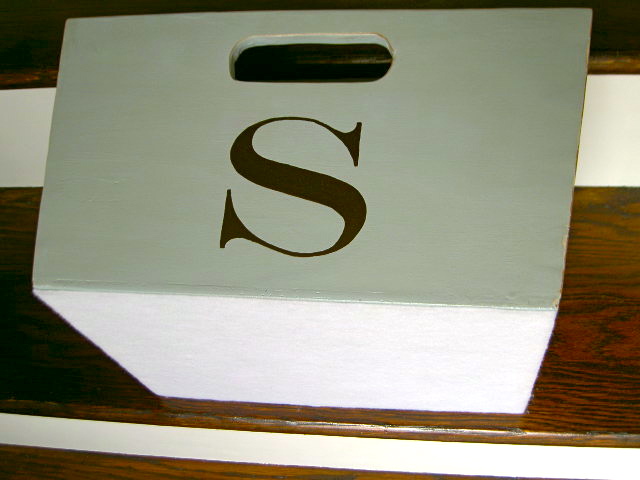
8. Paint on and inside the indented lines:
(I used Behr French Roast.)

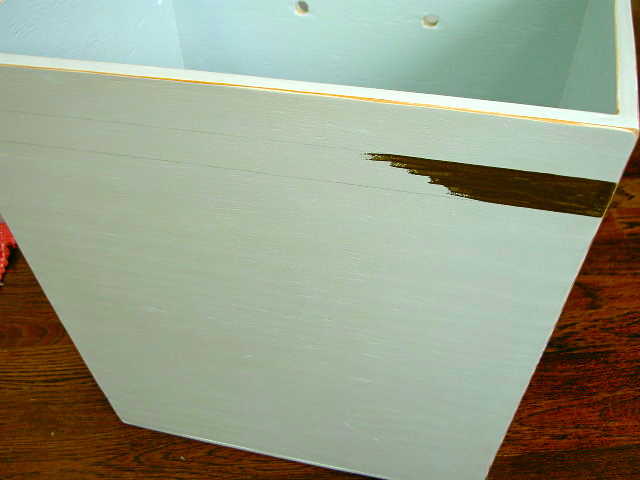
9. For the tall deep bins mark the stripe with a pencil using a ruler.
(A quilting ruler works best because it’s clear.)

10. Paint on and inside pencil lines:
11. Seal inside and out using Minwax poly satin finish.
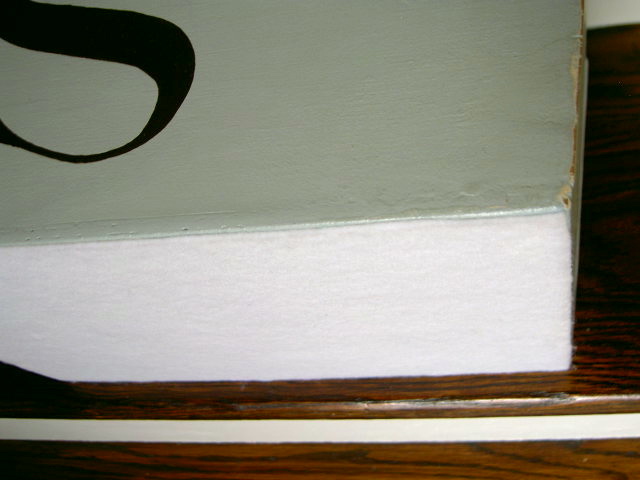
12. Add felt to bottom to protect cubby surface.
Cut felt to fit, do this individually as each bin is slightly different:
13. Apply spray adhesive to felt, then smooth felt onto bottom.
Cut away excess from edges:
Felt is cut slightly in from side edges to be as hidden as possible.
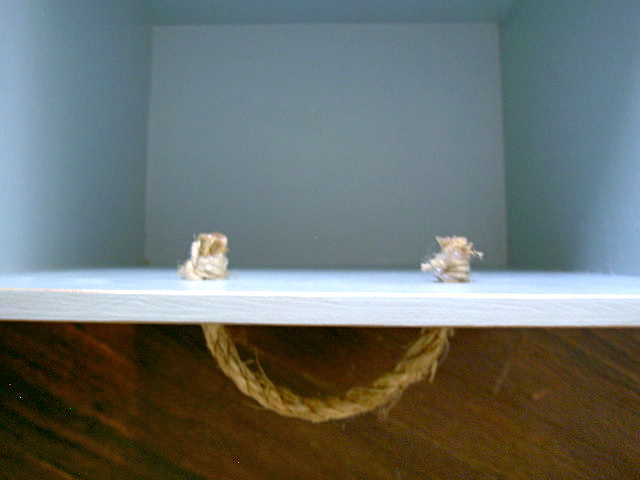
14. For rope handles simply thread rope through holes.
To secure apply hot glue blob to rope and wrap with jute multiple times over glue, double knot with glue:
Complete.
Use your imagination to see the bins in their new home here:
Keep imagining that these big bins:
Are all nestled in their new home ‘here’:

A total collaboration project from a customer who simply found me while surfing the internet.
Glad I was able to make her space more useful all while creating a unique, custom product.

I love these bins! I can't wait to have a mudroom of my own some day 🙂
These are wonderful! You've really outdone yourself.
Would you be willing to give the measurements of the wood pieces you cut to make the smaller inital boxes? I would love to try to make one myself! Thanks
Those bins look fab! I love the simple but stylish design!
great bins and tutorial. the jute around the raw edge for the handle is ingenius. love your blog and projects…so simple but so lovely.
judi
Great job!! I am so impressed!
These are fabulous. Thanks so much for sharing your tutorial with us. Happy new follower from the Tuesday blog hop.
Laura
Thank you for your detail on making these!!! I hope your client was very happy. . .it looks like quality craftsmanship.
These are awesome. LOVE IT..So creative.. I would LOVE for you to please share it at my Pin'Inspirational Party please.. ;)) LOVE it.. http://theartsygirlconnection.blogspot.com/2011/11/pininspirational-thursdays-linky-party_09.html
I absolutely adore these!!!
Jenny
http://www.simcoestreet.blogspot.com
Great design! I love the color too. Thanks for the tutorial.
They are adorable! i'm working on my mud room too, but I'm not nearly as crafty as you. No way I could build boxes like you did!
I love these bins!!
WoW! Fantastic! They look store bought, I am impressed and inspired!
SO much fun!! Would LOVE it if you would link this project up at my turquoise lovin' party!! http://www.sweetlittlegals.com/2011/11/turquoise-lovin-13.html
As always. S is for stunning. 😀