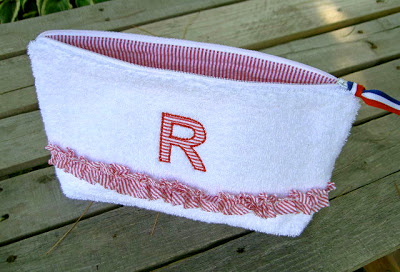
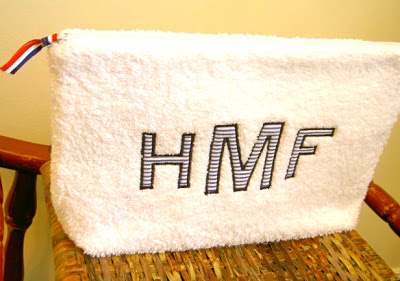
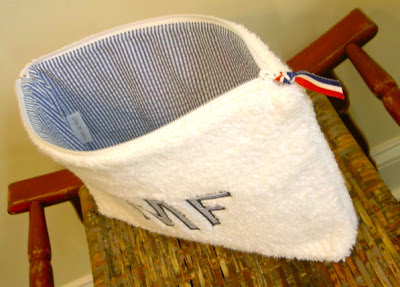
Here’s a few bits on how I made the 12″ pouch:
1. Cut terry, lining and interfacing to size:
terry cloth: 13″ x 17″
lining: 2 @ 13″ x 6.5″
interfacing: 13″ x 17″ (fusible)
zipper: 12″
Fuse interfacing to terry.
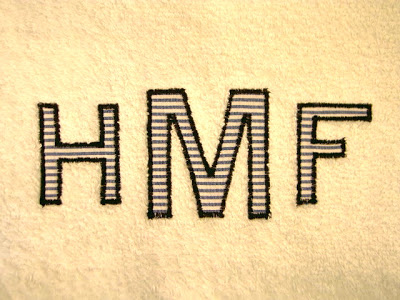
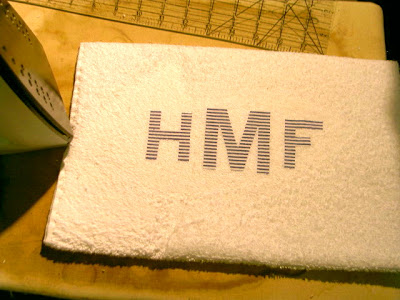
2. Make letters.
Use heat’n’bond double sided fusible on wrong side of fabric.
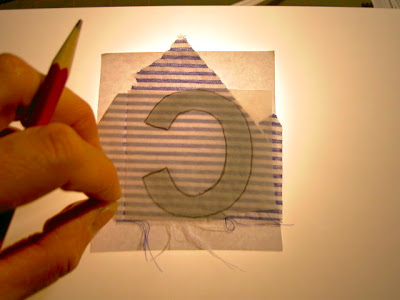
Trace letter using light box onto paper back.
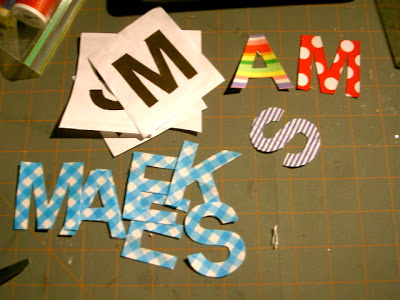
3. Cut out letters keeping paper backing on.
3. Iron letters into place on terry:
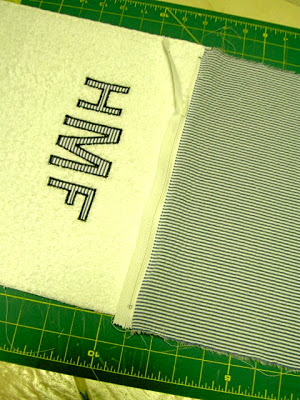
5. Using a zipper foot add your zipper.
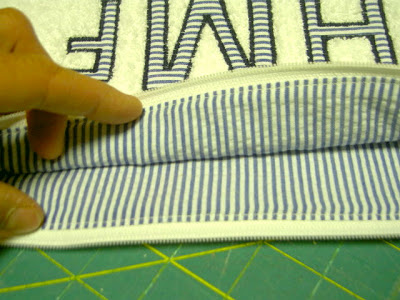
Make a zipper sandwich with terry on one side and lining on the other:
6. Do the same on the other top edge.
Be sure to top stitch lining 1/8″ from zipper for a clean finish and to ensure lining won’t get caught in the zipper.
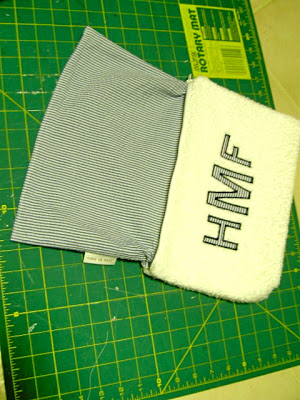
7. Wrong sides together stitch down side seams, be sure zipper edges line up.
(This would be the time to insert your label tag.)
8. Turn right side out, press lining side seams open, press in bottom edge of lining 1/2″ and sew shut.
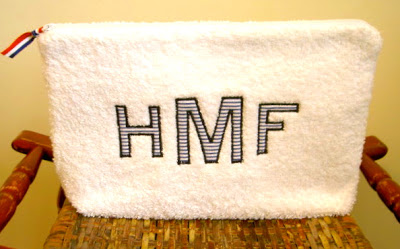
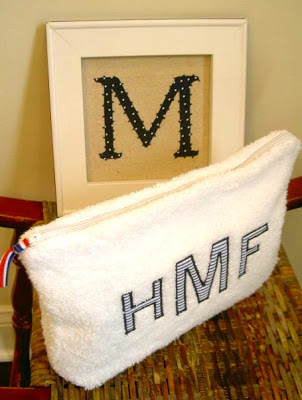




Very cool, and very "boy"!
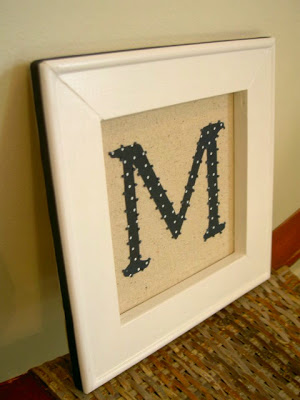
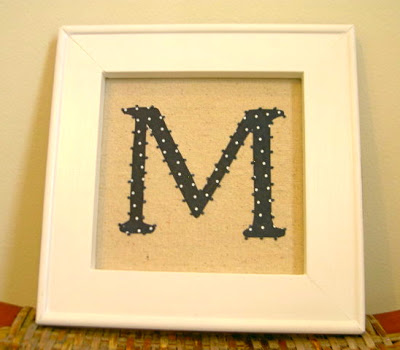
I really like the framed "M" with the french knots~that's a fun new twist.
This is a really great idea and I have been looking for something really cute for us to put all our puppy babies things in when we go out of town to the lake or when they have to be boarded I have resulted to an old diaper bag I got at the thrift store.Very cute but wouldn't it be cute if I could add "Maddie" and "Shelbys" name on a more appealing bag?!
you're adorable, too creative! (: my last name is an "M" so this speaks to me!! XO
Hi Jaime, I have just discovered your blog and am a new follower. Love the pieces you have created.
http://www.lminteriorsllc.blogspot.com
What great gifts!!! LOVE the monogramed pouch! I've seen them in Pottery Barn's catalog and always wanted one – now I can make my own! Thanks for the tutorial 😀
Shelley
http://[email protected]
Love monograms~ these are darling. Thanks for sharing at Feathered Nest Friday! 🙂
This looks great! See you at My Dream Canvas.
brilliant! what a lucky friend!
michele
How cute…thanks for sharing this at NTT!!!
Blessings,
Linda