• Home
  • Blog
  • About
  • Contact
    • Disclosure
    • Privacy Policy
  • SHOP
  • Widget area for main menu

    • Email
    • Facebook
    • Instagram
    • Pinterest
    • Twitter
    • YouTube
  • Skip to primary navigation
  • Skip to main content
  • Skip to primary sidebar

Jaime Costiglio

build - paint - sew

  • BUILD
    • BEDS
    • BENCHES
    • DESKS
    • DRESSERS
    • GAMES & TOYS
    • SCRAP WOOD
    • SHELVES
    • STORAGE
    • TABLES
  • TOOLS
  • PAINT
    • CRAFTS
    • FURNITURE
    • HOME DECOR
  • SEW
    • GIFTS
    • HOME DECOR
    • POUCHES
  • HANDBUILT HOLIDAY
    • 2021
    • 2019
    • 2018
    • 2017
    • 2016
    • 2015
    • 2014
    • 2013
  • GIFTS
    • BABIES
    • KIDS
    • FOR HER
    • FOR HIM
    • TEACHERS
    • WEDDINGS
  • SEASONAL
    • 4TH OF JULY
    • FALL
    • HALLOWEEN
    • CHRISTMAS
    • SUMMER
    • SPRING
    • ST. PATRICK’S DAY
    • THANKSGIVING
    • VALENTINE’S DAY
    • WINTER
  • SALTBOX PROJECT
    • BATHROOMS
    • DINING ROOM
    • EXTERIOR
    • FAMILY ROOM
    • FOYER / MUDROOM
    • KIDS BEDROOMS
    • KITCHEN
    • LIVING ROOM
    • MASTER BEDROOM
    • PLAYROOM
  • SCROLL SAW

“M” is for Mom-to-be Pouch

June 14, 2013

Sew: mom-to-be gift pouch

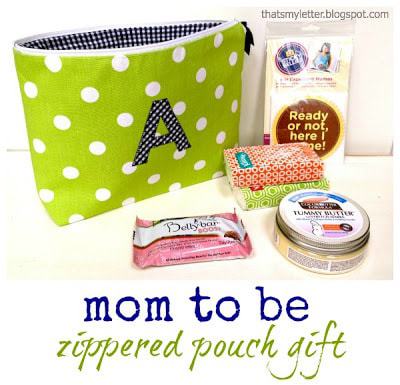
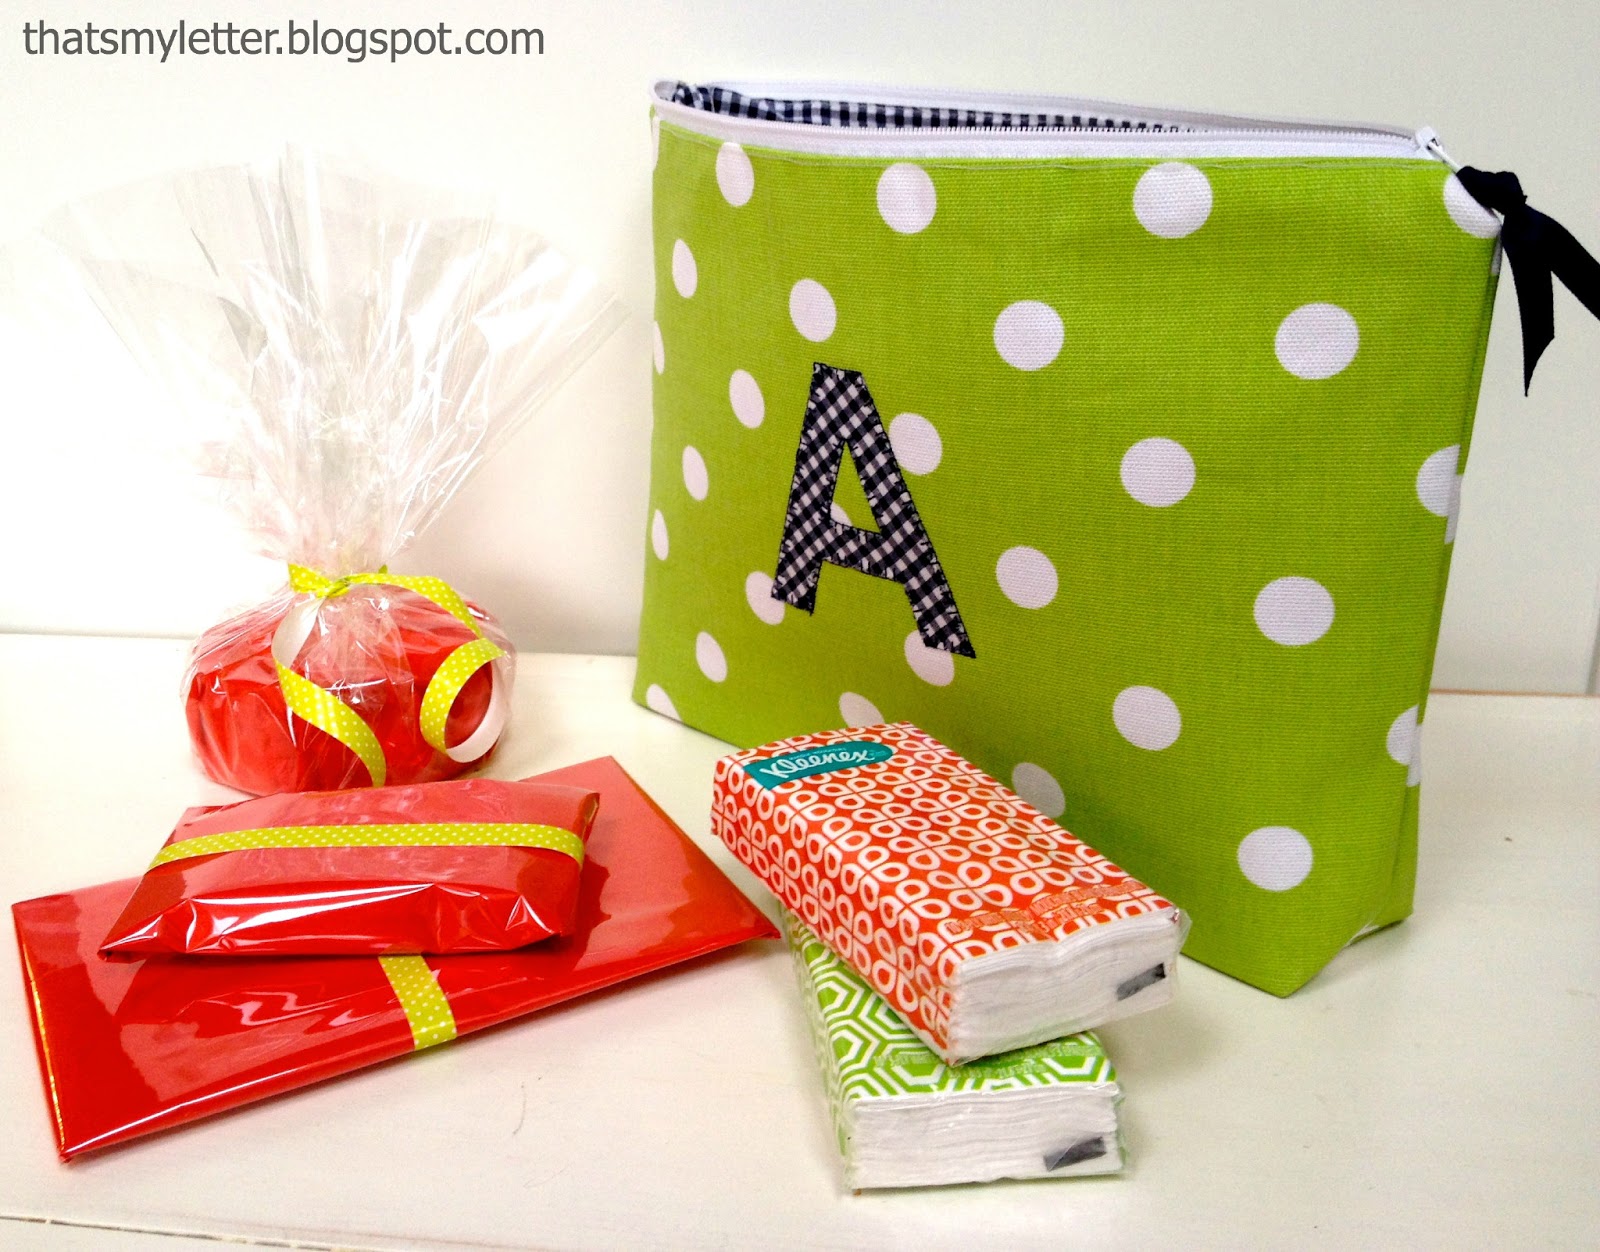
Make a cute zippered pouch with your favorite fabrics then fill it with fun pregnancy related gifts that any mom-to-be would enjoy.

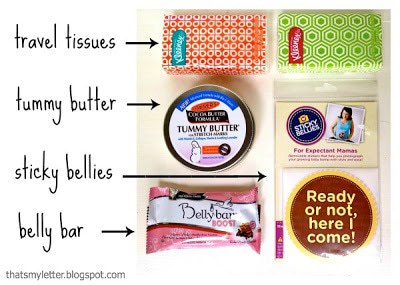
Wrap up the goodies in tissue and cellophane and place everything inside the pouch:


 Here’s how to make the zippered pouch:
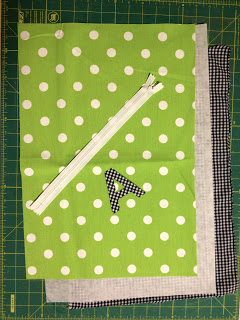
1. Supplies:
1 – exterior fabric 11″ x 14″
1 – interior fabric 11″ x 14″
1 – med. weight fusible interfacing 11″ x 14″
1 – 10″ zipper
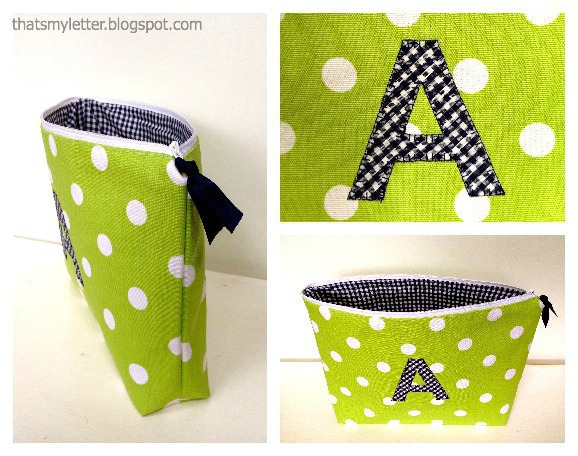
fabric letter (tutorial here)
grosgrain ribbon for zipper pull

2. Fuse interfacing to wrong side of exterior fabric then pin letter at center front of one end and zig zag stitch in place.

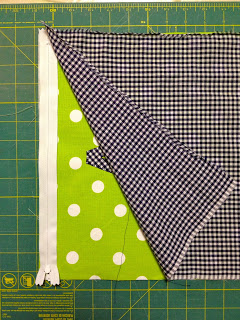
3. Lay exterior fabric right side up,  place zipper face down at one end then interior fabric right side down on top:

 
4. Sew zipper in place then top stitch lining down and repeat for other side.
5. Sew side seams (be sure to leave a 4″ opening in one side of lining) and miter corners.
For a more complete pouch tutorial click on any of the pouches listed here. 
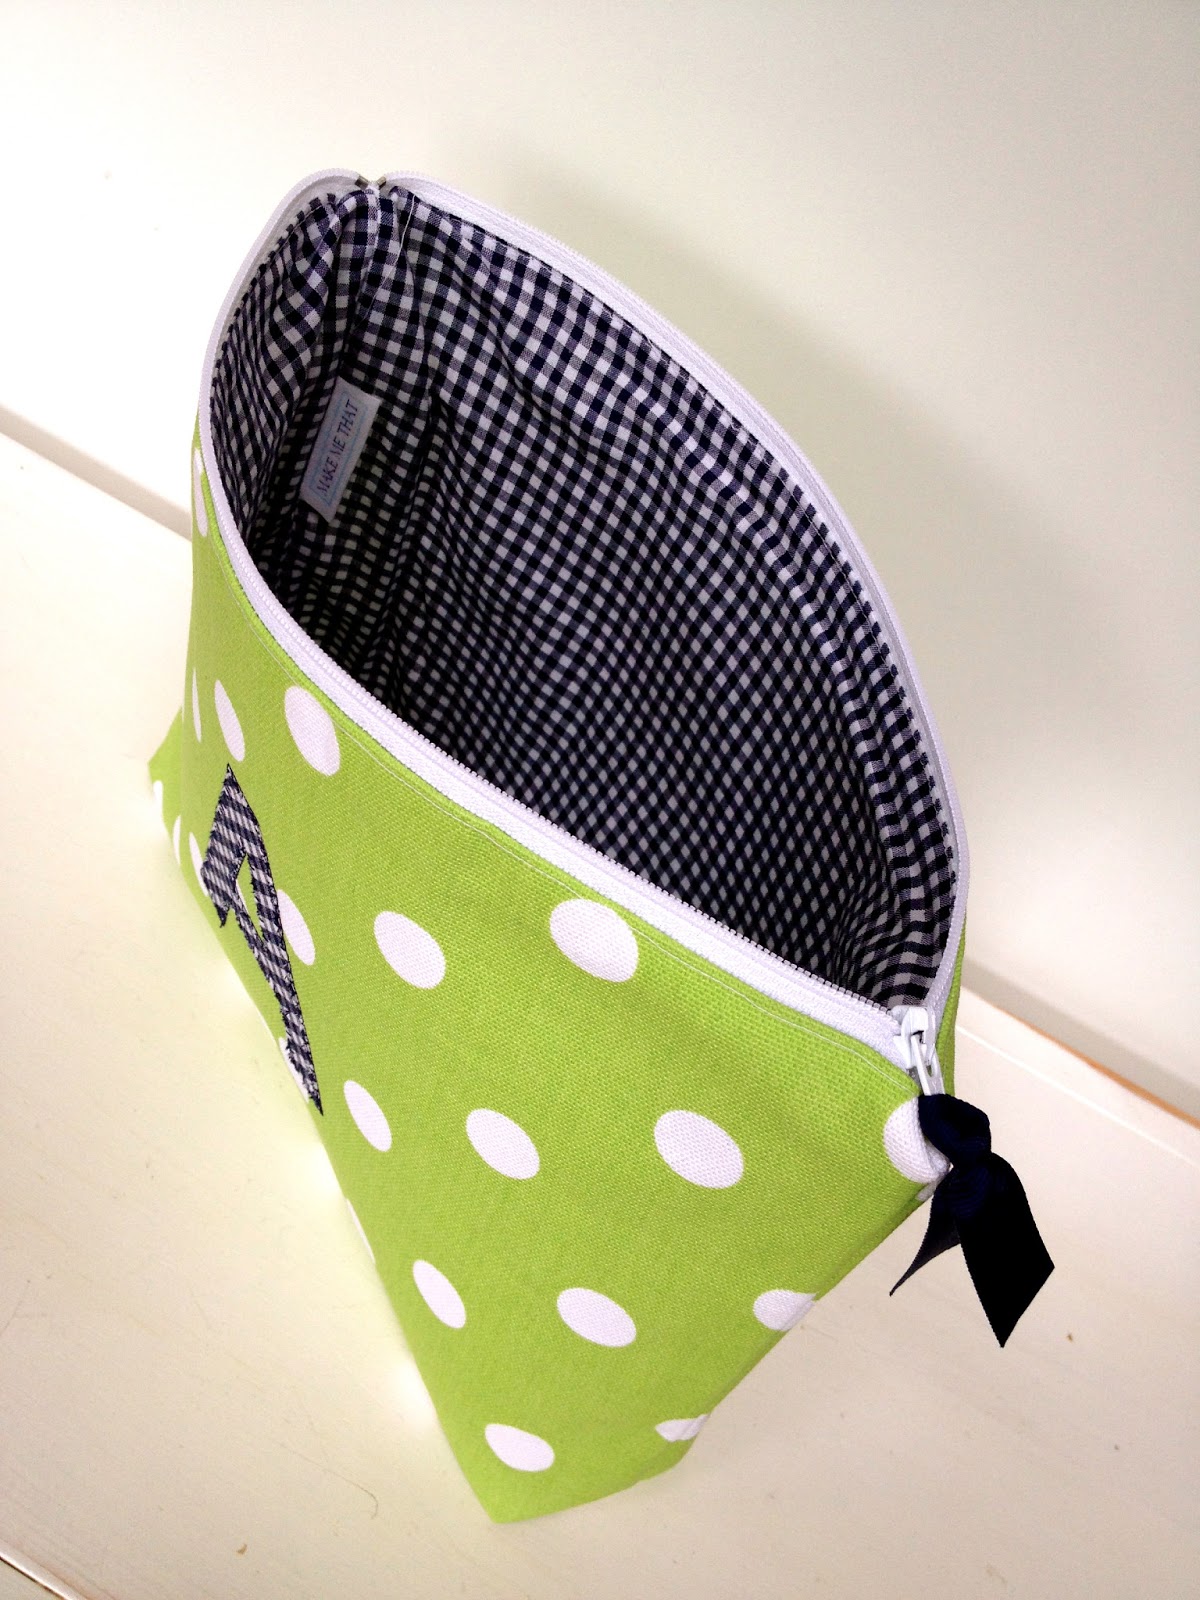
6. Turn right side out, slip stitch lining closed, push lining down into pouch and press:

 
I’m linking up to:
SAS @ Funky Junk
Nifty Thrifty Sunday @ Nifty Thrifty Things
That DIY Showoff @ The DIY Showoff
Tutorials & Tips Tuesday @ Home Stories A to Z
The Scoop @ Lolly Jane
Strut Your Stuff @ Somewhat Simple
Transformation Thursday @ The Shabby Creek Cottage
Share Awesomeness Thur @ The 36th Avenue
Pretty Things Thursday @ Scissors & Spatulas
Flaunt it Friday @ Chic on a Shoestring
Frugal Friday @ The Shabby Nest
Furniture Feature Friday @ Miss Mustard Seed
SAS @ Just a Girl
Remodelaholics Anonymous @ Remodelaholic
inspiration board @ Carolyns Homework
Sunday Showcase Party @ Under the Table & Dreaming
Weekend Bloggy Reading @ Serenity Now

You may also like...

  • Cross Stitch Monogram Ornament PlacecardCross Stitch Monogram Ornament Placecard
  • DIY Embellished Monogram PouchDIY Embellished Monogram Pouch
  • “P” is for Painted Zipper Pouch“P” is for Painted Zipper Pouch
  • “R” is for Rugby Stripe Pouch“R” is for Rugby Stripe Pouch
Share this post:

Filed Under: DIY, FOR HER, GIFTS, GIFTS, POUCHES, SEW, SEWING2 Comments

Reader Interactions

Comments

  1. Inspire Me Heather says

    June 14, 2013 at 10:41 AM

    What a cute pouch, love the colour combo!!

    Reply
  2. sp says

    June 15, 2013 at 9:39 AM

    I have been a loyal follower of your blog for some time. I love your pouches and decided to give it a try. My appliqué is far from perfect. Have you done a tutorial on stitching the letters? Do you use paper to back while sewing them? I admire your work. I am striving to get my pouches to look as good as yours. Thank you!

    Reply

Leave a Reply Cancel reply

Your email address will not be published. Required fields are marked *

Primary Sidebar

Hi! I’m Jaime

Jaime Costiglio

Hello!

Thank you for stopping by.
Join me for lots of DIY.

Read more

Get new posts via email

Handbuilt Holiday: Gift Project Plans

handbuilt holiday gift project plans

Collection of DIY gift project plans to build.

The Home Depot Tool Prospective

THD Prospective

Tools to consider for the DIYer.

Archives

The Home Depot Logo
Copyright © 2023 Jaime Costiglio · Custom site by Moonsteam Design

Privacy Policy