• Home
  • Blog
  • About
  • Contact
    • Disclosure
    • Privacy Policy
  • SHOP
  • Widget area for main menu

    • Email
    • Facebook
    • Instagram
    • Pinterest
    • Twitter
    • YouTube
  • Skip to primary navigation
  • Skip to main content
  • Skip to primary sidebar

Jaime Costiglio

build - paint - sew

  • BUILD
    • BEDS
    • BENCHES
    • DESKS
    • DRESSERS
    • GAMES & TOYS
    • SCRAP WOOD
    • SHELVES
    • STORAGE
    • TABLES
  • TOOLS
  • PAINT
    • CRAFTS
    • FURNITURE
    • HOME DECOR
  • SEW
    • GIFTS
    • HOME DECOR
    • POUCHES
  • HANDBUILT HOLIDAY
    • 2021
    • 2019
    • 2018
    • 2017
    • 2016
    • 2015
    • 2014
    • 2013
  • GIFTS
    • BABIES
    • KIDS
    • FOR HER
    • FOR HIM
    • TEACHERS
    • WEDDINGS
  • SEASONAL
    • 4TH OF JULY
    • FALL
    • HALLOWEEN
    • CHRISTMAS
    • SUMMER
    • SPRING
    • ST. PATRICK’S DAY
    • THANKSGIVING
    • VALENTINE’S DAY
    • WINTER
  • SALTBOX PROJECT
    • BATHROOMS
    • DINING ROOM
    • EXTERIOR
    • FAMILY ROOM
    • FOYER / MUDROOM
    • KIDS BEDROOMS
    • KITCHEN
    • LIVING ROOM
    • MASTER BEDROOM
    • PLAYROOM
  • SCROLL SAW

“M” is for Mattress

December 6, 2010

A quick tutorial on how I made the mattress for the doll crib.
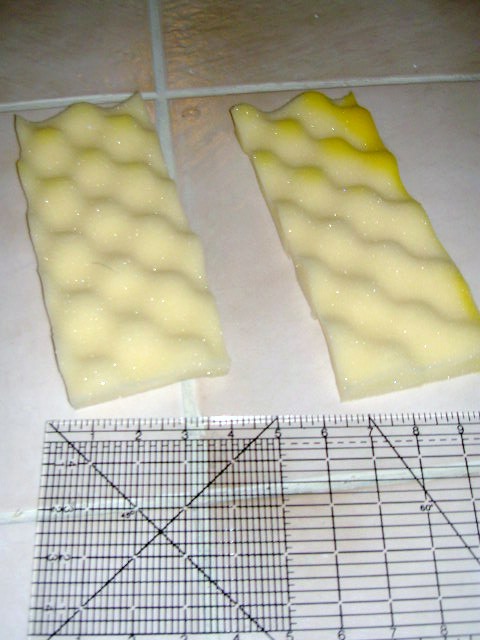
I started with a piece of foam mattress topper (much more economical than upholstery foam from the craft store).
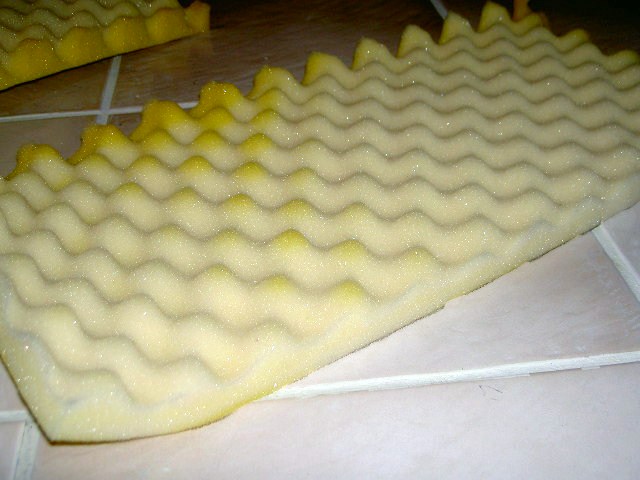
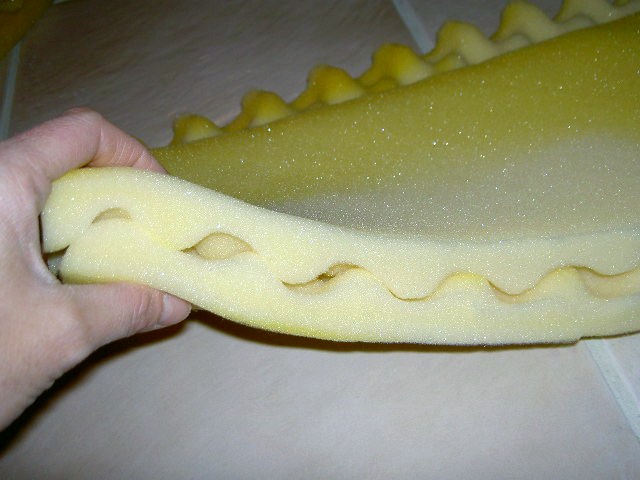
And quickly realized that two pieces would snuggle into each other to make it thicker:
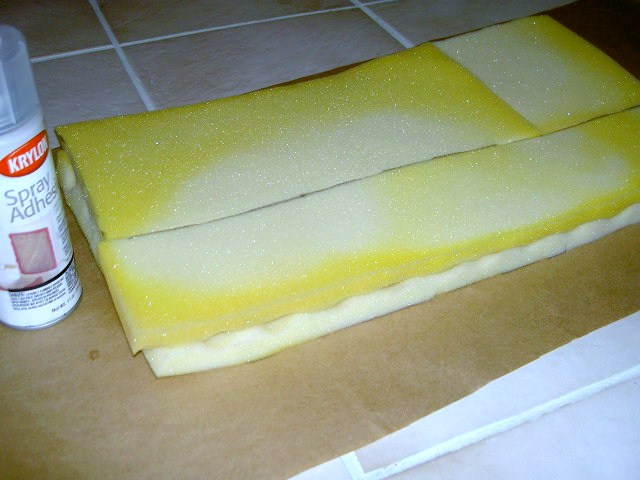
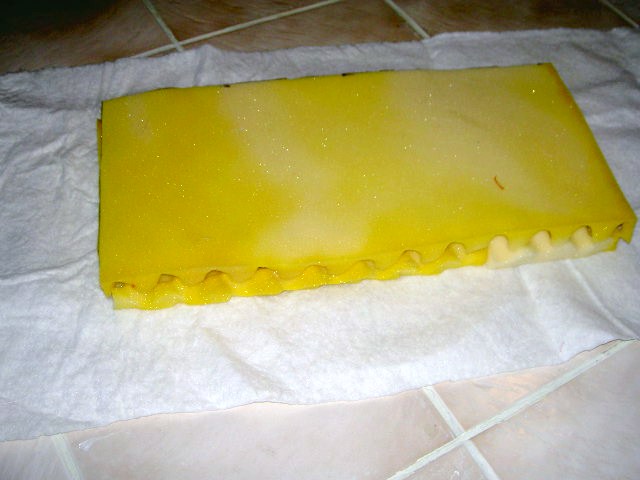
I cut out the size to fit into my crib and used spray adhesive to sandwich them together:
I had a small leftover piece I wanted to use for ‘bumpers’:
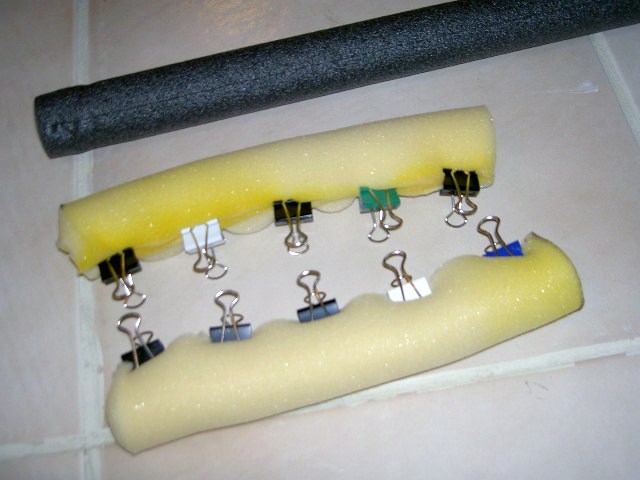
Cut in half to make two bumpers:
Again used spray adhesive and some binder clips to make into a roll (at which point I found this piping insulation on the shelf which would have been much easier to use):
Now I wrapped the mattress with quilt batting for more softness using spray adhesive:
Same deal with bumpers, wrap in batting:
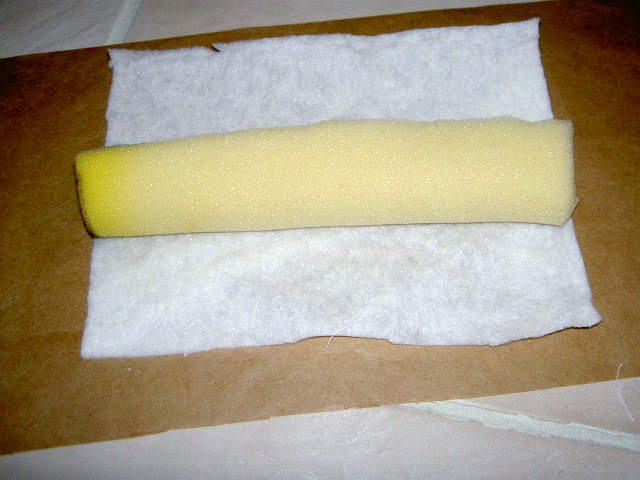
Everything wrapped and clipped to dry:
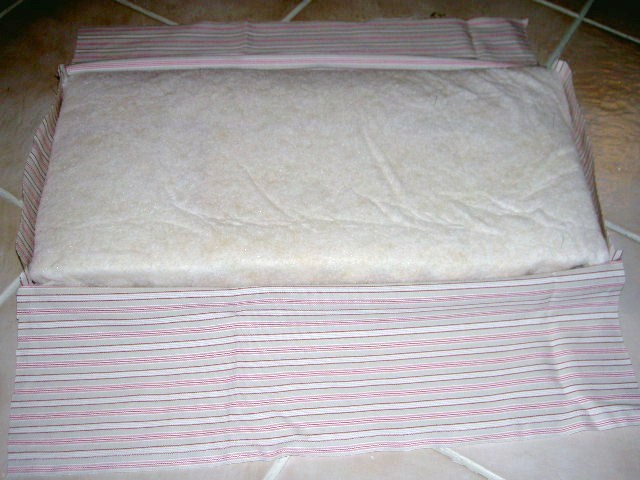
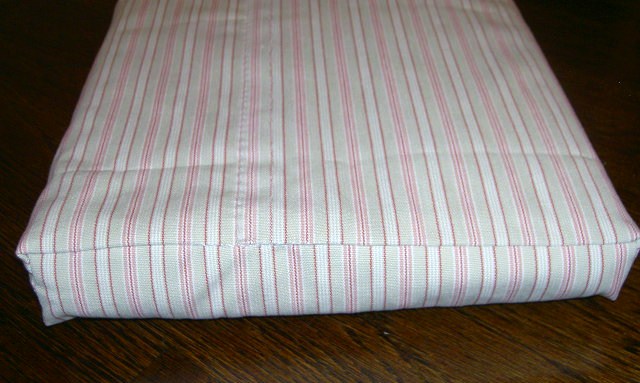
Next I choose a striped fabric and cut a piece big enough to fit, then I mitered the corners and trimmed the excess (do this all with the fabric inside out):
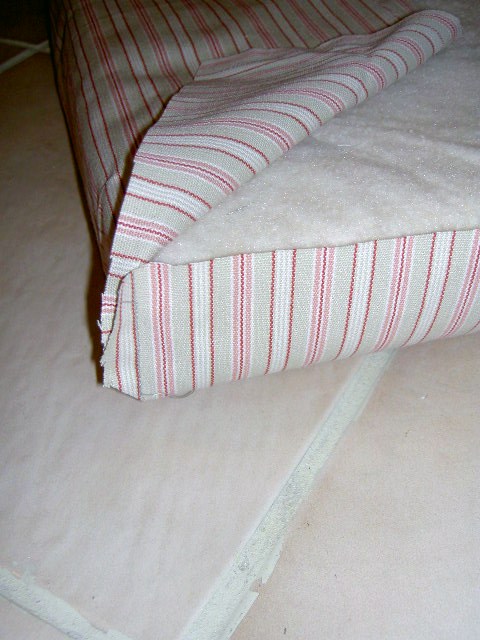
close up of mitered corner
Then I pinned the side seams, again wrong side out:
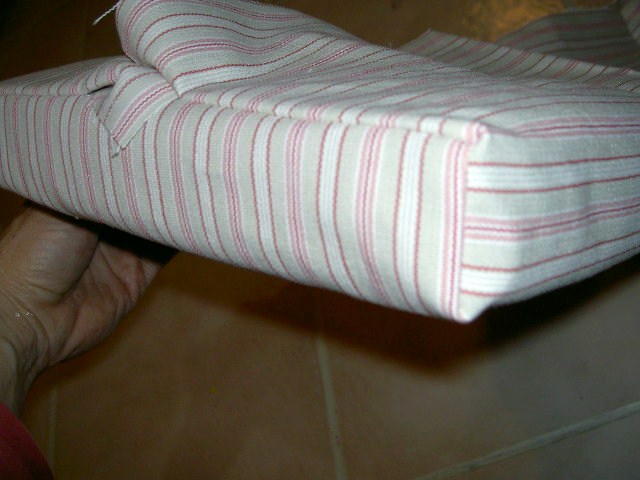
Sides stitched but left about 2 inches open and center seam open to slip foam piece in:
close up of edge
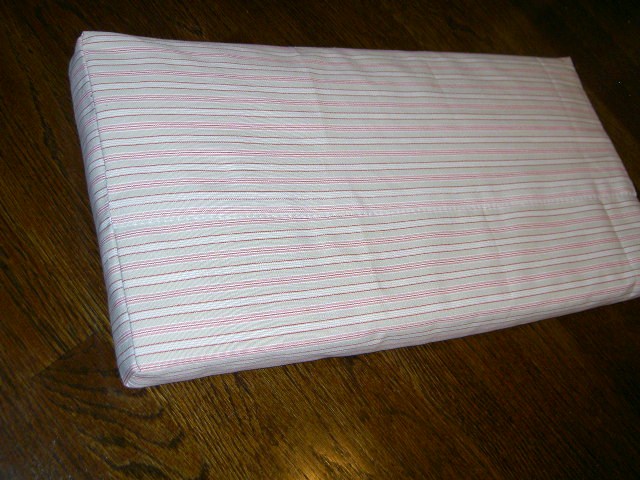
Then I handstitched everything closed:
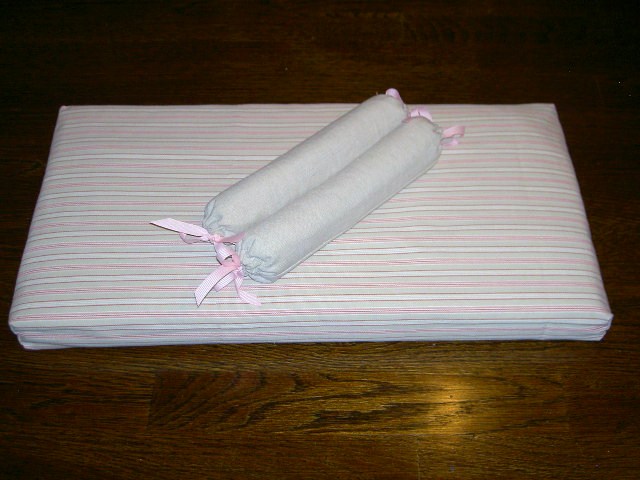
For the bumpers I simply made a tube with finished edges to run a ribbon through:
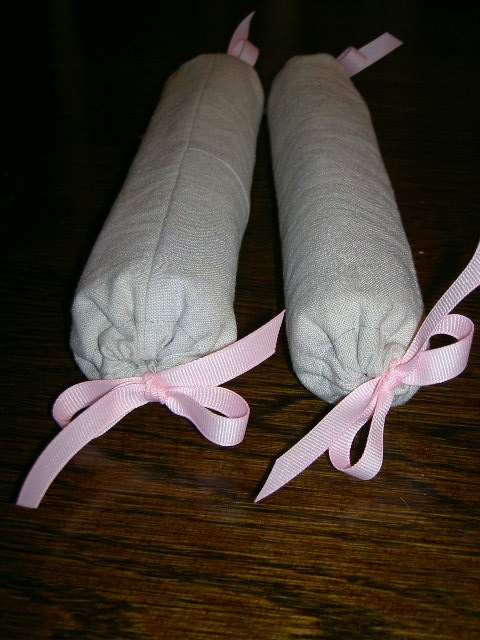
And there you have it:

You may also like...

  • DIY Orange Doll Bunk BedsDIY Orange Doll Bunk Beds
  • DIY Doll Crib with Storage DrawerDIY Doll Crib with Storage Drawer
  • “B” is for Bed #2“B” is for Bed #2
  • Self Standing Ice Cream Truck PropSelf Standing Ice Cream Truck Prop
Share this post:

Filed Under: DIY, HOME DECOR, SEW, SEWING2 Comments

Reader Interactions

Comments

  1. Ellie says

    December 8, 2010 at 2:50 AM

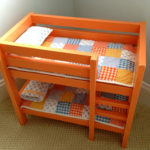
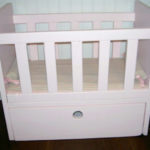
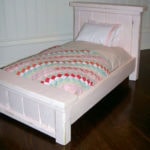
    Adorable! You're talented!

    Reply
  2. Kandice Howard says

    November 2, 2012 at 4:05 PM

    I featured this at Sinful Sewing & Sweets as part of my 30 Sew-Made Holiday Ideas. Check it out at http://sinfulsweetsandsewing.blogspot.com/2012/11/day-2-doll-accesorries.html
    Thanks for the cute idea,
    Kandice

    Reply

Leave a Reply Cancel reply

Your email address will not be published. Required fields are marked *

Primary Sidebar

Hi! I’m Jaime

Jaime Costiglio

Hello!

Thank you for stopping by.
Join me for lots of DIY.

Read more

Get new posts via email

Handbuilt Holiday: Gift Project Plans

handbuilt holiday gift project plans

Collection of DIY gift project plans to build.

The Home Depot Tool Prospective

THD Prospective

Tools to consider for the DIYer.

Archives

The Home Depot Logo
Copyright © 2023 Jaime Costiglio · Custom site by Moonsteam Design

Privacy Policy