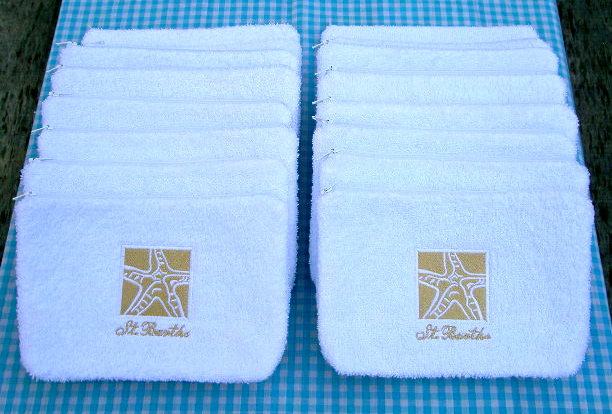
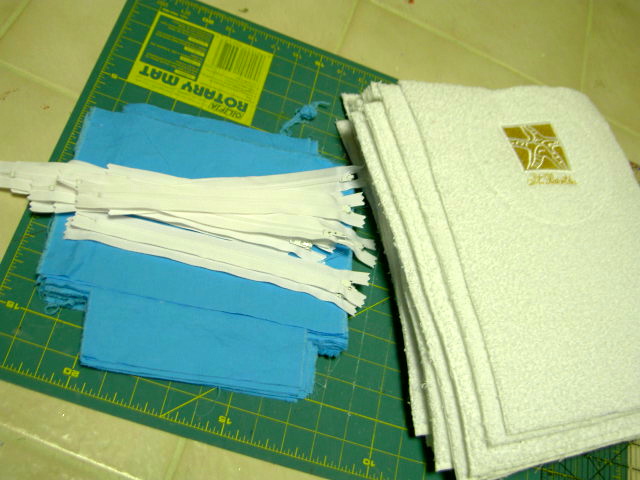
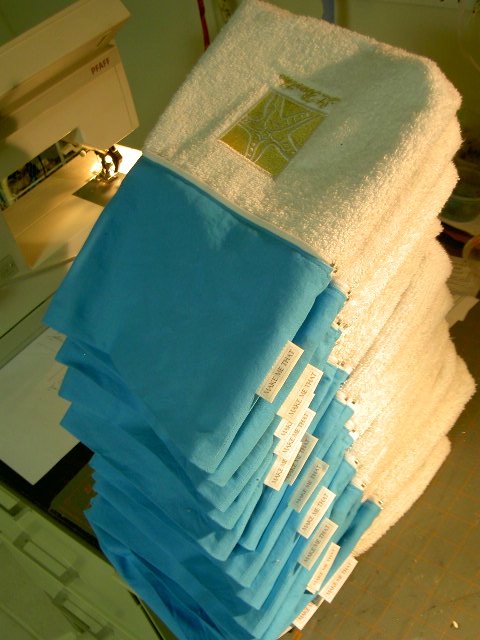
Terry pouches for a mahjong party.

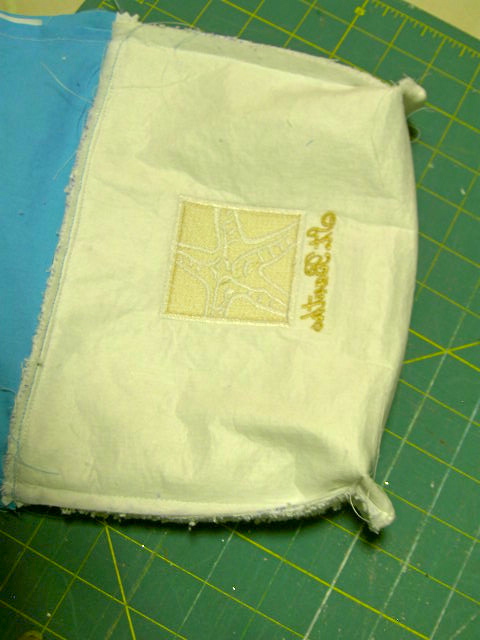
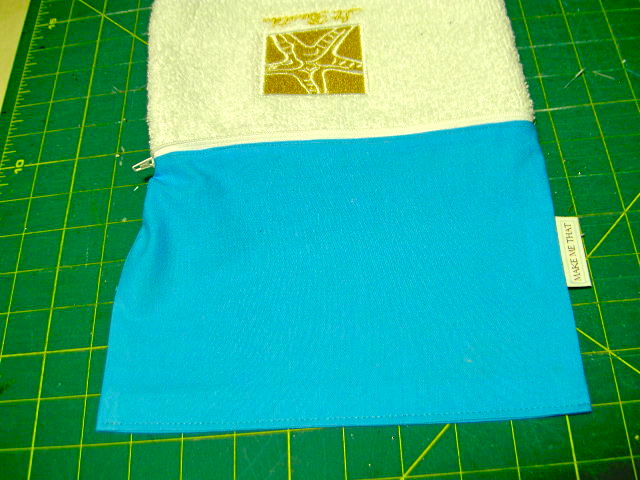
A custom order complete with an embroidered starfish and ‘St. Barth’s’.
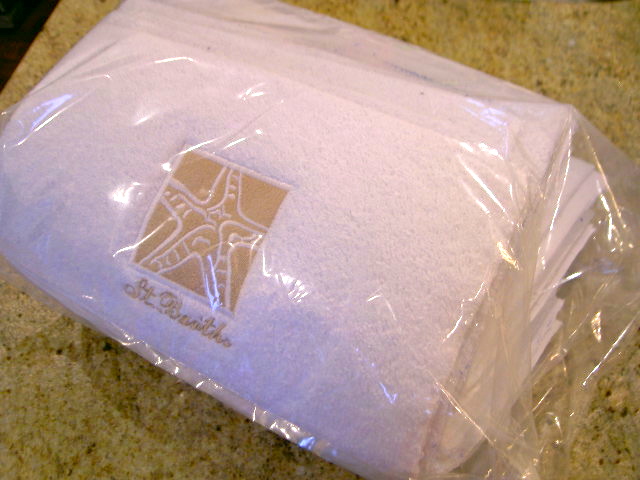
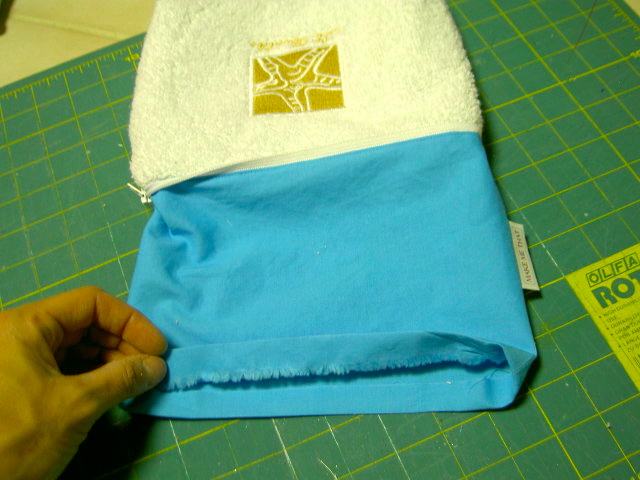
And a surprise turquoise color on the inside:


A local party planner ordered these pouches, she will be adding a custom zipper pull.
Makes me wish I was going to St. Barth’s with the pouches!

But I don’t play mahjong and I have three little ones to care for.

Here’s how I made the pouches:
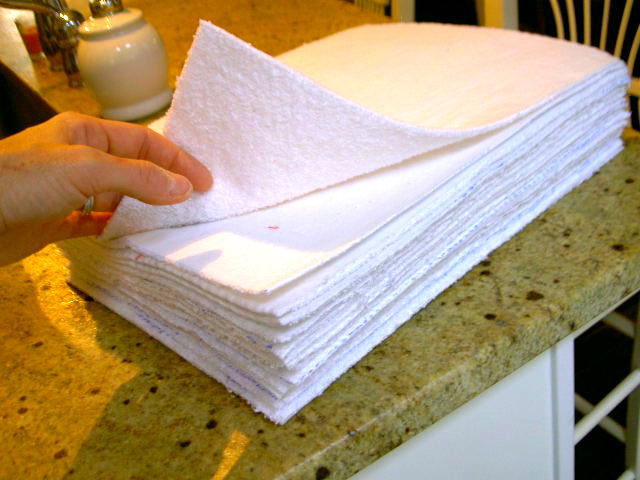
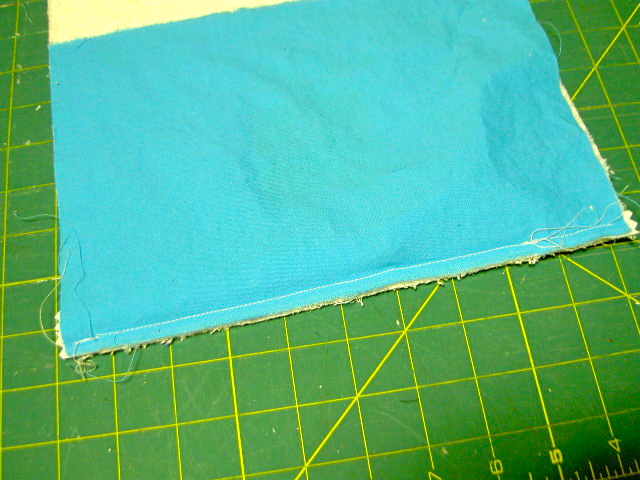
1. Cut terry cloth pieces (10″ x 14″) and back with medium fusible interfacing.
(I use medium weight terry cloth towels.)
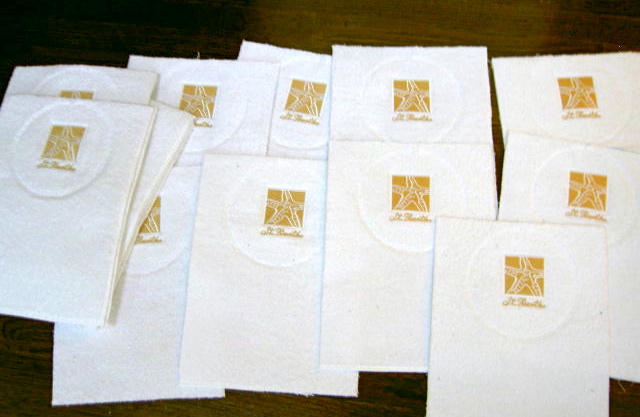
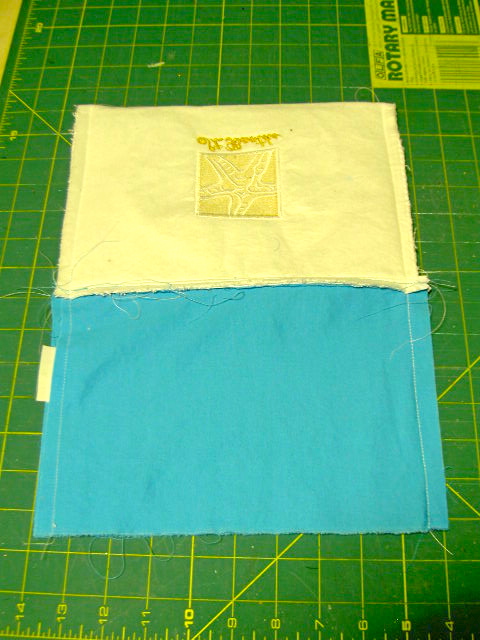
2. Embroider design (this was outsourced unless you have a really fancy machine).
Here are the terry pieces after I picked them up from the embroiderer:
3. Party planner Stacey wanted turquoise for the lining, I gave her these options:

And she settled on the dark solid.
4. Prepare the lining pieces.
Each pouch needs 2 – 10″w x 7″h plus one 9″ zipper:
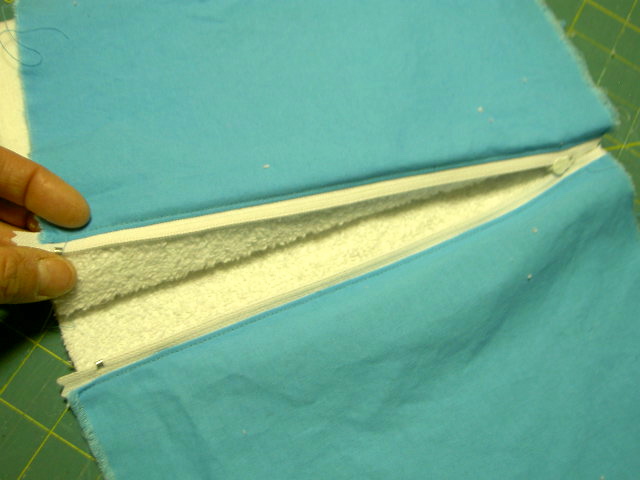
5. Sew in zipper using zipper foot.
Terry piece face up, zipper face down flush to edge, lining face down:

6. Repeat for other side.
Pull terry over, face up, zipper face down and other lining piece face down:

7. Top stitch lining down at zipper to keep lining from catching in zipper:
8. Sew side seams.
Put terry piece right sides together and lining right sides together.
Be sure to line up zipper ends for smooth operation.
(*Don’t forget to add you tag into lining side seam.)
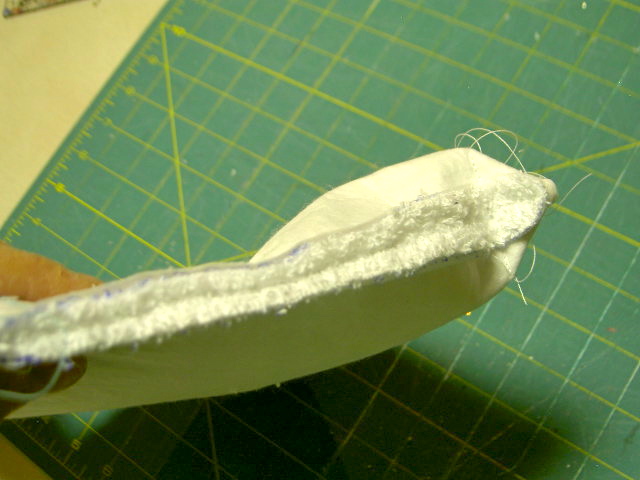
9. Miter the corners.
Open side seam of terry cloth at bottom of pouch and pinch to bottom fold, sew across making a triangle:

10. Snip mitered piece off:
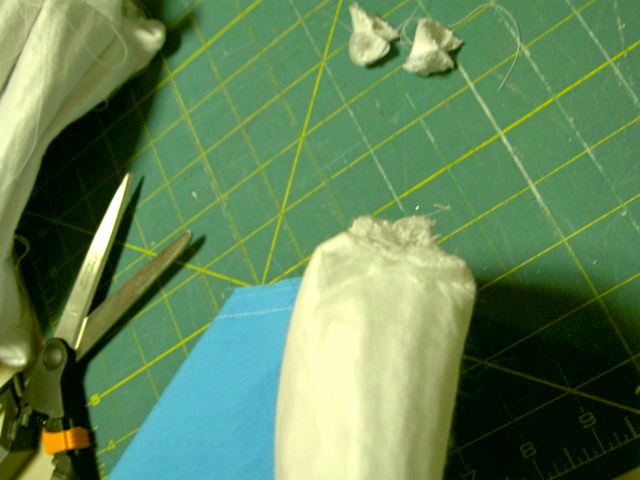
And turn pouch right side out.
11. Press side seams open and press up bottom raw edge of lining all around 1/2″:
I do all these steps assembly line style, much more efficient:
12. Top stitch bottom lining seam shut:
13. Press lining smooth, push down into pouch.
Press lining flat at zipper.
Press terry bottom gusset pleat:
Ready for your mahjong card and a roll of quarters.
Or your cell phone, lip gloss, money, keys, etc.
Thanks Stacey for a new version of the terry pouch.
I’m linking up to:
Whatcha Got Weekend @ Lolly Jane
SAS @ Funky Junk
Weekend Wrap Up @ Tatertots & Jello
Sundae Scoop @ I Heart Naptime
Sister Sunday @ Sisters of the Wild West
Sunday Showcase Party @ Under the Table & Dreaming
Just Something I Whipped Up @ The Girl Creative
DIY Fall Festival @ The DIY Showoff
Made by You Mondays @ Skip to My Lou
Making the World Cuter @ Making the World Cuter
Nifty Thrifty @ Coastal Charm
Tuesday Treasures @ My Uncommon Slice of Suburbia
Tutorials & Tips Tuesday @ Home Stories A to Z
Good Life @ A Beach Cottage
Delightfully Inspiring @ Delightful Order
Transformation Thursday @ The Shabby Creek Cottage
Strut Your Stuff @ Somewhat Simple
Share Awesomeness Thur @ The 36th Avenue
Flaunt it Friday @ Chic on a Shoestring
Tickled Pink @ 504 Main
Frugal Friday @ The Shabby Nest
SAS @ Just a Girl
Feathered Nest @ French Country Cottage
Remodelaholics Anonymous @ Remodelaholic


Very nice Jaime! I do like the turquoise inside as well.
You actually make me think I could make one of these! 🙂
Wow these are great. Makes me think that I could actually attempt to make a little zipper pouch too, something I have never tried. Wonderful tutorial. ~Pepper
LOVE this ..One of my fav games..So creative.. Looks really awesome. : )) I would LOVE if you could please stop in and linky this terrific feature via my Pin’Inspirational Party happening today pweease… http://theartsygirlconnection.blogspot.com/2011/11/pininspirational-thursdayslinky-party.html .. THANK YOU SO MUCH.. Wishing you an incredible start to your weekend.. Sincerely ~M
Very cute tut for these pouches…creative as all get-out!
Thanks for sharing!
Visiting from FJI's linky party (SNS)
Smiles from Chilly NW Illinois
~Suzanne
Awesome job! You have some mad sewing skills. Sadly I lack that.
Great tutorial and pouches!!
SO darling!! Hope you can link this up at my turquoise lovin' party going on right now!! http://www.sweetlittlegals.com/
How darling!! Thanks for linking up at Feathered Nest Friday!