Paint: Lyrics nursery wall art

A special request from a family friend for their first yet-to-be-born baby boy.
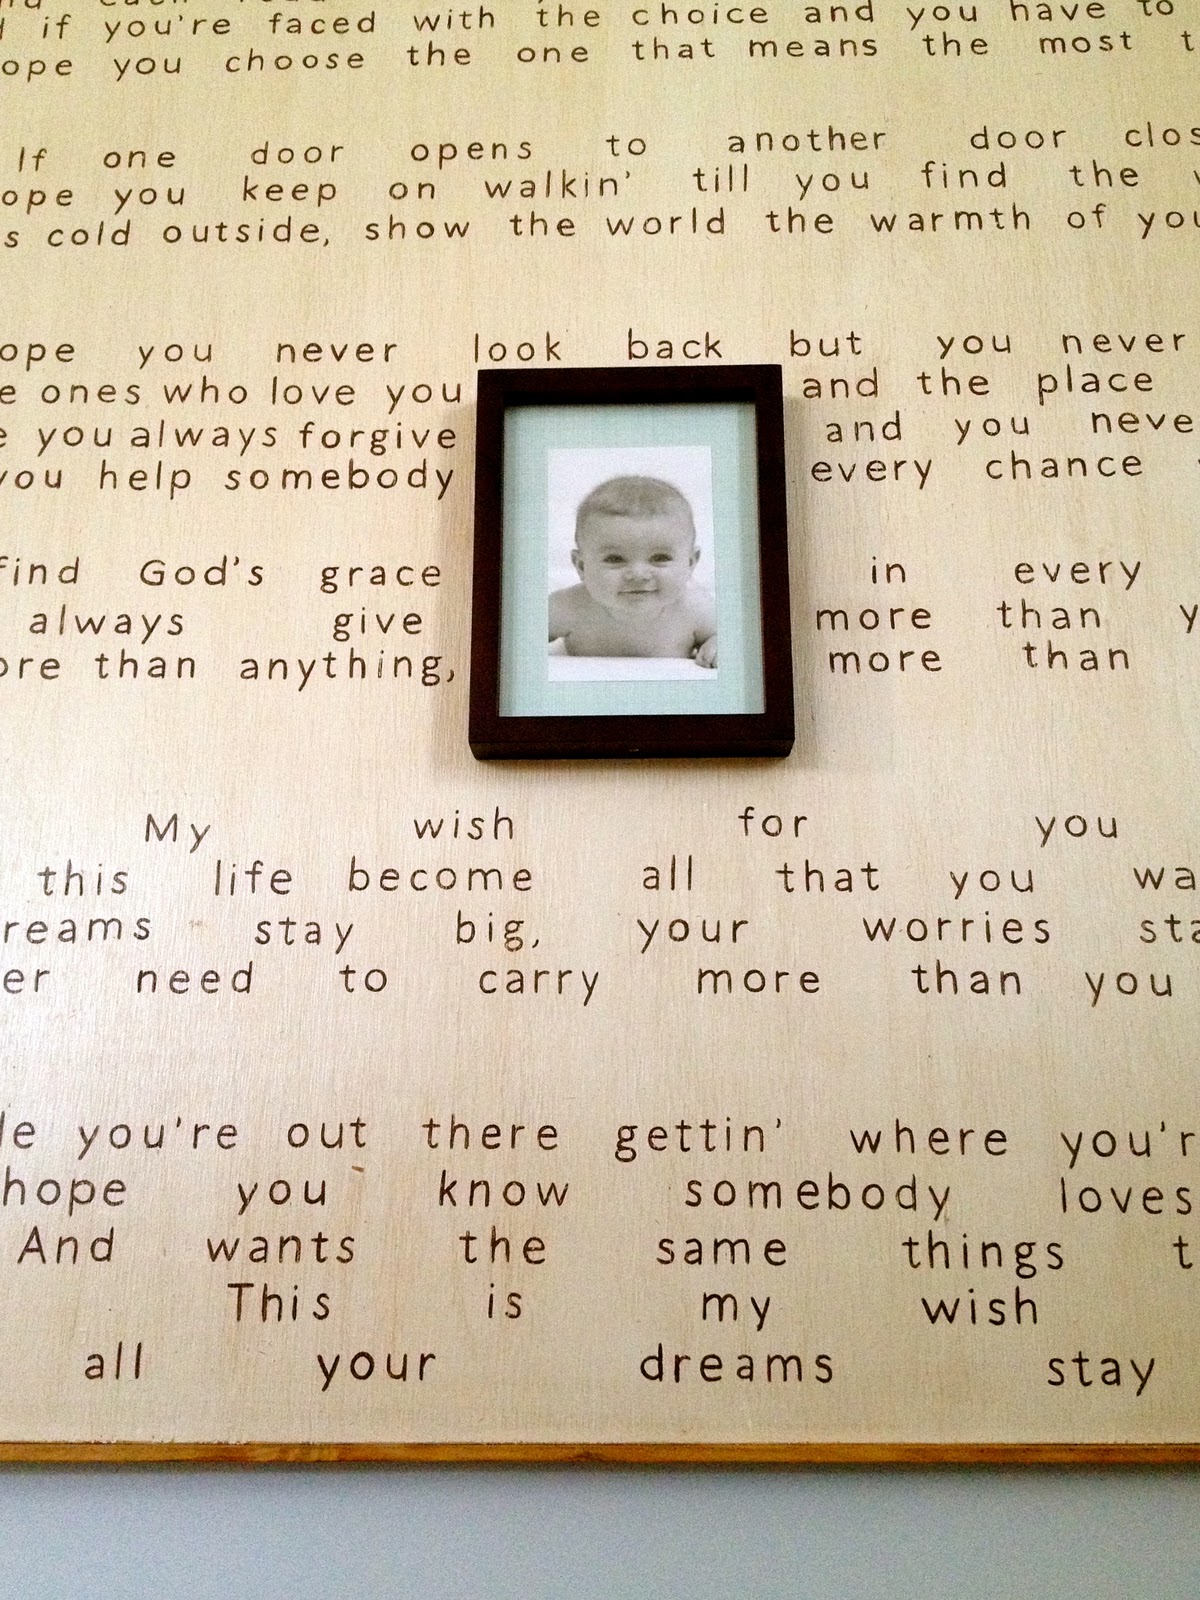
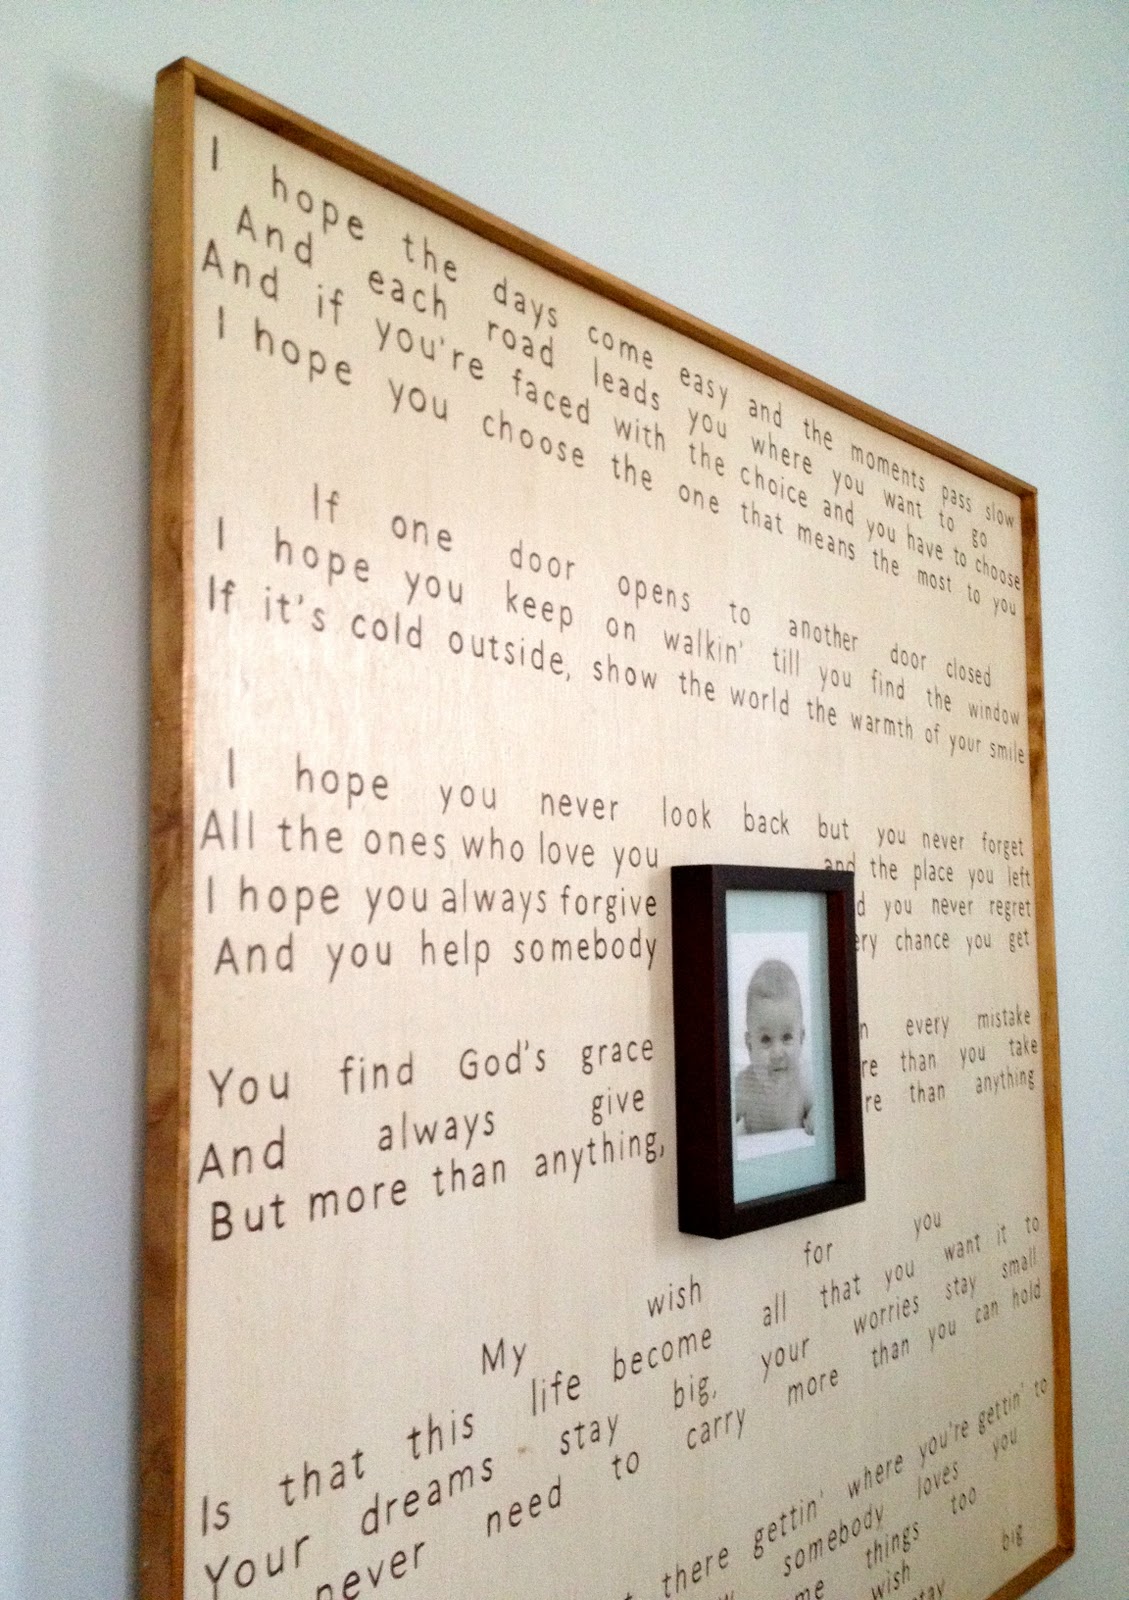
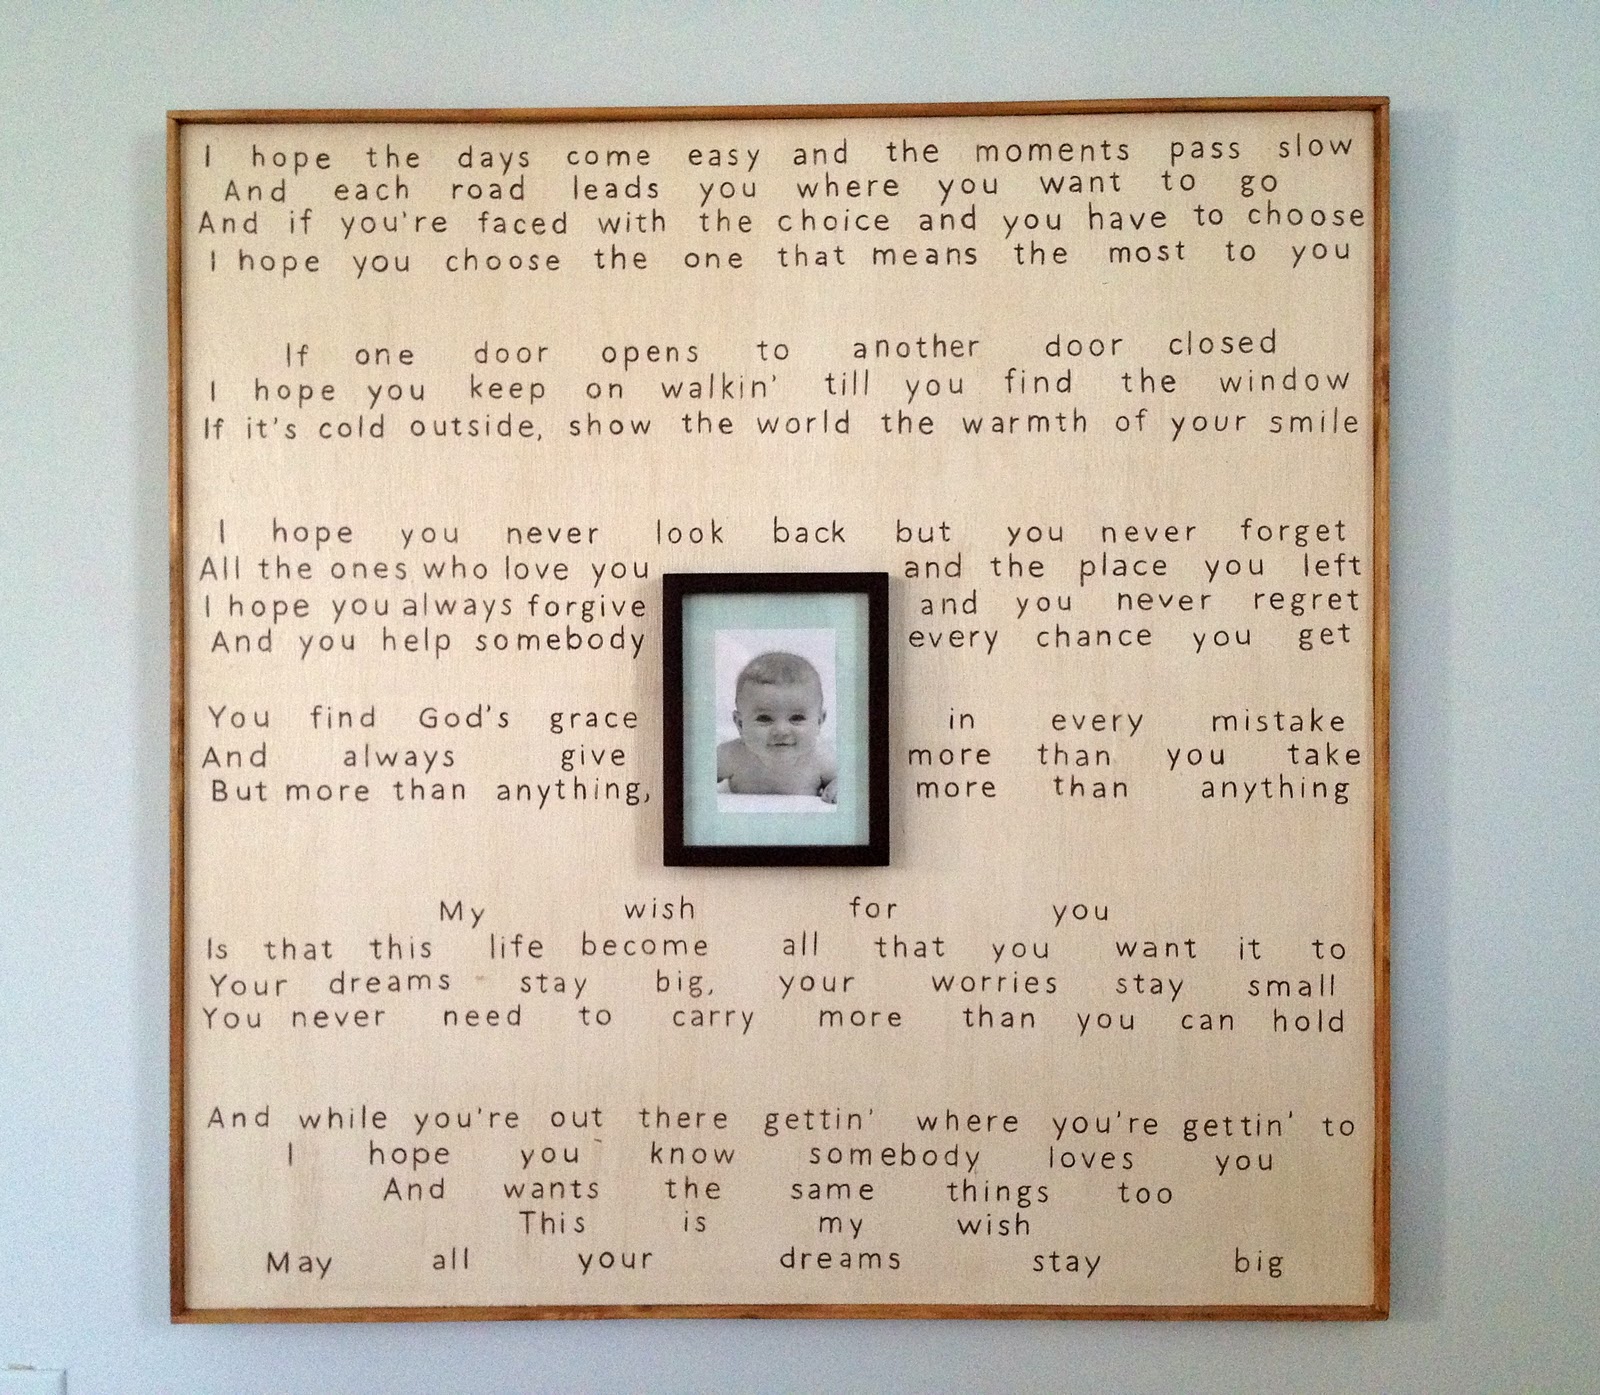
The piece is big – 36″ x 36″ – and the picture in the middle is 5″ x 7″:

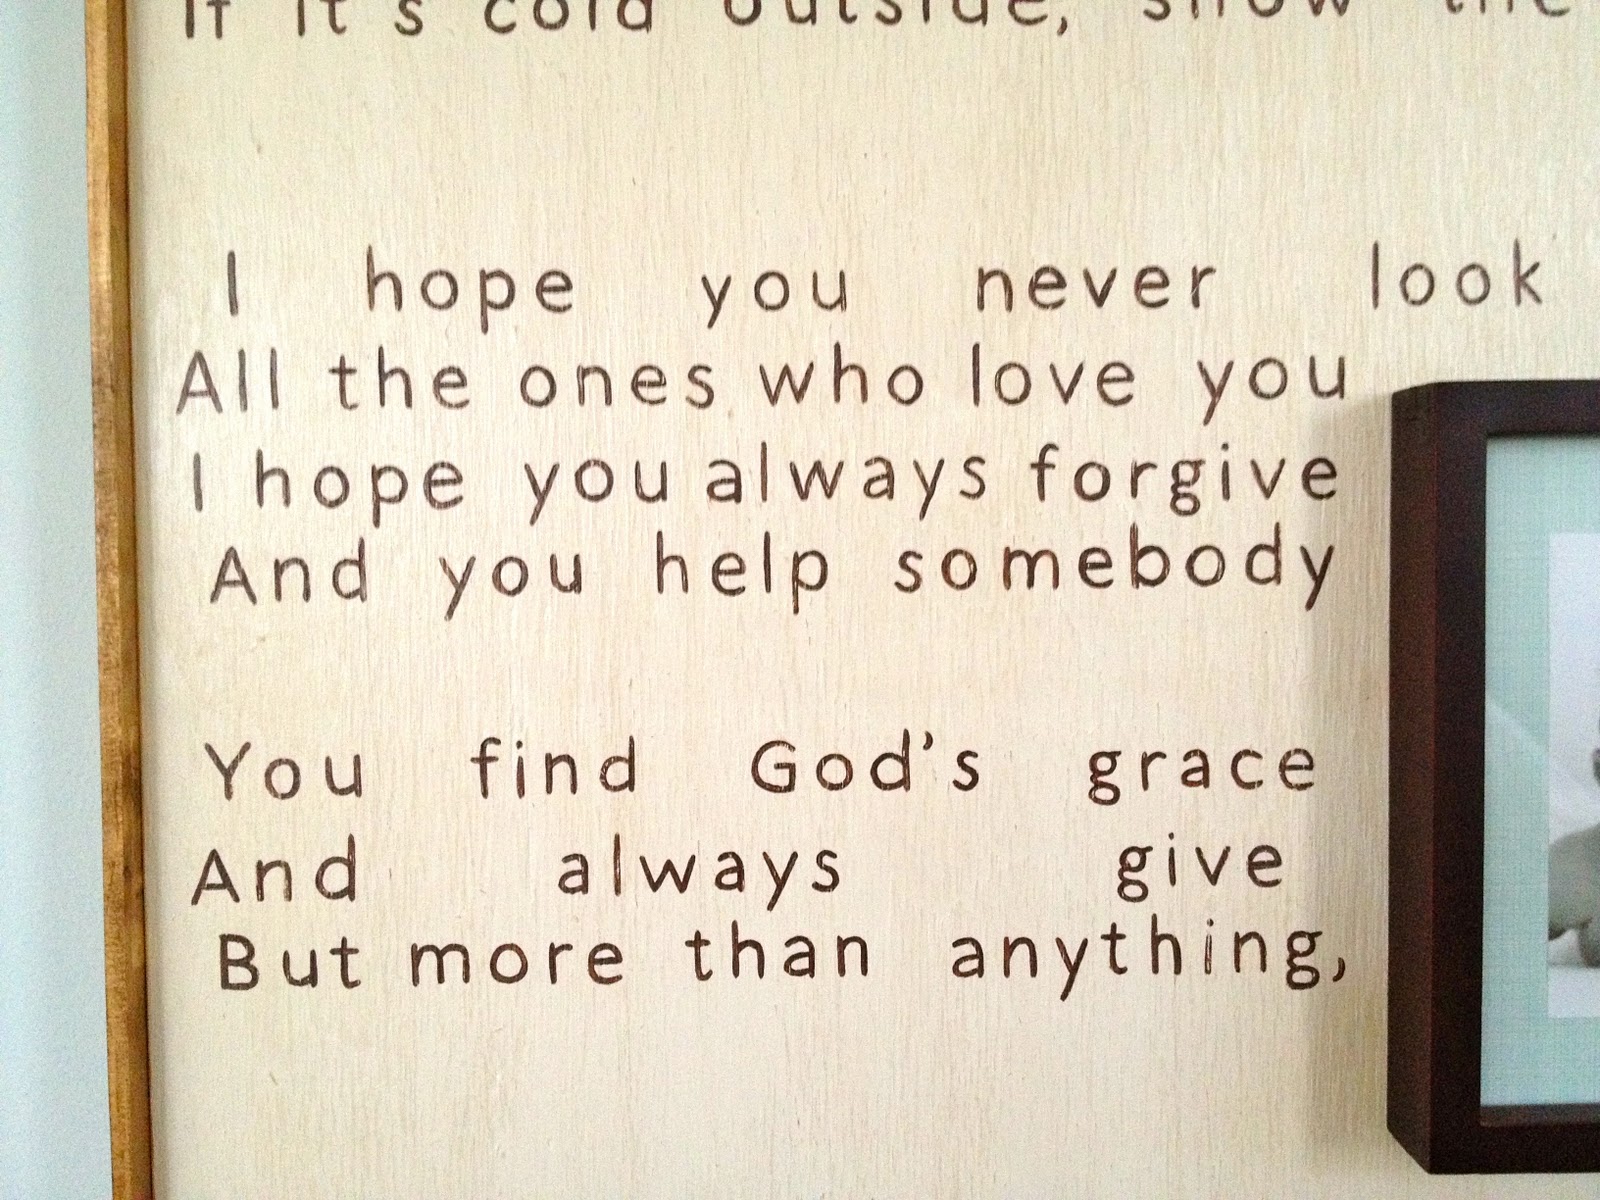
The lyrics are from the song “My Wish” by Rascal Flatts.

It’s perfectly simple and neutral but so personal to the Mommy.
The lyrics are relevant to any stage of life, a great message to live by.

And the Mommy requested a frame in the middle for her baby boy (that’s just a stand in until her guy arrives soon!).

Here’s how I made the lyrics wall art:
1. Cut 1/2″ plywood to size (36″ x 36″), screw and glue 1/2″ plywood scrap piece to top center back, then screw cleat to scrap piece.
In addition screw and glue 1/2″ plywood scrap piece near bottom half:

2. Flip board over, prime and paint two coats Behr off white satin.
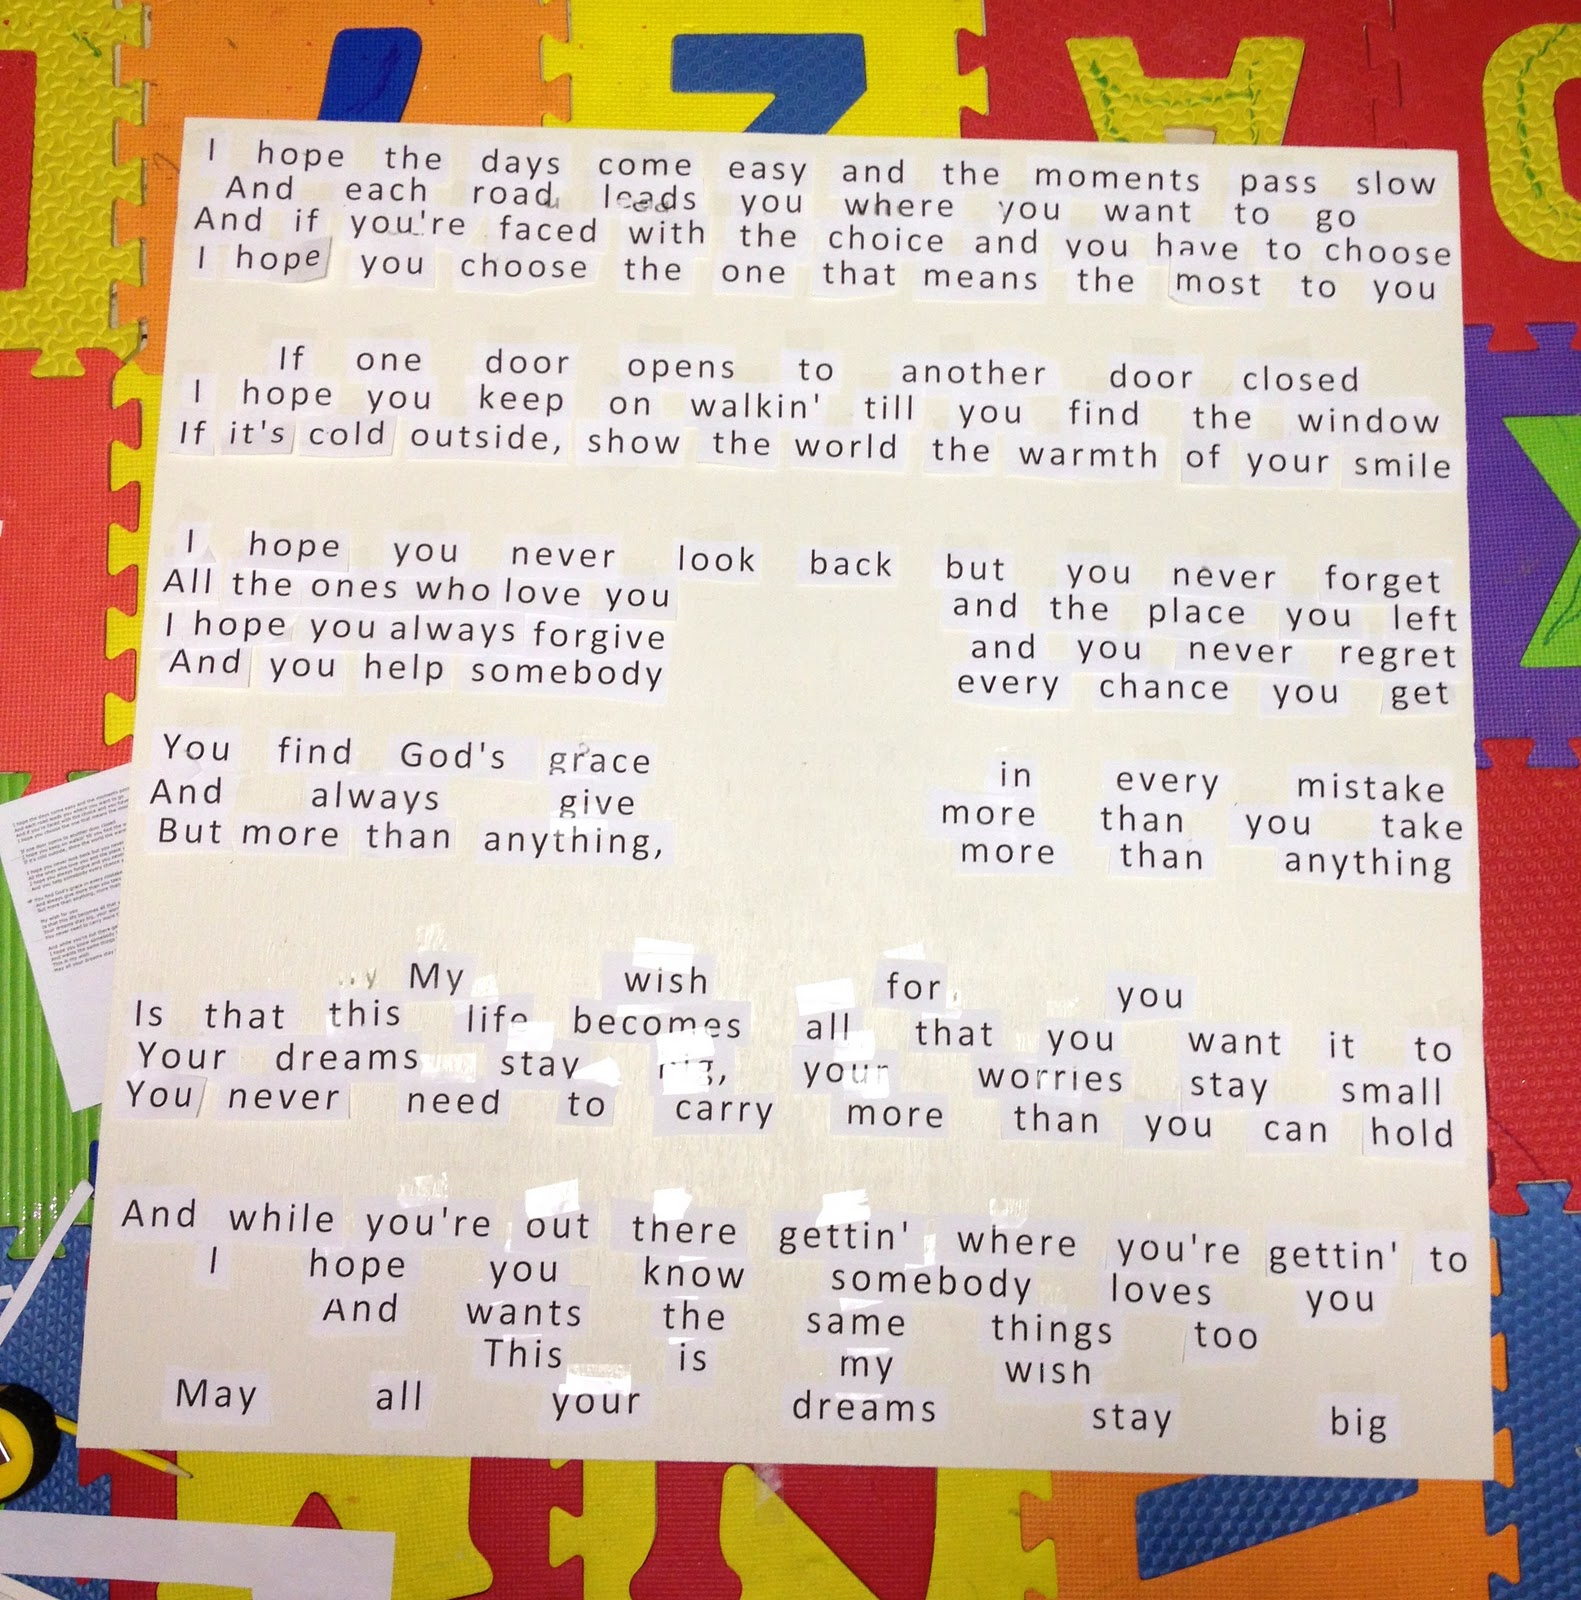
Print words to fit (Calibri font, 75 point), cut out and tape in place.
Be sure to leave center space open for picture frame.
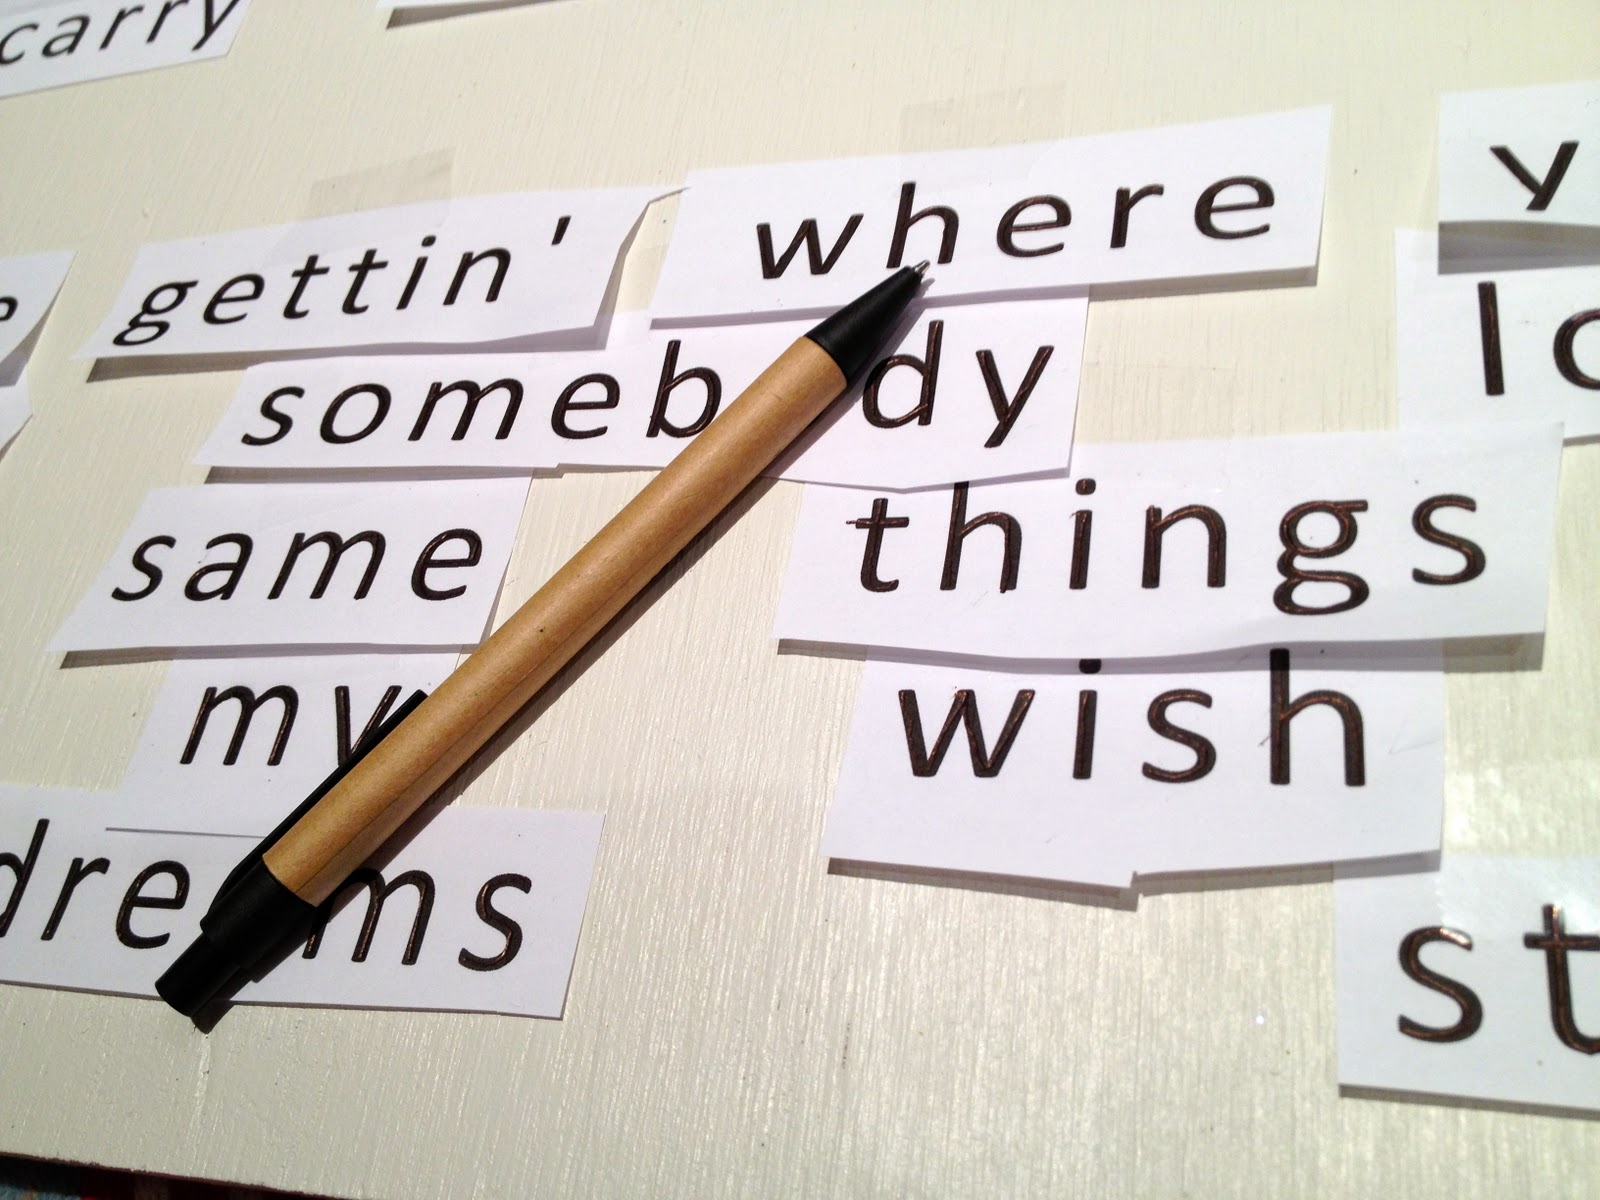
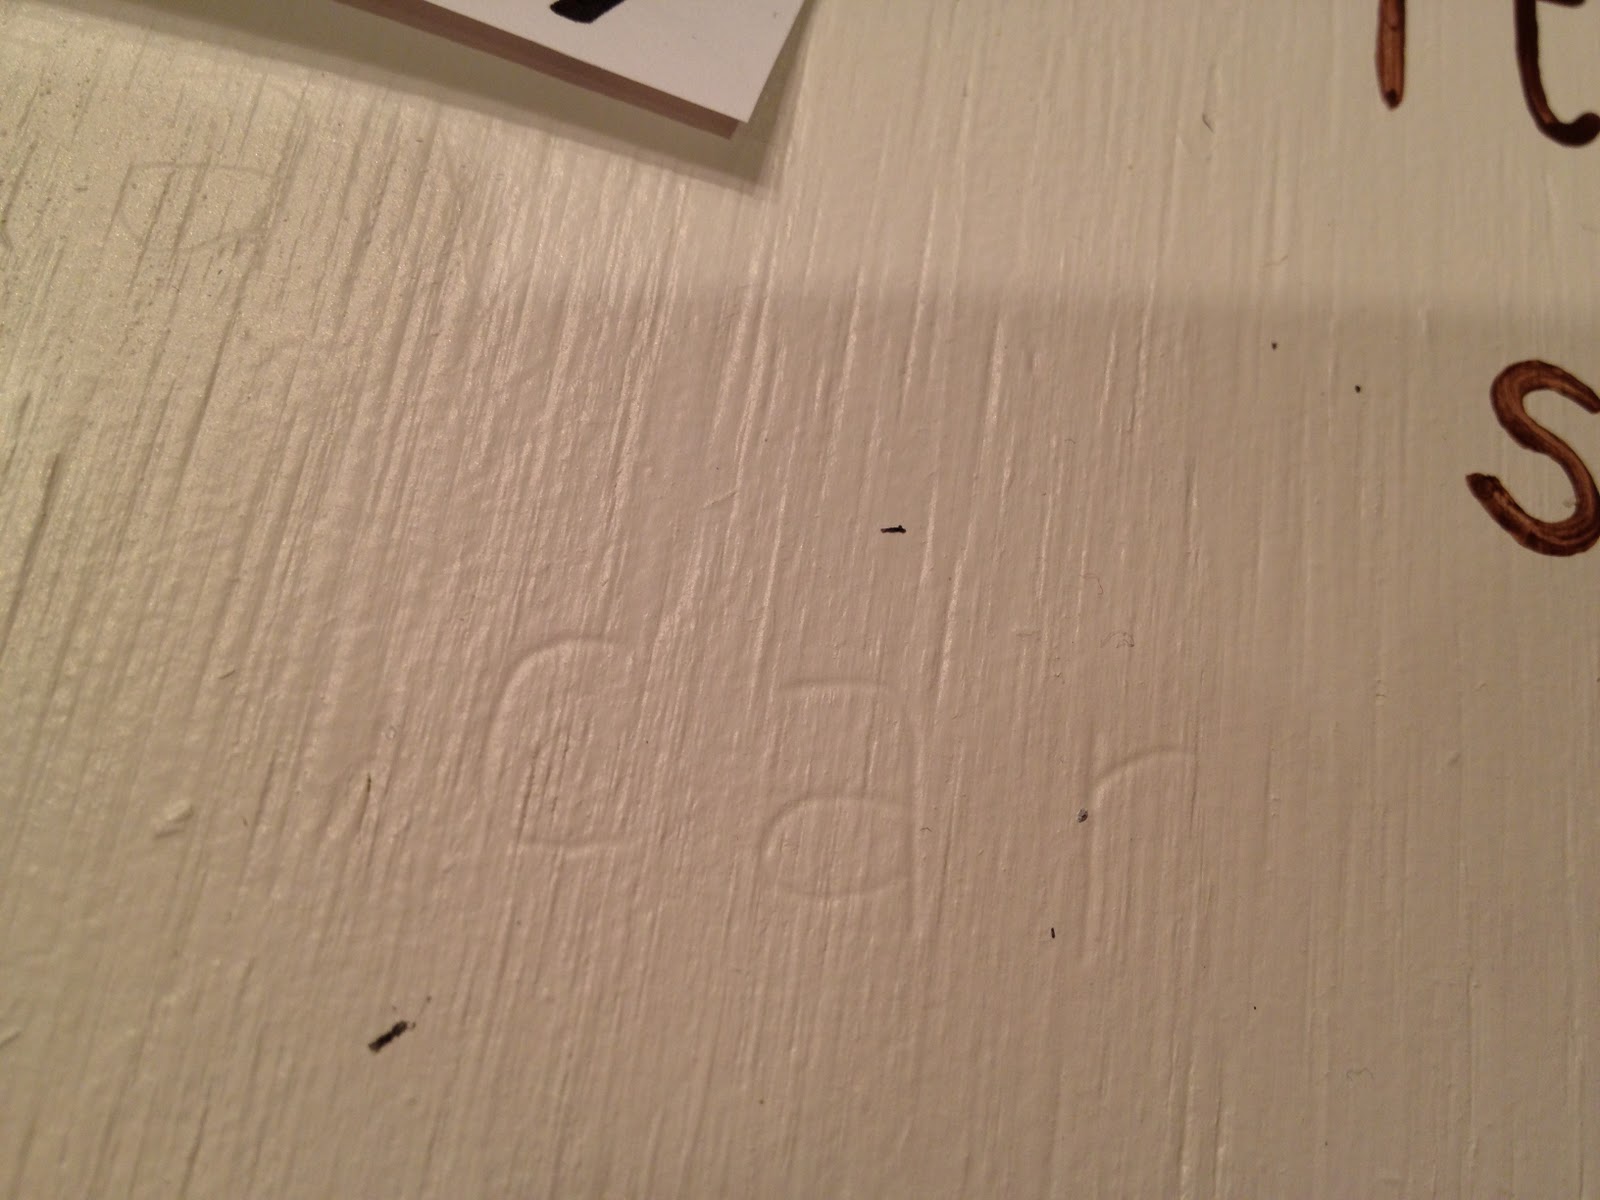
3. Using a ballpoint pen trace the words, using a lot of pressure to create indent in wood:
(Work in small sections, tracing and then painting.)
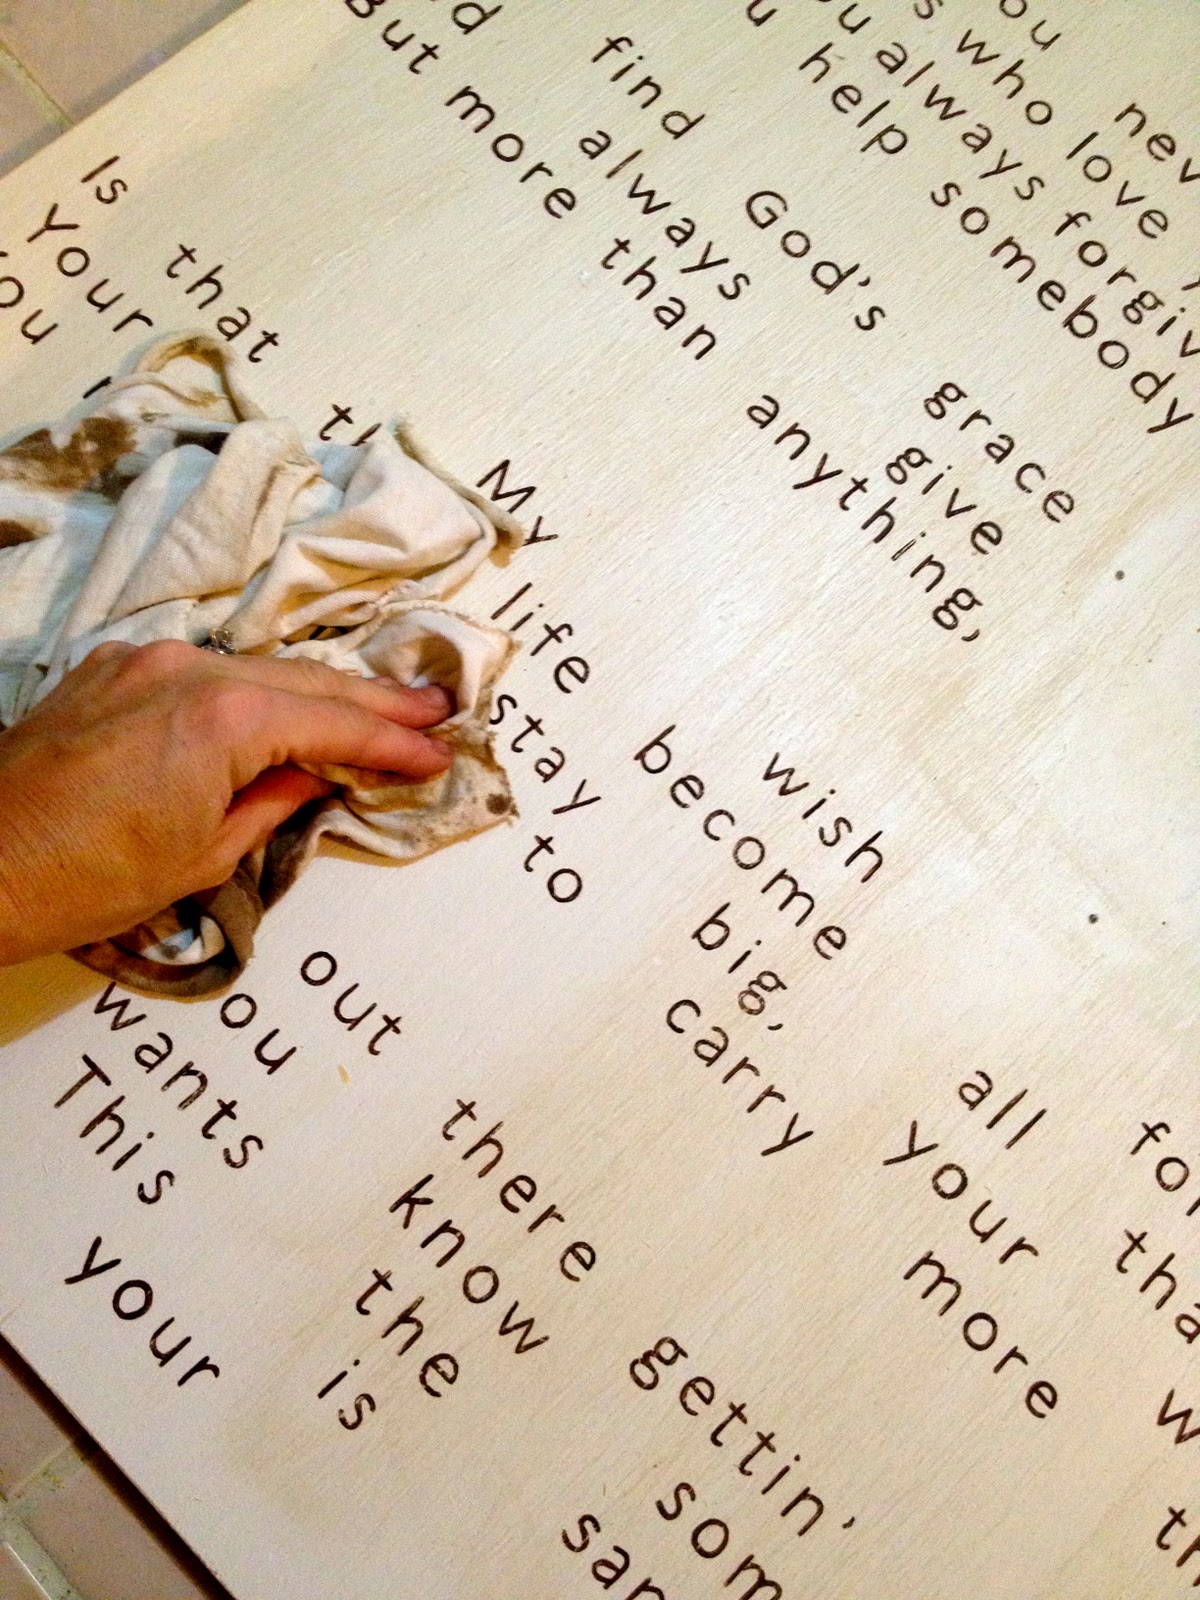
4. Paint over indent:


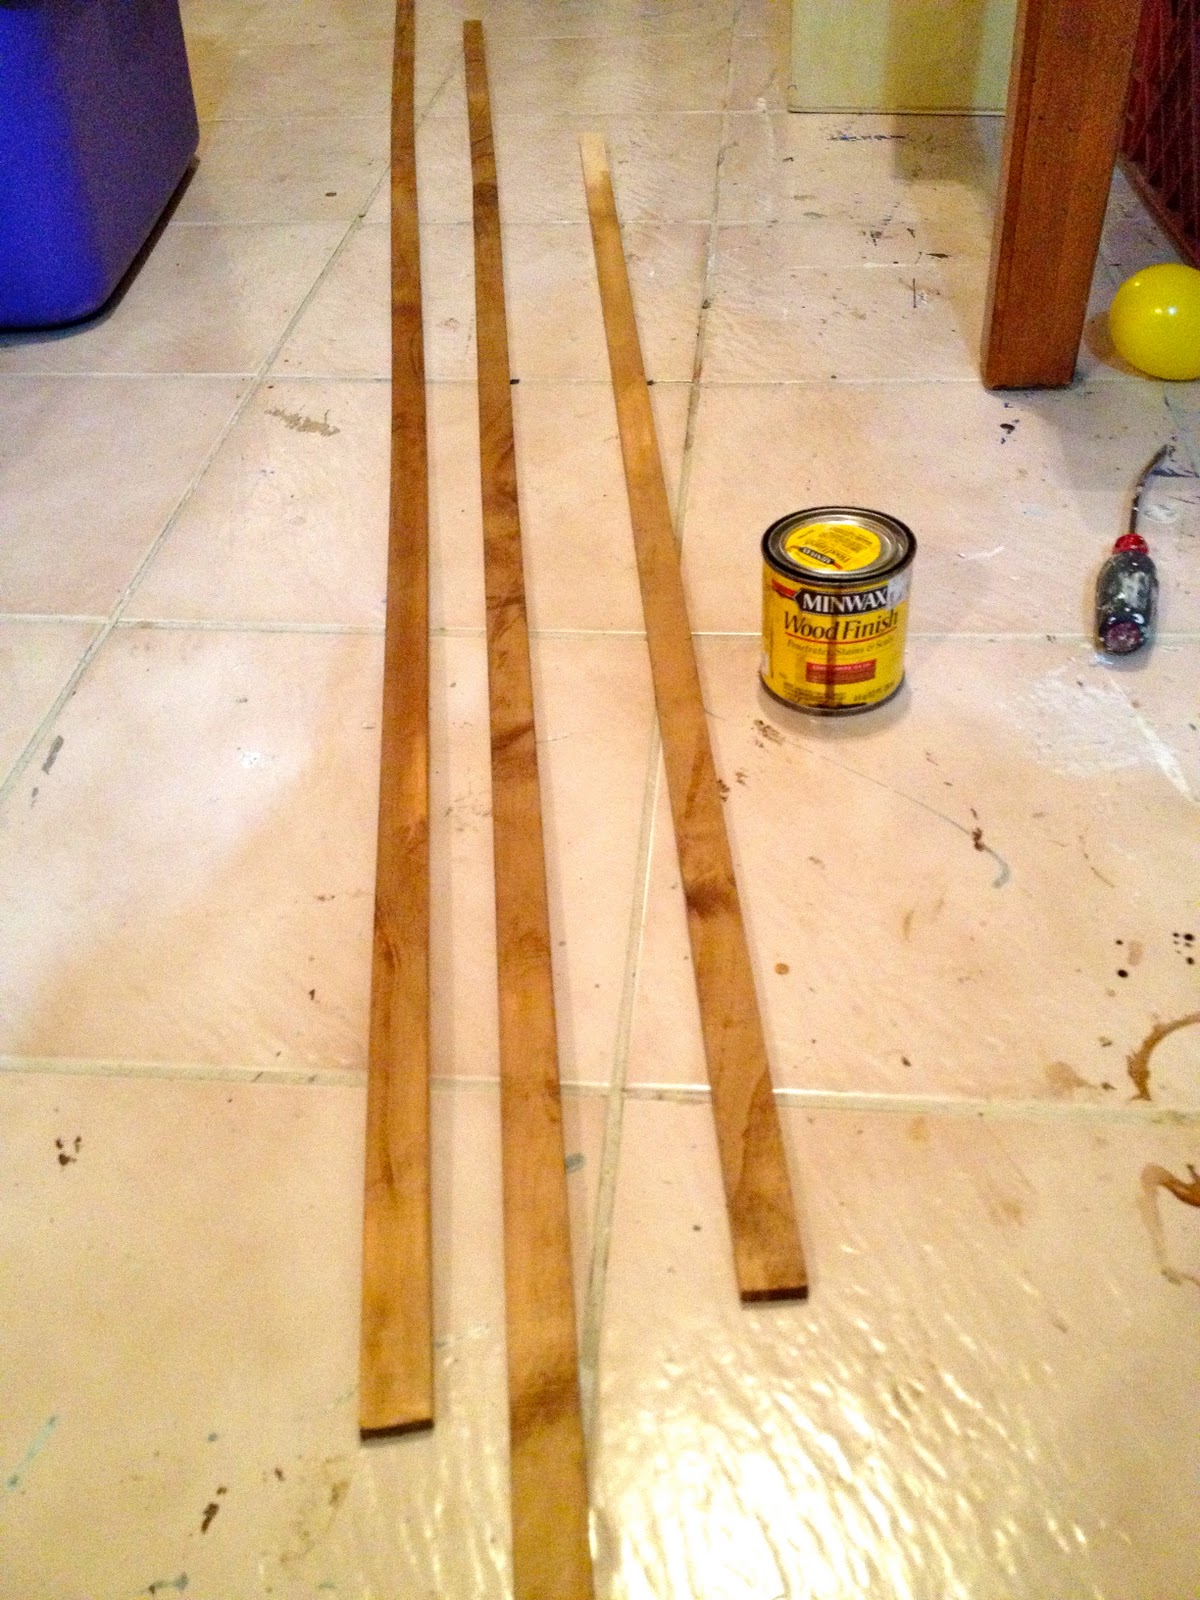
5. Sand lightly to distress, then stain with Minwax Early American:
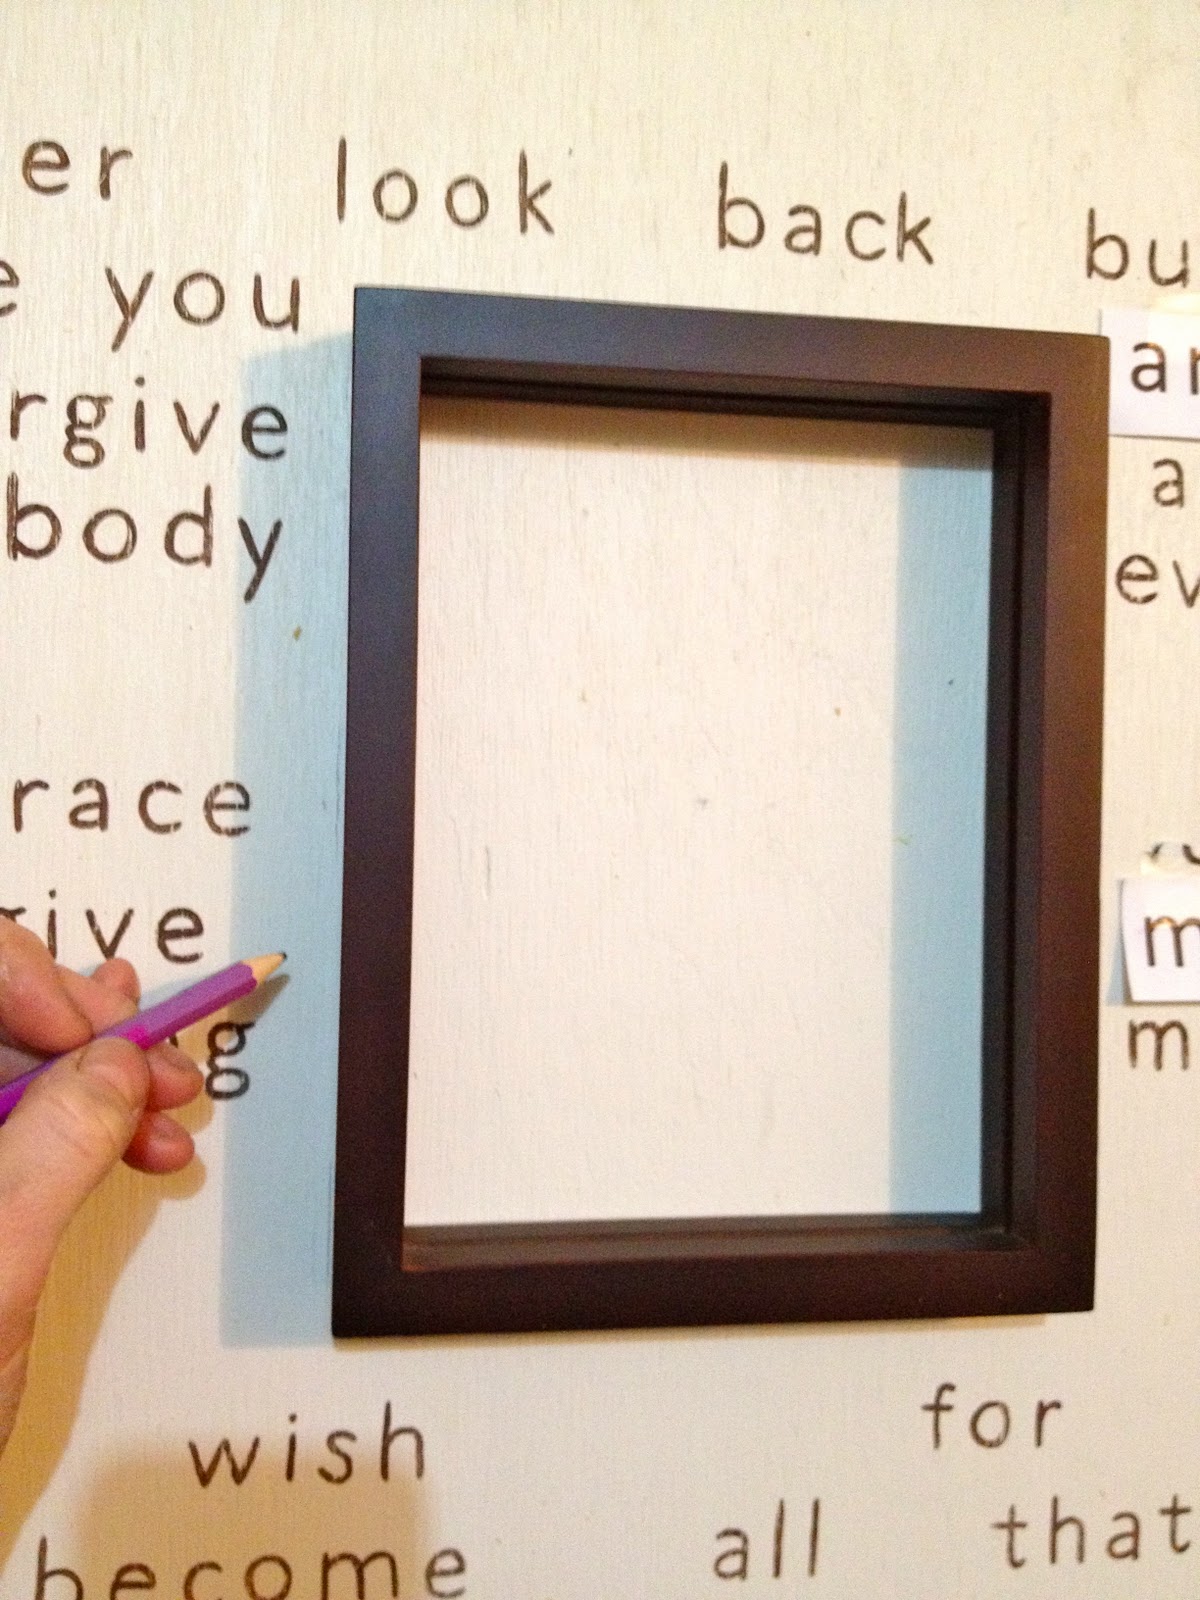
6. Line up frame in center and mark around inner and outer edges:
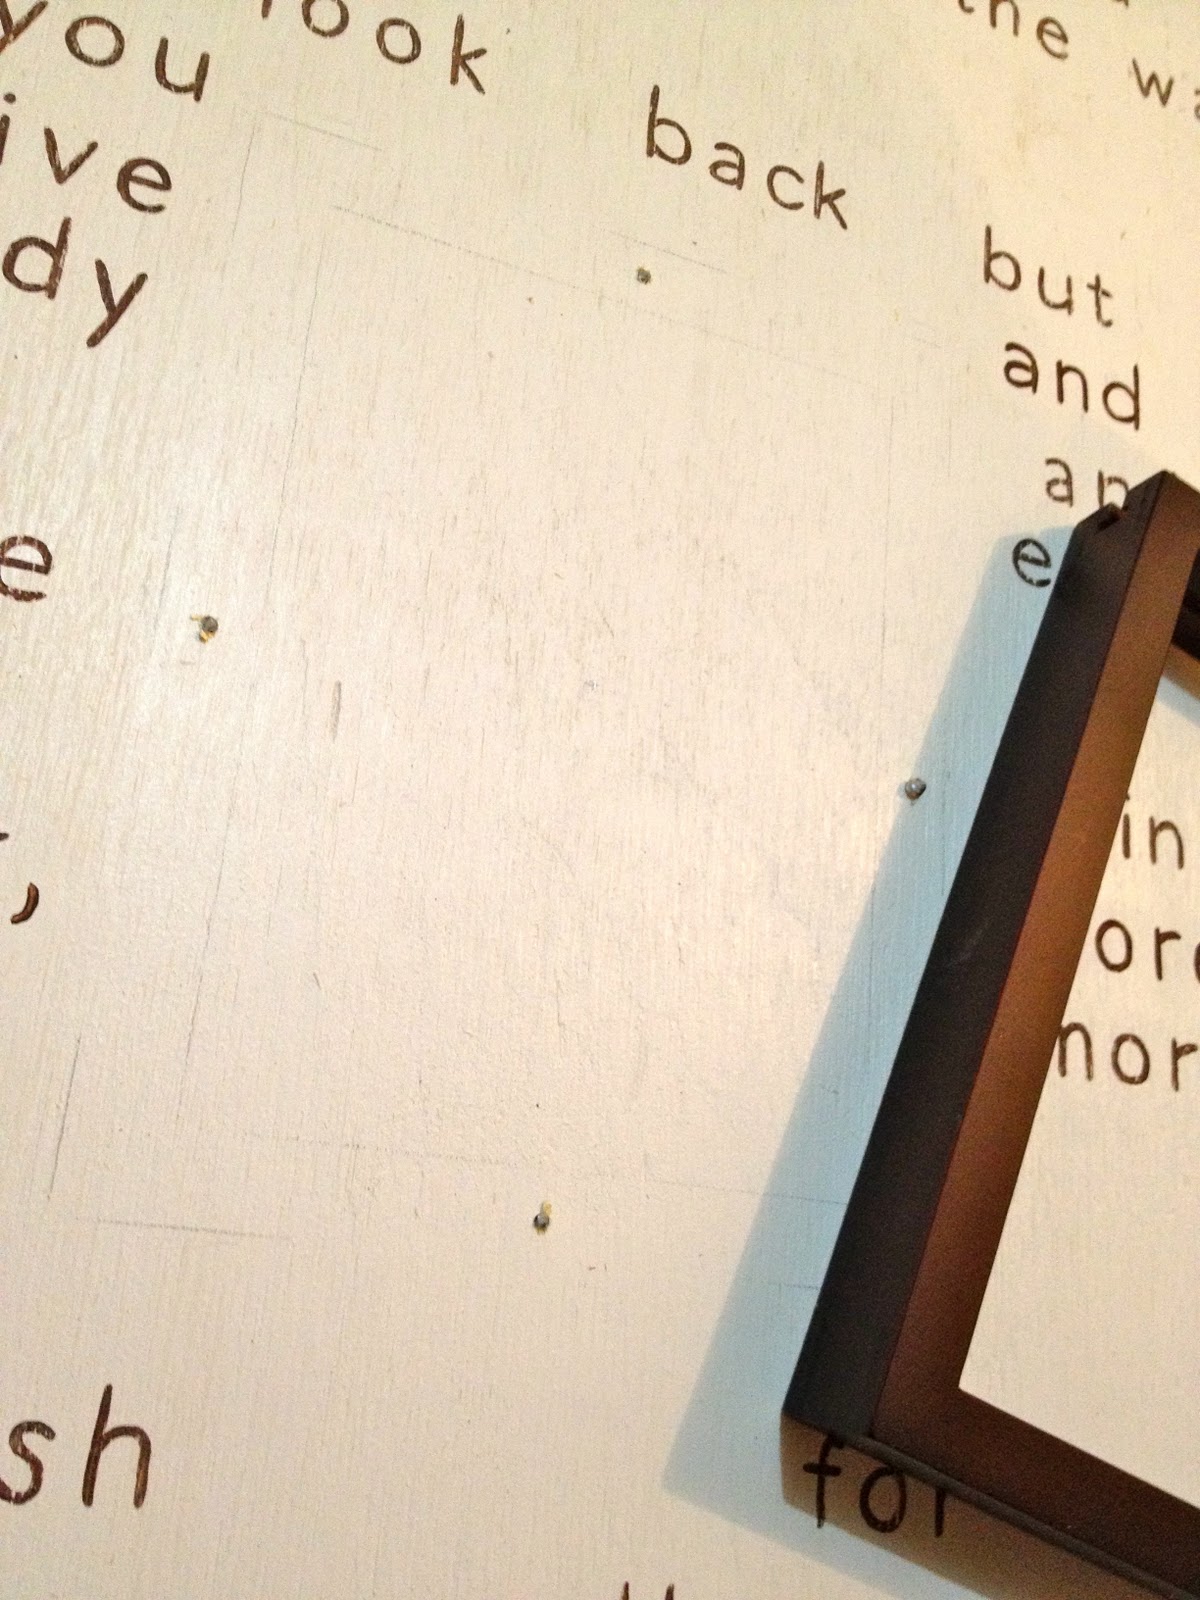
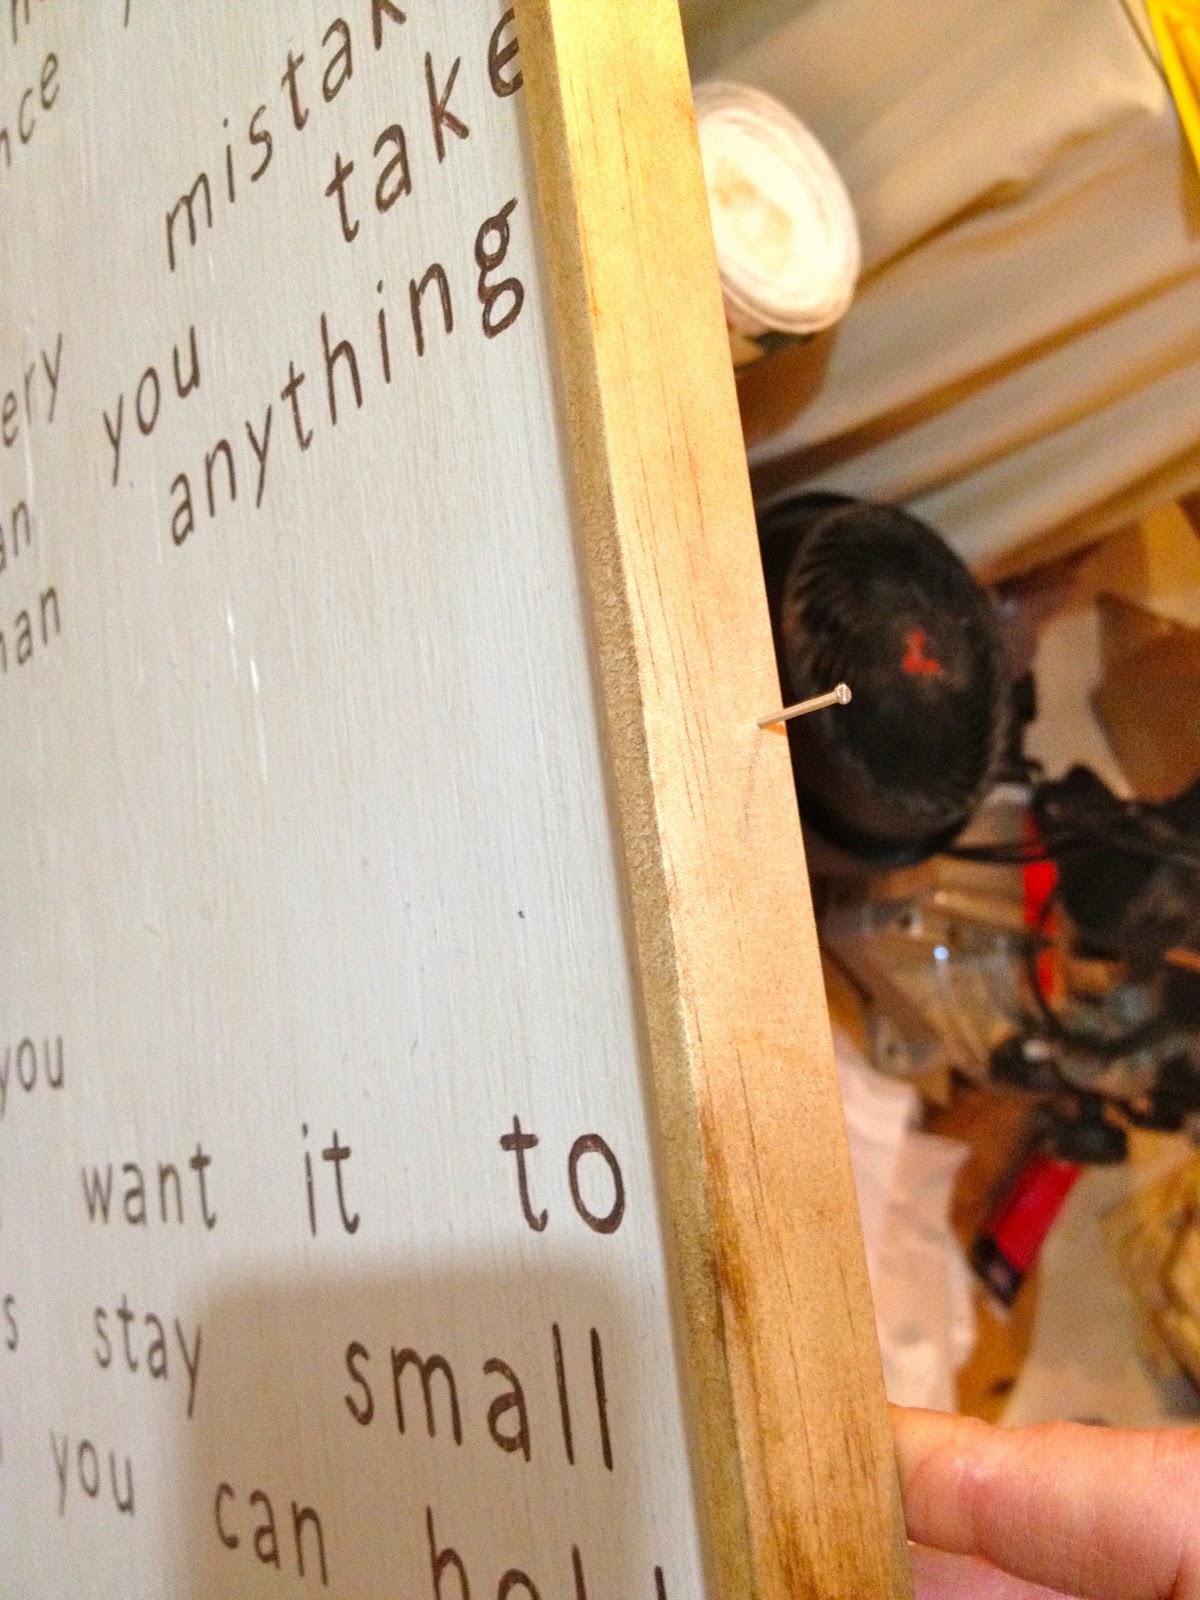
7. Predrill screw holes:

8. Begin screws from the back side just until poking through front, set frame in place to ‘mark’ the screw spots in the back of the frame:
9. Predrill screw holes in back of frame:

Also drill 1/4″ hole in bottom of frame for skewer to fit.

10. Seal board with clear satin poly.
11. Now screw on frame securely – DO NOT GLUE – that way the frame can be switched out in the future without damaging the lyrics, be careful of screw length depending on frame style and thickness:
*You could also use adhesive backed velcro to attach the frame, it won’t sit flush to the board but will have the same affect.

12. Prestain 7/8″ lattice strips with Minwax Early American:
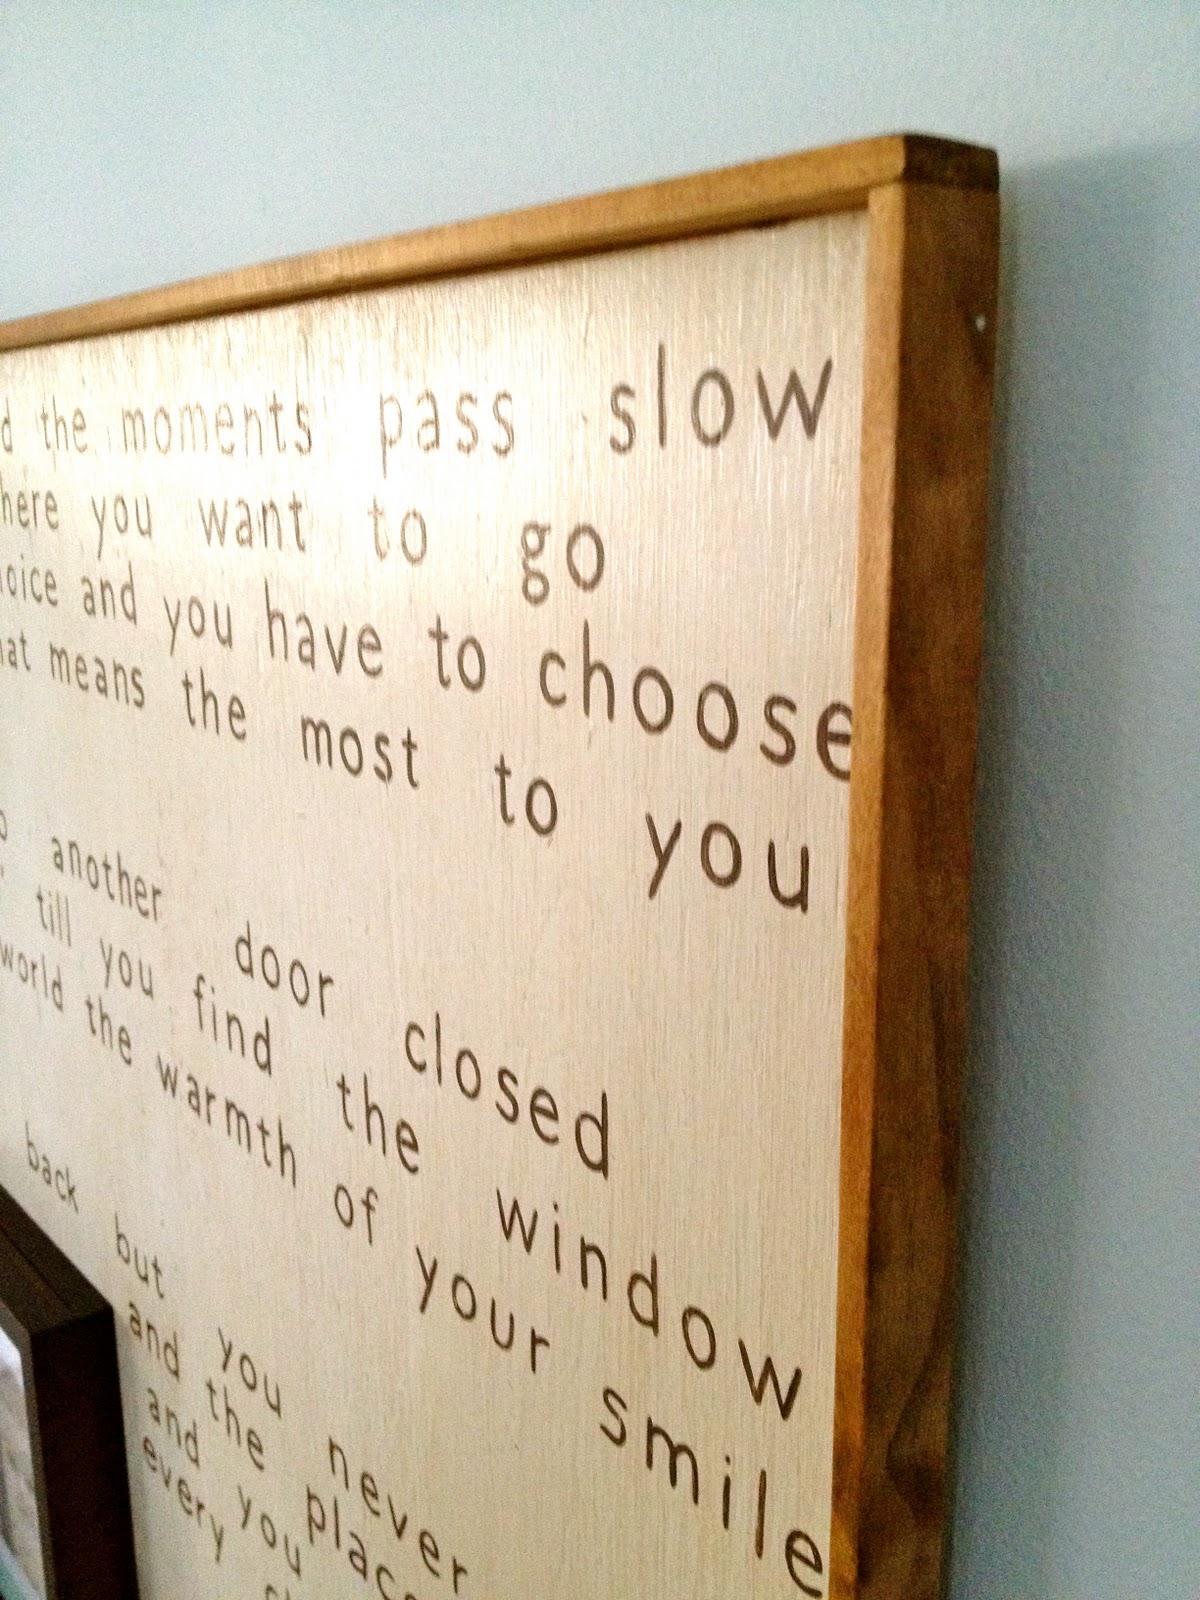
13. Cut strip to fit edge, glue and nail into place with 3/8″ #18 finish nails:
14. Once all four sides are on, apply second coat of stain on frame.
15. Slide glass and photo into place.
16. Secure wall side of cleat in place:

17. Hang and enjoy.

In order to change out the picture simply slide out the top piece of the frame:

and push the glass and picture up with a skewer through the hole made in the bottom of the frame:

This Mommy can cook so I’m certain she almost always has a skewer lying around.

Ready for the baby’s nursery.
I’m linking up to:
I’m linking up to:
Whatcha Got Weekend @ Lolly Jane
SAS @ Funky Junk
Weekend Wrap Up @ Tatertots & Jello
Sundae Scoop @ I Heart Naptime
Sister Sunday @ Sisters of the Wild West
Sunday Showcase Party @ Under the Table & Dreaming
Just Something I Whipped Up @ The Girl Creative
DIY Fall Festival @ The DIY Showoff
Made by You Mondays @ Skip to My Lou
Making the World Cuter @ Making the World Cuter
Nifty Thrifty @ Coastal Charm
Tuesday Treasures @ My Uncommon Slice of Suburbia
Tutorials & Tips Tuesday @ Home Stories A to Z
Good Life @ A Beach Cottage
Delightfully Inspiring @ Delightful Order
Transformation Thursday @ The Shabby Creek Cottage
Strut Your Stuff @ Somewhat Simple
Share Awesomeness Thur @ The 36th Avenue
Flaunt it Friday @ Chic on a Shoestring
Tickled Pink @ 504 Main
Frugal Friday @ The Shabby Nest
SAS @ Just a Girl
Feathered Nest @ French Country Cottage
Remodelaholics Anonymous @ Remodelaholic
inspiration board @ Carolyns Homework

Gorgeous! Yay, Mommy loves it! Thank you so much, can't wait to see it in person! xo
Wow! Beautiful job! I'd like to do that with Psalm 121 or an Irish blessing.
Too ironic! I recently made a sign for my son's room with lyrics from the same song. I plan on hanging it on his soon-to-be-built closet barn door. (We're in the middle of a kitchen reno so other projects have been put ont he back burner!)
Your art is precious!
Jaime, this is really beautiful, but it looks like a TON of work! You are soooo patient!
OMG, what a work!
I can´t believe anybody is able to do such filigree things – Respect!
It´s a wonderful decoration for the wall – and a very special memory for childhood days! Great!
Best wishes,
Britta
that is awesome! and that song is the one i always listened to when i was pregnant and made me cry… i just love it.
Stop it now! You are so creative, send some of that creative juice that you must be drinking!
Debbie
I love this, Jaime! LOVE! You come up with the best things.
WOW – that is so cute – it must have taken forever! Good for you!
OMG! What a work of art. It truly is to be treasured, always. Thank you so much for sharing I am so amazed at your talent and patience. My very first visit here I will follow on my way out. Perhaps you will find the time to come visit me soon and do the same. I look forward to engaging more throughout the year and beyond. Take care. Cheers SpecialK XoXo
This is amazing!!! You did such a great job!!
Sarah@
http://www.dottedlinecrafts.blogspot.com
That is simply amazing! I love the vintage look that you gave it, too. I would love for you to share it at Find Your Craft Friday!!!
http://thequickjourney.blogspot.com/2012/01/fycf.html
ps. I have a "buddy boy" at my house, too. 🙂
Love this! So many ways to customize it. Turned out great Jaime!
You did an amazing job – love it!
I saw your kitchen redo on Cassidys sight and would love to get some of the pendant lights that you have over your island, could you tell me where you found them?
This is so gorgeous, and completely brilliant! I never would have thought of switching out the photo like that! Great job 🙂
Beautiful project. Love it.
This is such a sweet idea. Love the way it turned out!
I have a laundry list of 'young luvs' I want to give this to! Thanks for sharing…Coreen @ 58 Vintage Faire
Great idea and great project! Turned out wonderfully, and that little guy is adorable!
This was a lot of work! And it turned out great! There are so many different things you could do with this.
This is really a piece of artwork. I love it! And I love that it grows with the child. What a beautiful piece. Thanks for sharing with bloggy world 🙂
I love your lyric art! I just saw you featured at Lolly Jane and couldn't believe you made lyric art this week! I think I should've tried your method-and it looks really awesome!
Becca
I Love this!!! You have inspired me to make this for my daughter as a graduation gift from high school this spring. I myself make frames with quotes and verses. Instead of tracing over indents I use carbon paper to trace my letters onto the wood. Works very well if you haven't tried it!!
I Love this!!! You have inspired me to make this for my daughter as a graduation gift from high school this spring. I myself make frames with quotes and verses. Instead of tracing over indents I use carbon paper to trace my letters onto the wood. Works very well if you haven't tried it!!