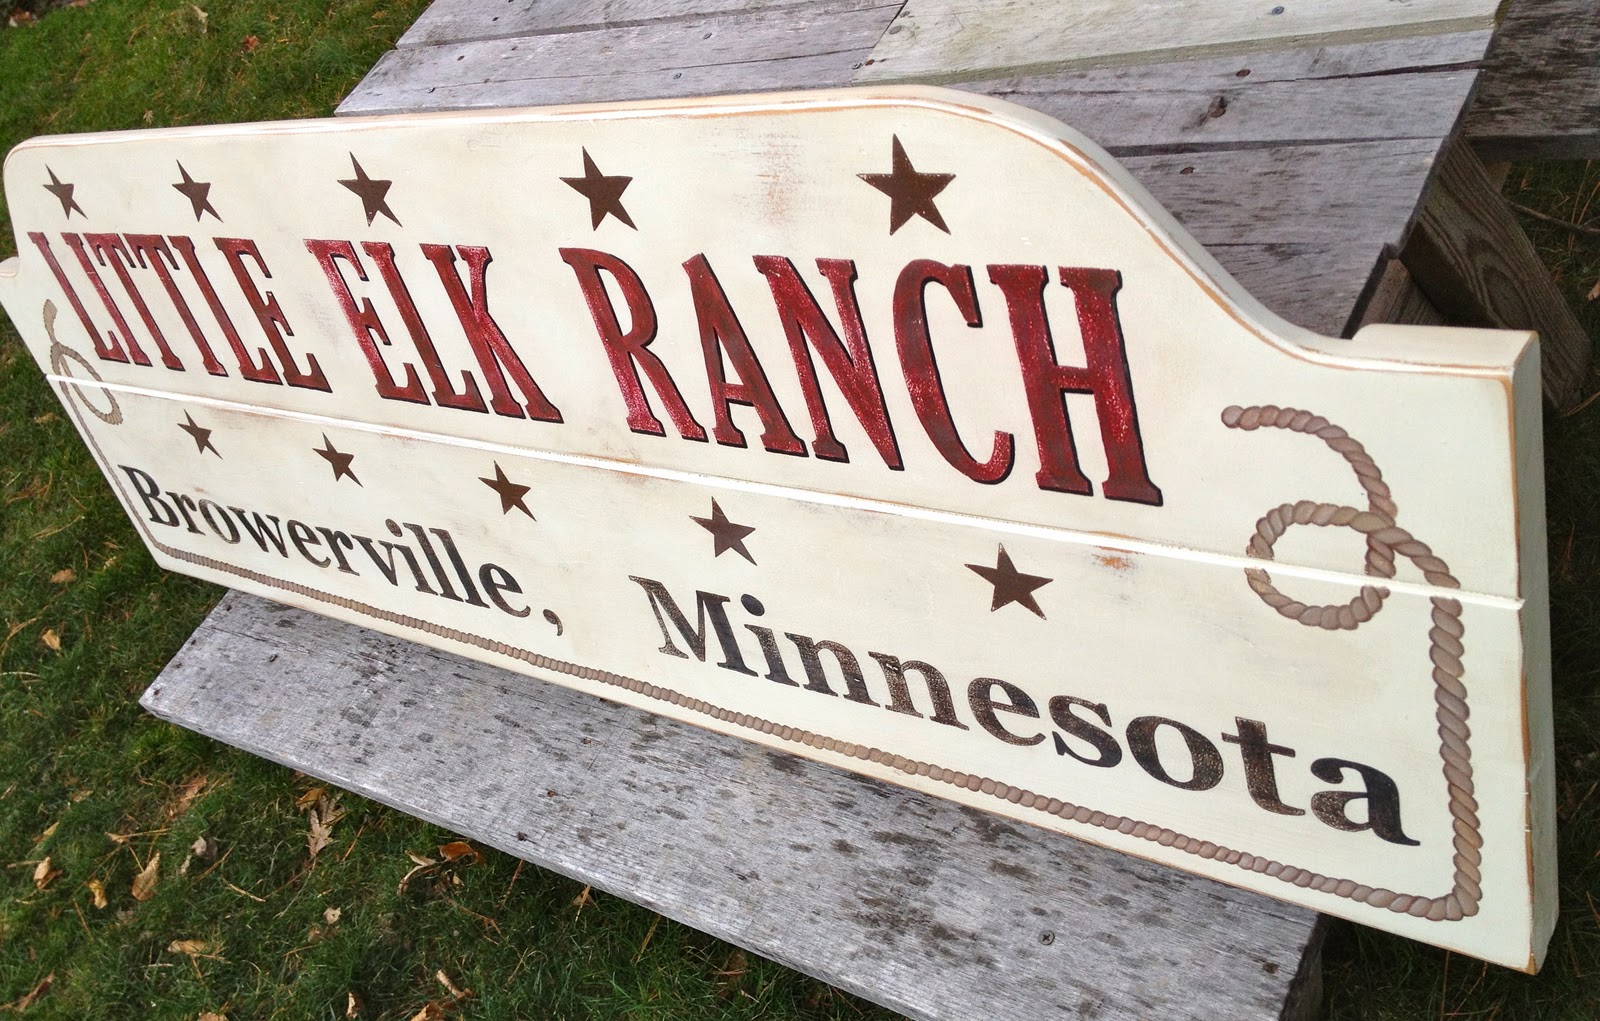
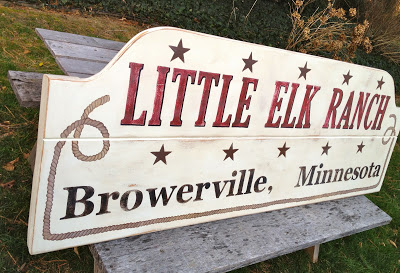
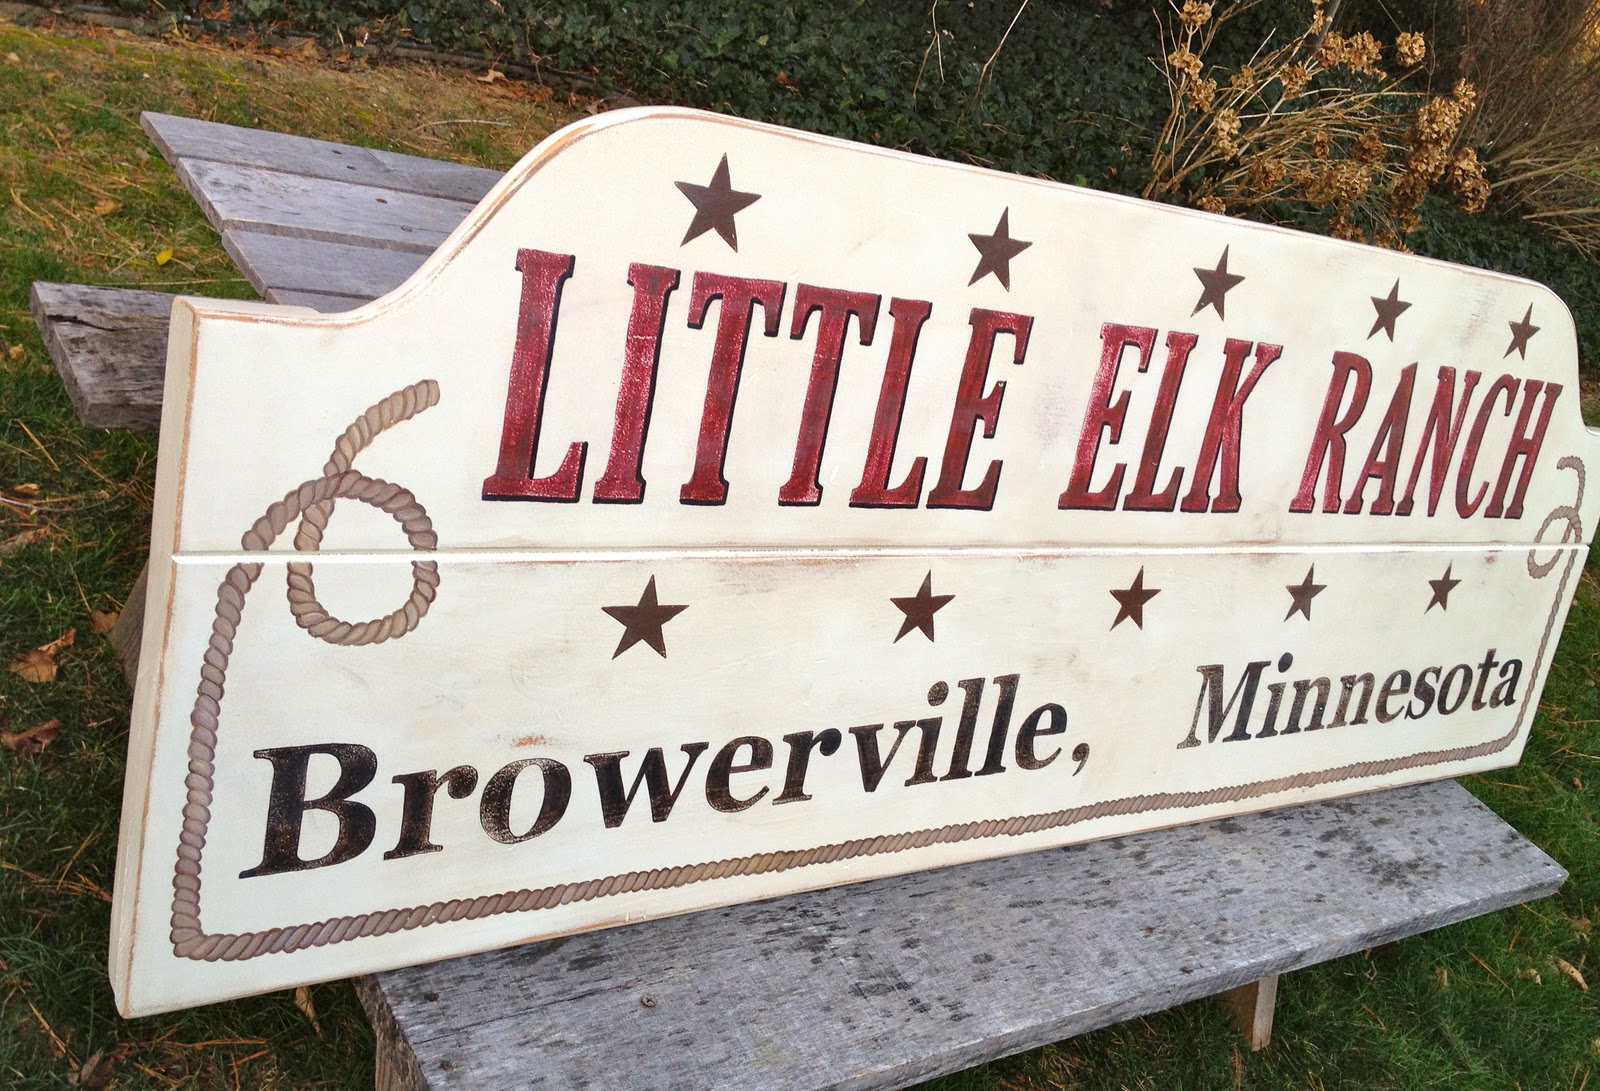
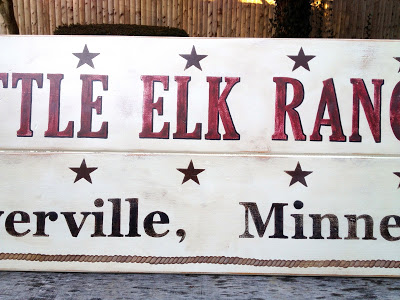
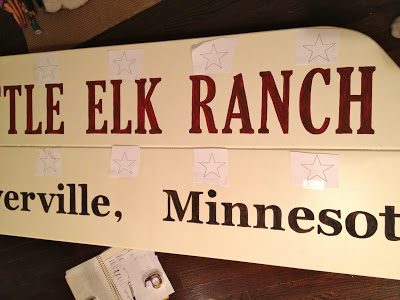
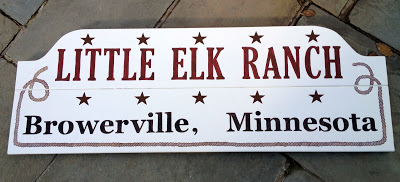
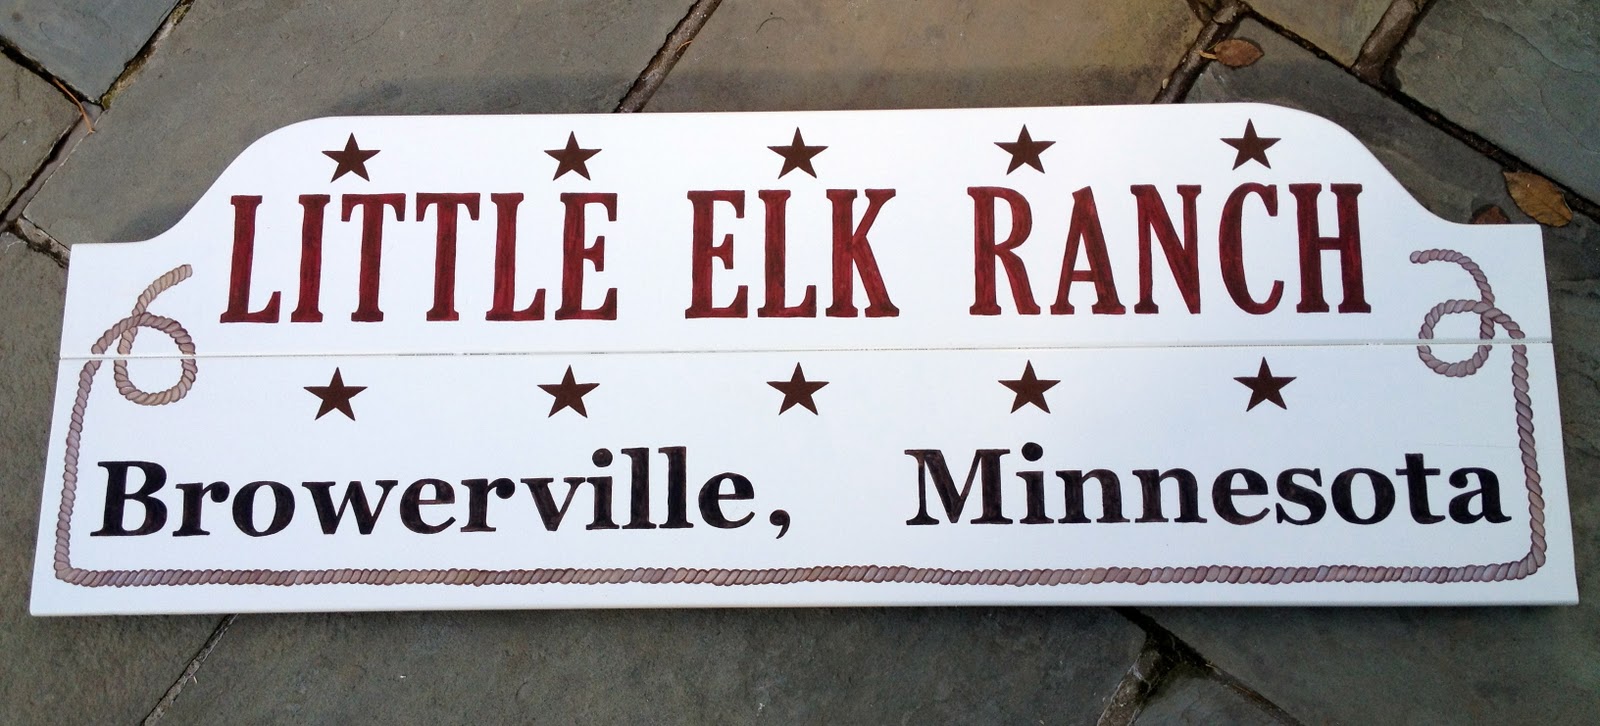
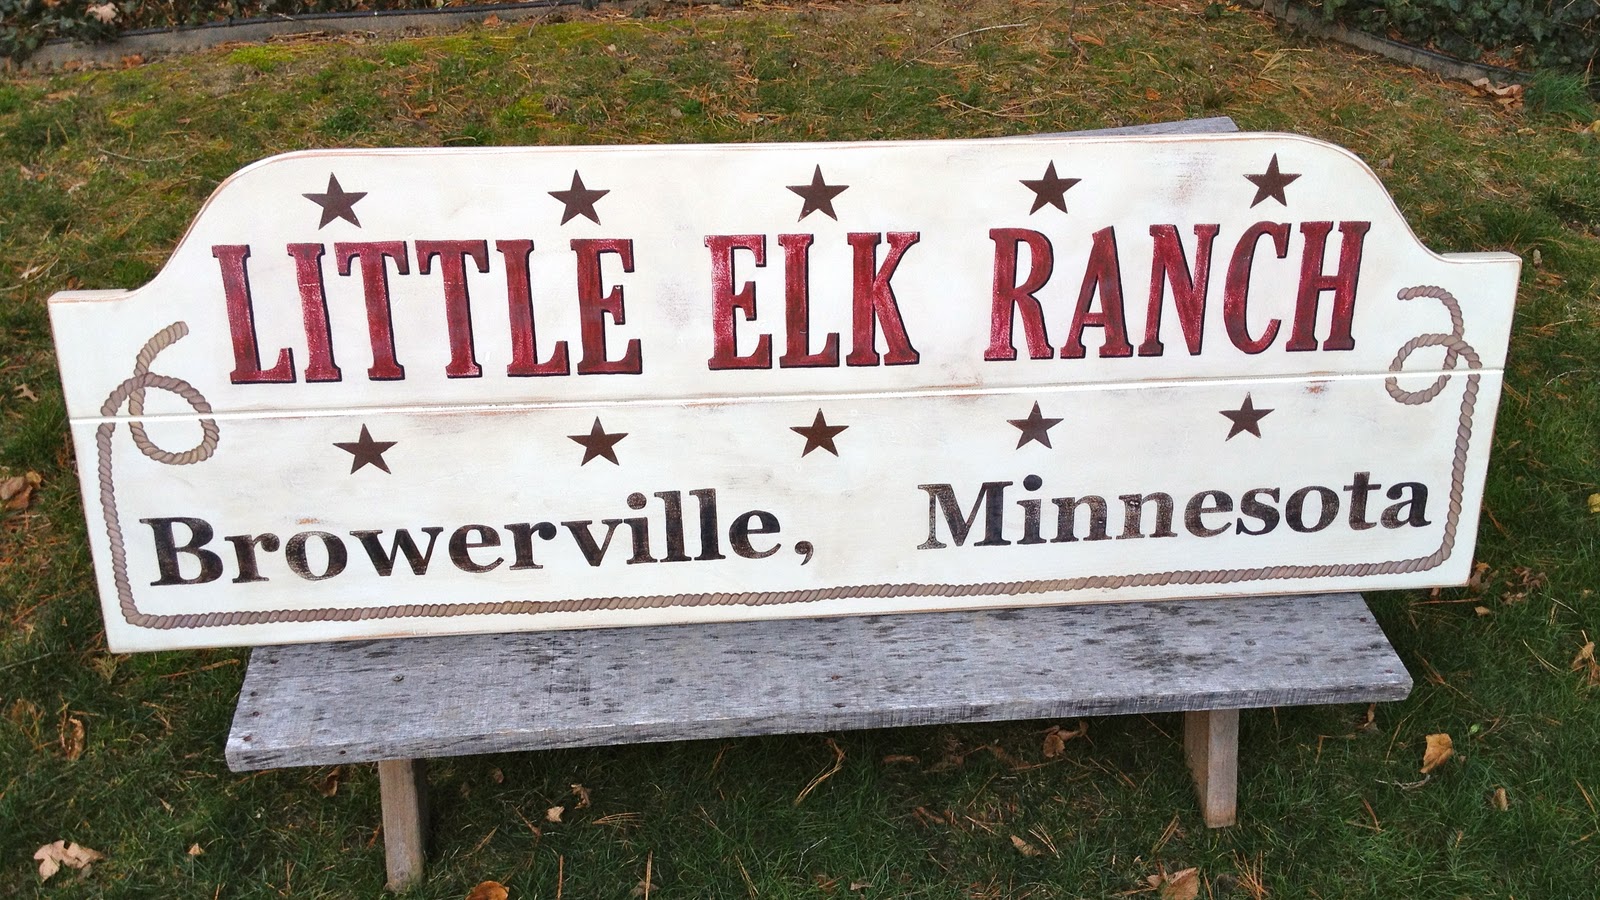
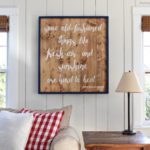
A handpainted sign: Little Elk Ranch
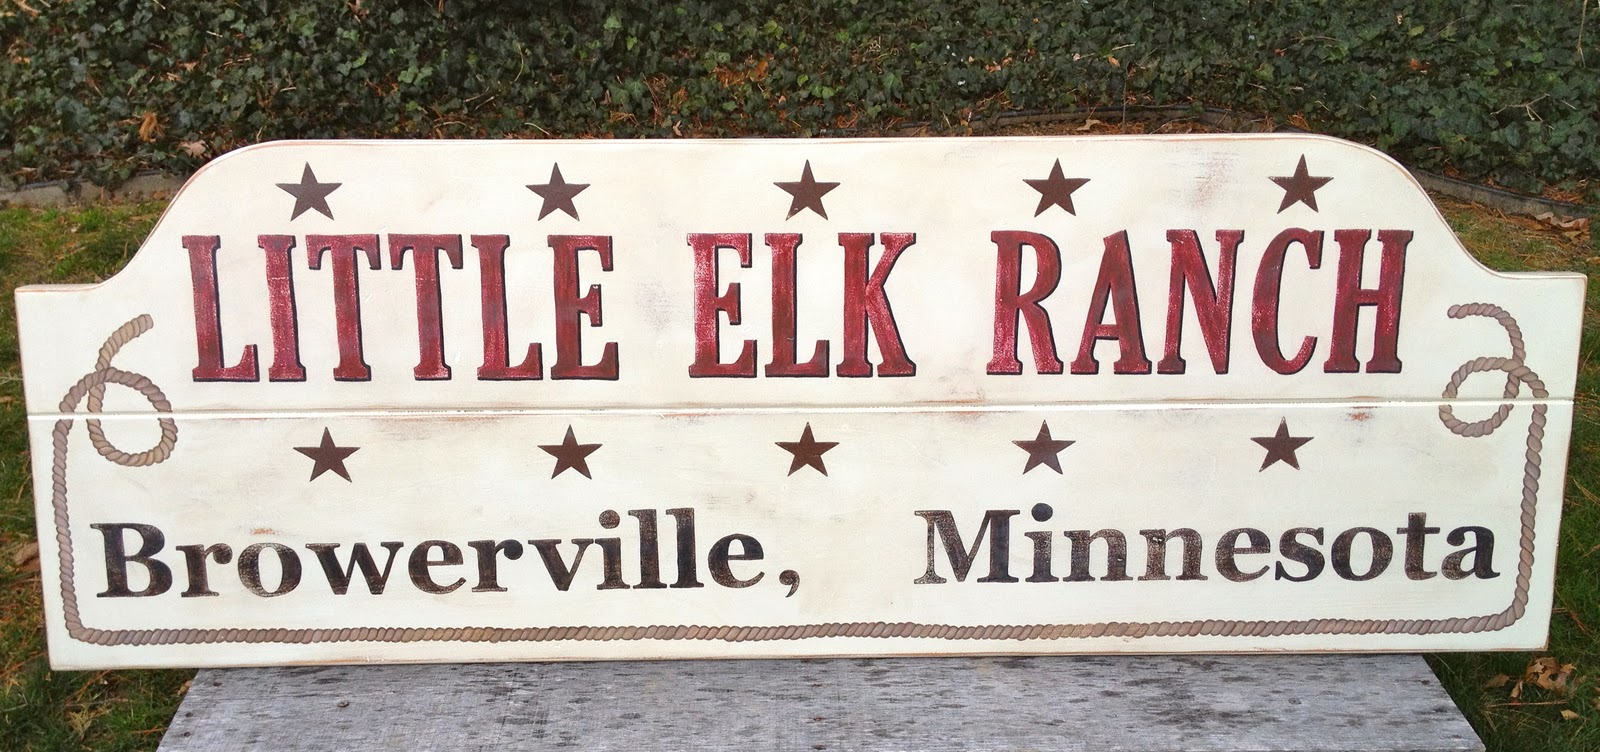
or more affectionately referred to as ‘horse camp’.
I made this sign for my sister, a gift for Christmas.

We have fond memories of Little Elk Ranch (horse camp) made during our summers as young girls, sadly I don’t think the camp is still around.
This sign not only fills the space on the wall in my sister’s Family Room, it serves as a little reminder of those fond days gone by.


Here’s how I made the sign:
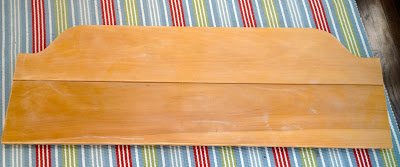
1. Sand wood piece:
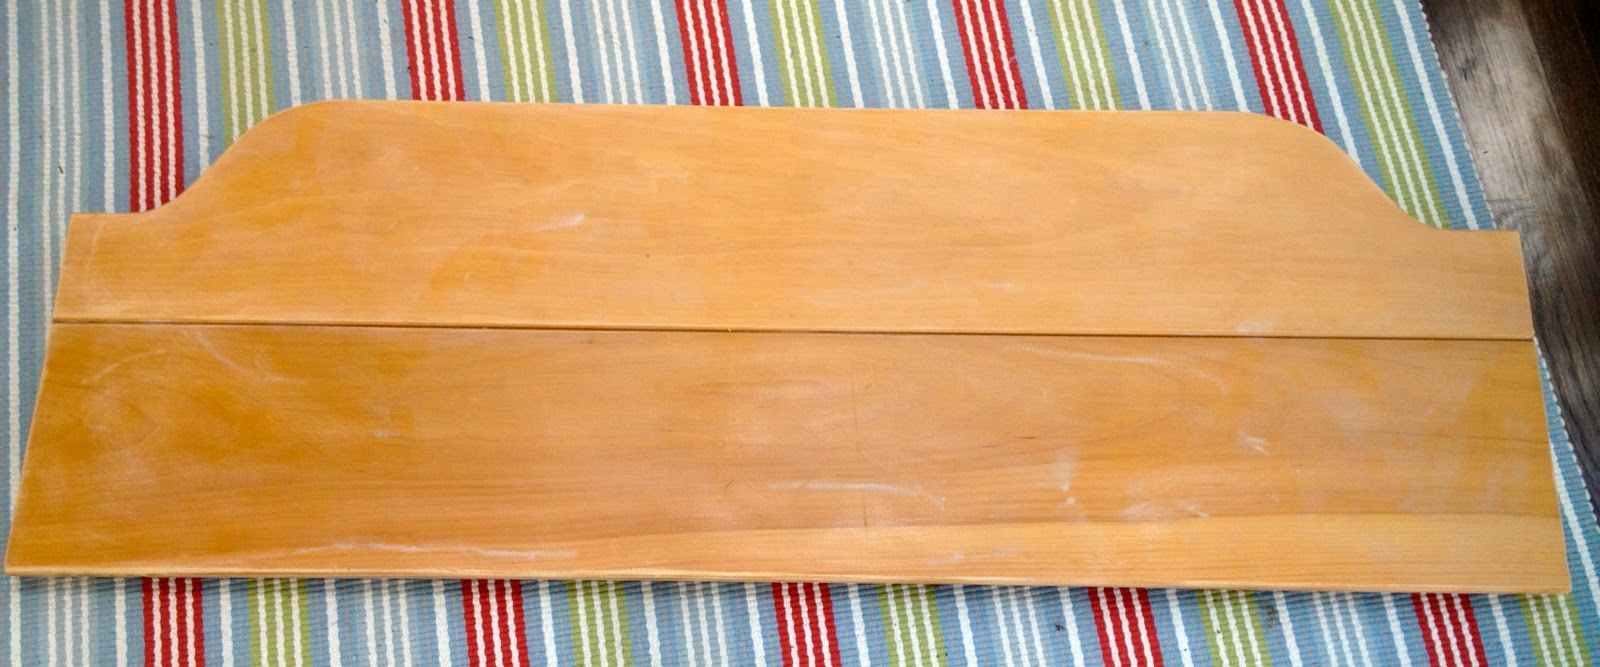
2. Paint two coats Behr cozy cottage.
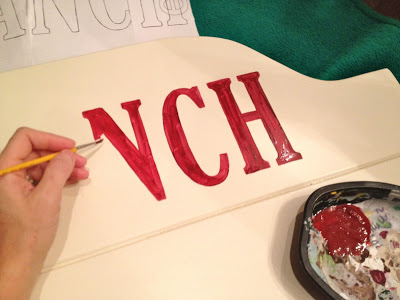
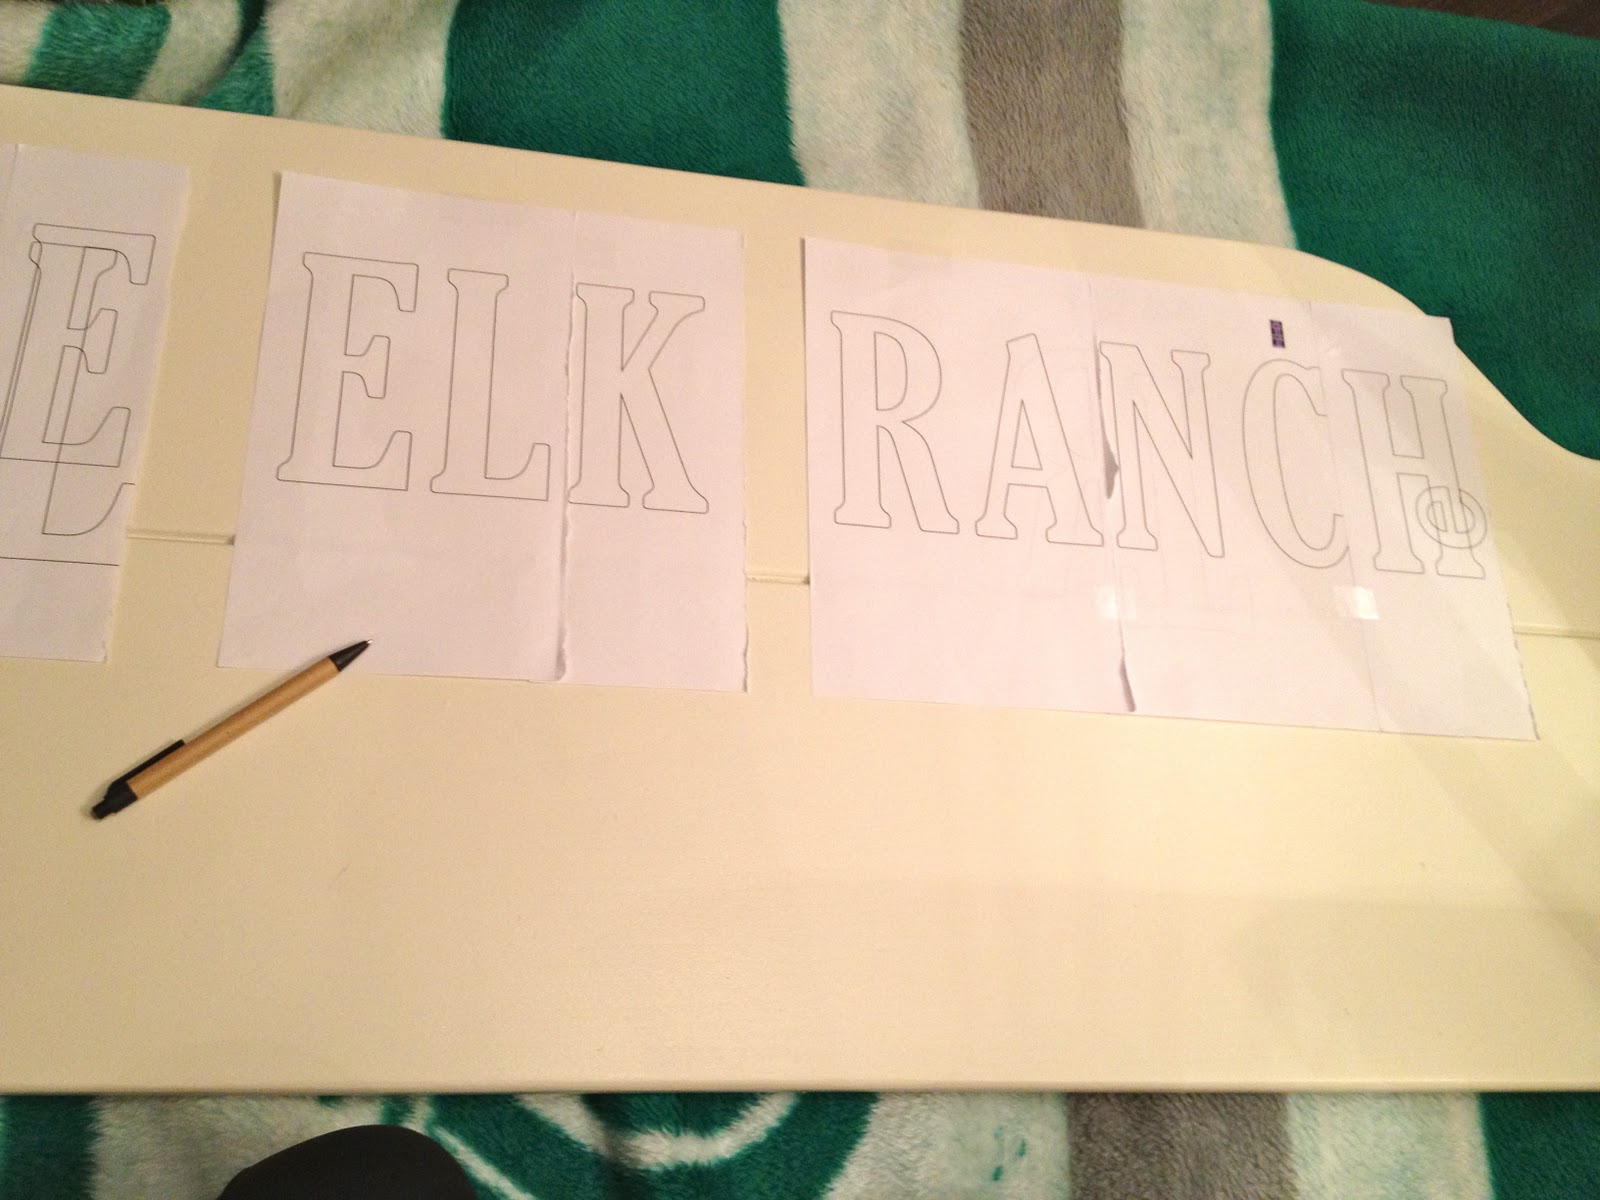
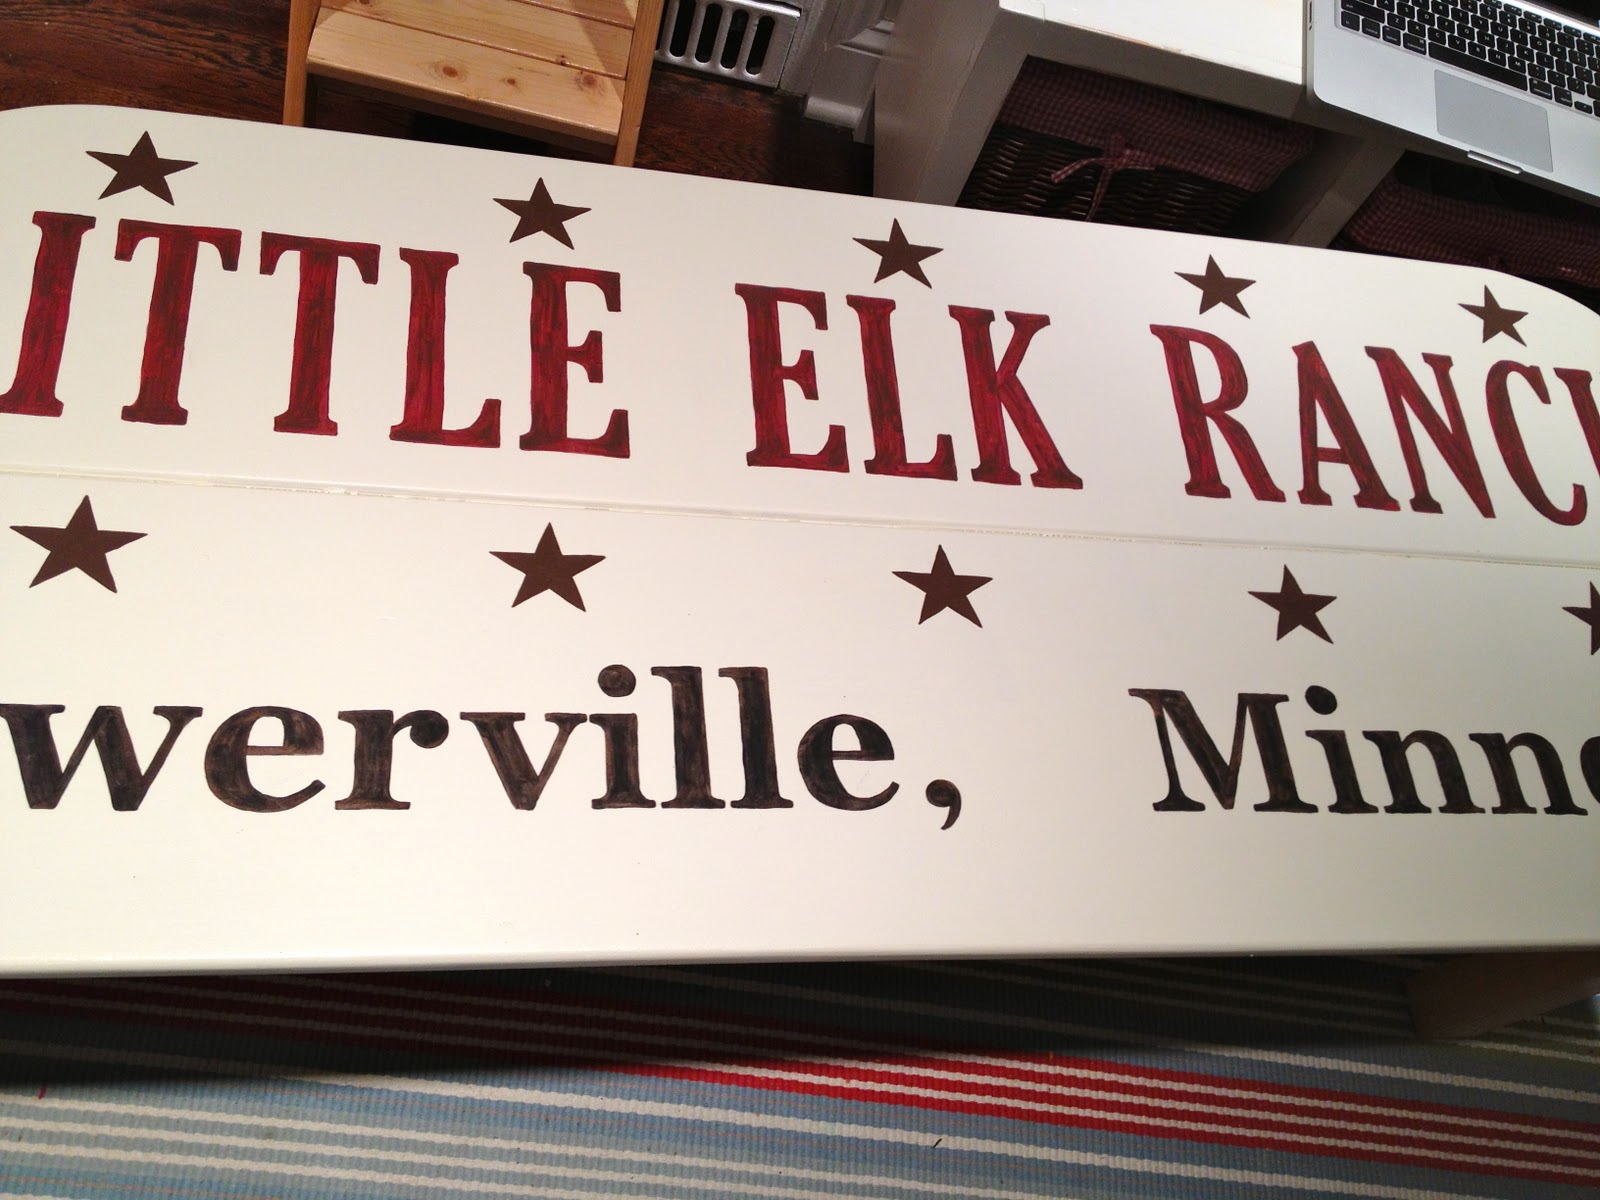
Print out lettering to fit space, using a ballpoint pen trace letters to leave indent in wood:
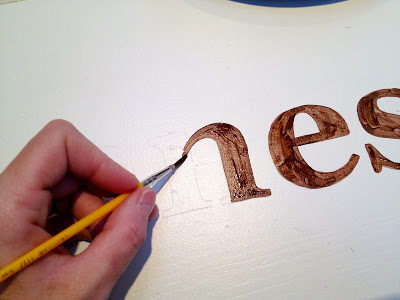
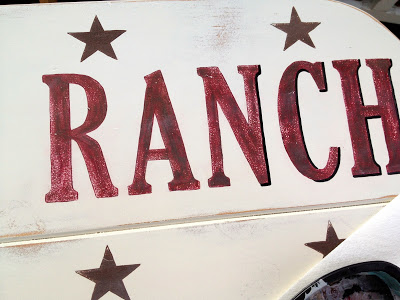
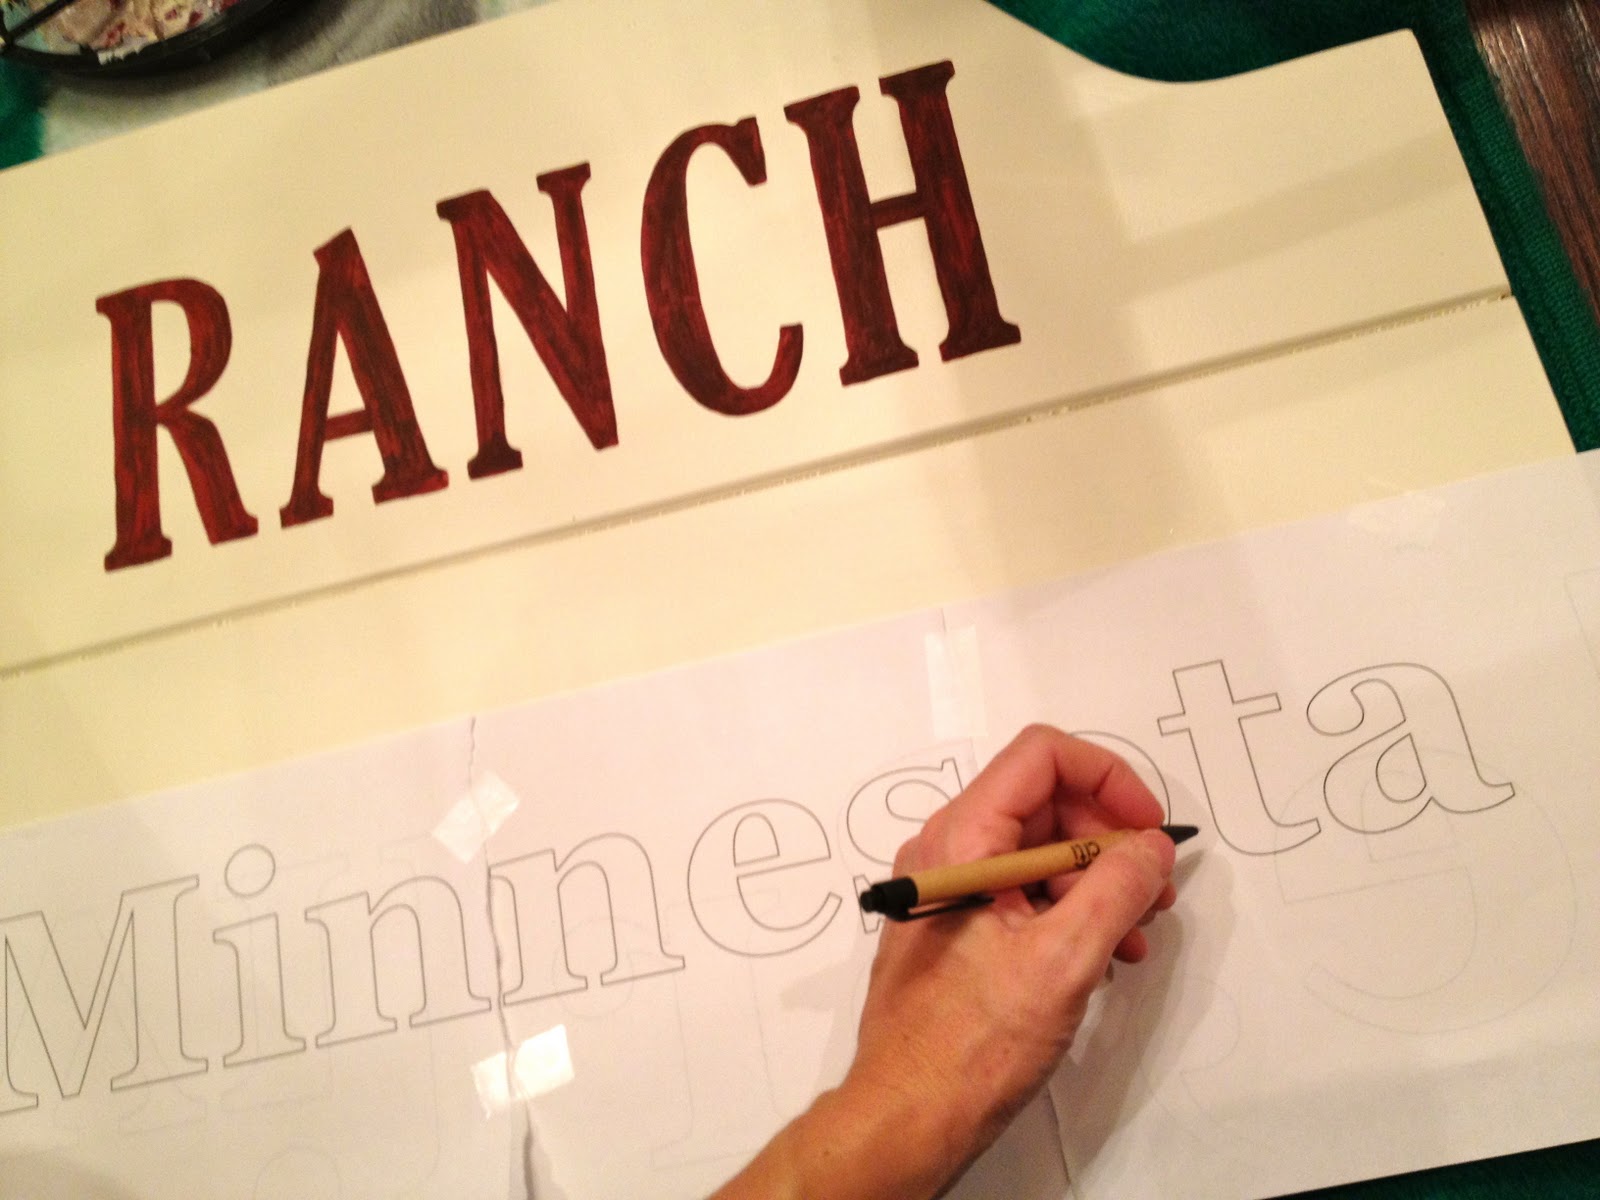
3. Paint on and inside the indent, first coat dark red:

4. Paint second layer – brown:

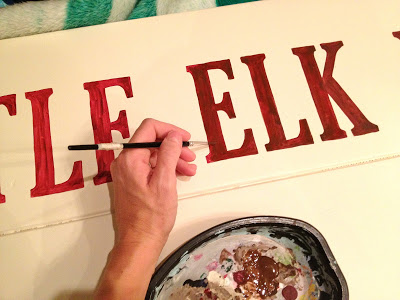
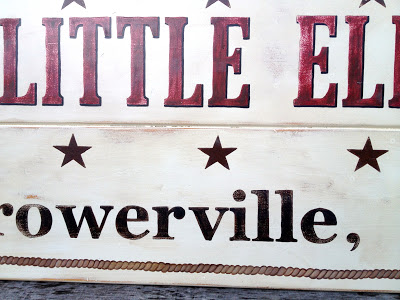
5. Repeat process for bottom row of lettering:
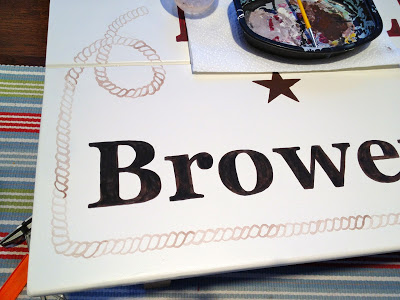
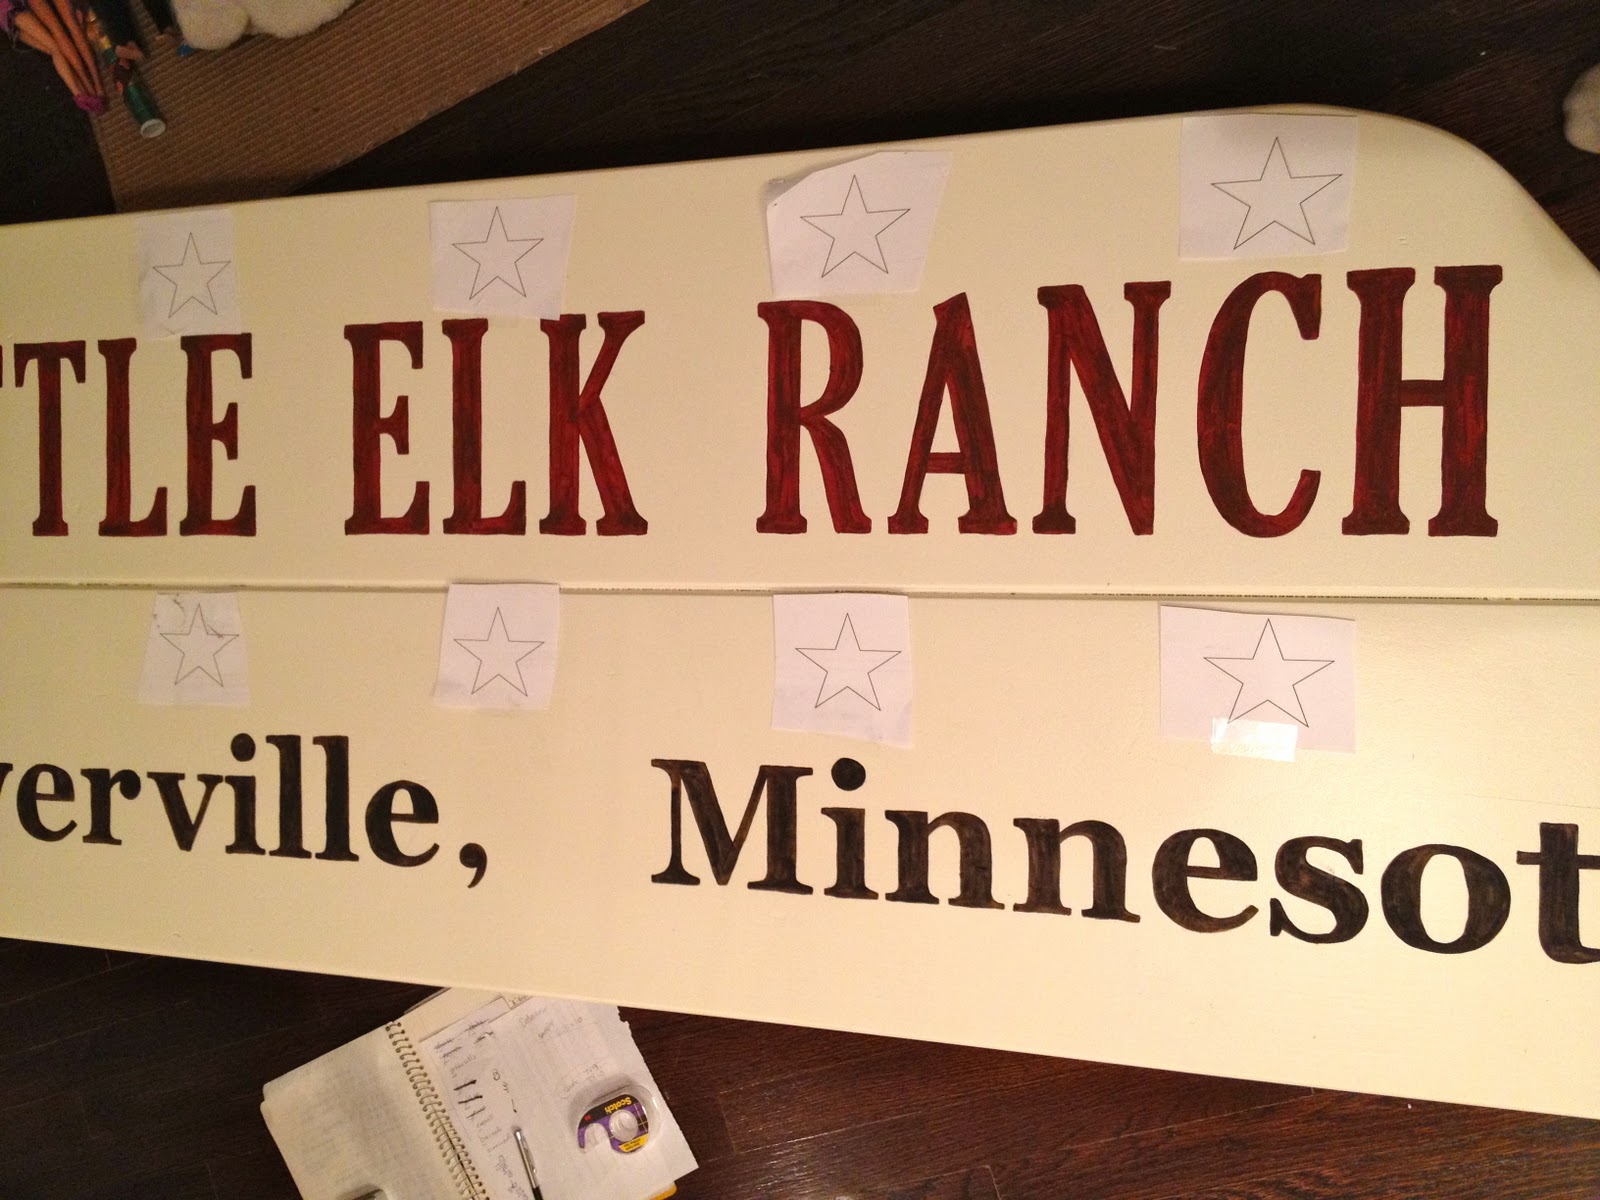
6. Paint first layer brown, second layer black:

7. Use the same process for the stars:
8. Paint stars brown:
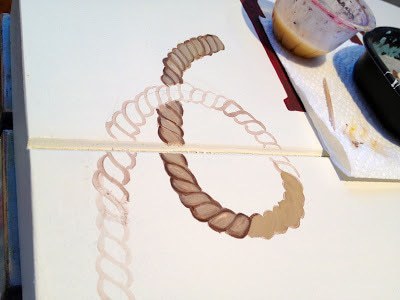
9. Paint on rope design lightly at first:

10. Then start filling in basic rope color and use darker brown to highlight twisting motion:

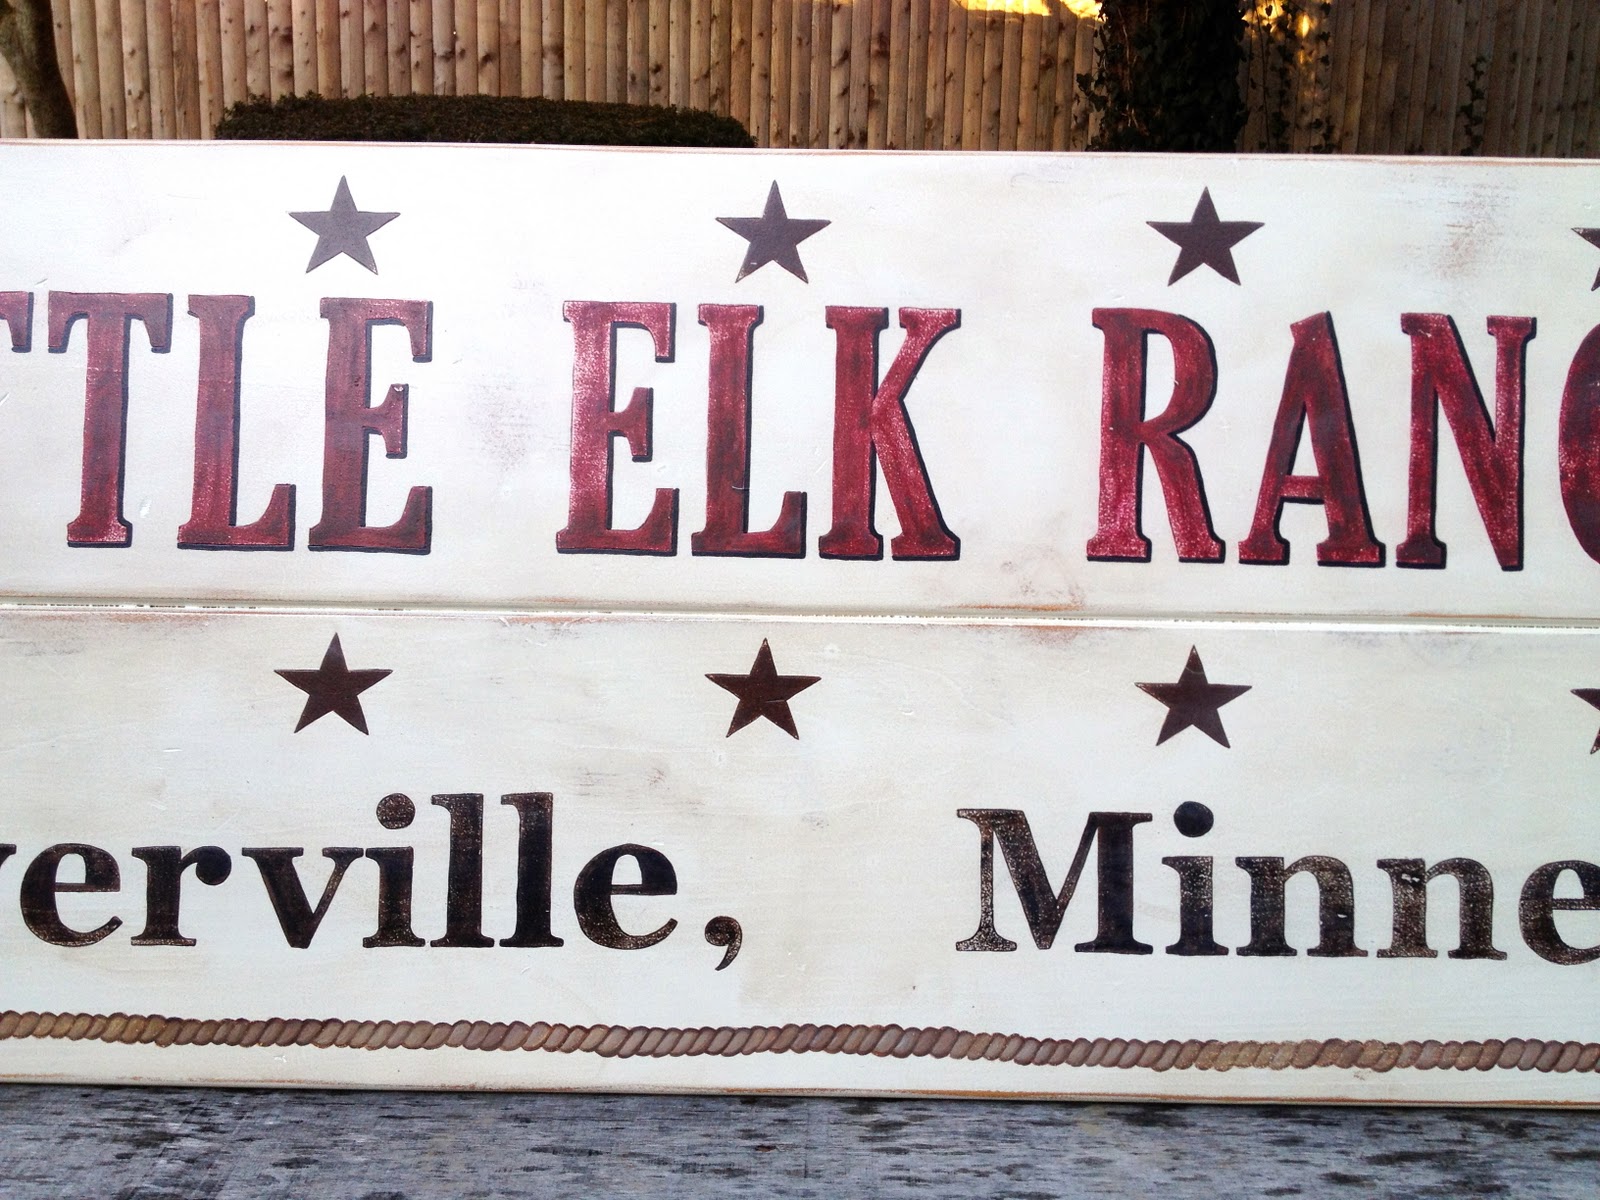
11. Ready to be sanded:
12. After sanding to distress, use black to highlight lettering:

13. Stain using Minwax Early American then seal with clear satin poly:


A fun keepsake and perfect decor for her wall.
I’m linking up to:
Whatcha Got Weekend @ Lolly Jane
SAS @ Funky Junk
Weekend Wrap Up @ Tatertots & Jello
Sundae Scoop @ I Heart Naptime
Sister Sunday @ Sisters of the Wild West
Sunday Showcase Party @ Under the Table & Dreaming
Just Something I Whipped Up @ The Girl Creative
DIY Project Parade @ The DIY Showoff
Made by You Mondays @ Skip to My Lou
Making the World Cuter @ Making the World Cuter
Nifty Thrifty @ Coastal Charm
Tuesday Treasures @ My Uncommon Slice of Suburbia
Tutorials & Tips Tuesday @ Home Stories A to Z
Good Life @ A Beach Cottage
Delightfully Inspiring @ Delightful Order
Transformation Thursday @ The Shabby Creek Cottage
Strut Your Stuff @ Somewhat Simple
Share Awesomeness Thur @ The 36th Avenue
Flaunt it Friday @ Chic on a Shoestring
Tickled Pink @ 504 Main
Frugal Friday @ The Shabby Nest
SAS @ Just a Girl
Feathered Nest @ French Country Cottage
Remodelaholics Anonymous @ Remodelaholic
inspiration board @ Carolyns Homework

What a wonderful sign! My family is in the sign business and just to say you did a wonderful job!
Thank you for sharing the sign tute! Your have such a professional touch! See you next year!
Great sign, and the camp is still there – less than an hour from my home!
Hi, I am so HAPPY that I came across your blog! Your tutorials are fantastic!! Wonderful job…..:)
This sign rocks! I featured you today, come check it out:)
http://kim-toomuchtimeonmyhands.blogspot.com/2012/01/good-morning-sunshine.html
The sign has such a cute shape. I really like it and your tutorial is easy to follow. Don't think I could paint that rope design though. You have a lot of talent!
How creative is that?!! I love it!! I like how you layered the paint in the letters.
Looks like that took some patience and it turned out GREAT!! <3
Adoring this sign! love the design you came up with! xoxo tracie
Stumbled across this as I was searching for the camp to take a trip down memory lane. I too was a child who had fond memories of the camp and summers spent there, "Thank God I'm a country boy" wink wink. Nice work on the sign, wouldn't mind having one myself.
I used to go to Little Elk Ranch as a kid as well. It brings back some of the fondest memories of my childhood. I was actually in my last summer as a camper during their last year in business. There were many tears shed with Ron and Sheila. I need to make this sign for my home.