• Home
  • Blog
  • About
  • Contact
    • Disclosure
    • Privacy Policy
  • SHOP
  • Widget area for main menu

    • Email
    • Facebook
    • Instagram
    • Pinterest
    • Twitter
    • YouTube
  • Skip to primary navigation
  • Skip to main content
  • Skip to primary sidebar

Jaime Costiglio

build - paint - sew

  • BUILD
    • BEDS
    • BENCHES
    • DESKS
    • DRESSERS
    • GAMES & TOYS
    • SCRAP WOOD
    • SHELVES
    • STORAGE
    • TABLES
  • TOOLS
  • PAINT
    • CRAFTS
    • FURNITURE
    • HOME DECOR
  • SEW
    • GIFTS
    • HOME DECOR
    • POUCHES
  • HANDBUILT HOLIDAY
    • 2021
    • 2019
    • 2018
    • 2017
    • 2016
    • 2015
    • 2014
    • 2013
  • GIFTS
    • BABIES
    • KIDS
    • FOR HER
    • FOR HIM
    • TEACHERS
    • WEDDINGS
  • SEASONAL
    • 4TH OF JULY
    • FALL
    • HALLOWEEN
    • CHRISTMAS
    • SUMMER
    • SPRING
    • ST. PATRICK’S DAY
    • THANKSGIVING
    • VALENTINE’S DAY
    • WINTER
  • SALTBOX PROJECT
    • BATHROOMS
    • DINING ROOM
    • EXTERIOR
    • FAMILY ROOM
    • FOYER / MUDROOM
    • KIDS BEDROOMS
    • KITCHEN
    • LIVING ROOM
    • MASTER BEDROOM
    • PLAYROOM
  • SCROLL SAW

“L” is for Lego Tray #4

July 26, 2012

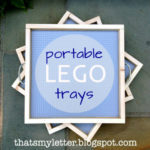
Build: personalized lego trays
I can’t take credit for this idea although I did see it coming at some point.
My friend asked for a lego tray for her son but she also wanted his name on it, so smart!
Now we have personalized lego trays!  And adding the name is the easiest part.

It all began with the original portable lego tray:
Then I modified the plans for a better build:

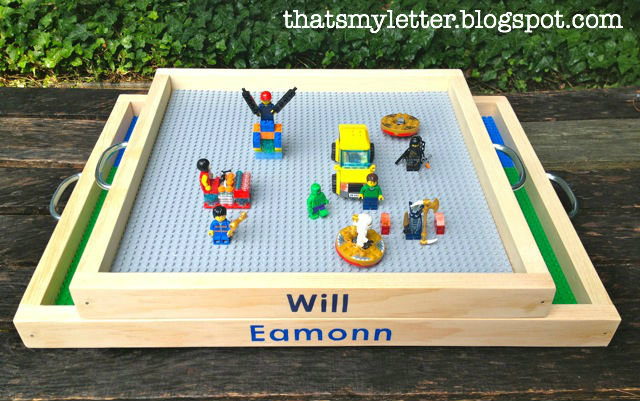
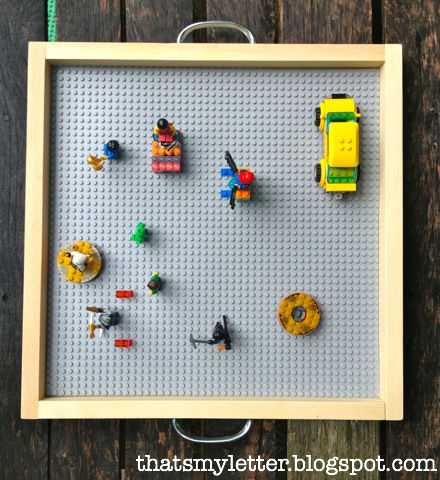
And then the ‘easy to carry’ square version:

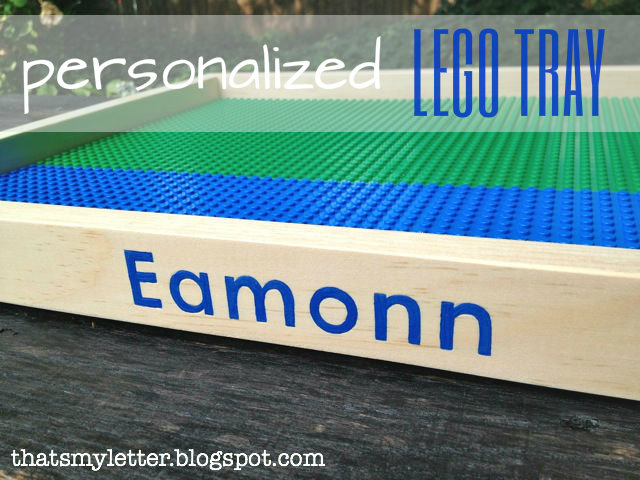
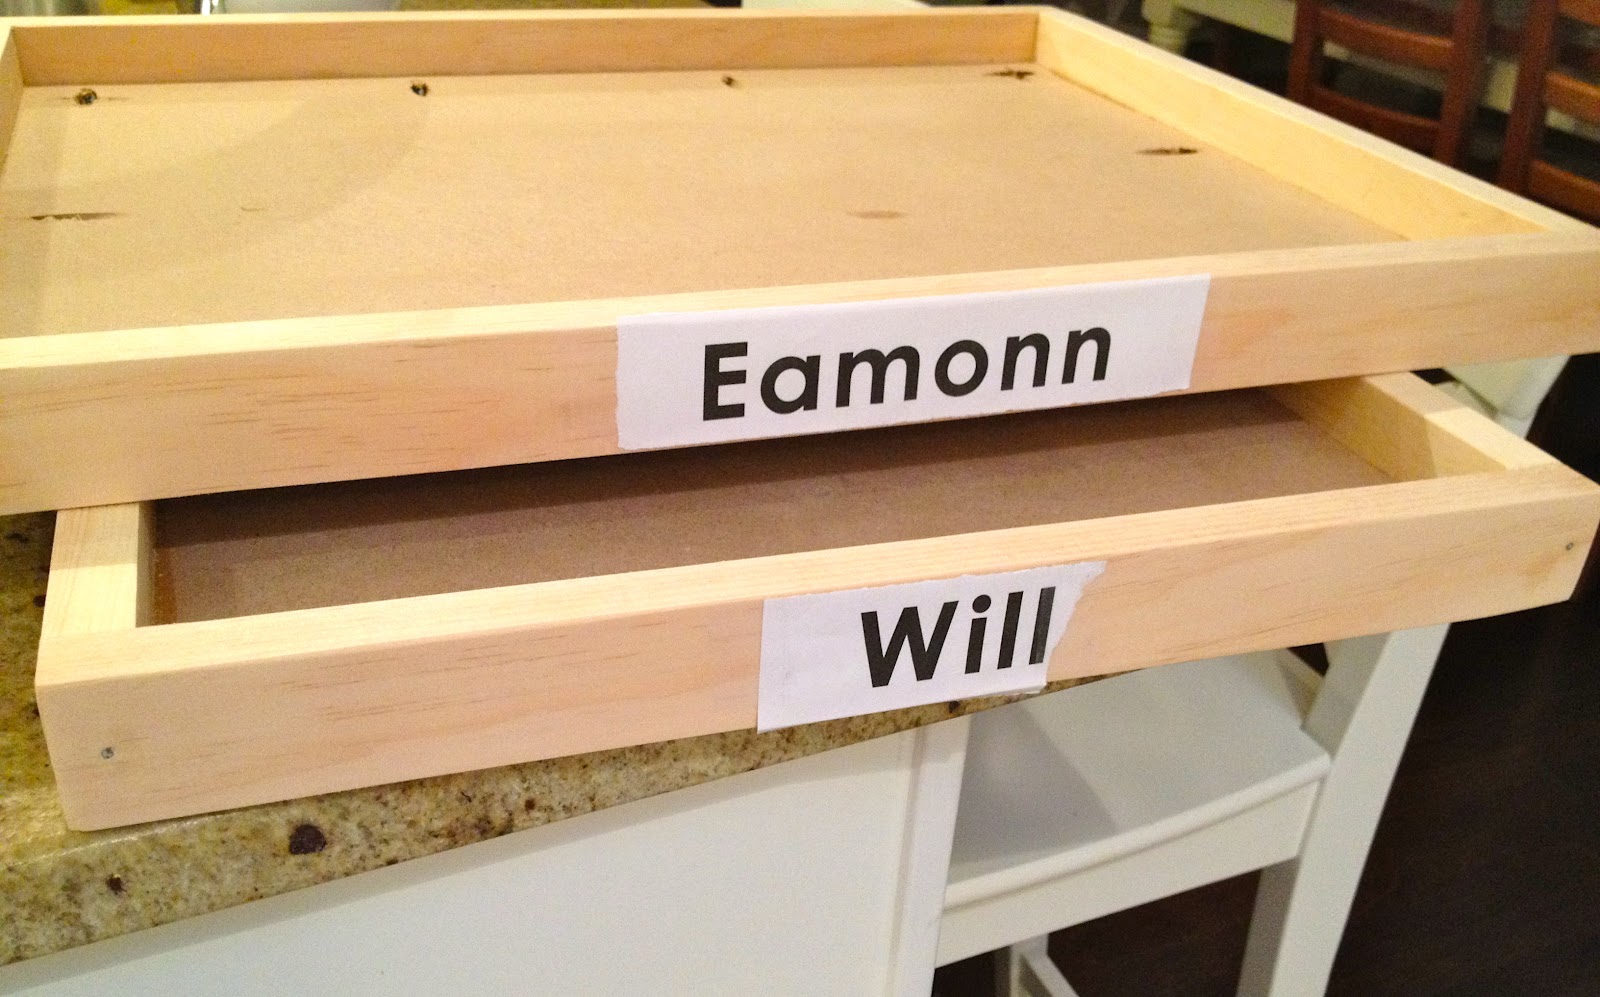
And now the personalized version:
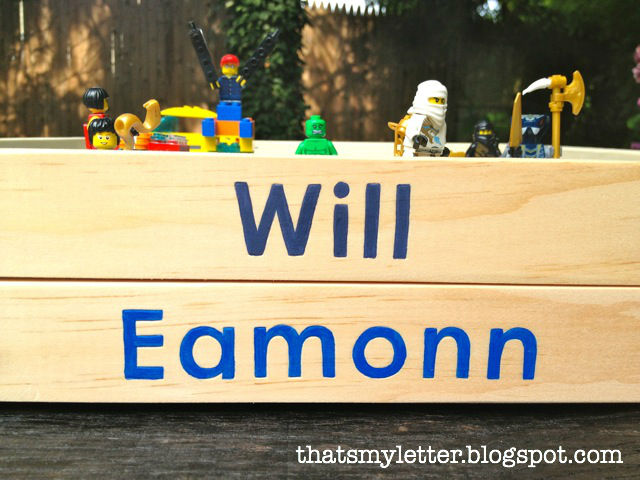
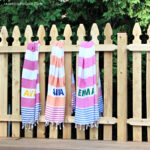
I handpainted the name on both sides.
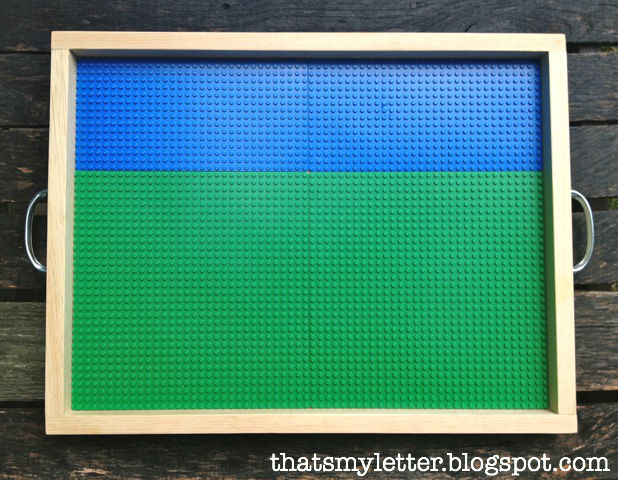
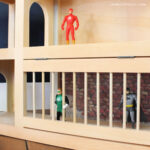
Here’s a top view of the layout:
Here’s how I made the personalized lego trays:

1. Build the trays as per the instructions in my post here.
I used 1/2″ MDF for these trays.
2. Print out the letters and center on side:
I used Century Gothic font in 90 point.
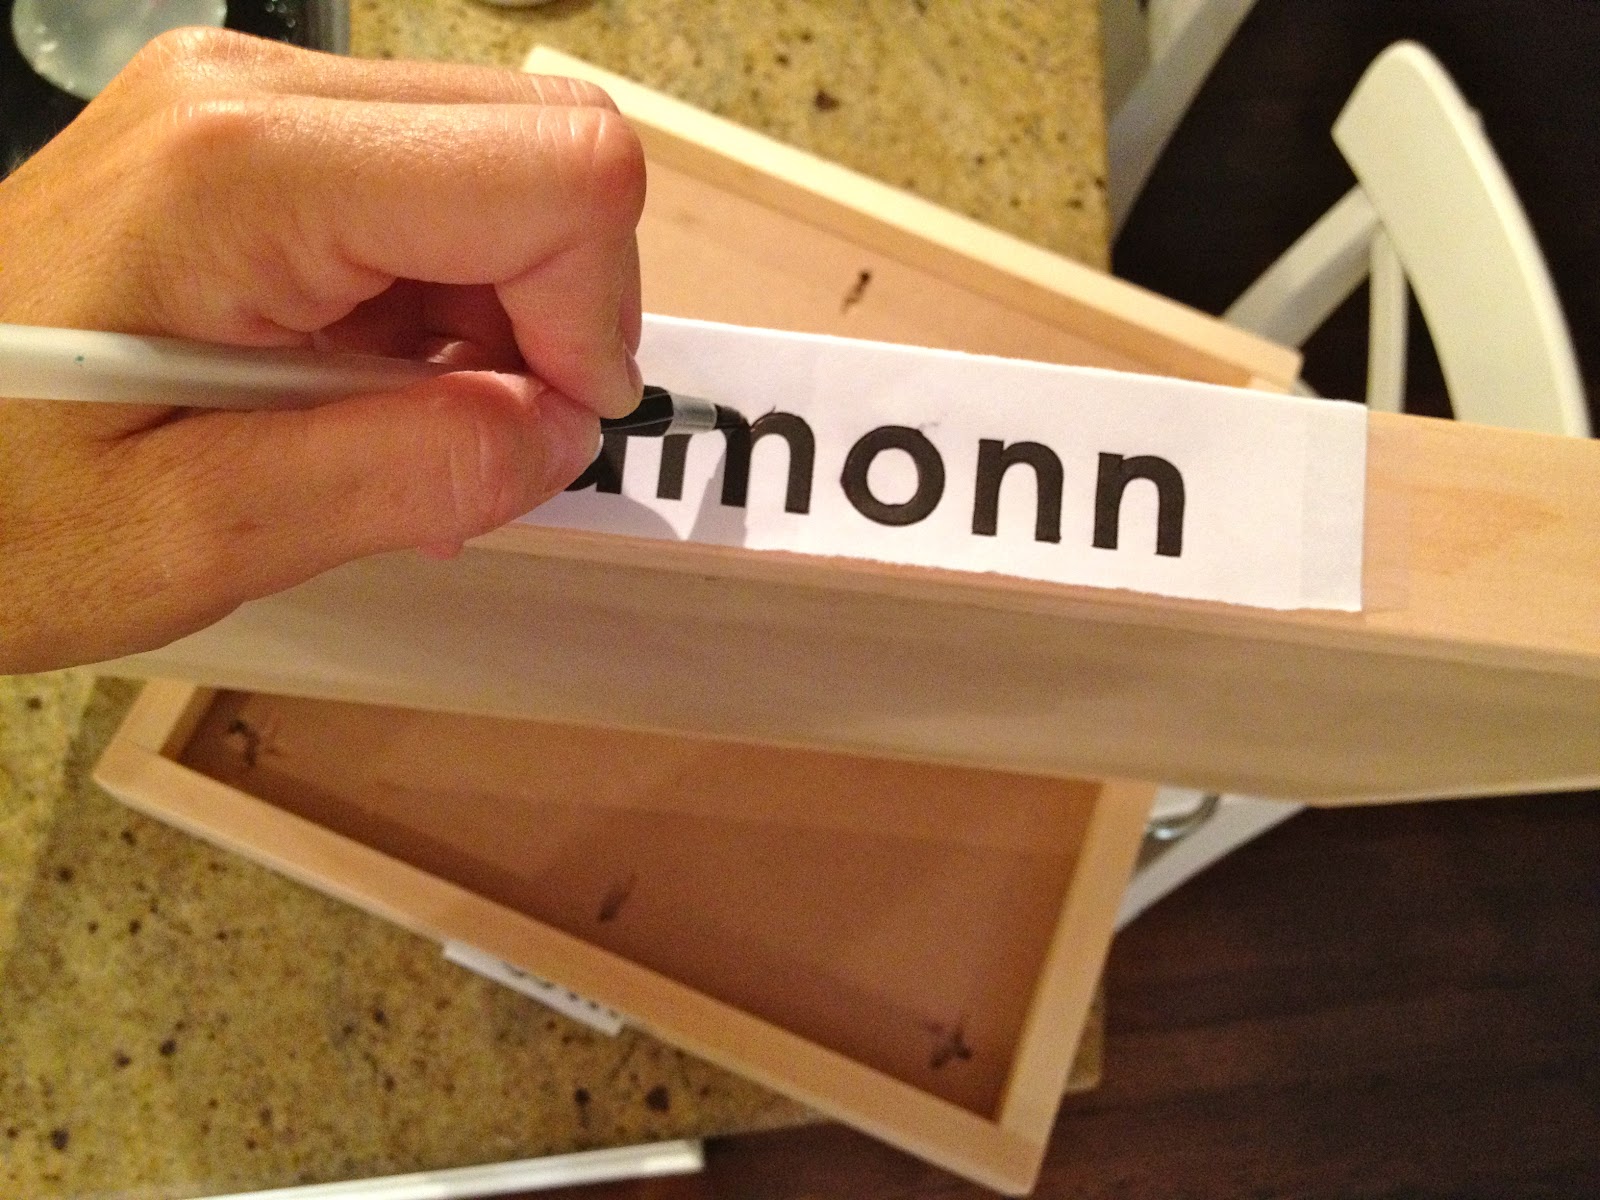
3. Using a ballpoint pen trace letters:
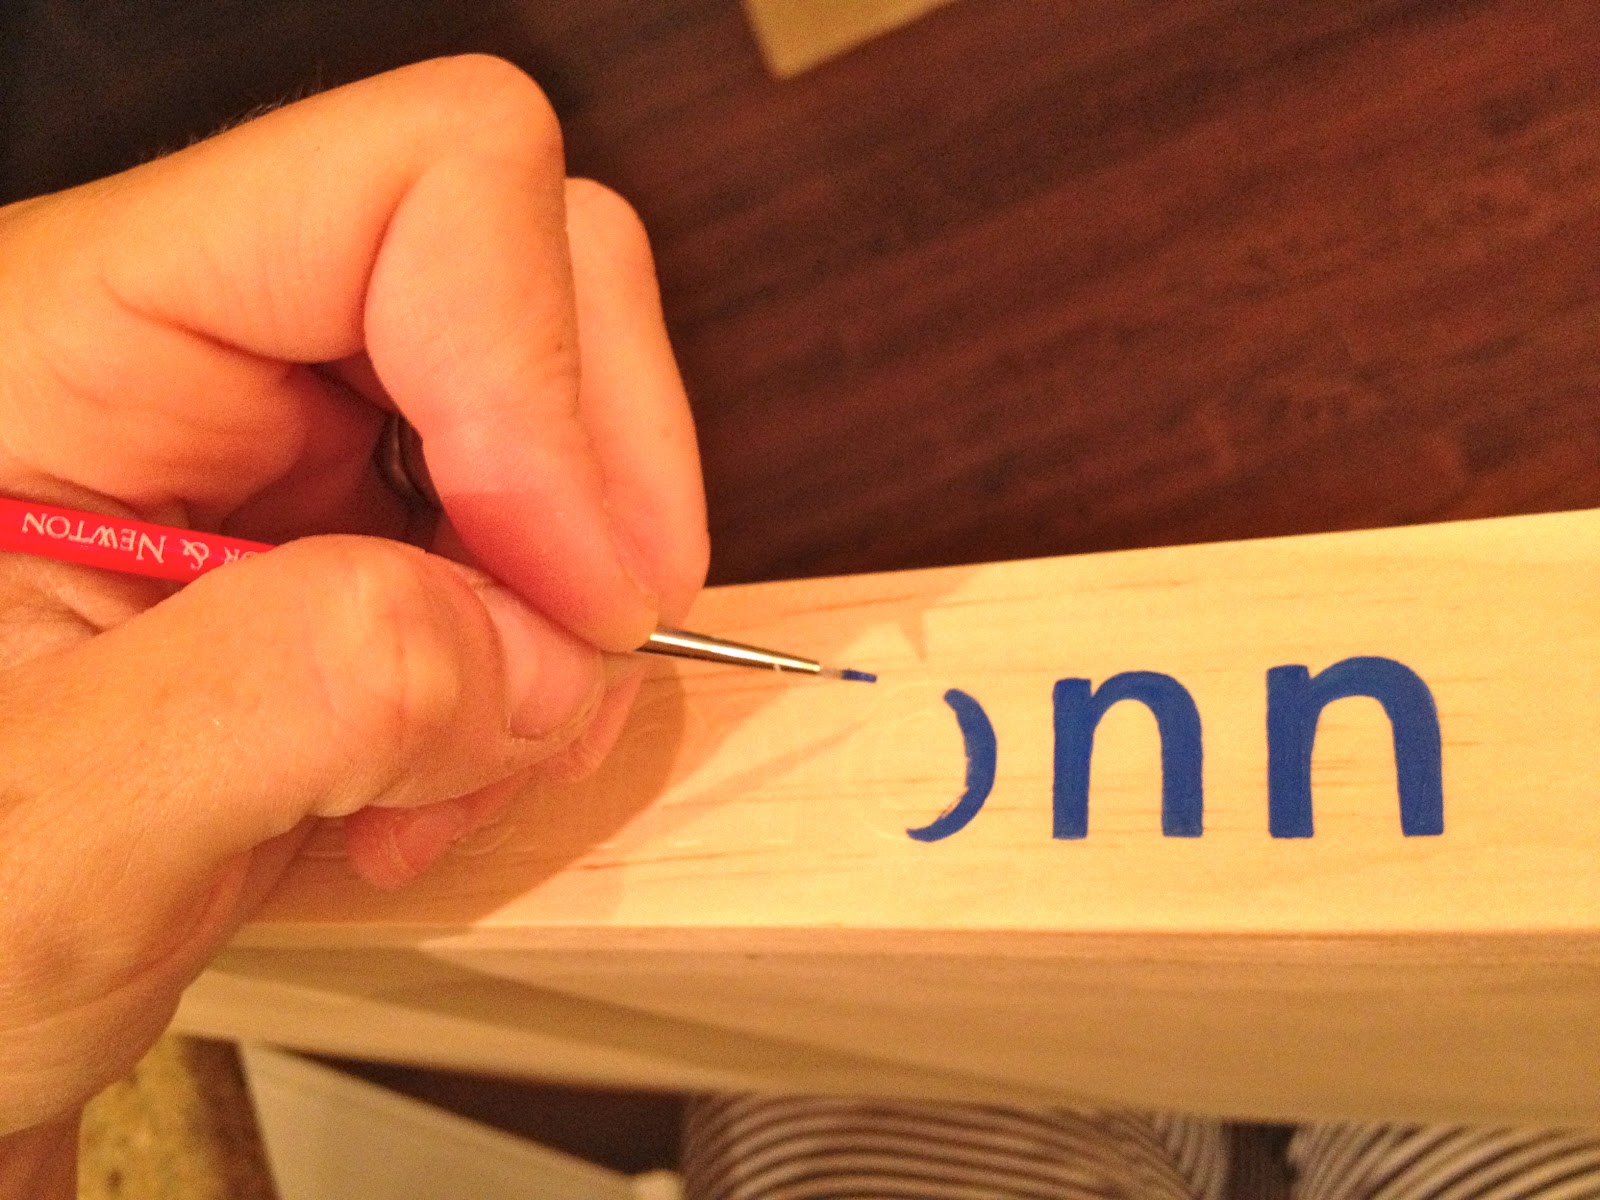
4. Paint on and inside indent left behind from pen:

5. Seal paint with Minwax spray poly clear semi gloss:

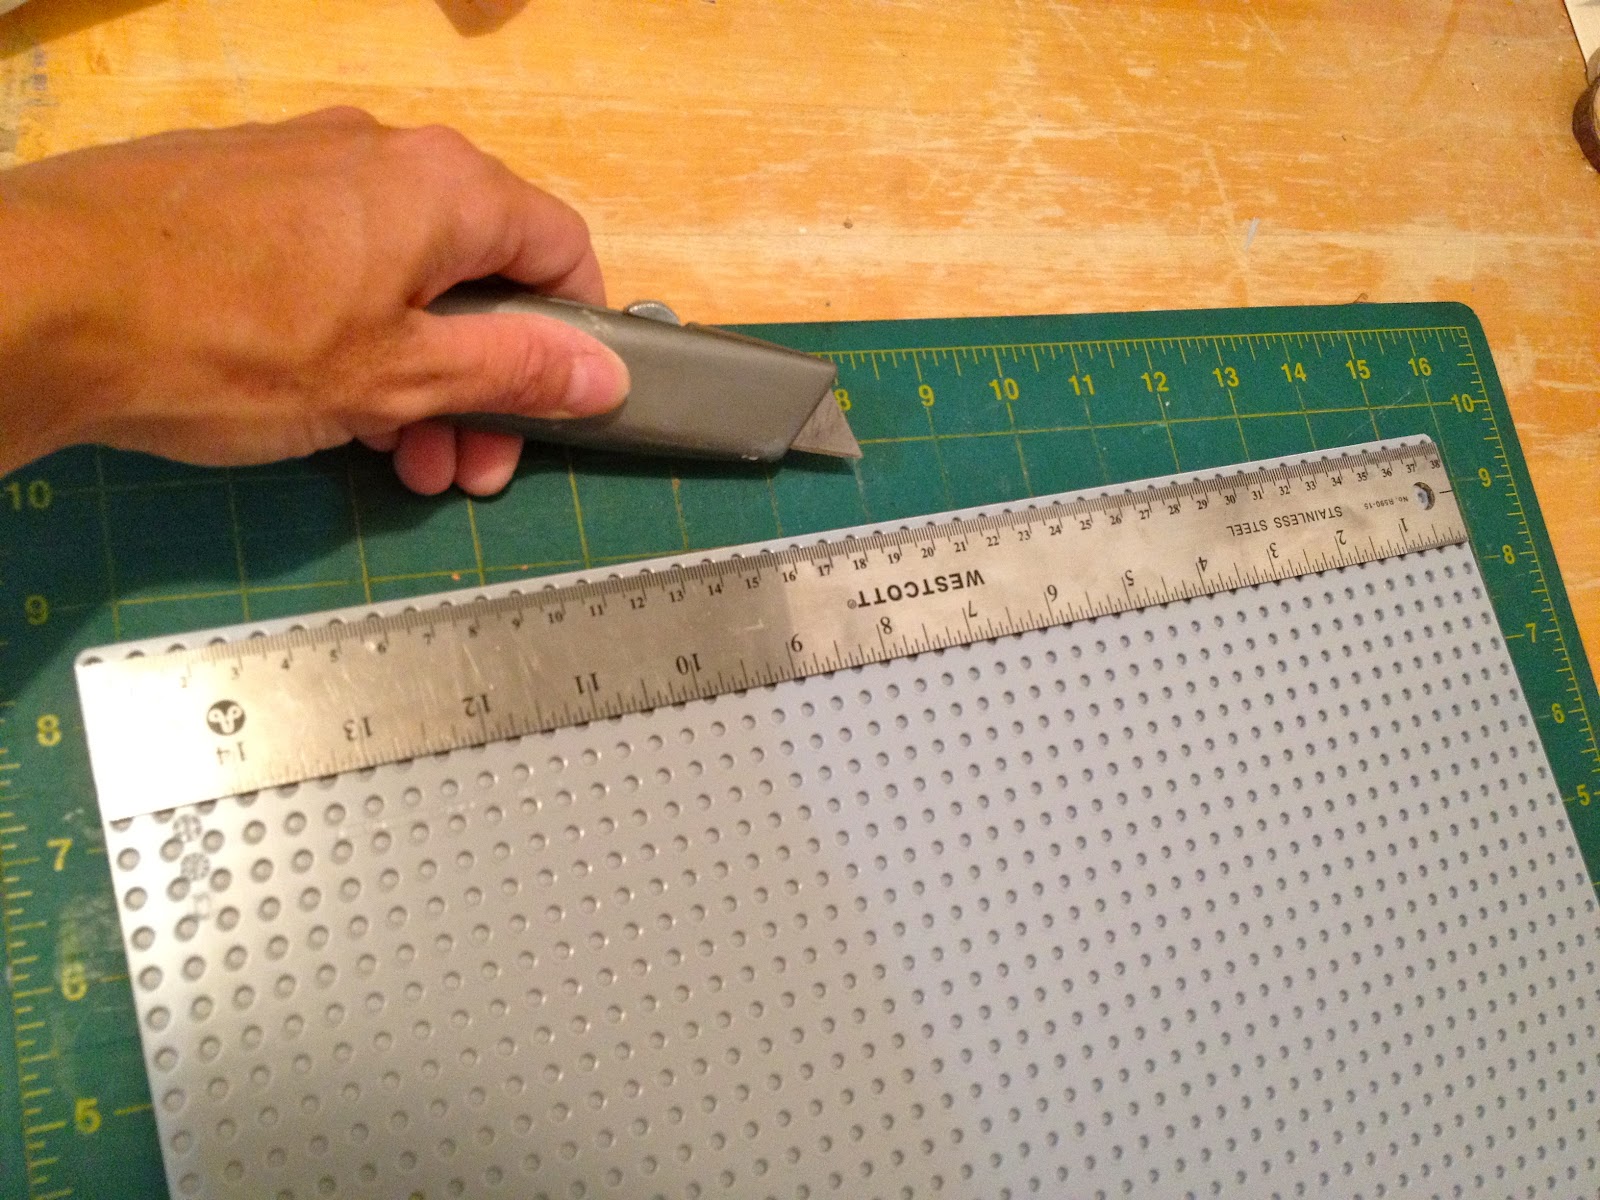
6. Check lego baseplate for fit, see how this piece doesn’t sit perfectly inside the tray:
7. Trim lego baseplate with exacto knife:

8. Finish as per process in my post here.
Ready for action!

I’m linking up to:
SAS @ Funky Junk
DIY Project Parade @ The DIY Showoff
Tutorials & Tips Tuesday @ Home Stories A to Z
Good Life @ A Beach Cottage
Transformation Thursday @ The Shabby Creek Cottage
Strut Your Stuff @ Somewhat Simple
Share Awesomeness Thur @ The 36th Avenue
Pretty Things Thursday @ Scissors & Spatulas
Flaunt it Friday @ Chic on a Shoestring
Frugal Friday @ The Shabby Nest
SAS @ Just a Girl
Remodelaholics Anonymous @ Remodelaholic
inspiration board @ Carolyns Homework
Sunday Showcase Party @ Under the Table & Dreaming

You may also like...

  • Portable Square Lego TrayPortable Square Lego Tray
  • Cross Stitch Monogram Ornament PlacecardCross Stitch Monogram Ornament Placecard
  • DIY Superhero Lair PlayhouseDIY Superhero Lair Playhouse
  • DIY Personalized Turkish TowelsDIY Personalized Turkish Towels
Share this post:

Filed Under: BUILD, DIY, GAMES & TOYS, GIFTS, KIDS, ORGANIZATION3 Comments

Reader Interactions

Comments

  1. Jen says

    July 29, 2012 at 8:41 PM

    Awesome!!! If I had boys this would be great. I'm going to pin it for another time, great gift idea!!!!

    Jen
    sewfabulous-now.blogspot.com

    Reply
  2. Gina says

    July 29, 2012 at 9:19 PM

    Great idea! I'll have to save this for when my little guy is old enough for legos

    Reply
  3. bliss says

    December 17, 2012 at 3:45 AM

    AWESOME! Im going to make one xoxox
    amanda
    creatingdomesticbliss.blogspot.ca

    Reply

Leave a Reply Cancel reply

Your email address will not be published. Required fields are marked *

Primary Sidebar

Hi! I’m Jaime

Jaime Costiglio

Hello!

Thank you for stopping by.
Join me for lots of DIY.

Read more

Get new posts via email

Handbuilt Holiday: Gift Project Plans

handbuilt holiday gift project plans

Collection of DIY gift project plans to build.

The Home Depot Tool Prospective

THD Prospective

Tools to consider for the DIYer.

Archives

The Home Depot Logo
Copyright © 2026 Jaime Costiglio · Custom site by Moonsteam Design

Privacy Policy